Delicious Breakfast for my Fiancee

While Maddie was sleeping in, I made a delicious breakfast for her to enjoy as soon as she woke up! She likes scrambled eggs, but wants them dressed up with other flavors mixed in.

I added sliced cherry tomatoes, red onion, grated pepper jack cheese, pesto, milk, and a tiny hint of tomato sauce. I kept stirring the pan over the stove to keep the eggs from burning as it cooked. The cheese melted and mixed into every part of the eggs to add a hint of spice with cheesy goodness! 

Cooking on board a boat in a small galley is not as hard as people make it out to be. This whole meal was created using a single pan in a relatively small amount of time!

Needless to say, Maddie was very pleased when she woke up to this breakfast!

Keeping Warm

It was 27F and blowing 10 to 15 knots. This made for a very chilling walk down the pier to the boat. Once inside Wisdom, it was a completely different story.

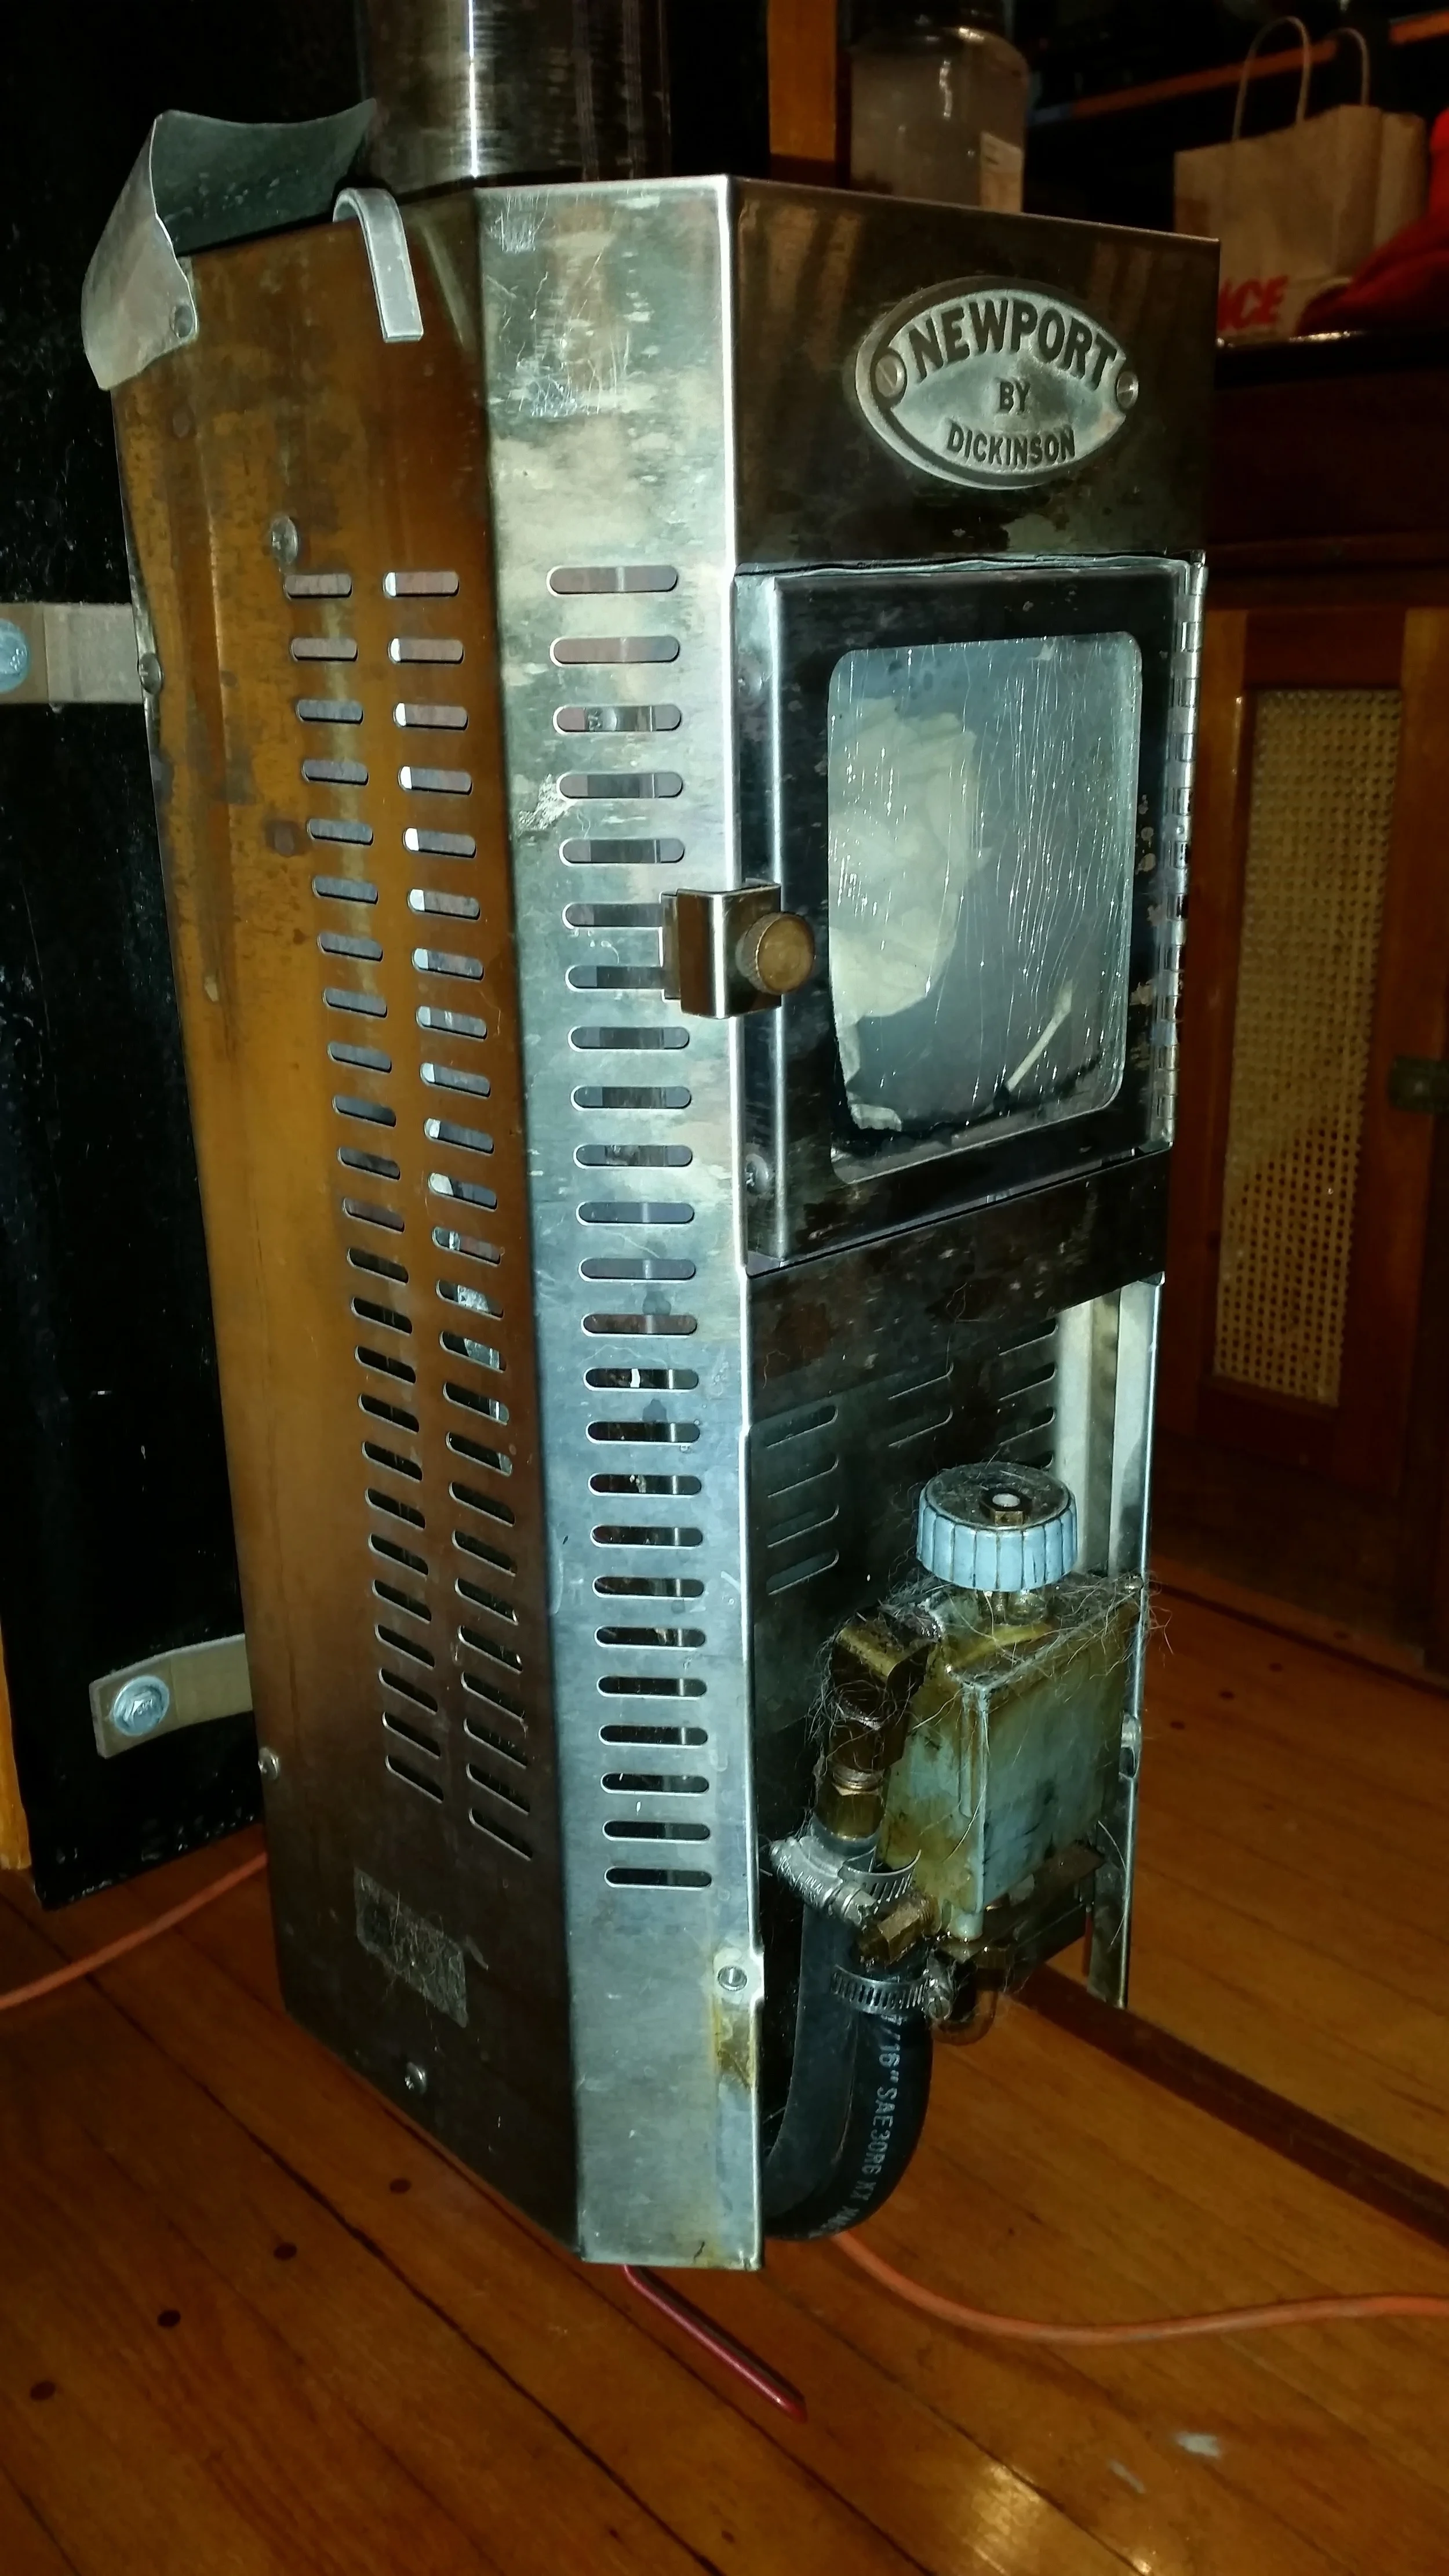
The diesel heater was burning and it kept the small cabin inside nice and toasty. Smaller spaces require less energy to heat, so with little effort we are able to maintain a comfortable level of warmth with the heater set to 1 out of 5. We let the fire burn like this all winter long and it provides us with plenty of warmth through these colder months.

Maddie and I were relaxing by the fire while we read and played with Morty and Sammy. Life in a tiny floating home is special!

Winter Commisioning of the Diesel Heater

When the water cools down and the reverse cycle needs to be shut off, it's time to fire up the diesel burner! But wait, it's been off for the past 10 months. There are some steps to getting it back to operational standards.

First step is to put fuel into the day tank. I like to fill it up for a few minutes until it feels much heavier.

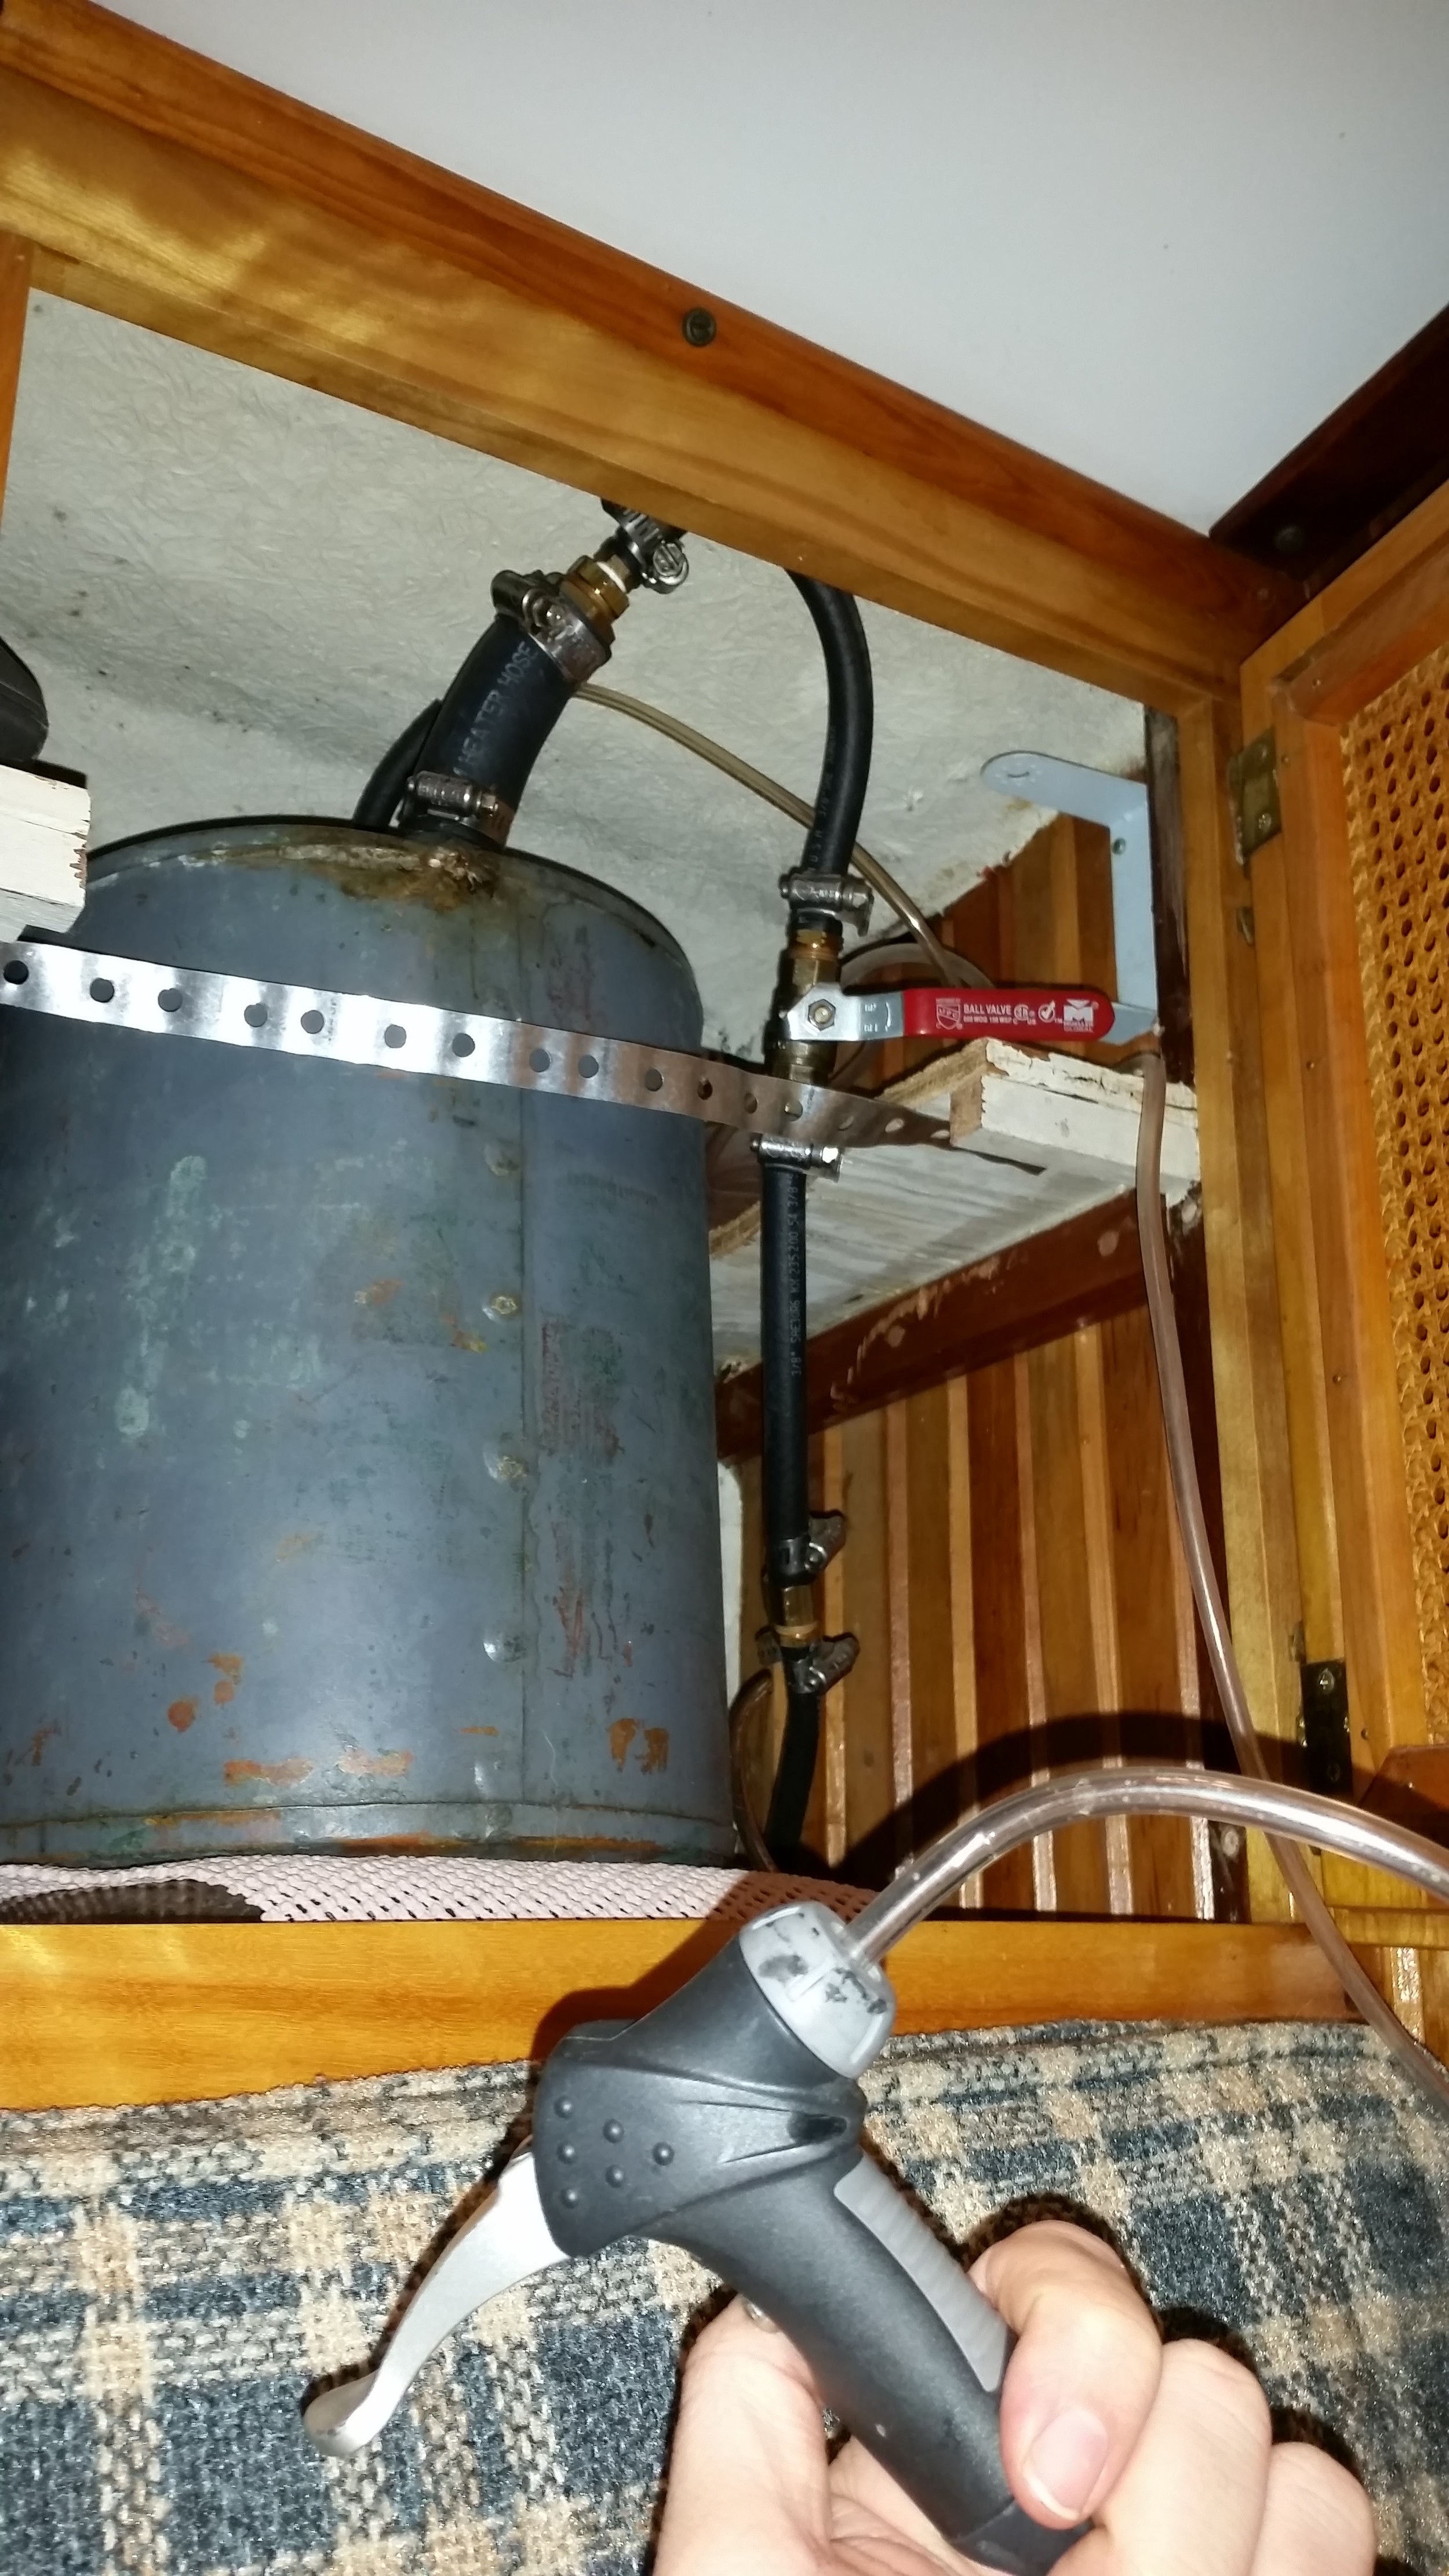
Pressurize the tank using a bicycle pump. This will force the fuel through the fuel line, bleeding out any air bubbles that may have developed over the past 10 months.

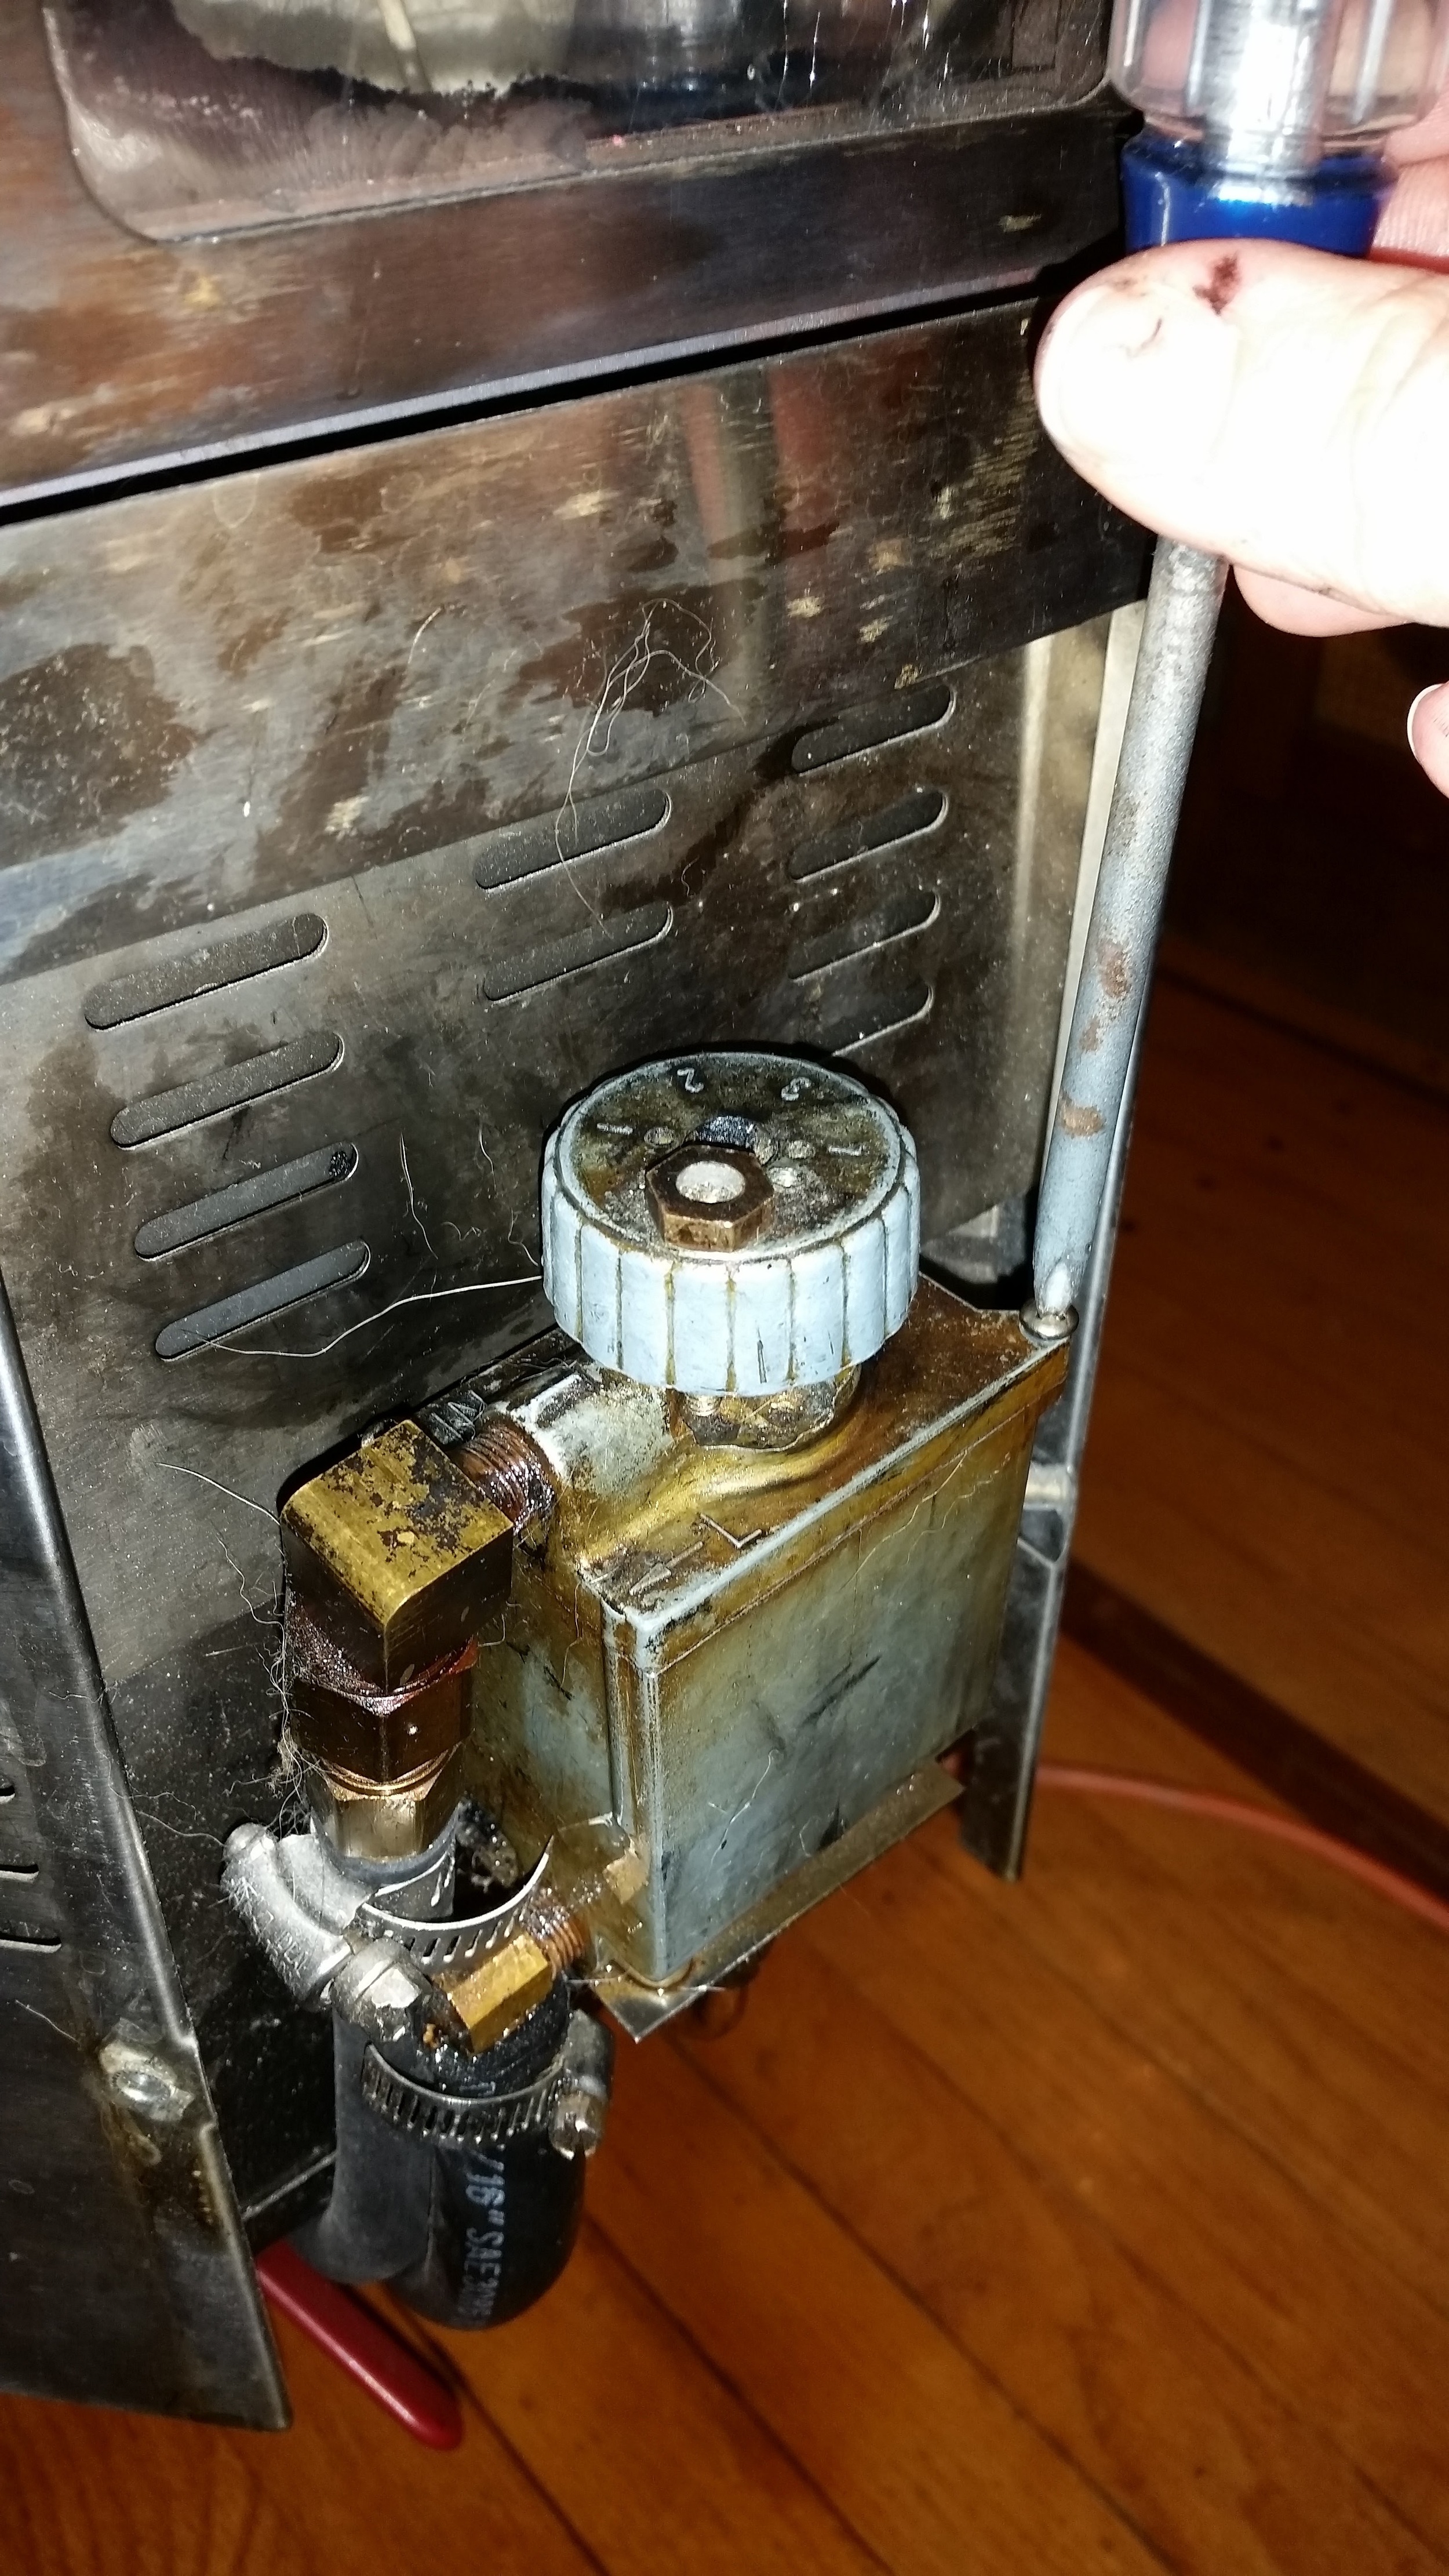
Then disconnect the fuel feed to the carburetor on the heater. I like to remove the top of the carburetor that way I'm certain the fuel line is bled all the way to the float switch. 

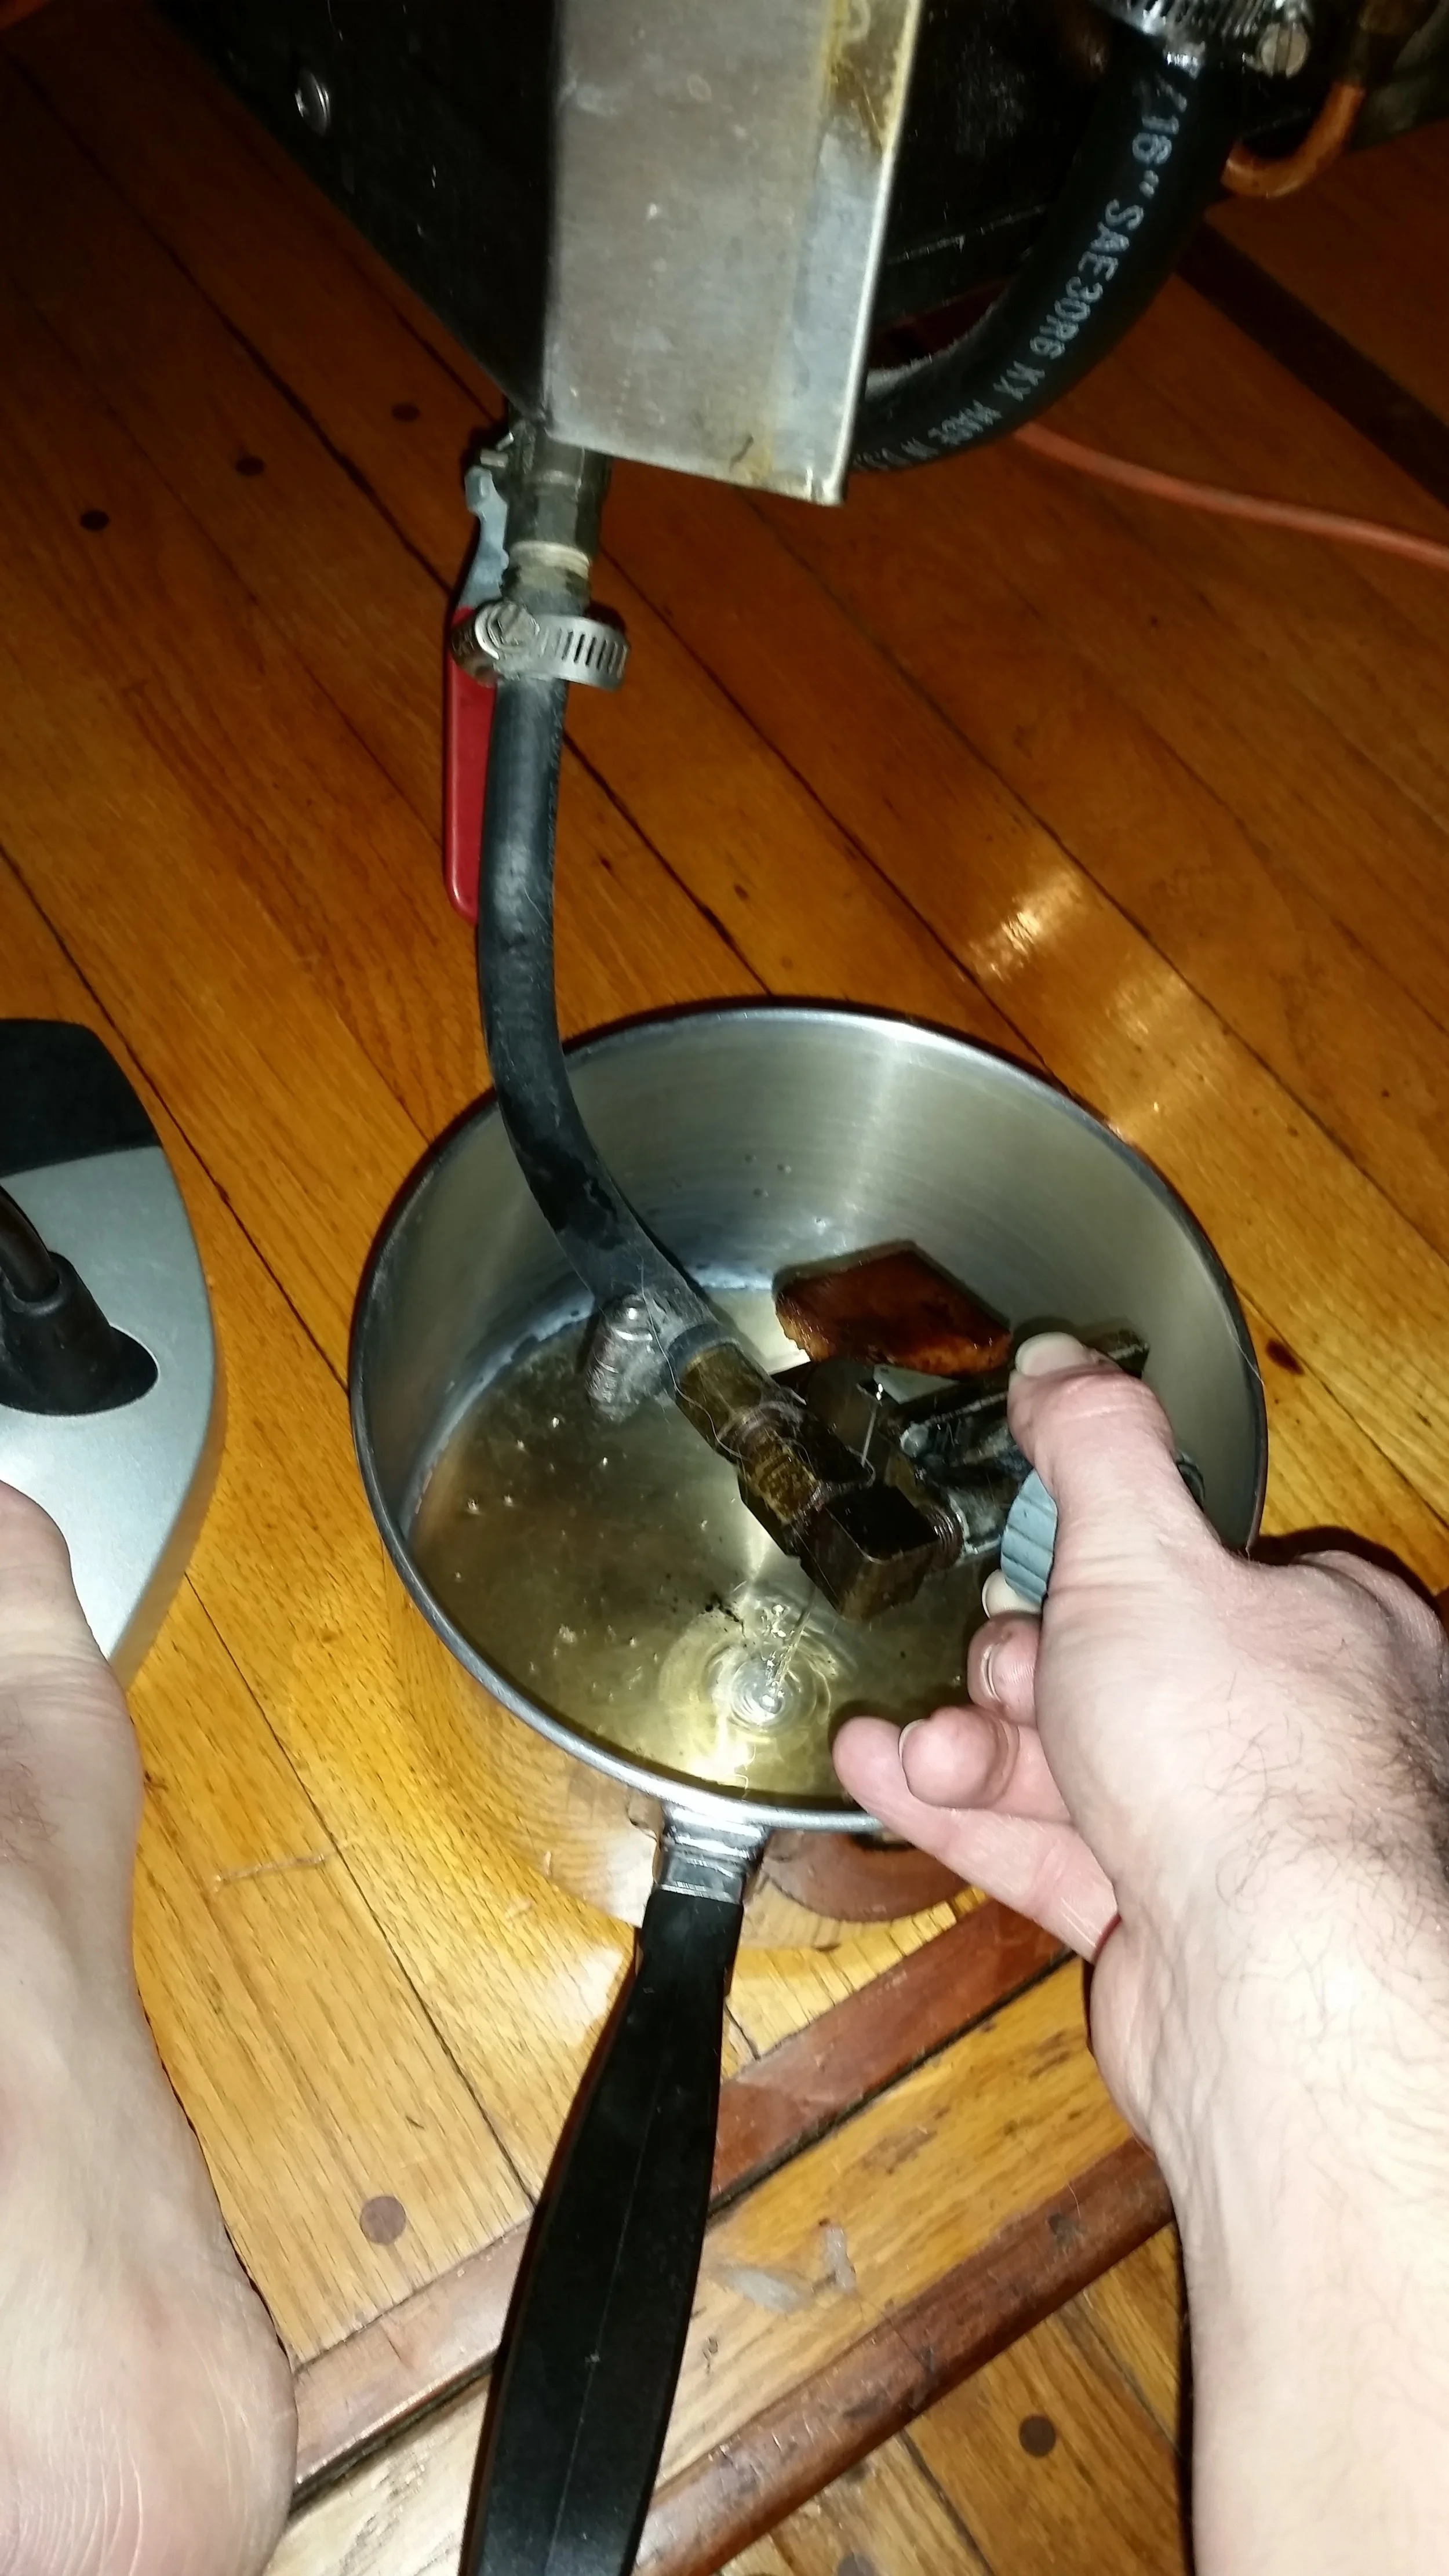
Open the fuel valve near the heater and drain the fuel into an appropriate container. Be careful because it can splash around when a large air bubble pass.

While the fuel is flowing fast and steady with no signs of air bubbles, close the fuel valve quickly.

Remove the bike pump from the day tank vent and allow the pressure to escape the day tank.

Blast some air into the bottom of the carburetor to clear out any debris that may have collected in the fuel line over the past 10 months.

Reconnect the fuel line to the carburetor.

Clean off any excess fuel that may have spilled onto the unit. You don't want to get diesel on anything in the boat, it's hard to clean up.

Let some fuel flow into the burner and light some paper to start the fire. 

It will flash flame, but then it will settle down to normal and be ready to burn safely and consistently for the next few months.

Plastic Bags

Plastic bags can not be dumped overboard, no matter how far out to sea you are. The plastic will continue to float along as it breaks down into fine particles of plastic that accumulate in the ocean trash gyres.

Plastic grocery bags serve a second purpose on board a sailboat, they make excellent trash bags for tiny homes. Their handles let them hang from the galley and when they are full, they can be tied up to avoid spills. While in port, plastic trash bags can be taken to the marina dump to dispose of them. While sailing, I tie them up to the davits on the transom, ready to be disposed at the next appropriate landfall.

This is all well and fine, as long as you can properly store the plastic bags in an easy to access location that keeps them safe so they don't fly away. An empty bag will fly around in the slightest of breeze and can blow overboard far too easily. I have found an easy way to store the bags, I stuff them in this cloth tube which has elastic around the openings at the end. 

I ball the bag up and stuff it in the top when I unload my groceries. When I need a bag, I simply pull from the bottom. The whole tube hangs from the ceiling next to the galley, near the companionway. 

I have never had a bag get free from this device, yet they are always at the ready and accessible. Recycling plastic bags consumes a lot of energy; by reusing them, their useful purpose can be extended until they are ultimately disposed of.

Laminated vs Dacron Sails

When you are in the market for new sails, the number of available options might seem overwhelming! You will quickly be flooded with options like:

Dacron
Laminate
Taffeta Coating
Technora
Aramid
Tri Radial
Cross Cut
Carbon
ect.

To make these options make more sense, lets break it down into two camps:

Laminated Sails (Membrane)

Membrane sails are made by laminating various layers together to form the sail. These sails are not cut into pieces because the are made in one piece. The choices fall into what the layers are made of.

Dacron Sails (Cloth)

Cloth sails are made of polyester fibers that are woven into panels of cloth. These panels are then cut in various shapes: Cross Cut or Tri Radial


Dacron sails will last for many years, but they will only hold their proper shape for a few years, then the begin to stretch out and become baggy. The panels are the weak point, the larger the panel, the more profound the stretching will be. 

Cross Cut Sail

Cross Cut Sail

Tri-Radial Cut Sail

Tri-Radial Cut Sail

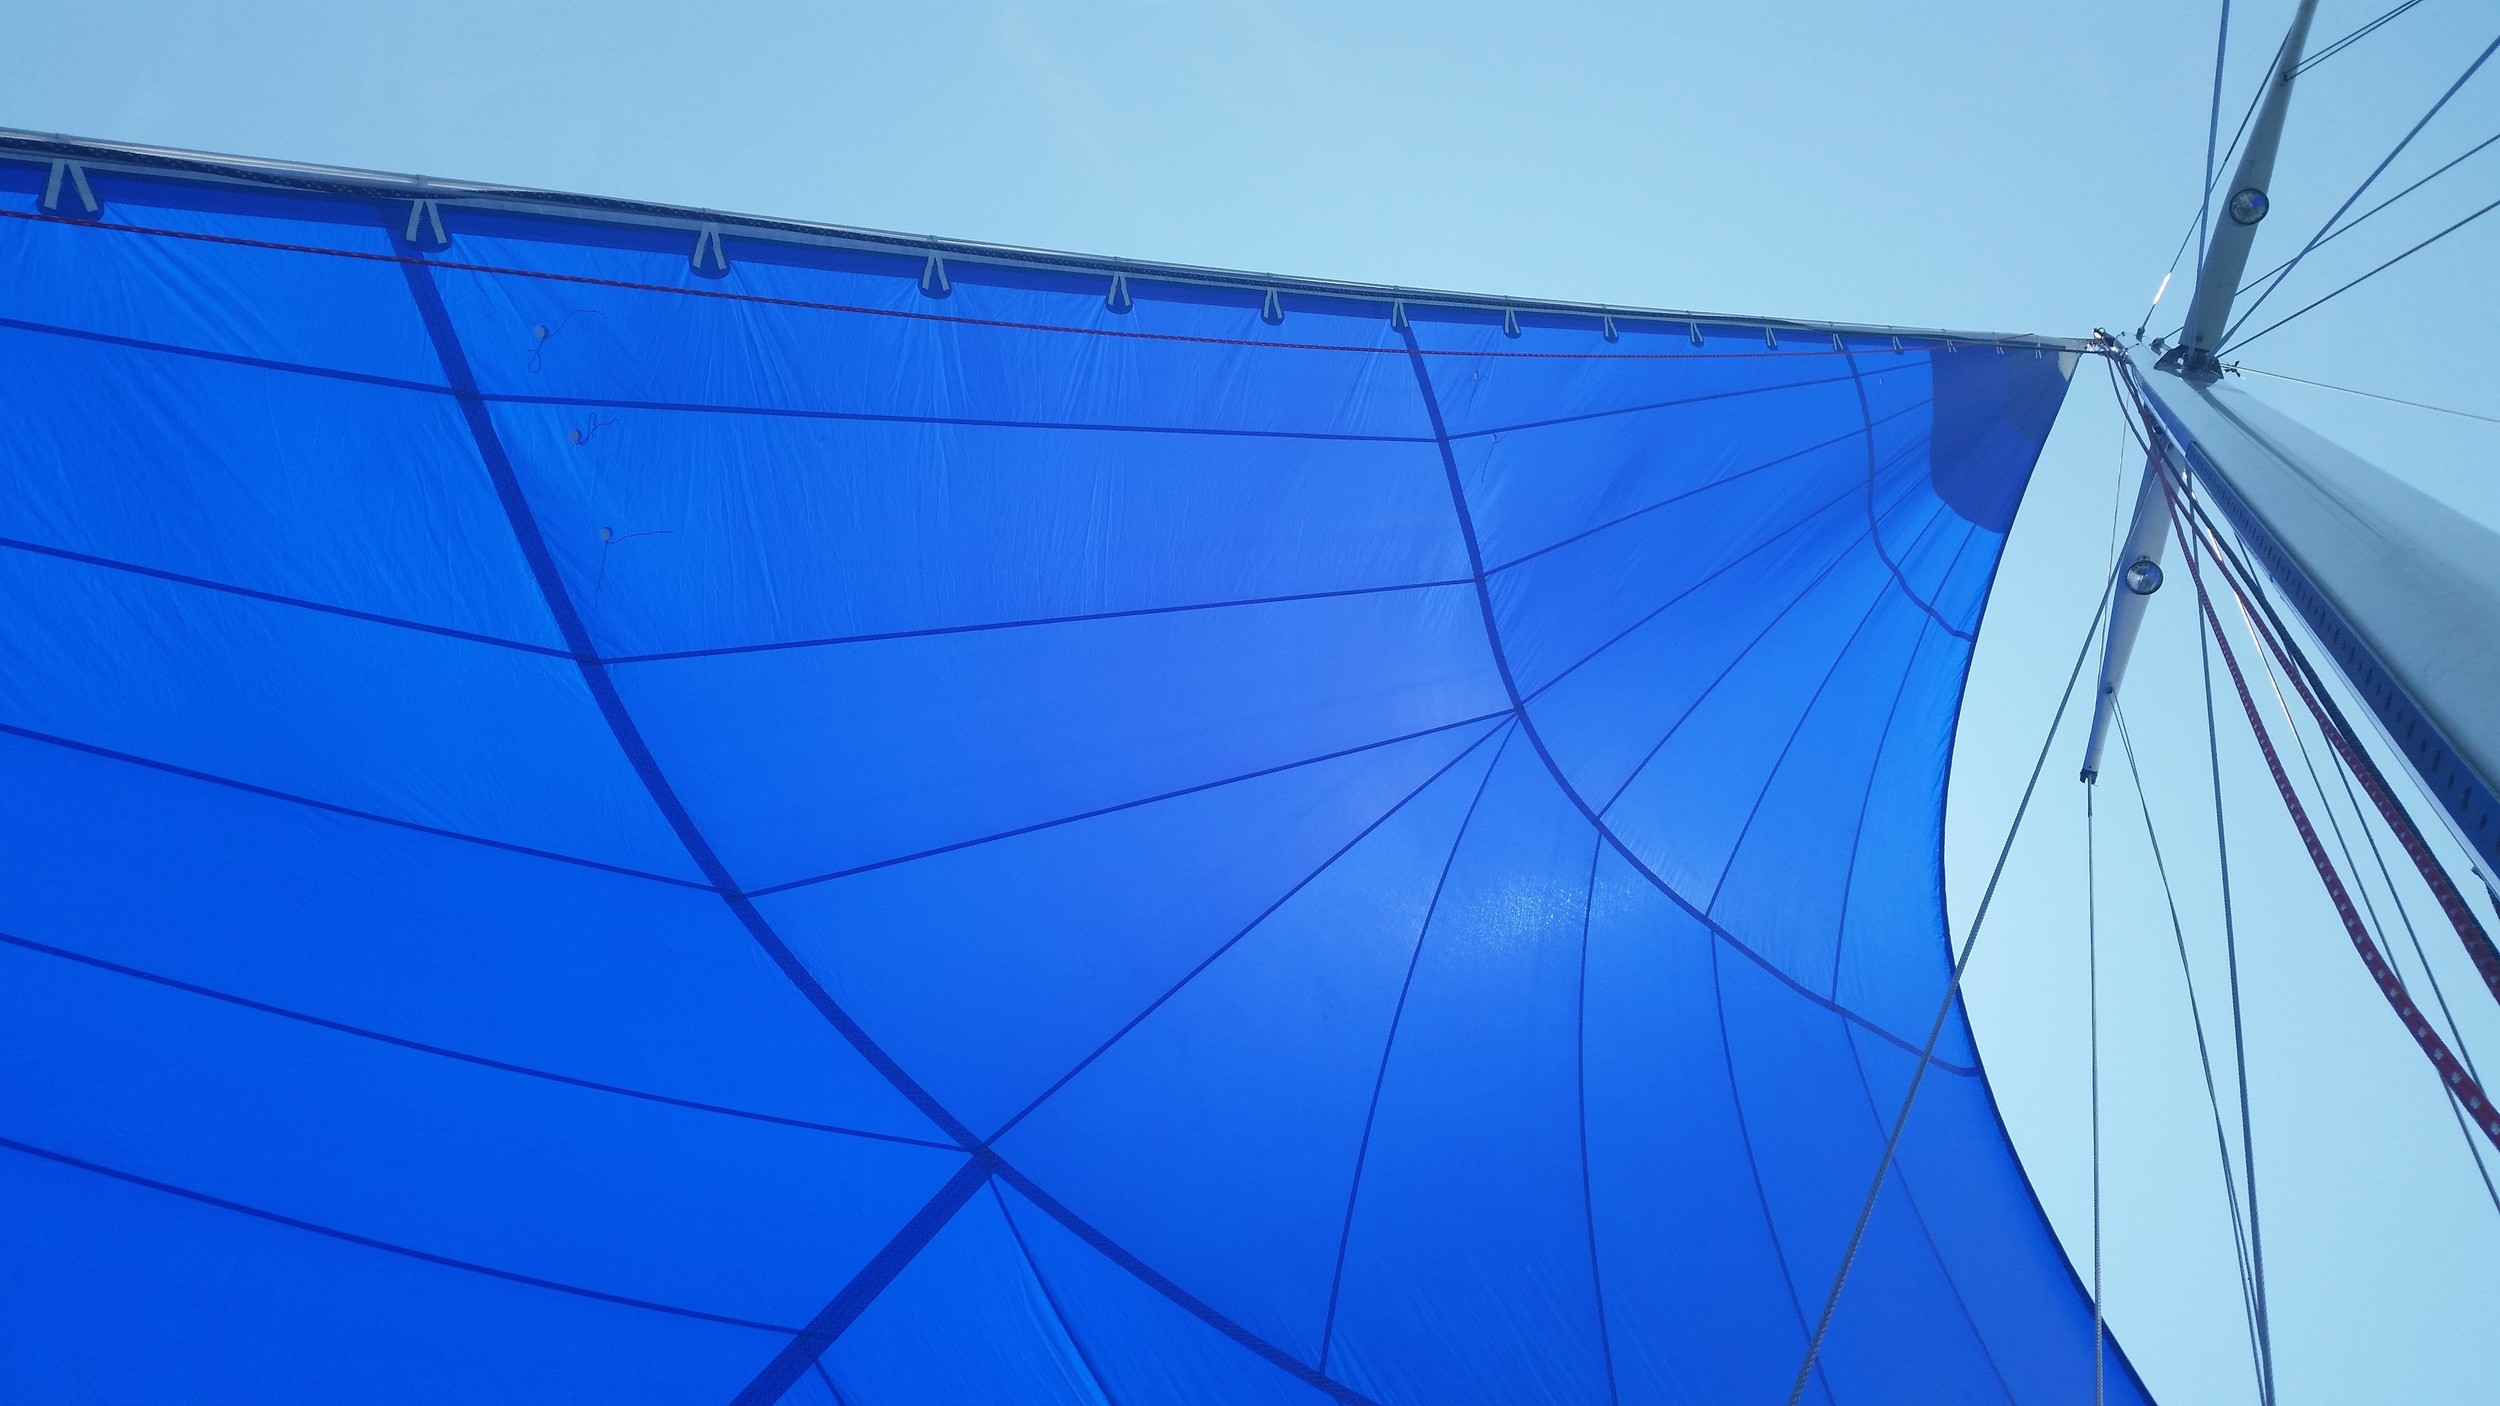
Cross cut sails have large horizontal panels that will stretch rather quickly. The alternative is to have the panels cut into many smaller panels arranged in a way that they will help distribute the forces, prolonging its life of ideal sail shape.

This method is called Tri Radial cut sails. These sails are easy to distinguish from Cross Cut sails because Cross Cut look like rectangles stacked on top of each other. Tri Radial cut sails look like origami that has been unfolded.

It is not uncommon to see really old dacron sails (over 20 years old) because they hold together for a long time. They are rather resistant to chafe and any holes can be easily patched. Just be sure to examine your sails and replace them when they begin to sag in the wind like large burlap bags.

Another feature of dacron sails is they can be easily modified. If you decide you need an extra reef point, a sailmaker can easily sew one in for you without too much effort. This makes afterthought modifications possible, relieving some of the stress during the design process of the sail. If you are not sure that you will need a third reef, you can always add it later if you find that you did!

Dacron sails are also available in a selection of colors, the most common is white. Tanbark is a less common but still readily available color of dacron. Some specialty sailmakers offer dacron sails in a multitude of colors, but these locations are hard to find.

The alternative to Dacron is Laminated Sails. These sails are made by laminating various membranes and layers together to form a sail comprised of a single piece. There are no panels involved in the construction. Instead, fibers are run along the stressed load lines of the sail to evenly distribute the forces placed on them. These sails will never stretch until the day that they die, which is anywhere from 2 to 7 years (depending on how it is designed). While this might sound like a short lifespan, it is not!

Compare a laminated sail that lasts for 5 years to a dacron sails that lives for over 20 years. It might seem like a short life, but the dacron sail only held its shape for a few years and then began to stretch. The laminated sail held its shape perfectly for the whole 5 years, 2.5x the life of the dacron sail before it stretched! 

Where dacron sails stretch out, laminated sails die in an explosive display. The laminates will separate in a process known as delamination which spells the end for the sail. A repair can be attempted, but it is the end for the sail. 

Laminated sails also offer greatly reduced weight over dacron sails, which translates into reduced weight aloft. Racing sails offer the greatest weight savings, but also last the shortest amount of time. These are the sails that seem see through from a distance because they are purely milar and fibers. The fibers are what give these sails their colors. 

Black fibers are from Carbon and Technora
Gold fibers are from Aramid
Tan fibers are from Vectran
White fibers are from Polyester

These see through racing sails will last between 2 to 3 years before the delaminate.

Cruising versions of laminated sails last longer by providing the sails with a Taffeta coating. This will extend the life of the sail to 5 to 7 years. Taffeta can be applied on one side for some protection or both sides for maximum protection. Taffeta gives the sail a white look, with the fibers shinning through. From a distance, these look like regular sails until you notice the fiber bands running through the sail.

The reason taffeta helps protect the laminated sails is because it is made of dacron! This coating helps protect the sail from chafe and wear, but it does add considerable weight to the sail. If you decide to go with a laminated sail, I strongly recommend the taffeta coating, it only costs a little extra but it greatly increases the longevity of the sail.

If you are planning a long offshore voyage with laminate sails, I would strongly urge you to carry a spare set of sails in the event that one of the sails dies while offshore. 

The choice ultimately comes down to what suits your needs best? If you are racing, then a stripped down laminated sail is right up your alley. If you are doing coastal cruising or short offshore jaunts, laminated sails with taffeta coating will provide a wonderful service life for you. If you plan on sailing far offshore, bullet proof dacron sails might be your best choice. They won't hold their shape forever, but you will always have a sail to get you home!