Life Aboard

Head Refit: Cabinets Part 3

For a long time, the head looked like a horrible dump! When you opened the door, you were greeted by bare fiberglass, waterlogged foam, and the utter lack of a place to stand. With time, this transformed into the inability to stand because everything was covered in wet resin or wet paint.  

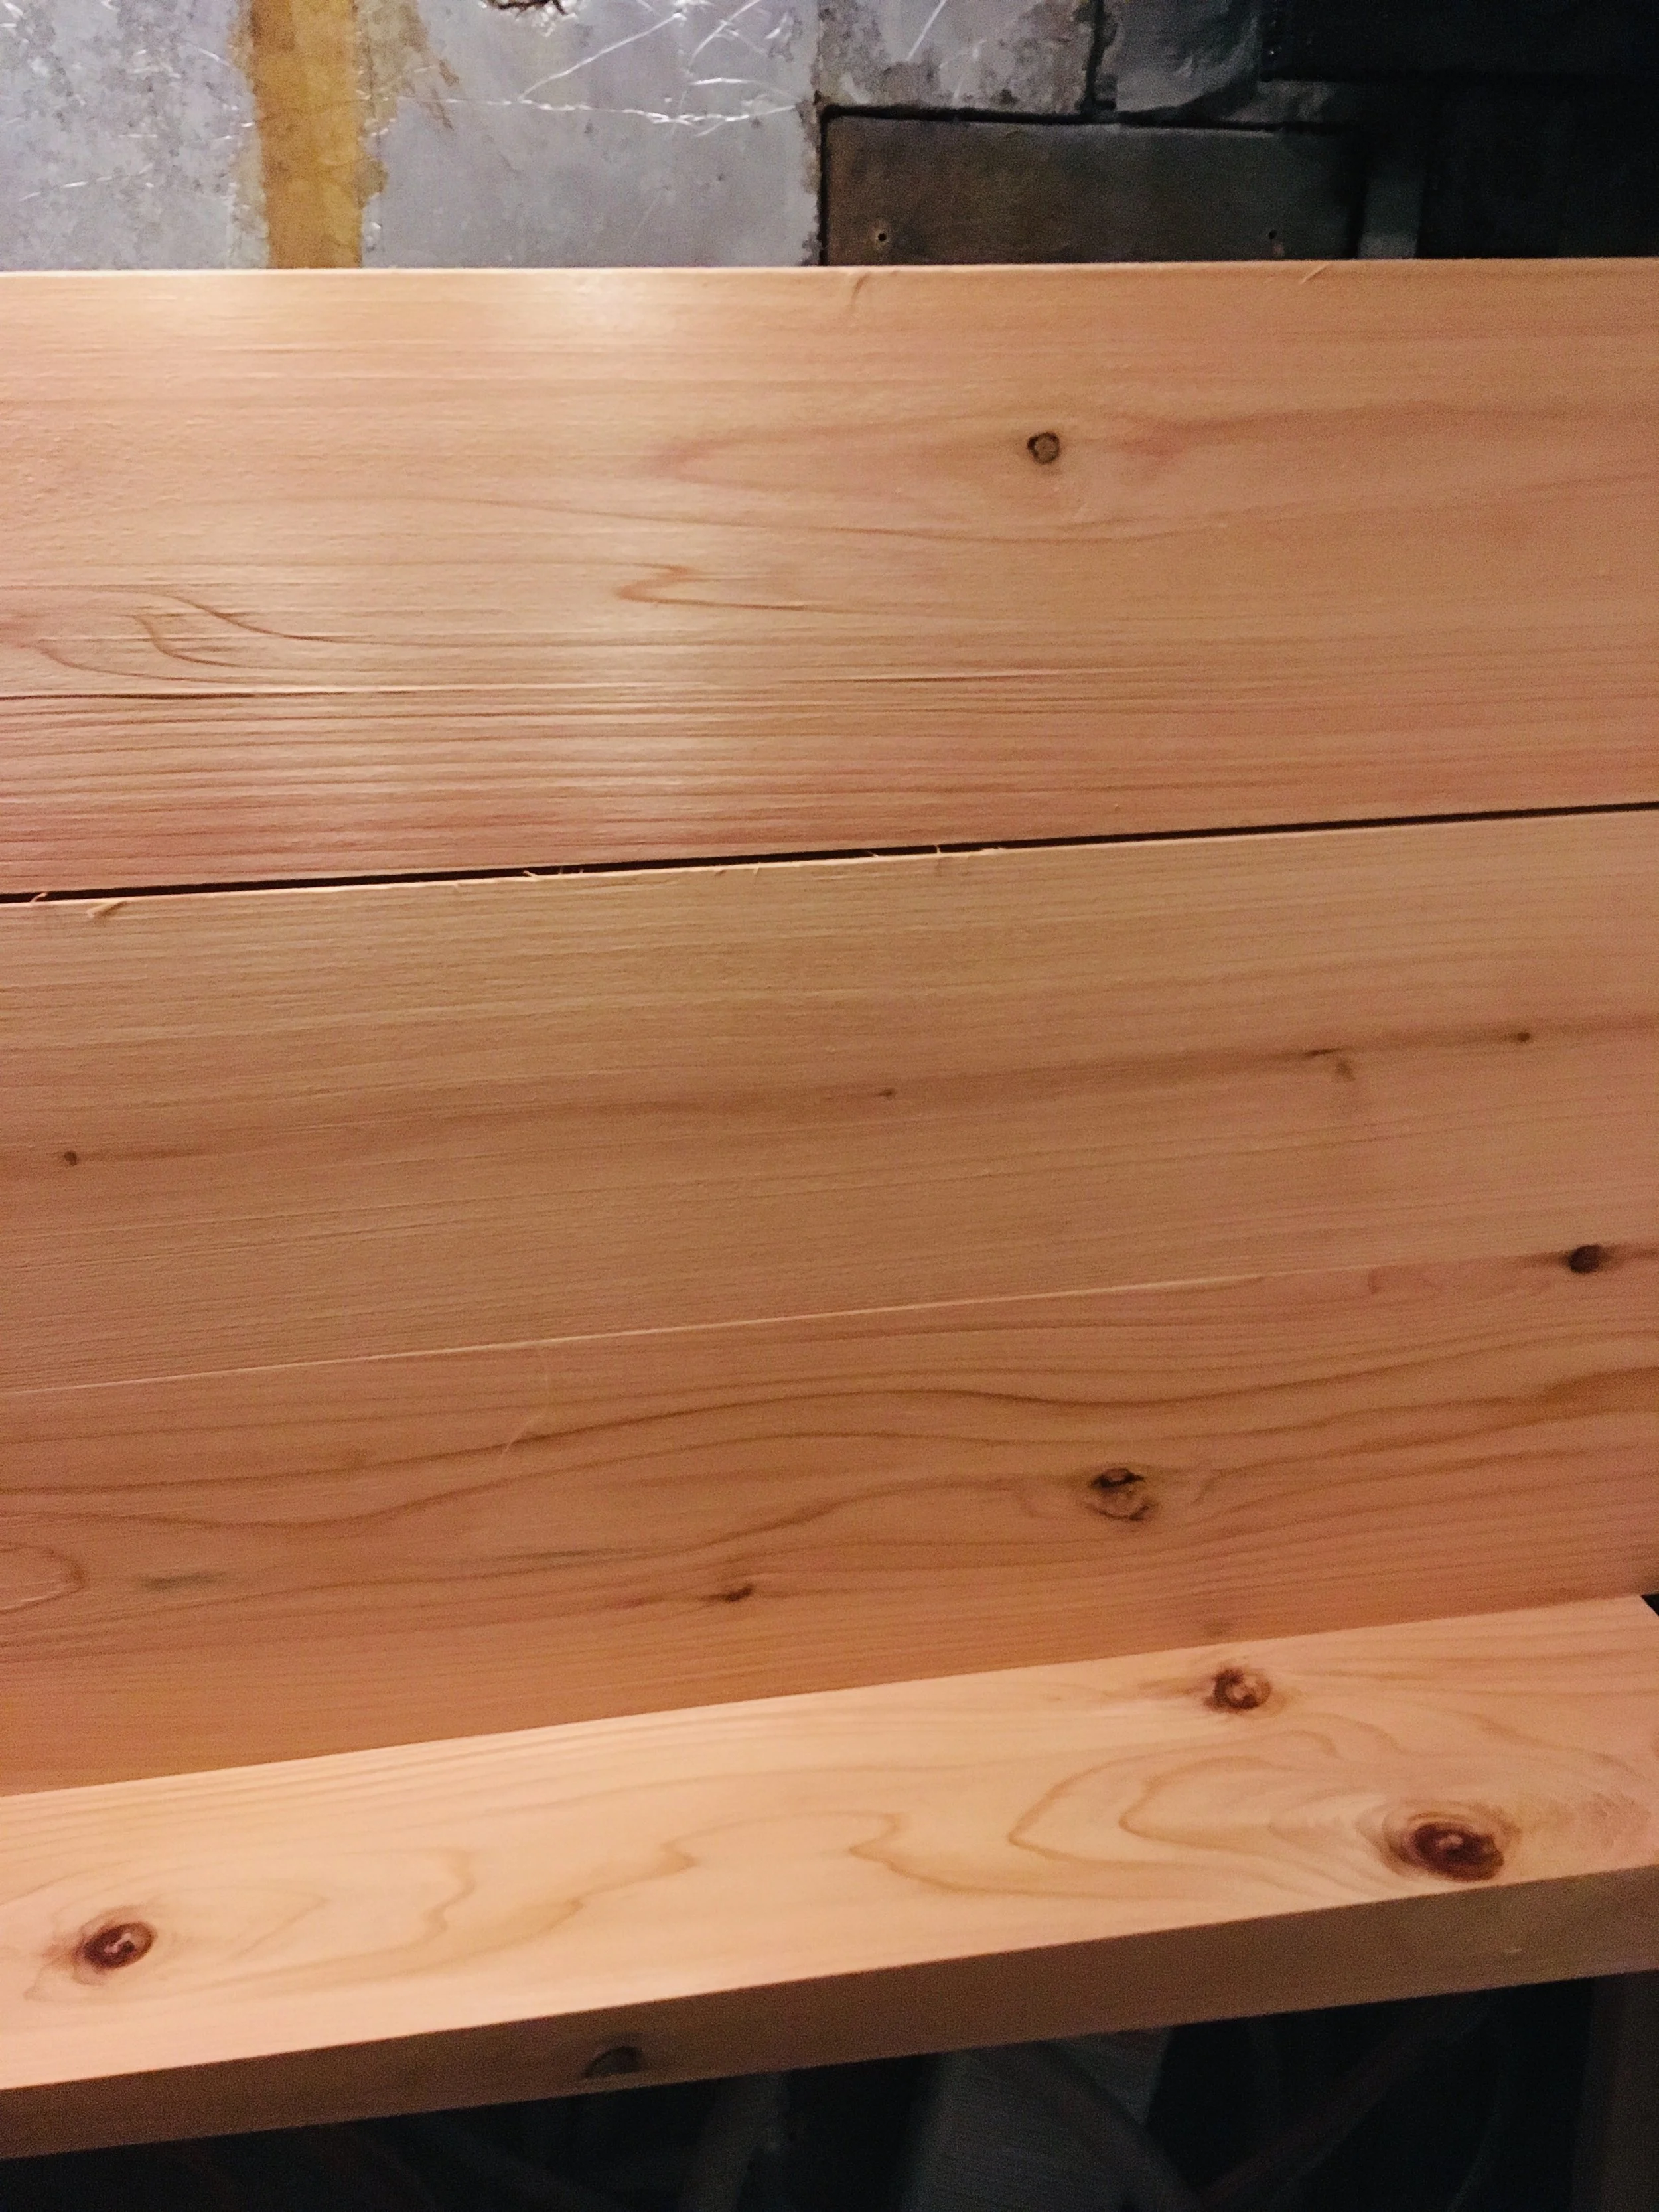
As time clocked by, fiberglass turned to sawdust and the head began to take shape. 

Today, we oil the wood and bring it to life because it is finished! 

FullSizeRender.jpg

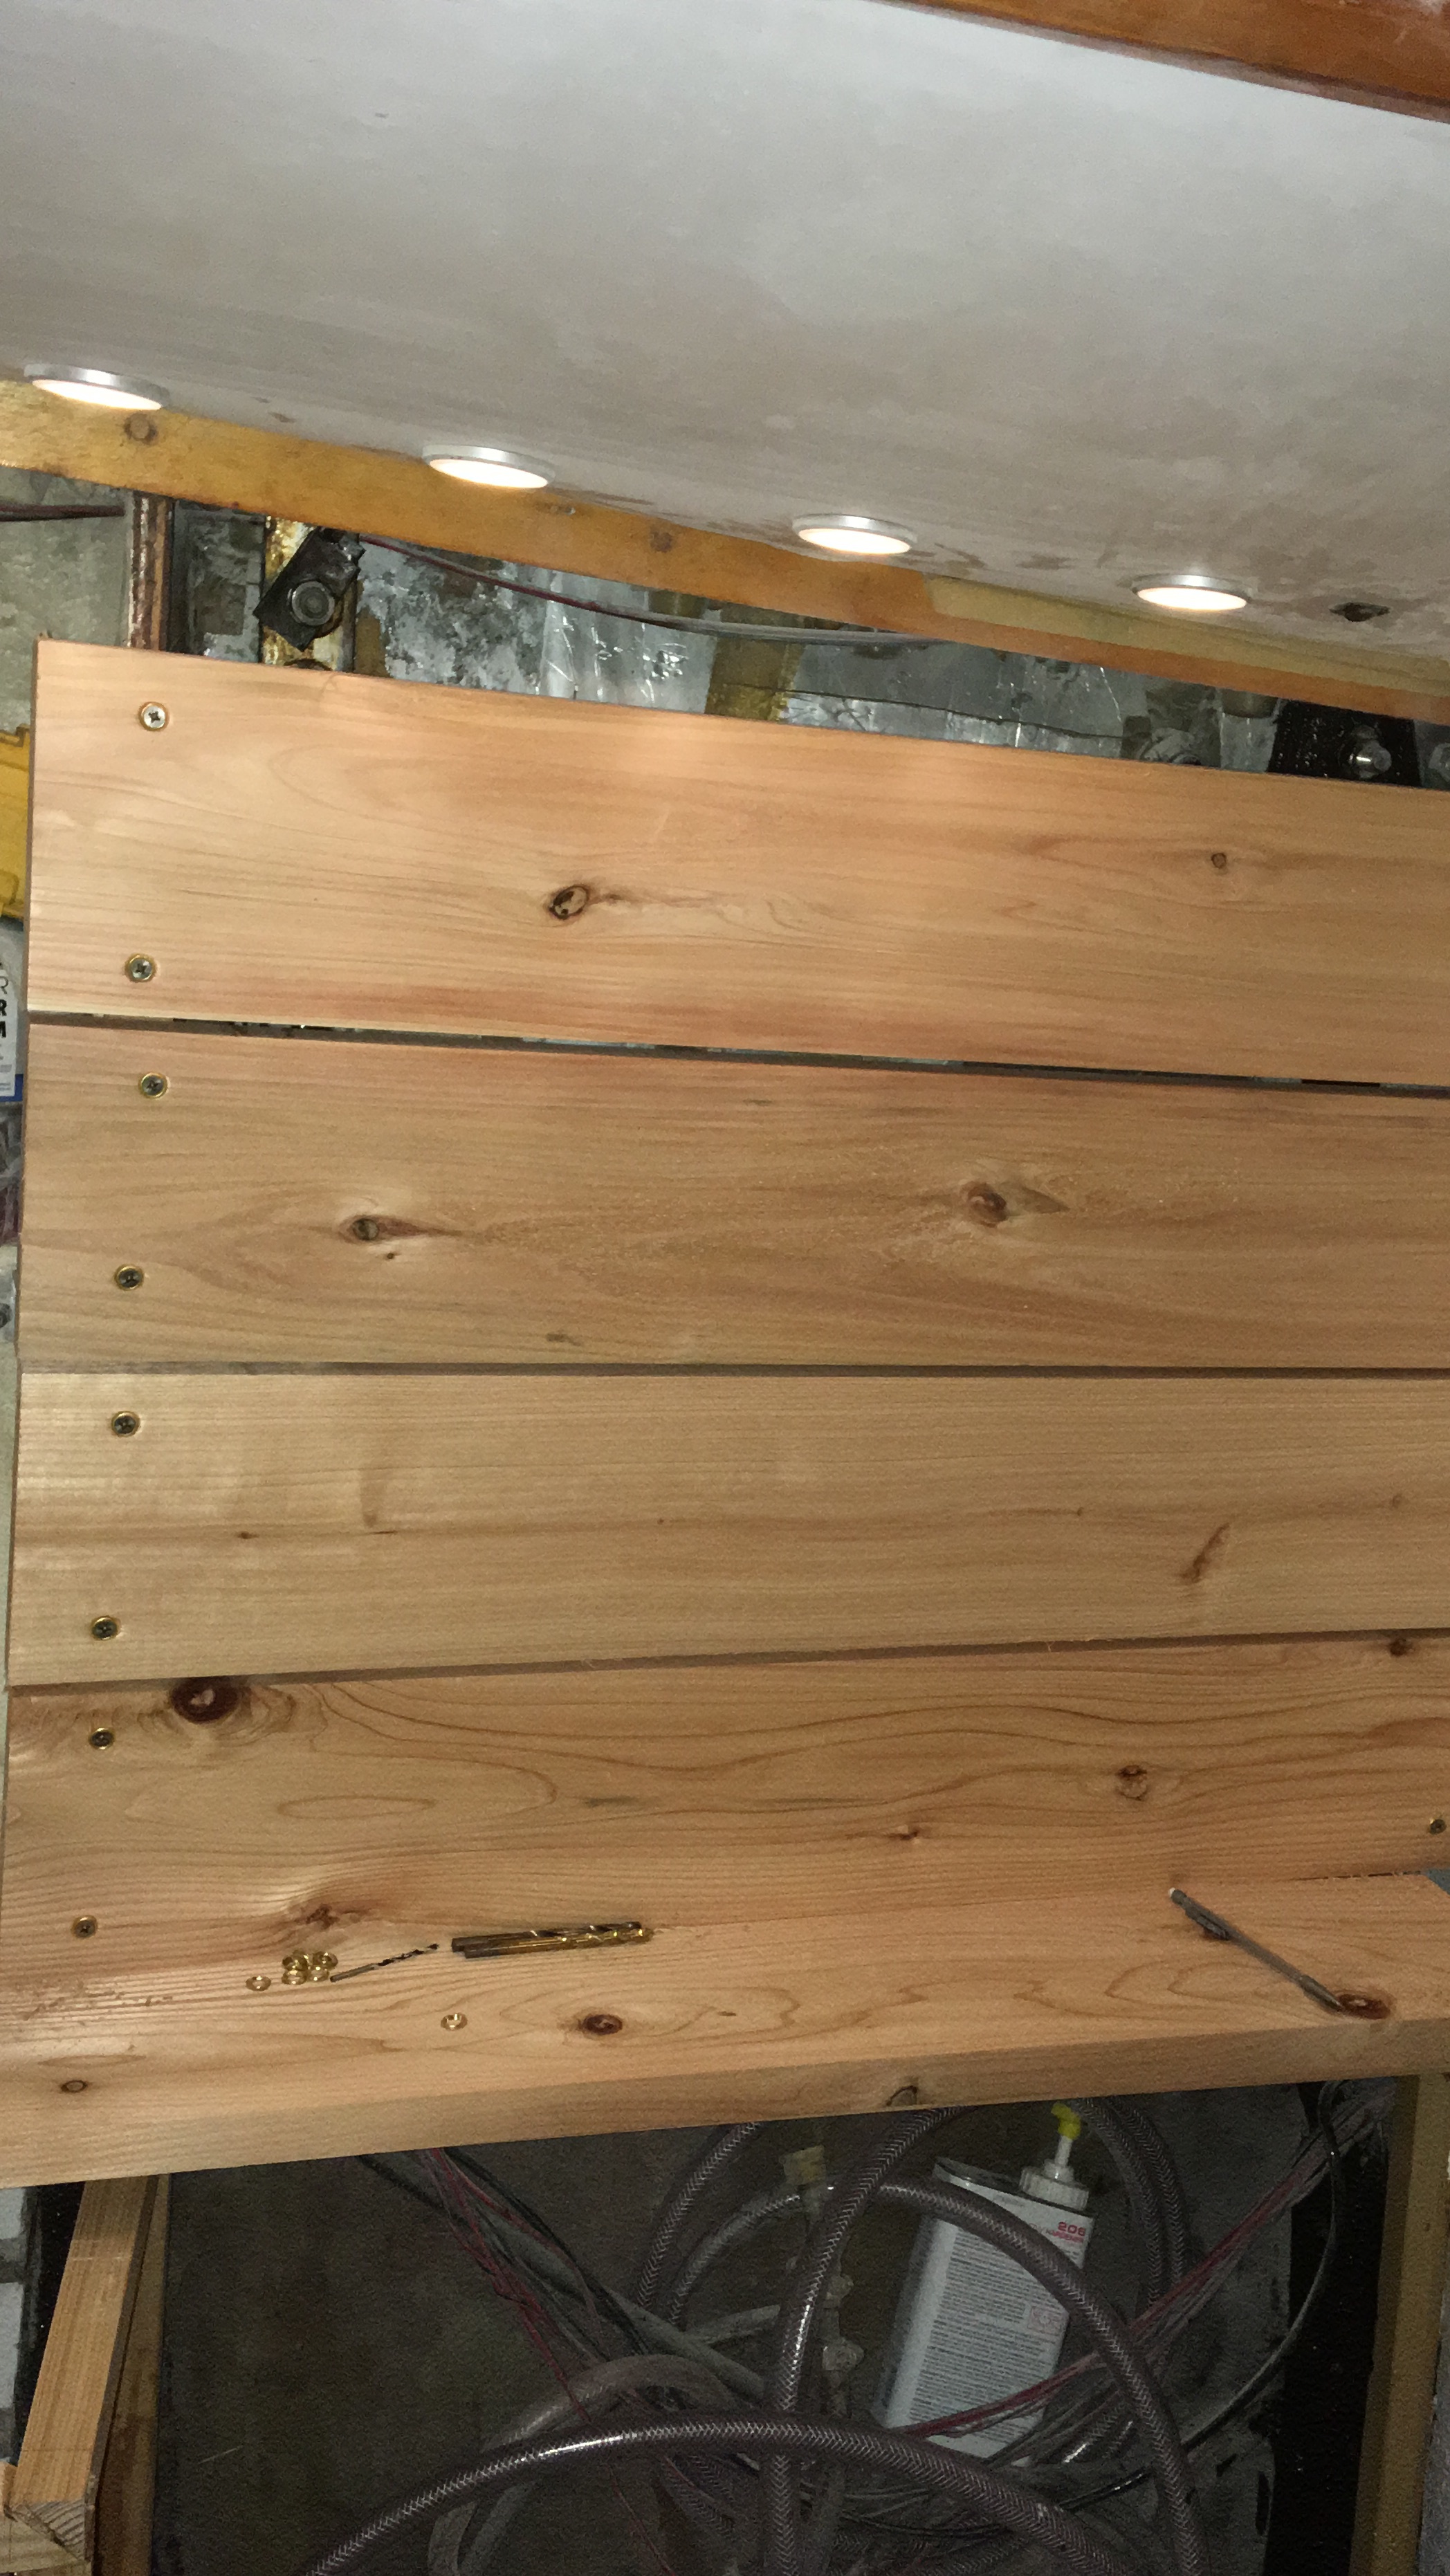
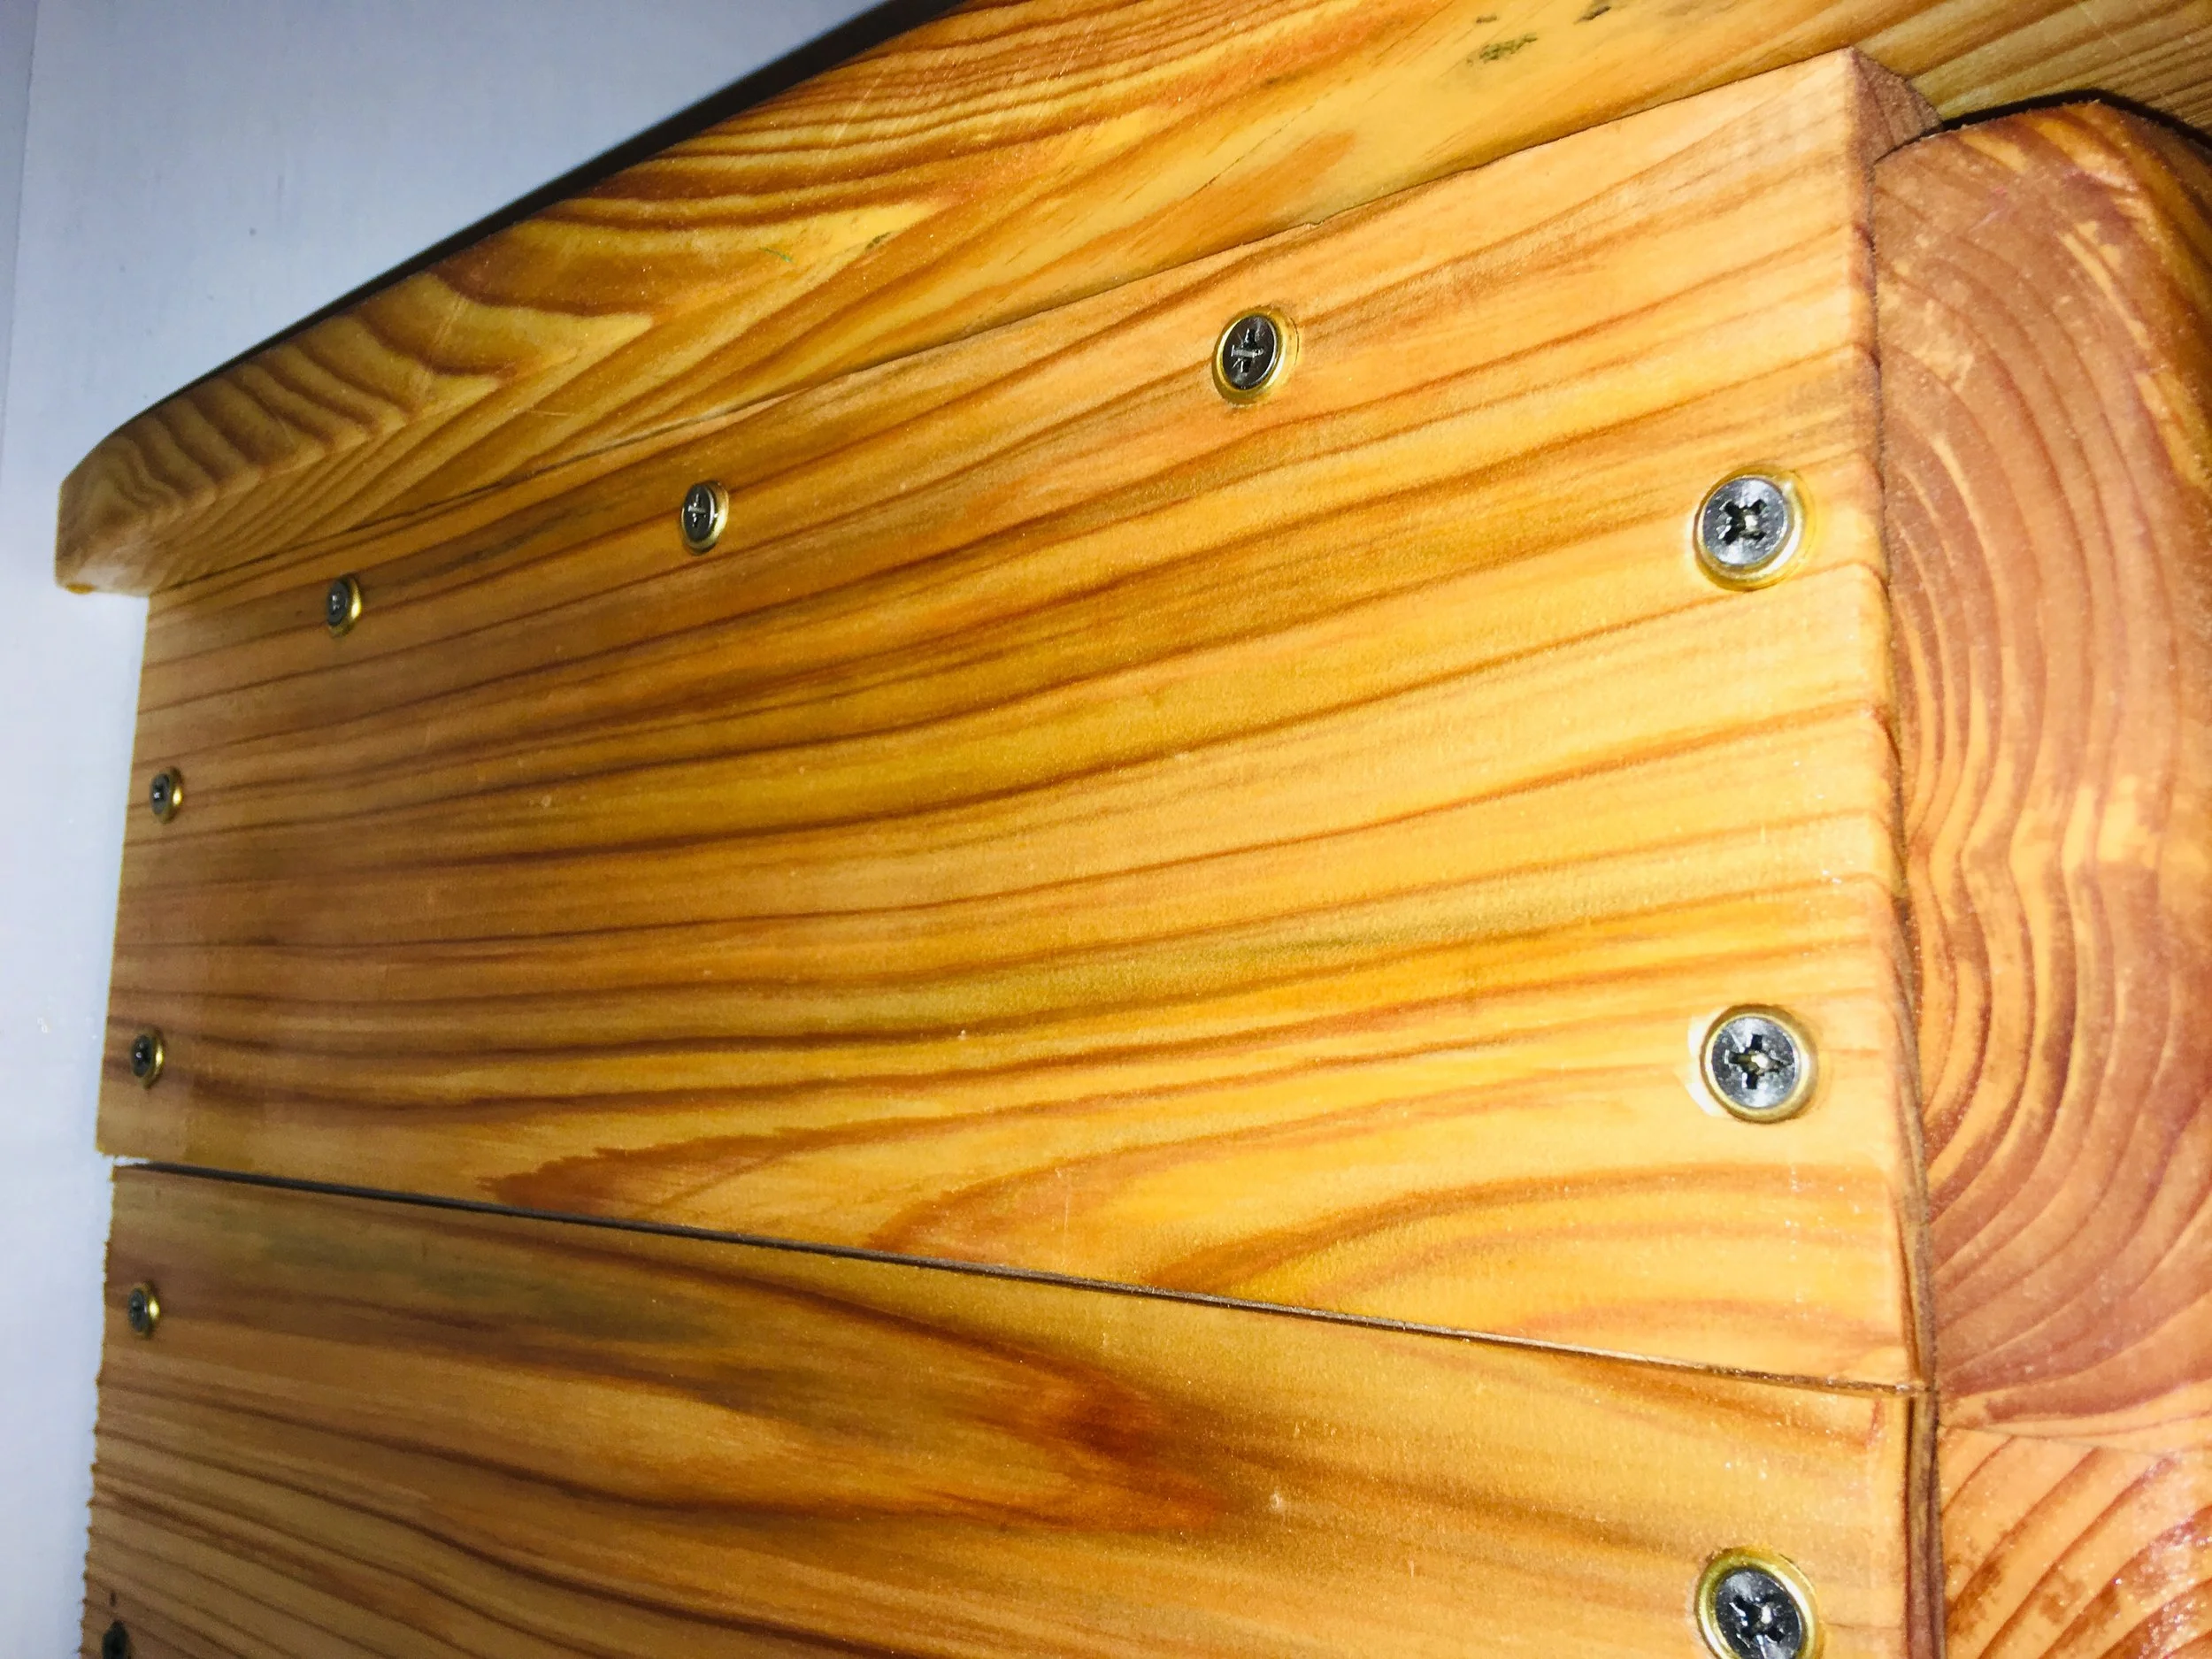
A mark of superior interior joinery is to put wood plugs over screw holes. I am not a superior carpenter, no, I am a basic woodworker who values accessibility over aesthetic. I kept the screw heads exposed and placed finishing washers around them to make my life easier should I ever need to pull a board. 

FullSizeRender.jpg

This tall wall is hiding our chainplates. Yearly, I need to get to them and inspect them properly. Any rust needs to be sanded off and bare spots need to be covered with fresh paint. This is enough of a project, why add “replacing wood plugs” to the to-do list? 

I went the easy and accessible way on this project. All the boards are fastened with stainless steel screws with exposed heads. When the time comes, I unscrew the boards, do my inspection, then screw them back on. Finished! 

FullSizeRender.jpg

To make everything else “blend in” I carried this look over to the other cabinets that don’t necessarily need easy access. 

FullSizeRender.jpg

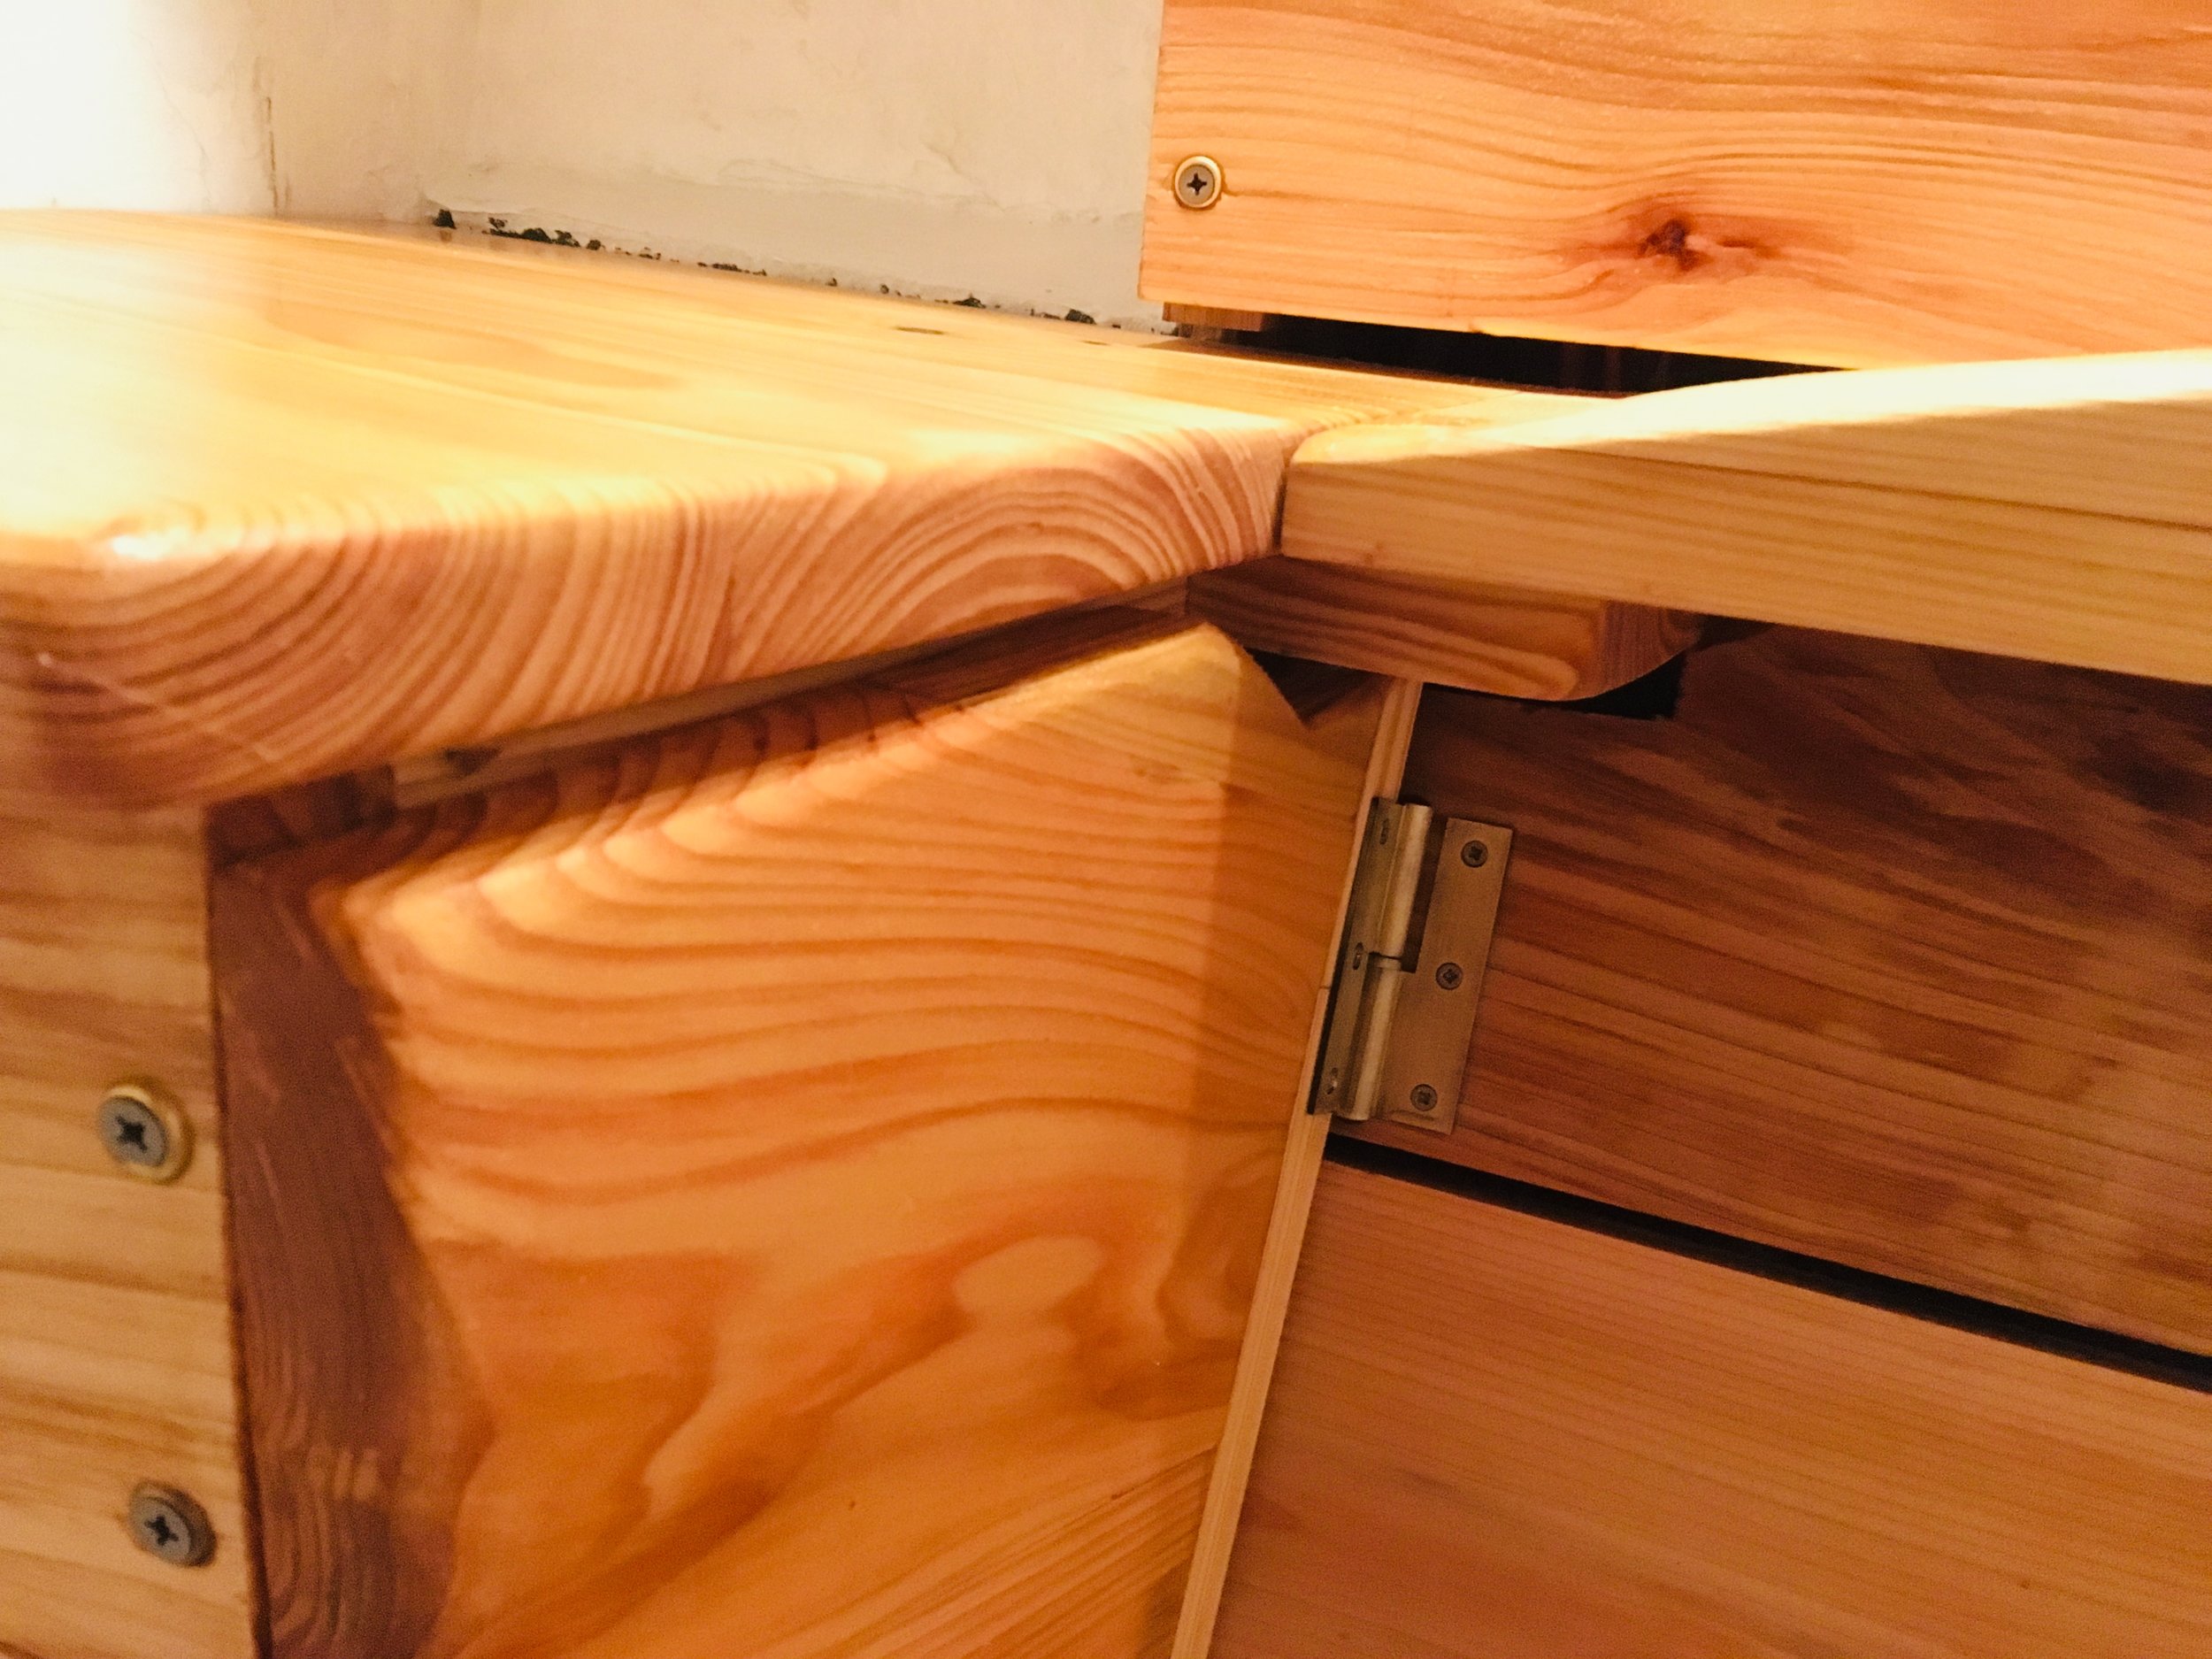
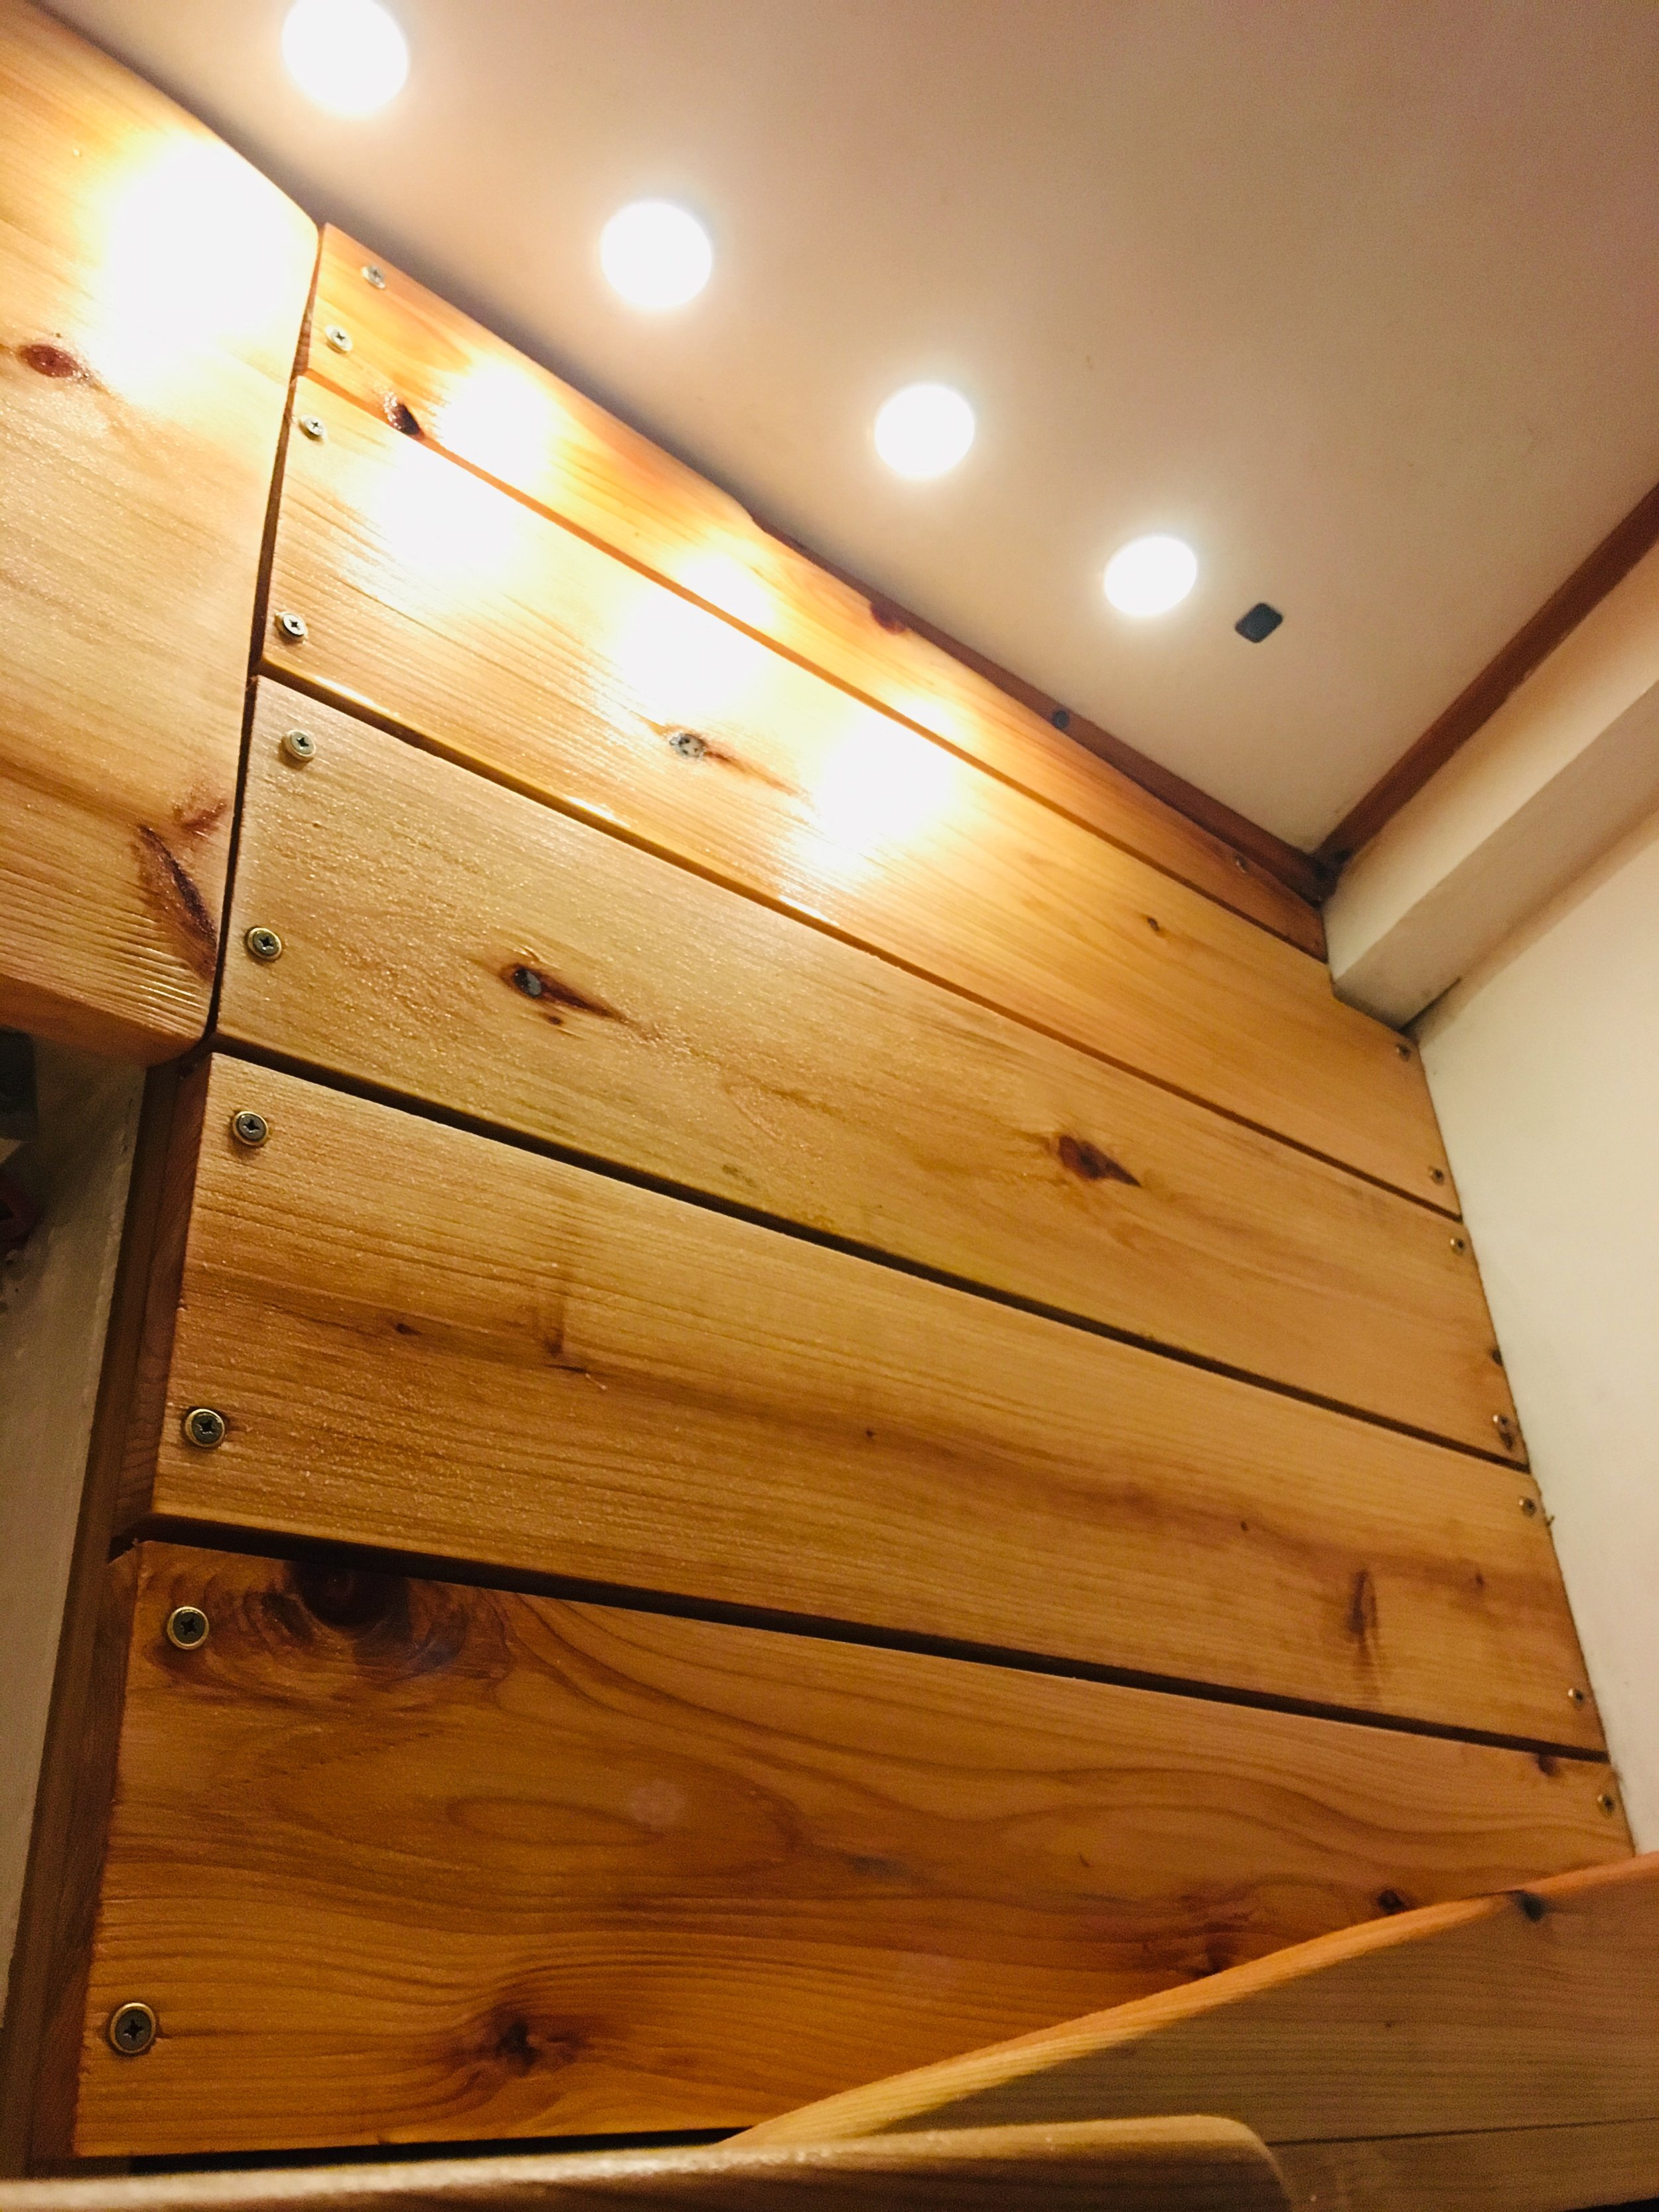
The cabinet below the sink has a double purpose. First, it houses our large containers of dirt that we keep on hand for the composting toilet. Second, it has to hold all of our large or heavy cleaning supplies and keep them from falling out everywhere when we are underway. For this reason, the door to this locker was set facing aft. When we are on either tack, the contents will never lean upon this door. 

FullSizeRender.jpg

Making the angled door fit in here with all the cleats and other supports was a bit tedious. Since it is mounted at an angle, the door swings in an odd arc. Then the top of the door needed to be cut back in such a way that it would clear everything that occurs above it. Luckily, Cryptomeria is a very soft and forgiving wood. All the cuts were easily made and an orbital sander was able to smooth everything out and make it looks like it was intended to be that way.

Head Refit: Cabinets Part 2

The planks have gone on well, and now I am planking the cabinet that supports the sink. 

FullSizeRender.jpg

On the cabinet, will sit a lid of pine, and on that will rest the vessel sink.

FullSizeRender.jpg

The idea for the vessel sink is to remove the sink from the under-cabinet area which will then grant us much more space for storage. 

FullSizeRender.jpg

The wonder of wood is how it can quickly transform the space from a random construction zone to a space that resembles a room in a home!  

Head Refit: Wood

The original plan to refit the head was to build all the furniture in there out of fiberglass. I grossly underestimated the cost involved in the materials to build the entire head out of WEST System Epoxy! 

FullSizeRender.jpg

The plan quickly switched from $112 per gallon of Epoxy to wood planking. A long time ago, the island decided that they would export goods to sustain their economy. To do this, they needed wood for crates, so they planted Cryptomeria trees (Japanese Cedar). These trees grow fast and straight, and their wood is lightweight and highly rot resistant.

Best of all, this wood here is very inexpensive! All the wood in the photo cost a whopping  €60!

FullSizeRender.jpg

The plan is to plank the side of the head over the chainplates and build a shelf that can hold our showering supplies.

IMG_4913.JPG

Maddie wanted gaps between the boards and I liked this style because it gives wonderful airflow to the space behind the boards.

FullSizeRender.jpg

In time, the planks go on and head begins to take on form.

Keeping Warm and Dry

On cold nights, what is more comfortable than a fire?  

IMG_4906.JPG

The diesel heater burns the air in the cabin and sends it up out the chimney. Then the box becomes very hot which warms the boat. As it burns, it sends the cabin air outside through the chimney and causes the dorades to draw air in. This fresh air is dry and clean, which leads to the boat becoming filled with warm and dry air. 

It is amazing how fire can make a space change from habitable to comfortable. 

Head Refit: Closing Holes

The shower sump used to discharge through a below the waterline seacock that also served as the intake to the old head. I had long since converted from the standard marine head to a Composting Toilet, which means I no longer required an underwater intake. This also means that I no longer required having this below the waterline through hull.  

It is time to seal it up! 

FullSizeRender.jpg

The seacock was always stuffed away inside this tine cabinet, which means that we couldn’t access it to seal it up. Now that the head is gutted, this is a wonderful opportunity to close up that through hull! 

The sea cock was removed and the hole sealed on the inside with roving and cloth, just to keep the dust out while I grind the outside of the hull to make a proper plug.