Life Aboard

Head Refit: Shower Sole Part 1

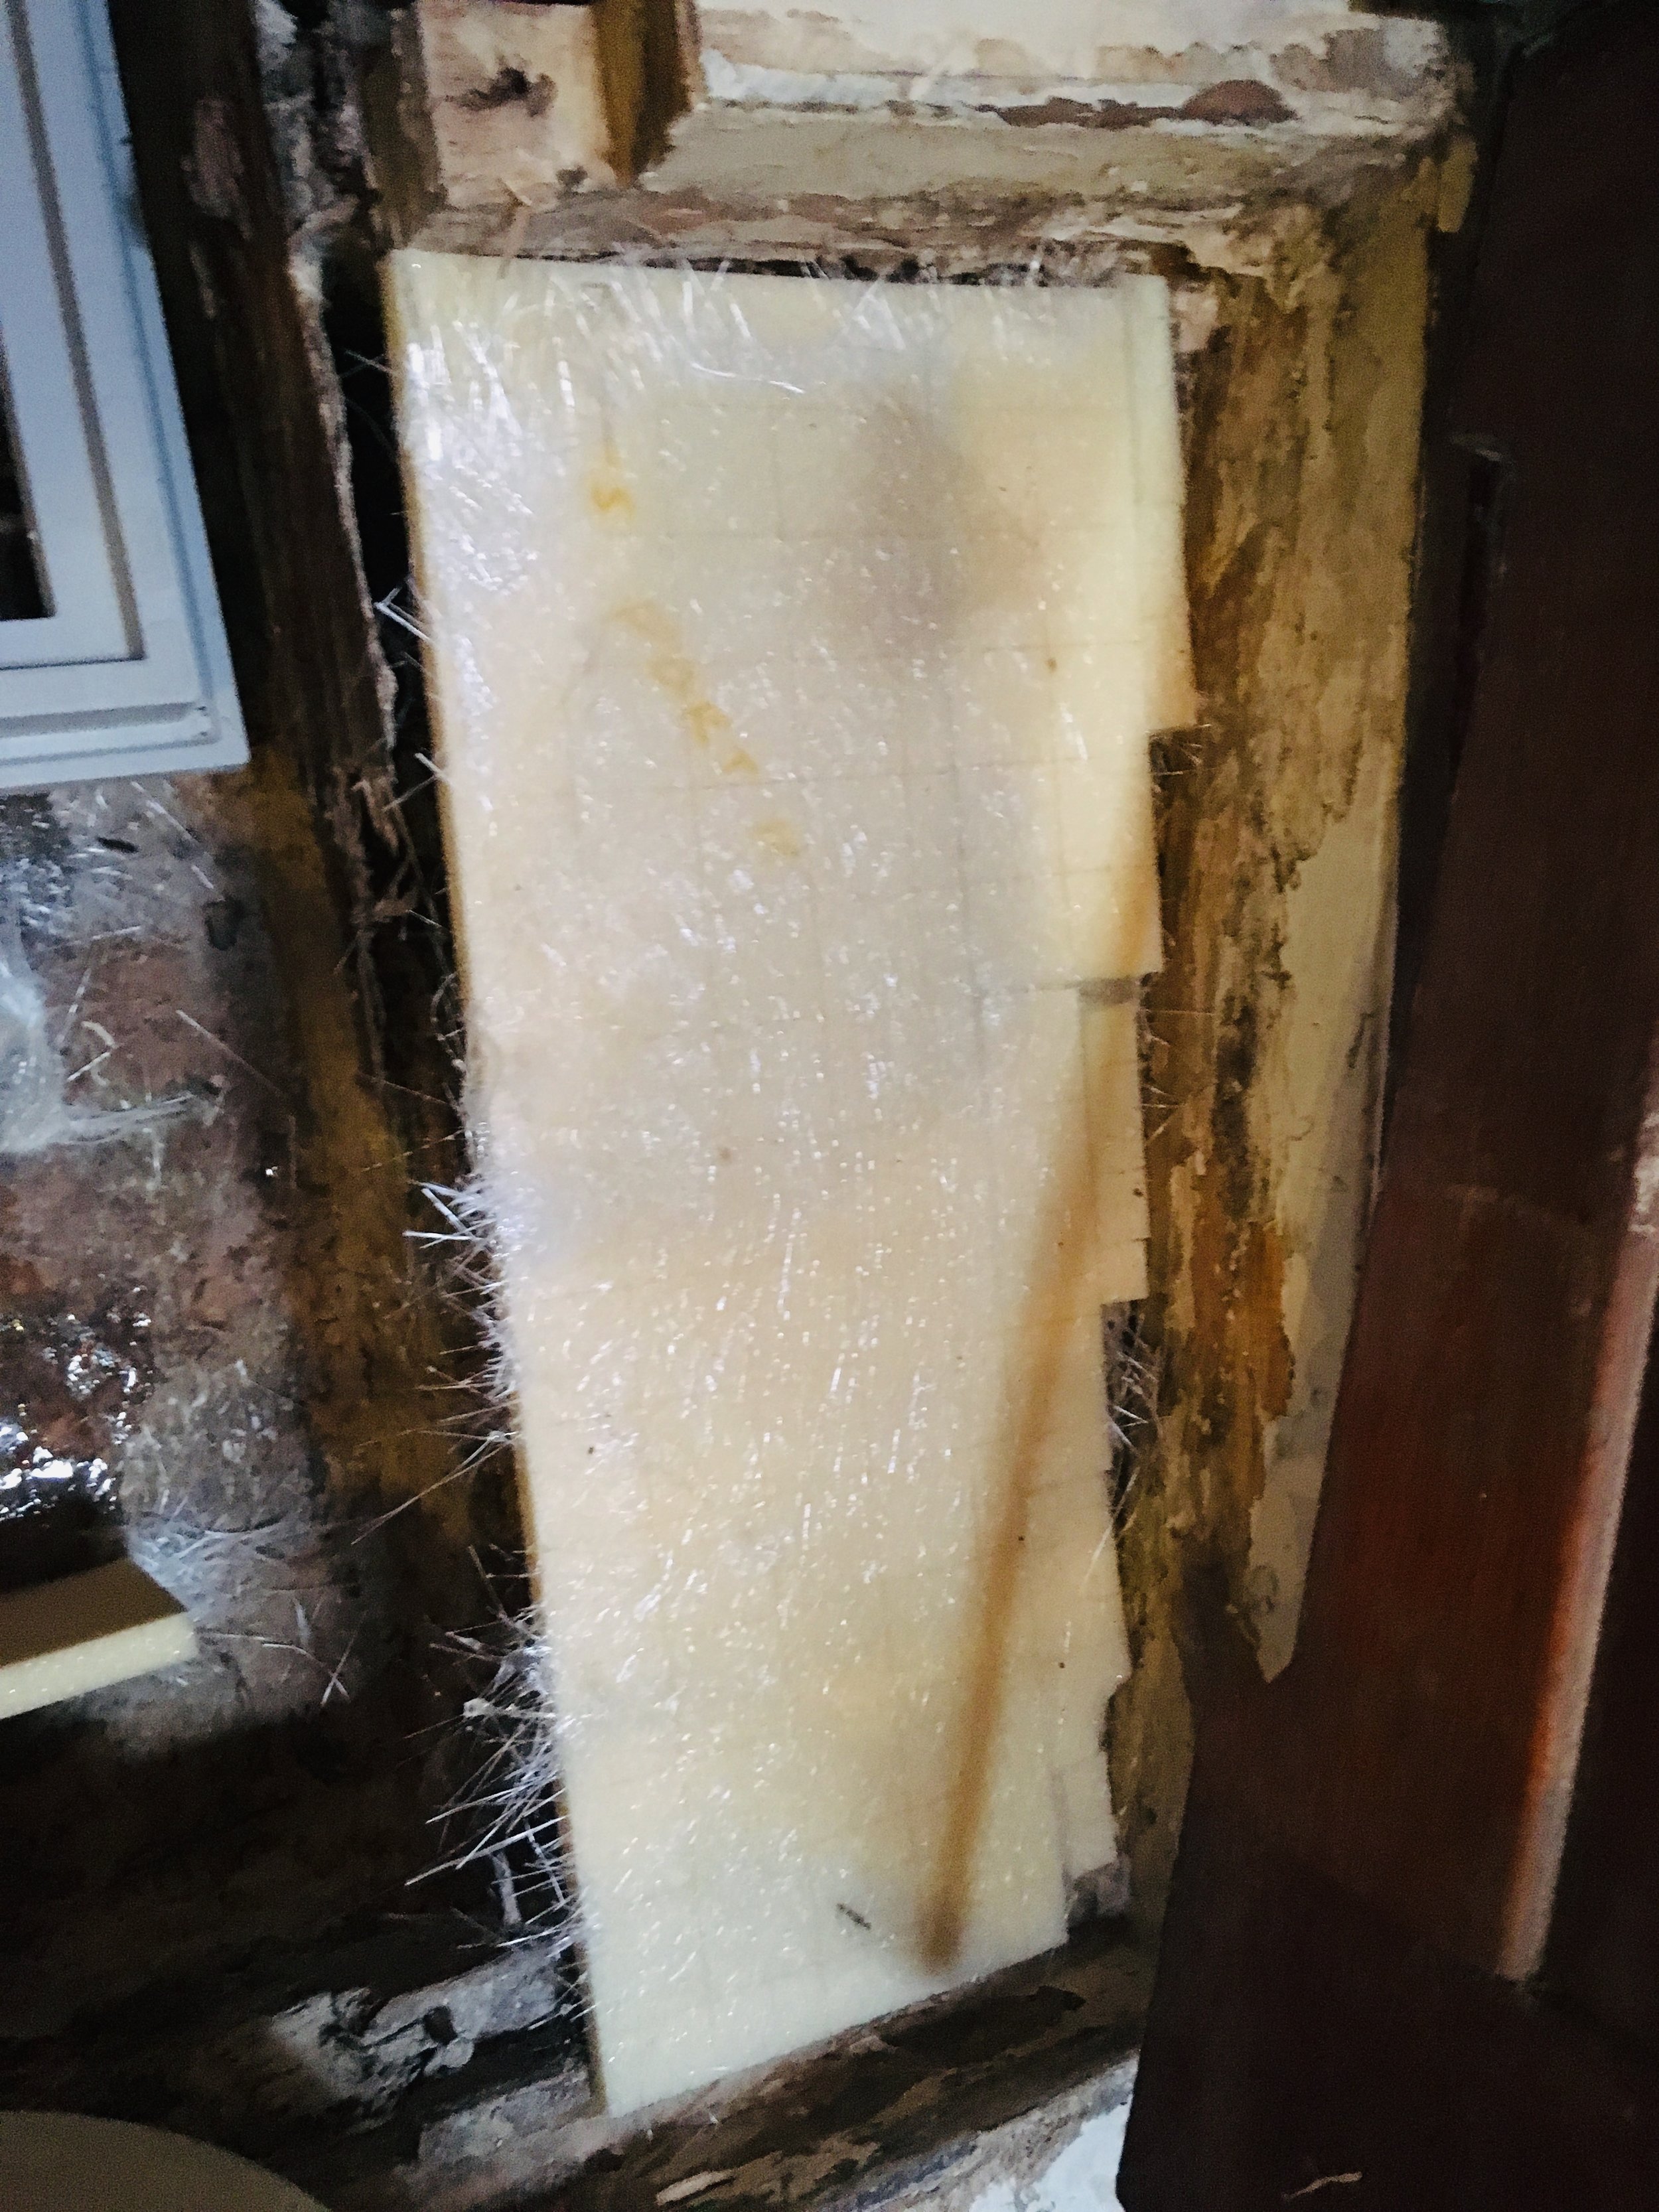
The solebearers are finished! It is now time to lay down the sole that we will stand on!

FullSizeRender.jpg

Most of these pieces are rectangular in nature with long straight edges. This is easy to make at the moment of work. The one irregular piece was made previously and is ready to insert with its flat edges facing the other rectangular pieces.

Assembly is really fast and easy, all I need to do is break a piece to size and cover both sides with Chop Strand Mat and Epoxy. Then position it in place and ready the next piece. This is as skilled of a production job as a toddler stacking blocks. It takes no thought and no concern for strength. The segments are all very small and with many vertical supports beneath them, they will be grossly over strengthened. Imagine if you actually tested the strength of a toddlers block tower where the blocks were made of solid white oak? The building materials are all vastly stronger than necessary and the small segments with many angles means that it will be plenty strong, regardless of design.

I did set everything inclined and draining into the shower grate with plenty of vertical supports to hold everything sturdy and well supported.

FullSizeRender.jpg

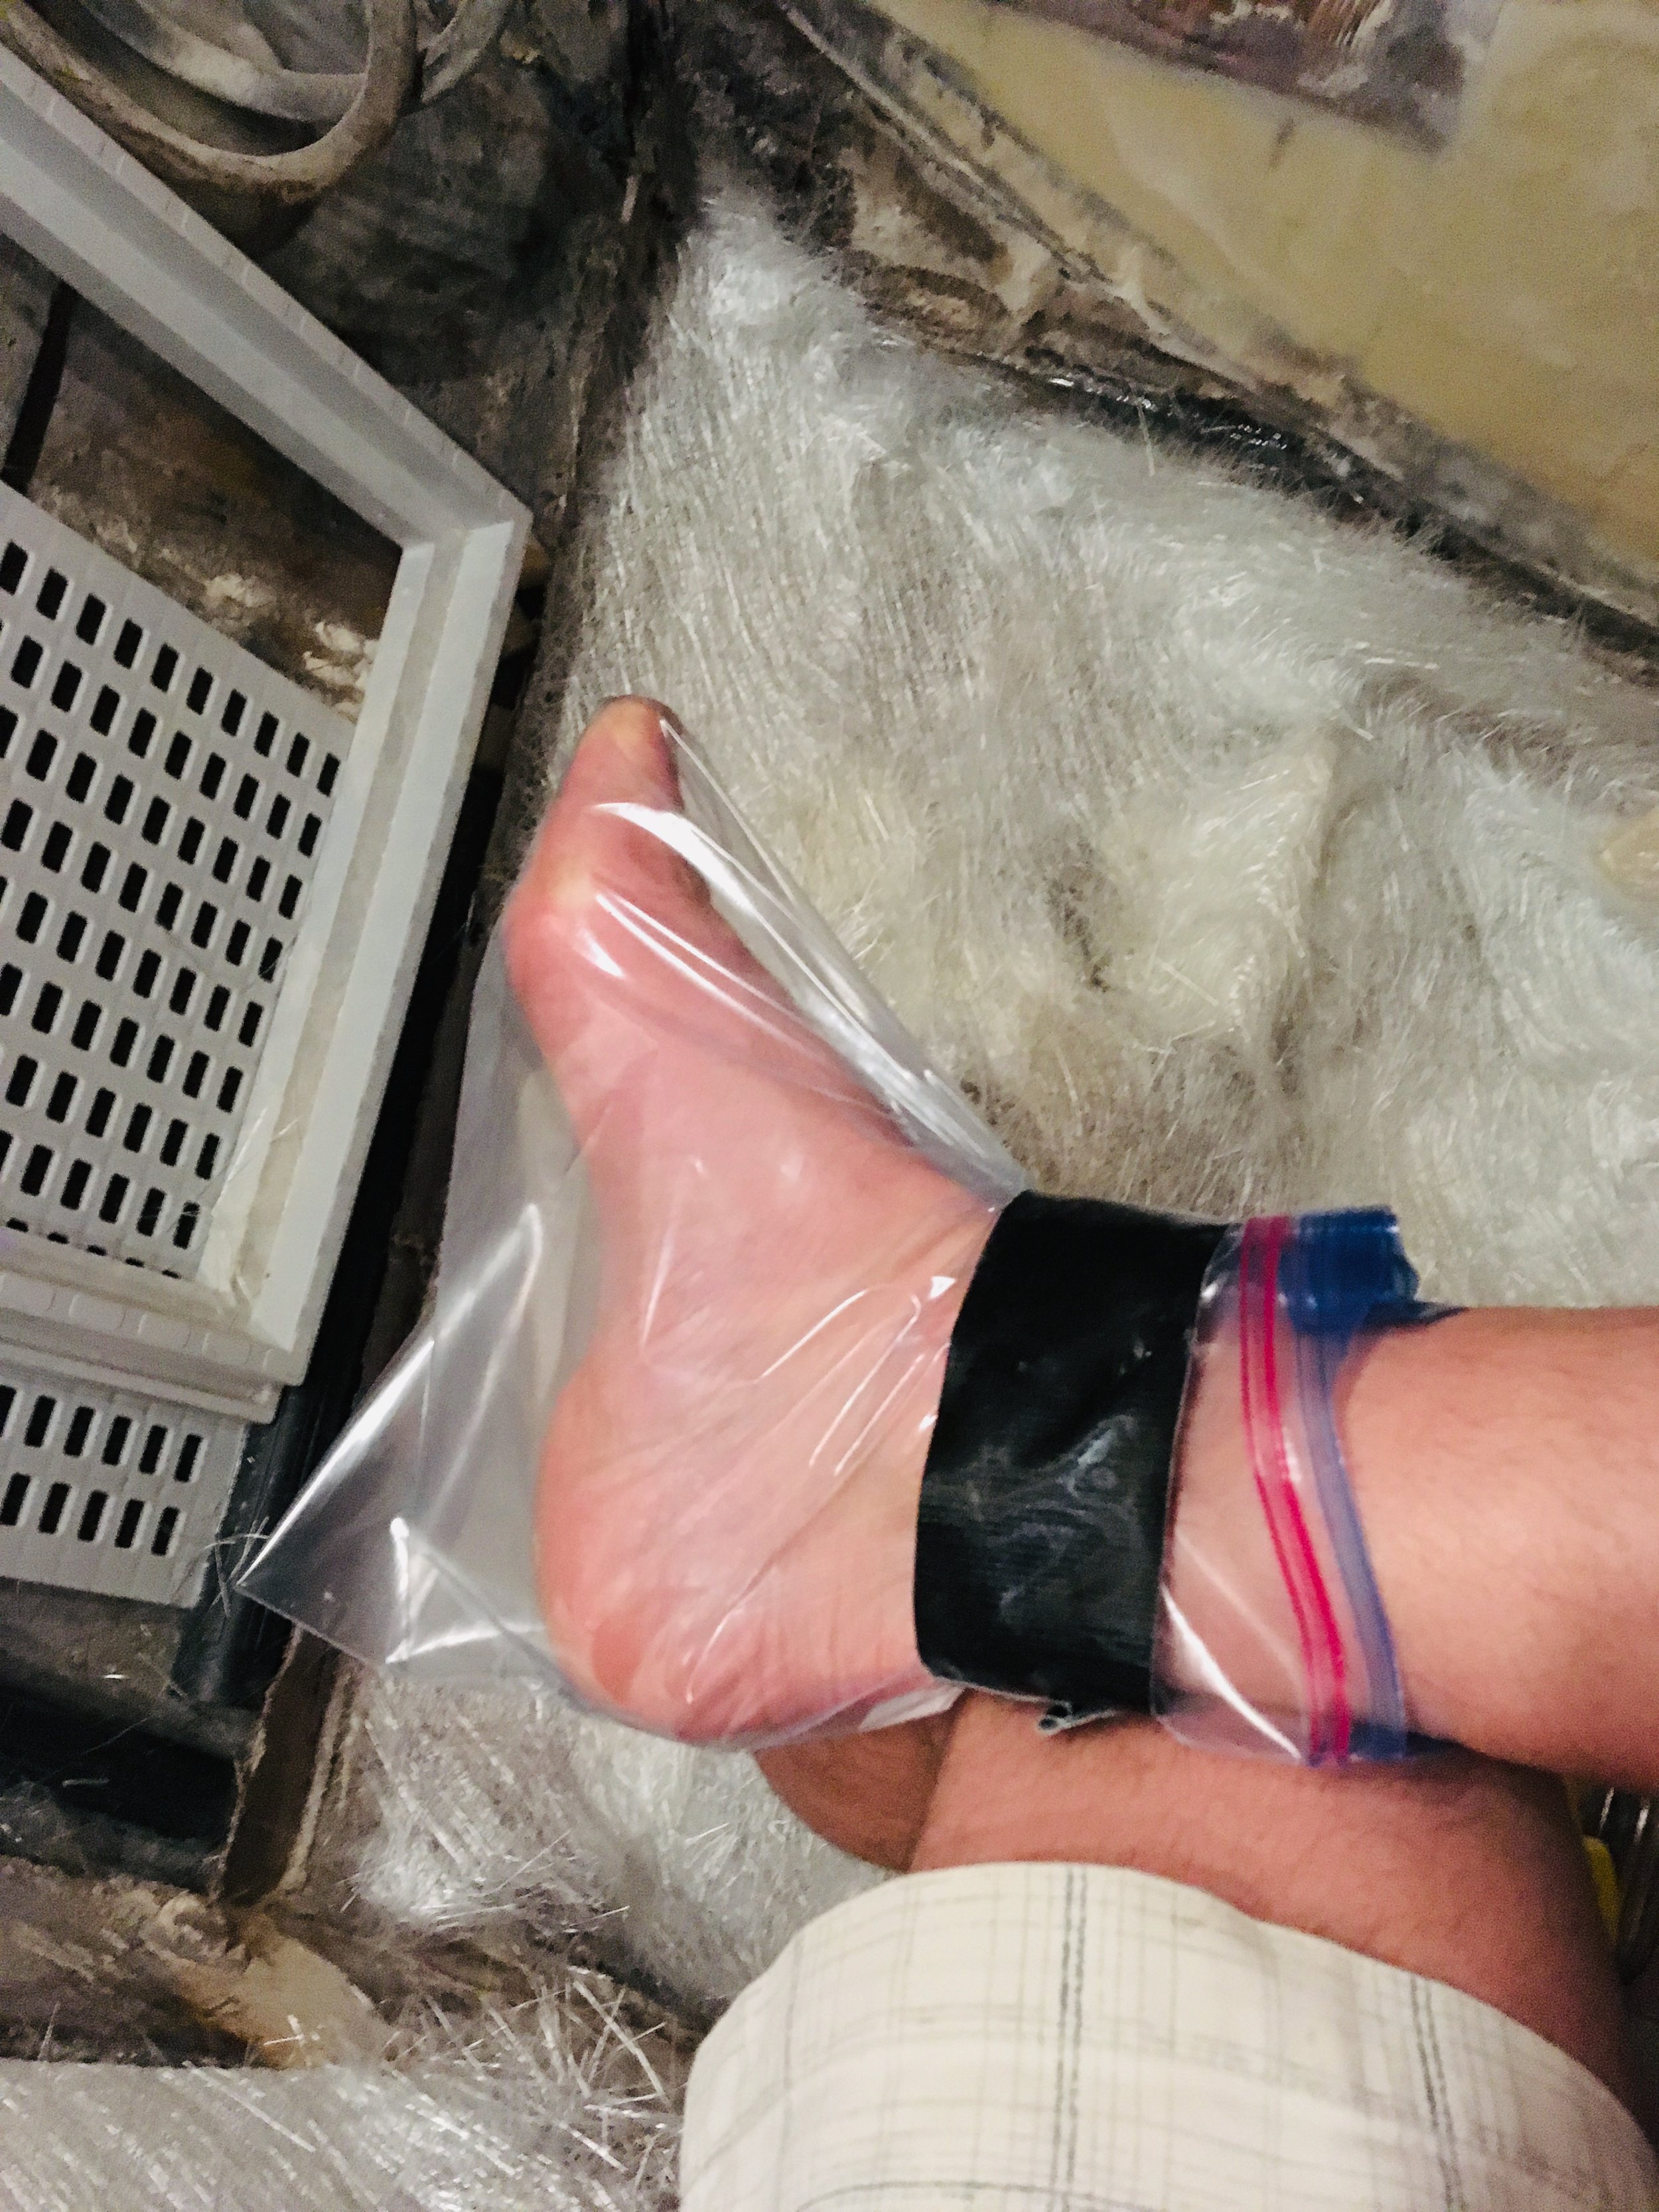
Once the sole has cured, I was able to re-enter the head and begin filling any gaps that remained. The blocks of foam are great but they do not allow you to “feather” the margins away. I completed this task by filling the ledges with epoxy fillets that slope down to make a smooth transition to the edge of the new sole.

Boatyard Projects

Sonder: n. The realization that every person is living a life as complex and vivid as your own.

IMG_4736.JPG

Here we lay in this boat yard, working tirelessly to finish the refit. Months of our lives have been spent in the bilges as we work to ready her for the next leg of her voyage.

Years of our lives have been spent working on her, maintaining her, with our hopes and dreams suspended in her rigging. So much work, thought, and pride has been wrapped up in this one hull which now lays on the hard surrounded by other boats in various stages of their boat life. Some look new, some have been decaying for years, but each and everyone has a story, a past, and a voyage.

How many boats have had their stories pass through this yard? Where have their stories gone from here?

Custom Fit Coring

Nothing in a boat is square or straight. This means that anything you wish to add will need to be custom cut to fit your specific application. This also means that any “quick project” will never be quick.

FullSizeRender.jpg

The old head design was rather straight forward. When you entered the head, you had to step down a significant step. We wanted to bring the level of the sole up to be the same as the level of the toilet, that way you can easily walk in and use the toilet without your feet dangling into the shower area. It also helps to serve as a visual partition between the “head area” and “shower area”.

The goal was to make a piece of sole that would then be elevated to the level of the toilet sole. I chose to make this structure out of 1/2 inch closed cell foam covered with epoxy and fiberglass. This would give me a very flat and stable platform to work from while also imparting a great deal of strength. The issue was that the space this article would occupy was anything but regular.

The foam coring material I was using has a perforated grid cut into each side, allowing you to easily snap the foam off into the rough shape that you desire. This worked very well at matching the contour of the door side by simply breaking them off to allow better fitment. I never had to use a spiling batten to transfer the curvature onto the foam or anything, simply break off the little pieces as I needed to make it fit.

Once it was roughly cut to the shape desired, I laid a layer of chop strand mat onto it with epoxy to hold everything together and give it strength. I left the edges dry so that it could be cured into the overall design when production reached that point. When the day comes that I will glass in the rest of the floor, this irregular piece will easily fit into place just like all the other regular pieces I will be adding as well, saving me a lot of time and allowing the shower sole to be laid up all at once and in one piece.

DIY Hazmat Booties

While fiberglassing the shower sump, I wanted to keep my feet clean without destroying any of my shoes. How could I do this? I would almost need some form of disposable footwear!

FullSizeRender.jpg

I made these booties out of ziplock bags secured to my ankle with duct tape.

FullSizeRender.jpg

They worked great because they are plastic and wouldn’t stick to the wet epoxy. The only problem I experienced with them was caused by the fact that I was working on an inclined surface wearing slick shoes with no traction on a slippery floor. I was sliding down to the bottom all the time!

But, they got the job done and once the work was finished, I simply inverted the shoes and threw them out without making a huge mess in the boat.

Head Refit: Solebearers Part 2

The bilge’s surface is fiberglass roving. It is far from smooth and I want to make the bilge in the shower as smooth as possible that way it will drain more easily and be easier to clean.

To make roving smoother, I could either sand it until it is smooth, apply fairing putty to fill in the gaps, or cover the whole thing in chop strand mat to give it a nice smooth surface.

Looking back, it appears that I chose the wrong option.

FullSizeRender.jpg

I covered the entire bilge in a blanket of CSM with the hopes that it would smooth the whole floor out and also give more strength to the sole bearers that I had installed yesterday. The idea was simple, the CSM would act as a sponge and simply hold a lot of epoxy in place while I quickly fitted the shower sole. Then the entire unit could cure as one big strong molecule.

FullSizeRender.jpg

This was a massive undertaking, and I was not properly prepared for it (mentally) First, being how CSM acts as a sponge, I grossly underestimated how much that sponge would soak up! I used almost an entire gallon of epoxy to do the shower sump!

Second, fiberglassing the entire floor means you have nowhere to stand while you work, so the entire time is spent doing boat yoga as you lean from your perch on the toilet forward and brace your torso against the bulkhead. This gives you only one hand to work with.

After a few hours of this, you get very tired and ready for the work to be over! I was going to install the shower sole but I physically couldn’t do anymore work in here. I will let this cure and add the shower sole tomorrow once this is fully cured.