Back splices work exceptionally well at preventing the end of a rope from unraveling. It secures the end of the rope into itself and makes sure that none of the strands can work their way loose and fray. A back splice is simply a splice where the end of the line is doubled back on the line itself, tucking its ends back into the line.
An alternative way to finish the end of the line is to whip it, but whipping is not as strong as a back splice. If the end of the line will be subjected to a lot of abuse, whippings can become chafed and break, leaving the tail free and able to unravel. In these situations, a back splice is much more secure and will hold up over the years, even with the frequent abuse.
For this example, I will be putting back splices in the ends of our jib sheets. We will be working with New England Ropes VPC, but the methods are the same with any double braid line.
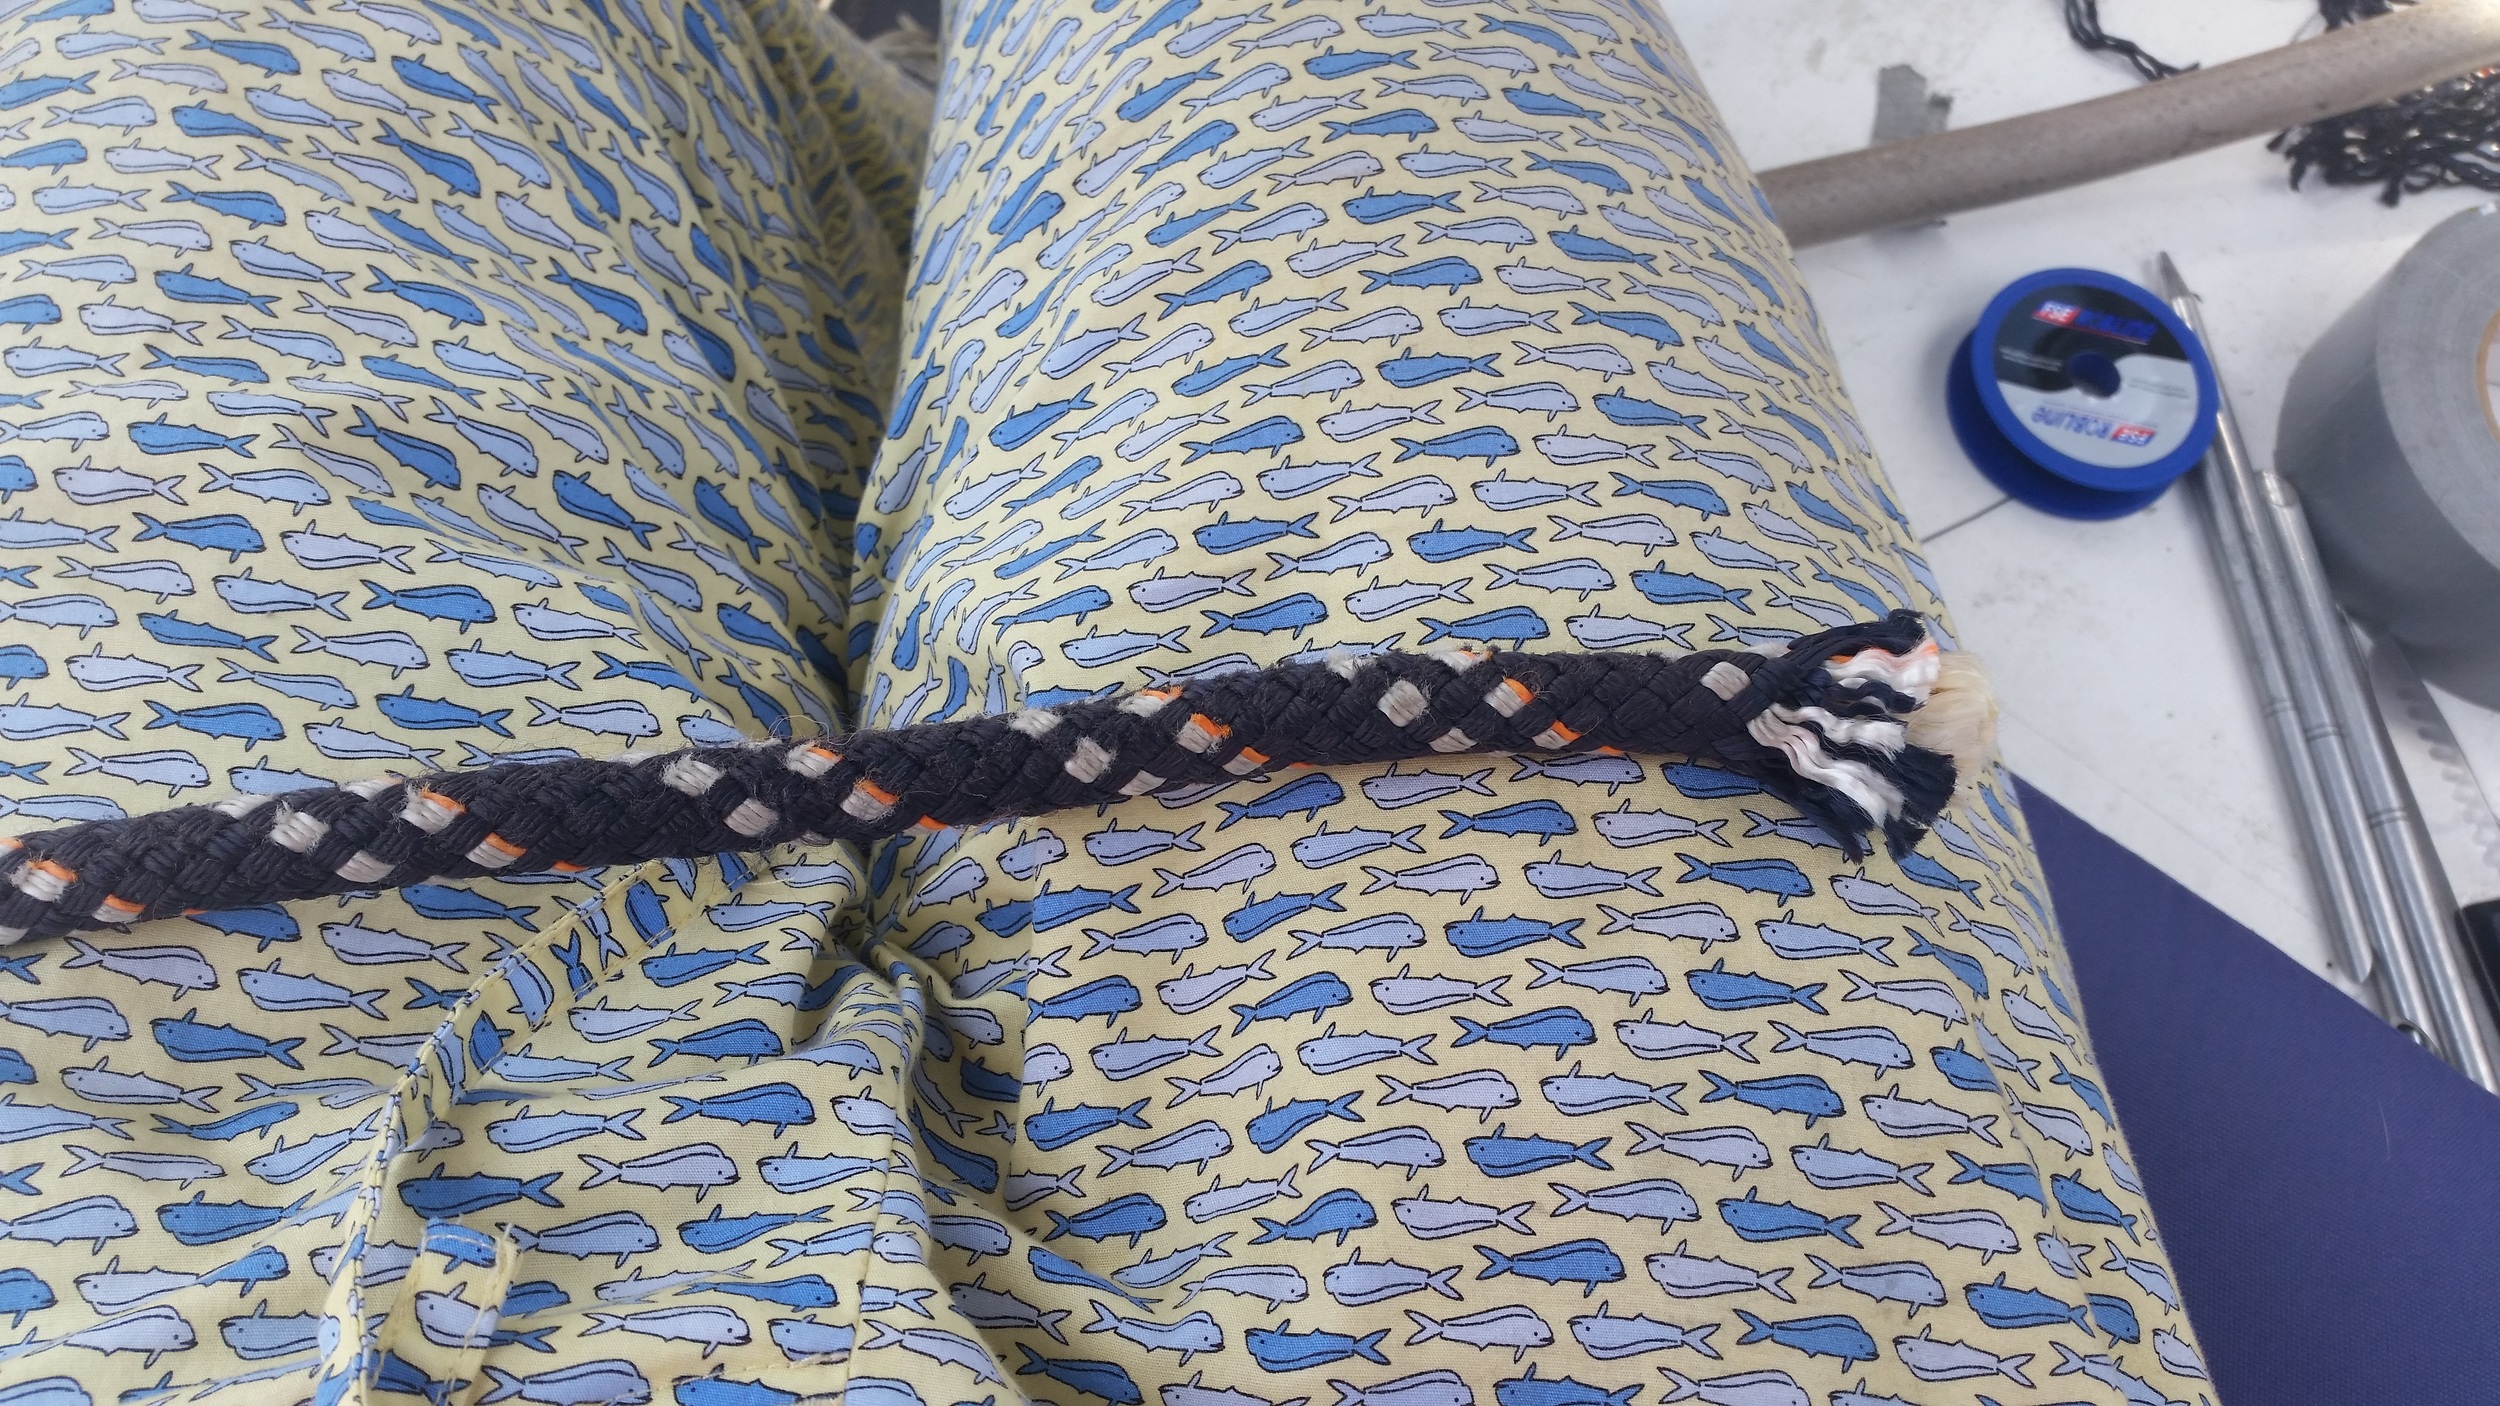
The first step is to place a pin through the cover and core several feet back into the line. This will prevent the core from sliding too far out of the cover and will make your life easier later on in the process.

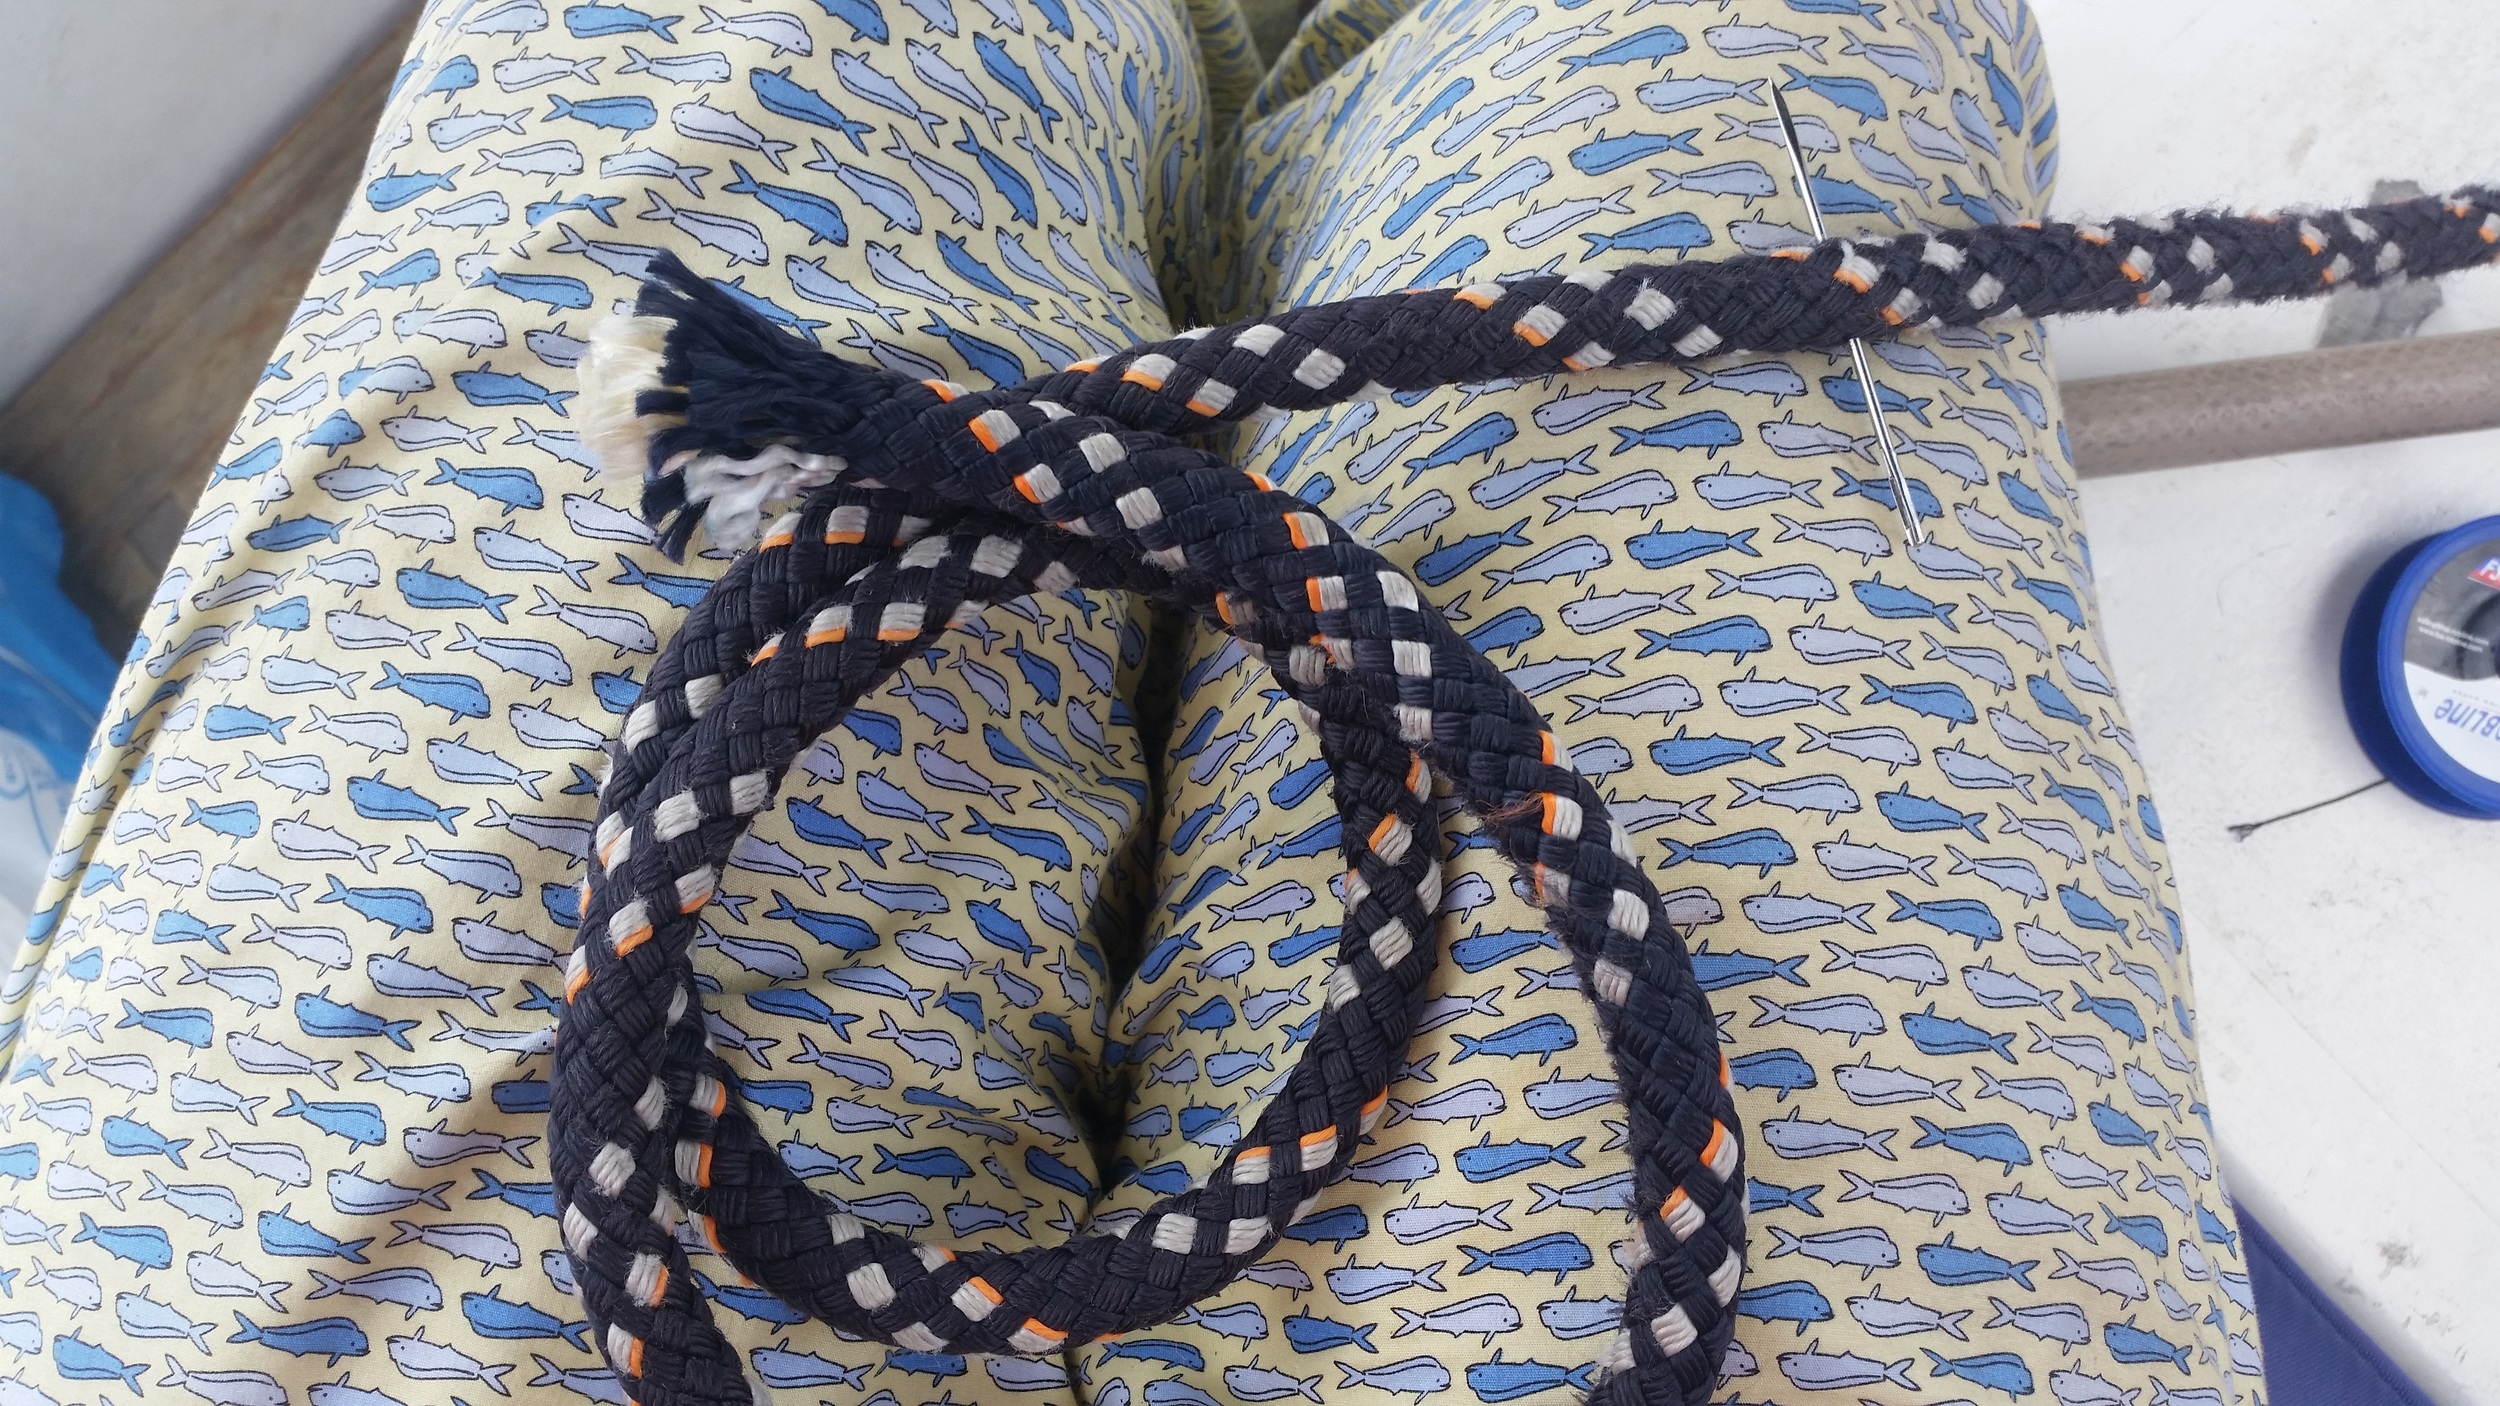
Next, open the threads of the cover to expose the core further back and pull the core out of the cover.
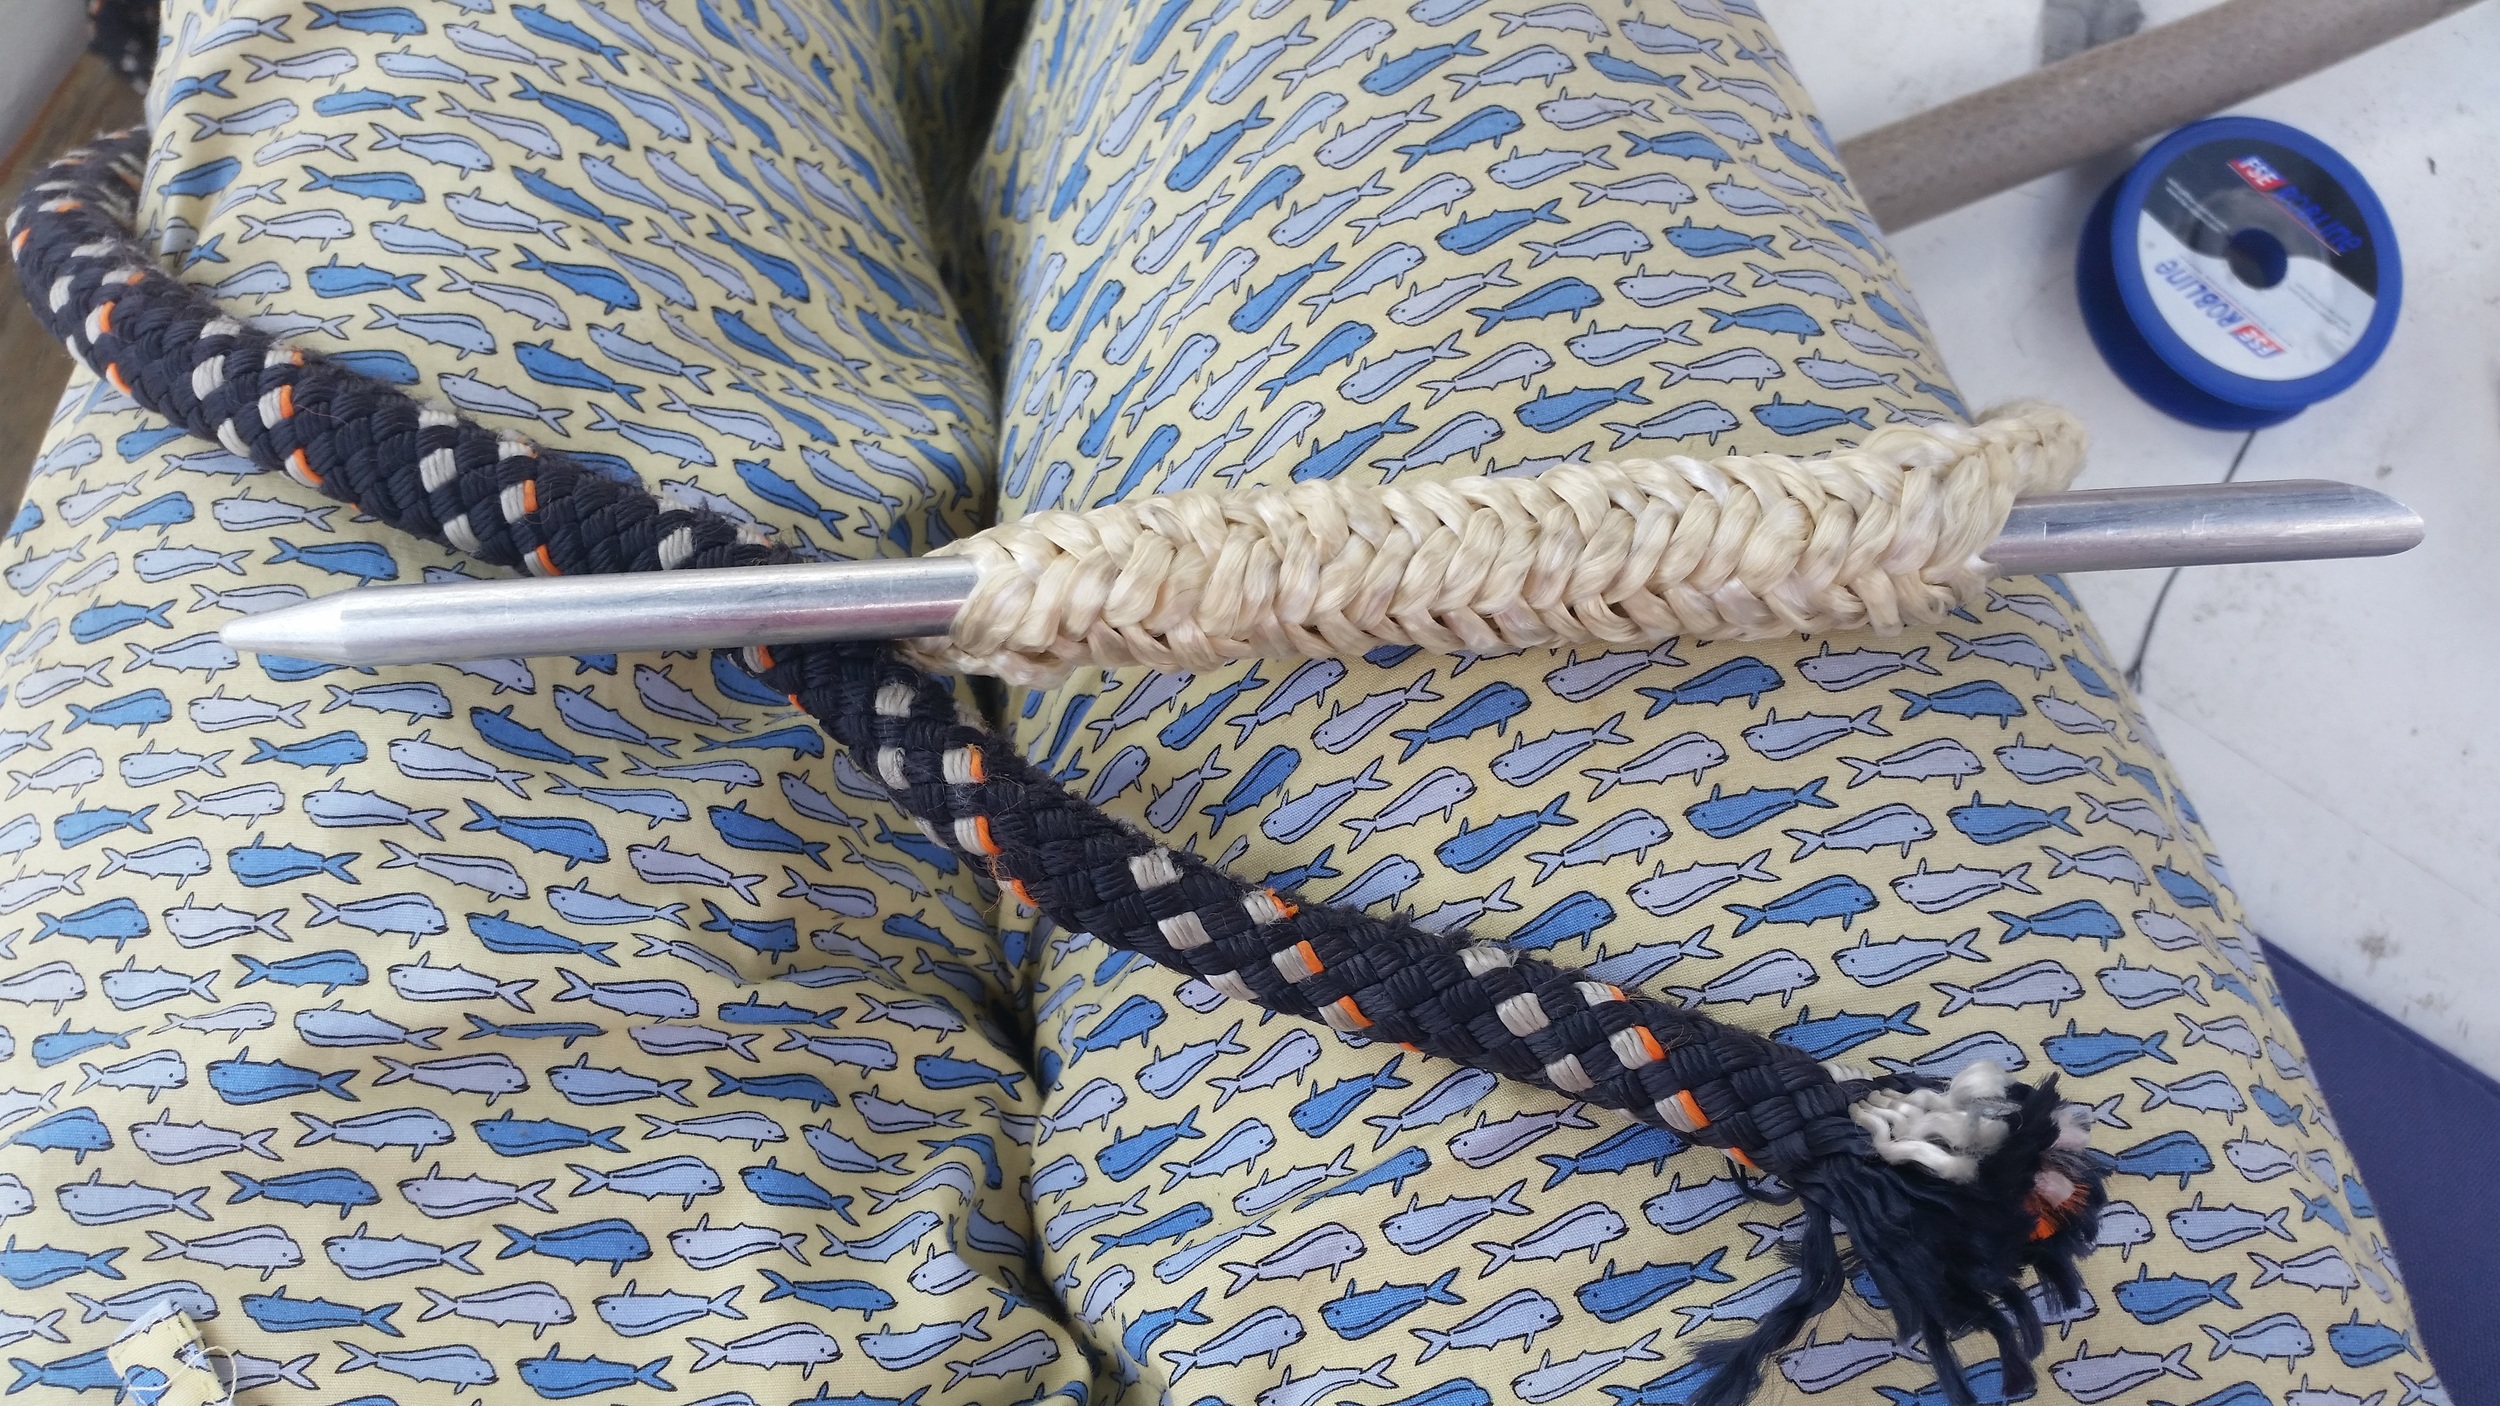
Pass a fid through the core in the opposite direction of the line. The fid should enter the core a few inches back from the end of the line and exit just before the core re-enters the cover.
Feed the end of the cover back through the core. This will create a loop where the cover turns back on the core and runs in the opposite direction to the rest of the line.

Pull the cover through the core and well out the other side, allowing the core to bunch up over the cover. Then taper the cover by selectively cutting the threads. VPC is covered in groups of four threads that are woven together. By selecting and removing three of the four threads of each grouping, the cover can be neatly reduced in a systematic and organized manner. This allows you to reduce the bulk of the cover and produce a consistent taper that will still maintain itself neatly woven.
With the cover tapered, milk it back into the core. As you work it back into the core, the cover will disappear into the core and the transition from cover entering the core to pure core should be seamless.

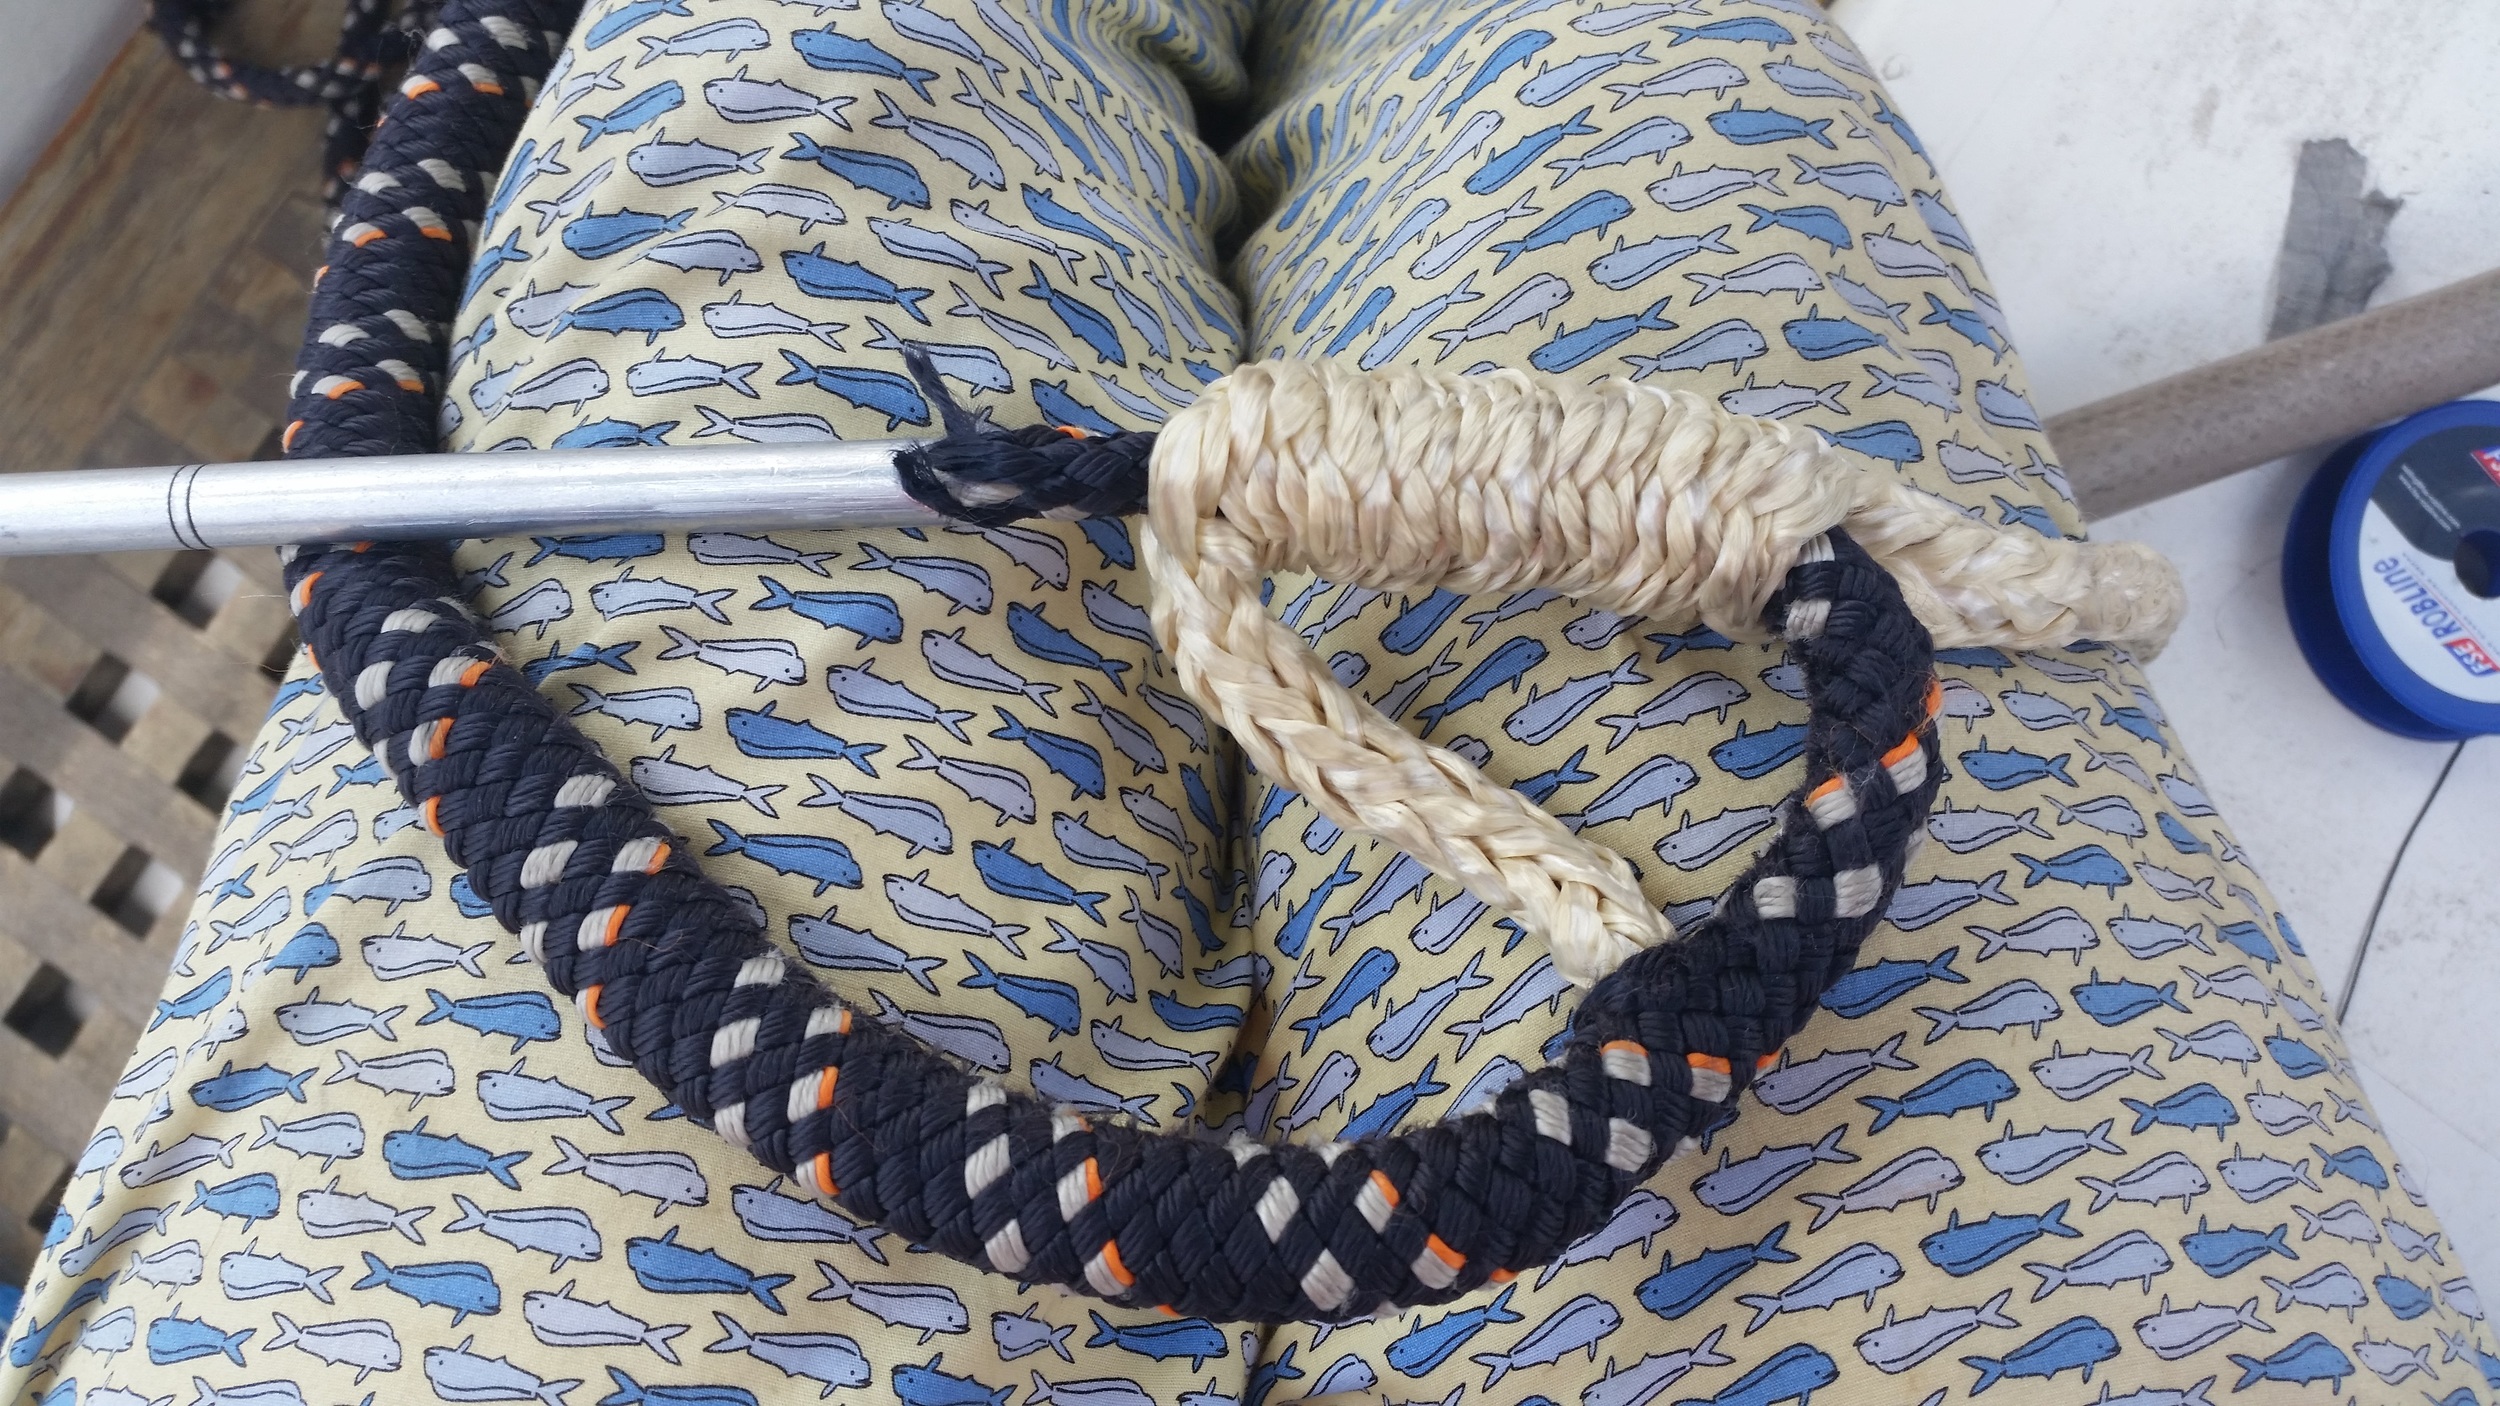
Cover follows the blue arrows. Core follows the orange arrows. They move in opposite directions forming a loop with one another.
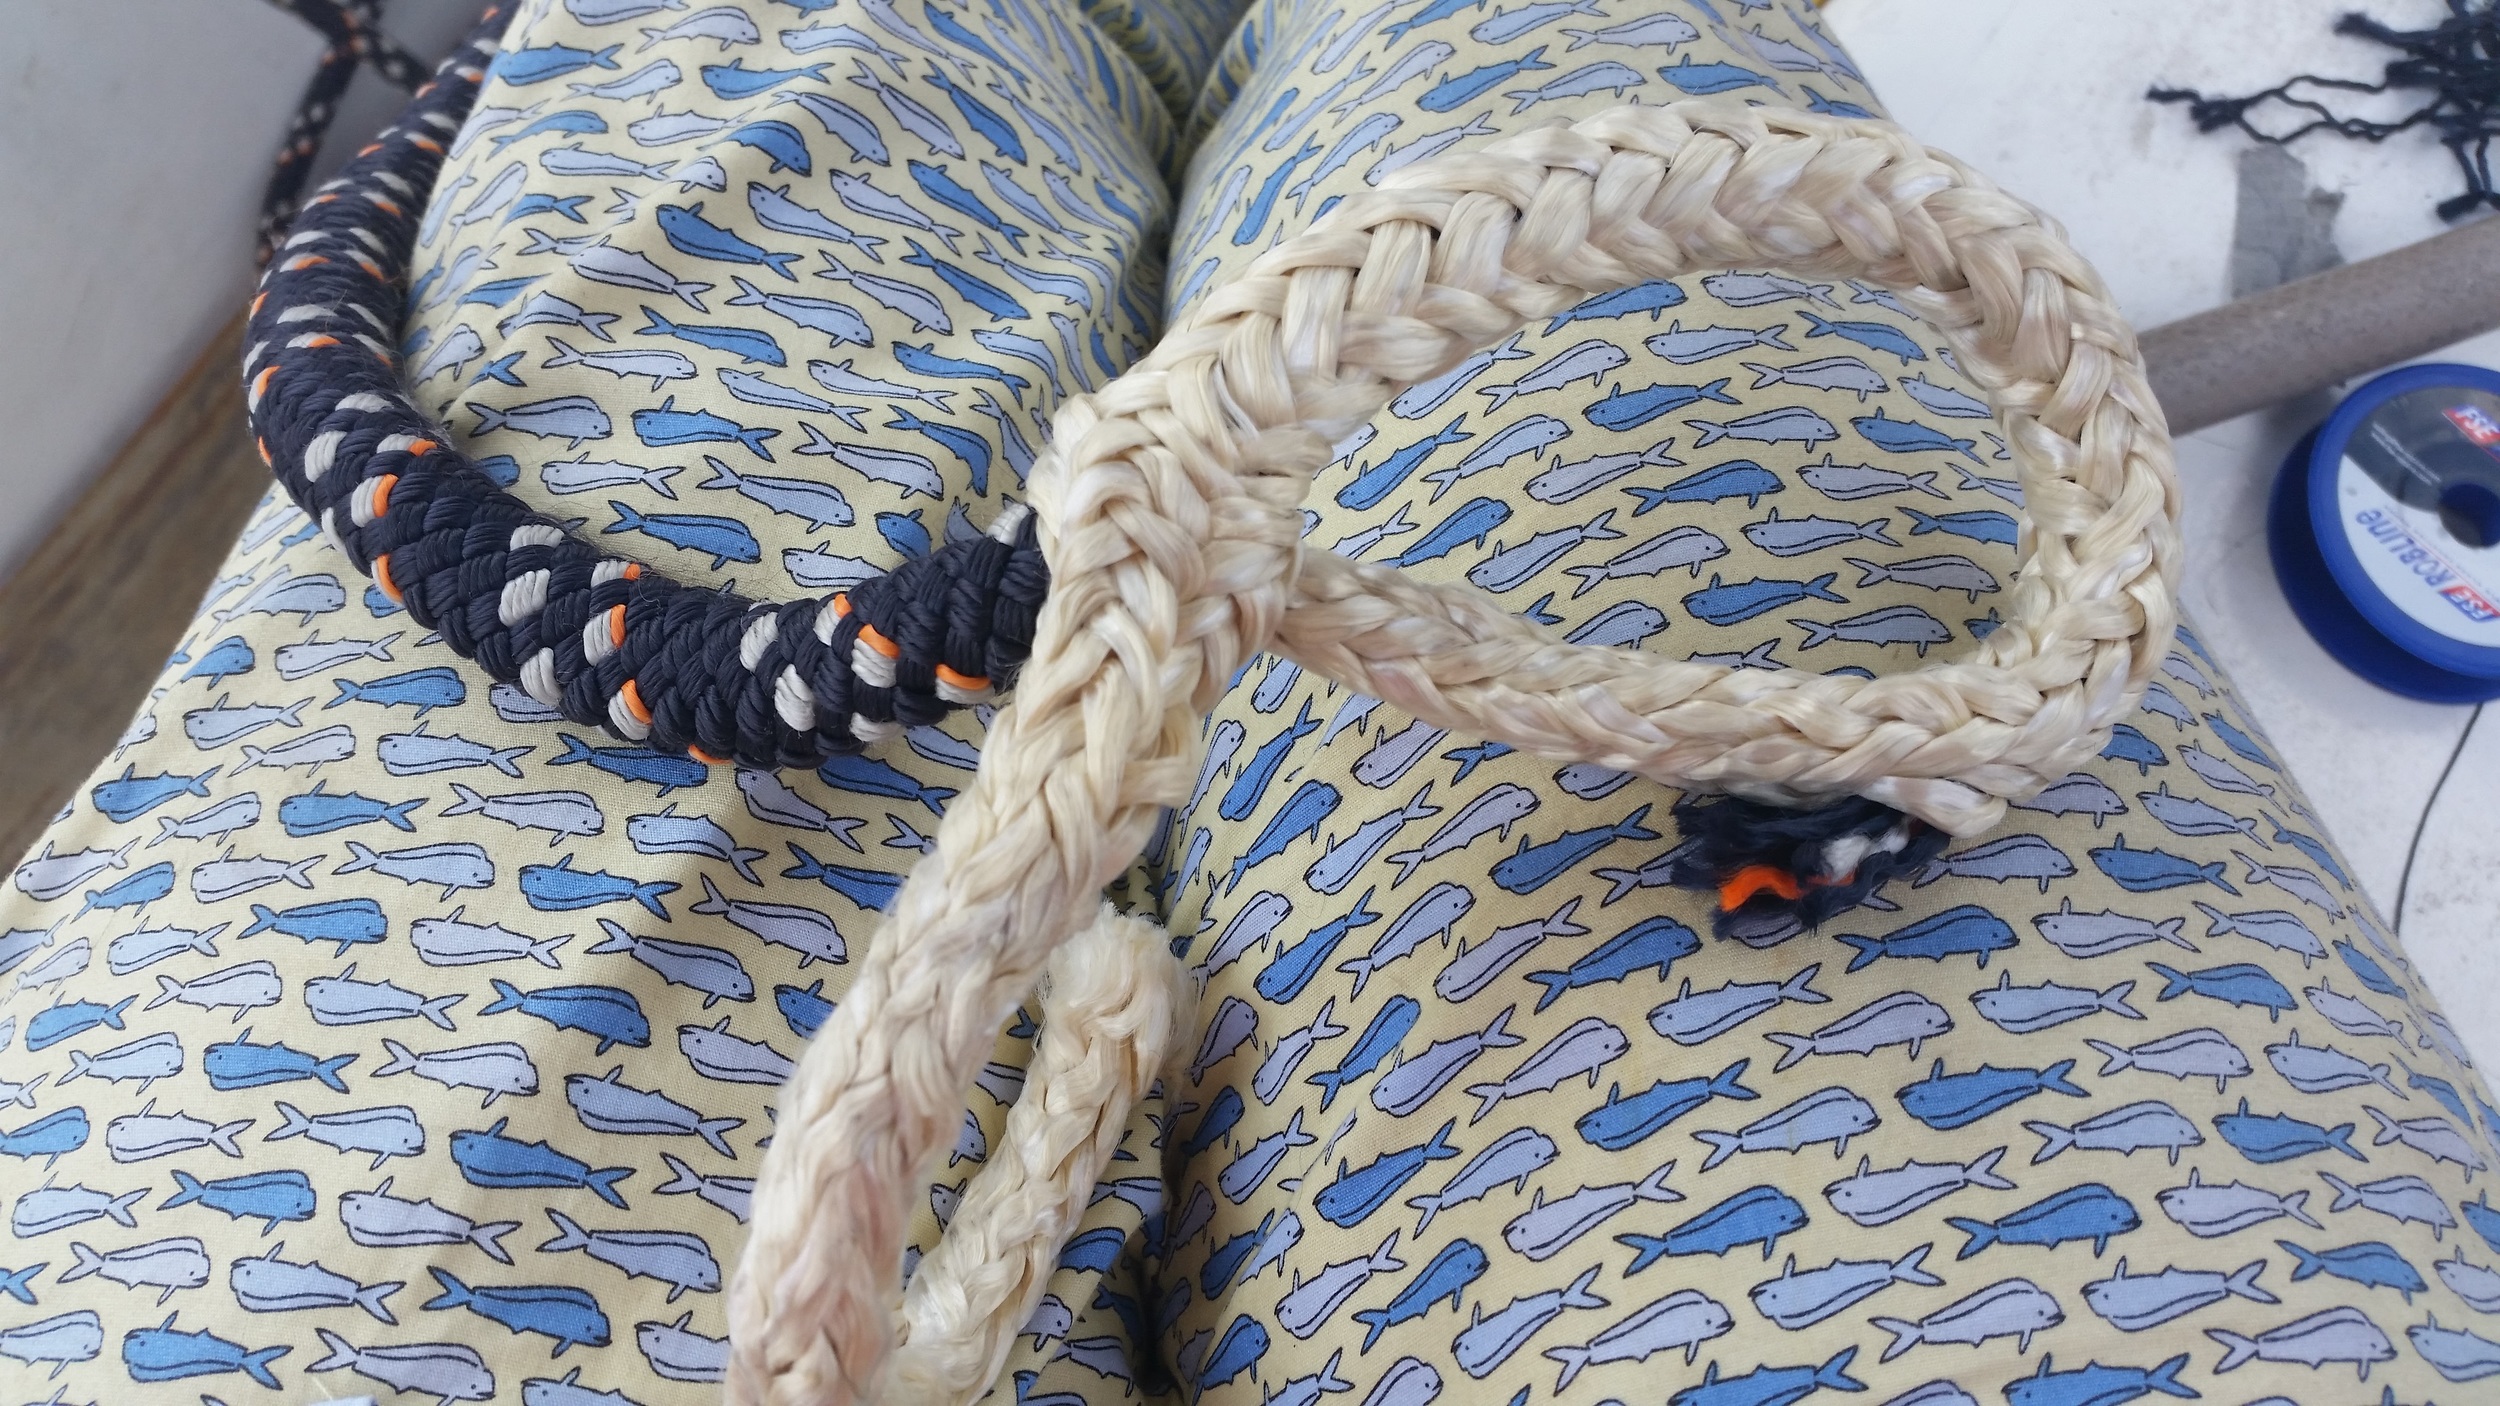
The core splits out of the cover and goes to the left, doubling back and exiting to the right. The cover splits off the core and goes to the right entering the core as it passes by. The core and cover are going in opposite directions and form a loop with a tail. The tail should be longer than the amount of cover buried in the core, otherwise the back splice won't work out in the end.
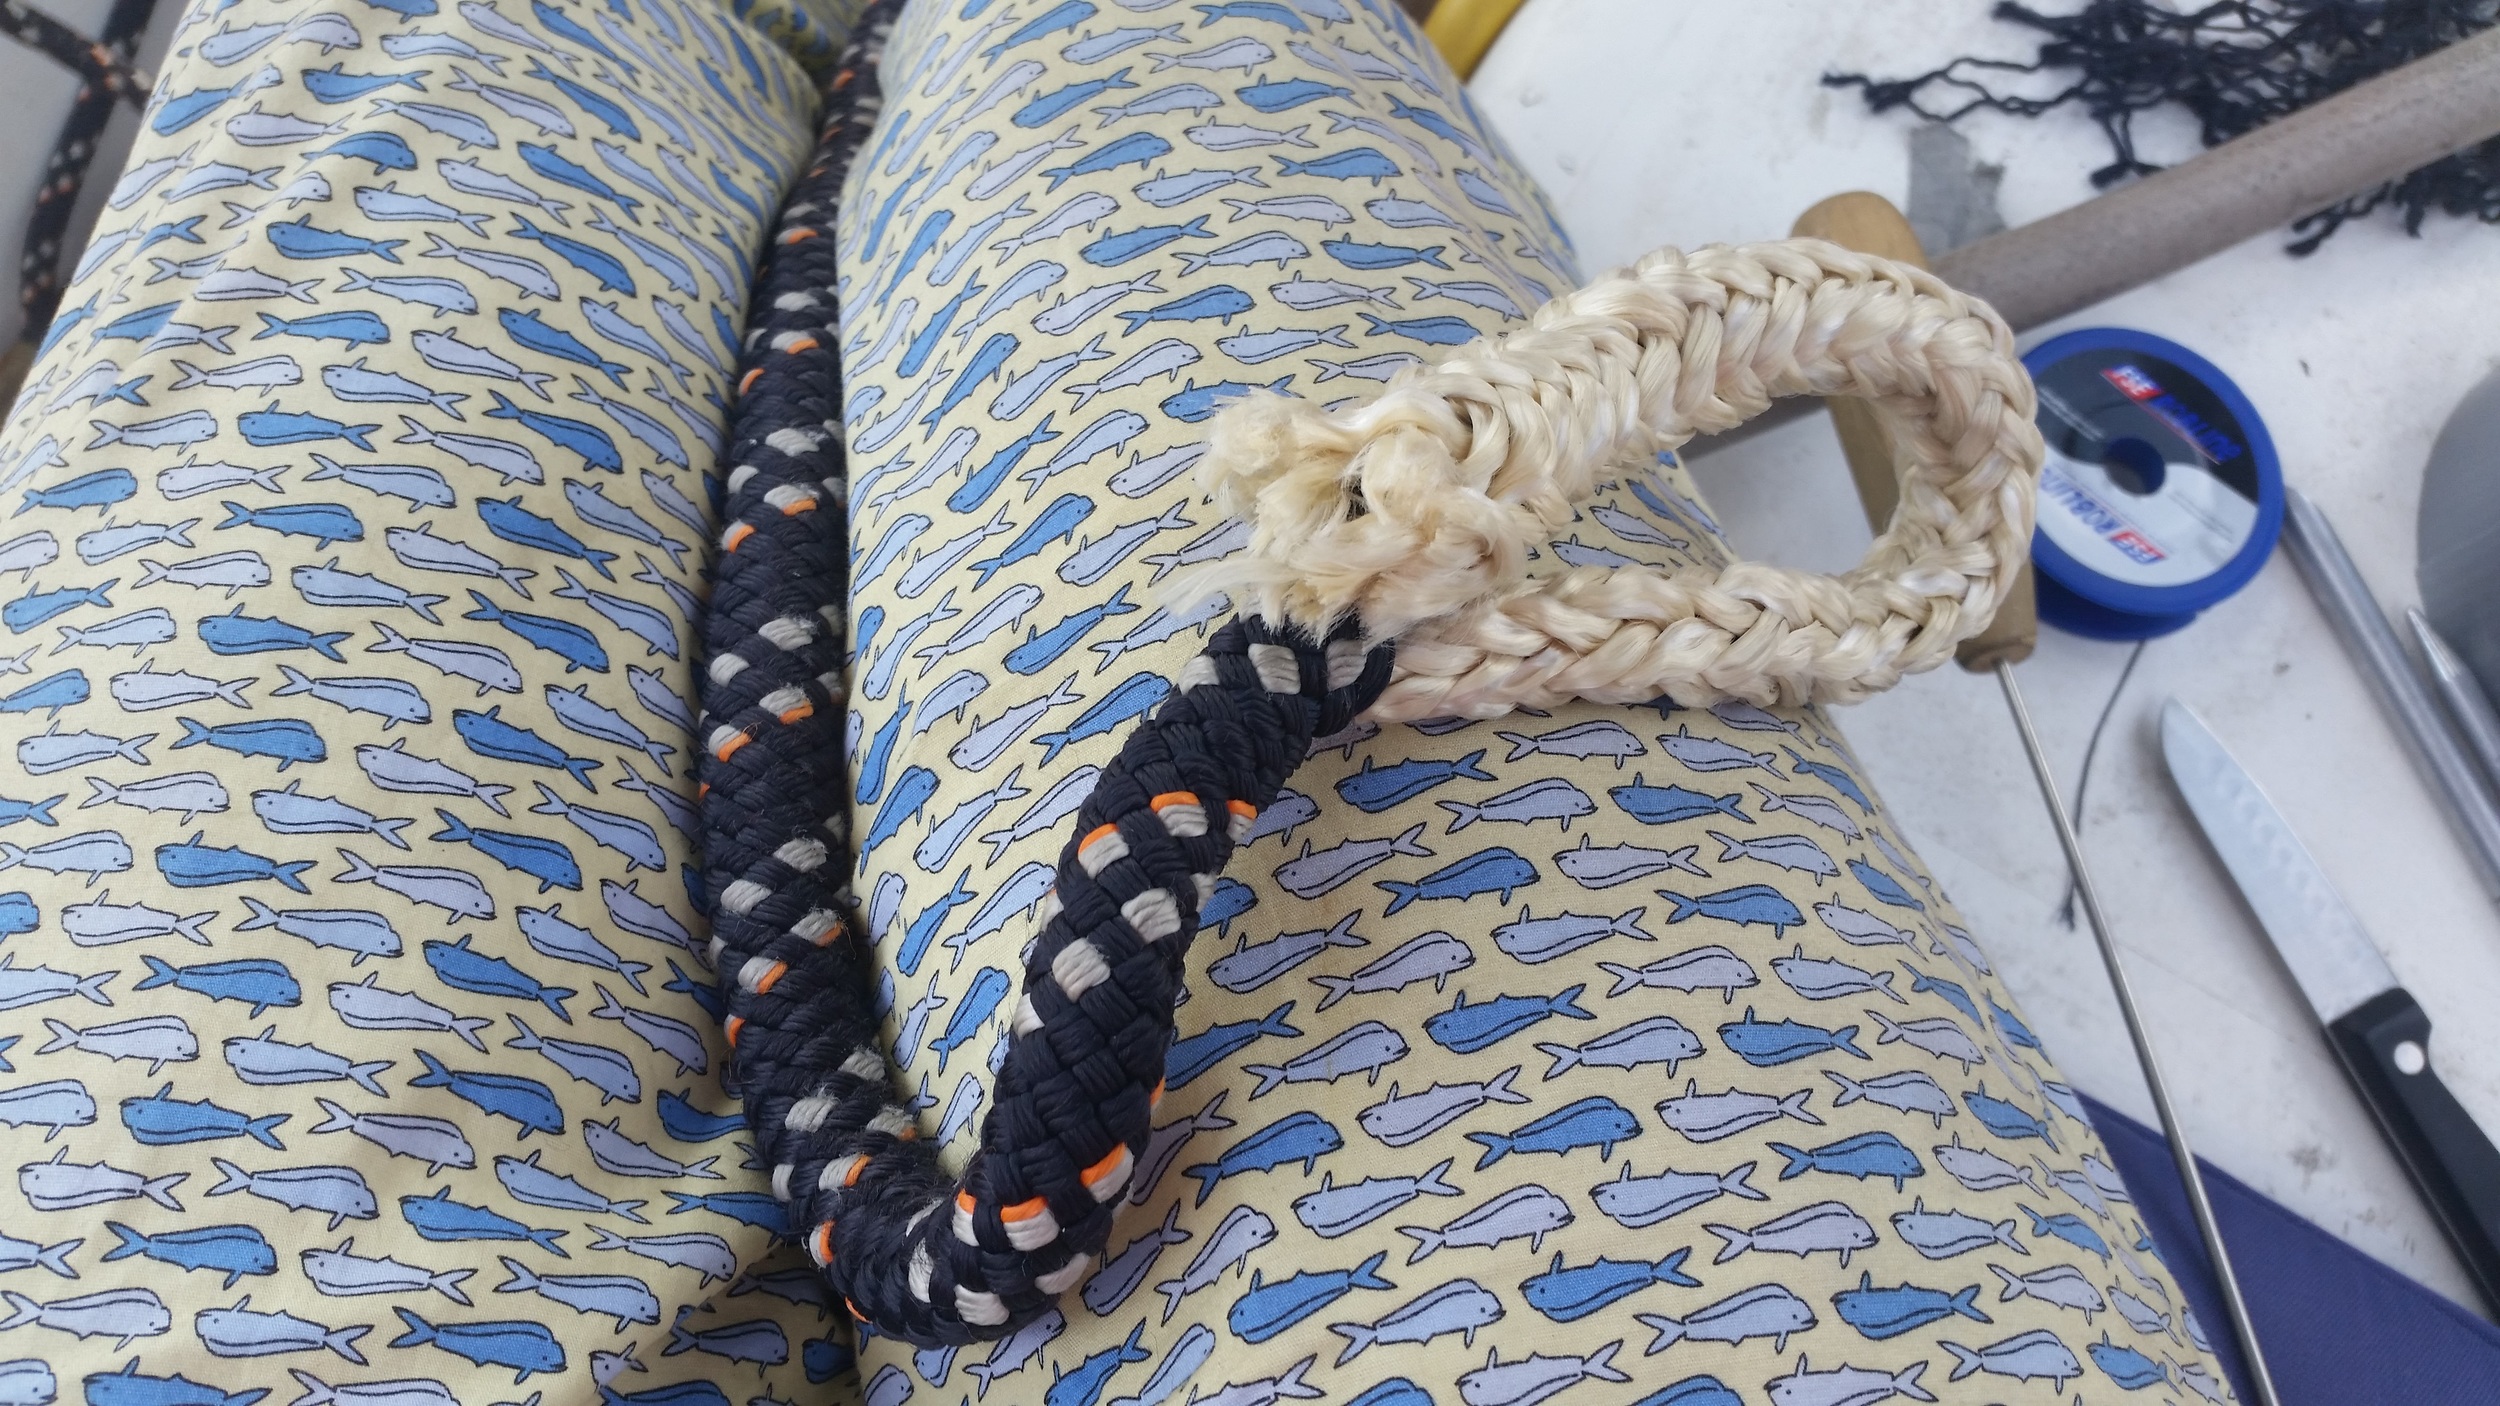
The excess core is removed, leaving what looks like an eye splice. The cover will be very loose over the core leading all the way back up to the pin that is holding the two in a static position relative to each other.
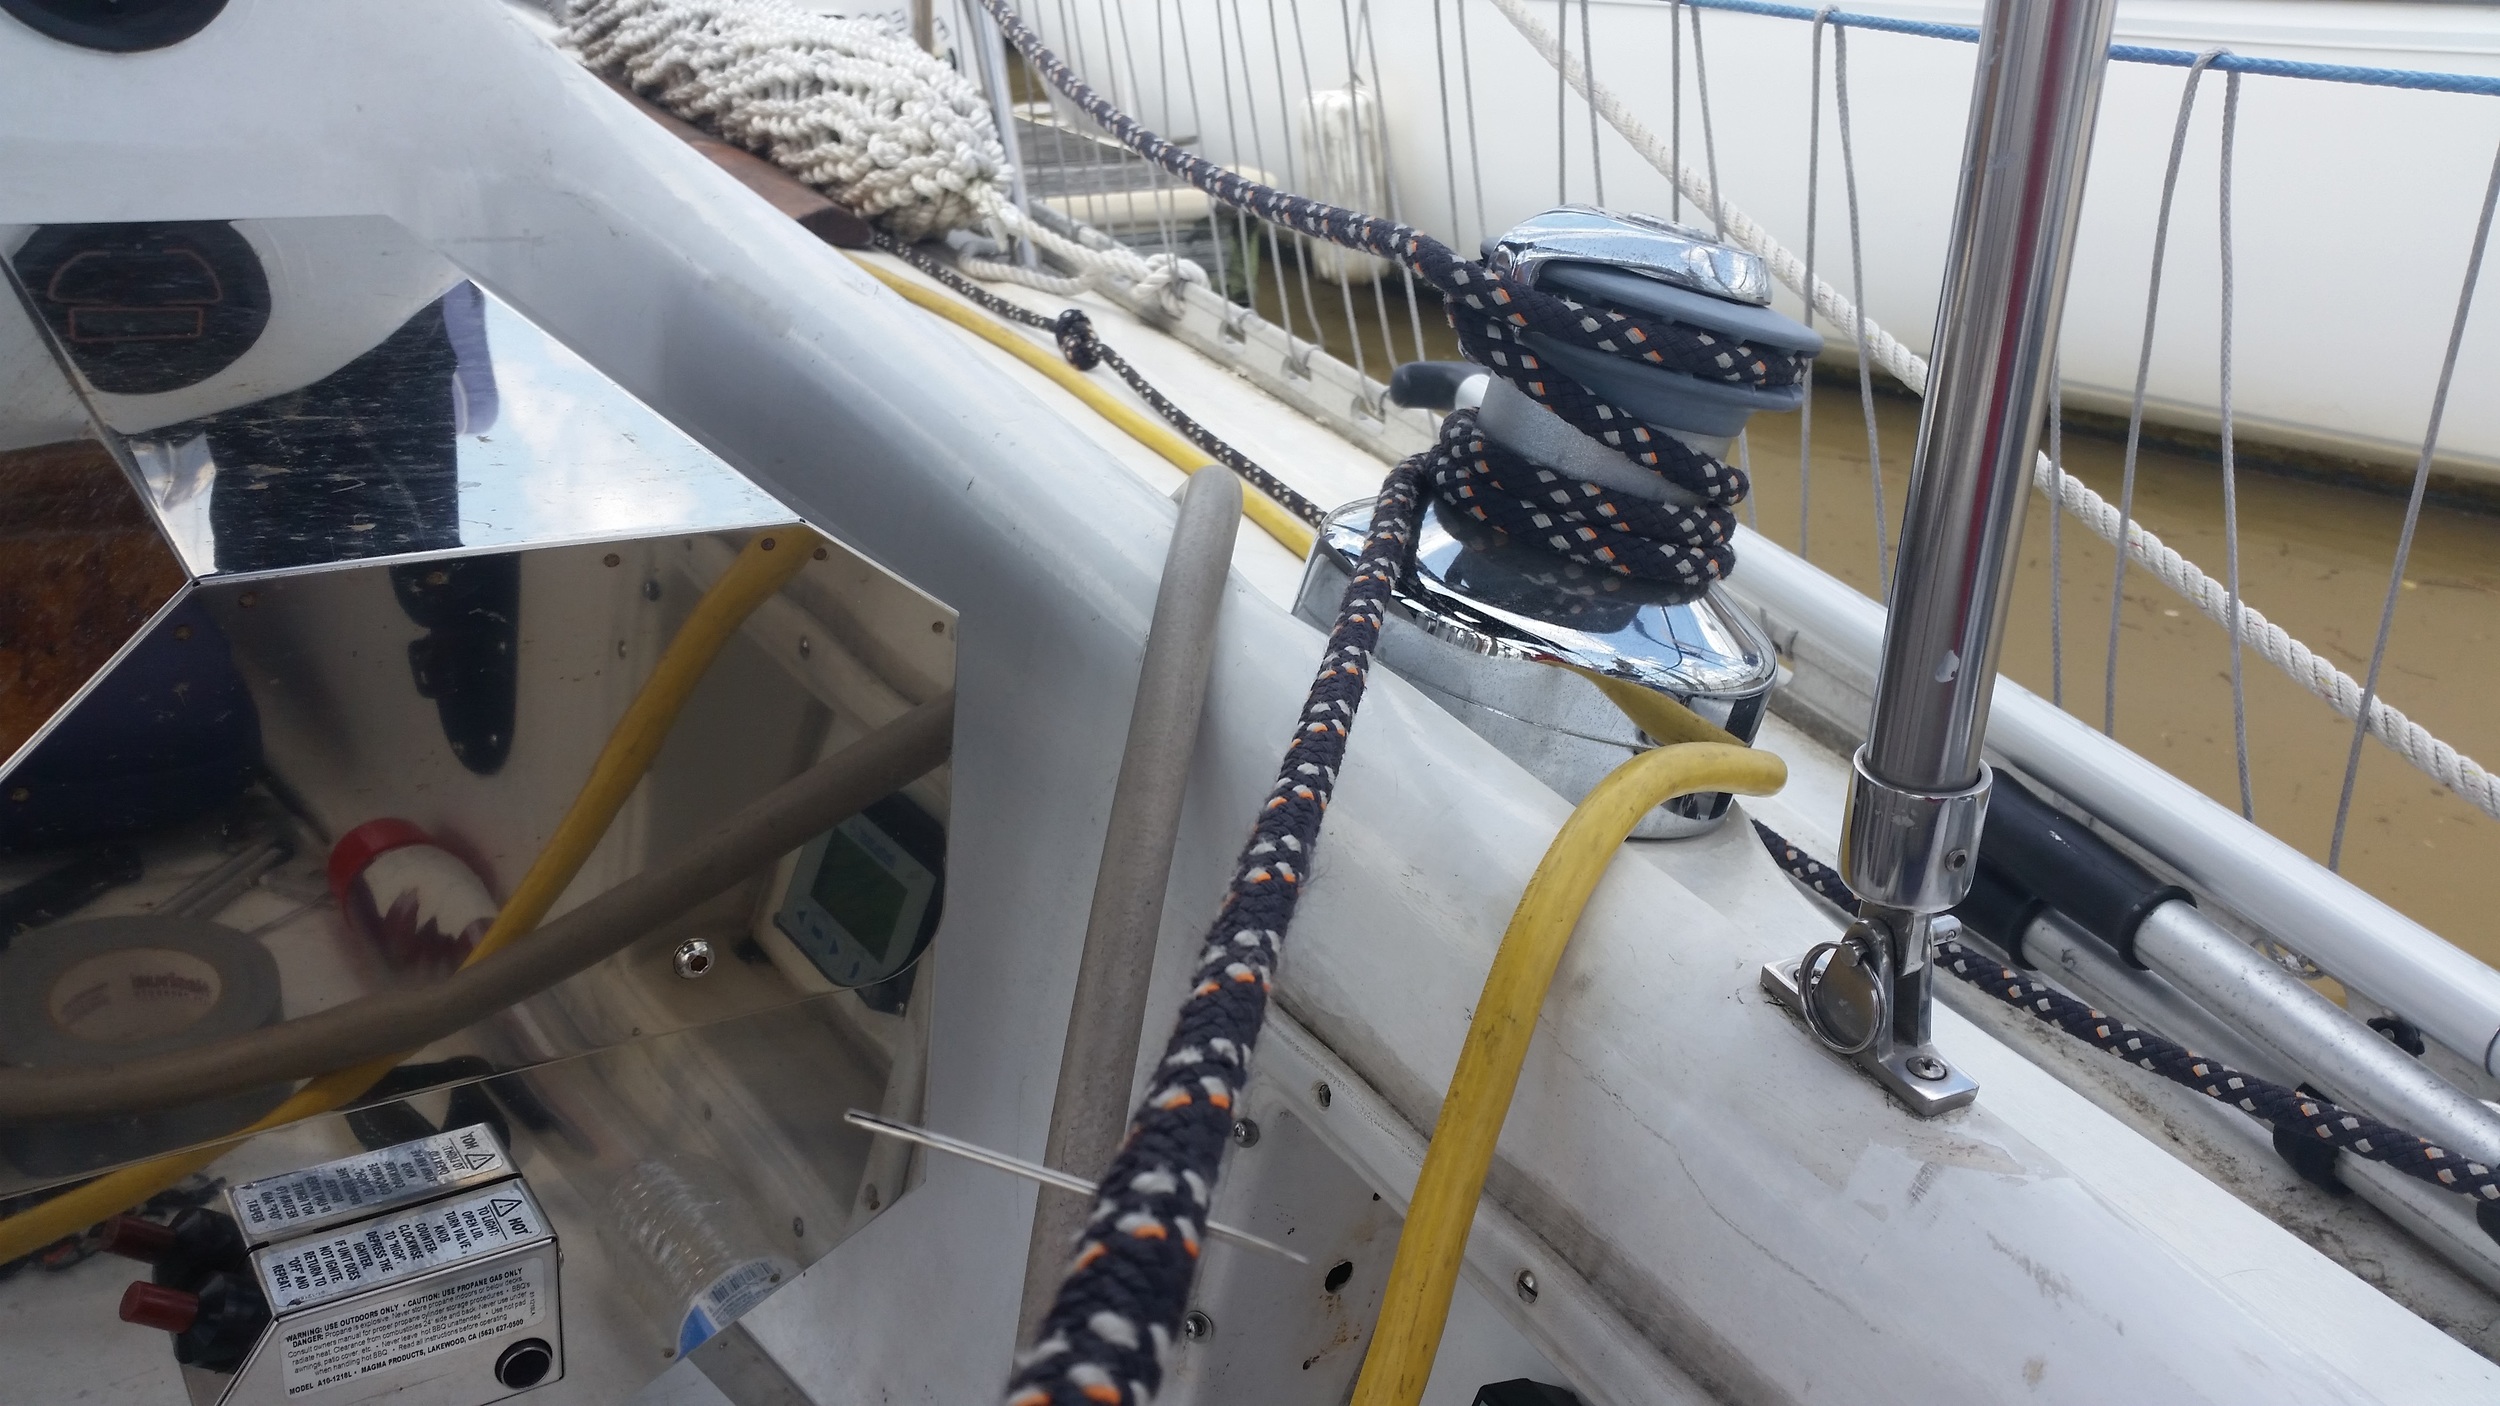
Secure the line to a strong anchor. I use one of the secondary winches in the cockpit, winding the line around the drum so that I can pull against it with a great amount of force to milk the cover over the core and complete the back splice.


Pulling hard on the cover and milking the cover over the core will allow the core to slip back into the line. The cover that is now inside the line will be pulled by the core back into the line, making the end of the rope double back on itself.
Whipping the end will ensure that nothing works itself loose. It was stated earlier that back splicing is better than whipping, yet back splicing uses whipping! The whipping in a back splice is not as critical to hold the line together. If the whipping chafed away and fell out, the splice would still hold and keep the end of the line together until a new whipping could be installed. A line that was only whipped would begin to unravel as soon as the whipping had come out.