Broken Rudder Quadrant

Steering is one of the three important components of a sailing yacht while cruising, the other two being drinkable water and sails with sound rigging.

Our rudder quadrant shattered when we were pulled off a shoal and the rudder turned towards the direction of turn, causing the weight of the boat to turn it further than it normally does. The rudder quadrant rammed into the bump stop inside the hull and shattered as the weight of the boat forced the rudder and quadrant to turn further. 

IMG_1969.JPG

Making myself familiar with our steering system before we left and before anything broke helped facilitate the repair process. I know how it is supposed to be, so when it shattered, I knew how to remove it and how to reinstall it once it is repaired. 

Our rudder quadrant is made out of cast aluminum, so the repair of choice would be to have it welded back together. This would give us steerage again and allow us to continue our cruising.  

Loosing our rudder quadrant was quite a mental blow to us, as we had now lost one of the vital points of a sound cruising yacht. We do have a spare tiller and a spare oar that can function as a rudder, but luckily the tow boat was present so we were able to be towed by the hip to a marina while we await repairs. 

Cheap Bottom Cleaning

Typically, only small sailboats careen themselves, as larger boats will pay for a haul out. That being said, large boats are more costly to haul out and when you're cruising, every dollar counts! 

IMG_1966.JPG

So why limit this free bottom cleaning procedure to only small yachts? We may be 45 feet, but we can do it too! 

IMG_1963.JPG

As the 8 foot tide rushed away, our 6.5 foot draft sailboat slowly tilted onto her side and rested on the turn of her bilge and her keel. The water around the keel was only ankle deep which meant that we could easily do some work on her bottom. 

IMG_1965.JPG

Hard growth like barnacles were easy to knock off the antifouling paint, while soft growth was easily swept away. We typically use this large brush while snorkeling or from the dinghy to clean the fuzzy parts of the bottom, but this was my first time ever doing so without being underwater! The procedure was simple, wet the brush, wet the hull, scrub the hull, wet the brush, rinse the hull. 

The entire side of the hull took less than a half hour to clean, giving us a smoother bottom to grant us less resistance as we sail through the water. 

IMG_1967.JPG

In no time flat, we had the bottom cleaned up and we were ready for the tide to come back in and float us again. 

While we were heeled over and dried out, we were able to see the condition of the mural that Maddie had painted on the bottom when we set off on our journey! It was nice to see that the bottom mural had not all rubbed away into obscurity. 

Careening

Having been caught on a shoal at high tide with the tide quickly leaving, we found ourselves faced by the inevitable. We were careened! 

Careening is the act of beaching your boat in shallow water at high tide so that when the tide goes out, the hull is exposed and dry. This allows repairs and bottom work to take place in locations where dry docking is not viable or available. Pirates were famous for doing this in the Caribbean, and favored beaches for careening were called "careenage", just like you anchor in an anchorage.  

Pirates were forced to this method because they were not usually allowed in ports that had dry docks, so they had to resort to this method. In today's modern age, only small boats careen because people with larger boats will pay for dry docking, that being said, there is no reason a large yacht can't careen itself should the captain desire to save some cruising money! 


IMG_1966.JPG

Intent seems to be the deciding factor in declaring a careening, and it is doubious to declare that as our intent when this occurred. We did try to get off the shoal at high tide, but we just missed the peak tide and couldn't kedge our way to our anchor, so we were stuck there until the next high tide would allow us to float off.

High and Dry

Last night, we anchored on the side of the ICW during high tide with a shorter scope than we usually do. Our standard is 7:1 scope in all chain rode, but after hearing a lot of negative comments about using too much chain, we decided to go a bit shorter.  

The YouTube consensus on our videos is we should anchor with 3:1 scope. We chose to shorten scope but not that drastically, so we anchored with 4:1 scope. That night, at low tide, we dragged anchor so I let out more scope, bringing us back to our standard 7:1.  

Well we moved from our deep anchorage onto a shallow spot and grounded us. Now, as the tide goes out, we are heeling over.  

IMG_1291.JPG

Our only option at this point is to wait for the tide to come back up and get us floating better so we can raise anchor and get out of here.  

Salt Water vs. Fresh Water

When cruising, you need to pay special attention to your waterline to make sure that you are not overloaded as this will have negative effects on your sailing performance. 

Not only is the weight of the cargo you are carrying important, it is also important to consider what kind of water you will be sailing in, as this will affect your waterline. 

Salt water is much more dense than fresh water, meaning that it can displace more mass with the same amount of water. Basically, when you cruise in salt water, your yacht will float a bit higher out of the water than if it were in fresh water. 

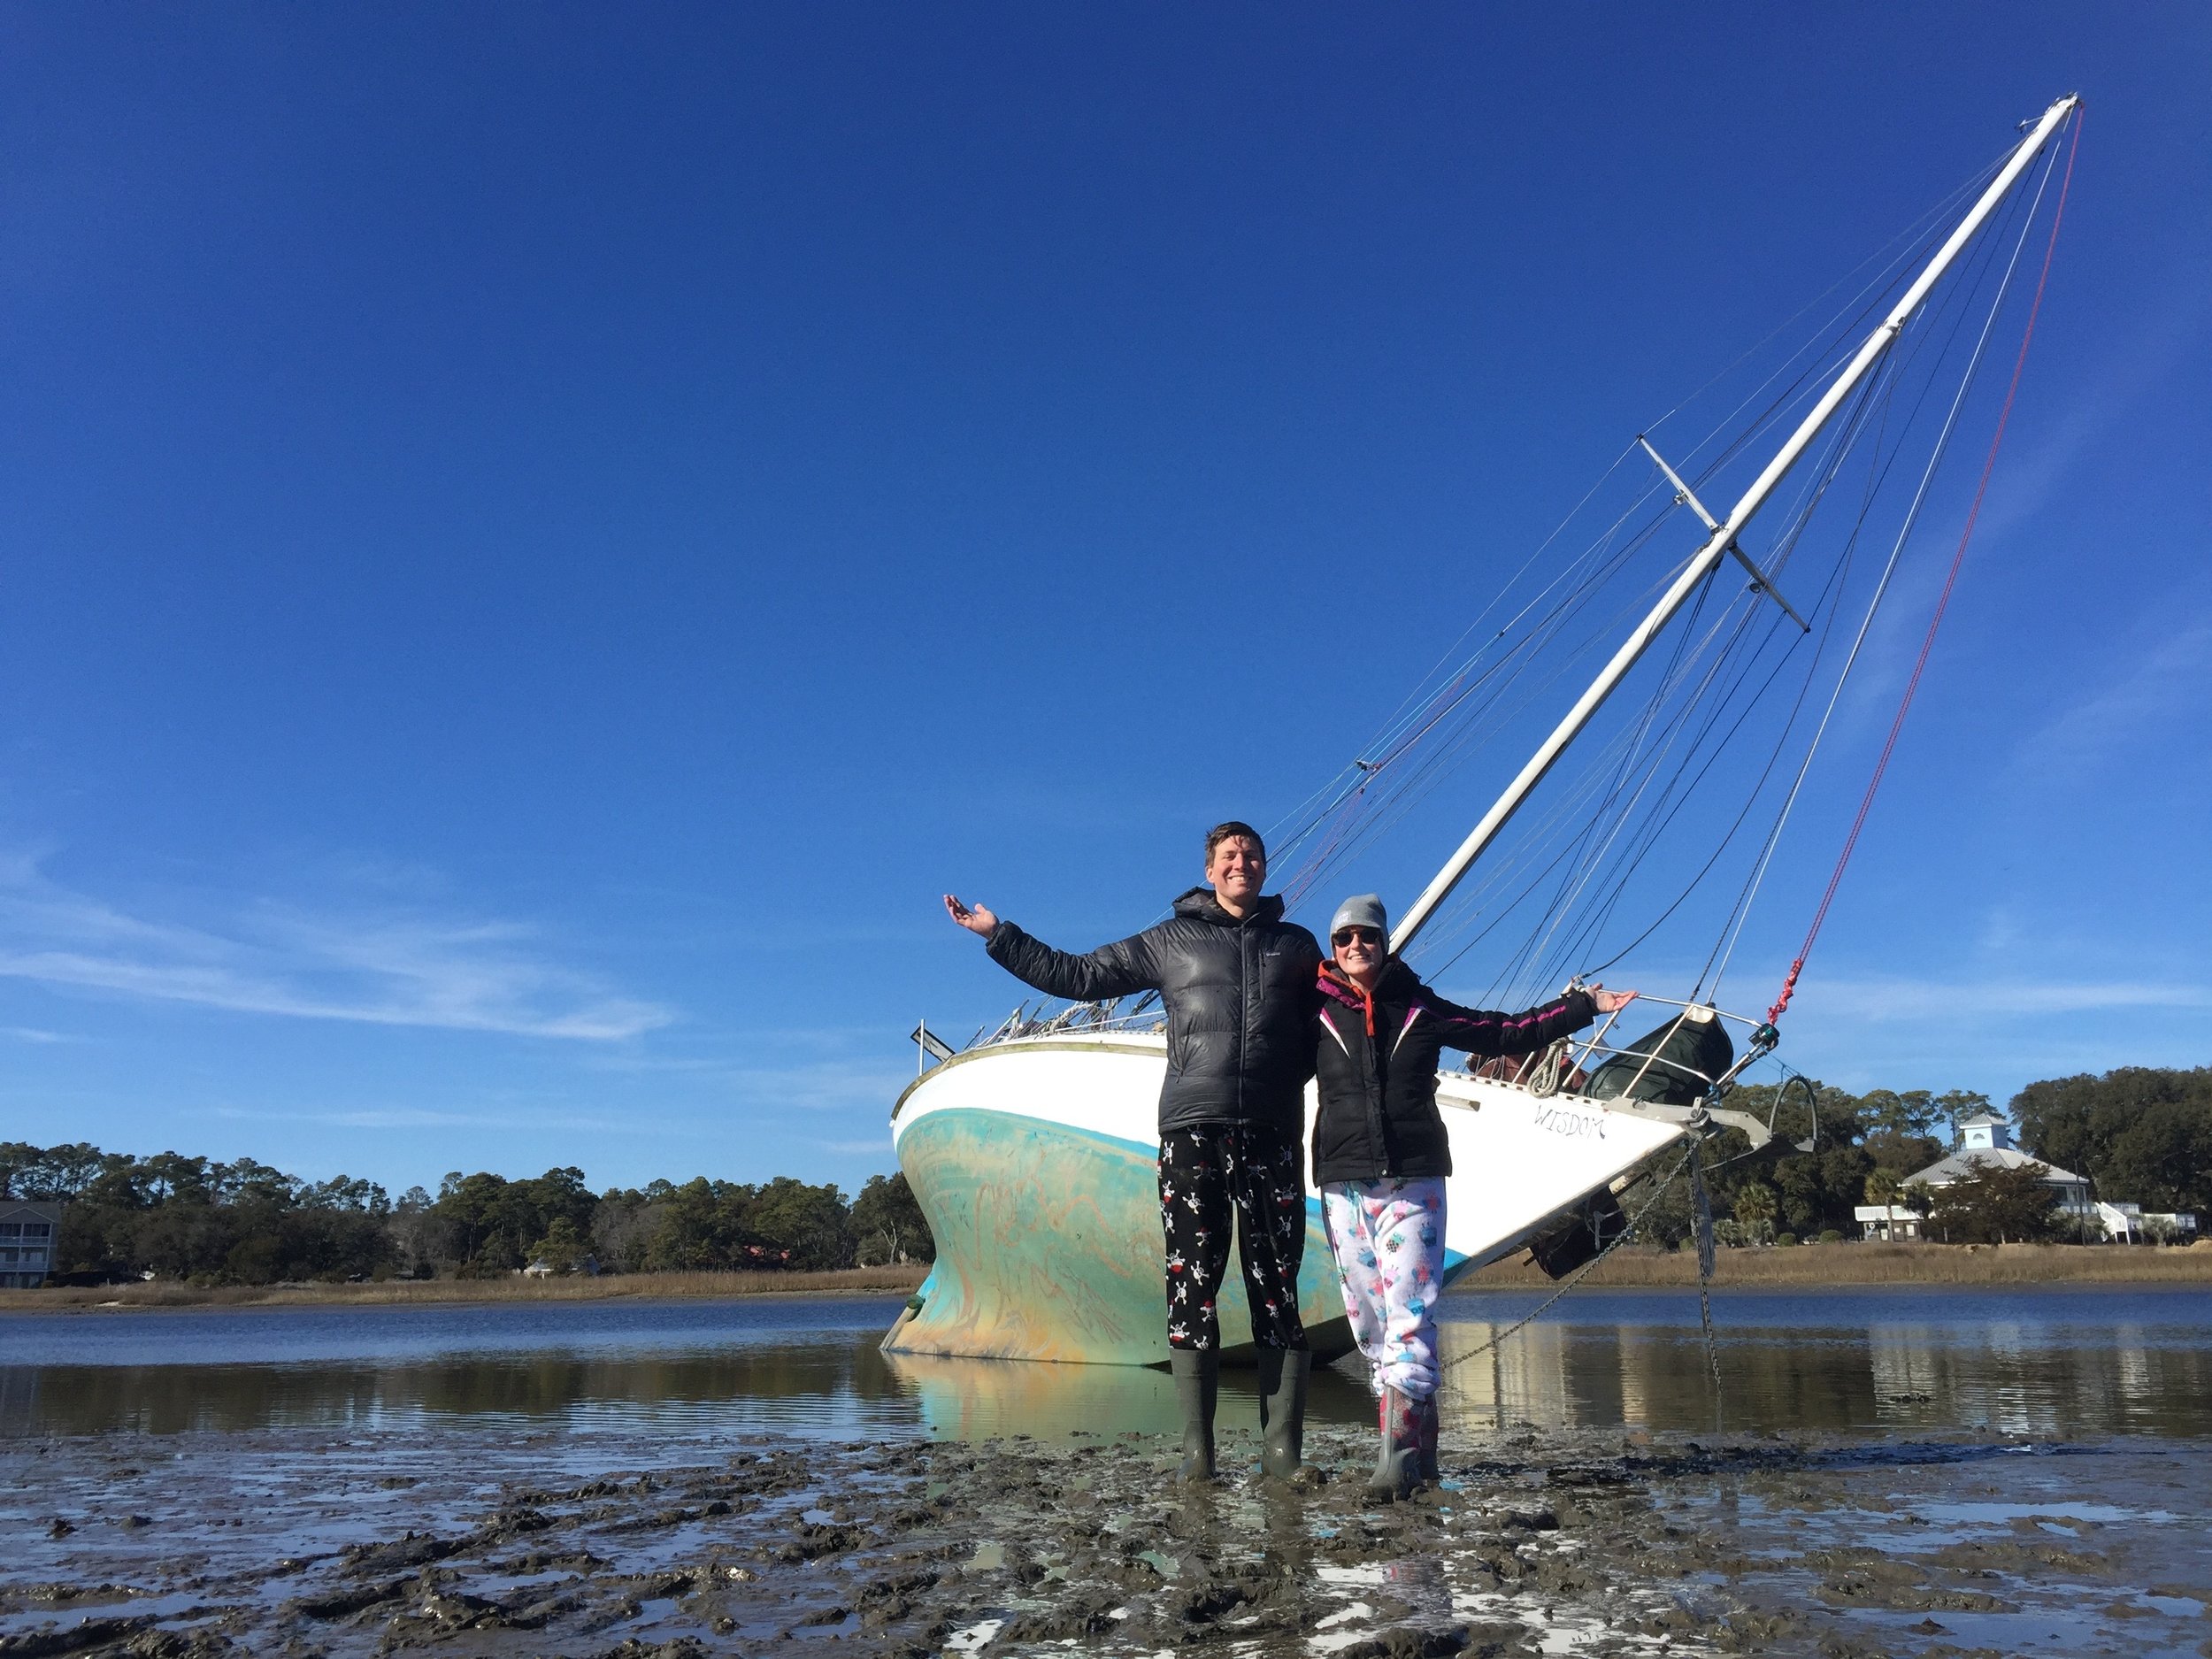
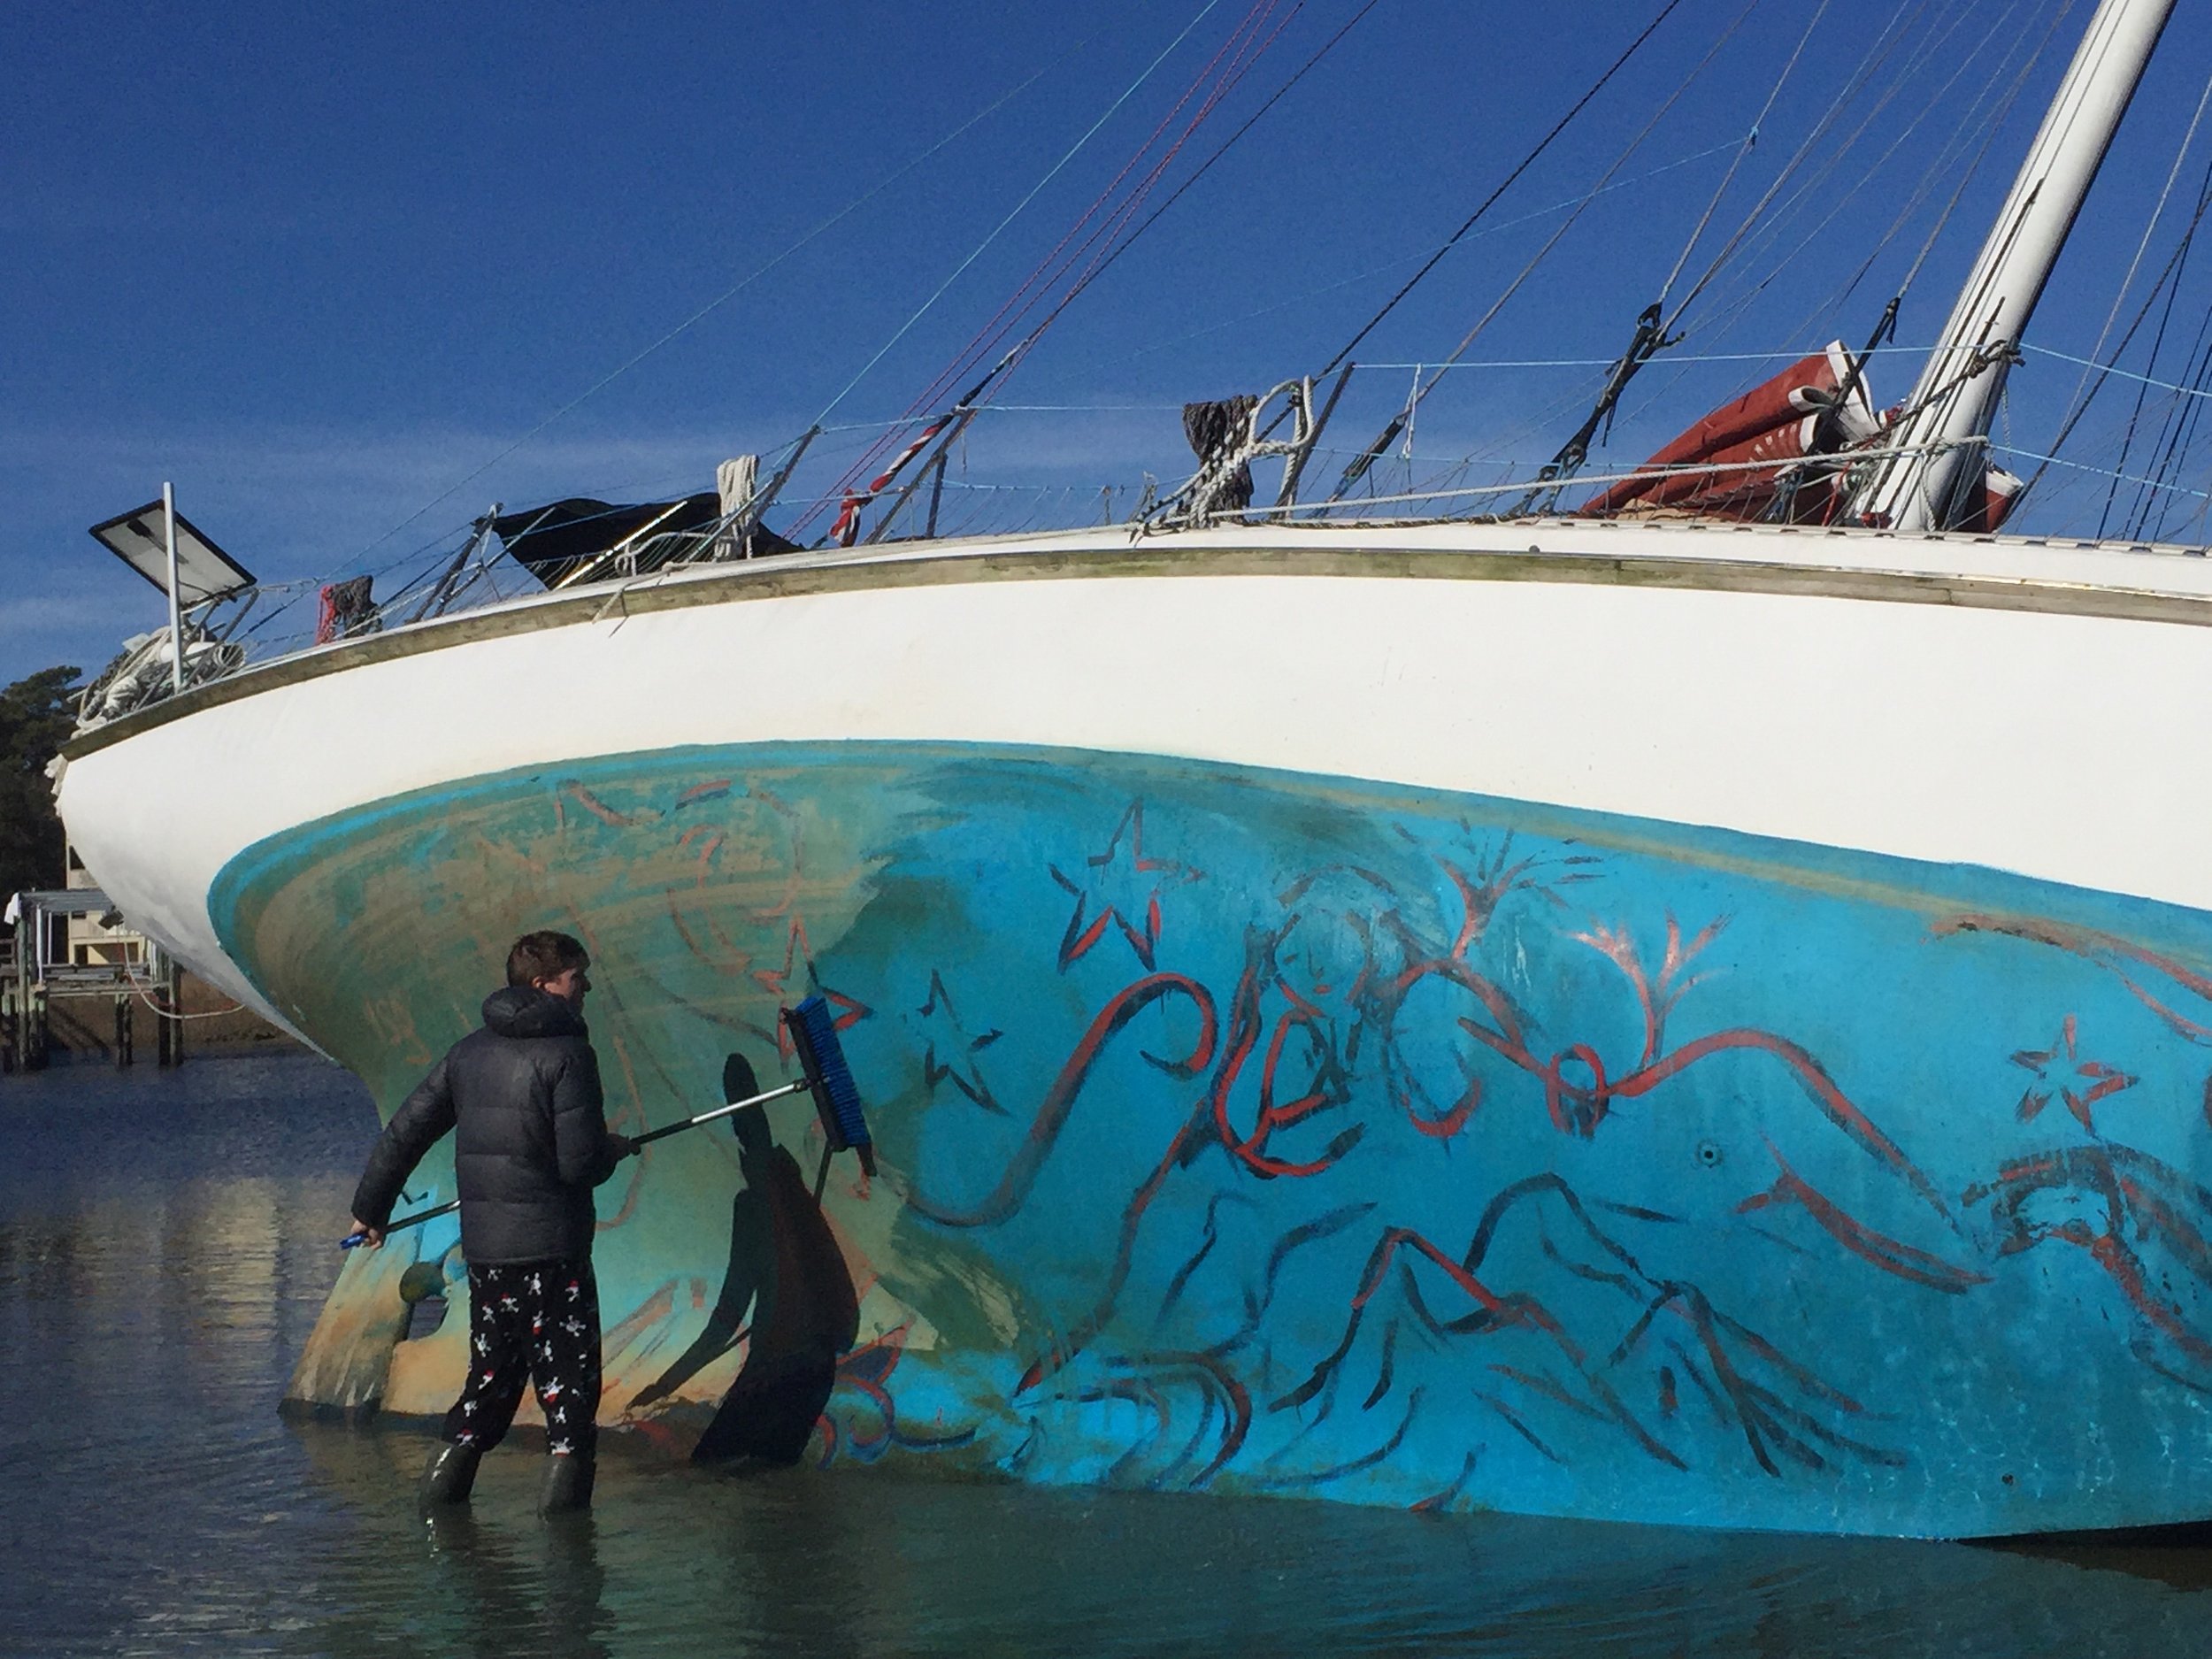
In our current and sad state where  Wisdom is so grossly overloaded, we are sitting a bit deep in the water. Before we left, we painted over the boot stripe with bottom paint, effectively raising our waterline by six inches. While the paint may make it all look normal, the hull has cut in waterlines that will not move with a bit of paint play. The cut in load water line is currently 4 inches underwater, meaning that we are 4 inches overloaded. Being how our hull is designed to take 1000 pounds per inch, this means that we are 4000 pounds overloaded with junk that we feel is important to bring with us on this voyage.

Now, since we painted over the boot stripe with bottom paint, from a distance, it merely appears as if our yacht has no boot stripe, as the bottom paint protrudes about 2 inches above the waterline, making everything look normal and fine. 

That was in salt water atleast. When we entered the Waccamaw River, however, we transitioned from salt water to pure fresh water, and the effects on our waterline were dramatic. When rowing around our boat in the dinghy, I thought something was terribly wrong because the bottom paint was now a full inch under water! 

That's right, the boat sunk a full 3 inches when we entered the river. At first I thought this meant that our bilge was filling with water and we were slowly sinking, but upon inspection the bilges were all dry. Then it dawned on me, we were merely floating in a less dense fluid and therefore were less buoyant. Panic postponed, we simply had to adjust our course to make sure that we don't bump into the bottom, as we are now drawing an extra 3 inches.  

When we float at our designed water line (DWL) we draw 6'2". When we are cruise ready (and severely overloaded) we draw 6'6". When we then enter fresh water, we draw 6'9". This is something to keep in mind as you plan your voyage on your own yacht, your draft will change based on how you overload your vessel and what salinity you plan to cruise in.