Watts, Volts, and Amps

Batteries, Electric Motors, Solar Panels, Generators, and Wind Generators all have one thing in common, their outputs are typically measured in Watts?

Why watts and not amps or volts? Well, the answer is actually rather simple: watts don’t change depending on your setup.

You see, Watts, Volts, and Amps are linked in a mathematical formula. W = V x A

From this formula, you can determine the third value when you are only given 2 of the values by way of simple algebra (and you thought you would never need to use it again)

To not bore you with math, I will surmise to say that as volts and amps fluctuate inversely to each other (as volts climb by a factor, amps decrease by the same factor) watts remain unchanged!

For example (I couldn’t resist):

100W = 12 volts x 8.333 amps
100W = 24 volts x 4.166 amps
100W = 48 volts x 2.08 amps

So, when you purchase an electrical device, they can simply tell you how many Watts it produces or consumes, and the way you wire it will determine the voltage and amperage that it will operate.

To take this further, with electric propulsion, you will see the motors listed in the form of kW instead of Horsepower. The reason is the same, as the motors can come in a whole range of voltages, as low as 24 volts and well up over 96 volts! By listing the motors output in kW, they are uniform and comparable.

For example, a 48v motor that is rated at 20kW will draw 416.6 amps at full throttle. A 96v motor that is rated at 20kW will only draw 208.3 amps. In the end, it is the same amount of power being moved, just at different voltages and amperages.

So remember, next time you look at an electrical gizmo for your boat, consider rating it in watts to compare one device to another instead of looking at the amps it produces or consumes; you might get tricked up by the voltages. Then you can compare the cost of these items with the watts they produce or consume and spend your money in the most effective way to get as many Watts as you can out of each dollar.

Finding Mystery Rot and What to Do

Wood in a marine environment will eventually rot. Choosing rot resistant species will prolong the process, but eventually, it will succumb to the effects of decay. 

Rotten wood is soft, moist, and squishy. When you prod it with a metal probe, the probe will sink into it without resistance. When you tap on it with a hammer, it will not make a bang sound like sound wood would, instead it will make a dull thud. Rotten wood in cosmetic structures like cabinets and interior joinery is unsightly, but rot in structural members is devastating to the structural integrity of your yacht.  

FullSizeRender.jpg

When you find rotten wood, what should you do? Should you cover it up and ignore it? Should you sell the boat?  Should you fix it yourself?

Well all of these question’s answers depend on how you comfortable you are at working on your own boat. If you are willing to take on the restoration of this rotted section, then have at it! If you are tired of boats and all the time they consume, then now would be a good time to sell (but you might get a lot more for the boat if the rot is fixed first).  

Rot is not that big of a problem when it comes to repairing. All the wood has been removed for you! The big picture here is you are going to remove the bad and replace it with new. The decay process of wood is very much like the decay process in teeth, and being a dentist, treating rot is a part of my job. 

When you look at wood, just like with teeth, you will have two types of wood: damaged and ok. Ok wood looks new. It is dry, feels normal, and sounds solid when tapped on. Damaged wood will be wet, look dark, and can be further subjugated into two more categories: Infected and Affected.

Infected wood is rotten and disgusting. It will resemble mulch in the way it just falls apart. It will be wet and make a thud sound when you tap on it, as it is no longer solid. Rotten wood can be removed by scraping with a metal instrument, as the weak remains will just fall apart and come out in pieces. 

Affected wood is simply close to the infected wood, but it doesn’t need to be removed. Sometimes, keeping a bit of wood structure will make your life so much easier. Think about it, if you have some rot in a bulkhead, you don’t need to replace the entire bulkhead, just the rotten portion and scarf in a replacement piece. Affected wood is the transition between the infected and the normal wood. It will be stained, wet, possibly slimy, but it will sound solid when percussed and will not hole when struck with a screwdriver tip. This wood just needs to dry, be wiped down with bleach, and given some time to restore itself before the new wood can be scarfed to it. 

FullSizeRender.jpg

To assess the damage, it is best to sand away any paint that way the full extent of the area can be assessed. They say the first three rules of surgery are:
1. Access
2. Access
3. Access

You need to see what you are working on to figure out how you want to fix the problem. The rotten section is the void of a hole. From there, the affected wood is located somewhere in the transition between the good wood and the infected wood. The problem is, this bulkhead is made up of two layers of 3/4” plywood, so access to the underlaying layer is only attainable by removing the top layer first. 

You can see the large section of wood that has been cut to reveal the underlaying bulkhead plywood. When you have access, you want to treat the wood the wood as you would a cancer in a biopsy: cut everything you suspect and leave only clean margins. With the wood, if your cut section has signs of rot still left behind, cut it back a bit further.  

When you don’t have such liberal access, you will have to be a bit more judicious in your selection of what comes out and what gets to stay. The wood in front of the mast was too close to the mast to get the saw in there, so I was forced to use a drill (dentist joke) to remove the rot. A 1/2” drill bit will do wonders at ripping all the rotten wood out of the plywood, and won’t be able to easily drill into the good wood you want to leave behind.  

When you are removing the rotted wood, it pays to keep in mind that you will need to rebuild next. Severely rotted wood is actually easier to replace because the tabbing on the hull will be left intact. All you need to do is measure the size of the wood that once occupied that space and have it milled. Then you can glue it back in place with gobs of thickened epoxy that has been smooshed into the tabbing. When the wood is partially decayed, it can pose a challenge as you can’t get it to come out as easily. 

If you have a single sheet of rotted wood, consider scarfing in a replacement piece that is held in place with thickened epoxy, followed by a few layers of fiberglass to help tab it all into place. If you have laminated layers of plywood, like in this case, you can simply cut the access hole a bit larger than the deep layer. Now, the deep layer will be glued to the remnants as well as to the access hole’s board, and the access hole’s board will be glued to the deep layers remnants. This stepped approach gives you plenty of surface area to glue everything together while still giving you the ability to put everything back together in a structurally sound method. 

When rebuilding, it is always important to look at the cause of the rot and figure out how to prevent it from happening again. Frame heads are notorious for holding water if they are not beveled towards the midline of the hull. This bulkhead abutted the shower and had no protection from the water that seeped into the wood for decades. 

Figuring out the cause will then let you plan the solution so that the future you or the next generation won’t have to carry out this same repair. 

Alternative to a Tack Horn

Part of reefing is getting the tack cringle onto the tack horn, it’s how you secure the tack of the sail while reefing! How else would you do it? 

The struggle with this old method is that the horns can hook and poke holes in the luff of your sail as you raise the sail, and you have to get your tack cringle over the horn in foul weather. When you combine the situation of high winds, a flapping sail, and a pitching deck; suddenly getting a little ring over a little horn doesn’t sound like a fun idea. 

Alternatives exist, where a strap with rings on the ends will be sewn through the cringle, so that you can simply place the ring on the strap over the horn, as the strap is easier to manage than the stiff luff of the sail. 

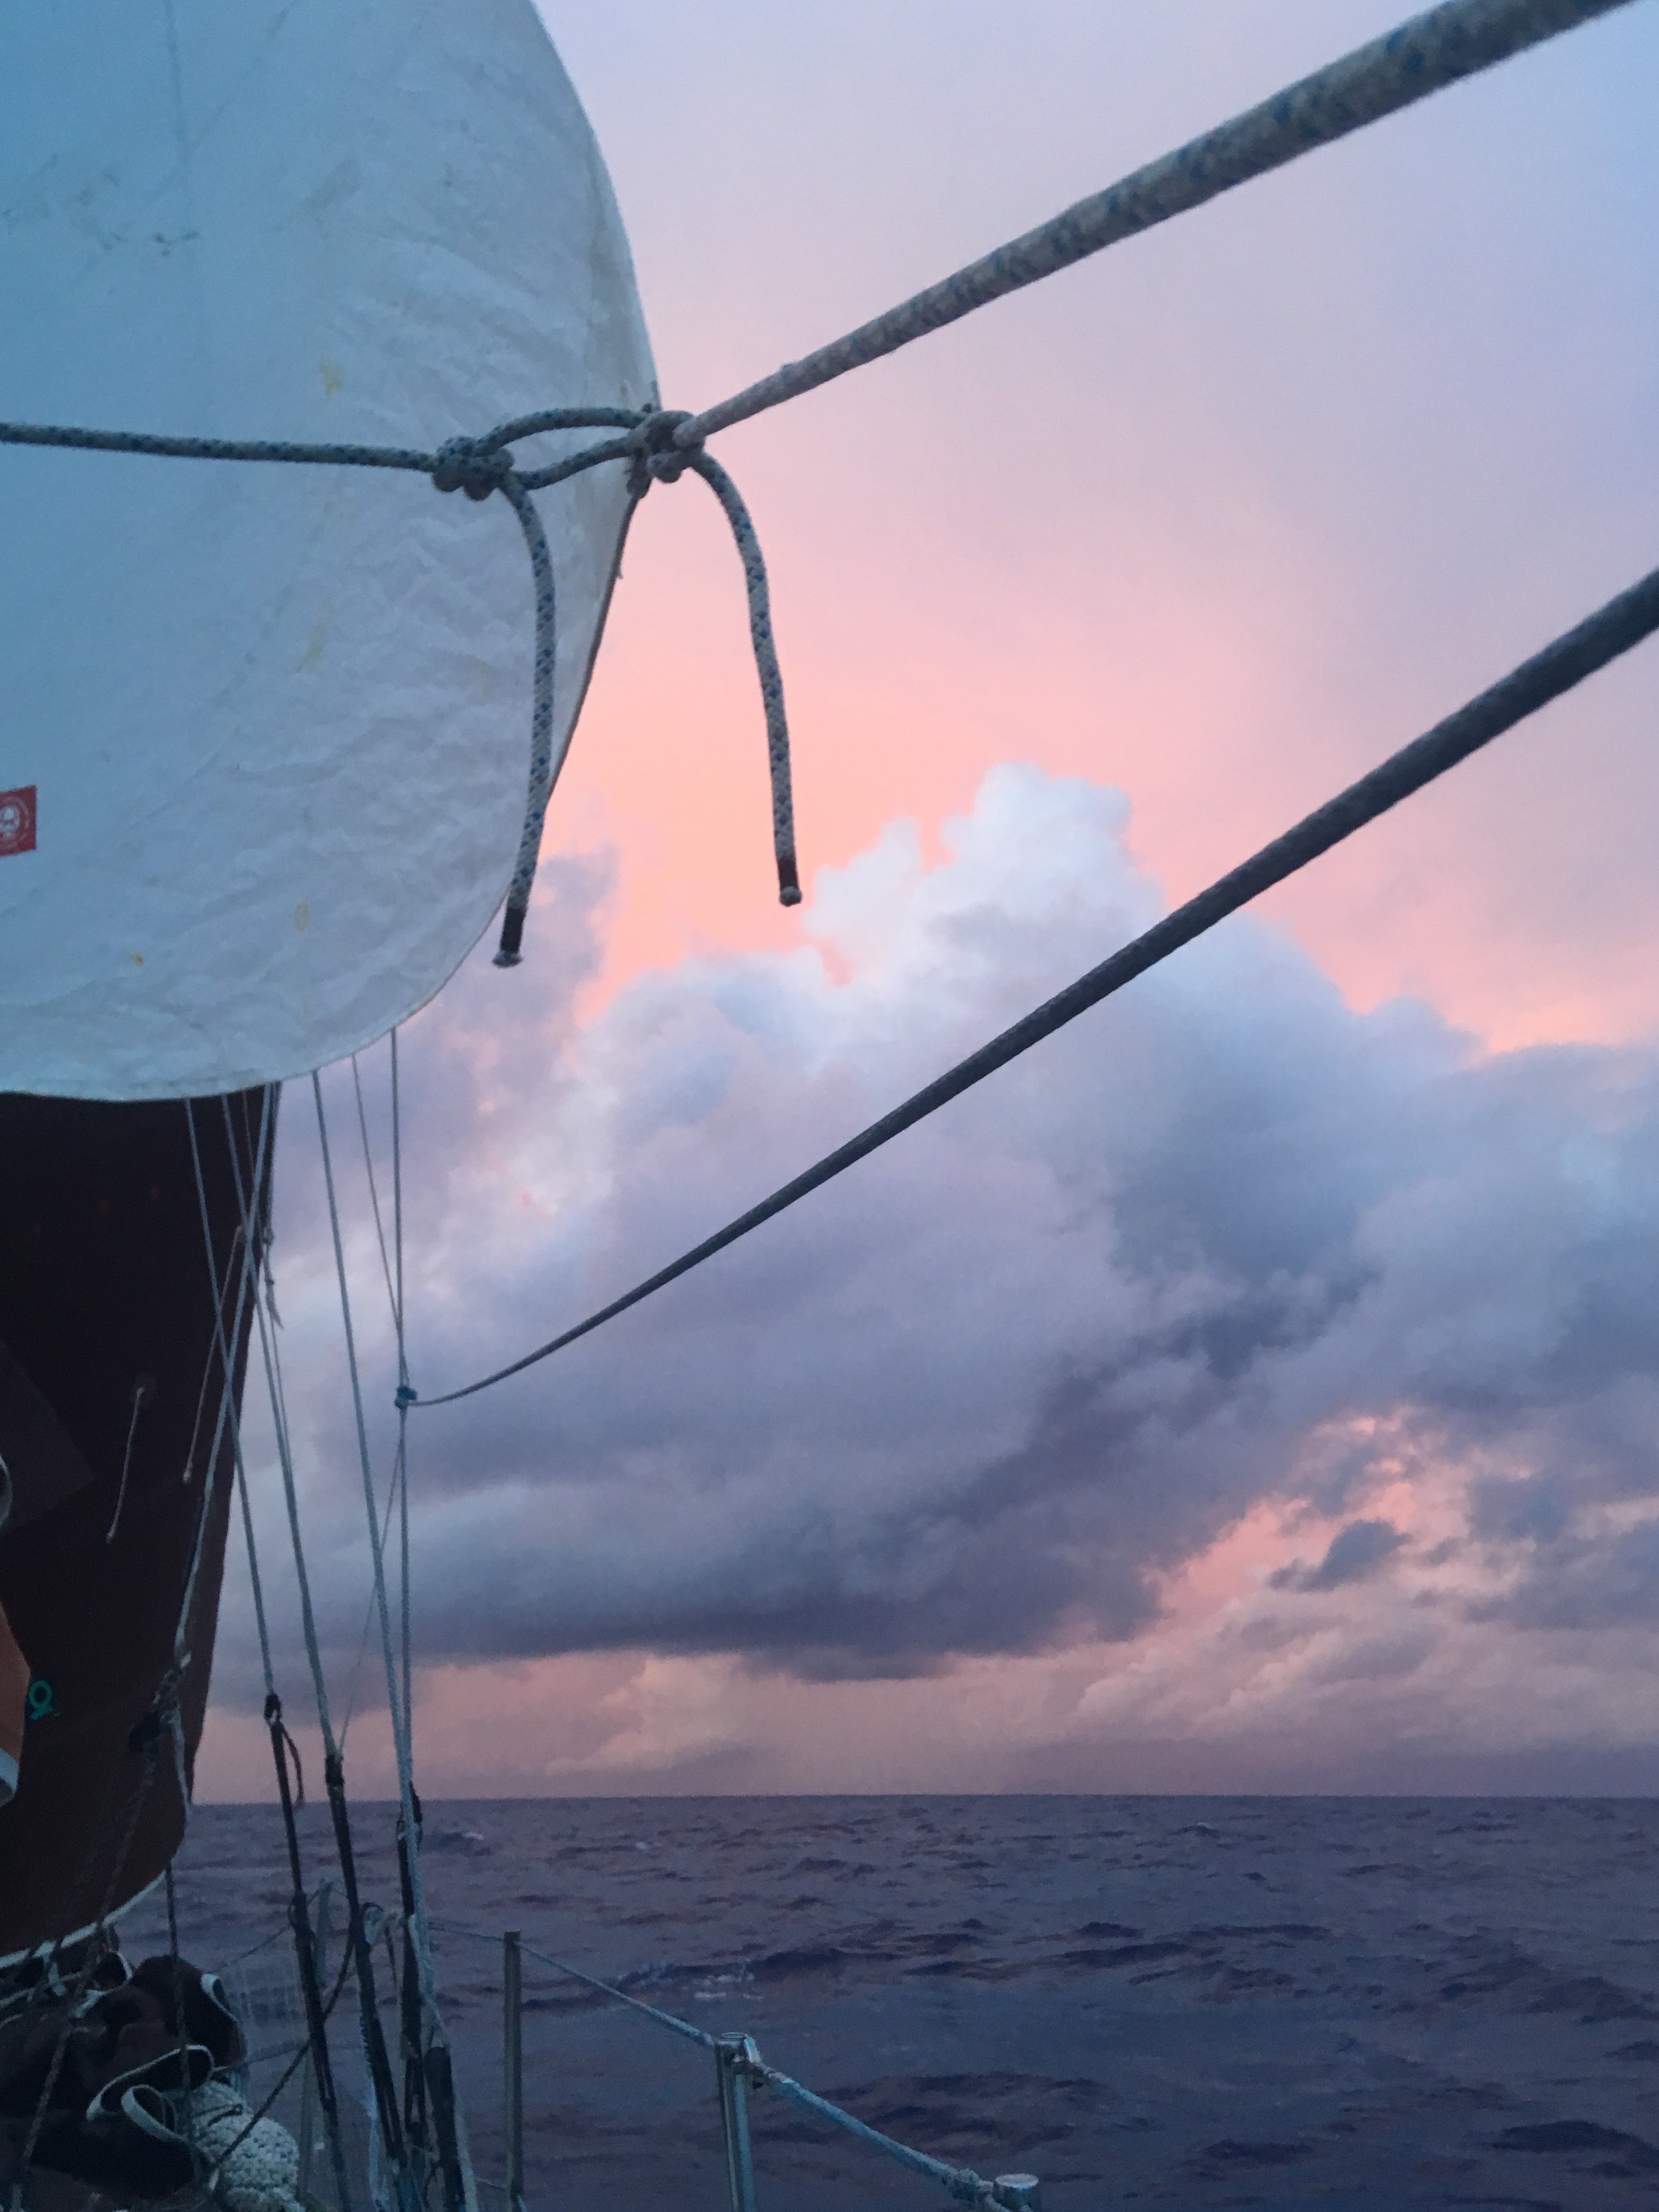
All this got me thinking about alternatives to this debacle. What about taking a very strong dyneema line and simply tying the tack in place? 

FullSizeRender.jpg

I used a 7mm length of SK-78 dyneema with an alpine butterfly hitch tied in the middle to give the tack line an appropriate purchase point. The line simply passes through the tack webbing, through the bight, back through the tack webbing and back through the bight, then through the webbing one more time to tie off just below the alpine butterfly hitch.

Having a long length of line means that I can reach the tack webbing with ease from a distance, and the purchase system lets me pull the tack down tightly.  The dyneema is very strong and able to hold the forces of the sail with ease.

It is imperative that the tack line run down and forward to keep the forces mostly vertical on the luff of the sail. If the tack line does not have a forward component to it’s pull, the luff of the sail will be pulled aft with no countering and it will rip your luff off the luff track.

What we do is tie the tack line, tension the halyard with the winch, then set the clew line for the reef. This way, the clew line is acting on an already tensioned and set tack, resulting in a stable reef setup with zero risk to the sail during sail raising. 

Weather Helm and Lee Helm

Sailboats have two rudders steering them, not just one!

IMG_2250.JPG

The first one is the one everyone thinks of when you they hear the word “rudder”. This is the appendage that hangs off the back of the yacht that is controlled by the wheel or tiller and is the primary method for controlling a yachts direction.  

IMG_2734.JPG

The second one is exclusive to sailboats, as powerboats do not have this second rudder, the sails. As wind hits the sails and gives the sailboat power to drive through the waves, it also influences the direction the yacht will go as it moves through the waves. 

If the sails are all at the back of the yacht, the wind will hit them and push the back of the yacht downwind and the bow upwind. This is known as weather helm. 

If the sails are all at the front of the yacht, the wind will hit them and push the front of the yacht downwind and the stern of the yacht upwind. This is known as lee helm. 

Having the right balance of sails, front and back, is necessary to cause the yacht to be pushed evenly and to avoid this urge to rotate. 

The urge caused by the wind can be felt in the helm, and can lead to crew fatigue if you are counting on the rudder to compensate for unbalanced sails.  When the yacht wants to turn upwind, simply turning the helm to leeward will make the yacht sail in a straight line, but you will have conflicting events happening. The sails want it to turn upwind while the rudder is dragging through the water trying to turn the yacht back to leeward. The result is these forces will cancel out and the yacht will sail straight! But the cost of these conflicting forces will be loss of speed as the rudder and sails need to cancel out their opposing forces instead of all moving forward in harmony.

Trimming each sail to optimum performance by following the tell tales will give you maximum performance out of each sail, but not optimum performance out of the entire system. If you sacrifice pure performance and instead focus on minimizing weather and lee helm, you will actually sail faster and with less drag.

Thinking of the sails as a second rudder, almost as an air rudder, will be advantageous in your seamanship abilities. Instead of setting the sails for power, and then adjusting your course with the rudder, it would behoove you to set the sails based on the winds and point of sail you wish to be on, then fine tune your heading with the rudder. Thinking of the sails as your primary steering method, more of a macro rudder, and your rudder as a fine tuning steering method, more of a micro rudder, will let you sail most efficiently and effortlessly. 

FullSizeRender.jpg

Controlling Weather Helm while on a Run

Weather helm is a phenomenon where the force on the sails wants to turn the yacht up and into the wind. This is caused by having the Center of Effort (CE) of a sail aft of the Center of Lateral Resistance (CLR) of the underwater profile. Balancing the sails is simply the act of playing around with the CE to get it to be directly in line with the CLR. ​

If the CE is ahead of the CLR, the boat will have lee helm and will want to turn downwind. If the CE is aft of the CLR, the boat will have weather helm and will want to turn upwind. Only when the CE and CLR are directly over each other will the sailboat be balanced and sail straight, not venturing upwind or downwind.​

Balancing the sails is not the same as trimming the sails for maximum performance. A lot of time, you will need to have your sail working at less than peak performance to properly balance out the whole setup. This is easy when you are sailing on a beam reach, where all the forces acting on the yacht are coming from the side, but what about on a run?​

To be on a run, you need to ease your mainsail all the way out so that it can act as a large drag to the apparent wind and be pulled along, likewise pulling your yacht along with it.​ Here is where it gets tricky.

FullSizeRender.jpg

As you ease your sail out, the CE of the sail will not only move forward, which will help give you lee helm and pull your yacht downwind, but it will also move the CE laterally and outboard. This long and very powerful lever arm, also known as your boom, will act on the mast and try to turn your yacht opposite of the direction you have eased the sail. In this case, with the boom eased to port, the force on the sail will try to turn the yacht to starboard. This may feel and act like weather helm, but it is not caused by the aft movement of the CE, instead it is caused by the leverage of the mainsail held out by the boom.

The further outboard the clew of the sail is, the longer the lever arm is that is acting on the yacht, and more leverage the sail will have to turn the yacht in the opposite direction. 

Your options here are simple, either you can move the clew further in or not ease the sail as far. Moving the clew inboard is effective at reducing this torquing. This can be achieved by either reefing the sail or simply not easing the clew past the beam of the boat. Obviously, these options seem counterintuitive as the apparent wind while on a run is less than the true wind; more sail would seem logical!

Instead of reefing, and dealing with the boom on a run, an alternative is to raise the trysail. 

IMG_2737.JPG

The trysail has no boom, so the foot will curl more easily when the sail is eased. As you ease the sail, the clew will tend to move directly forward from the sheeting point, and as such will stay inboard of the beam of the yacht. 

The sail is also smaller but when eased will fill up and provide a great amount of drive downwind. Since the sail will curl up, the majority of the sail will be right along the mast, in the middle of the rig, further keeping the CE close to the midline of the yacht. 

Being a small sail, it also won’t block the wind from reaching your headsail. This will increase the headsails effectiveness which will then aid in keeping the bow of the ship pointed downwind.  

IMG_2265.JPG

Having a trysail up on a wonderful day may not seem intuitive, but it really does help take out the weather helm while sailing downwind. This will balance your sailplan and let your yacht sail more balanced towards your downwind destination.