Heaving To (For Convenience)

There are many reasons to heave to, usually all related to stopping the boat to fix something that has gone wrong.  

It could be that the weather has become too powerful to safely navigate, or that your gear broke and you need to stop and tend to repairs. It could also be that someone fell overboard and you need to recover them! 

All of these situations involve something that is not good happening, and heaving to to let you fix it.  

There is one pleasant reason to heave to: because you want to. 

If you are granted a weather window to leave an inlet but are faced with an upwind destination, you could either tack forever and work like a dog; or heave to and wait for the right winds. 

Heaving to will pretty much stop you in the water, making you slowly slip sideways through the sea. This means that you will move slower than if you ran, or lay a hull (which would be the equivalent of running under bare poles). 

Heaving to also keeps your sails ready should you drift into something and need to get away from it. If you were laying a hull, you would need to hoist the sails and set them, whereas heaving to would only require that you set the sails. 

Once the weather you want comes around, you will then scoot right along without having to work very hard. This will put you further along and makeup for the day you sat waiting still in the water. 
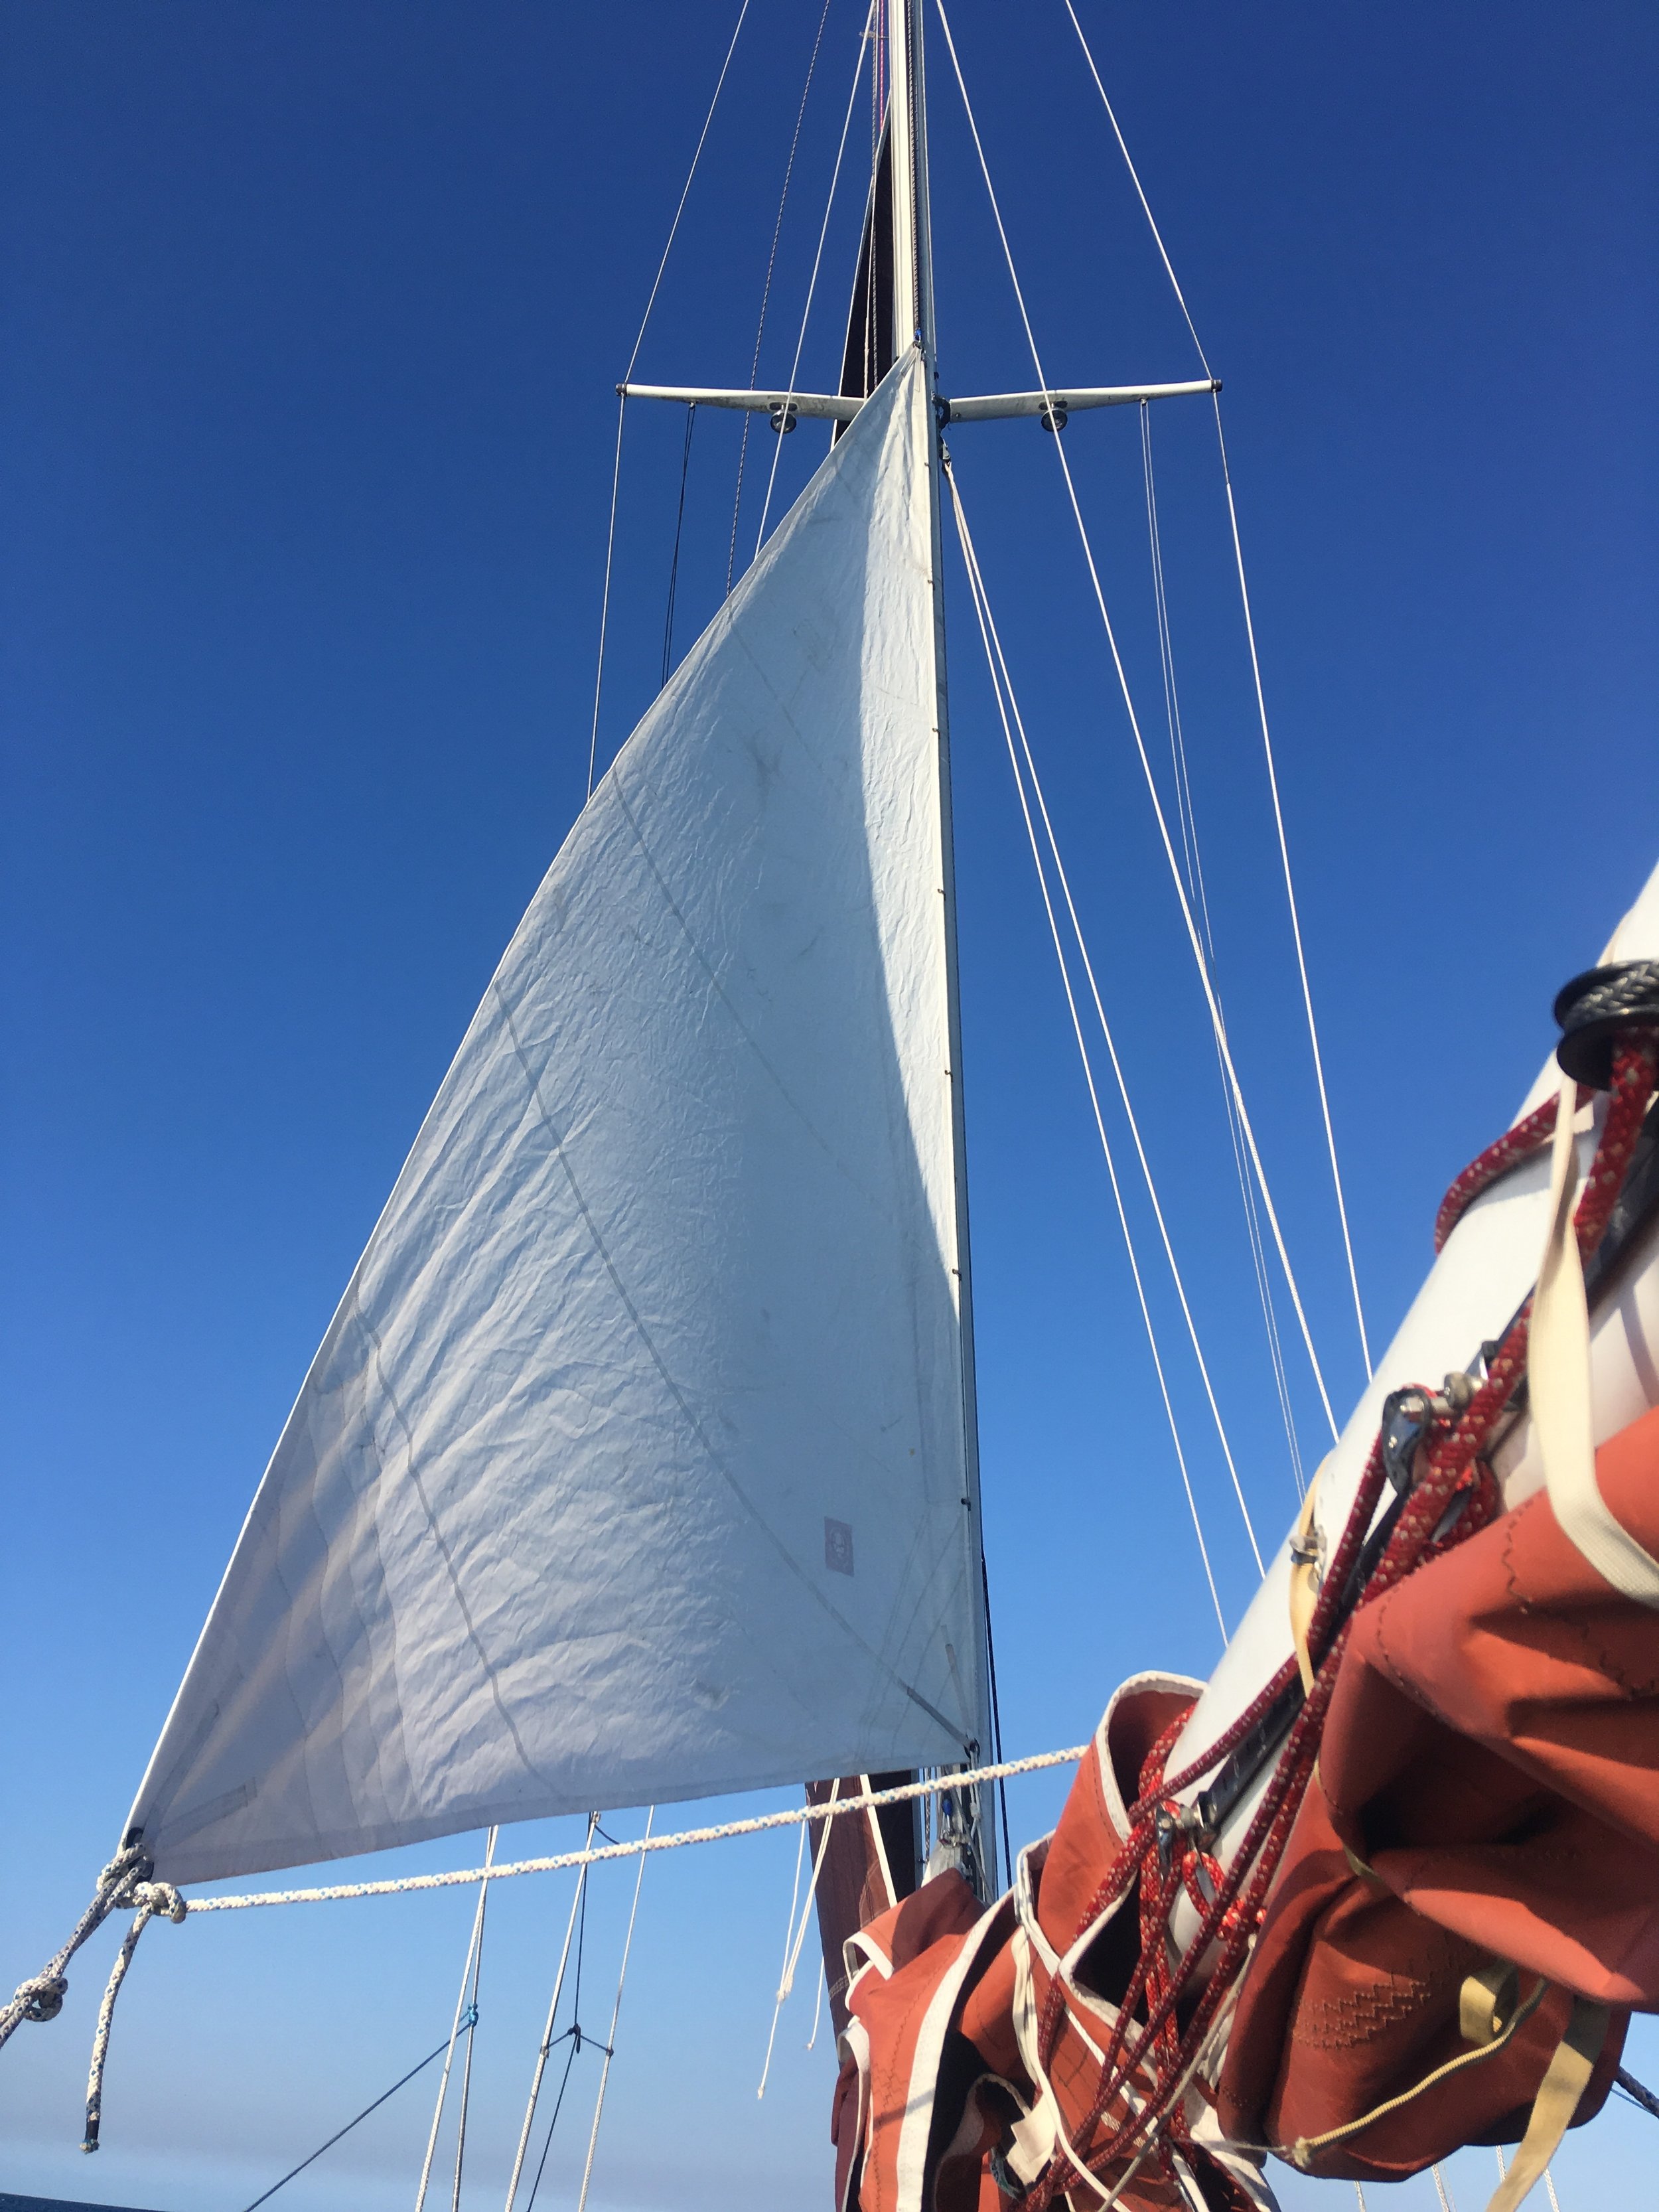
image.jpg

Waiting for Wind

Sometimes the best wind to get to your next destination is not the same wind that you need to get out of your anchorage. We were very happily moored in Fort Pierce, FL. ​

We were on a mooring ball and the conditions were comfortable, even in foul weather. But, we want to get to Miami, which lays about 120 miles south of Fort Pierce. ​

To get to Miami, we really need the Northerly winds brought down by a cold front. These systems will bring powerful winds that will blast you towards your destination with very little sail flying. We have sailed this way successfully since Charleston, SC, flying only the storm jib and trysail.​

To safely leave the Fort Pierce inlet, we needed a nice calm day when we could ride out gently with the current. So, we slipped out of the inlet and out into the Atlantic Ocean, where we were met with a gentle southerly breeze. We tried tacking a bit to make some miles south as we wait for the cold front that will arrive tomorrow., but to no avail. We tacked for over 2 hours, and only moved a few miles from the inlet. The palm trees that line the inlet are still very clearly visible and the work seems to be in vain. ​

image.jpg

So, here we sit, on a gorgeous day, hove to. three yachts are dialing past us, flying only their massive genoas, as they ride the downwind passage to their northern destination. We, on the other hand, must wait for tomorrow to make our miles!​

Neighbors at Anchor

IMG_2169.JPG

This morning, we awoke to a new neighbor!  

I am a huge fan of bowsprits and bumpkins because they add sail area to a yacht without allowing you to overload the boat with useless clutter!

This boat has a rather short waterline length with long overhangs that are composed of spars. The bowsprit moves the headstay forward of the stem, and the bumpkin moves the backstay aft of the transom.  

If these spars did not exist, the yacht would need to have a longer deck to reach the stay positions, and a longer deck means a longer hull. A longer hull means more interior space, and more interior space will give the opportunity to store unnecessary items that will weigh down the yacht and degrade its sailing capabilities. 

Having spars increase the LOA without a longer hull removes the temptation to keep more stuff on board. It also helps lower the cost of building the boat because a spar is easier and cheaper to build than a larger hull. This will give the yacht a larger sailplan on a smaller budget, and that means that he can sail in more conditions with greater ease. 

Seizing a Shackle

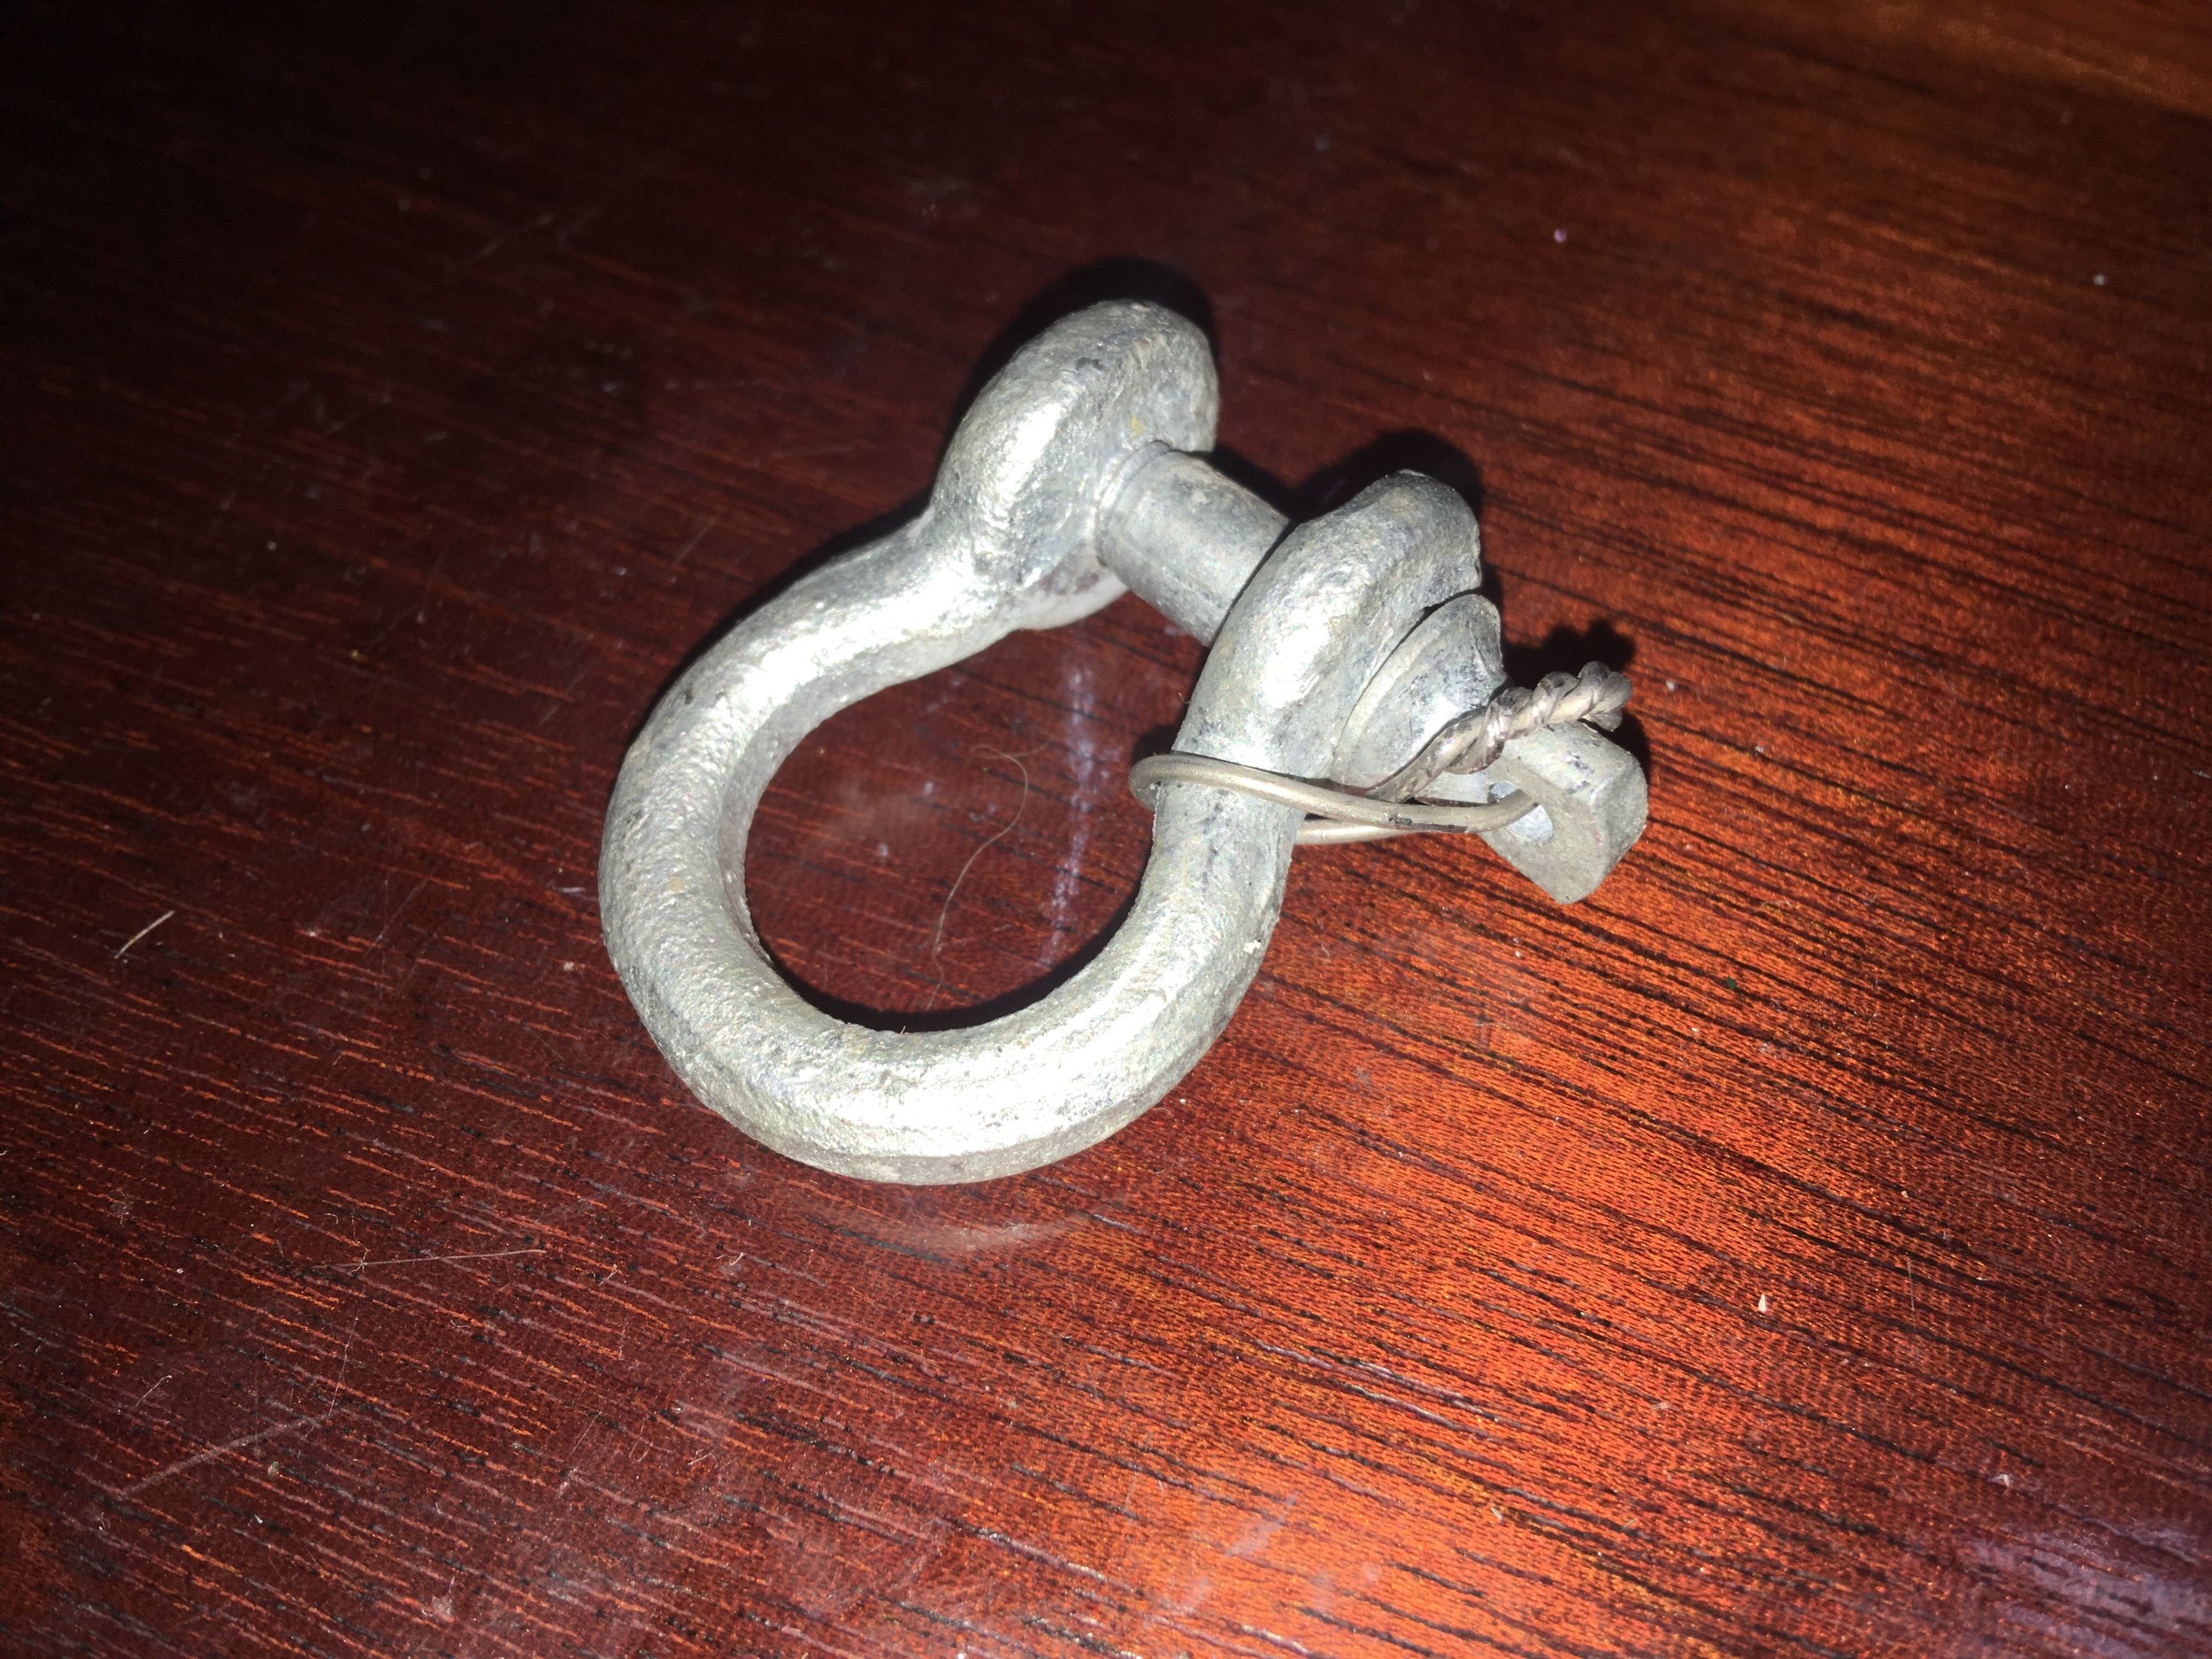
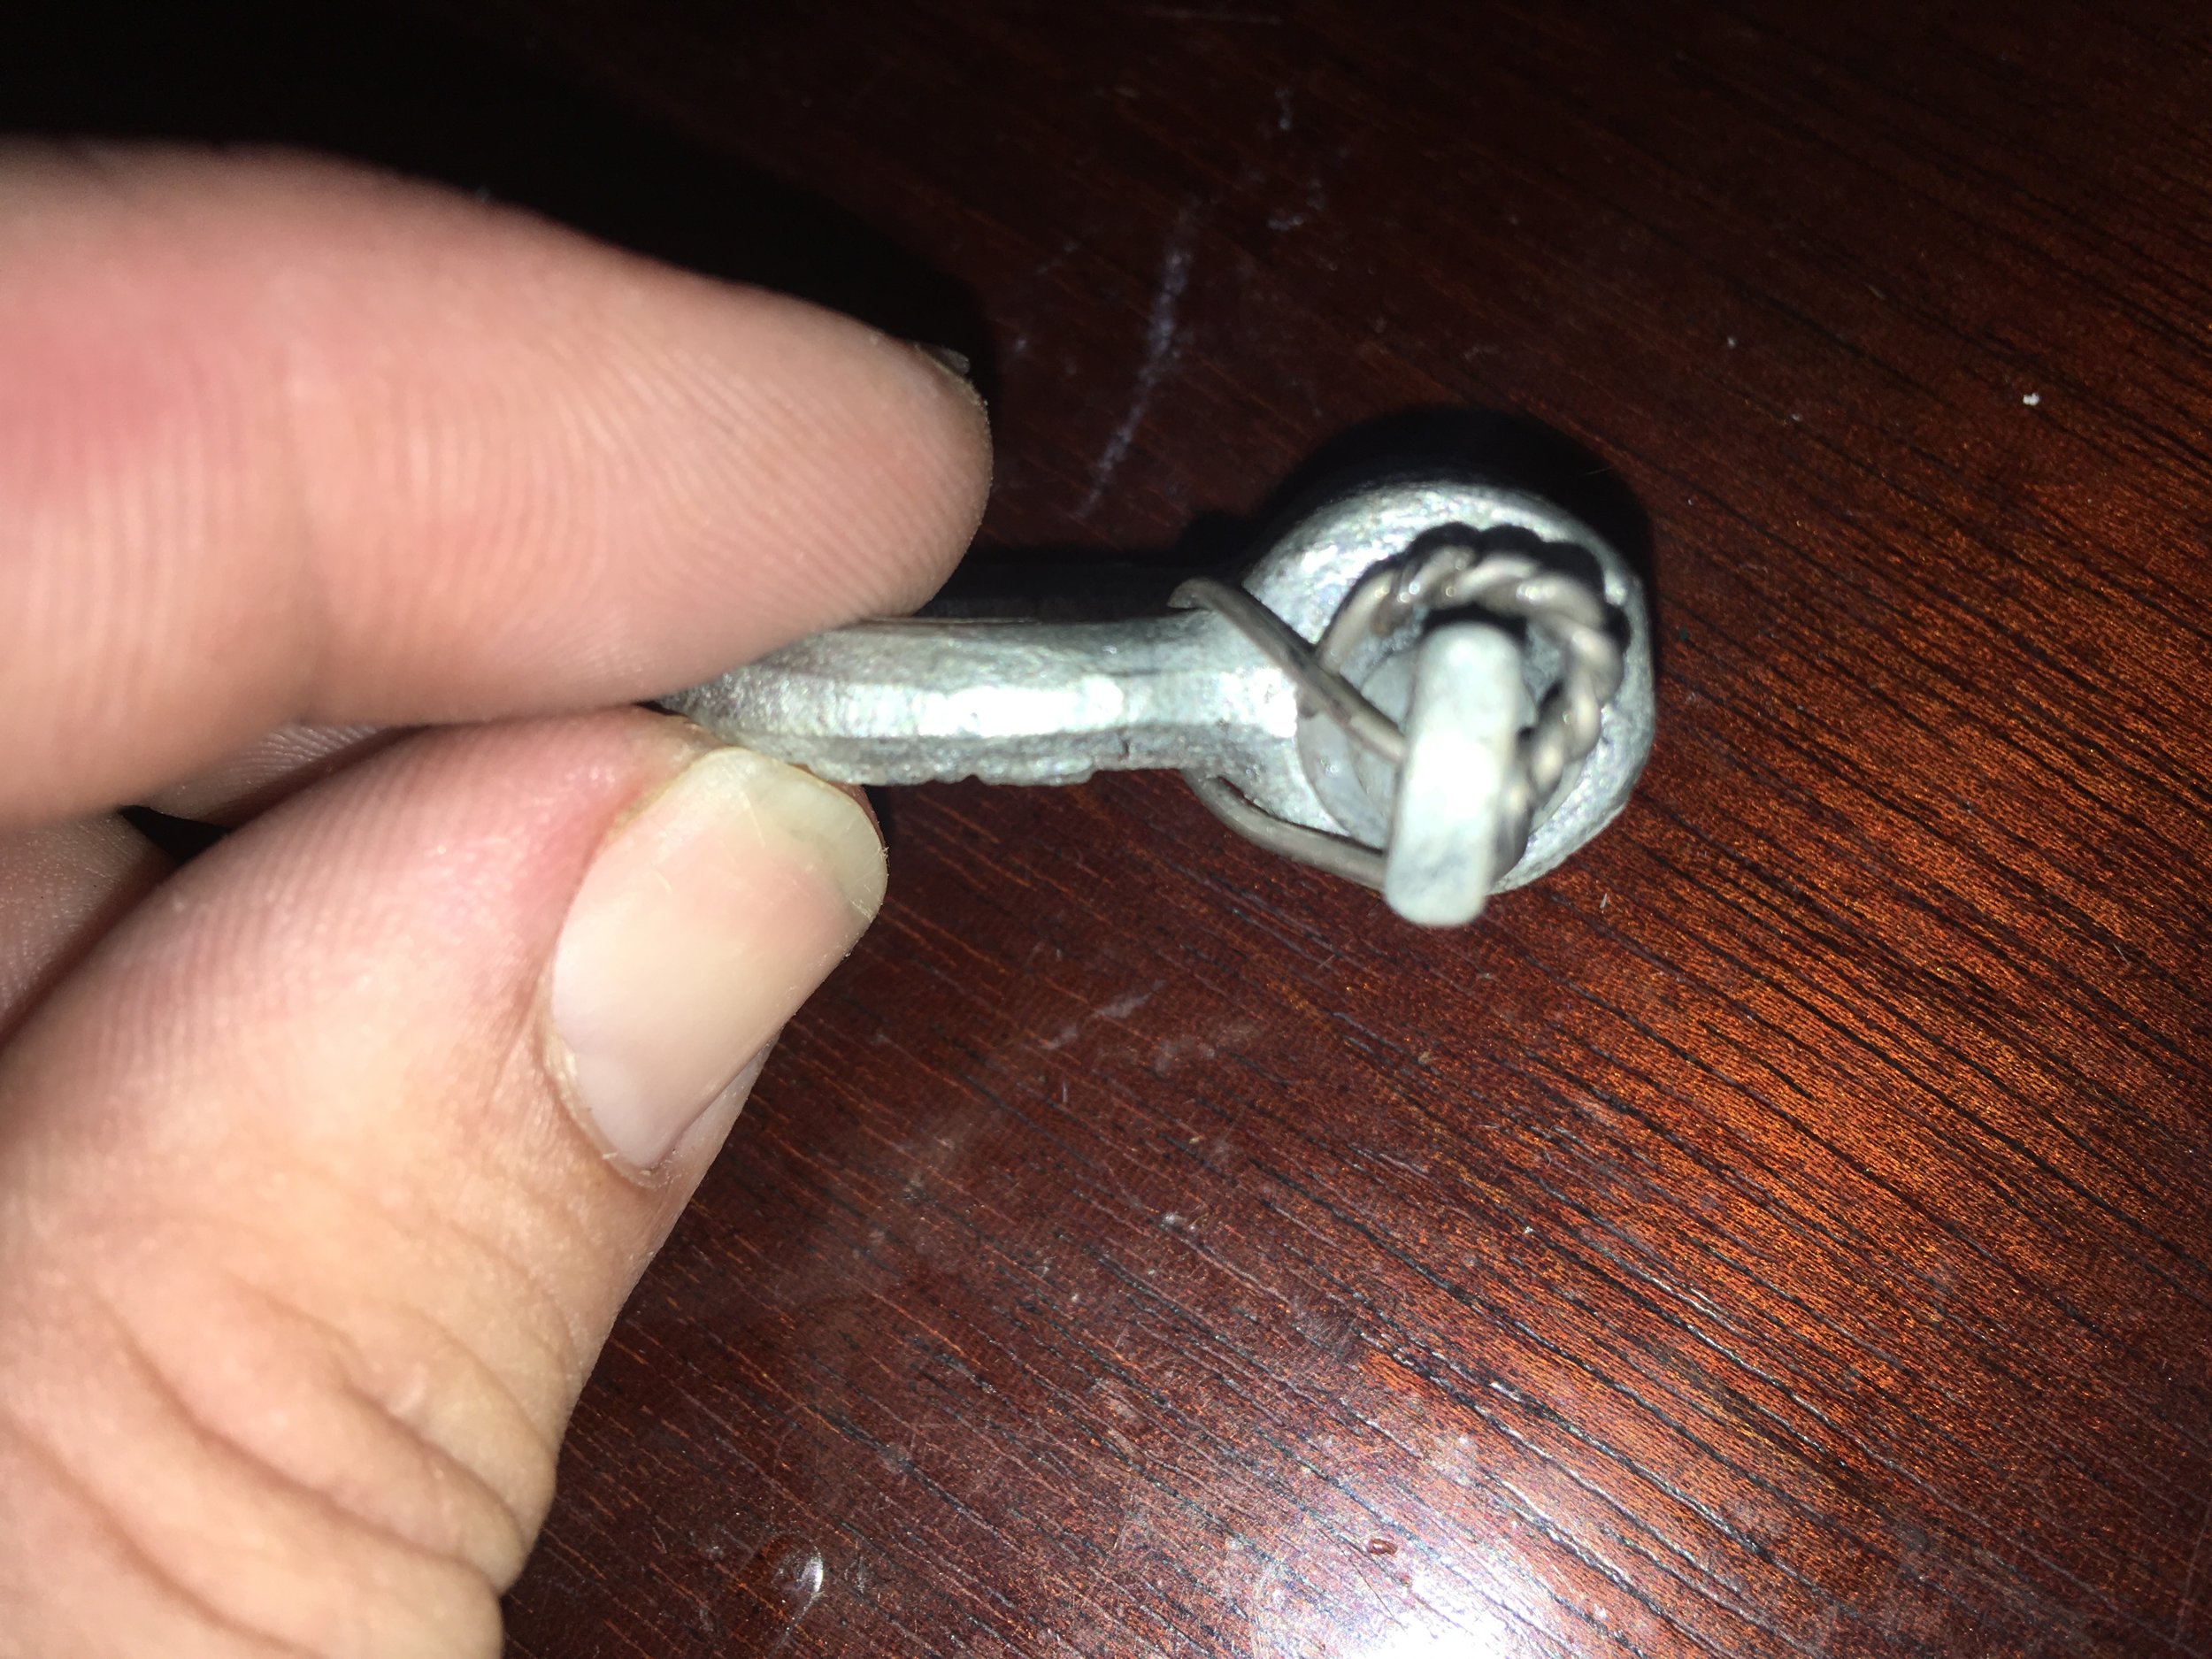
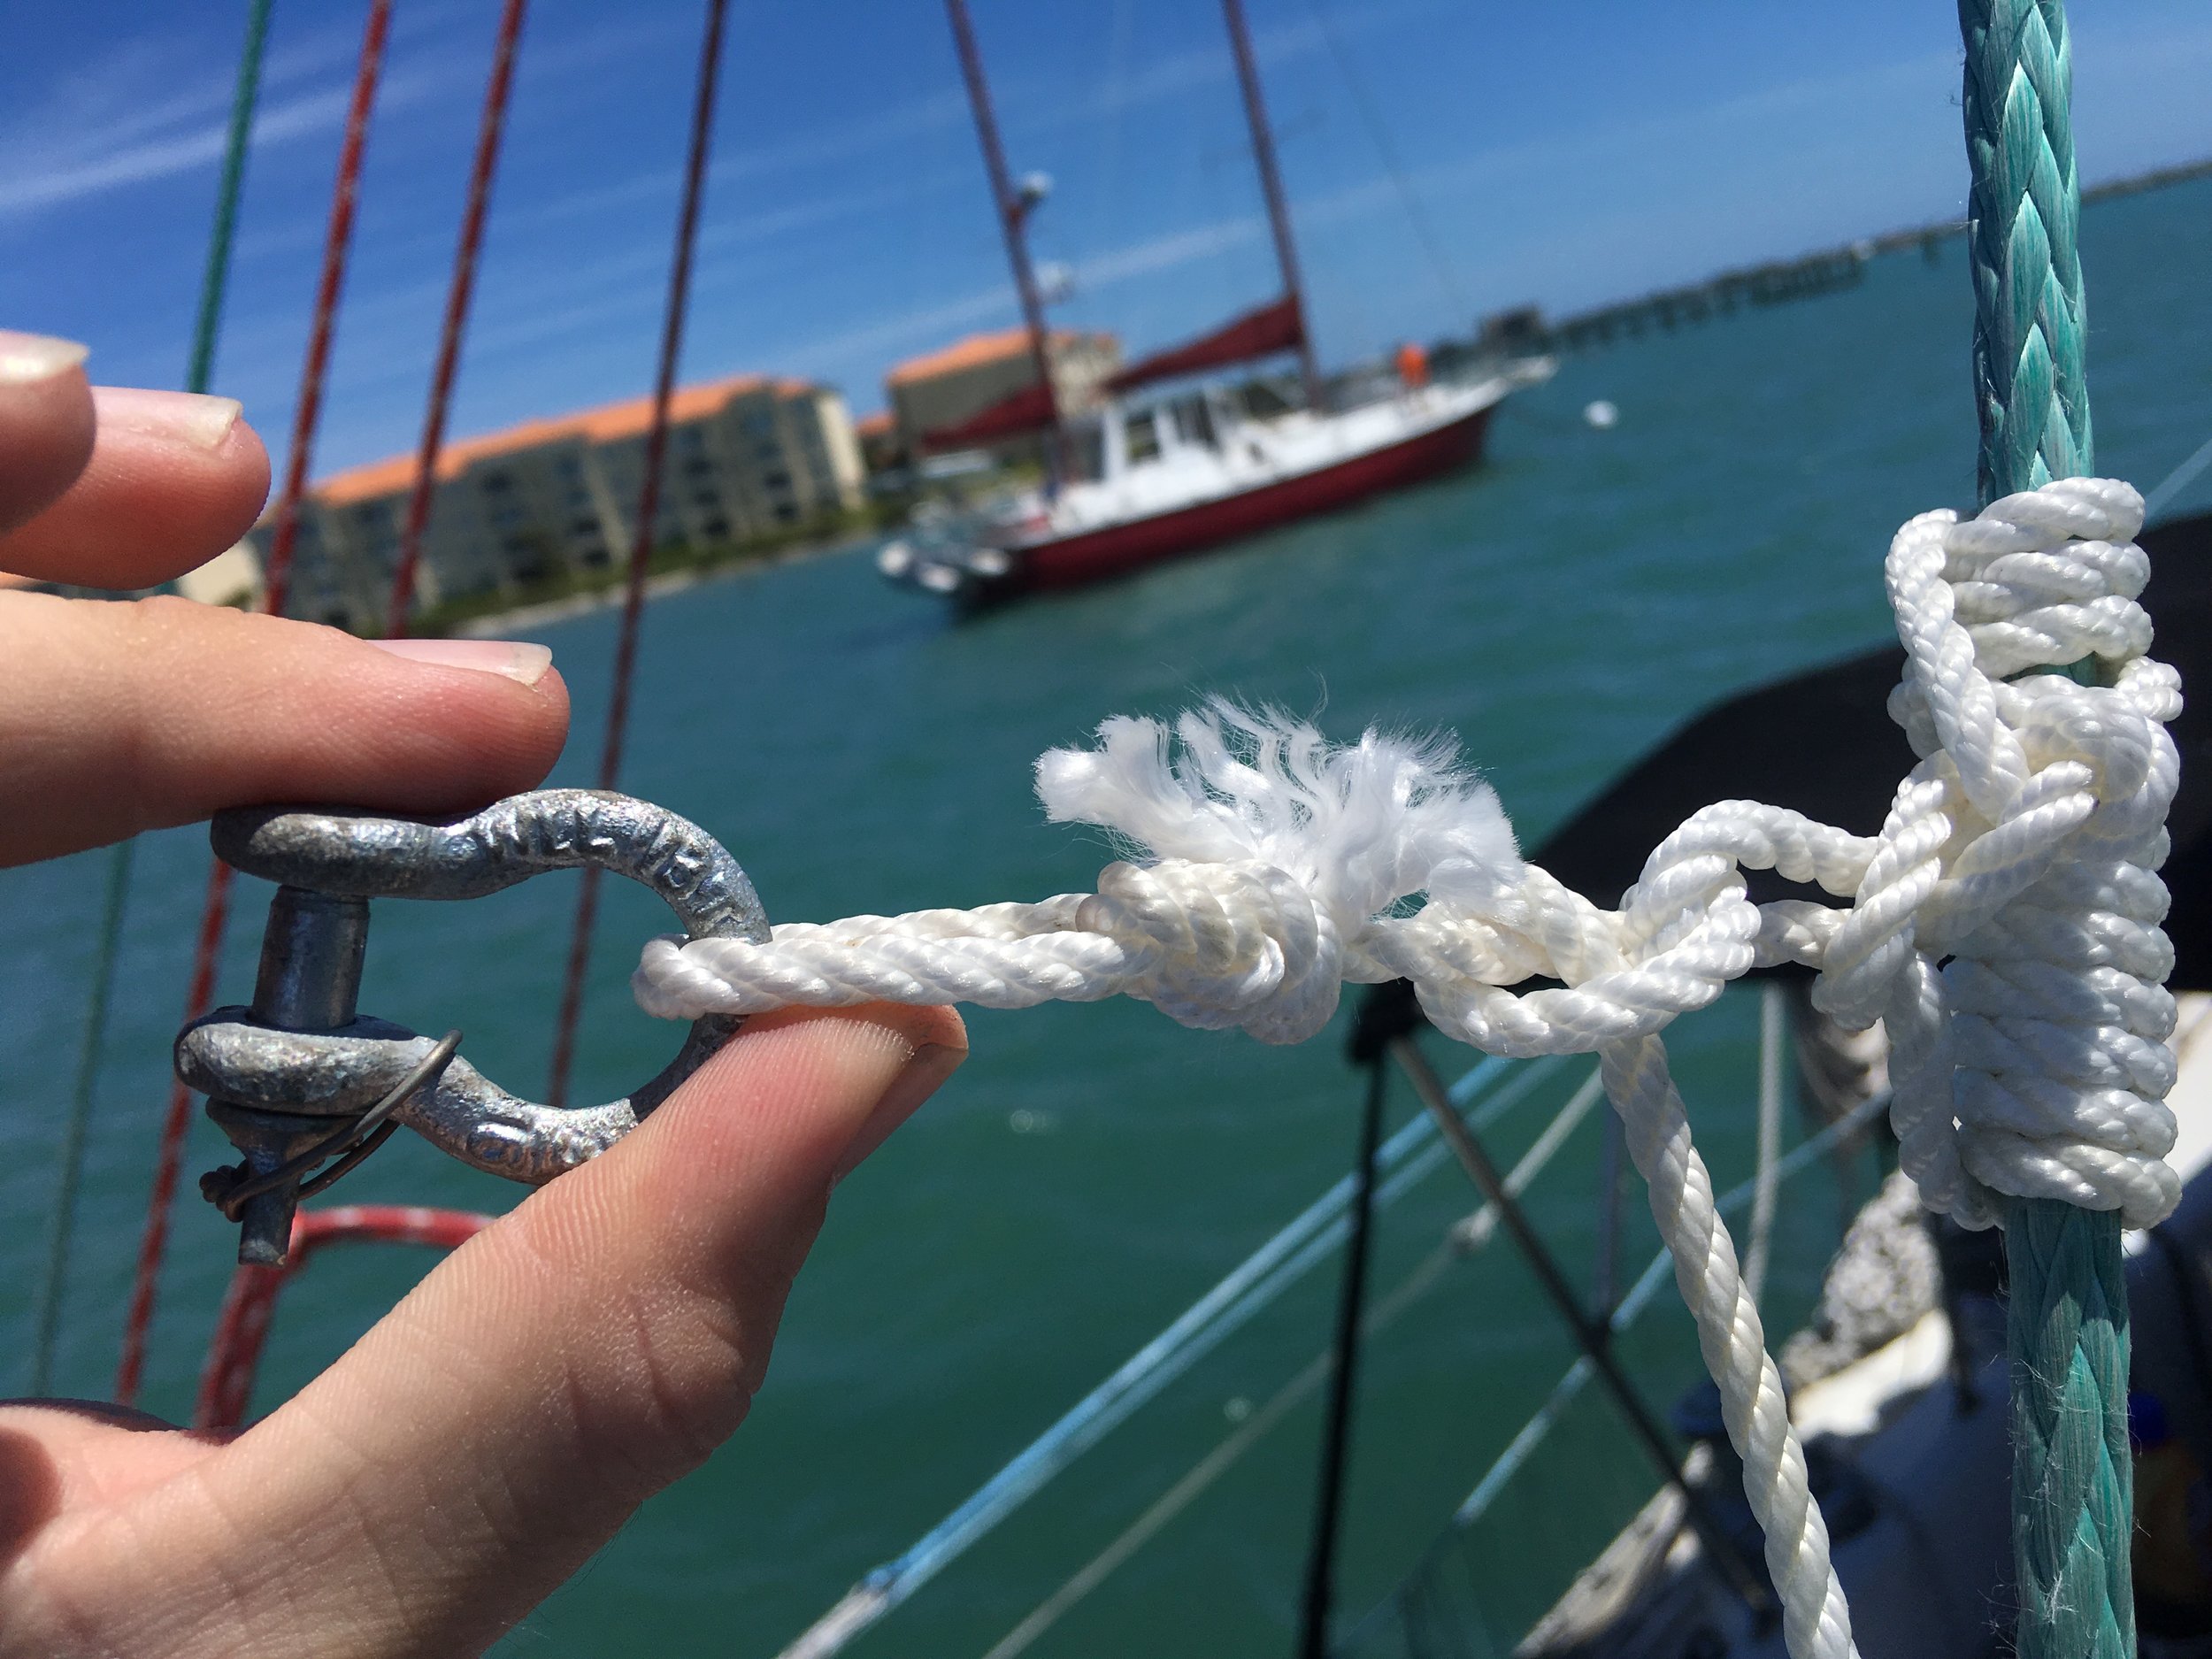
When you install a shackle, it is important that you seize the bolt so that it doesn't come unscrewed and fail. This is very easy to do, all you need is a little piece of stainless steel wire. 

IMG_2153.JPG
IMG_2156.JPG
IMG_2168.JPG

The wire is passed through the little hole in the bolt and then around the shackle. Then the tails are twisted together tightly and bent over to prevent snagging on anything. It is always a good idea to tuck the twisted tails close to the bow that way they are less likely to snag on anything. 

That's all there is to it! Now make sure that your anchors shackles are all seized up so you don't lose them because a simple pin came unscrewed. 

Backstay Flag Halyard

Flag halyards are small halyards designed to raise and support a flag. The backstay is a great place to fly a flag because it will allow the flag to fly clear of any obstructions that could otherwise tangle or snag the flag as the wind shifts. 

Now, to install a backstay flag halyard, you have to install a block of some sort high up on the backstay,. This will be the maximum height that the flag will be raised, and there are two options on how to do this. First, you can climb the mast (via the backstay) and attach the block on the backstay itself. The second method is to tie a hitch knot that will hold in one direction, and slide in the other.  

IMG_2157.JPG
IMG_2165.JPG

I opted for the second method, as we do not need the flag to be too high up, so by tying a hitch knot on the dyneema backstay, I was able to then simply push the knot up the backstay with a pole. This allowed me to raise this point without leaving the deck! (Be sure to install the halyard in the block before you push it up the backstay though). 

IMG_2161.JPG

This hitch knot will slide up but when the block is pulled down, it will bind on the dyneema and hold firmly in place.

IMG_2172.JPG

If you have a backstay adjuster, you want to make sure that the flag halyard remains lower than the lowest position of the backstay adjuster. This will keep the flag halyard from interfering with the more important function of the backstay adjuster. 

IMG_2171.JPG

With the halyard installed, you can fly your flag from the backstay!