Running Rigging

Snagging Other Anchors

Every time you drop your expensive anchor, you run the risk that you will never see it again! Deep below your keel lurks many unknown hazards that can grab onto and never let go of your anchor. You never know if you will hook onto something that will snag your anchor and never let it go.

Popular anchorages are a double edge sword. This location is obviously a popular spot since amongst boaters, but at the same time, there is more risk of debris being on the bottom to snag your anchor!

In Charleston, SC, the most popular anchorage in the harbor is right across from the City Marina. This anchorage is also famous for eating anchors, and according to the reviews on Active Captain, it will "eat your Rocna." The anchorage is deep, but also full of wrecks, some boats are tossed up on the shore while other masts are poking out of the water.

Since this place was the best location to anchor and reach the dinghy dock and the historical part of town, we decided to anchor on the outer edge of the anchorage and try our luck!

Our holding was great and we had no issues with dragging as the tides changed. Then the day came to leave and we encountered a problem.

IMG_1511.JPG

​The chain was rather difficult to raise, and I was forced to pull it up with the windlass on low gear. This meant that each stroke that I gave the windlass handle caused 1 link of chain to be raised. Slowly but surely, we raised the chain up into the boat and stowed it in the anchor locker. When we got to about the 140 foot mark, we got a big surprise!

It appeared that an old helical mooring screw has been snagging anchors over the years. These anchors had all gotten stuck and the owners had given up on retrieving them, cut the chain and said goodbye. As the years pressed on, more and more anchors had been snagged, and their chains wrapped around the mass. The ball of dead anchors had grown in size, making it easier for other unsuspecting anchors to get fouled as well.

Our anchor was spared, but it appears that our chain had wrapped itself around the mass with each tidal change. The simple choice was to cut our chain and say goodbye to our anchor.

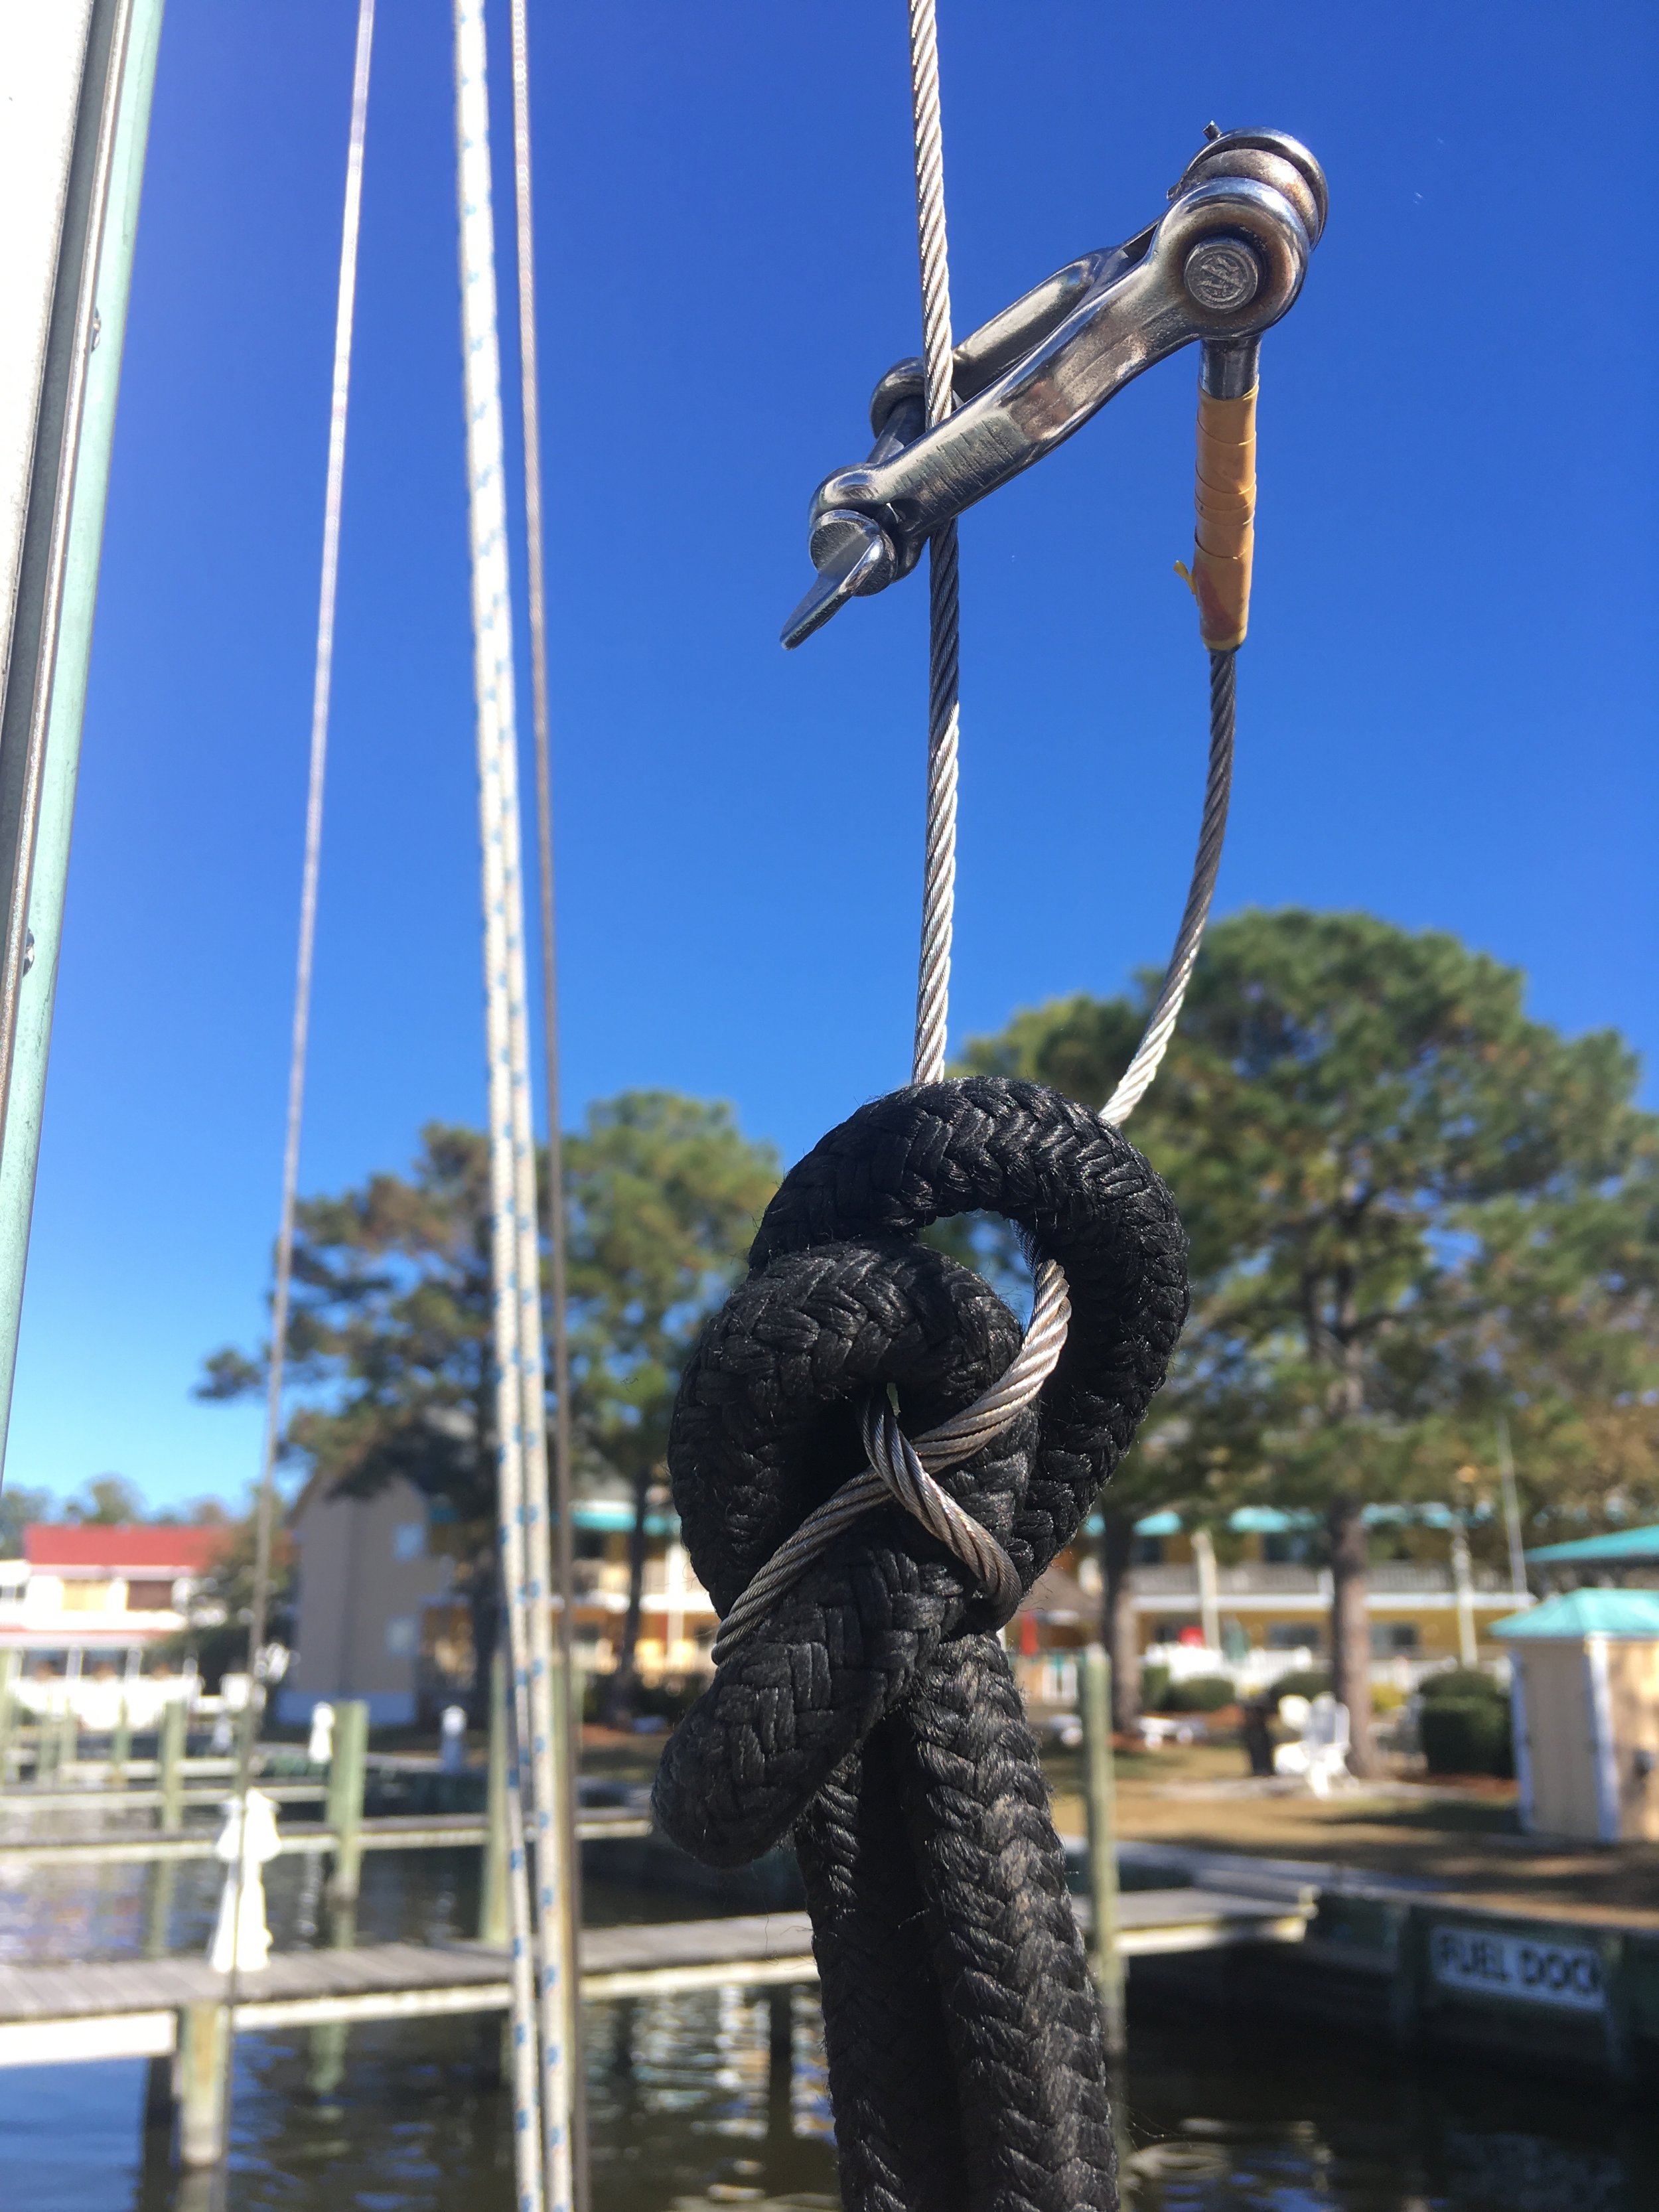
The not so simple choice is to untangle our chain and retrieve our $700 anchor and 150 feet of chain! To do this, I attached a halyard to what looked like an old rope pendent that seemed secured to the mass and wouldn't come free as I raised the mass. With the halyard secured, I slowly winched the abomination upwards and onto the deck.

Our chain was still leading out of it and off to the anchor, so the mass of dead anchors wouldn't swing in towards the mast. I then secured a line from the mass to the bow cleat so that it wouldn't swing back as the chain came free. I also tied a short snubber line to the chain leading to the anchor so that the chain in the mass would be freed of tension.

With the tension released, I began unraveling the chain from the mass. The chain was wrapped and coiled around the helical screw, as well as tied tightly around the flukes that projected from the death ball.

IMG_1514.JPG

Luckily, the original ball was full of mud that got washed away by the tidal current, making the chain a bit looser and allowing me to get the tangle undone.

After a few hours, the chain was clear of the snag and we were finally able to get back on our way, leaving Charleston, SC, and heading offshore to Florida!

IMG_1512.JPG

Broken Rudder Quadrant

Steering is one of the three important components of a sailing yacht while cruising, the other two being drinkable water and sails with sound rigging.

Our rudder quadrant shattered when we were pulled off a shoal and the rudder turned towards the direction of turn, causing the weight of the boat to turn it further than it normally does. The rudder quadrant rammed into the bump stop inside the hull and shattered as the weight of the boat forced the rudder and quadrant to turn further. 

IMG_1969.JPG

Making myself familiar with our steering system before we left and before anything broke helped facilitate the repair process. I know how it is supposed to be, so when it shattered, I knew how to remove it and how to reinstall it once it is repaired. 

Our rudder quadrant is made out of cast aluminum, so the repair of choice would be to have it welded back together. This would give us steerage again and allow us to continue our cruising.  

Loosing our rudder quadrant was quite a mental blow to us, as we had now lost one of the vital points of a sound cruising yacht. We do have a spare tiller and a spare oar that can function as a rudder, but luckily the tow boat was present so we were able to be towed by the hip to a marina while we await repairs. 

Little Nipper

An old phrase used to discribe a small child, but what exactly is a "nipper" and why do we call children this?

Well, back before child labor laws, small children were employed on large ships because they were small enough to fit down the hawse pipe that leads the chain out to the anchor. There was no way the crew on the ship could lift the anchor by hand, so they needed to use a capstand to provide the force needed. The issue is that the chain the ship used didn't fit on the capstand, so they used a rope for this purpose called a "nipper". Yes, a rope needed to be tied to the chain so that it could be hauled in with the capstand and that would take the weight off the chain so that the crew could haul the chain rode up onto the deck.  This was called "nipping" and you needed someone small enough to crawl down the hawse pipe to tie the nipping line to the chain.

Naturally, a small child would fit through the pipe the best, and since they were tying the nipping line, they were naturally called "little nippers".  

Next time you see a little one running around and call them a "little nipper", just imagine them climbing down the chain as close to the sea as possible to tie a nipping line to it! 

Measuring your Mast Height

Knowing your mast height is very important when you go cruising because you will encounter bridges and it would behoove you to know if you will fit under said bridge! If you hit a bridge, your chainplates and spar will suffer considerable damage that could easily cause your yacht to become a "total loss" according to your insurance company.

Measuring your mast height is very simple, or complicated if you want to take it to the next level. All you need to do is attach a messenger line to the main halyard and run it up the mast until the halyard reaches the shiv. Simply cleat off the halyard so you can pull tightly on the messenger line and carry out the measuring process. 

Now, all you need to do is to take the other end of your messenger line and lead it down to your waterline. With the messenger line pulled tight, you will create a straight line from your mast head to the waterline next to your boat. Without you realizeing it, you have created a right triangle that will aid you in your further calculations. 

If you want to keep your measurement simple, you can simply mark the end of the messenger line (where it got wet as it met the waterline) and measure the distance to the masthead shiv. This is a slightly longer than true mast height measurement.  

If you want to take it a step further, you can now use the triangle you have created to calculate the rest.  The messenger line is the hypotenuse of the right triangle. Half the beam is the base of the triangle, and the mast height is the unknown.

Using Pythagoras's Theorem, you can solve for the unknown mast height. Pythagoras's Theorem is: 

a^2 + b^2 = c^2

a is the height, b is the base, and c is the hypotenuse. 

the equation could then be reworked to fit our needs as: 

a^2 = c^2 - b^2

and then further broken down into

a = (c^2)^(1/2) - (b^2)^(1/2) 

This could be again simplified using the actual boat measurements into the following equation:

Mast Height = (Messenger Line Length ^2)^(1/2) - ((Beam/2)^2)^(1/2) 


If you feel like indulging your mind a bit further, you can now factor in the height of the mast above the shiv by using a wooden dowel. The dowel is attached to the halyard and tied in a a guesstimated height above the line. When the halyard is pulled up all the way, the dowel will point up and above the mast head and it can then be evaluated from a distance. The top of the dowel should be the same height as the top of the antenna on the masthead. If it looks a bit taller, simply scoot the dowel down on the knot. If the dowel looks a bit shorter, simply scoot the dowel up on the knot. 

When you finally set the dowel so that it is the same height as the tallest item on your mast, simply add this distance to your messenger line (or true mast height if you calculated it) and this will be your actual mast height clearance. 

Climbing Your Mast on a Wire Halyard

First off, I want to emphasize that you should never climb a mast with a wire halyard, or a wire-rope spliced halyard. 

Now, if you have a wire halyard and you need to go up, then you need to make due with what you have! 

If your halyard isn't long enough to reach your harness, now you need to attach a length of line between the end of the halyard and your harness, that way when you are finished, you will end up on the deck and not suspended a few feet above the deck when you are tired and want to get out of the harness! 

Wire is dangerous to tie knots in because it is both slippery and brittle. If you bend it too tightly, it will crimp and kink, damaging and weakening the wire strands and leading to its eventual breakage. Keeping bends open will also make it easier for the knot to slip and come untied. Thus you encounter the dilemma of tying a knot in wire and rope! 

IMG_1874.JPG

While helping out a cruiser climb her mast, I tied this knot between the two materials to allow her to hang safely from her wire halyard. The knot is a combination of a sheet bend and a figure eight in a bight. An important thing to do with this knot is to certainly secure the bitter ends. I attached the shackle of the wire onto itself and the bight of the rope had the tail passing through it. These added features are merely present so that if the knot were to slip, it would slid onto the attached bitter end and stop moving from there. 

Naturally, since this knot is new to me and created on the fly out of necessity, our cruiser friend who was in the harness and at deck level was encourage to drop from her feet to a seated position to test the knot and verify that there is no slippage or other concerns that might occur while she was aloft. 

While creating a new knot, be sure to test it at its desired function, and incorporate some method that will facilitate ease of untying after the knots intended purpose has been completed.