Choosing When to Go

While cruising, one of the biggest decisions you will need to make is "when to leave." While this may sound like a silly thing to ponder, it really goes much deeper than you would first fathom. 

The first step in deciding when to leave is considering your comfort. If you are anchored in the middle of nowhere, and have no protection or access to any stores for supplies and provisions, then it is easy to leave and head towards new waters. The problem is when you find yourself in the perfect place. 

You have easy access to shore, the holding is wonderful, and there is great protection from wind and waves. Now you are very comfortable, and leaving such a plush spot can seem rather hard to do. It gets even harder when you throw in cheap restaurants that are within walking distance and wonderful wifi! Now the thought of leaving seems rather insane! 

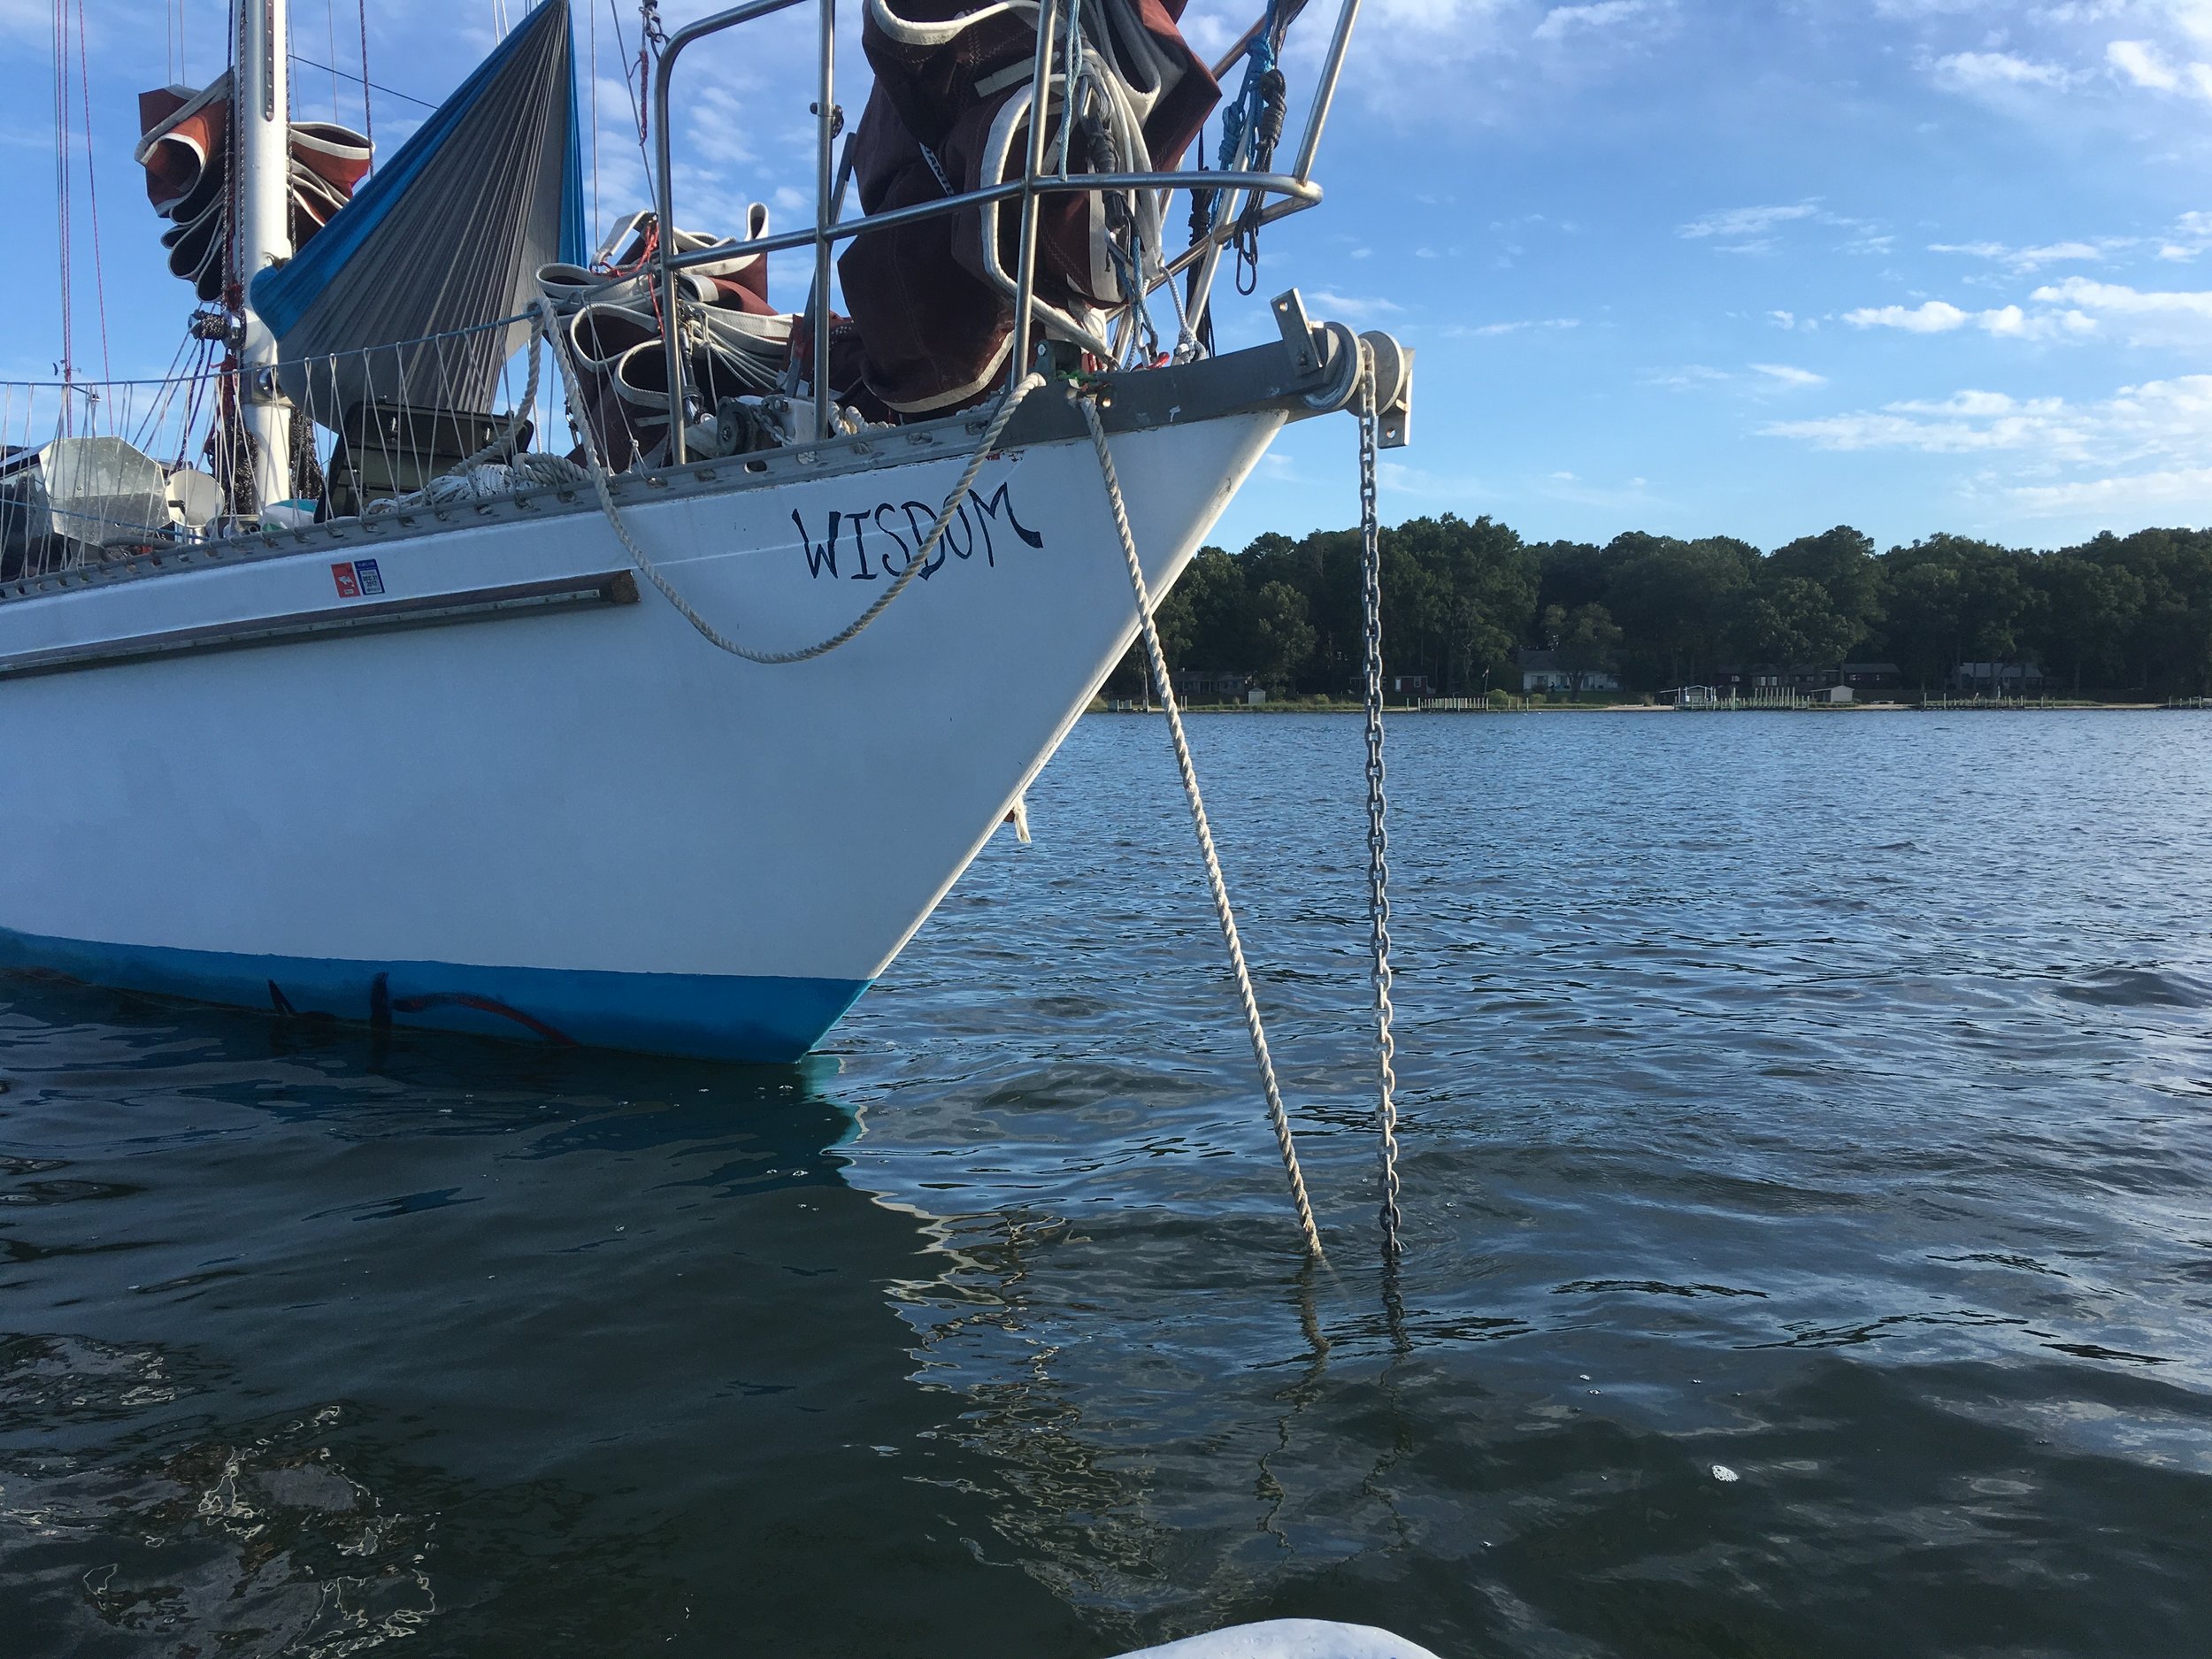
We have come across this dilemma while in Deltaville, VA. There is no crime here, and we have everything we could need or want right where we are! It is now late October, and the winter gales are starting to occur every 8 days. We know that when we leave here, we will have a 40 mile journey to the mouth of the bay in relatively cold and powerful winds.  

When we leave, we will have to brave strong winds, tall seas, and no more amenities at our fingertips! The choice is really hard, so we have been waiting for the perfect weather window to feel out when we should leave. 

It gets further confounded when you throw in the fact that when we leave here, we will be heading to Bermuda, and that means crossing the Gulf Stream! Now, our perfect weather window needs to be warm, blowing in the right direction, and timed perfectly with the tides to get us out of the bay. Then the winds need to be blowing correctly for the Gulf Stream. As fall descends and winter approaches, this list seems more like a wish list and less like a check list for a weather window. 

So what could make us leave our comfortable spot? The dream of clear waters and sandy beaches! While we are here in the marina, we can only dream of far away places; but we can never reach them if we don't untie the lines! 

Sometimes, we have to go because our heart tells us to, not because the conditions are right! We are planning on leaving very soon and simply dealing with the weather as it comes at us. We have our list of wants when we set sail, and then we have the actual forecast. Picking the compromise that gets us where we want to go and how we want to get there is the secret to it all. 

We could leave tomorrow, where the winds will be blowing 18 knots in the right direction, sending us on a 40 mile run that will probably take about 8 hours to complete, but it will be in the low 50F's. The alternative is to wait until the next day, when the winds will be blowing 4-8 knots, but at a much warmer 60F's. Leaving when it is windy will get us where we need to go, but the rigging will be slack from the cold and the seas will be trying. Then we will appear in the ocean for our first night with a significant swell. The alternative of leaving the following day might mean that we sail through the night to make it to the ocean, but we will be warmer and receive a much calmer welcome to the Atlantic Ocean. 

You might be wondering about the Gulf Stream, will the winds be good for crossing it any time soon? The answer is no! 

The winds are supposed to blow the wrong way for nearly a week! So we plan on getting out there and analyzing the situation for ourselves. If we feel that the stream looks tame, we will try to brave it, if not, we will continue to head south riding the counter current just west of the west wall of the Gulf Stream. 

This approach to cruising might sound crazy, but we see it as getting ourselves to a better waiting spot to head to Bermuda. This year has been a very strange year for weather, and the storms that have developed don't seem to follow the normal rules. With this in mind, we fear that we might get stuck in the Chesapeake for winter if we don't just get out of here.  

Heading south along the East Coast of the United States gives us the freedom to simply pull into another port if we need to restock our provisions, or head to Bermuda if the weather presents itself. Worst case scenario, if we head south long enough while trying to escape the horrible winter storms that are plagueing our area, we will end up in a much warmer place, such as Florida or the Bahamas.  

Looking at the situation this way, it seems foolish not to leave now! The sooner we go, the sooner we can get someplace new to explore and seas to sail! 

Creating Your Tools

Part of cruising is fixing your boat as you go. If you have the luxury of a new yacht, there are easily attainable replacement parts for all the gear you have onboard because it is all new and probably still in production. If you are cruising on an older yacht, this luxury, along with many others, has probably been lost to time.

On our deck is a very old manual windlass. This machine is very simple and works all the time. The issue is it is very old and parts for it are hard to come by. The windlass needs to be filled with grease and the instructions to add grease are simple: 

1. Remove the windlass from deck. 

2. Hold upside down and fill 2/3 of the way with grease. 

3. Reinstall on deck. 

This sounds simple enough, but the problem is there is a very old gasket under the windlass that keeps all of this grease inside the case. I could always manufacture a new gasket out of a rubber material, but why find extra work when there could also be an easier way around it?

I pulled some bolts out of the side of the windlass and pumped grease through the holes into the unit. This worked well to silence the gears, except for one. The top gear on the windlass seemed to escape any grease, making it hum as the gears would turn. In this situation, I decided to create my own tool to inject grease under pressure into the top gear of the windlass! 

I would take a bolt that fit the windlass and attach a Zerk grease nipple to it. By threading the bolt into the hole at the top gear, I would be able to push grease in with the power of a grease gun and silence the top gear!

To start, I purchased an identical bolt, simply made out of steel instead of stainless steel, this would make my life easier as I machined it. 

IMG_1782.JPG

I also threaded on a nut, giving the vise more surface area to grasp ahold of the bolt with. With the bolt held in place, I carefully bored a hole down the center of it, creating a pathway for grease to flow. I highly recommend doing such a task with a drill press, as it would grant you a precise and straight hole, but I do not carry one of those on board, so I was stuck using a cordless hand drill.

IMG_1734.JPG

The hole that went through the entire bolt was very small, necessitating less metal to be removed and thus making the job easier. The space where the Zerk fitting would go though needed to be bored out larger, so I did. 

IMG_1769.JPG

With the hole bored out larger, I then to a hand tap and carefully cut threads into the head of the bolt. These threads are the same size and count as those on the Zerk fitting, allowing the fitting to be tightly screwed into the bolt! 

IMG_1746.JPG

This created a simple setup where the bolt has a Zerk fitting on the head, and a canal running through it to let grease flow through. The treads into the top of the windlass, allowing grease to be forced in without any of it spilling out.​

IMG_1742.JPG

While creating this little adapter piece took roughly 2 hours, it did make the job of greasing the windlass gears quick and effortless. In the past, I would take hours trying to slowly pack grease through small openings, only to find that it was not enough and the gears are still dry. Now I can easily thread in the adapter and pump in grease until all the gears operate smoothly and quietly.​

Dinghy Heat Shield

Our dinghy lives on a rack mounted above the chimney for our heater. This is not a problem in the warmer months, when we are using the dinghy often and the stove is off, but it can pose a bit of an issue in the cooler months when we would be running the heater to keep us from freezing inside the cabin!

The heat leaving the chimney is pretty darn warm. According to a thermal gun, the chimney itself gets up to around 300F, and the carpeting over the dinghy bedrail was getting up to 180F until we shut the heater down to save the carpeting! This test was performed without the dinghy in place, as we did not want to risk harming the fiberglass hull with this heat.

To allow us to heat our home while we cruise with the dinghy on the deck, we opted to install a heat shield. 

IMG_1740.JPG

The concept was simple, the heat leaving the chimney needed to be blocked from rising into the dinghy. It needed to be open to the sides that way the heat could be vented away, and it had to be able to surive in the marine environment. Lastly, it had to be inexpensive as we are currently cruising on a tight budget! 

A visit to True Value brought us to our solution! We bought an aluminum baking sheet for a few dollars and secured it in place! The rolled edges of the pan will avoid any injuries to our shins as we walk around this area of the deck, and the aluminum itself will not rust away in the salt air. The large surface area of aluminum will also act as an efficient heat sync, dissipating the heat from the chimney as we sail. 

To test out the setup, the heater was ignited and allowed to get up to temperature. The heater itself was 550F, while the top of the chimney was only 120F. The air coming out of the chimney was a sturdy 200F and the heat shield stayed at 100F for the duration of the test. Best of all, the carpet never got above 90F (which was the ambient temperature on that day). To keep the aluminum slightly off the rail, I cut and re sawed a 2x4 to create small wooden spacers that would provide a dead air space for heat to escape from. This increases the air flow between the aluminum and the carpet, keeping everything cooler.  

IMG_1760.JPG

The top of the chimney might seem a bit close to the heat shield, but this isn't a large concern as most of the exhaust exits the bottom of the chimney top. 

IMG_1764.JPG

To hold it all in place, I used stainless steel seizing wire, as it allows me to tie a tight lashing, just like with rope, but it will be immune to the heat from the chimney. I tied it very tight that way the pan would not spin or shift around and so that the metal wires would sink into the carpet, remaining slightly in relief of the dinghy hull above. 

With the heat shield in place, we feel safe lighting the heater with the dinghy on the deck, knowing that the fiberglass will not catch on fire as we try to keep warm. One other point of mental peace is we won't be using the heater unless it is cold outside, and these cold days will mean a more efficient heat transfer from the aluminum to the air.  

Heat shields are very useful tools on a boat. They can allow you to have a very hot object placed very close to heat sensitive materials without the fear of damage or fire. 

Snubber

All chain anchor rode has the advantage over rope in that the chain is heavy and produces a more pronounced catenary curve. This curve will allow your anchor rode to pull horizontally on the anchor, which will allow it to hold well, as opposed to a slight upward pull, which would cause it to drag. The problem with all chain rodes is that the chain offers no elasticity. If your yacht is lurched back, the curve will straighten out and snap on the chain with a considerable shock load as the yacht pulls the chain tight and then ends in an inelastic lurch. To avoid this minor issue, it is best to use a snubber made out of a very stretchy material, such as 3-Lay nylon rope. 

IMG_1739.JPG

A snubber is merely a piece of line that is tied off to the chain and to a cleat on the bow. It can either come off the bow through the roller or through a rope chock on the side of the bow. Either way, it will remove the last bit of shock that could be present if the chain were to be pulled tight. 

Setting up a snubber is very easy. Once the anchor is set properly, simply tie the end of the snubber to the chain with a secure knot, then let out more chain until the chain hangs straight down from the bow and the snubber has taken up the full load. 

IMG_1755.JPG

A common knot used to tie a snubber is a Rolling Hitch, but I personally use a Magnus Hitch. Both knots will hold onto chain very well, I just find that the Magnus Hitch is much easier to untie after it has been loaded and stressed. 

IMG_1741.JPG

You can see how the snubber is transmitting the load from the bow to the chain, and the chain that lies between the boat and snubber hangs slack off to the side.  

When I will be anchoring for a long time, or during a storm, I will also add two Half Hitches to the knot, that way the snubber has even less chance of coming untied in a desperate situation. 

Snubbers are easy to setup and offer a lot of security and comfort to an anchored yacht. They only take a few minutes to setup and will give you peace of mind for the entire time you are at anchor. 

Anchor Lights

The requirement for an anchor light for most pleasure boats is 360 degree visibility for 2 nautical miles. This means that the anchor light must be located above everything else that way it can be seen from any direction. 

On a power boat, the anchor light is typically located at a reasonable height, just above the flying bridge. On a sailboat, this location is elevated significantly, as they are placed on top of the mast. 

FullSizeRender.jpg

Yes, the anchor light is very visible from a distance, alerting others of your presence and preventing a needless collision, but only at a distance. When we have anchored in busy anchorages, where there seems to be a lot of boat traffic as the sun is setting, we notice that people have been skirting past us at a rediculously close range. 

This made me wonder, do they see the anchor light way up high in the night sky? Or is it out of their field of view? 

The other problem with a single white anchor light is it does nothing to demarcate where we start and where we end. Ideally, other boats would keep a safe and reasonable distance from us, thus nullifying any fears or concerns of a close passing vessel, but they do not seem to care in the same way. They will pass less than 10 feet from our bow or stern, missing us only by luck! 

FullSizeRender.jpg

Before our luck runs out, we have made some alterations to our setup. We hung a solar powered lamp off the stern and off the bow. When we are anchored in a high traffic area, we can simply turn them on at the times of peak traffic (usually when small skiffs are returning home after the sun has set) so that these inconsiderate boaters can better see where we start and where we end.

I can not say for sure if this has worked becuase I do not know what is going through the mind of someone who flies through an anchorage at full throttle in the dark, but I can say that since we have started setting these lights, there has been a much greater distance granted between us and the speedy passerby.