Biggest Oyster Ever!

Living in the Chesapeake Bay, I am very aware at the important role played by oysters. They filter out the water at an impressive rate which allows sunlight to penetrate all the way to the bottom. Increased sunlight penetration leads to increased plant growth which boosts the entire ecosystem of the bay! All in all oysters are awesome creatures. 

I personally don't eat oysters because I feel that things are what they eat, and they eat the sludge that floats around in the bay water, thus they are merely an accumulation and organization of all the disgusting factors that exist in the bay water. I appreciate them and encourage their existence, but I take no part in the consumption of these sea creatures either. That being said, I am all for other people eating them, as commercial oyster farming has spurred the cultivation of these impressive creatures that turn filth into clean water.  

The increased demand leads to increased incentive to cultivate these creatures, which leads to more of them filtering the water during their life before the dinner table. This increased consumption does lead to oysters being harvested as soon as legally allowed, leading to small oysters on the table. 

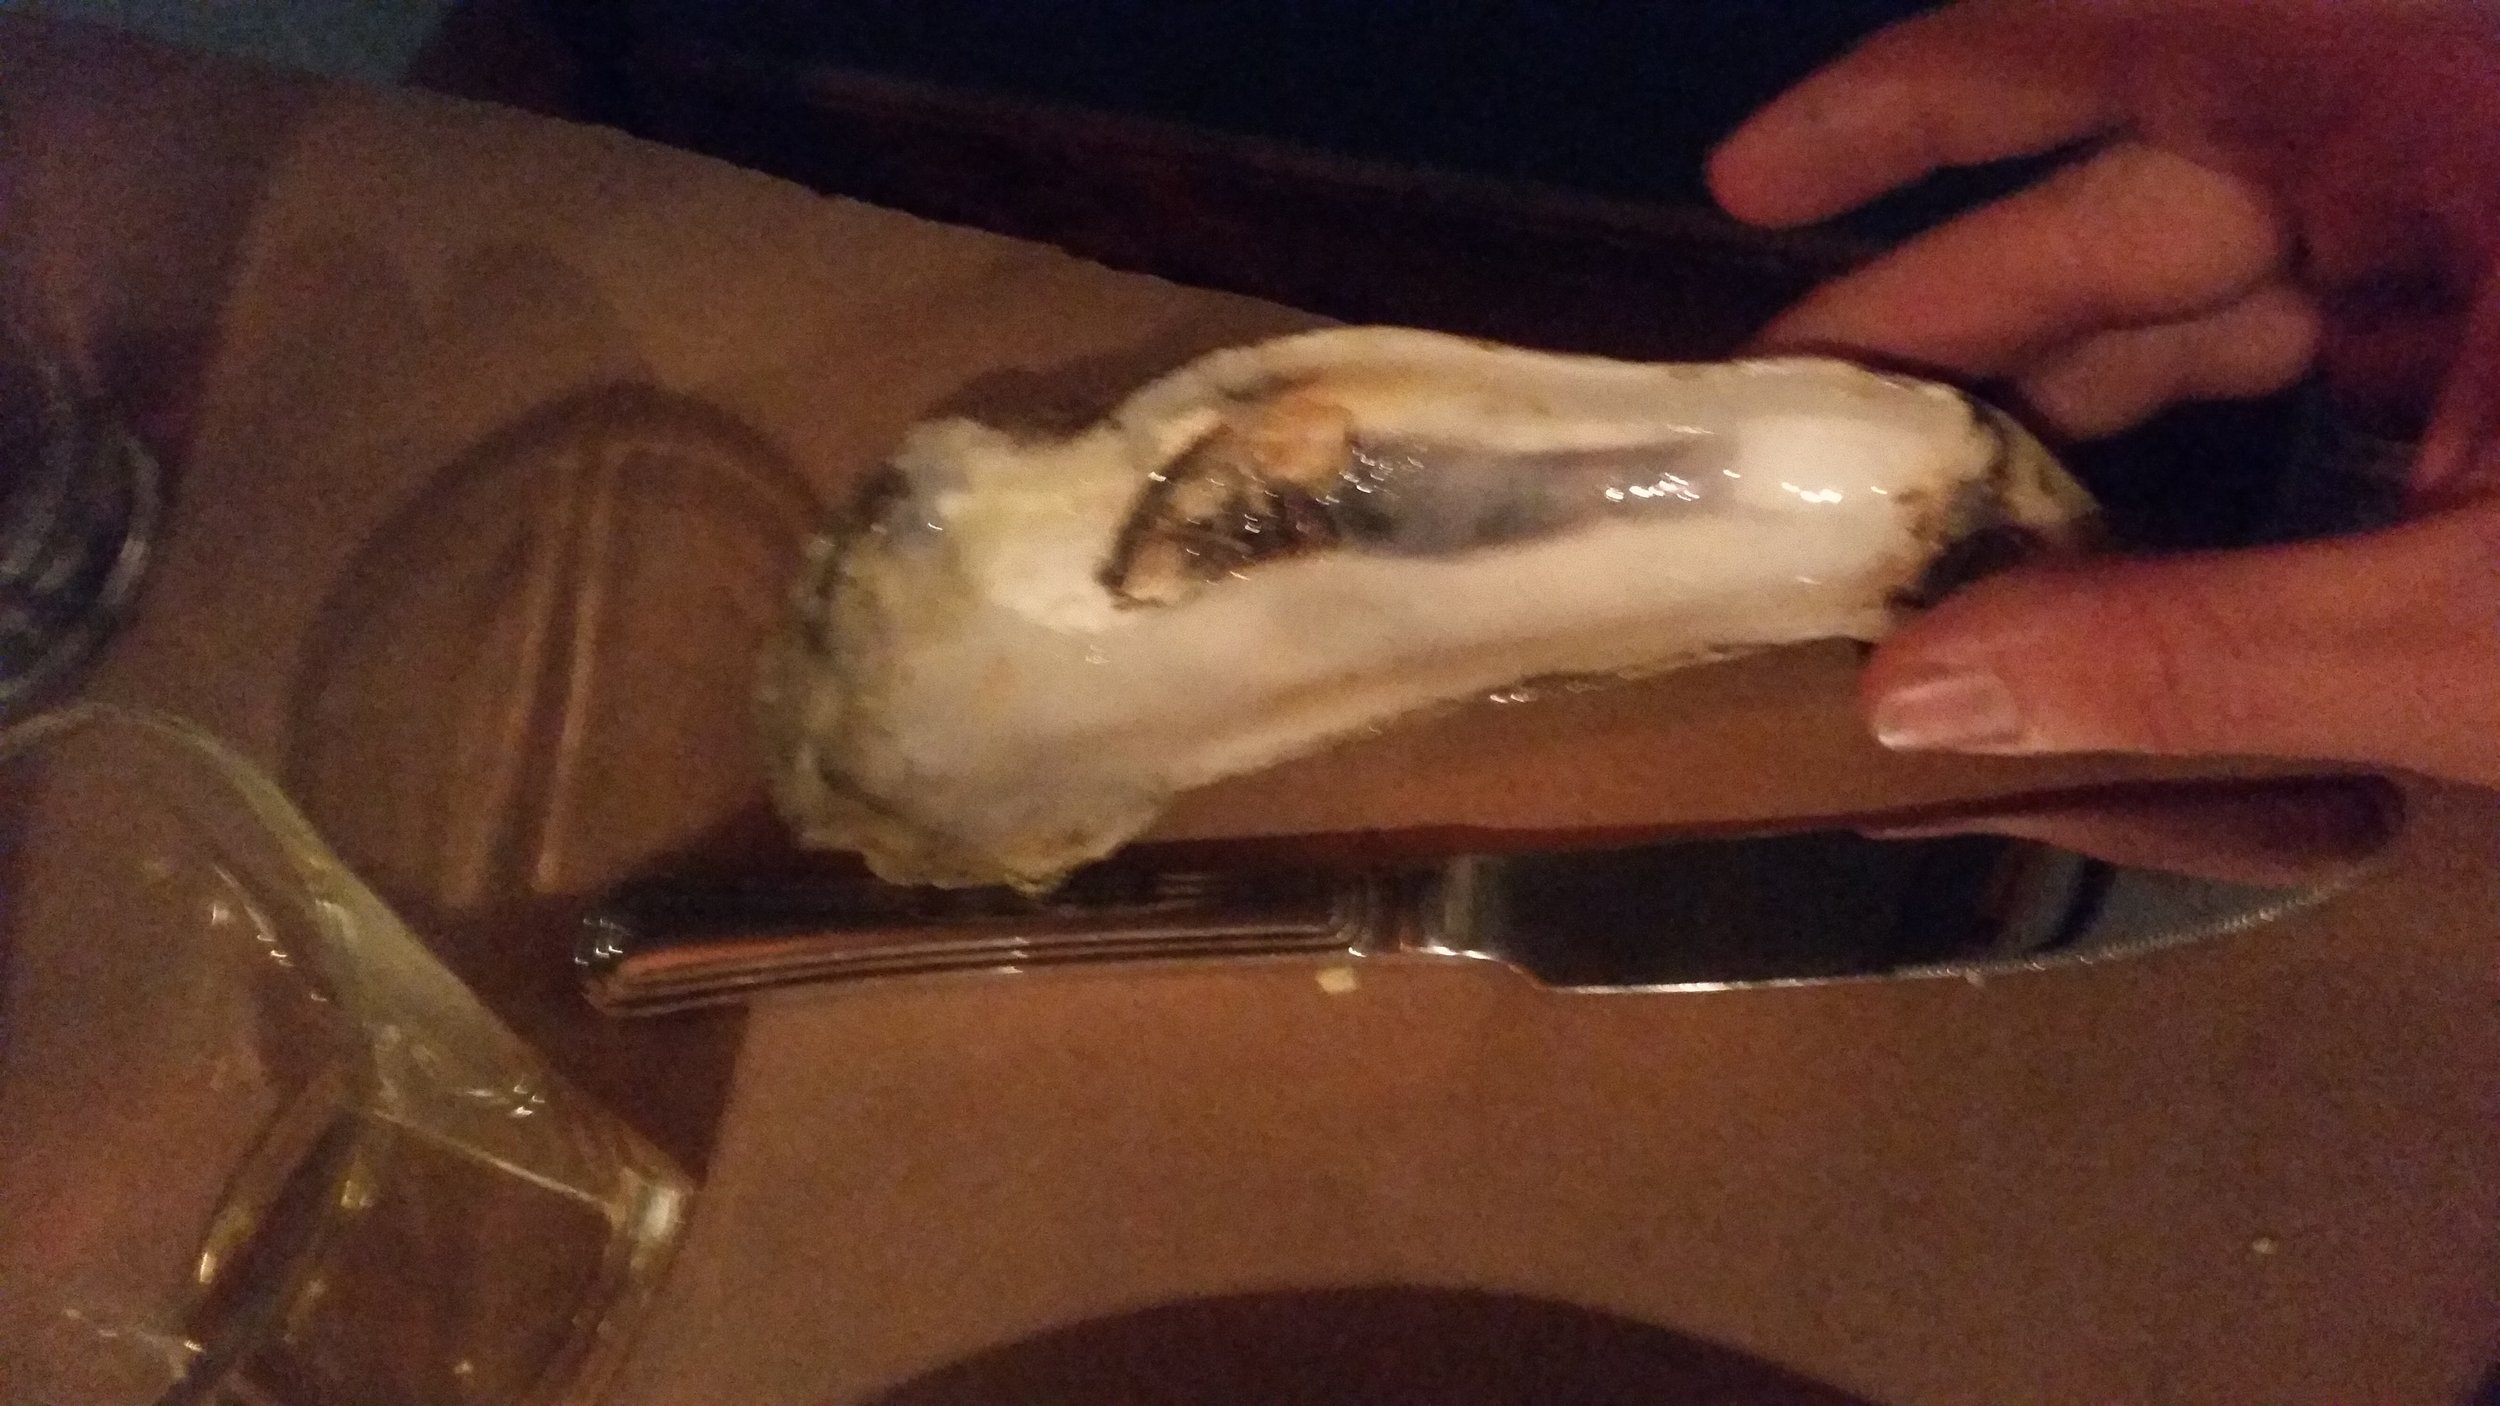
While out with friends who ordered oysters, I noticed this behemoth on the platter! 

FullSizeRender.jpg

My friends mistook my interest into thinking I wanted to eat the giant puddle of snot collected in the shell. I declined their offers to slurp down that salty swallow, simply asking for the shell once the animal had been consumed. 
FullSizeRender.jpg

You can see the other "average" oyster shell sizes next to it, clearly denoting this specimen as a monster oyster! While comparing it to other oyster shells is rather subjective, here it is placed next to a standard dinner knife. This oyster either eluded capture for longer than all the other oysters or it grew remarkably fast in the waters of the Chesapeake Bay.  

Either way, this oyster shell is the biggest oyster shell I have ever seen, ever! 
Making a Bed in the Cockpit: Part 3

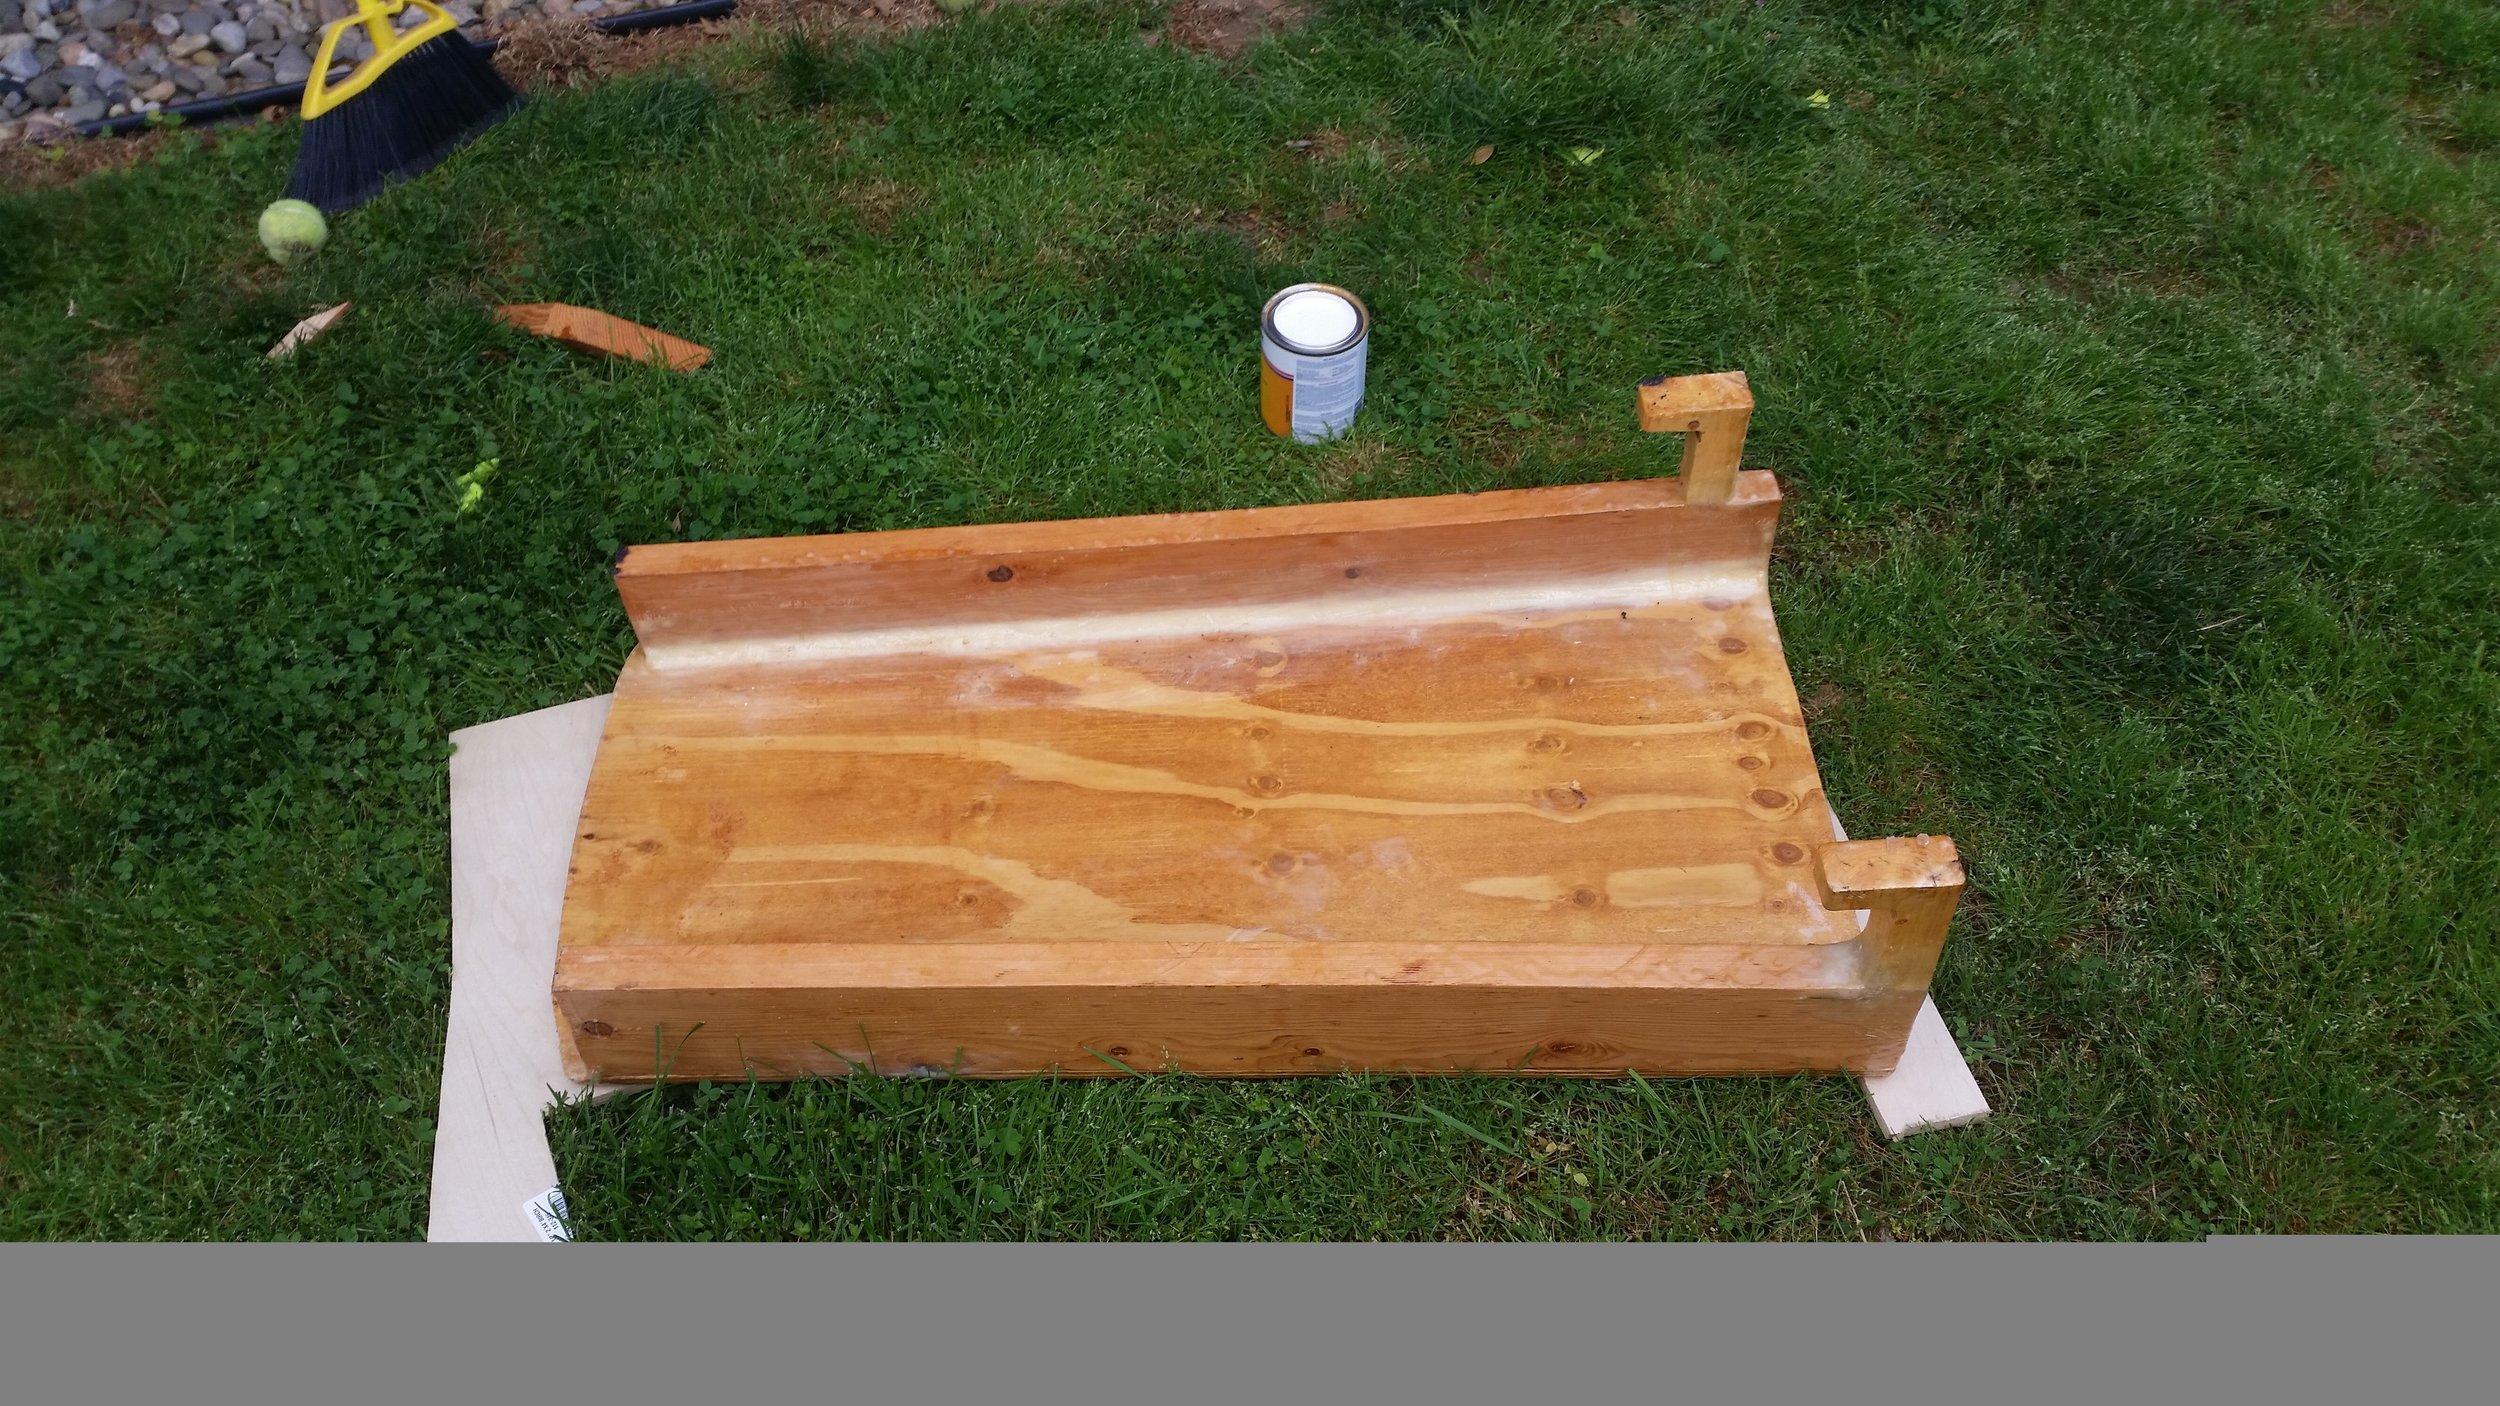
With the epoxy all cured, it is finally time to apply the finishing touches. Drips and runs were easily sanded off, and the entire structure was painted with the same paint I used on my top sides and deck: Interlux Brightsides.


FullSizeRender.jpg
FullSizeRender.jpg

Brightsides is a one part polyurethane paint that provides an acceptable result. It won't be confused for gel coat, or a factory finish, but it is easy and durable. 

You could easily spend your entire life perfecting your top sides, fairing out every last tiny imperfection until the result is the fairest and most perfect looking hull in the world! Then you could spend the rest of eternity sanding until you produce a blemish free surface that will be beautiful. When you paint this perfect surface, the paint will take on the shape of the underplaying surface, and as a result will produce the most perfect paint job the world has ever seen. 

Your yacht's top sides will be the pride and joy of your life, and then some idiot trying to dock stern into the wind drifts over and kisses your hull. All of your work is ruined as your top sides now have a very noticeable scuff! This can be repaired, but it will take a lot of hours to get it back to the perfect state it started in.

The alternative is to slap some Brightsides on there and go sailing! From a distance, it looks white and that makes your yacht look like a white hull on the horizon. If something kisses your hull and makes a scuff, all you need to do is sand it a bit and slap some more paint on there! This lets you spend less time worrying about the conditions of your top sides and more time cruising (which is the whole point).  

As far as durability, Brightsides is pretty darn strong for a one part polyurethane paint. My wife and I have lived aboard for 5 years, and we are rather abusive of our deck and top sides. We will slide heavy equipment on the paint, wear land lubber shoes on the deck, the works! The paint has held up well for the past 5 years with only small chips developing in areas where an 80 pound anchor was dragged on the paint, and where a motor mount scraped while dragging the inboard engine over the deck during removal. 

This may sound like we don't care about the condition of the deck, but this is far from the case. We use our deck, and if the paint gets bad looking, we will re-paint it! Brightsides is so easy to apply that we do not fear re-painting. We simply view it as general upkeep that we do for our yacht instead of viewing it as an expensive and time consuming chore. 

Since the top sides and deck have withstood some serious abuse over the years, this new addition to the cockpit will also receive the same paint and treatment. Thus, it was painted with Interlux Brightsides in preparation for its long life as our bed in the cockpit of the boat. 

Gangplanks and Pets

When you liveaboard, the act of getting from pier to yacht may come natural. Our long legs can bridge the gap over the water and allow us to step across to the other side. Our long arms allow us to grab hold of the deck gear as we secure ourselves as we cross over the water.

Our furry friends do not have this luxury, especially if they have short legs!

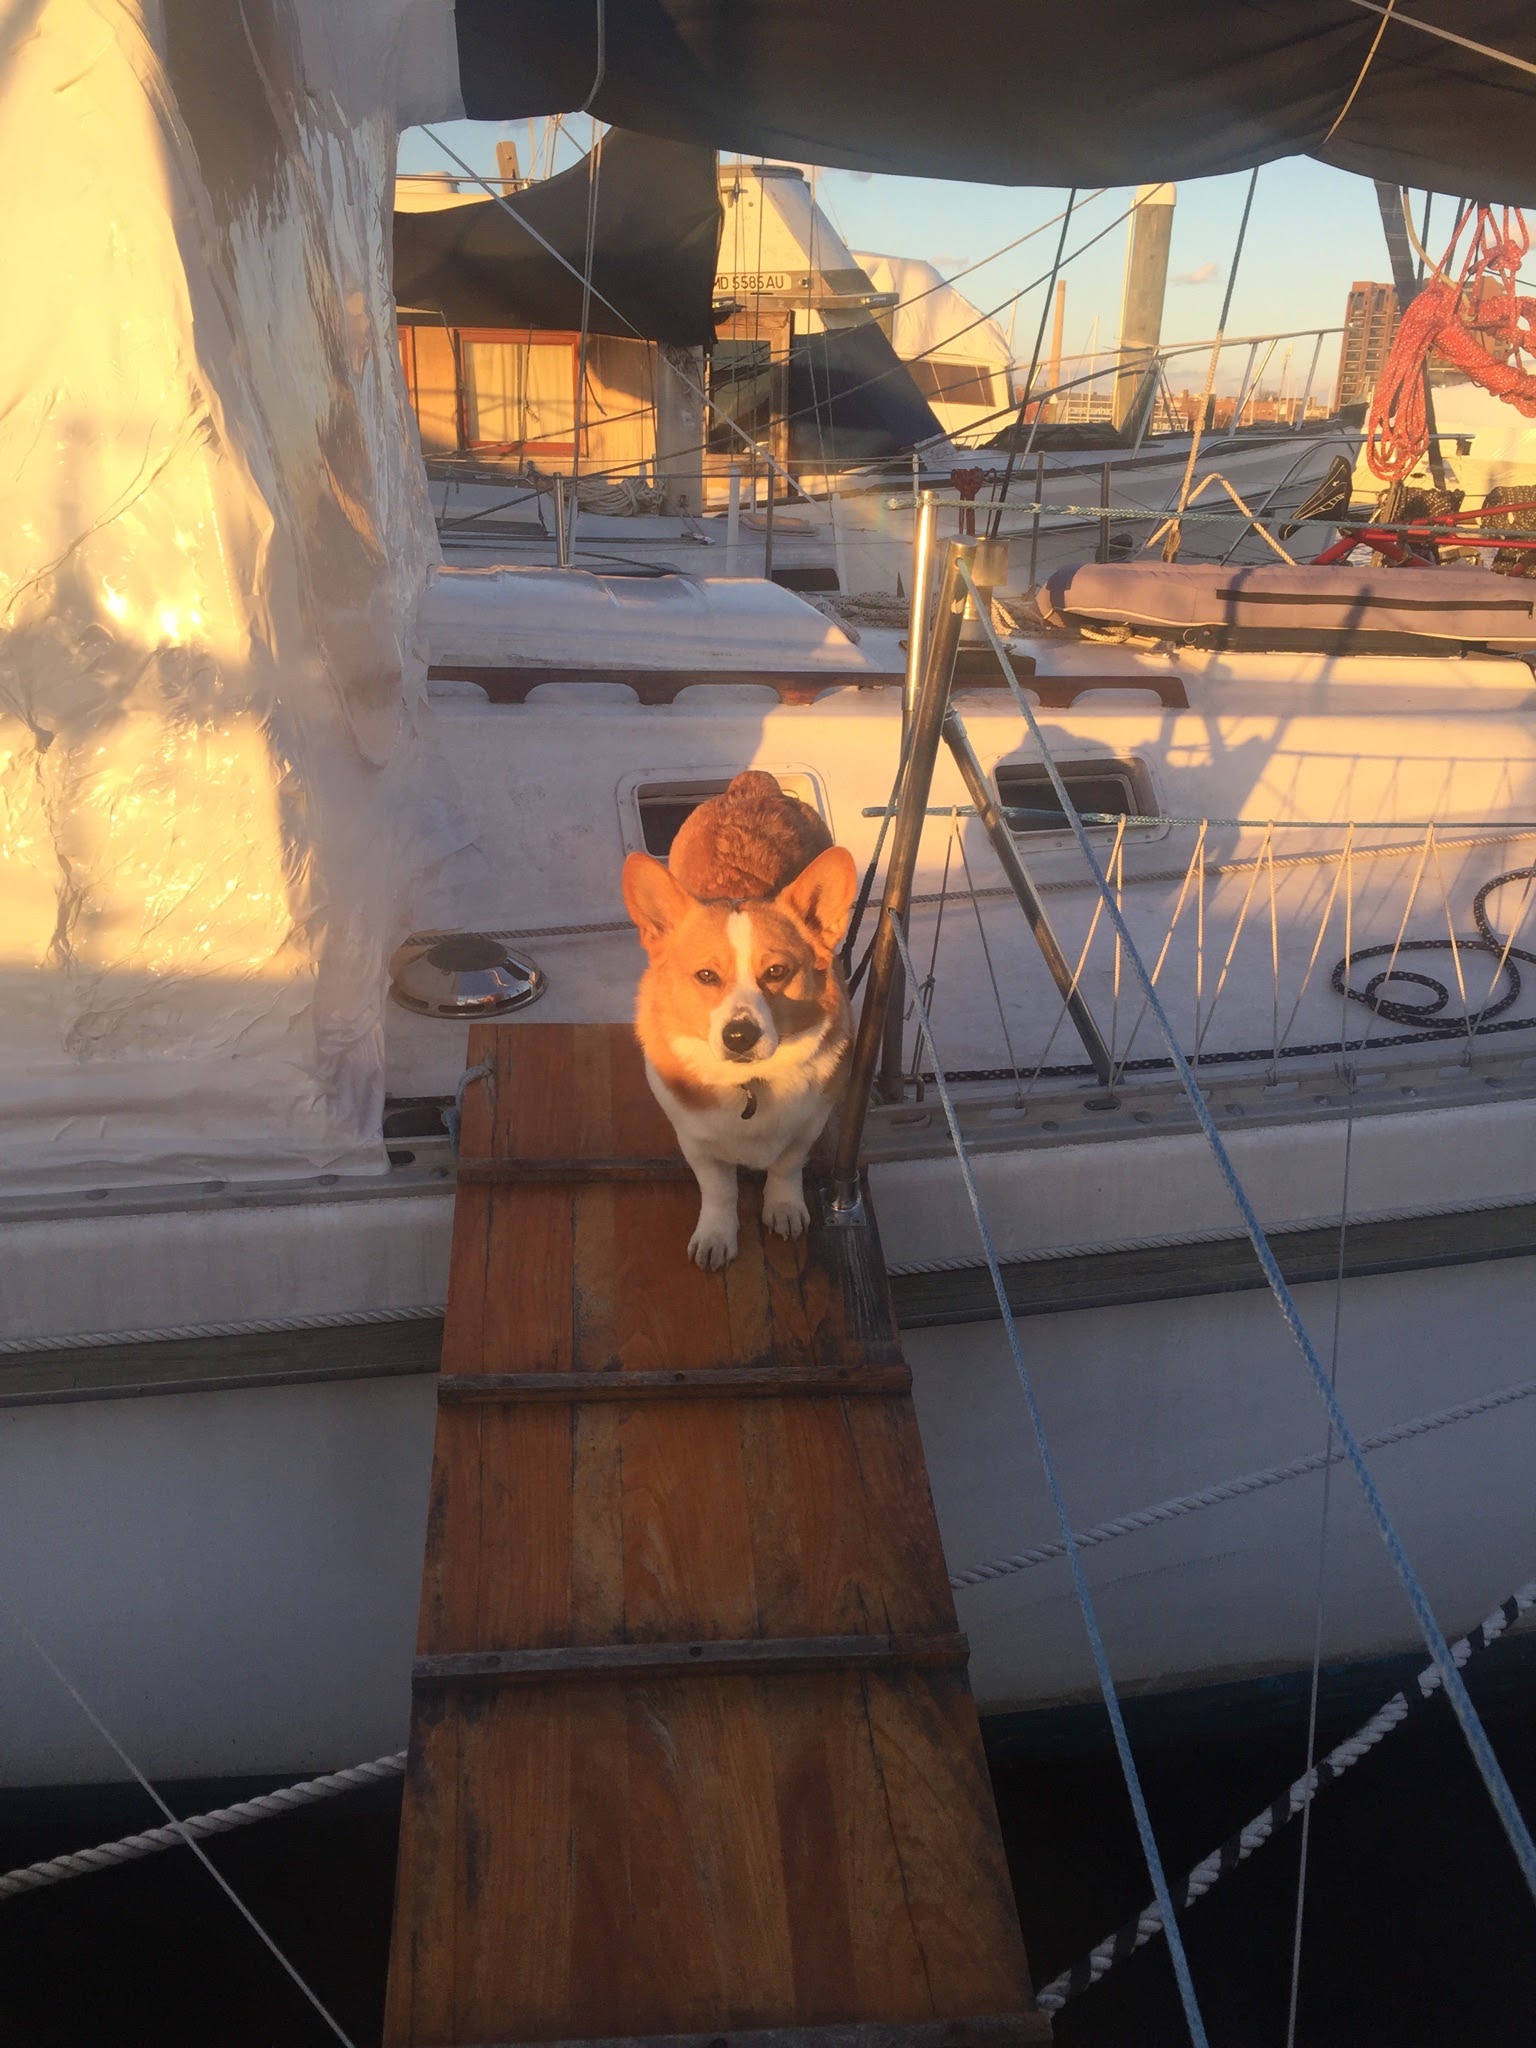
A gangplank will provide a safe and stable passageway from pier to deck without the fears of falling in as you make the journey. Our short legged friends will also appreciate the autonomy in letting them get on deck when they are ready, instead of having to wait for you to carry them across the gap (though they still need you to unzip the shrink wrap door).

Water Jerry Cans

When you need to fill your water tanks, but there is nowhere for you to pull your yacht into to fill your water tanks, you will be forced to shuttle water out to your boat in jerry cans. The most common size of jerry cans is 5 gallons, and these cans are big!

When you are shuttling the water back and forth, a large 5 gallon jug is just what you need! Since you have big water tanks, you will find yourself making a bunch of trips back and forth from your water source to your yacht. All of a sudden, you wish the cans were bigger so you could make fewer trips. This is your thought until you go to lift a full water can. At 5 gallons, you are forced to lift close to 40 pounds. If you had a 10 gallon jug, you would need to lift 80 pounds! Since you can't go bigger, you simply have to go more. 

If you carry 100 gallons of water, you could make:

  • 20 trips with 1 five gallon can
  • 10 trips with 2 five gallon cans
  • 4 trips with 5 five gallon cans

All of a sudden, more cans sounds like a great idea! If you can fill a bunch of cans in your dinghy, you won't have to make many trips back and forth from shore to get your water tanks filled.

This train of thought will carry on as you get to the store to pick up a bunch of water cans. Then you see how big these cans are and find yourself wondering: "Where will I store these?" If you leave the cans on the deck, they will get eaten up by the sun. If you try to store them in a locker, you will have no space left in your lockers!

Here is the dilemma: Do I make a bunch of trips with a few cans or do I make a few trips and then need to store the jugs around the boat? If only there were an easier way!

A friend recommended I try collapsible water tanks since they still hold the standard 5 gallons but they fold up flat. Since they fold flat, they can be stowed inside the cabin where UV degradation is not a concern.

Since these fold up and stow so small, I got 6! We carry 160 gallons of water, so these 6 will allow us to fill our water tanks in only 5.3 trips to shore. This will let us keep our tanks filled while not having to worry about where to store the tanks or having to make a ton of trips back and forth to shore.

Making a Bed in the Cockpit: Part 2

With the frame cut to fit, it is time to glass everything up! 

Epoxy fillets go in the corner of structures you are bonding to smooth out the transition of the corner and increase the radius of the bend. If you didn't make a fillet, the fiberglass that goes over the corner would be forced to make a very sharp turn in the corner. This would stress the fibers and greatly decrease the strength of the corner's bond. The epoxy fillet solves this problem and makes the entire structure much more structurally sound.

Making fillets is really easy, check out the video below for tips that will walk you through the process.

Since the fiberglass needs the smoother radius bend to prevent fiber strain and breakage, you might be wondering why even use fiberglass? If you took the fiberglass out of the equation, life would be simpler! Right? Wrong, the bond strength of an epoxy bond is directly proportional to the surface area involved in the bond. Adding fiberglass tabbing adds a lot of surface area to the setup and makes the bond significantly stronger. If you didn't use tabbing, the bond area would only be the faying surfaces of the two pieces of wood your are bonding. By adding tabbing, you are adding the sides of the boards to the equation, greatly increasing the total surface area and subsequently, the bond strength.

Now, the bed rails are securely attached to the bed platform with properly made fillets and tabbing. The next step is to make the bed sit securely in place. If we get knocked down by a wave or a powerful gust of wind (the boat leans over really far and the boom falls into the water) the bed insert could come flying off its cleats and hit us in the cockpit. Getting knocked down is no fun, but getting hit by a giant piece of plywood during a knock down can lead to some serious problems.

Wooden hooks are being added to the front of the bed so that the entire structure can drop in and slide back into place. The bed will then be secured by a small dyneema line (because me) that will prevent the back from raising up and sliding forward.

With these two provisions, the bed will hold in place during foul weather while serving as a wonderful place to lounge as we stare up into the stars at night.