
Making a Bed in the Cockpit

Wisdom was designed in the 1960's and built in 1968. The thought at that time was "slim is fast" as this shape would slice through the waves quickly and sail faster.  This whole "long and thin" concept is apparent all over the boat. One such places is the cockpit.

The cockpit on Wisdom is long and thin, flanked with two long and thin benches. These are great for sailing, but leave much to be desired when at anchor. Maddie suggested that I make the aft section of the cockpit a big bed.

Having a bed in the cockpit will allow us to sleep outside on hot nights, making these nights much more comfortable. The space under the bed could be used for storage, and the space will be very useful for relaxing when sailing on a long tack.

In the interest of time, I am making this insert out of plywood and fiberglass. Plywood is my least favorite type of wood because the wood is so adulterated. There is no grain to follow and each ply is set in a different direction. The thing that is nice about plywood is it is flat and fast!
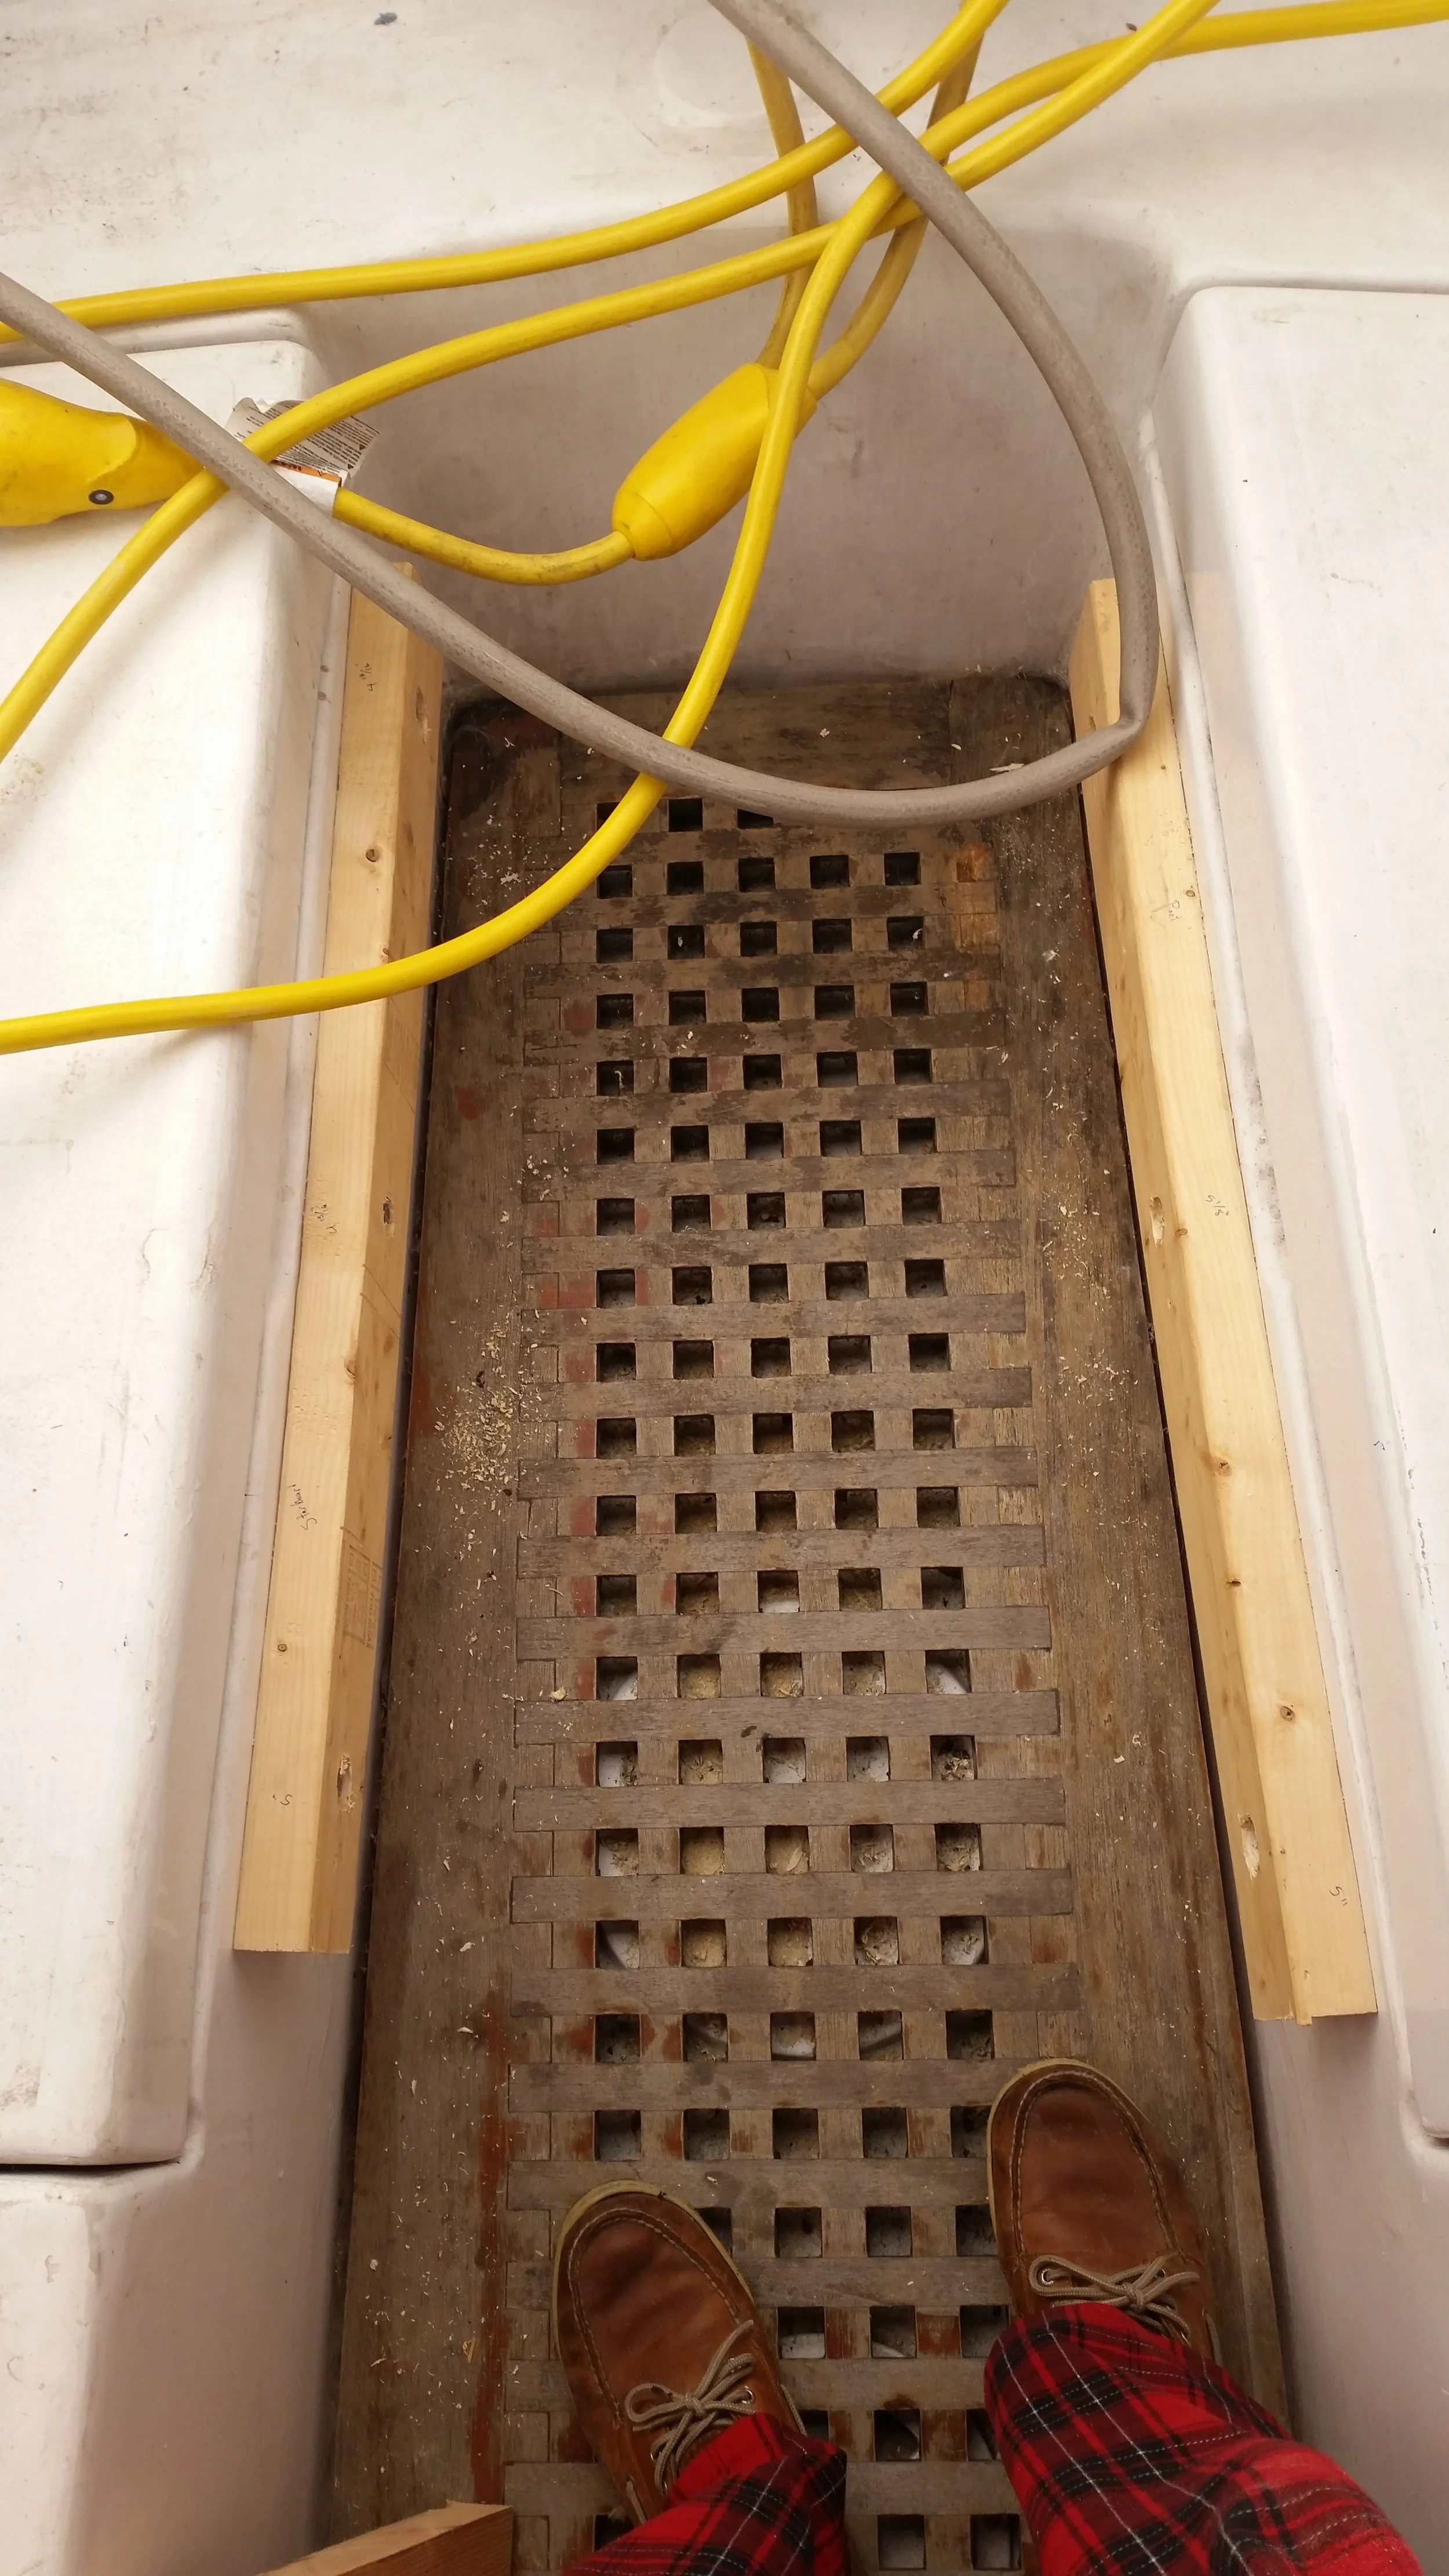
Cleats were through bolted to the sides of the cockpit with the heads of the bolts countersunk to avoid any unnecessary scrapes and cuts on our legs. The plywood was then laid over the seats while I crawled under the plywood to trace the shape of the insert.
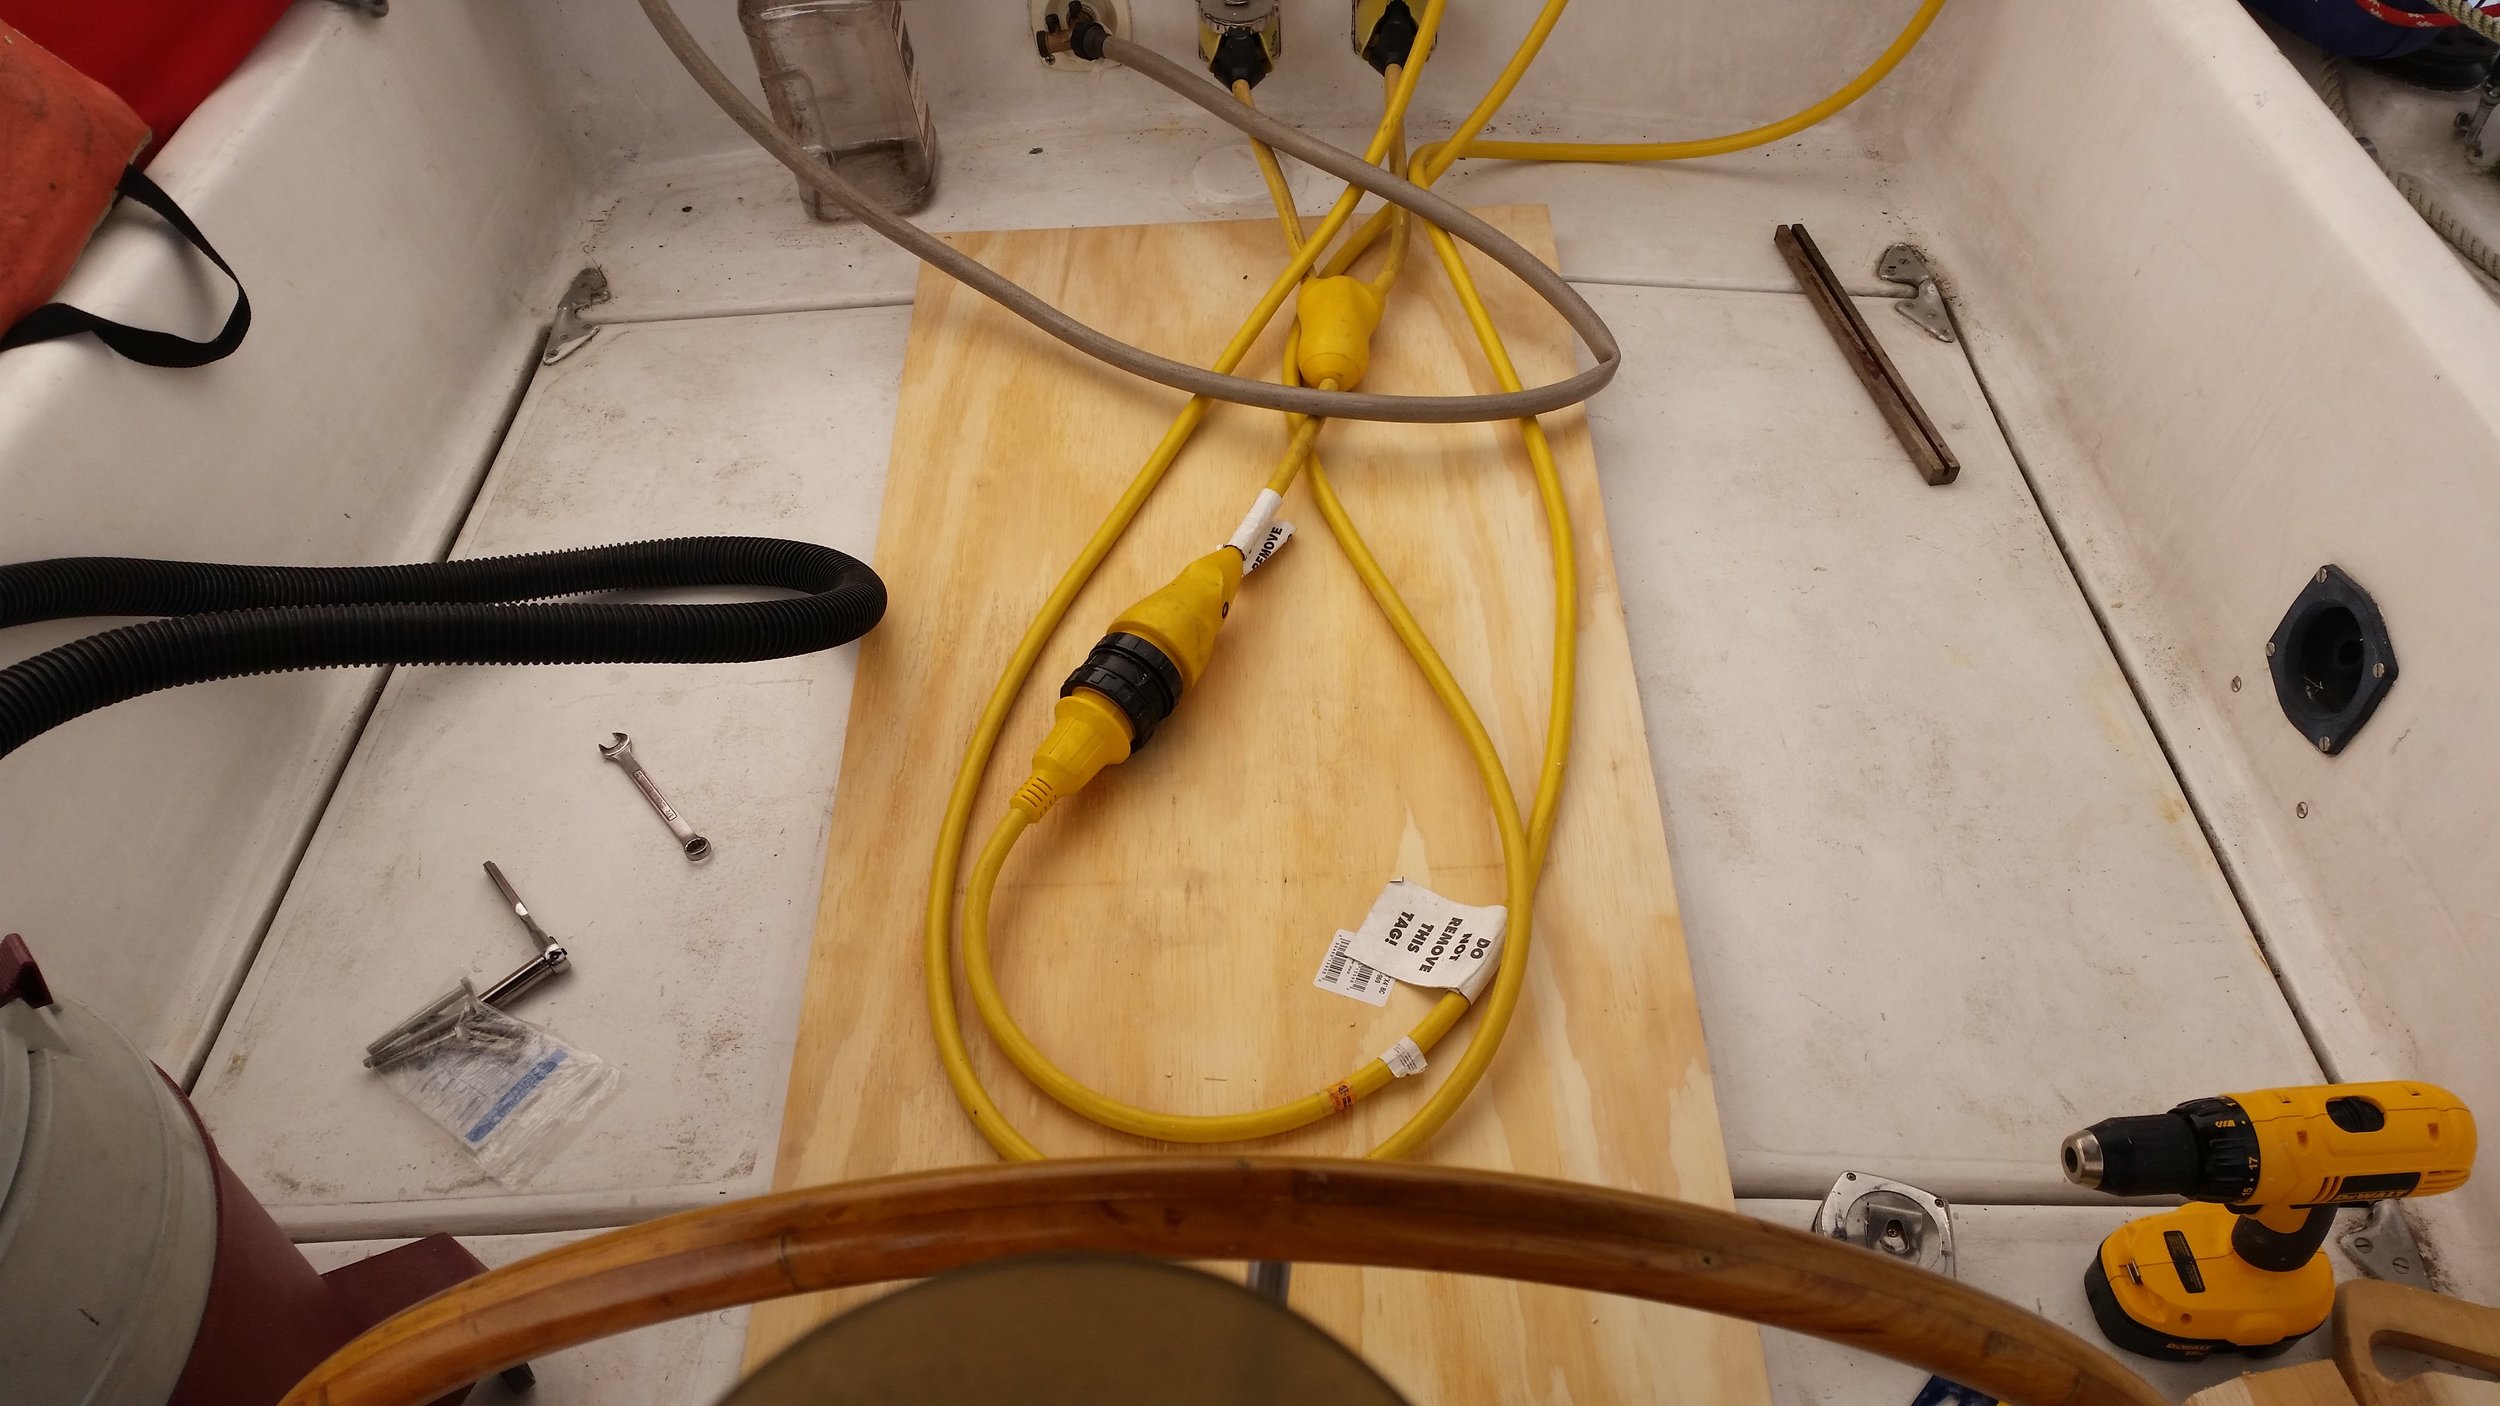
With the outline traced, I buzzed off the excess with a skillsaw. This let the plywood slip into the space between the seats. I trimmed stringers that would sit on the cleats and support the plywood flush with the rest of the seats.

The stringers were set inboard enough to allow the lazarettes to be opened with the insert in place. Then the plywood was screwed to the stringers, locking the assembly in place.

I trimmed the edge a bit proud of the stringer with a bandsaw, followed by a grinder to bring everything together and flush. I rounded the edges and corners of the plywood a bit to make it fit smoothly in the cockpit.

With the plywood in place and screwed to the stringers, it is time to cut the end flush with the lazarette lids and coat everything in fiberglass and resin. Once that is finished, we will be able to paint it have the cockpit cushion made to fill in the space and make the cockpit into a big bed behind the helm!

Heaving To

When the weather becomes intense, heaving to is a wonderful method to ride it out. The concept is simple: back the headsail and turn the rudder towards weather. This will keep the boat pointed at an angle into the wind as it slowly drifts backwards. This creates a slick to windward which calms approaching waves from breakers into rollers. The end result is the motion on board is quite comfortable as we ride out the storm. But what does it look like?

During a rather intense series of squalls we encountered, we filmed the ordeal to help shed some light on what it really looks like. This way you will know what to expect when you find yourself heaving to in a storm as you wait for it to pass.

The Right Kind of Wire

When wiring in a new project, you might feel tempted to save some cash by purchasing your wire from Home Depot or Lowes. After all, electric wire is simply electric wire! Electrons flow over the surface and power the device all the same. Why pay more for "Marine Grade" wire?

While most electric wire is copper, land or marine grade, marine wire is "tinned copper" and this is where all the difference is. Tinned copper wire is much more resistant to the corrosion promoting marine environment. If you wire something up with regular household copper wire, the wire will corrode and break off of the terminals in under a year! Using marine grade wire will ensure that your properly performed connections will last a very long time.

Since the whole problem with wiring on a boat is the moisture level and exposure to the elements, shouldn't "outdoor wire" hold up to the task? Outdoor wire has a much stronger insulative casing, allowing it to resist the harmful UV rays from the sun. After that, there is little difference between indoor and outdoor wiring. Yes, outdoor wires will be exposed to rain. After the rain clears, the wires will be nice and dry for many days to come. On a boat, the wires are going to get wet from time to time, and spend the rest of their days in a very humid environment. 

Boats that are kept in salt water have it even harder, as salt in the air will expedite the corrosion process and lead to an even earlier death to any substandard wiring. Regular copper wiring will begin to spew green powder out of the electrical connections as it corrodes at an alarming rate!

When you buy wire, make sure that the spool clearly states that it is marine grade and made out of tinned copper wire. If a friend offers you some spare wire and you can't find any markings on the wire stating if it is marine grade or not, there is a simple test that is usually pretty accurate. 

When you strip the plastic cover off the wire, household copper wire will be copper colored. Tinned copper wire will look silver colored. If your friendly gift wire doesn't have silver colored strands, consider reserving that wire for other less critical tasks like fishing good wires through bulkheads or tying up coils of good "marine grade" wire.