Speaking Cloud

The best weather forecast comes from the sky itself. Instead of going online and downloading a grib file, or listening to the WX station on the VHF, simply look up at the sky!

As weather approaches, different cloud formations will appear, telling you exactly what is coming and when. Should the weather patterns change, the clouds will inform you of this and you can relax again.

One of the most vocal clouds is the Cirrus Cloud. Cirrus clouds are wispy, high altitude clouds, usually composed of tiny ice crystals. If you see one or two of these clouds in the sky, they don't really have much to say. If you see the sky filling with these clouds, then you should listen to what they have to say!

Cirrus clouds tend to indicate the approach of deteriorating weather. Cirrus clouds will be blown off the tops of an approaching cold front, or blown off the top of an anvil cloud. Cirrus clouds that are accompanied by alto stratus indicate the approach of a warm front.

When all the cirrus clouds point in the same direction, they are telling you that they are all being blown from an approaching weather pattern. When you see them creep into the sky, they are telling you that in 1 to 2 days, bad weather will approach. If they are alone, it is either a single thunder cloud or a cold front. Either of these cases will cause the wind to shift and begin to blow from the direction the clouds originated. 

In other words, when you see these clouds appear, it is time to make sure your ready to reef or set up your storm sails. As the main weather system approaches, you can quickly set the appropriate sails and wait out the storm. If these clouds are approaching late in the day, it would behoove you to set the storm sails before nightfall. It is always easier to rig the storm sails by day in calm weather, as opposed to waiting for sloppy seas and darkness.

These approaching cirrus clouds are being followed by slightly denser clouds. This usually indicates the approach of a warm front that will probably bring rain and some winds. If we were out at sea, we would ready the rain catching equipment!

By learning to read the clouds, you can prepare your yacht for the weather that you will be experiencing without the need for complicated communication systems or fancy weather forecast subscriptions. This will let you sail farther than your standard communication channels will reach without the fear of coming across foul weather without a proper warning.
Planking the Bottom

Now that the chine is beveled and all the topsides are finished, it is time to plank the bottom of the hull. Just like with the topsides, we are doing double diagonal planking on the bottom. The inner planks will be oriented in the same direction as the topside planks, resulting in outer bottom planks that will be in the same direction as the outer topside planks. This means that the finished hull will look like if the planks were wrapped onto the hull, curving through the chine.

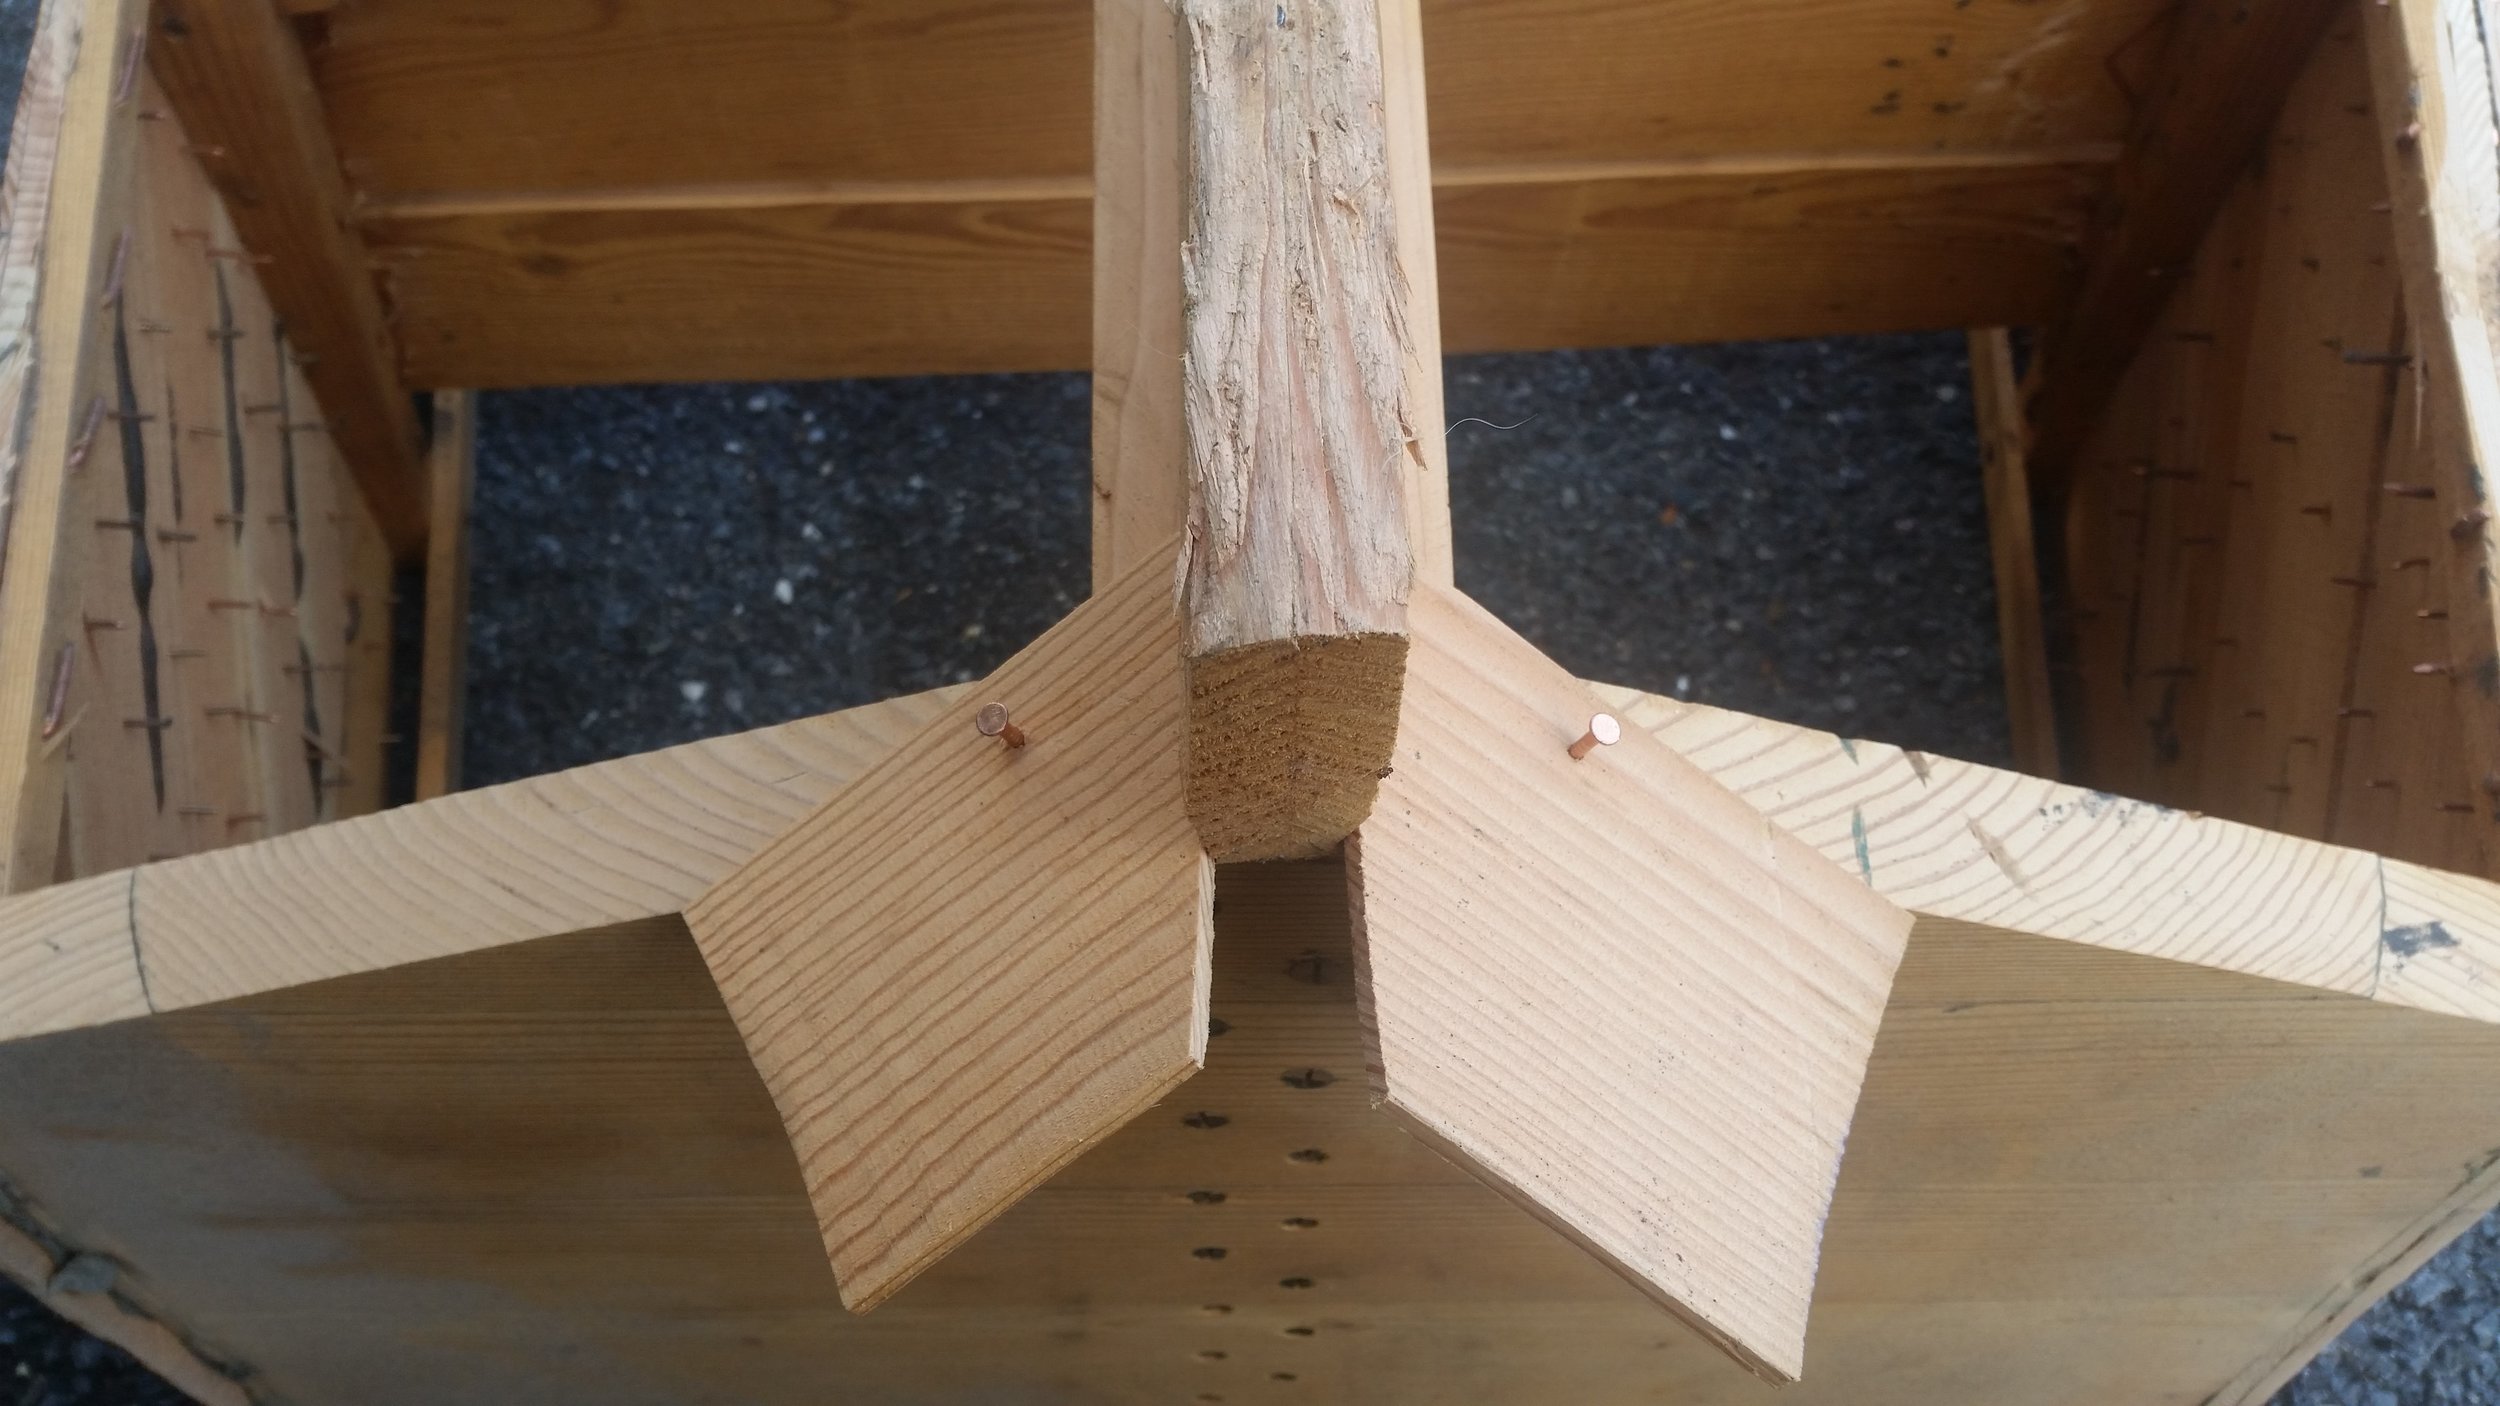
Some scrap off cuts from the topside planks were used to start the bottom planking. These have the correct bevel that will match the inner topside planks, as they are scraps from that planking job. The planks were set onto the back of the keel, with the edges overhanging the transom and held in place with some copper nails. The nails are not hammered all the way home that way I can pull them off easily when we begin fastening the bottom planks with bedding compound and bronze screws.

When the bedding compound is applied to the rabbet and chine, it squeezes out around the edges of the planks. This lets us know that all the seams are sealed and water tight. Bedding compound was also placed on the frames to avoid water from getting in between the frames and the bottom planking as this would expedite the rot process of the dinghy and spell an early end to Tooth II. By sealing these gaps, water can't get in as easily and the wood should last longer, giving this dinghy a longer life.

Once the first few boards were fitted, I got into a groove and work proceeded quickly. The starboard side of the hull was planked in a few hours and I had plenty of daylight left to keep working, so I did!

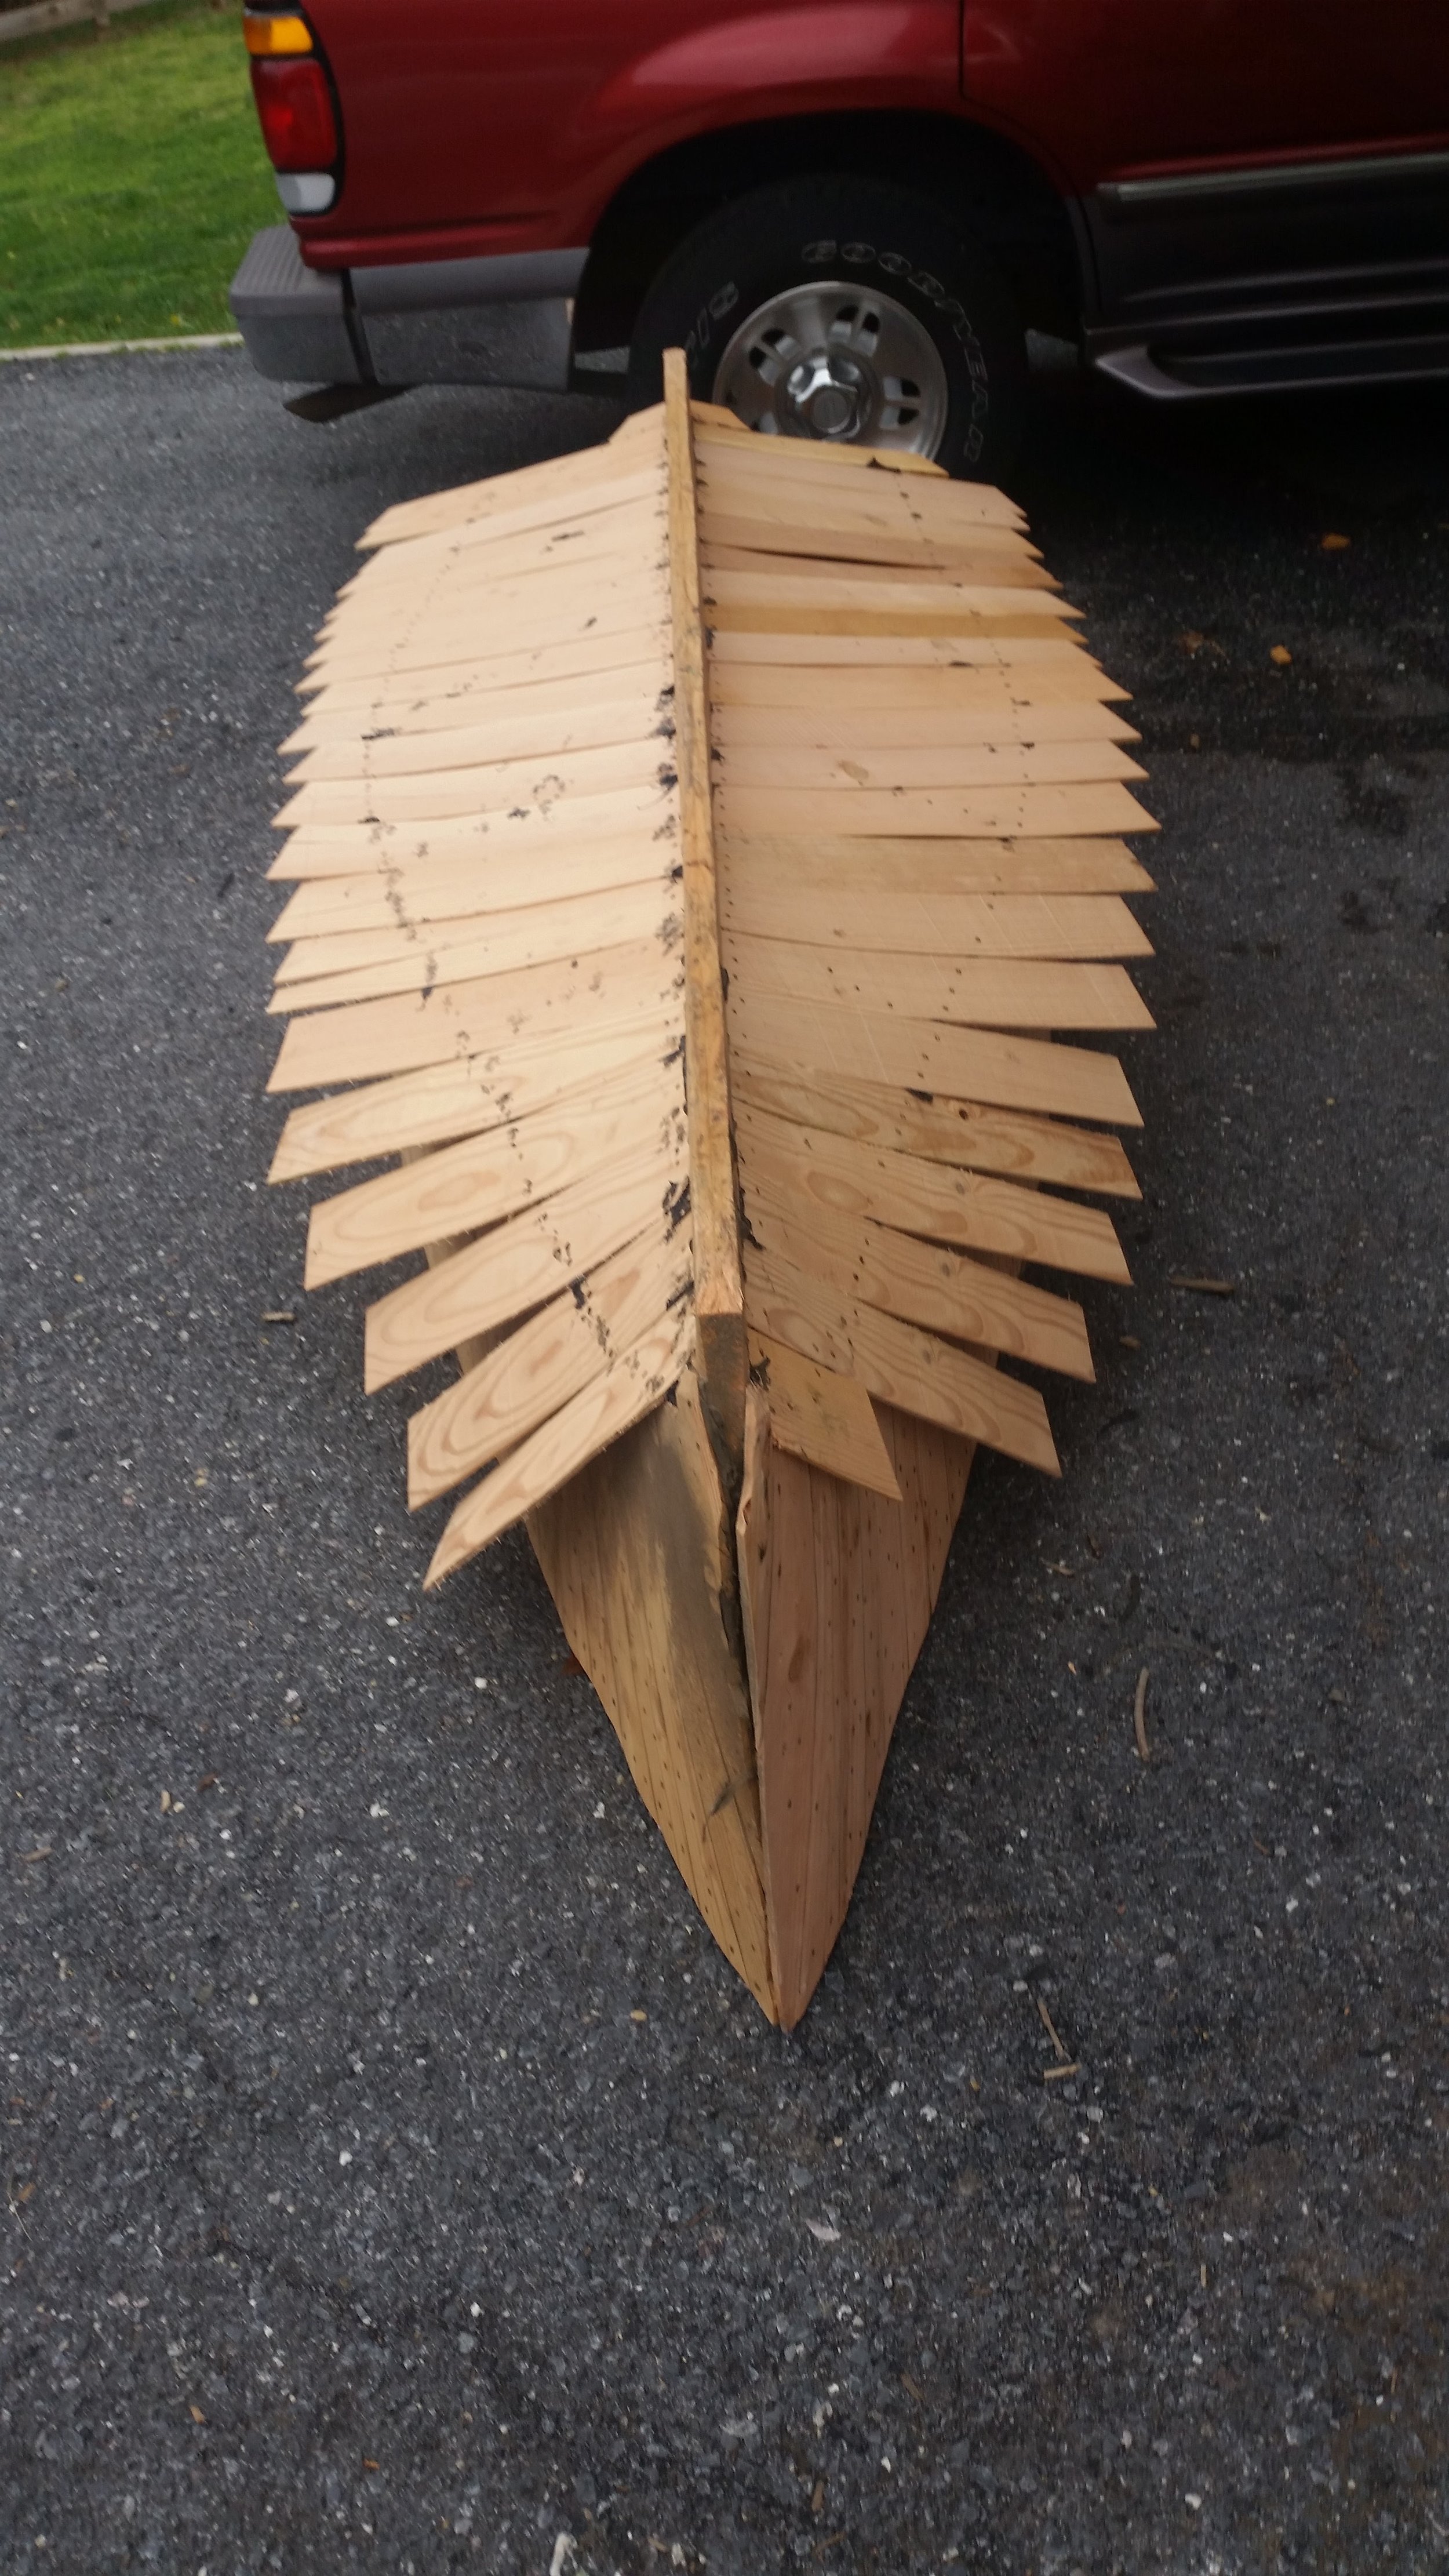
The port side of the hull got planked in a few more hours and in no time flat, I had the entire hull planked with the first layer. The screws at the outboard side clearly demarcate the chine as the hull curves along.

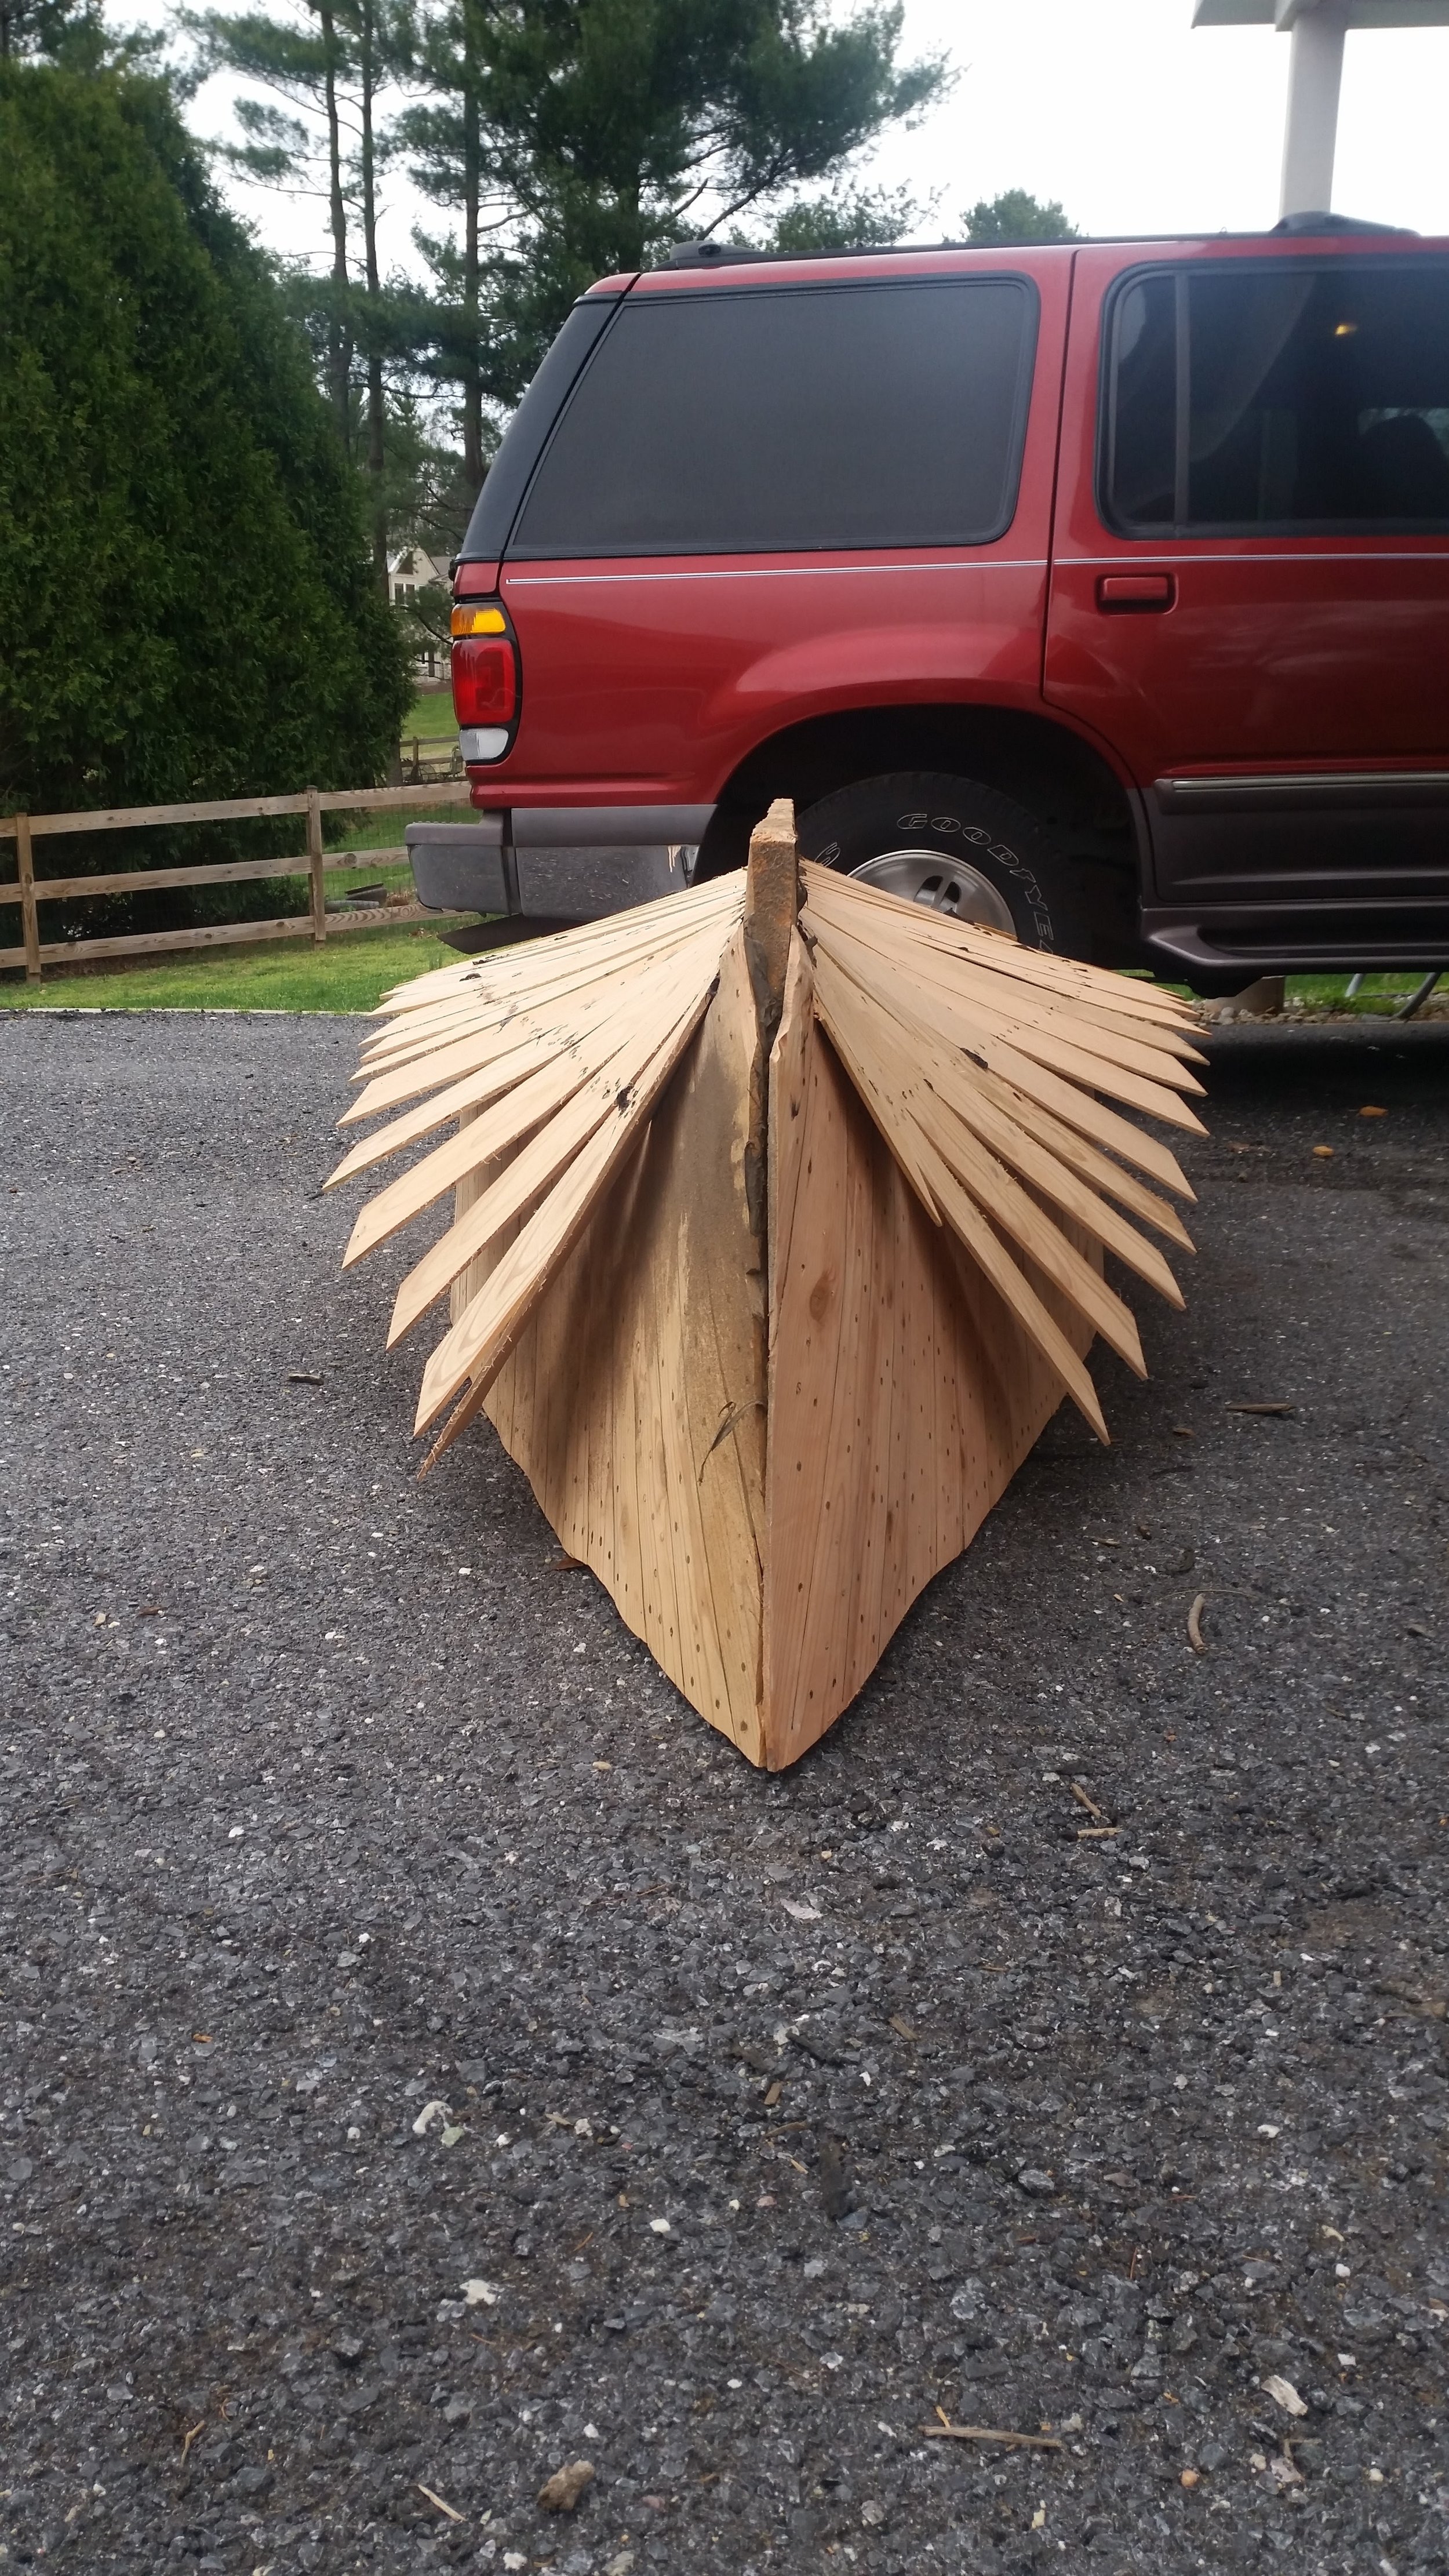
The flare of the bow is also clearly demonstrated by the long overhangs of the boards that need to be cut. Tooth has a flat bottom and the constant slapping and smacking of the bow on the waves is really annoying. Maddie and I both wanted a dinghy that would cut through the waves quietly, so I designed Tooth II to have a very narrow entry angle.

Looking forward, you can see how the majority of the hull is relatively flat. As you move forward, the profile changes and becomes much more pronounced as the bottom curves upwards resulting in a very sharp angle that looks almost vertical. 

The bottom is on and the bedding compound is curing. Until it finishes curing, all we can do is stand around and imagine what the dinghy will look like without the boards flaring out in all directions.

Windpuff is High and Dry

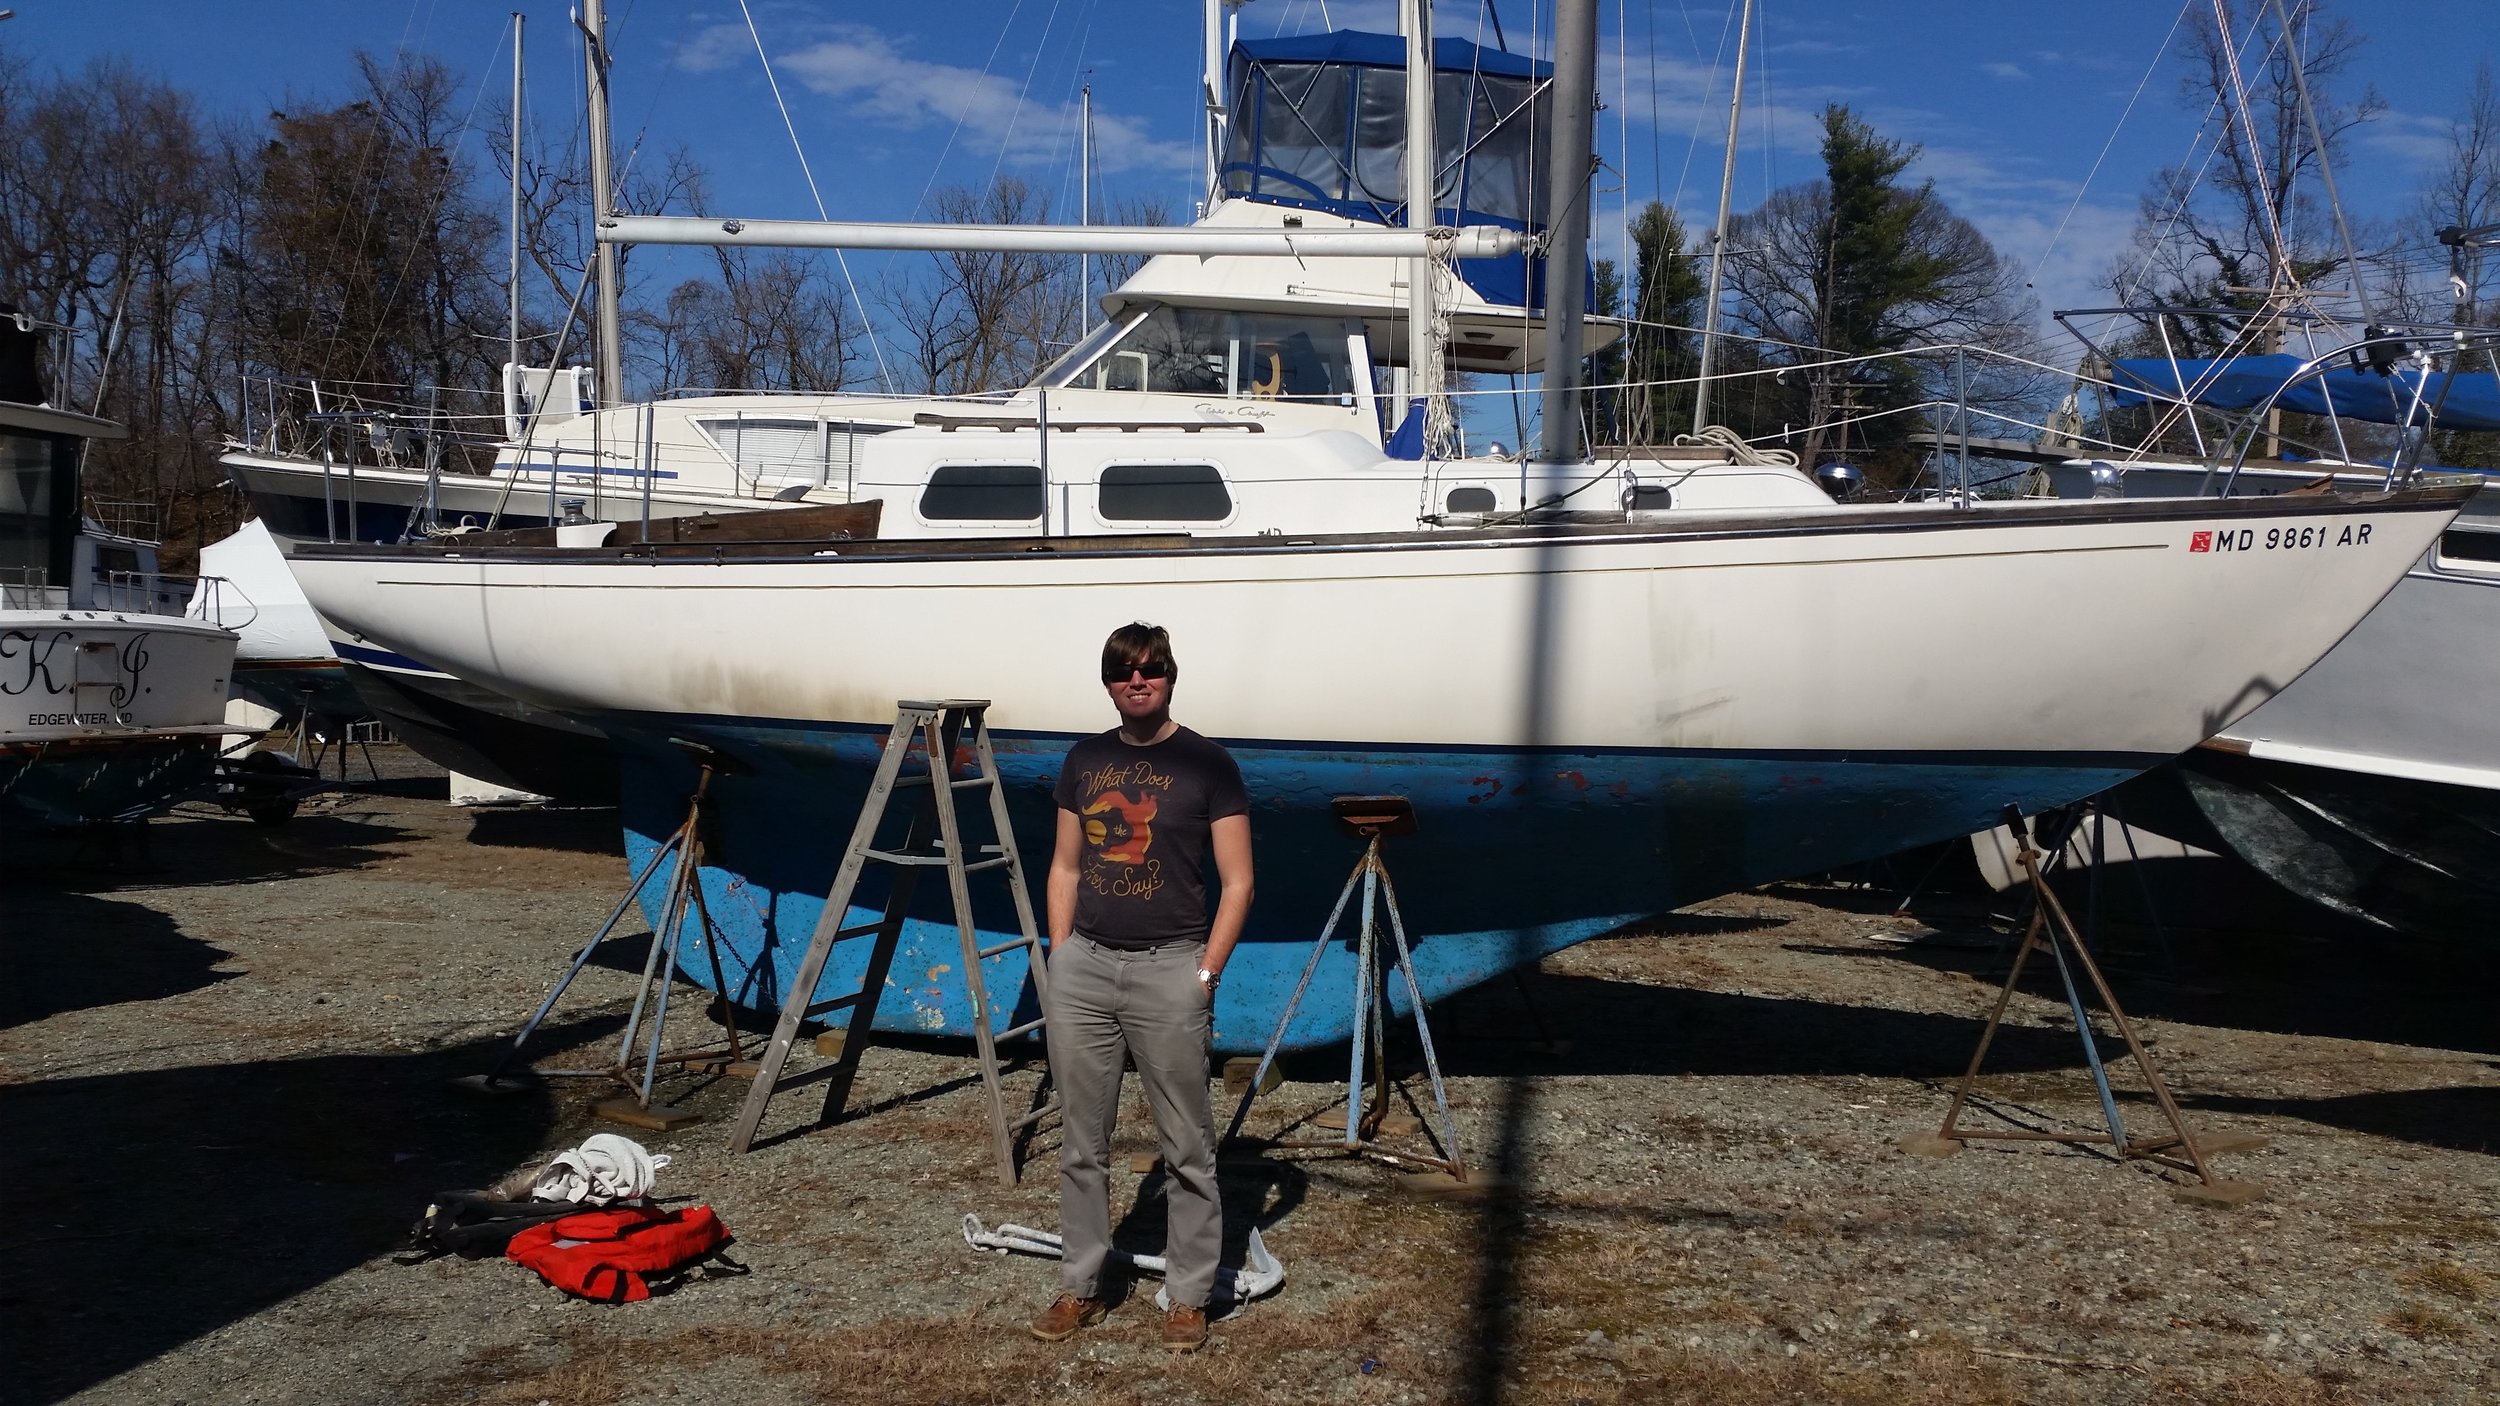
Windpuff was towed down to the Annapolis area where he was hauled out and set on the hard. On a calm day, I went to visit him and take all the sails off, stripping him down for long term storage.

I felt like a looter, going through all the lockers and cabinets inside, looking for anything that could be useful to us while we cruise. Extra life jackets, ground tackle, and spare lines were all taken off Windpuff to be used on Wisdom and Tooth II while we cruise.

Now that Windpuff is all cleaned out, he is ready to be shrink wrapped and await our return when he will get a new paint job and finally get splashed again.

Saltwater in the Galley

Sailboats carry a very limited amount of water on board, yet they float in a near limitless amount of water. When doing tasks such as washing dishes or bathing, why use the limited water supply that you need to use for living activities such as drinking?

This led me to the idea of tapping into the limitless water that we float in for menial tasks that need to be carried out as part of our daily lives. Activities such as washing dishes are very water consuming and could be easily performed with saltwater followed by a freshwater rinse.

Getting saltwater into the galley to clean dishes is easily accomplished via different methods. The first and simplest is to haul up a bucket of seawater and bring it into the galley. This is easy and takes almost no installation. All you need to do is carry a bucket that you can use to scoop up some seawater. After the dishes are washed, they can then be rinsed with freshwater and put to dry.

This system is simple, but grabbing a pail of seawater every time you want to wash something is a bit of effort. When washing a bunch of dishes, this would be just another step in the process. What about when you are washing one cup after some tea? Are you really going to grab a pail of water to clean just one cup? Truth is you will probably justify in your mind that you wouldn't really use too much water from the tanks, making it ok to wash this one cup with freshwater instead of saltwater. After a long journey, the total number of "just one" will add up and will have a direct impact on your freshwater consumption.

With a bit more installation and work, you can plumb a saltwater line into your galley. This will remove the need to grab a pail of seawater every time you want to wash up. Instead, you only need to open the faucet and let seawater run into the sink just like your tank water would. How you pump the seawater will depend on how you pump your freshwater. 

You want to make the pumps equivalent, otherwise you will find yourself favoring the pump that is easier to use. If you have an electric fresh water pump and a manual salt water pump, you will find reasons to justify using freshwater as you scrub the burnt on food off the bottom of the pots. All this time, freshwater is being wasted by a task that is better suited for saltwater simply because it is easier to have an electric water pump run instead of a manual water pump.

If you have a manual fresh water pump, you can either make the salt water pump manual or electric, as you will have to work for the fresh water, making you very strict about its use. If you have an electric freshwater pump, you will need to install an electric saltwater pump to ensure that you will use it.

This then begs the question about how to deliver the saltwater to the galley? Should you install a new faucet, or use an existing faucet that you have already present? Once again, the ease of the saltwater side should be equivalent to the ease of the freshwater side or you will find yourself wasting freshwater because it is easier than using saltwater.

Imagine you have a small tap that dispenses saltwater over a large double sink and a large goose neck faucet that can be moved from sink to sink that dispenses freshwater. Guess which one you will use more often? To make life easy, lets simply tap the saltwater plumbing into the existing galley faucet!

While sailing, you will not be plugged into shore power so your water heater will not be working. On a long journey, the water heater will cool down and your hot water and cold water sides of the faucet will all dispense cold water. This opens up an opportunity to simplify our lives. By teeing in a saltwater line into the hot water side of the faucet, you can easily have saltwater flow out of the faucet by opening the hot water tap.

This makes life very easy, to wash dishes with saltwater, all you need to do is open the "hot" water tap. This will grant you endless amounts of water as you are floating in an ocean of seawater! Once the dishes are clean, you can close the "hot" saltwater tap and open the "cold" freshwater tap to rinse the dishes clean.

Now you have saltwater and freshwater readily available to you in the galley with the simple turn of a tap. Using saltwater instead of freshwater will greatly extend the length of time you can get out of your water tanks! 

Beveling the Chine

A lot of work and effort has been put into getting the rabbet beveled properly with the angle of the frames. This will allow the bottom planks to lay flush along the rabbet and the frames, forming a strong and well sealed bottom that will keep water out, keeping us dry as the dinghy floats.

The chine lays opposite to the keel, and needs to be beveled in the same angle as the rabbet and frames. This is because the bottom planks will lay over the topside planks and extend outward. Once the bottom is planked, these overhanging ends will be cut to size and sanded flush with the curvature of the hull. The bevel also increases the width of the bedding compound which will promote further sealing. The added width gives yet another advantage: space for fasteners. The chine is a mere half inch wide, and the planks are a mere 1/4 inch wide. This all adds up to form a 1 inch width to fasten the bottom planks. Adding a bevel greatly increases this width, especially in the forward part of the boat where the angle is quite severe, creating what looks more like a scarf instead of a beveled junction.

A wooden batten is very convenient to verify the trueness of the bottom. The batten starts on the keel in the rabbet, and then passes flush over the frame and over the chine. The batten should lay flush and flat along the entire journey. If there are any gaps, then you will need to bevel the chine a bit further since the rabbet was beveled to perfection before the topsides were planked.

Beveling this much wood may seem like a tricky task. If the hull were carvel planked, we could use a block plane to bevel the chine since grain would all be oriented in the same direction. Since we did double diagonal planking on the topsides, the chine experiences three different grain directions and attempting to use a plane would result in a chipped up mess! Instead, abrasives are needed to smooth everything up.

A sander works for this task, but it is rather slow and time consuming. A much faster method is to use an angle grinder fitted with a paddle sander wheel. This attachment is practically a book of sandpaper that spins around as it blows the wood away in record speed. The angle grinder also has a long handle that allows you to better visualize the angle you are grinding the chine into. 

Using the angle grinder and double checking your work over and over will ensure that the chine is beveled flat and flush with the bottom planking. This will create a very strong and fair bottom that will glide through the water with ease.