Bilge Pump Supports: Finishing Touches

The bilge pump supports are glassed in and the resin has fully cured, it is now time to clean up the locker and make it look presentable!

It is amazing what a bit of paint can do! I used Interlux Bilgekote after lightly sanding the layer of blushing off the surface of the glassed in supports. Bilgekote is very forgiving and results in a slick finish with minimal preparation work. There is no need to prime the surfaces with primer, all you need to do is lightly sand the surface and then start painting.
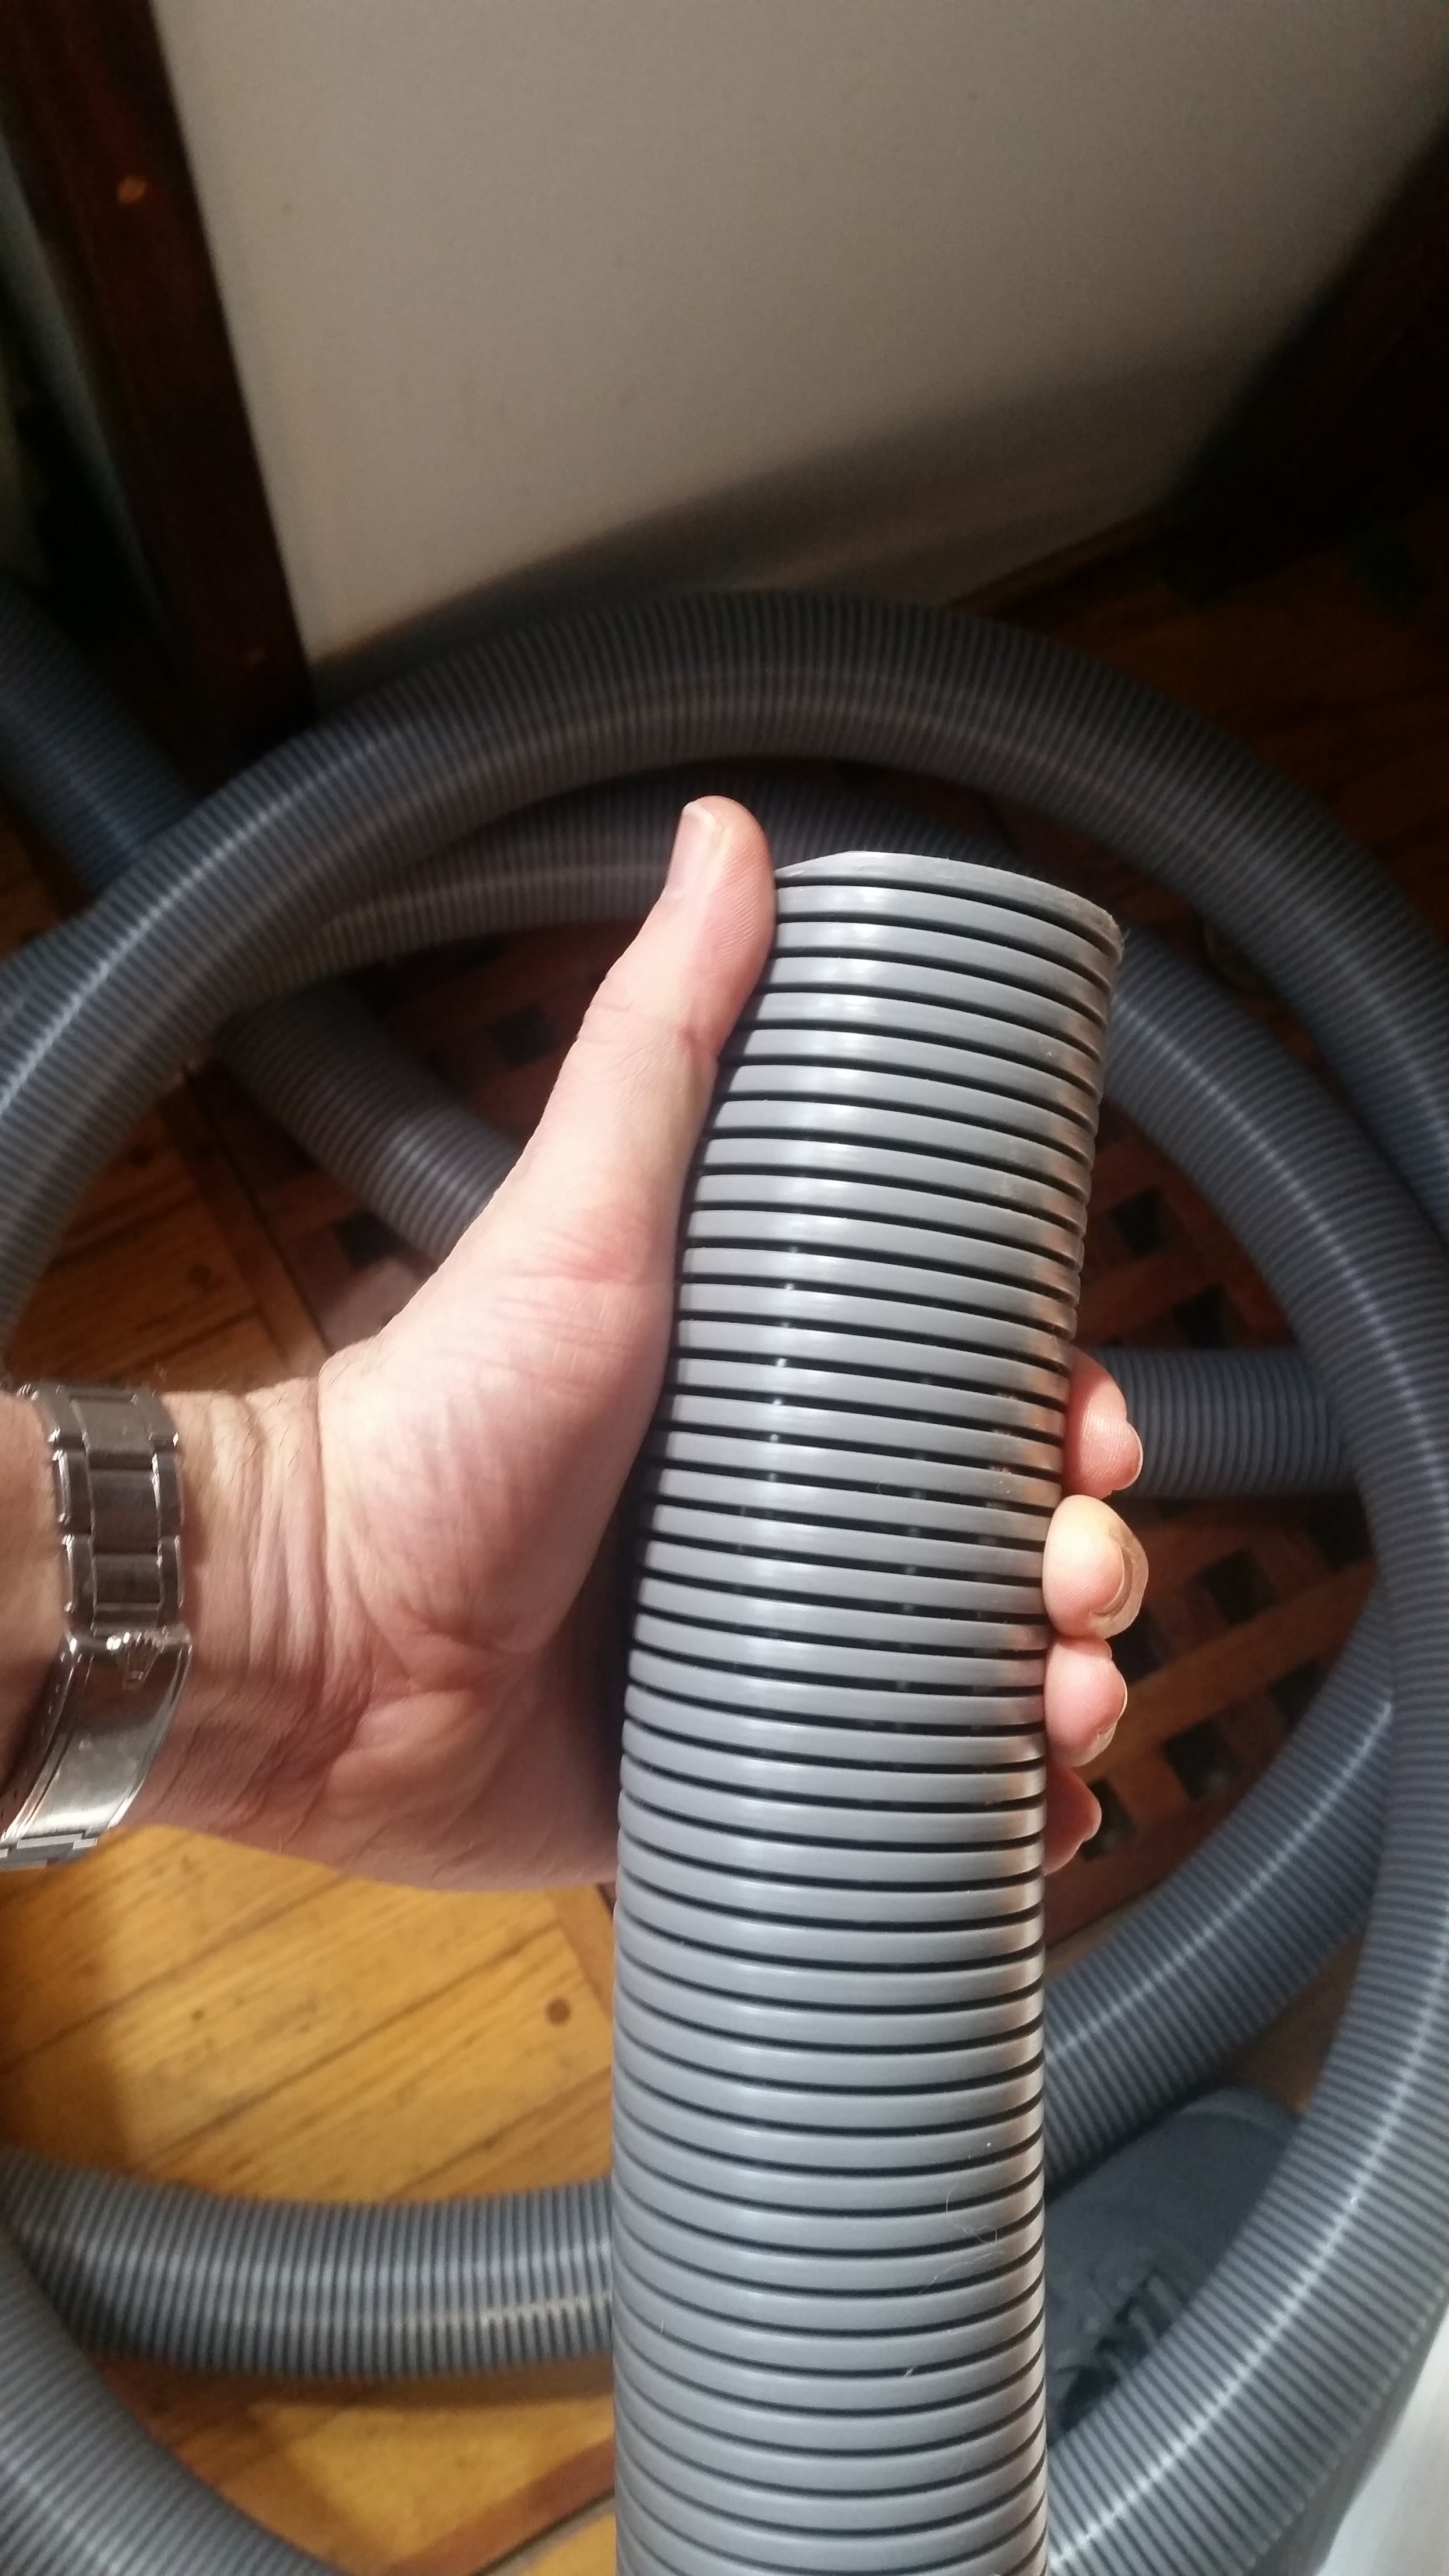
The massive bilge pump hose is 2 inches (inside diameter) which will flow many gallons with while keeping back pressure to a minimum. The only problem with running a hose this size is the hole it needs to pass through a bulkhead. The hose narrowly fits through a 2.5 inch hole, and fitting a 2.5 inch hole saw in some of the areas was tricky. In the end, the bilge hose was run with as few turns as possible to minimize resistance in the passage of water.

The bilge hose was run through the bulkheads and down into the bilge with the excess spilling into the locker while I painted. Once the paint cures, I will trim the hose to size and attach the bilge pump to the supports. At that point, all will be finished with the project; save drilling a giant hole in the side of the hull for the discharge through hull fitting. 
Mornings Aboard

When the sun comes up, some of us are more willing to get up than others. Sammy wakes up when the sun comes up but Morty, our corgi, likes to sleep in.

Port Side Double Planking

After three days of work, the port topside has been fully planked!

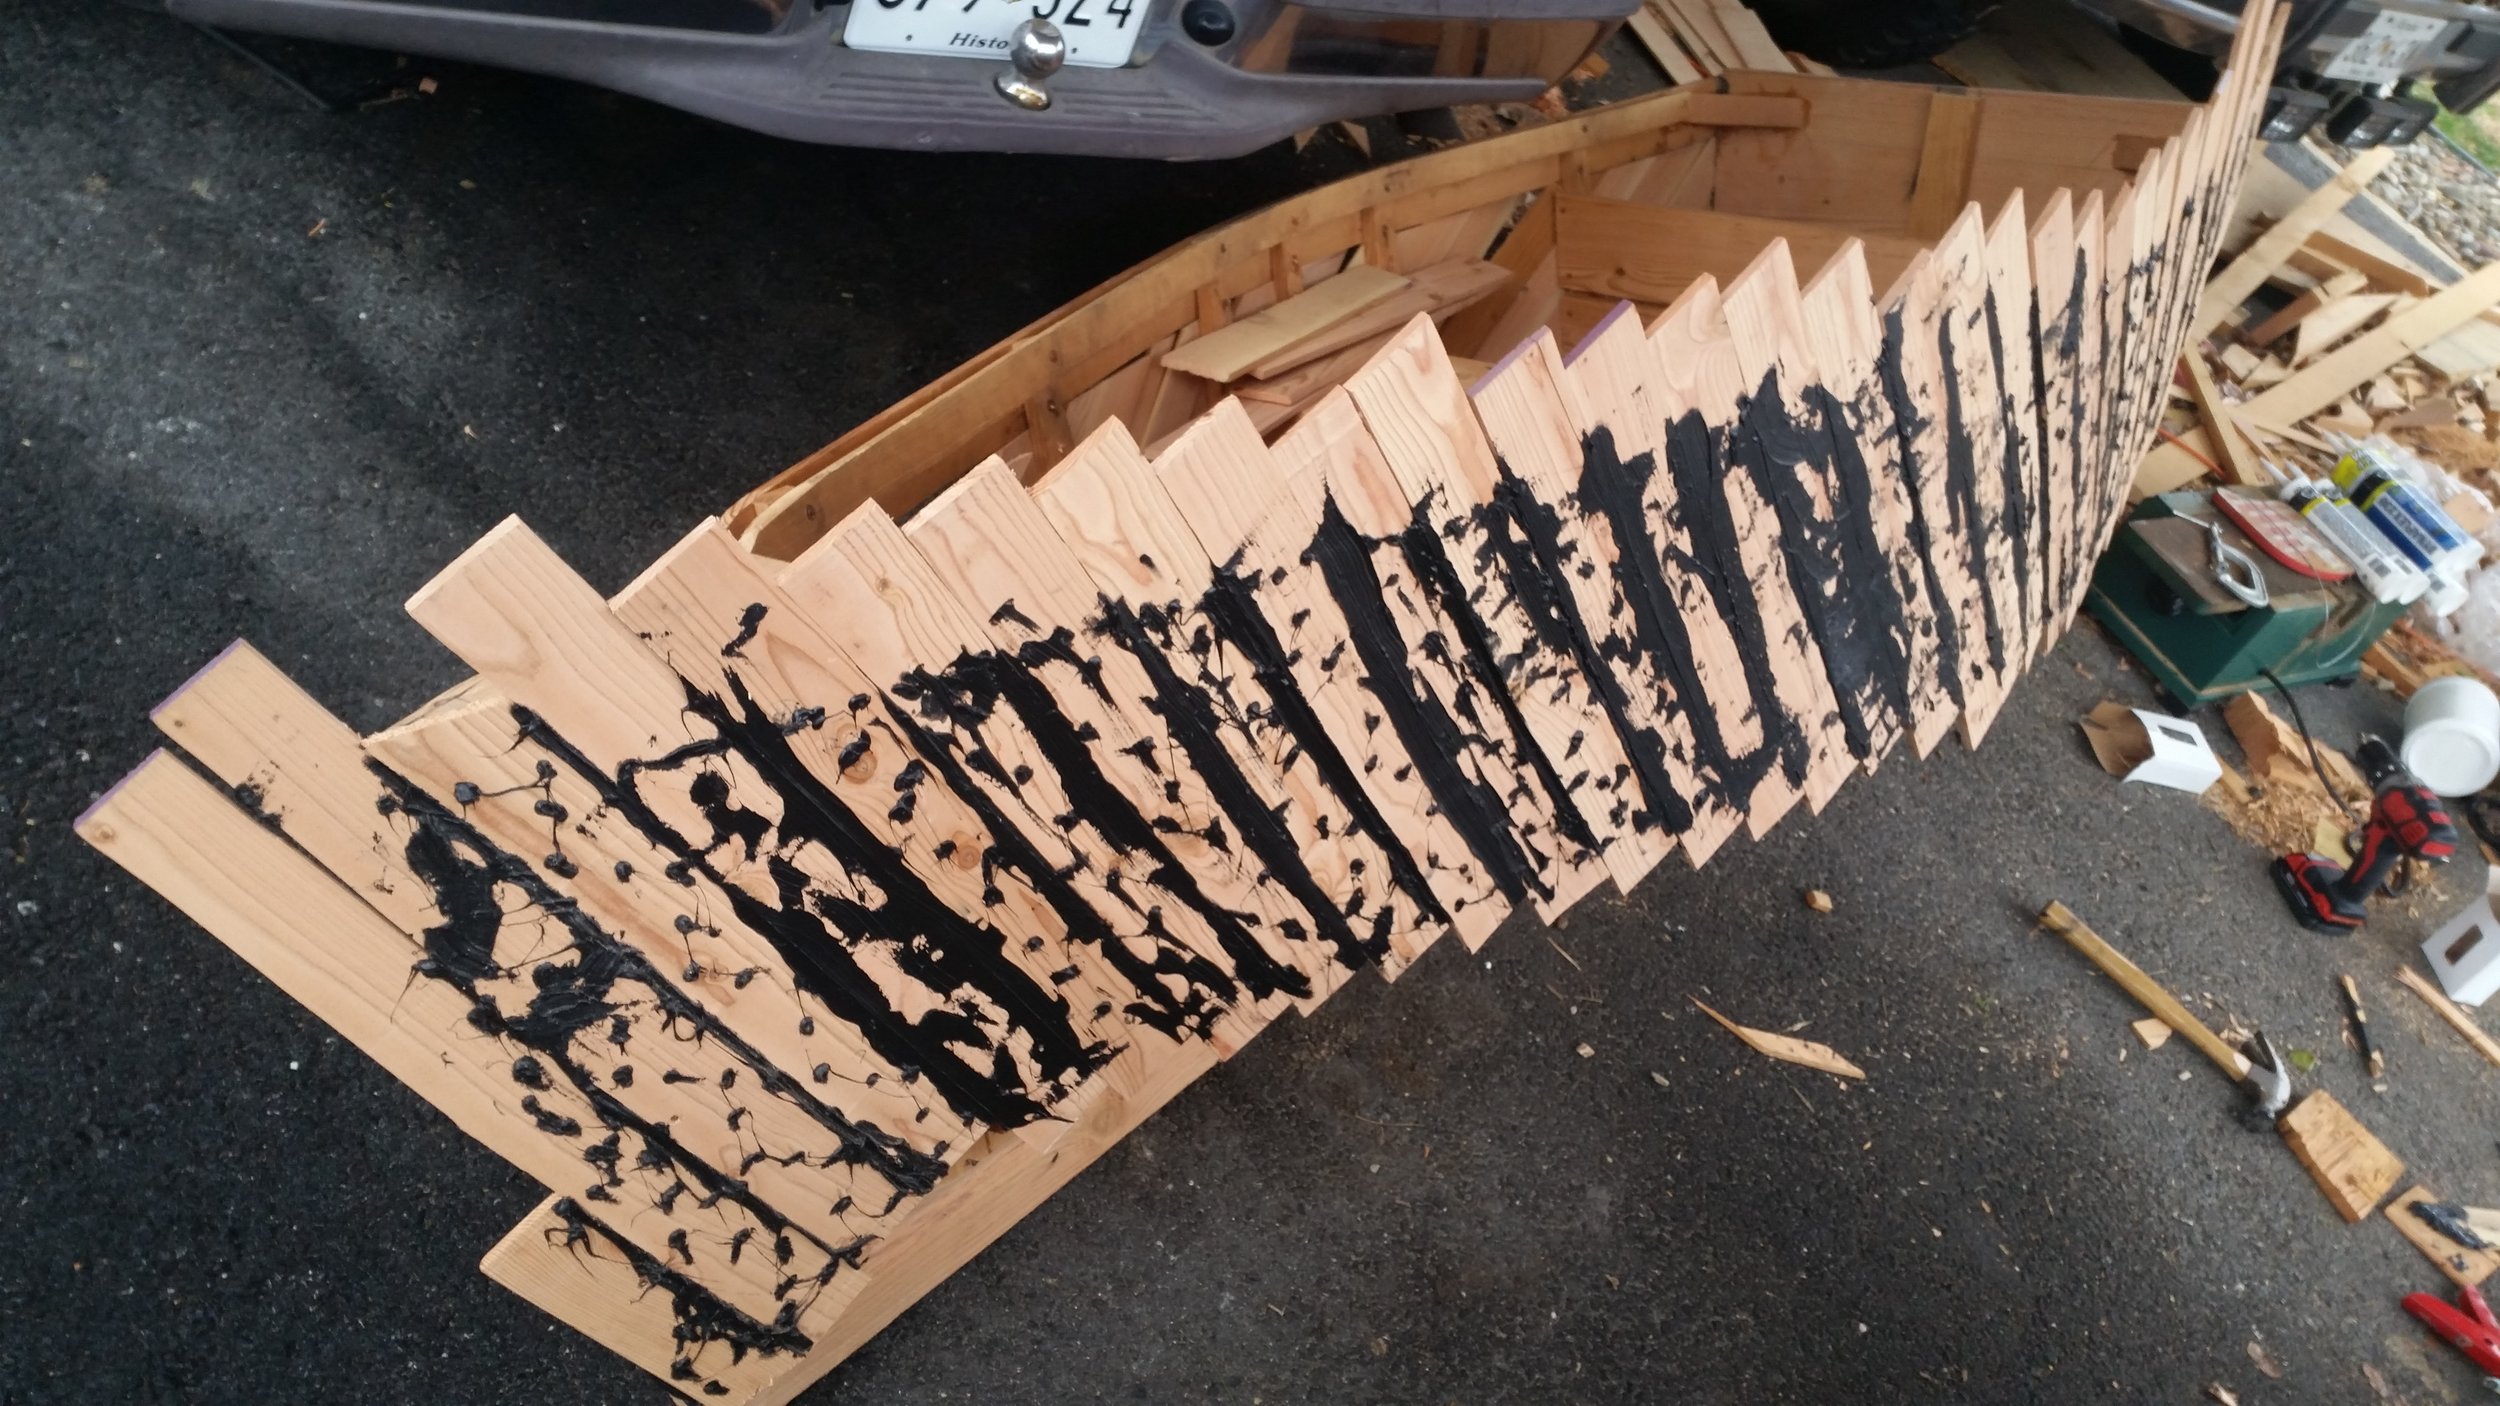
The planks in the bow required many bronze screws to hold the planks in place and spring them into their curved form. Nails were attempted, but the curvature kept pulling the nails out of the first planks. Bronze screws were needed to train the planks to curve to the bow of the dinghy. As the work moved aft, nails were able to be used as the topsides were flat and required no force to keep them sprung in place.

While screws do hold much stronger than nails, screws also take considerably longer to install. The four strakes at the bow took nearly 4 hours of work, while the aft half of the dinghy took only 5 hours. There were 32 strakes in total, and the ones installed with nails were installed much faster. 

This came down to two reasons, screws require changing the drill bit to a driver and screws require careful positioning. Nails can be easily banged into place with a hammer while the drill holds the same 1/16" drill bit. The other reason for the speedier installation is that I got efficient at spreading the bedding compound around. 

The dinghy now sits with the port topside curing, awaiting me to trim off the excess planks. The planks will be trimmed to the sheer and the chine. After they are trimmed, the starboard side can be planked in the same fashion.

Once all the planks are installed, the nails will be bent over to lock them in place and make the hull much stronger.

Marina Pilings

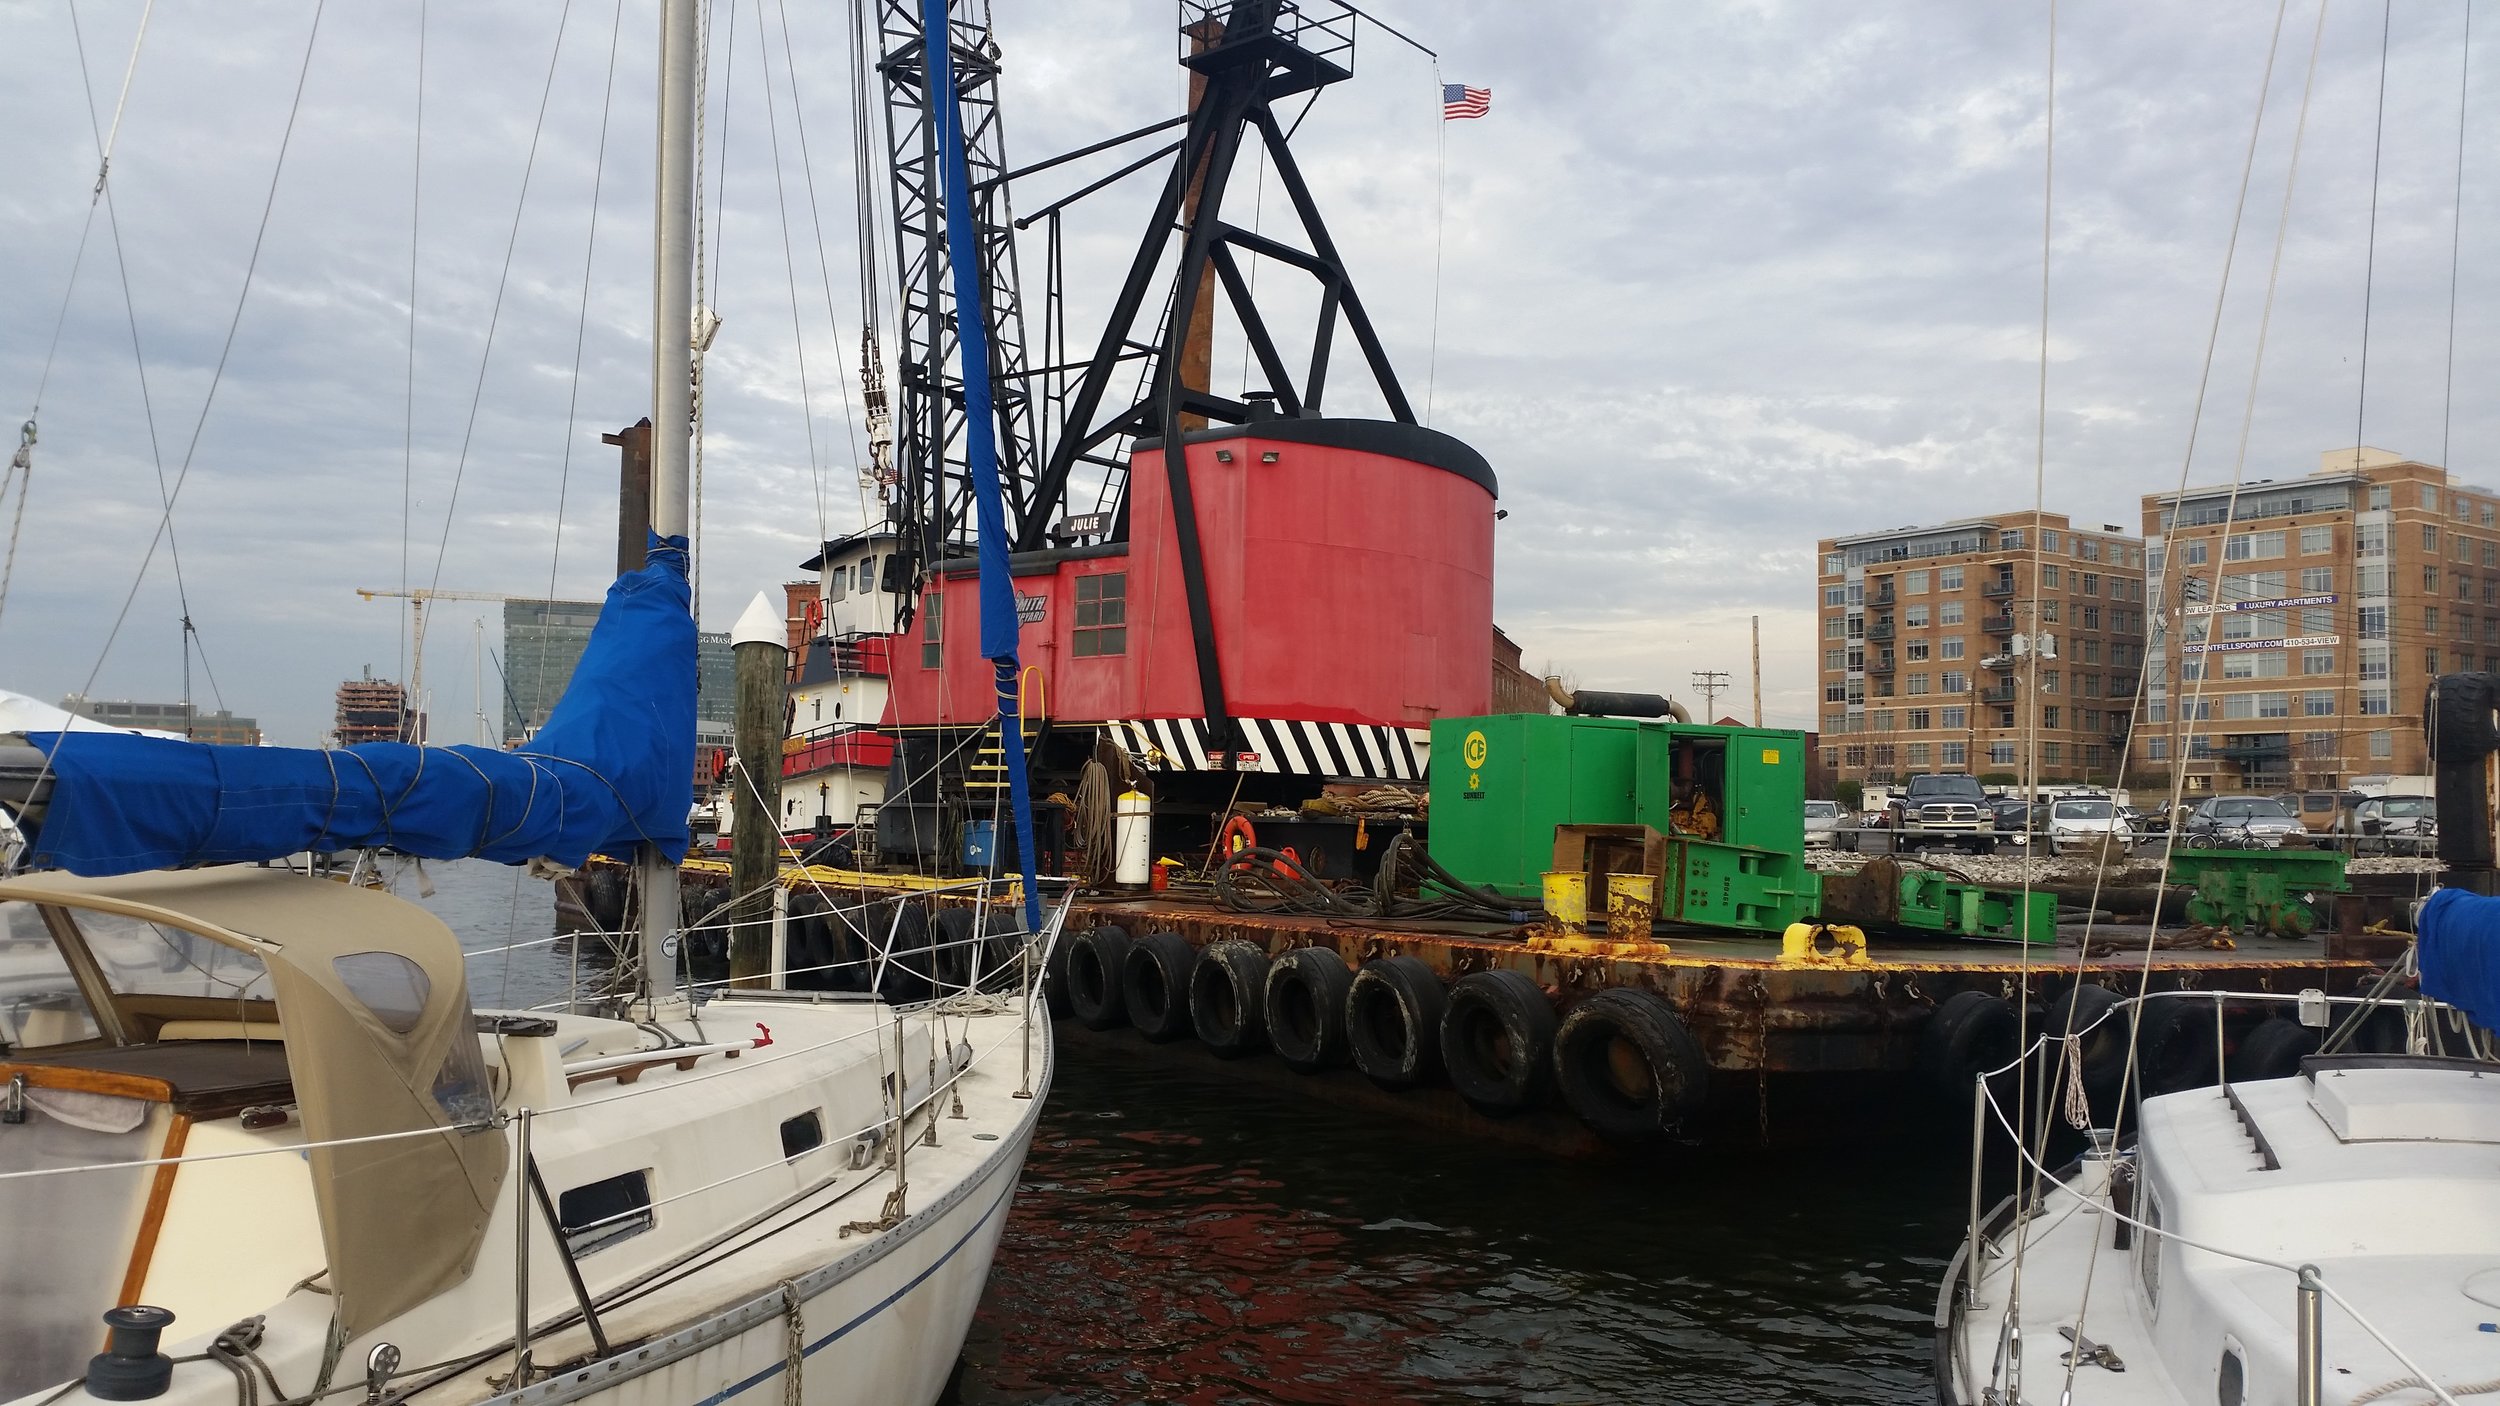
If you have ever wondered about the size of the machinery used to service the pilings in a marina, wonder no more!

A massive crane sits atop a large barge that is controlled by two tug boats. One tugboat is attached to the transom of the barge and operates as a push boat to control the fore/aft motion. The other tug boat sits athwartship and serves as a bow thruster, managing direction of the barge.

This massive contraption was able to delicately maneuver through the marina, pulling out the severely warn massive pilings so that they could be replaced.

Finishing the Stem and Starting the Second Planking

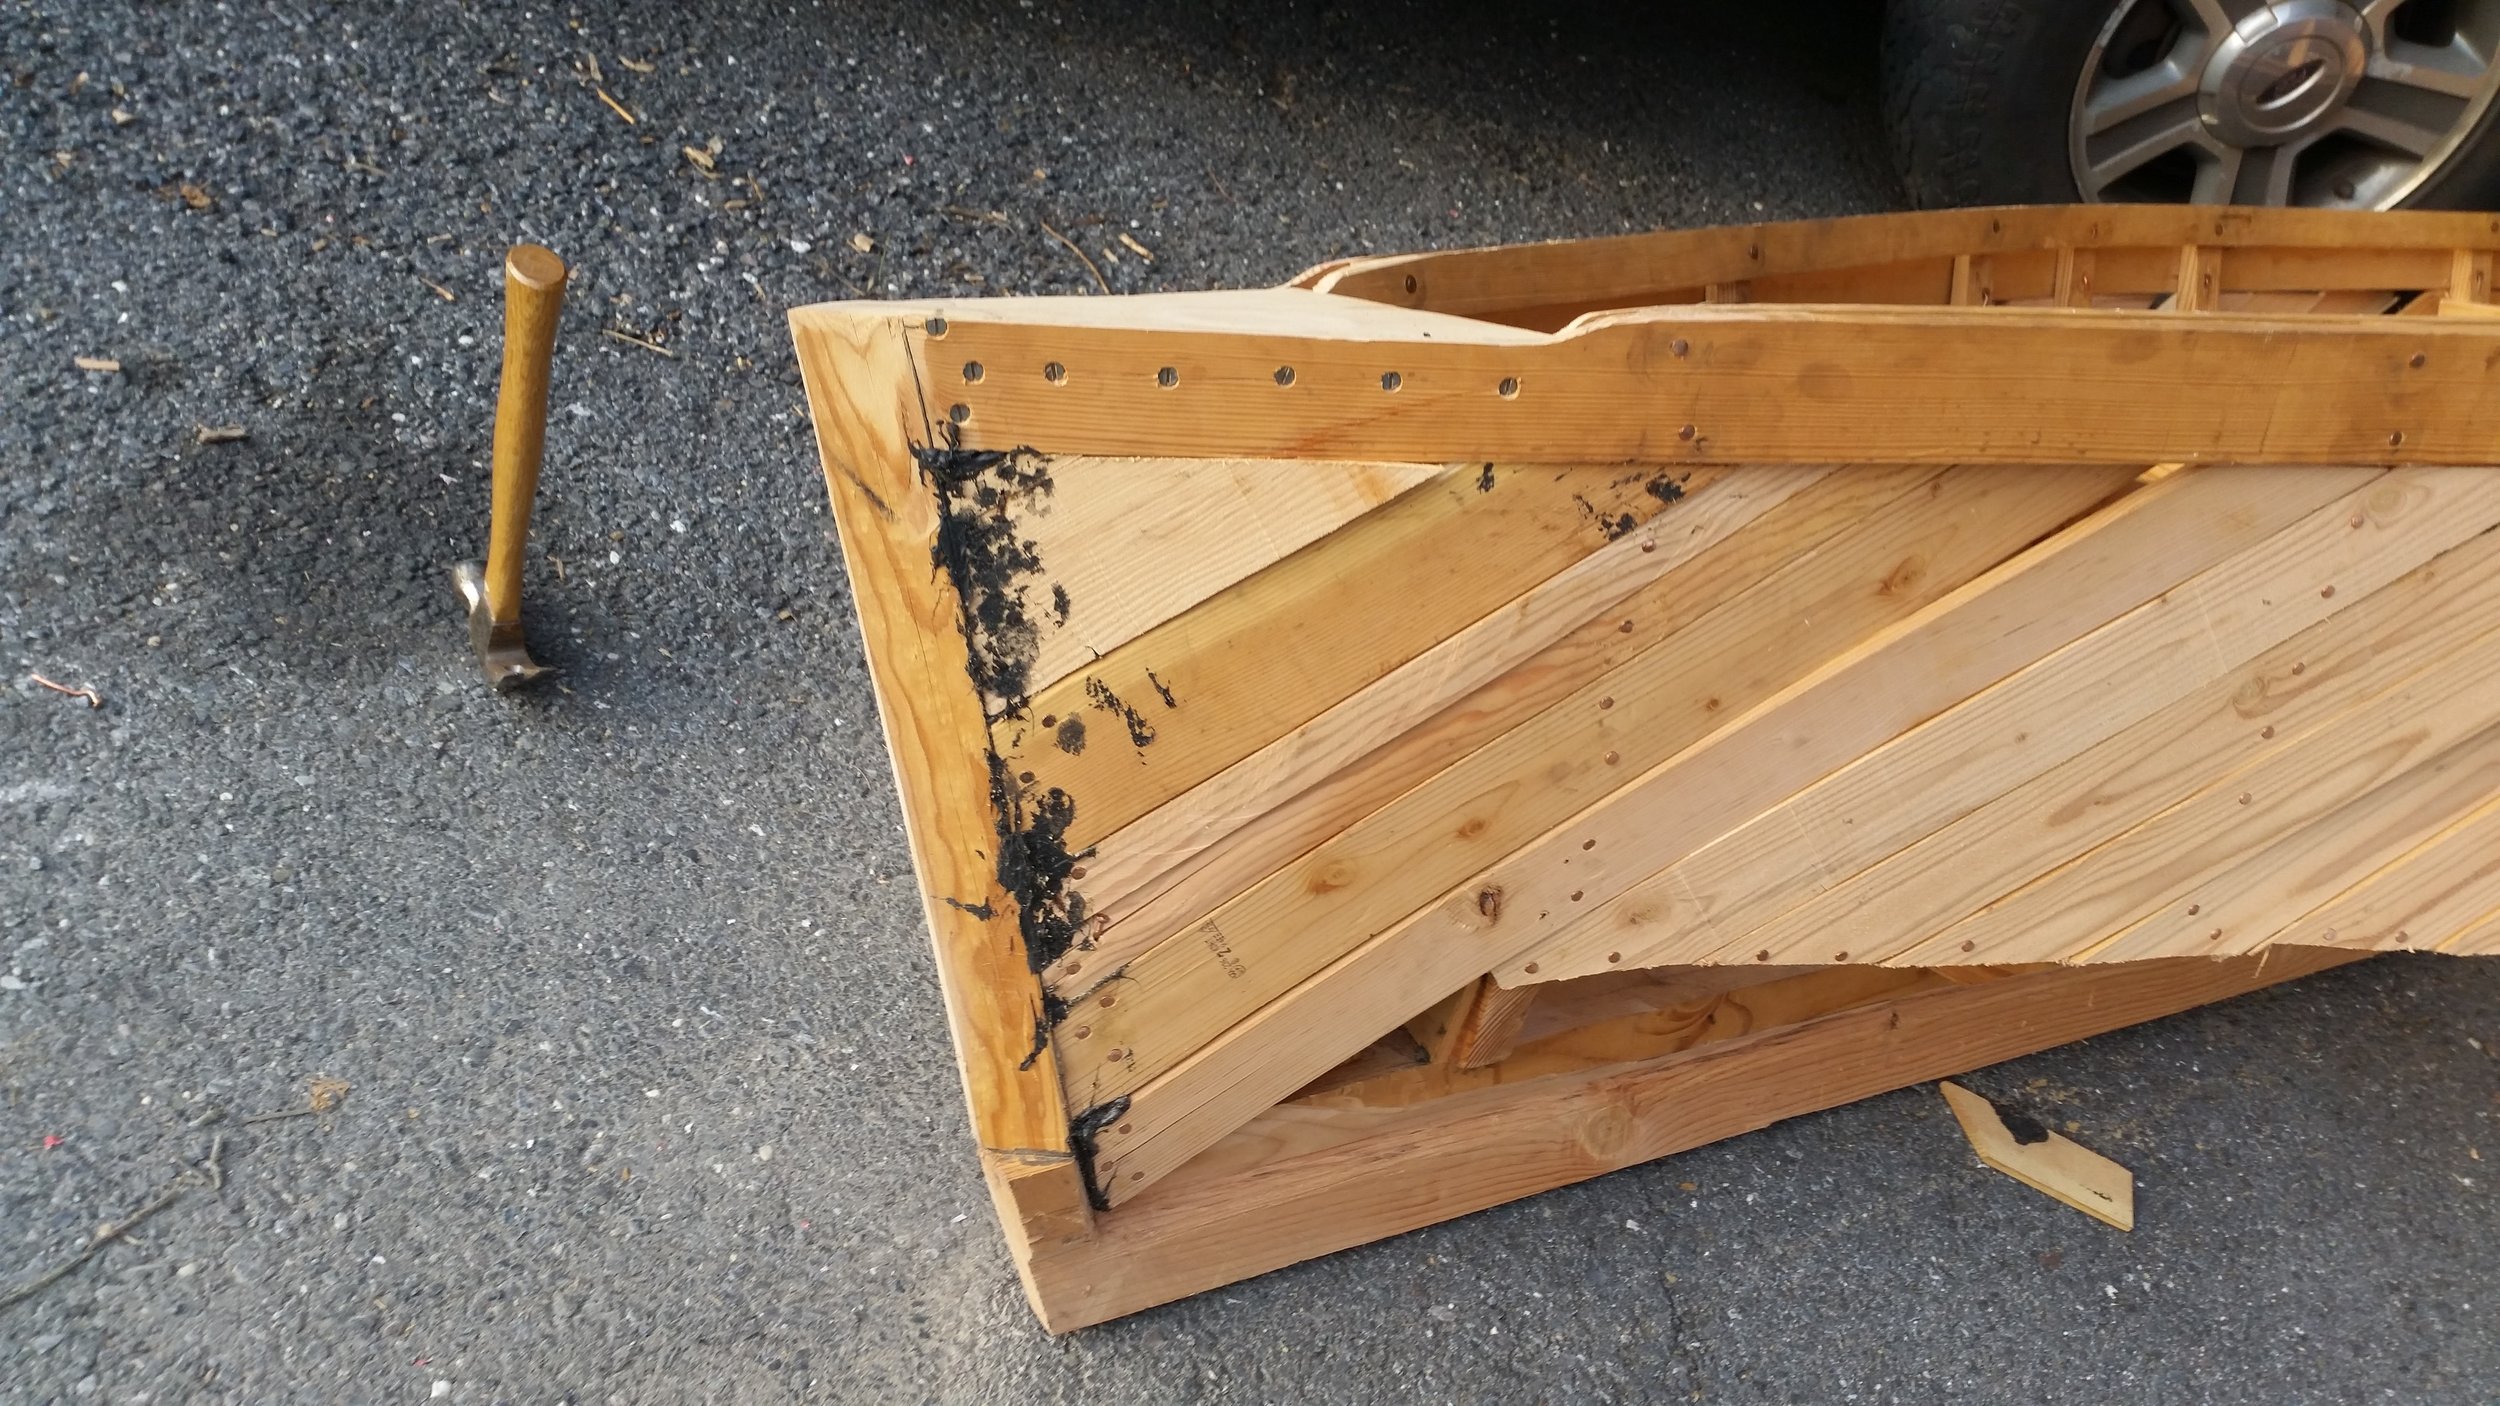
The bedding compound at the stem rabbet has fully set, it is now time to shape up the stem and clean off any excess bedding compound.

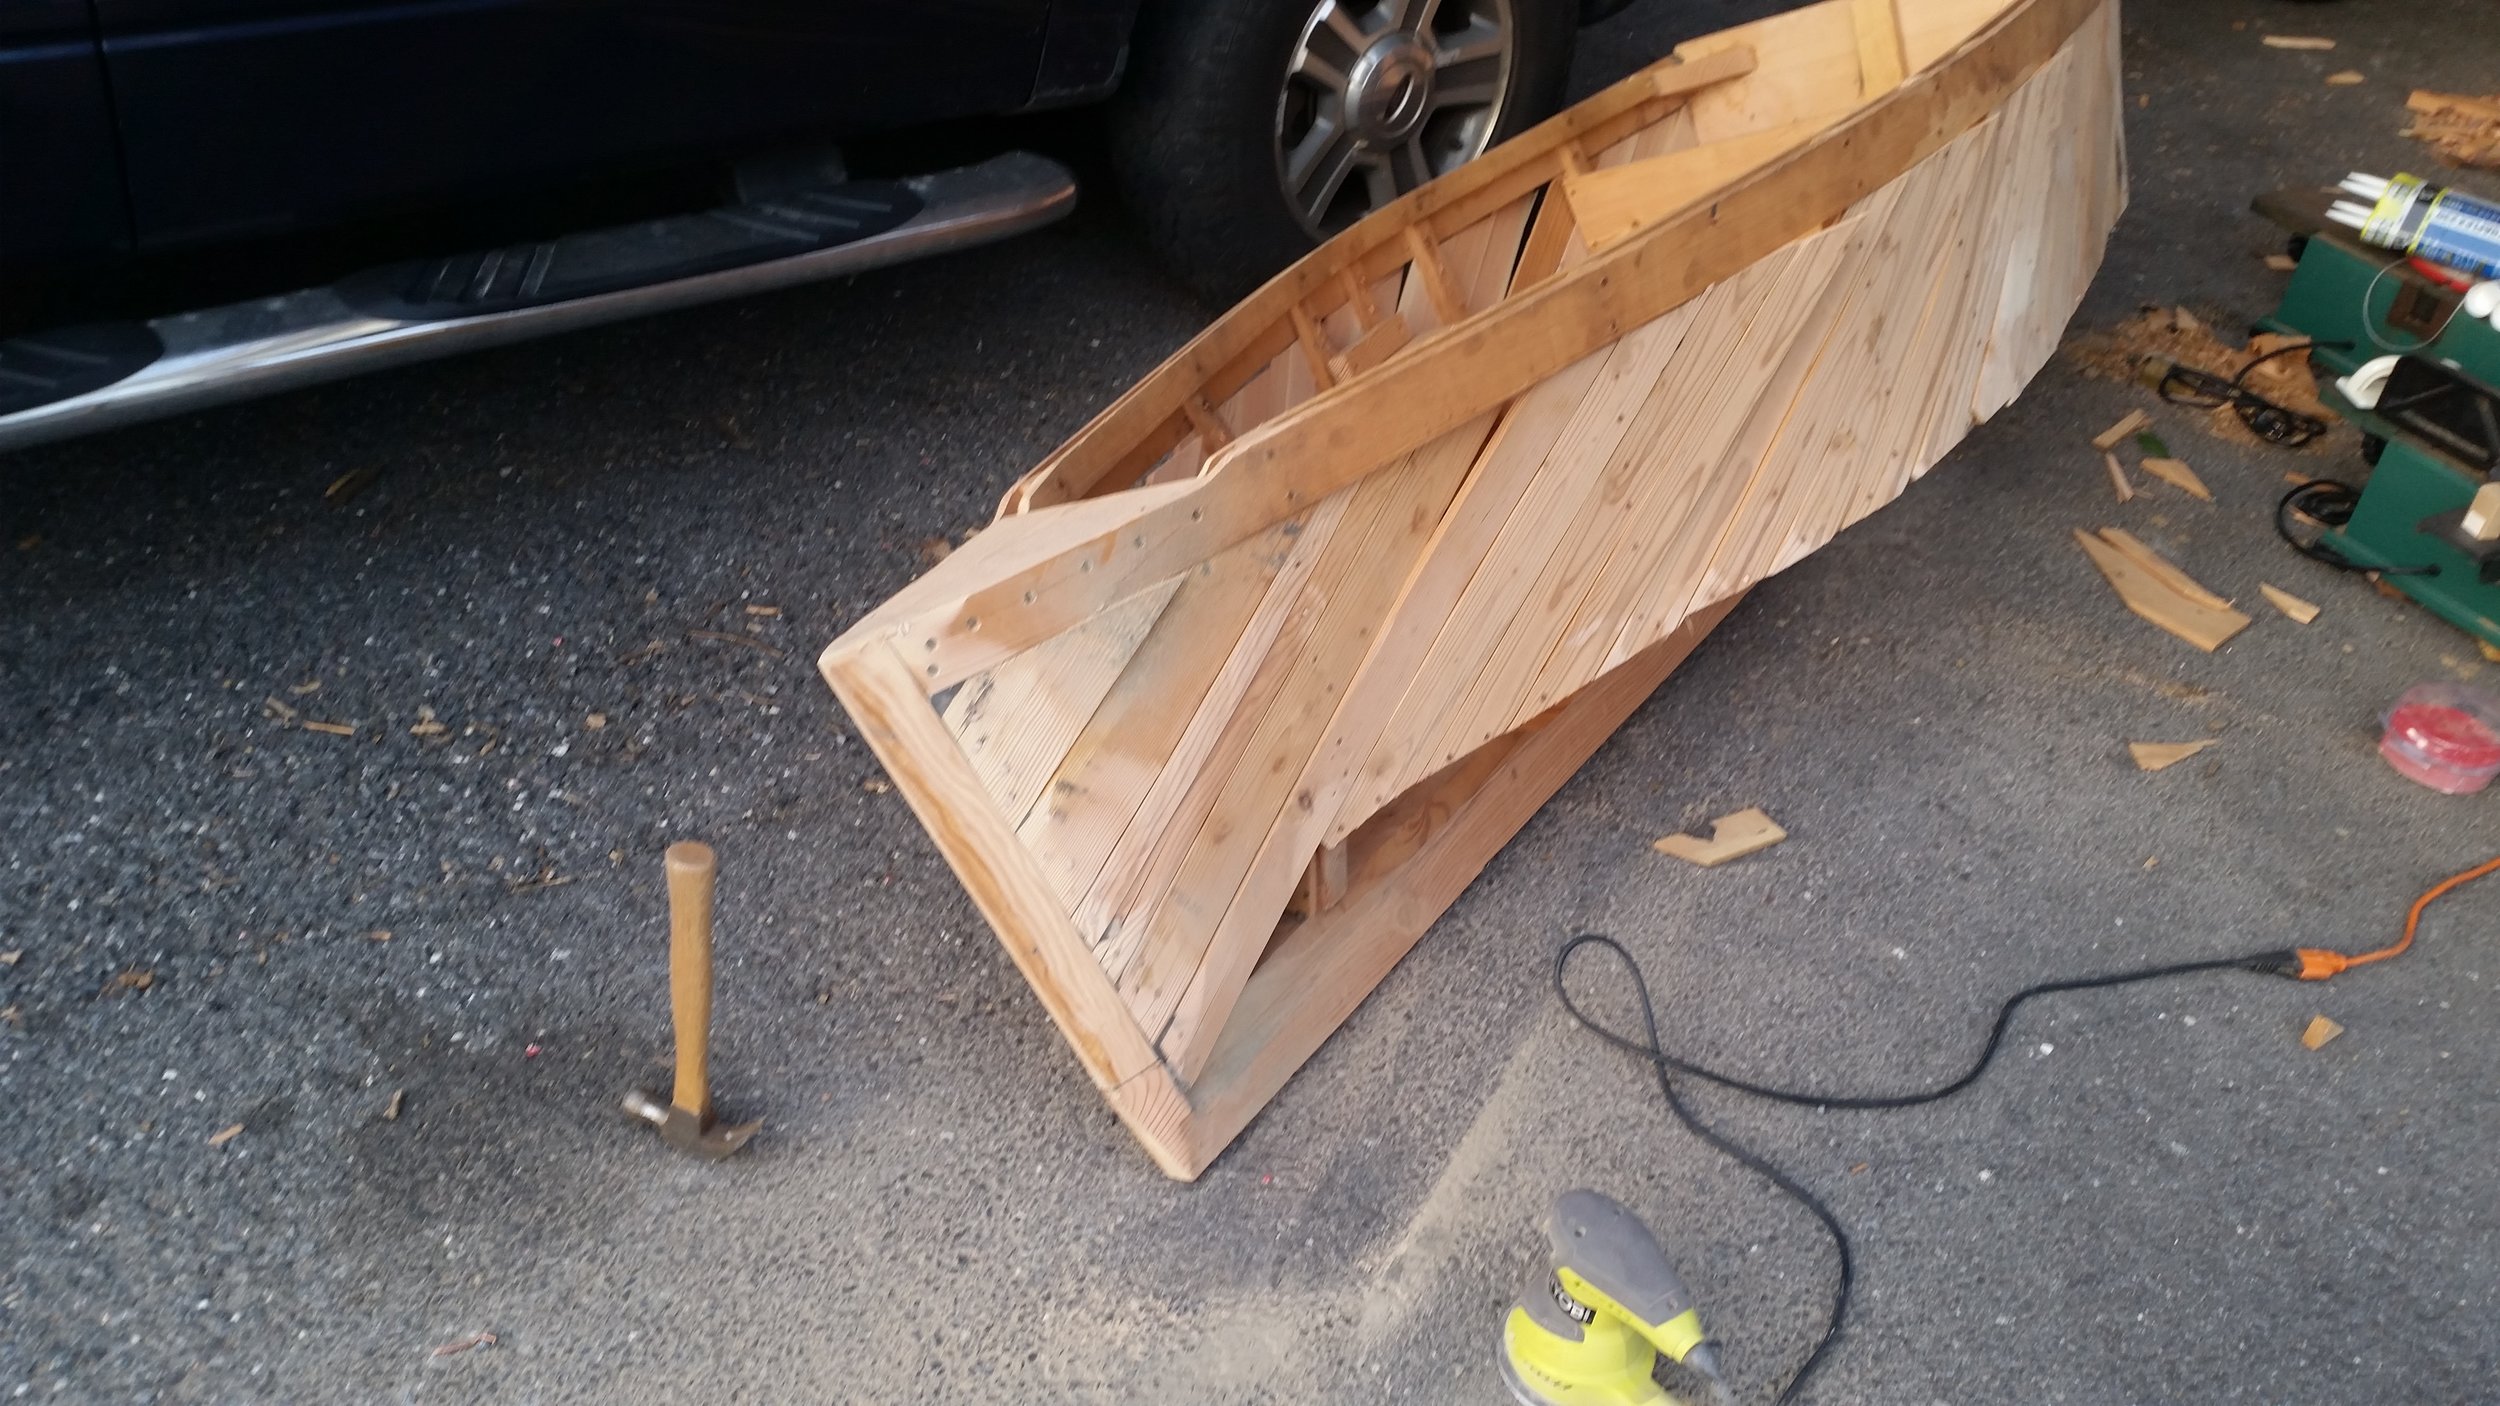
A random orbital sander was used to fair up all the planks and clean up the black polysulfide bedding compound. After some careful shaping, the bow is much more fair and ready for the second layer of planking.

The saw and rubber dust was cleared away using a compressor, leaving behind the clean and smooth wood of the bow, ready for the next layer of planking. High spots on the bow were all rounded and faired with 60 grit sand paper until a plank could easily be laid against the hull, perpendicular to the first layer of planks.

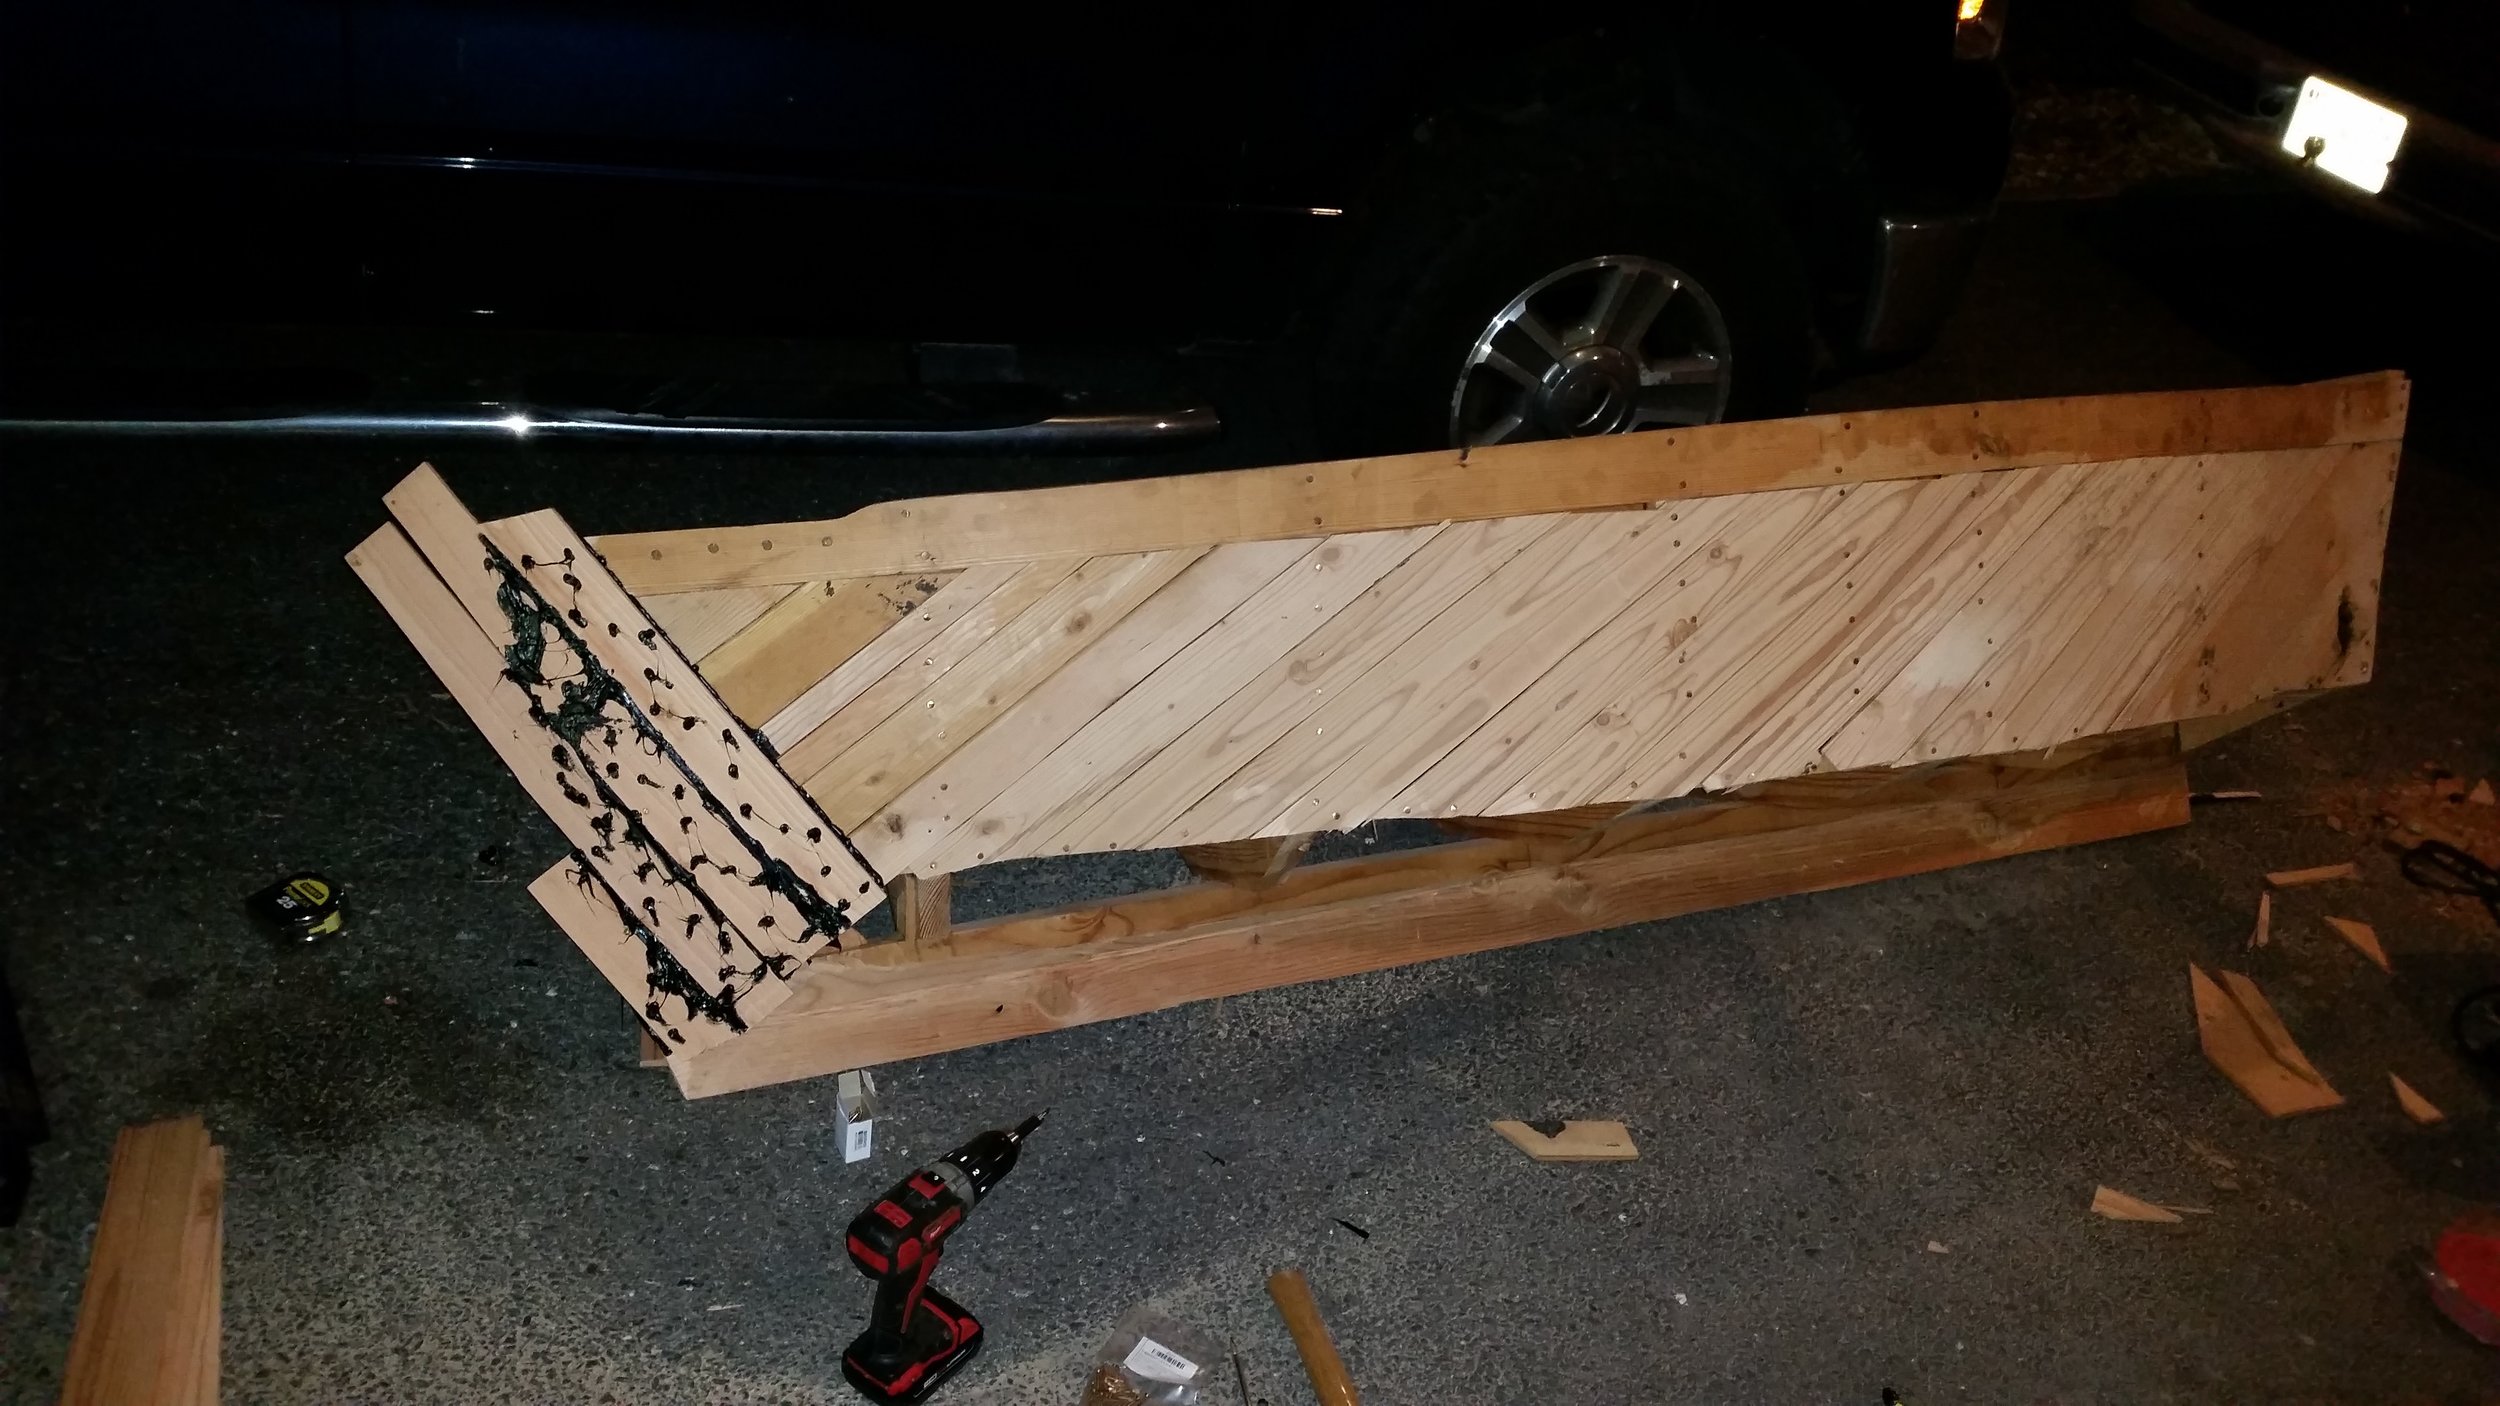
The first plank of the second layer was test fitted dry and the outline was traced. This space was then covered with bedding compound, with extra bedding compound going into each seam to keep water out. The bedding compound was spread around using a spatula, making it a giant rubber field for the plank to attach.

The first strake was attached using bronze screws, pulling the strake onto the curvature of the hull while pulling the first layer of planks flush up to it. This will create a very tight fitting faying surface that is filled with bedding compound. The screw holes were then filled with bedding compound as well to help keep out any water intrusion that might try to make its way in.

The space forward of this plank was then prepared using the same method, the large black field is the spread out bedding compound in preparation for the next strake. 

The next set of planks was attached to the same way, all with bronze screws. The excess is left overhanging the stem until the bedding compound cures, then this excess will be trimmed off just like the planks at the chine.