Finishing the Bow

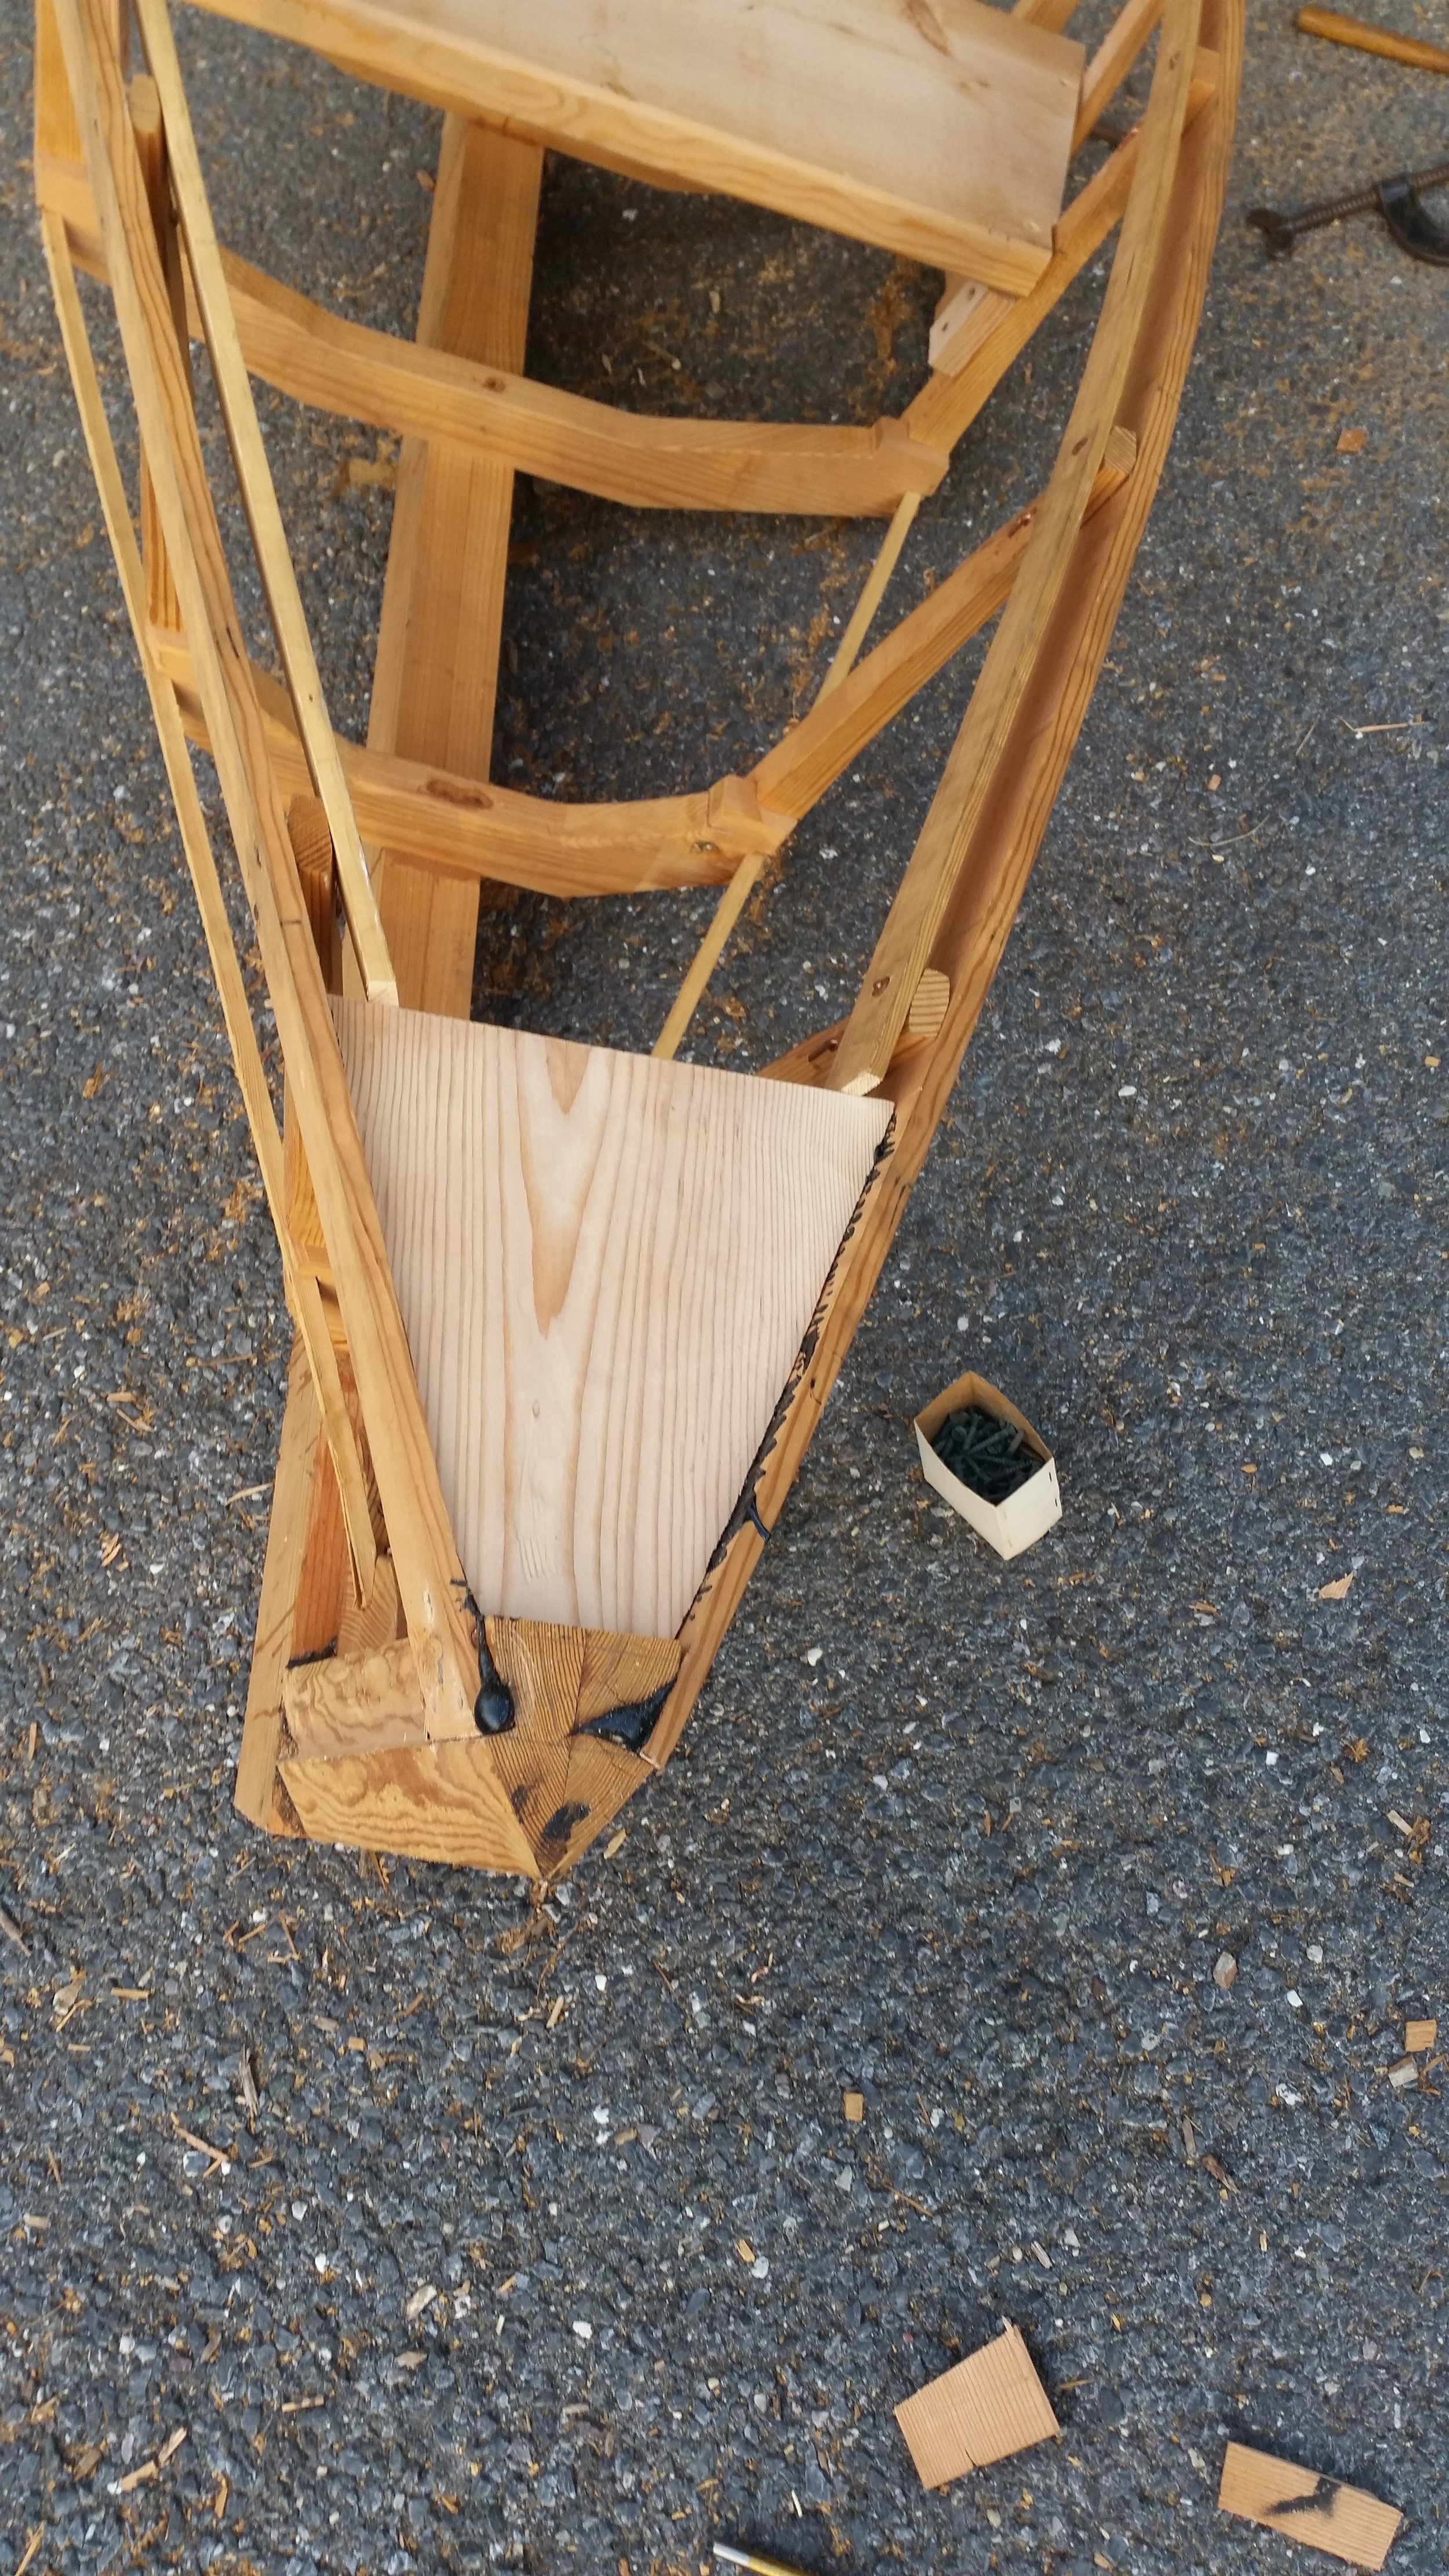
The black polysulfide bedding compound has had plenty of time to cure, now we are ready to make the stem and bow look like a composed boat instead of a pile of wood.

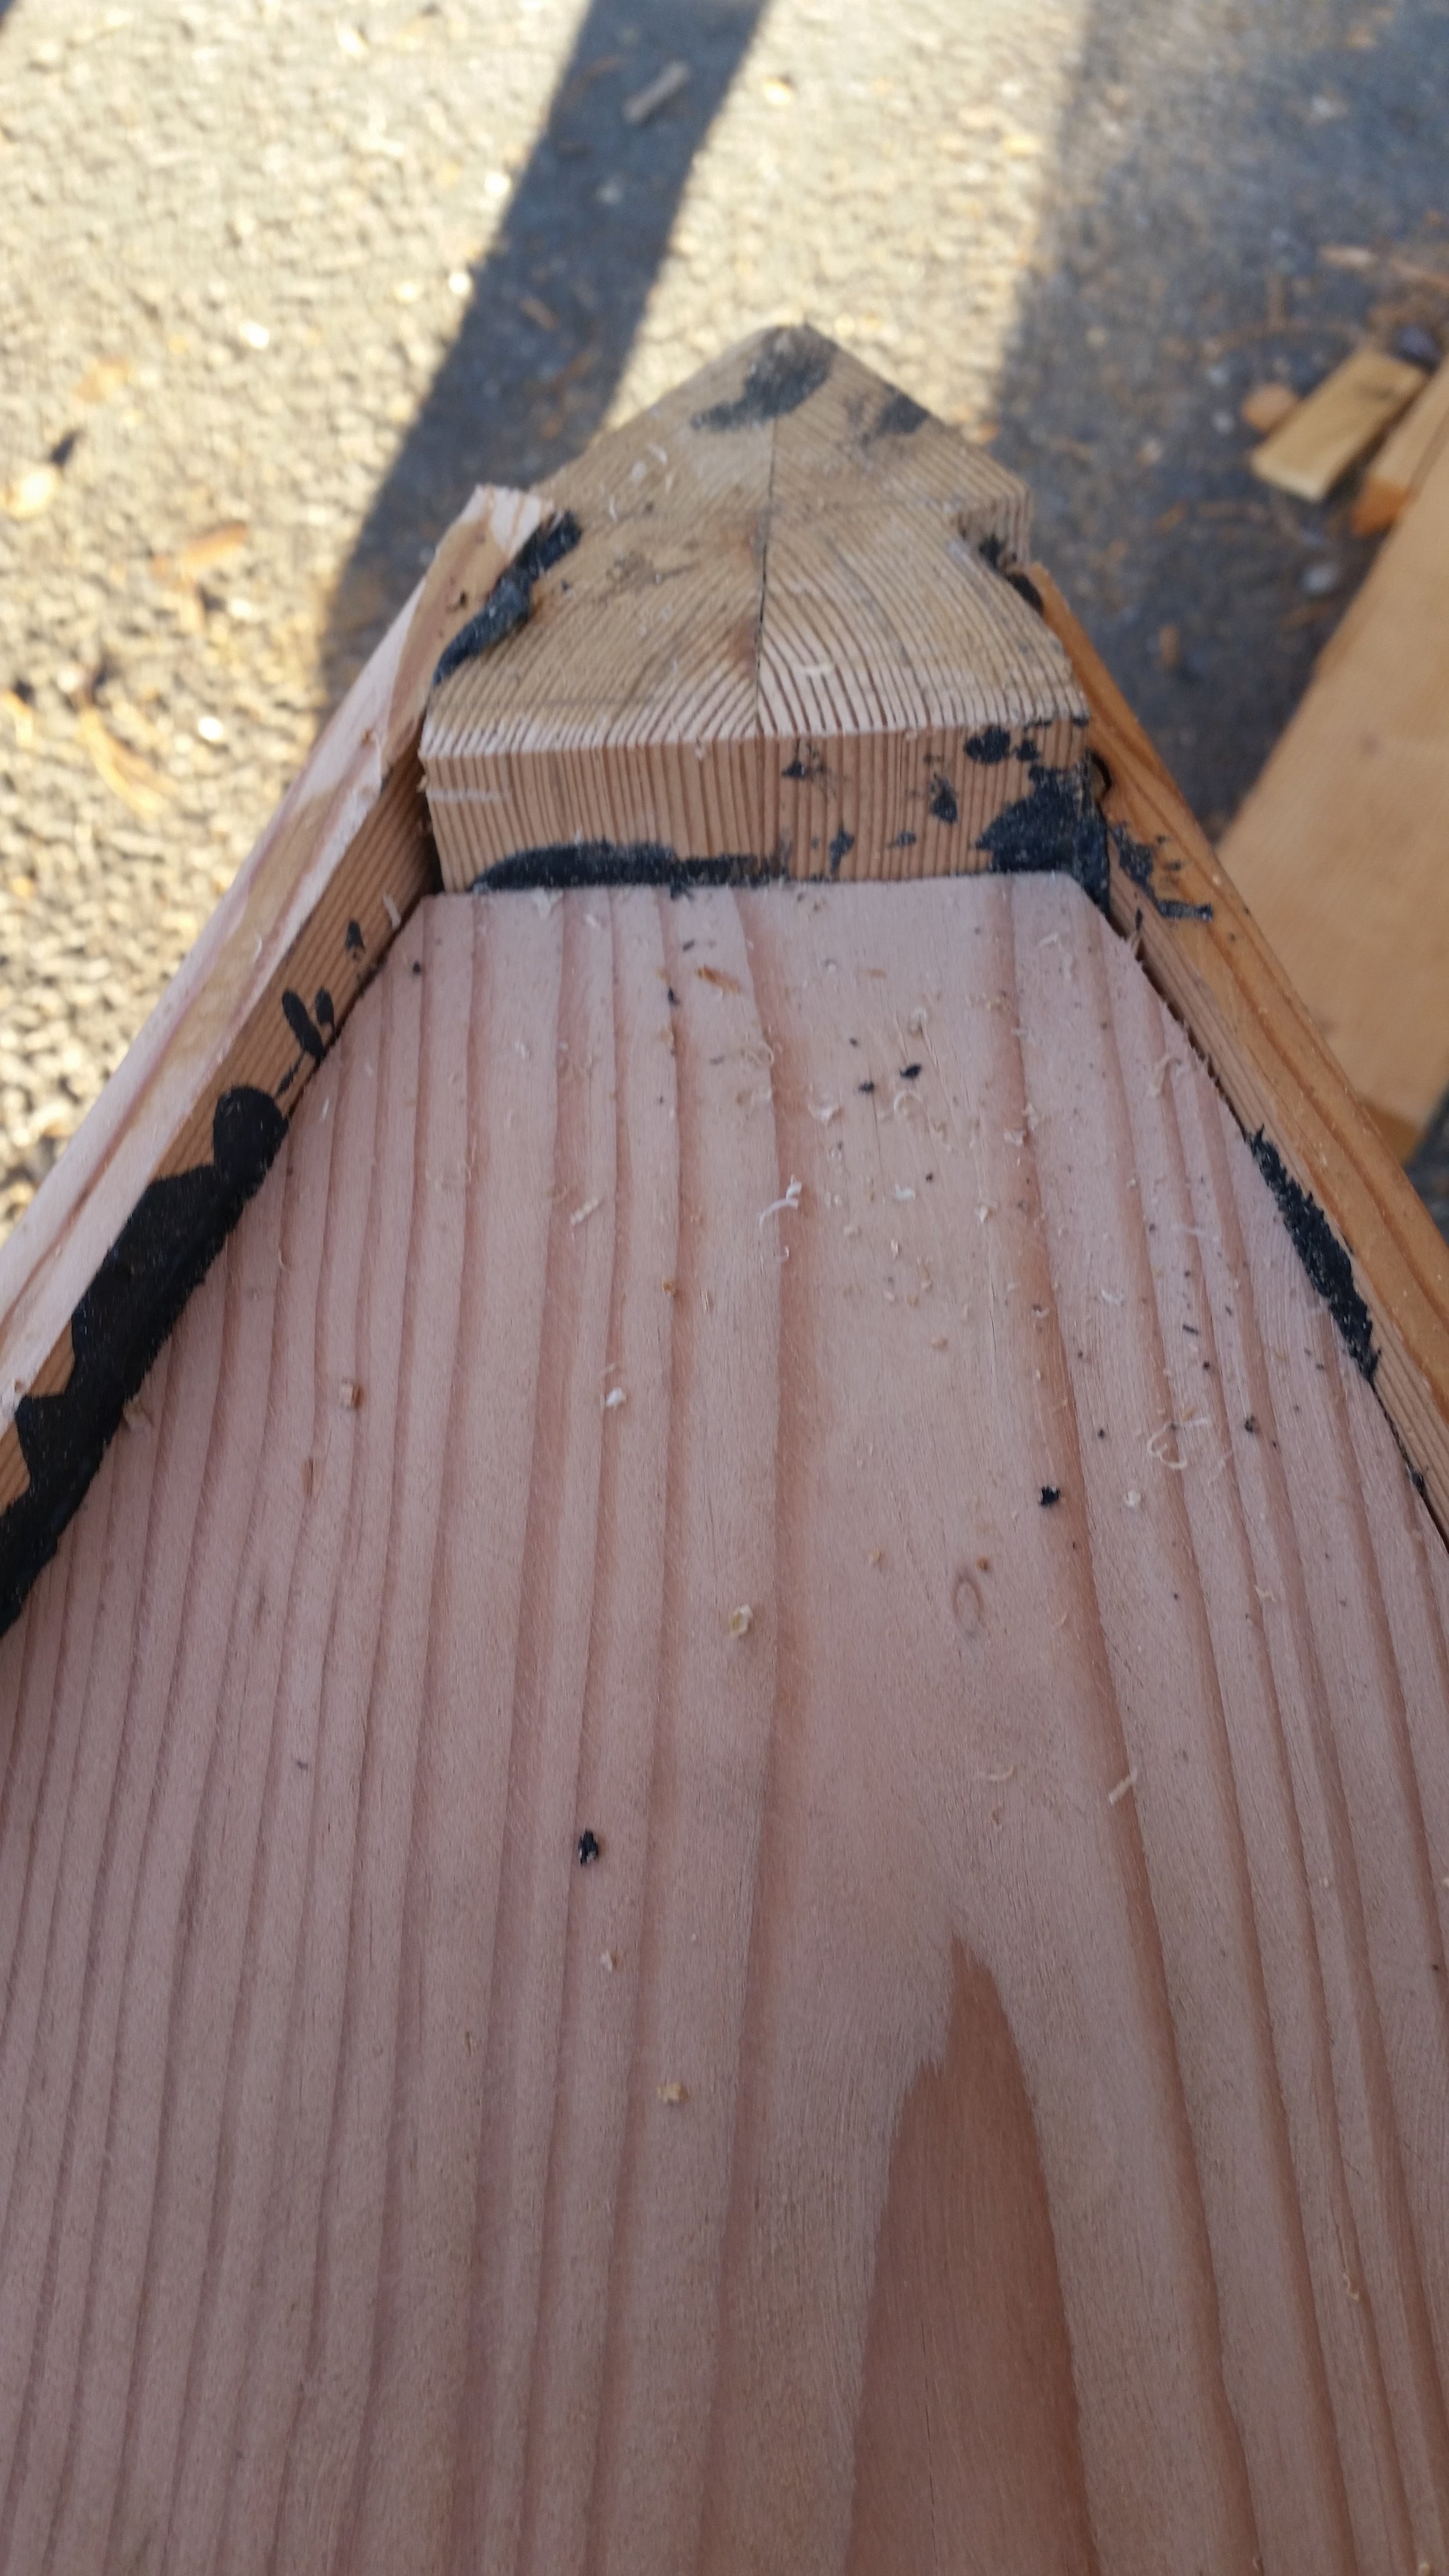
The top of the stem is sloped down, while the bow slopes up. Then the port and starboard sheer strakes are far from even. All of this needs to be evened out to make the bow look presentable as well as functional.

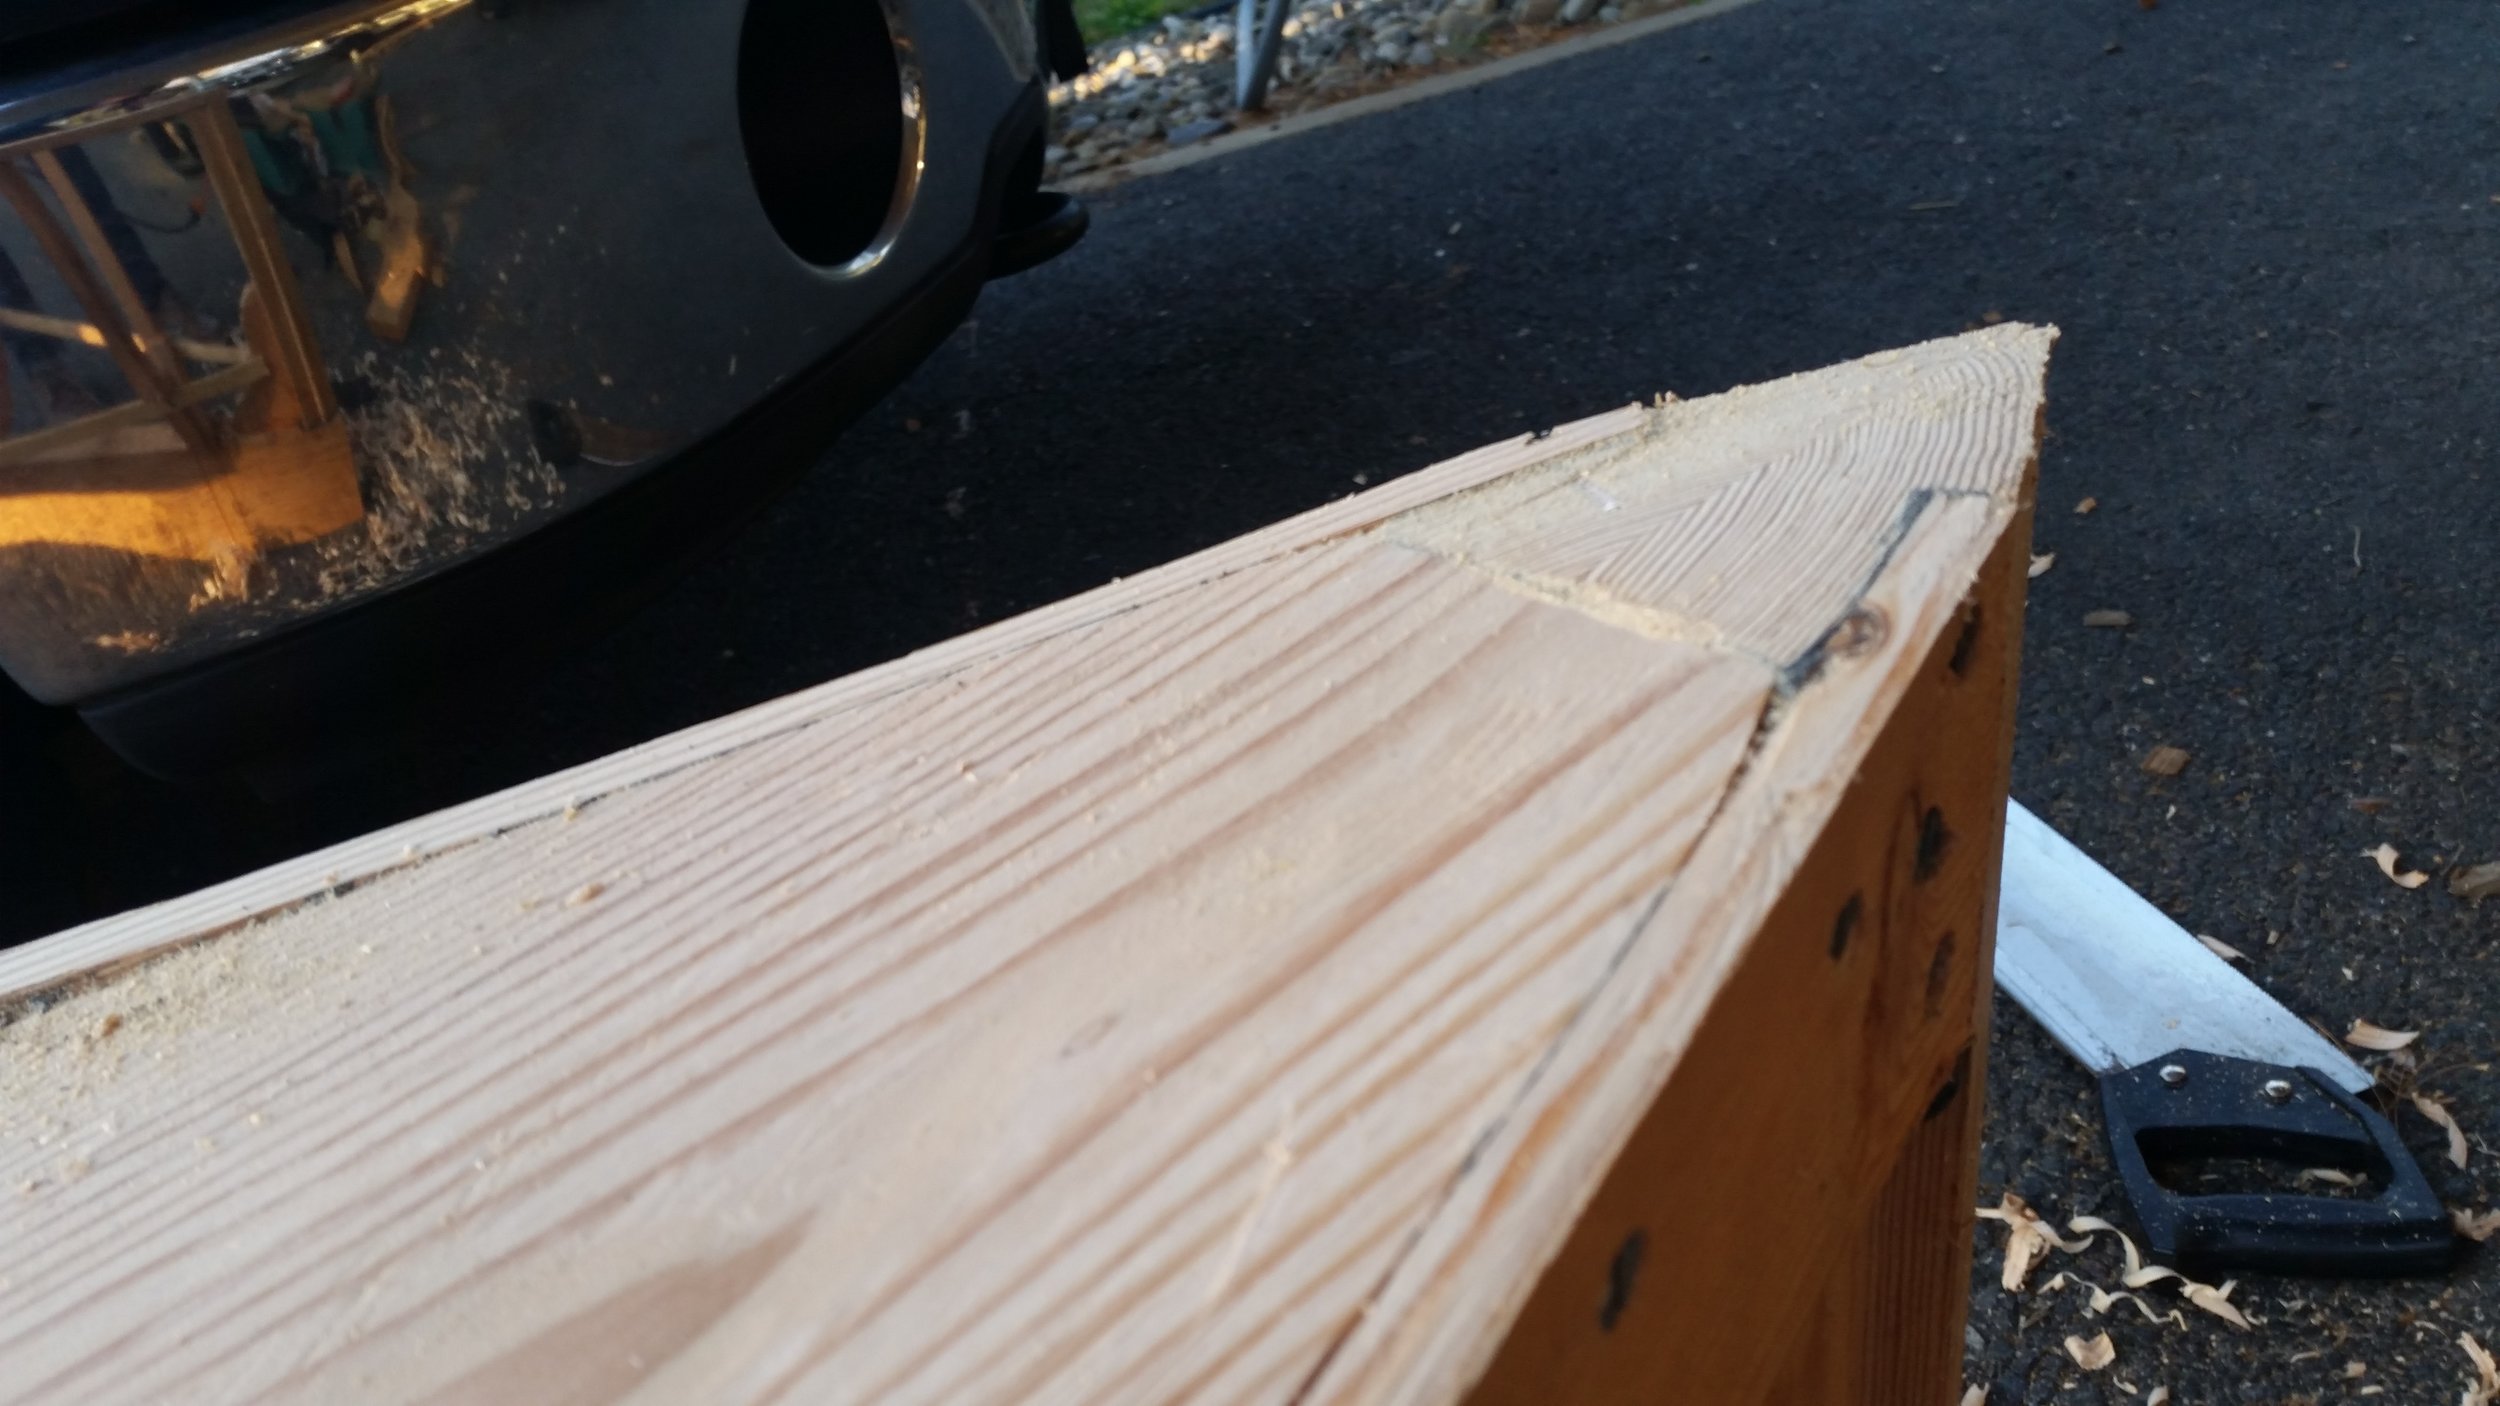
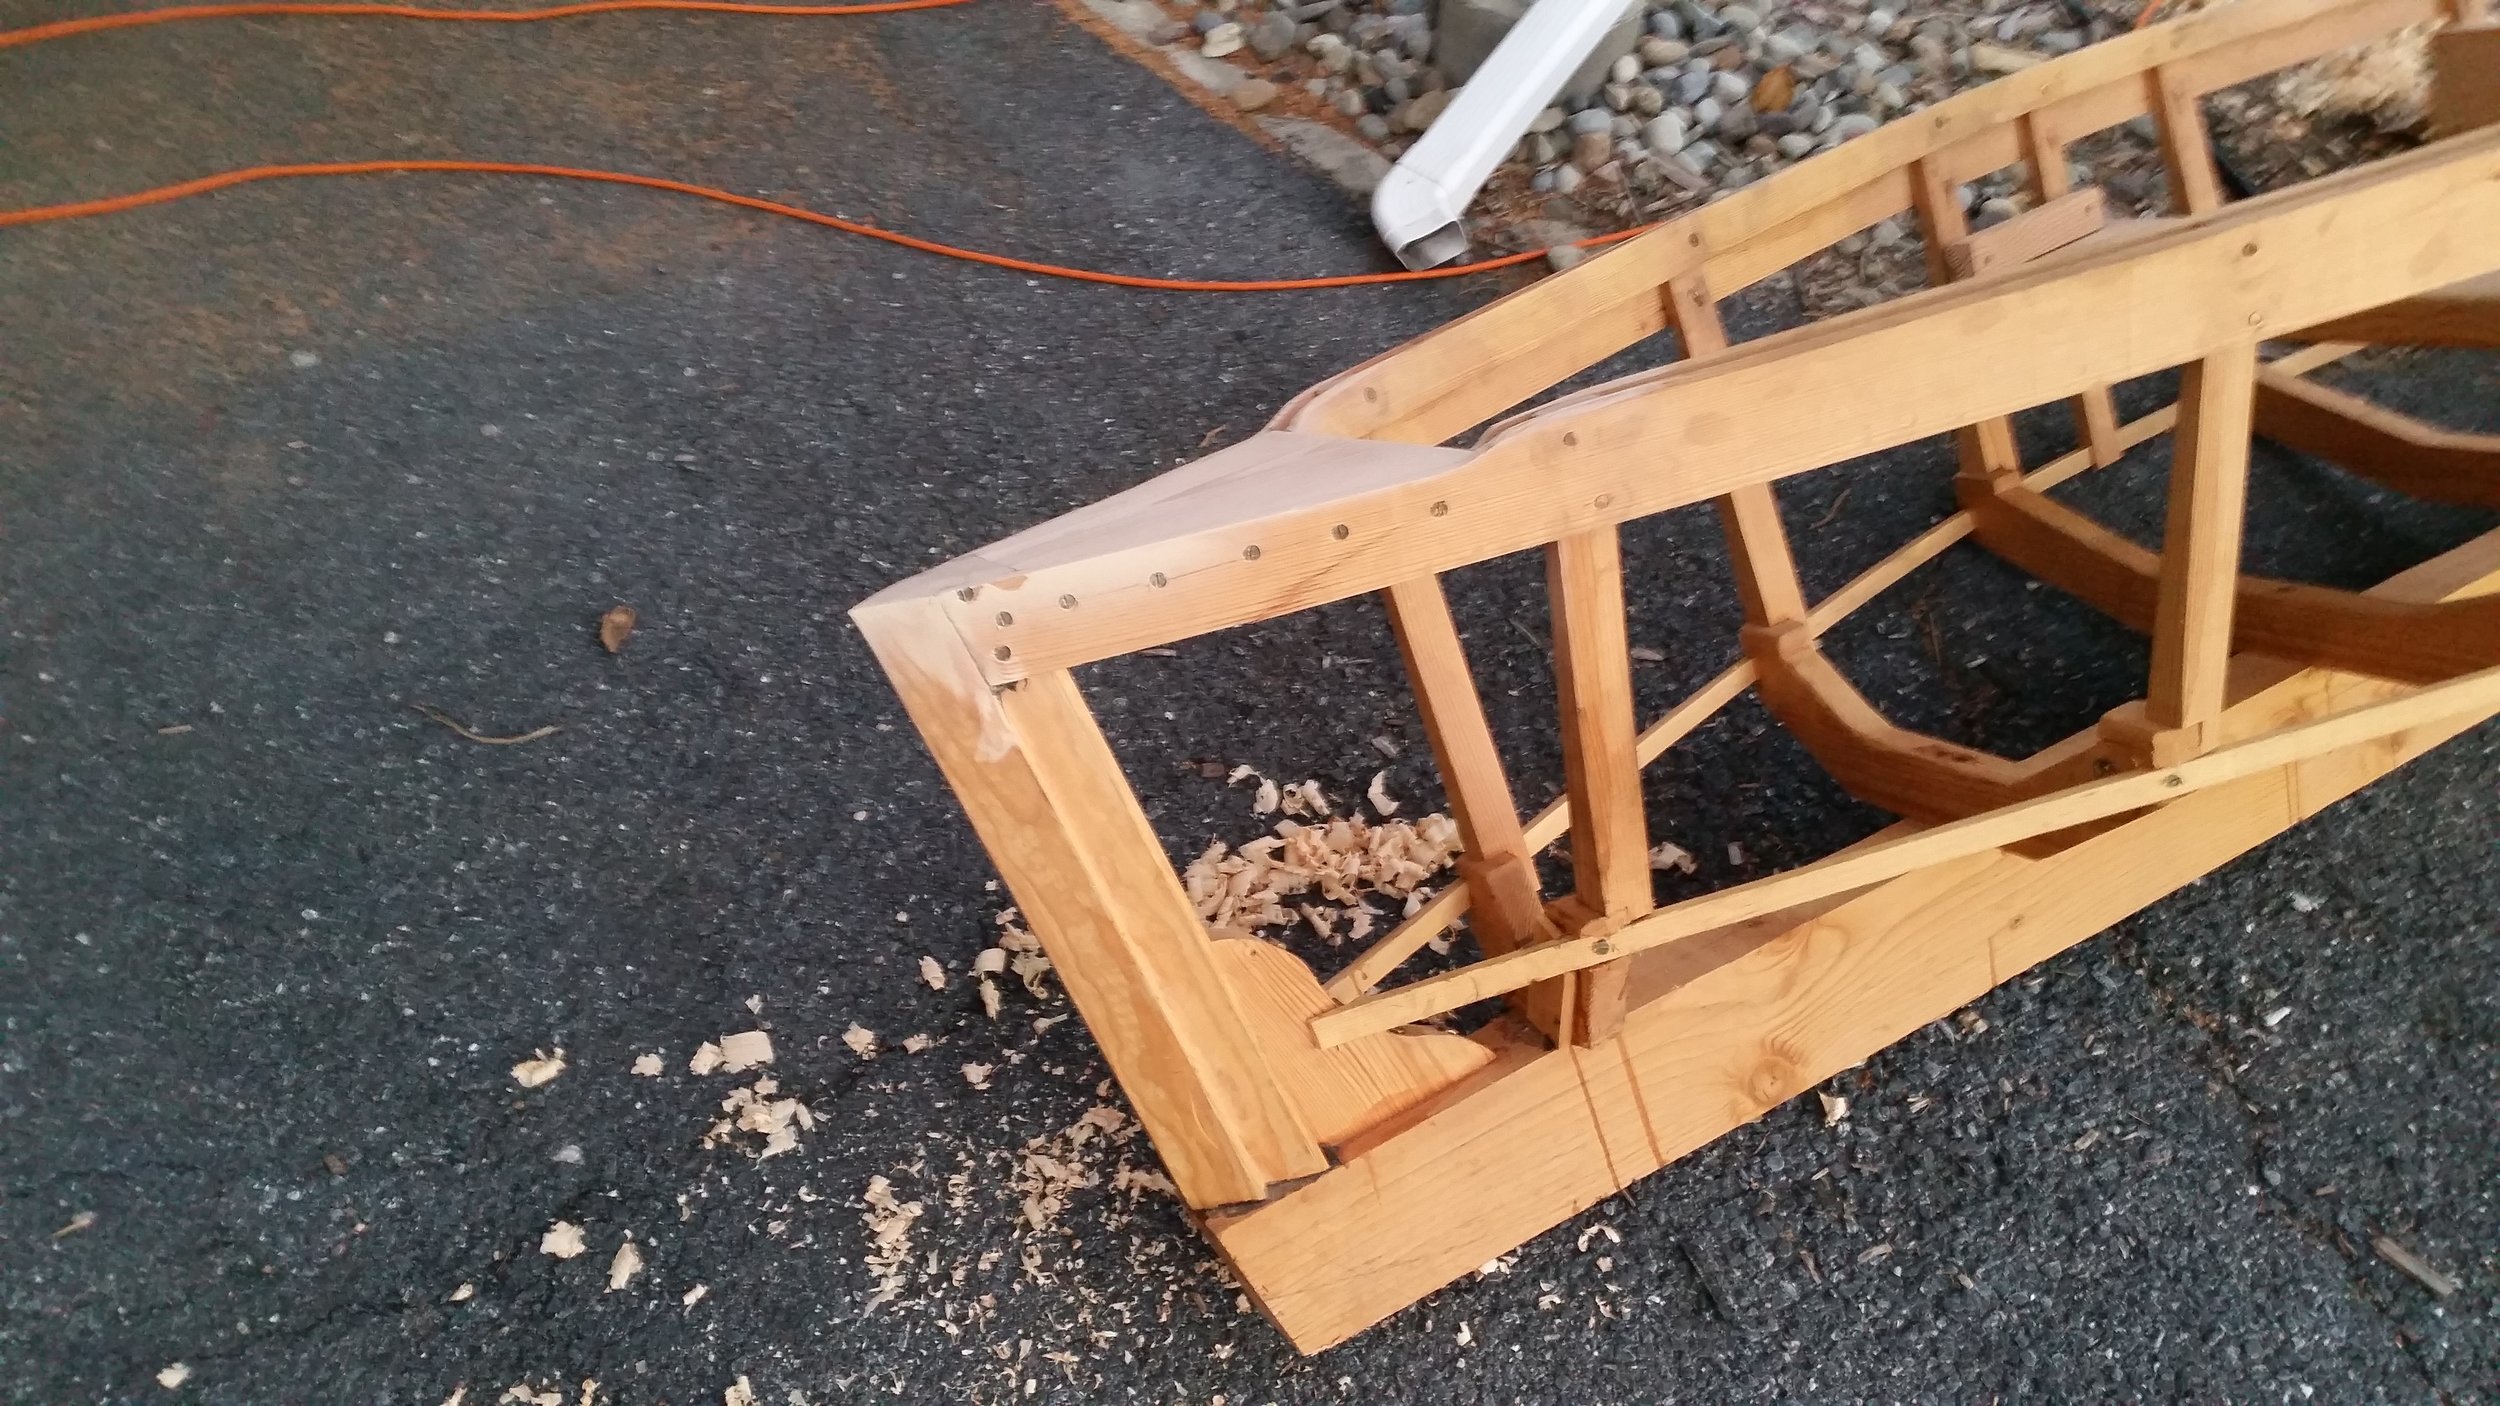
The first step is to take a handsaw and cut the top of the stem flush with the breasthook. The sheers are then planed down until they become flush with the breasthook. At this point, the bow looks a lot more presentable! Running over everything with sand paper helps to blend all the different boards together and make the bow look like a single unit rather than a hodgepodge.

The sheers and shelf clamps were also rounded as they approached the bow to take away any harsh steps that would otherwise be present.

After a fair amount of sanding, the bow of the boat looks much better and smoother with the lines of the dinghy.

The breasthook is set angled slightly inboard so that if something were set on the top of the board and were to fall or roll, it would hopefully fall into the dinghy rather than overboard. Also, if someone were to sit on the breasthook, they would have a flatter seat to rest on as the dinghy pitches forward. 

Lighter sanding will be done when the rest of the boat is ready and before the planking goes on. It is always easier to clean and prepare the wood before the planking is placed as you have much better access to all the "open" nooks and crannies of the hull.

Banana Hammock

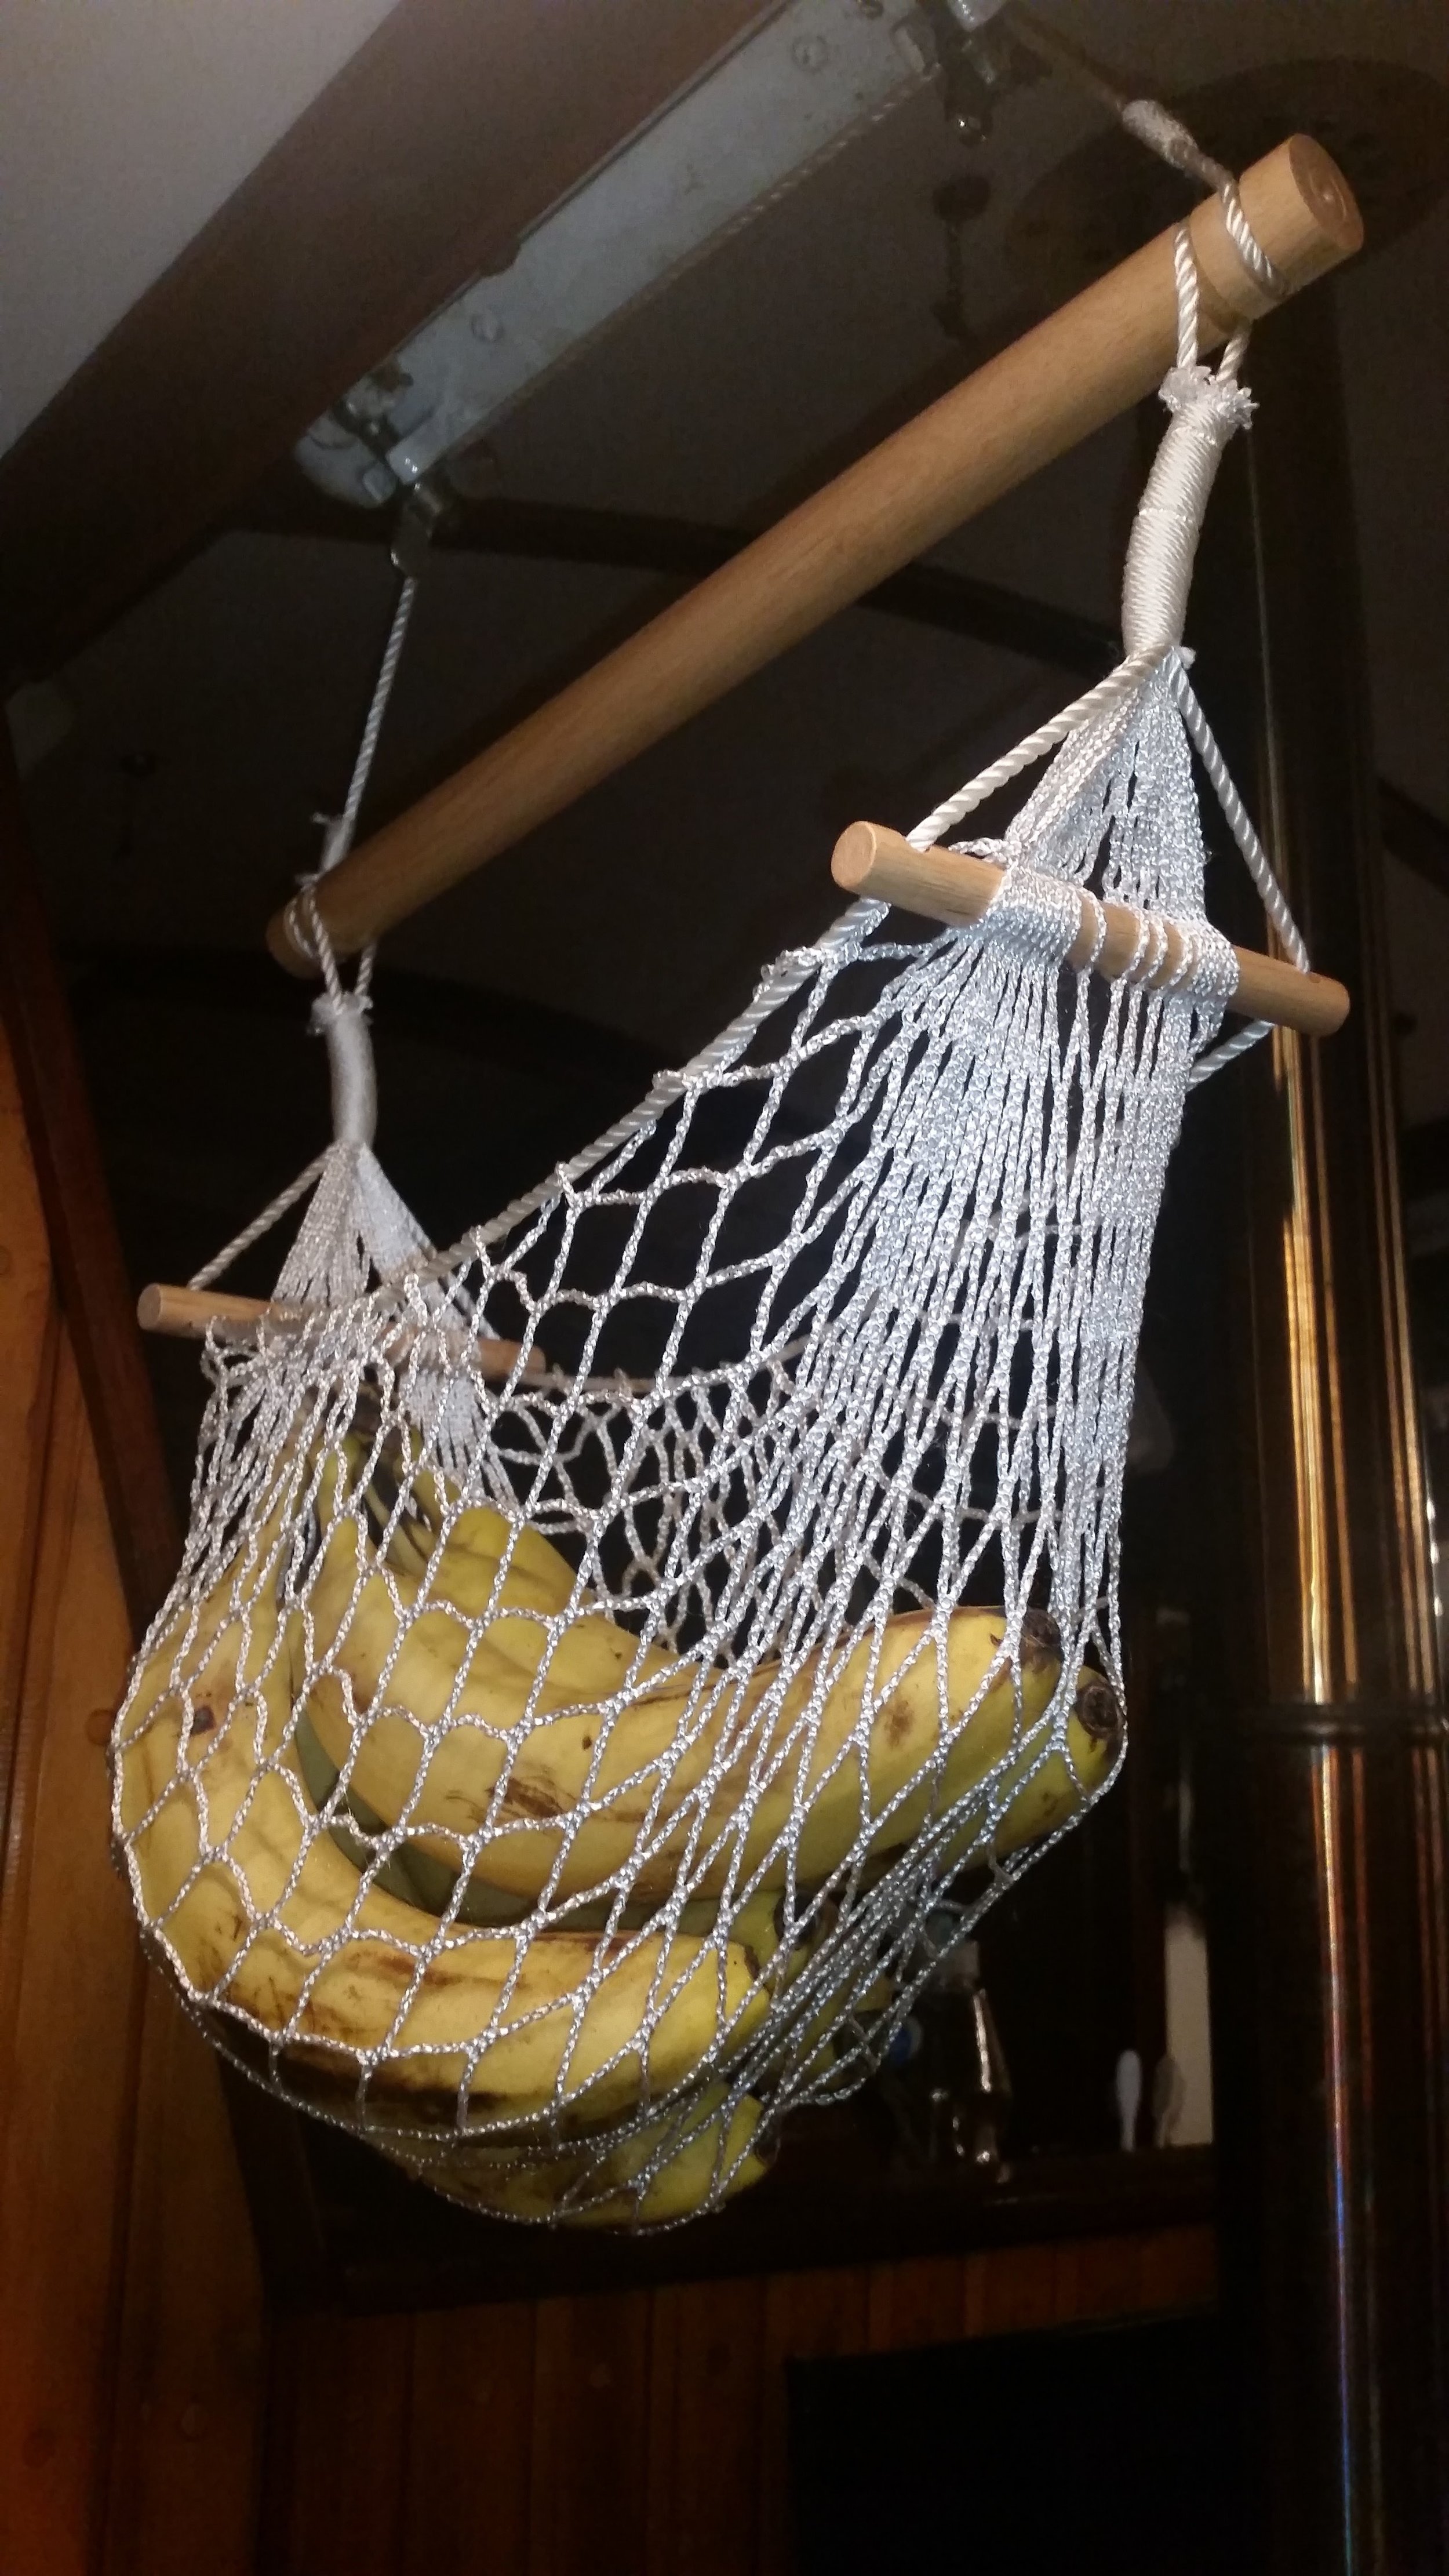
Bananas can be hard to store on a sail boat. They bruise easily and need to be kept with plenty of fresh air. A fruit hammock can resolve most of these issues! The netting allows plenty of air to flow through while keeping the fruits happier for longer. As the boat moves around, the bananas simply swing with the waves, keeping clear of any obstacles that could cause them harm. 

My favorite part about this contraption is the fact that it keeps the bananas right by the settees, so the moment I crave a snack, I can reach up and grab myself a tasty banana!

Monitor Wind Vane Installation: Part 3

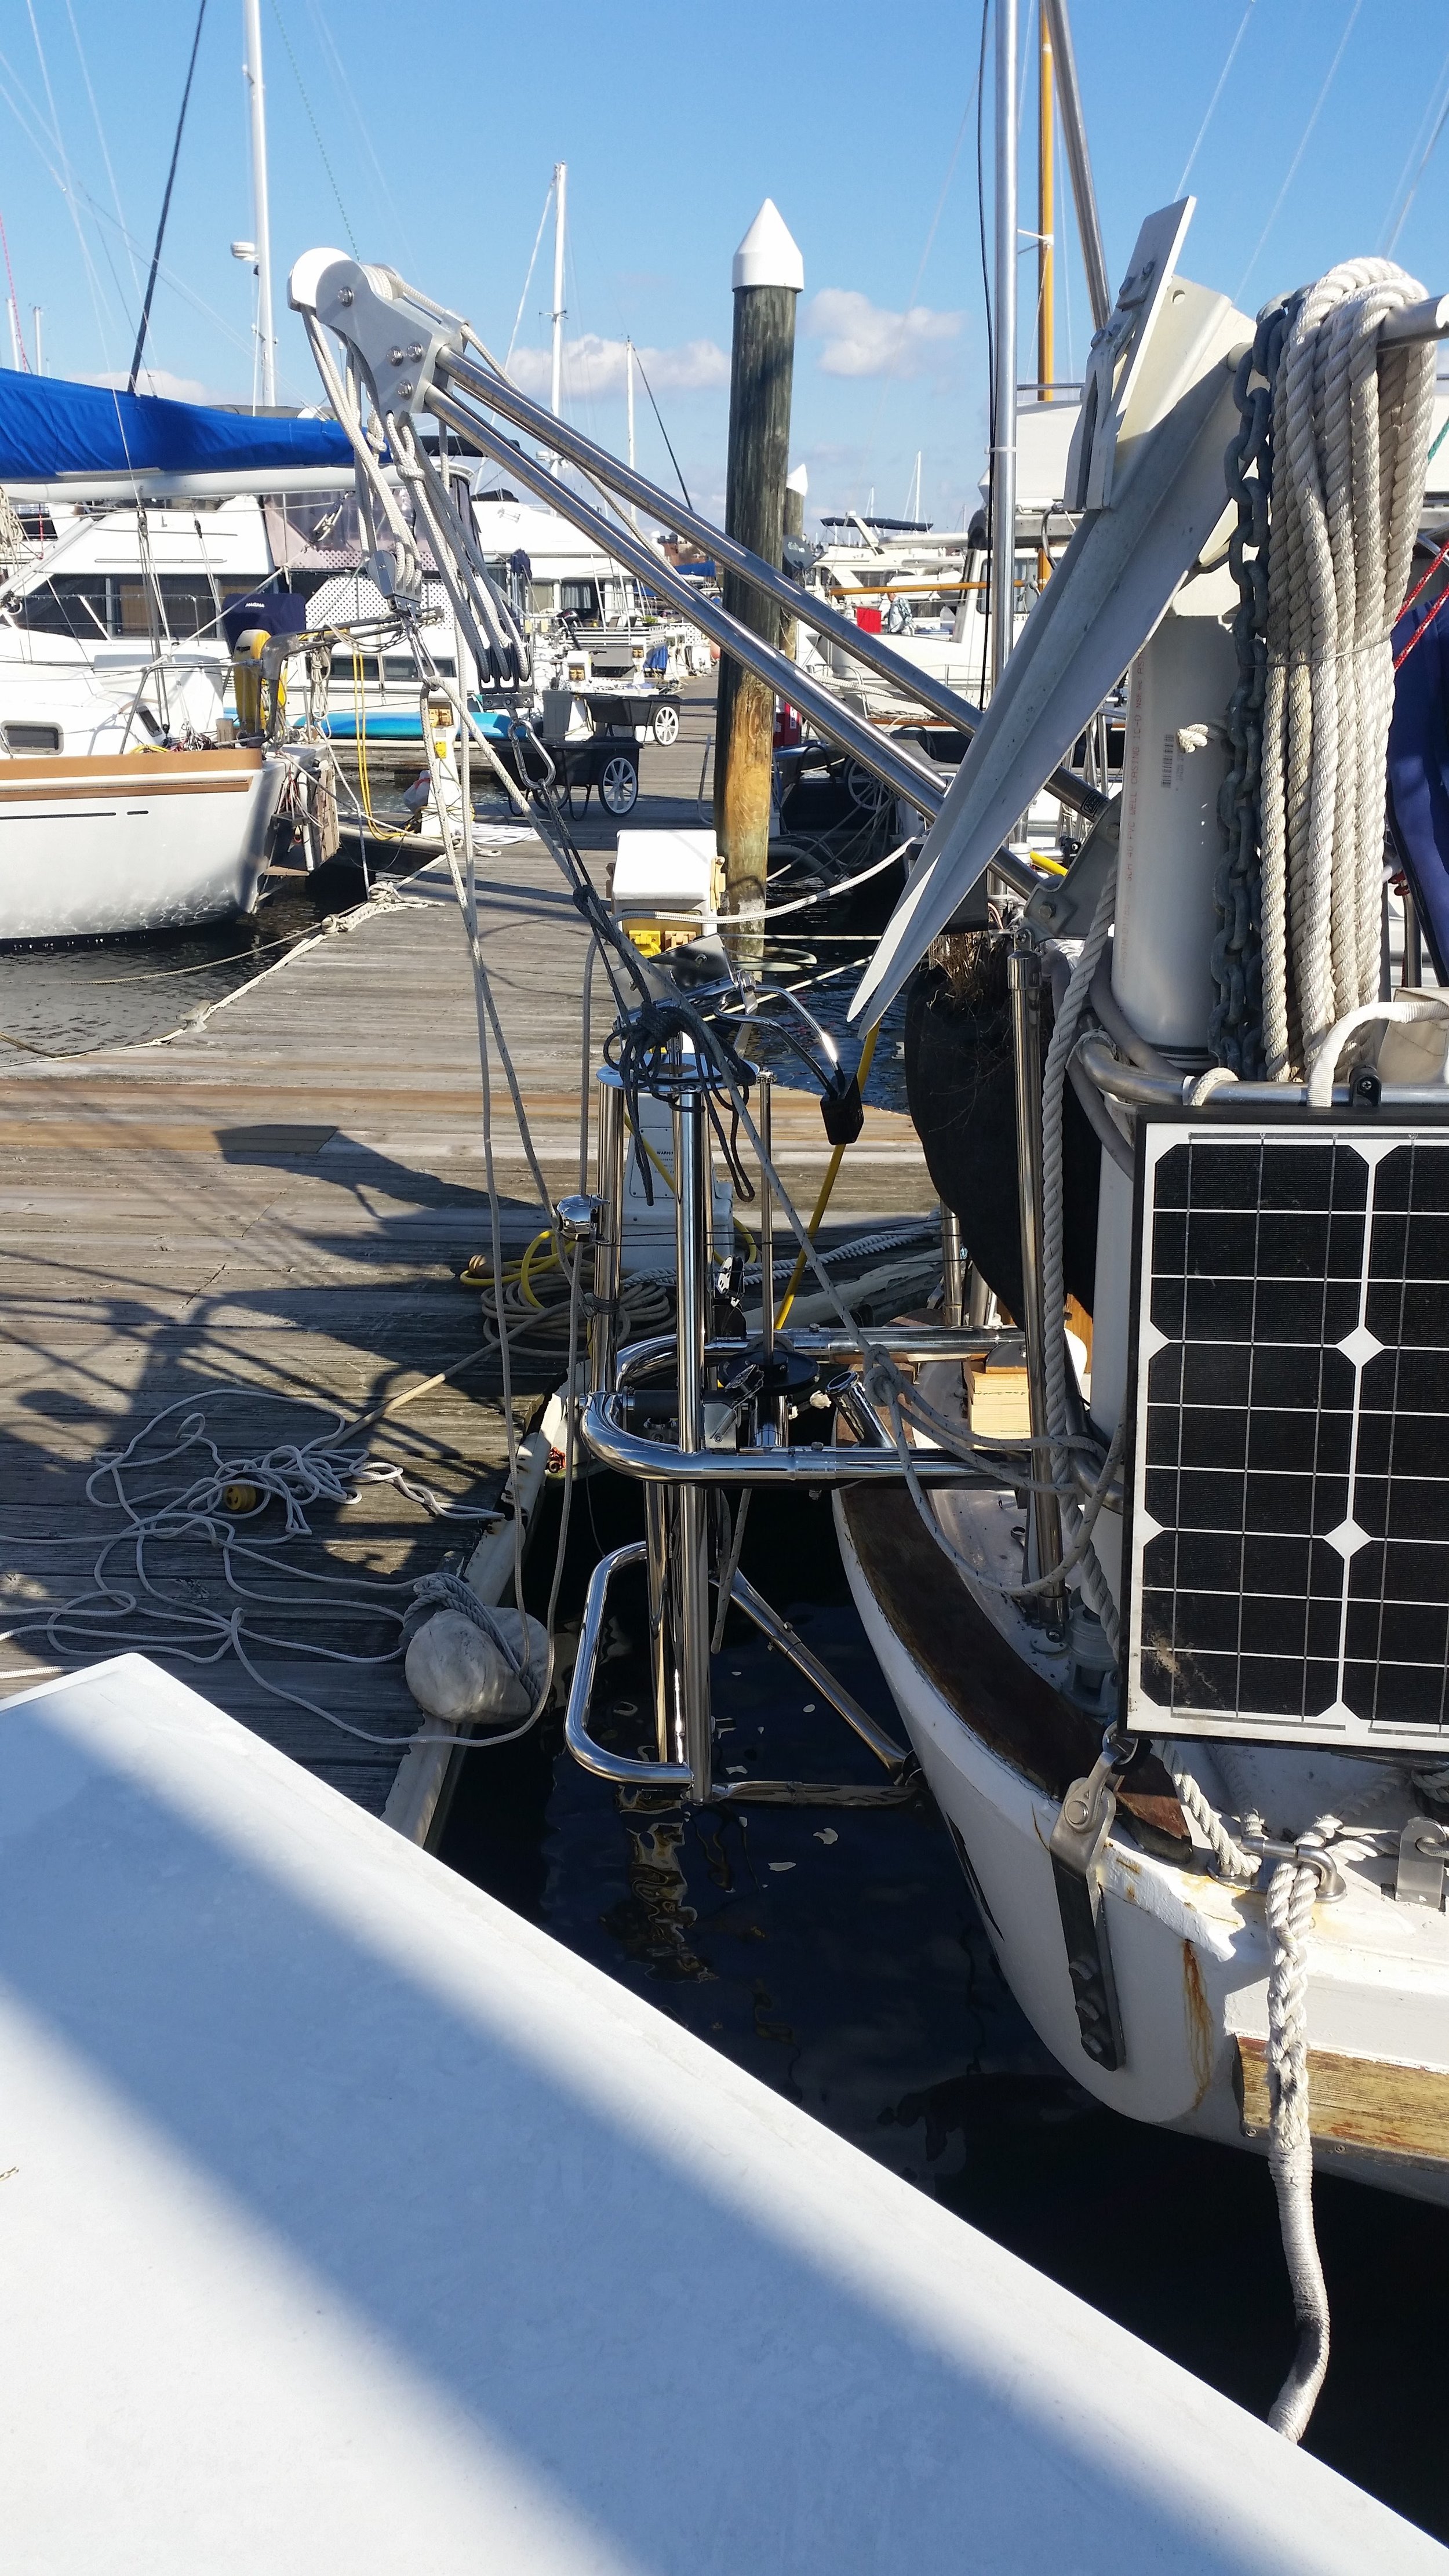
With the support struts drilled, braced, and through bolted, it was time to test fit the unit onto the transom of the boat.

The unit looks good! I tied many lines to the frame, allowing me the ability to adjust the position of the Monitor on the stern of the boat. Positioning the Monitor was a very time consuming practice. 

Each time I adjusted a line to re position the unit, I had to crawl out of the stern, walk over to the gangplank, down the pier, walk over to the stern of the boat, sit down on the dock, and sight the Monitor. This small simple task too hours to complete! Once everything was perfect, I was ready to drill the first pilot hole.

Wisdom is an old boat, and back in the 1960's they didn't know how strong fiberglass was. This led to the production of very thick hulls which weighed a ton! Racing boats always have thinner hulls than usual because weight is kept to a minimum, and why build the hull heavier than it needs to be? Assuming that the hull is much thicker than needed, we all figured that the thickness of the hull would be 1/2 of an inch (12mm) thick where it meets the transom. 

This thickness is important because the lower bracket needs to be mounted as low as possible on the transom. The bottom through-bolt hole needs be located above the bottom of the hull with enough clearance for the large washer to distribute the forces on the inside of the transom.

Being how we are going on a guess that the hull is 1/2 an inch (12mm) thick, I decided to play it safe when drilling holes in the hull. If my first pilot hole was the bottom hole, and I needed to scoot the bracket up for any reason, the pilot hole would then be exposed below the bracket and would be a hole in the hull that would need to be closed up. On the other hand, if my first pilot hole were the top one, and if I needed to scoot the bracket up for any reason, the pilot hole would then be covered by the bracket and sealed by the bedding compound! My hull is not cored so I don't need to worry about sealing the internal portion of the hole to avoid core rot from occurring. Following this logic, I decided to drill the top pilot hole first, just in case the bracket needed to be scooted upwards.

The first pilot hole is the white dust that appears in between my fingers. The bracket is 3 inches long, so there is no way I would have space for the lower through bolt's washer to be located between the bottom of the hull and the bolt. It turns out that the hull is 1.5 inches (38mm) thick! This measurement was based on the difference between the internal hole and the bottom of the hull to the external hole to the bottom of the transom. The bracket was scooted up (and then re-centered with all the lines to the unit to position it) and a new pilot hole was drilled.

The new pilot hole is the dusty portion that is inside the top washer. Three inches down from the top washer would be the location of the bottom through bolt and its washer. With the knowledge that the bottom hole would come to be in the correct position, the bottom pilot hole was drilled.

With both pilot holes located in an appropriate location, the Monitor was removed from the transom and the real holes were drilled with a 5/16" drill bit. With the holes made in the hull, the inside of the bracket and the orifices of the bolt holes were covered in a liberal application of bedding compound. I used 3M 4200 since the bracket is so close to the waterline when we are sailing. 

While the transom with its long overhang may look far from the water at rest, it actually rides down the stern wave while sailing. The boat rides in a trough between the bow and stern wave, and the stern wave comes all the way up to the transom when sailing heeled over at hull speed.

The other reason I used 4200 instead of a polysulfide is the 4200 is also an adhesive. I know that the through bolts are doing almost all of the "holding" but a little bit of help from an adhesive would be nice for peace of mind. I purposefully did not use 3M's 5200 because 5200 is permanent and will never let me remove the bracket (should I ever need to). 4200 will allow the removal of the bracket, but it will put up a fight!

Now that the lower bracket is installed and mounted, I just need to perfectly align the unit and measure for the pillow blocks which will act as spacers between the top arms and the deck.

Breasthook

With the transom knees in place, it is time to begin working on the last of the knees, the breasthook! The breasthook is merely the knee that goes in the bow. It sits on the heel of the stem and is screwed to the sheers. 

It all begins with a rough cut timber. I set a large piece of scrap on the bow behind the stem and traced the curvature of the sheer onto the face of the board. The shelf clamps had to be cut a bit shorter to allow the knee to fit into position.

With the initial cut completed, the breasthook was test fitted into the space available, but it was still a bit too large. The other factor that was inhibiting proper seating of the breasthook was the evident lack of bevels.

The stem is raked and the sheers have a slant to them. The breast hook has no bevel to the sides because the bevels are unknown at this moment. Once the breasthook is test fitted, the bevels can be transferred over to the wood by simple tracings. 

The bandsaw table was slanted to match this bevel and the sides of the breasthook were passed through the blade to impart the same bevel on the wood. With the bevel cut, the breasthook can slide down into place and produce a much tighter fit.

With a tight fit verified, bedding compound was applied to the faying surfaces of the breasthook, sheer, and stem. Then the breasthook was tapped into place with a mallet. 

You might be wondering why bedding compound was applied for the breasthook but not for the transom knees. Well, the rule of thumb is wood glue is used between pieces that wont be submerged, bedding compound is used between pieces that will be submerged. I do not ever plan on submerging the bow of the dinghy, but it might happen during the life of the dinghy. The chances of water breaking over the bow is much greater than water breaking over the stern! 

Back to reality, I don't plan on water breaking over either end of the dinghy, but the transom knees are glued and the breasthook is bedded.

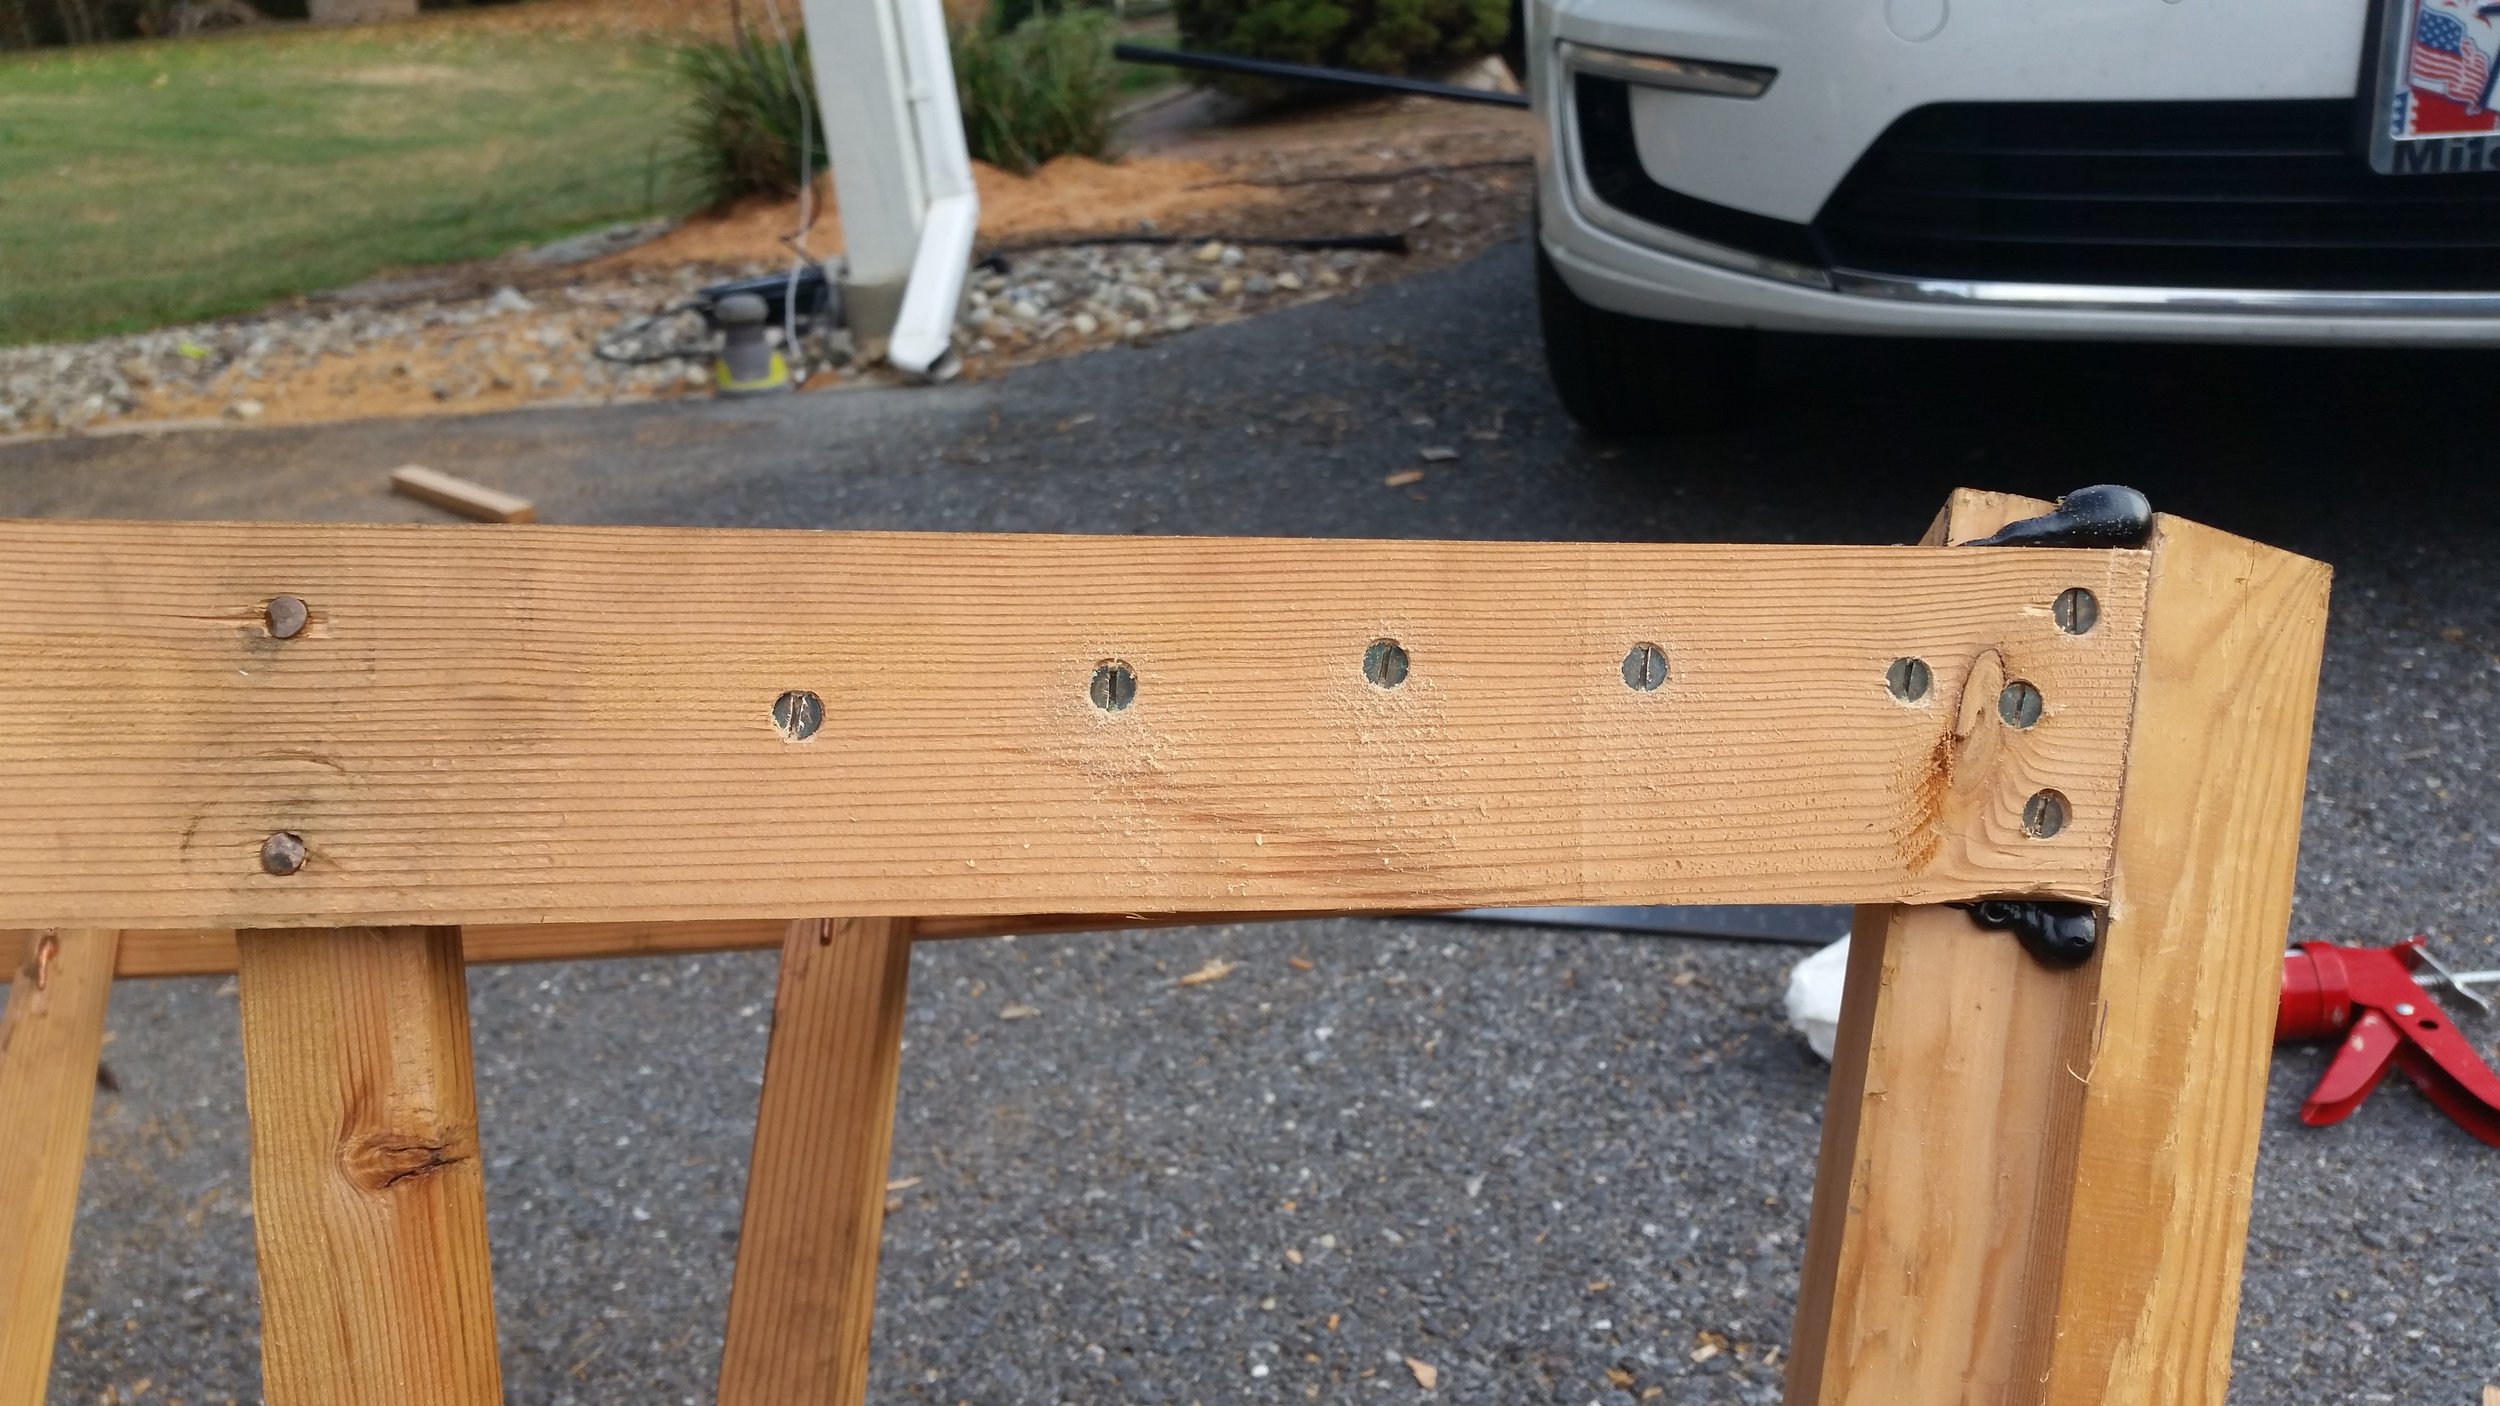
To lock the bedded breasthook in place, bronze fasteners were driven through the sheer and into the sides of the breasthook. A bronze screw is driven into the front and back of the breasthook to lock it in place.

The intermediate holes were drilled, countersunk, and driven home to lock the breasthook into place and solidify the front of the bow. As part of my obsessive focus on details, the screws were all clocked so that their slots are all aligned to a mostly vertical orientation, just like every other screw on the dinghy. 

With the last knee in place, the dinghy was left alone so that the bedding compound could finish curing. Once everything is cured, the excesses will be removed and work can continue on the little craft.

Crew Position Available

Greetings all, we are looking for a third crew member for our voyage across the Atlantic from Bermuda to the Azores.  This could be a once in a lifetime opportunity!  

We would prefer that you have sailing experience, but prepare to relax for most of the trip! You would mostly serve as good company and peace of mind since Maddie is nervous about single-handing the boat if something were to happen to me. Both sets of our parents would feel more comfortable if we had a third hand along for the longest stretch of our journey.  

You will find details about the trip, our vessel, and contact information below.  We hope that you will consider joining us for this segment of our adventure!

If you are interested in being crew or have any further questions, please email us at RiggingDr@gmail.com.

A few things to know about our personalities: 

We are very laid back, especially at sea.  We enjoy listening to music, reading, and playing games.  We are not huge drinkers, but there's nothing quite like a happy hour on a calm day.  I am slightly introverted and enjoy my alone time, but I also enjoy good company.  Maddie is extroverted and always easy to talk to.  

Wisdom is a 45 foot Morgan from 1968. She has been completely refitted and repowered. The equipment list includes:

Power and Batteries

  • 20kw electric motor/hydrogenerator
  • 210Ah 48VDC motor battery bank
  • 525Ah 12VDC house battery bank
  • 100W solar array on stern
  • 200W flexible solar array on deck
  • Electronic autopilot

Pumps

  • 1000gph electric high water bilge pump
  • 500gph electric bilge pump
  • 250gph electric shaft sump pump
  • Whale Gusher manual bilge pump
  • Edson 1 gallon per throw manual bilge pump

Rigging

  • Synthetic standing rigging
  • VPC running rigging
  • Sta-set control lines

Sails

  • Battenless dacron mainsail with 3 reefs
  • Full batten laminated mainsail with 2 reefs (spare mainsail)
  • 100% jib with 1 reef
  • 95% staysail with 1 reef
  • 80% staysail with 1 reef (spare staysail)
  • Nylon 180% drifter (light air sail)
  • Nylon battenless mainsail (light air sail)

Safety and Navigation

  • VHF radio with AIS and GPS
  • Handheld GPS
  • Satellite communicator
  • Garmin chartplotter with GPS
  • Depth sounder
  • Windspeed and windpoint
  • 4 person Offshore Life raft
  • Ditch bag
  • Life Sling
  • Emergency boarding ladder
  • EPIRB
  • Floating orange smoke
  • Non-expired flares
  • LED signaling device (electronic flare and spare batteries)
  • Flare gun
  • Handheld VHF radio
  • Paper charts
  • Sextant, compass, and accurate time piece
  • Sea anchor
  • Monitor Windvane

Provisions

  • 160 gallons of water in rigid tanks
  • 27 gallons of rain water in bladder tank
  • Rain water collectors
  • 80 gallons of diesel (for heat)
  • Large volume of canned and dry foods
  • Large ice box for cold items


To prevent a mutiny while crossing the ocean, we feel it is important to lay out some ground rules before we proceed any further.

  • We do not have any significant range on our electric motor, so if there is no wind, we will put up the nylon sails and sit as we drift along. This is when we cook nice meals and read books or play games.
  • If we see foul weather approaching, we will put up the storm sails preemptively and sit as we await the storm to approach. When the storm hits, we heave to and wait for it to pass over. If the winds are too powerful, we will deploy the sea anchor and lower the reefed staysail, but the trysail will remain set to keep us hove to. We will not lay-a-hull during a storm. 
  • Fresh water is very precious. Water usage is calculated based on how many miles we have left to go. If we are sailing quickly, we can use more water for showers or laundry. If we are not moving, the water usage is also exceedingly strict.
    • We carry 120L of bottled water in addition to the tanks, this is enough for 3 people to survive for 20 days comfortably.
      • Based on 2L per person per day
  • Teeth are brushed with clean sea water. Fresh water used to rinse if necessary. 
  • Showers will depend on how much we all smell and how fast we have been moving in the right direction.
  • We heave to at night and go to sleep. I (Herb) wakes up at a regular interval to check for approaching vessels. AIS proximity alarm is also set to a 2nm proximity alert range. 
    • Sleep is very important, and we feel that getting a good nights sleep will better allow us to make the critical decisions that will keep us all safe. This will make the voyage take longer, but only by a few days.
  • No drugs please. 
  • No smoking please.
  • No drinking please. 
  • We will not enter a harbor by night. If we arrive at the Azores in the afternoon, we will heave to and enter the harbor in the morning.

The tentative schedule is to leave Bermuda around Oct 3rd and arrive in the Azores before November. We will be doing a fall crossing of the Atlantic, and our route will be roughly 35*N. We will ride the northern portion of the doldrums, where there is no wind because when the massive winter gales rage by to the North, they will create plenty of wind from the West in the doldrums. We will ride these puffs of wind as the storms roll by in their cyclical pattern. 

When a storm is North of us, we will have comfortable wind to sail in. When there is no storm to the North of us, we will sit and cook as we wait for the next storm to blast by and give us another push in the right direction.

Our actual course and date of departure is subject to change based on weather conditions and patterns around that time.

October 3rd was arbitrarily chosen as the departure date from Bermuda. If you feel that a different date around that time frame works for you, let us know, we are very flexible with times and dates.