Final Trim Boards

The 5 inch trim boards need to be of a cosmetic quality. They need to fit flush and well because they will be the final cosmetic result. 

The 5 inch trim boards overlay the 3 inch trim boards and overlap onto the tiny house siding. These boards cover any discrepancies in the fit of the siding and hide any irregularities or imperfections. 

Before the 5 inch boards are installed, it is imperative that you caulk the seams to avoid intrusion of water between the siding and the trim. The caulk should be applied right before the 5 inch trim board is installed so that it adheres to the trim board as well. 
FullSizeRender.jpg

On the windward side, it is very important to fully caulk the edge between the trim board and siding. If gaps are present, high winds can get under the boards and cause wind damage to the tiny house. By filling everything with caulk, the wind is shunted away and the structural integrity is maintained. 

It is also important to order the trim boards properly. The front board needs to overlap the side board so that the leading edge of the side board is hidden in the wind shadow of the front board. When installing the trim board, have an offcut to gauge the placement of the trim boards. This will prevent any mistakes that could be made while you are attaching the boards. 

FullSizeRender.jpg

With your depth set, screw the trim boards in and counter sink the screws so that they can be covered with putty at a later point.  

FullSizeRender.jpg

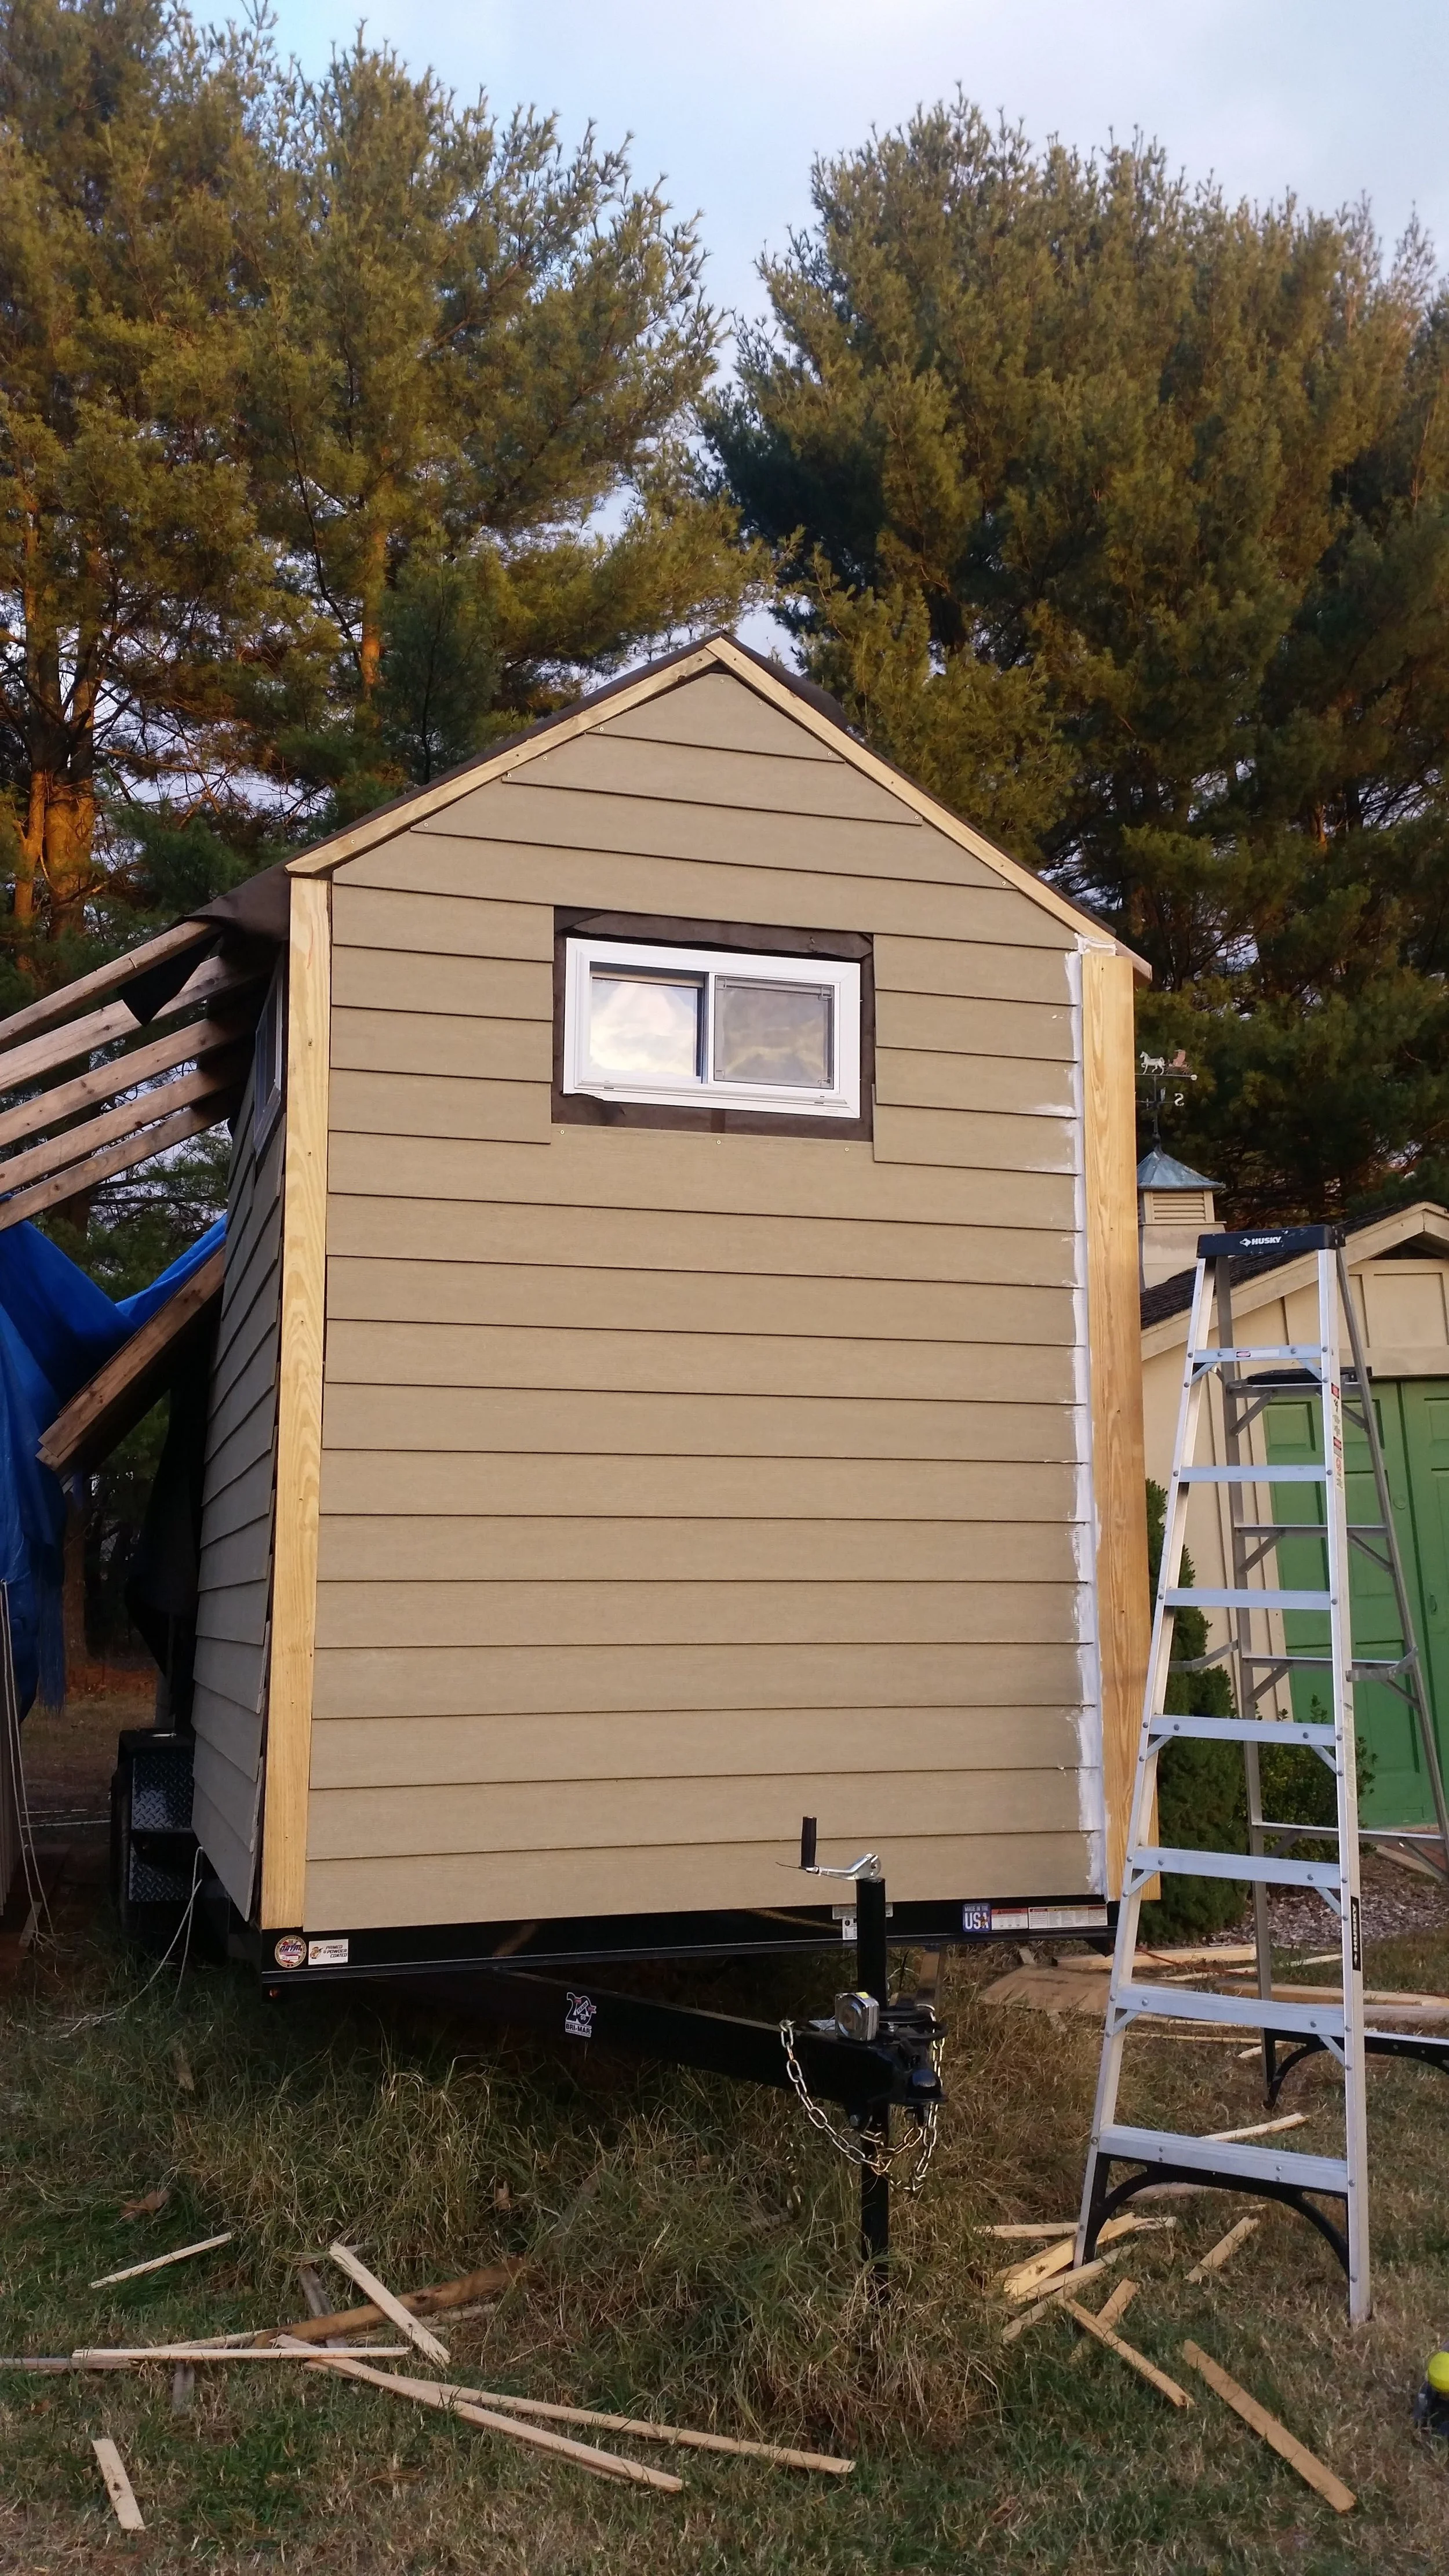
With the front board attached, caulk can be applied to the side and the side trim board can be attached behind the front trim board. The 5 inch trim boards cover over the edges of the lap siding and make everything look uniform and complete. 

FullSizeRender.jpg

Fastening the Transom

With the transom dry fitted and a proper fit verified, the time to permanently attach the transom board to the sternpost had come. The sternpost is 2.5 inches wide, offering plenty of space to hold the bronze wood screws that would be driven in. 

If the screw holes were all set down the center of the transom, the combined force of the screws would cause the sternpost to split! To avoid this, the screws were staggered across a one inch span, alternating their position. To do this, I marked the centerline of the transom board and then marked one half inch to either side of the center. Using a straight edge, I then traced a straight line that runs down the off center lines. These lines will serve as the guide for the pilot holes. The pilot holes were drilled along this line, spacing them out evenly along the transom board, producing a regular and pleasing to look at pattern down the middle of the transom.

The holes were then countersunk by running a power drill in reverse at high speed. The drill will not dig in as the drill bit is spinning in the wrong direction, instead the heat will slowly cause the the drill to burn into the holes while the soot is whisked away by the passing drill bit. The procedure only takes a few seconds and will produce an even counter sunk hole with no tearing or damage to the surface of the wood you are working on. 

With plenty of bedding compound on the screw holes, stern post, and keel rabbet, the transom was screwed into place with bronze fasteners. Excess bedding compound that spilled out of the screw holes was attempted to be cleaned off with acetone but it ended up just spreading it everywhere. Once it cures fully, it will be sanded off and removed before the transom is varnished.

Jump, Steps, or Gangplank

The biggest difference between living in a house and living on a boat is the walk to your car. The inside of a boat can be exactly what you want it to be since can pick and choose what kind of boat you want to live in. Regardless of what kind of boat you have, the walk will always be the same. Getting off the boat can be accomplished by either jumping the gap to the pier, walking down a series of steps, or walking down a gangplank.

From here, you will walk down a pier where birds and fish will be a frequent sight. There will be wind in your face and sun on your skin as you make the trip.

I used to jump the gap between the boat and pier for a few years, but I don't recommend it. If you miss your step, you can fall into the water and get completely soaked right when you were ready to leave. This can easily make your day turn for the worst.

Steps are the other alternative for getting on and off your boat. Steps do make it easier and reduce the risk of falling in, but they can be hard to navigate when you are carrying a large load. Imagine your hands are filled with laundry and you can't see your feet. Now walk up a small set of stairs and get into a boat without seeing any visual ques as to where your feet should go. Yeah, not so easy.

The next option is to use a gangplank. A gangplank is a much simpler device as it is just a ramp that runs up to the boat. There are no steps to trip on, just a ramp that takes you from the pier to the boat. The best part about a gangplank is the ability to get large items into the boat. If you are pulling a cart up to the boat, you can now easily bring the cart up onto the deck.  If you had steps, you would have to leave the cart on the dock and carry your items into the boat.

Trimming the Roof

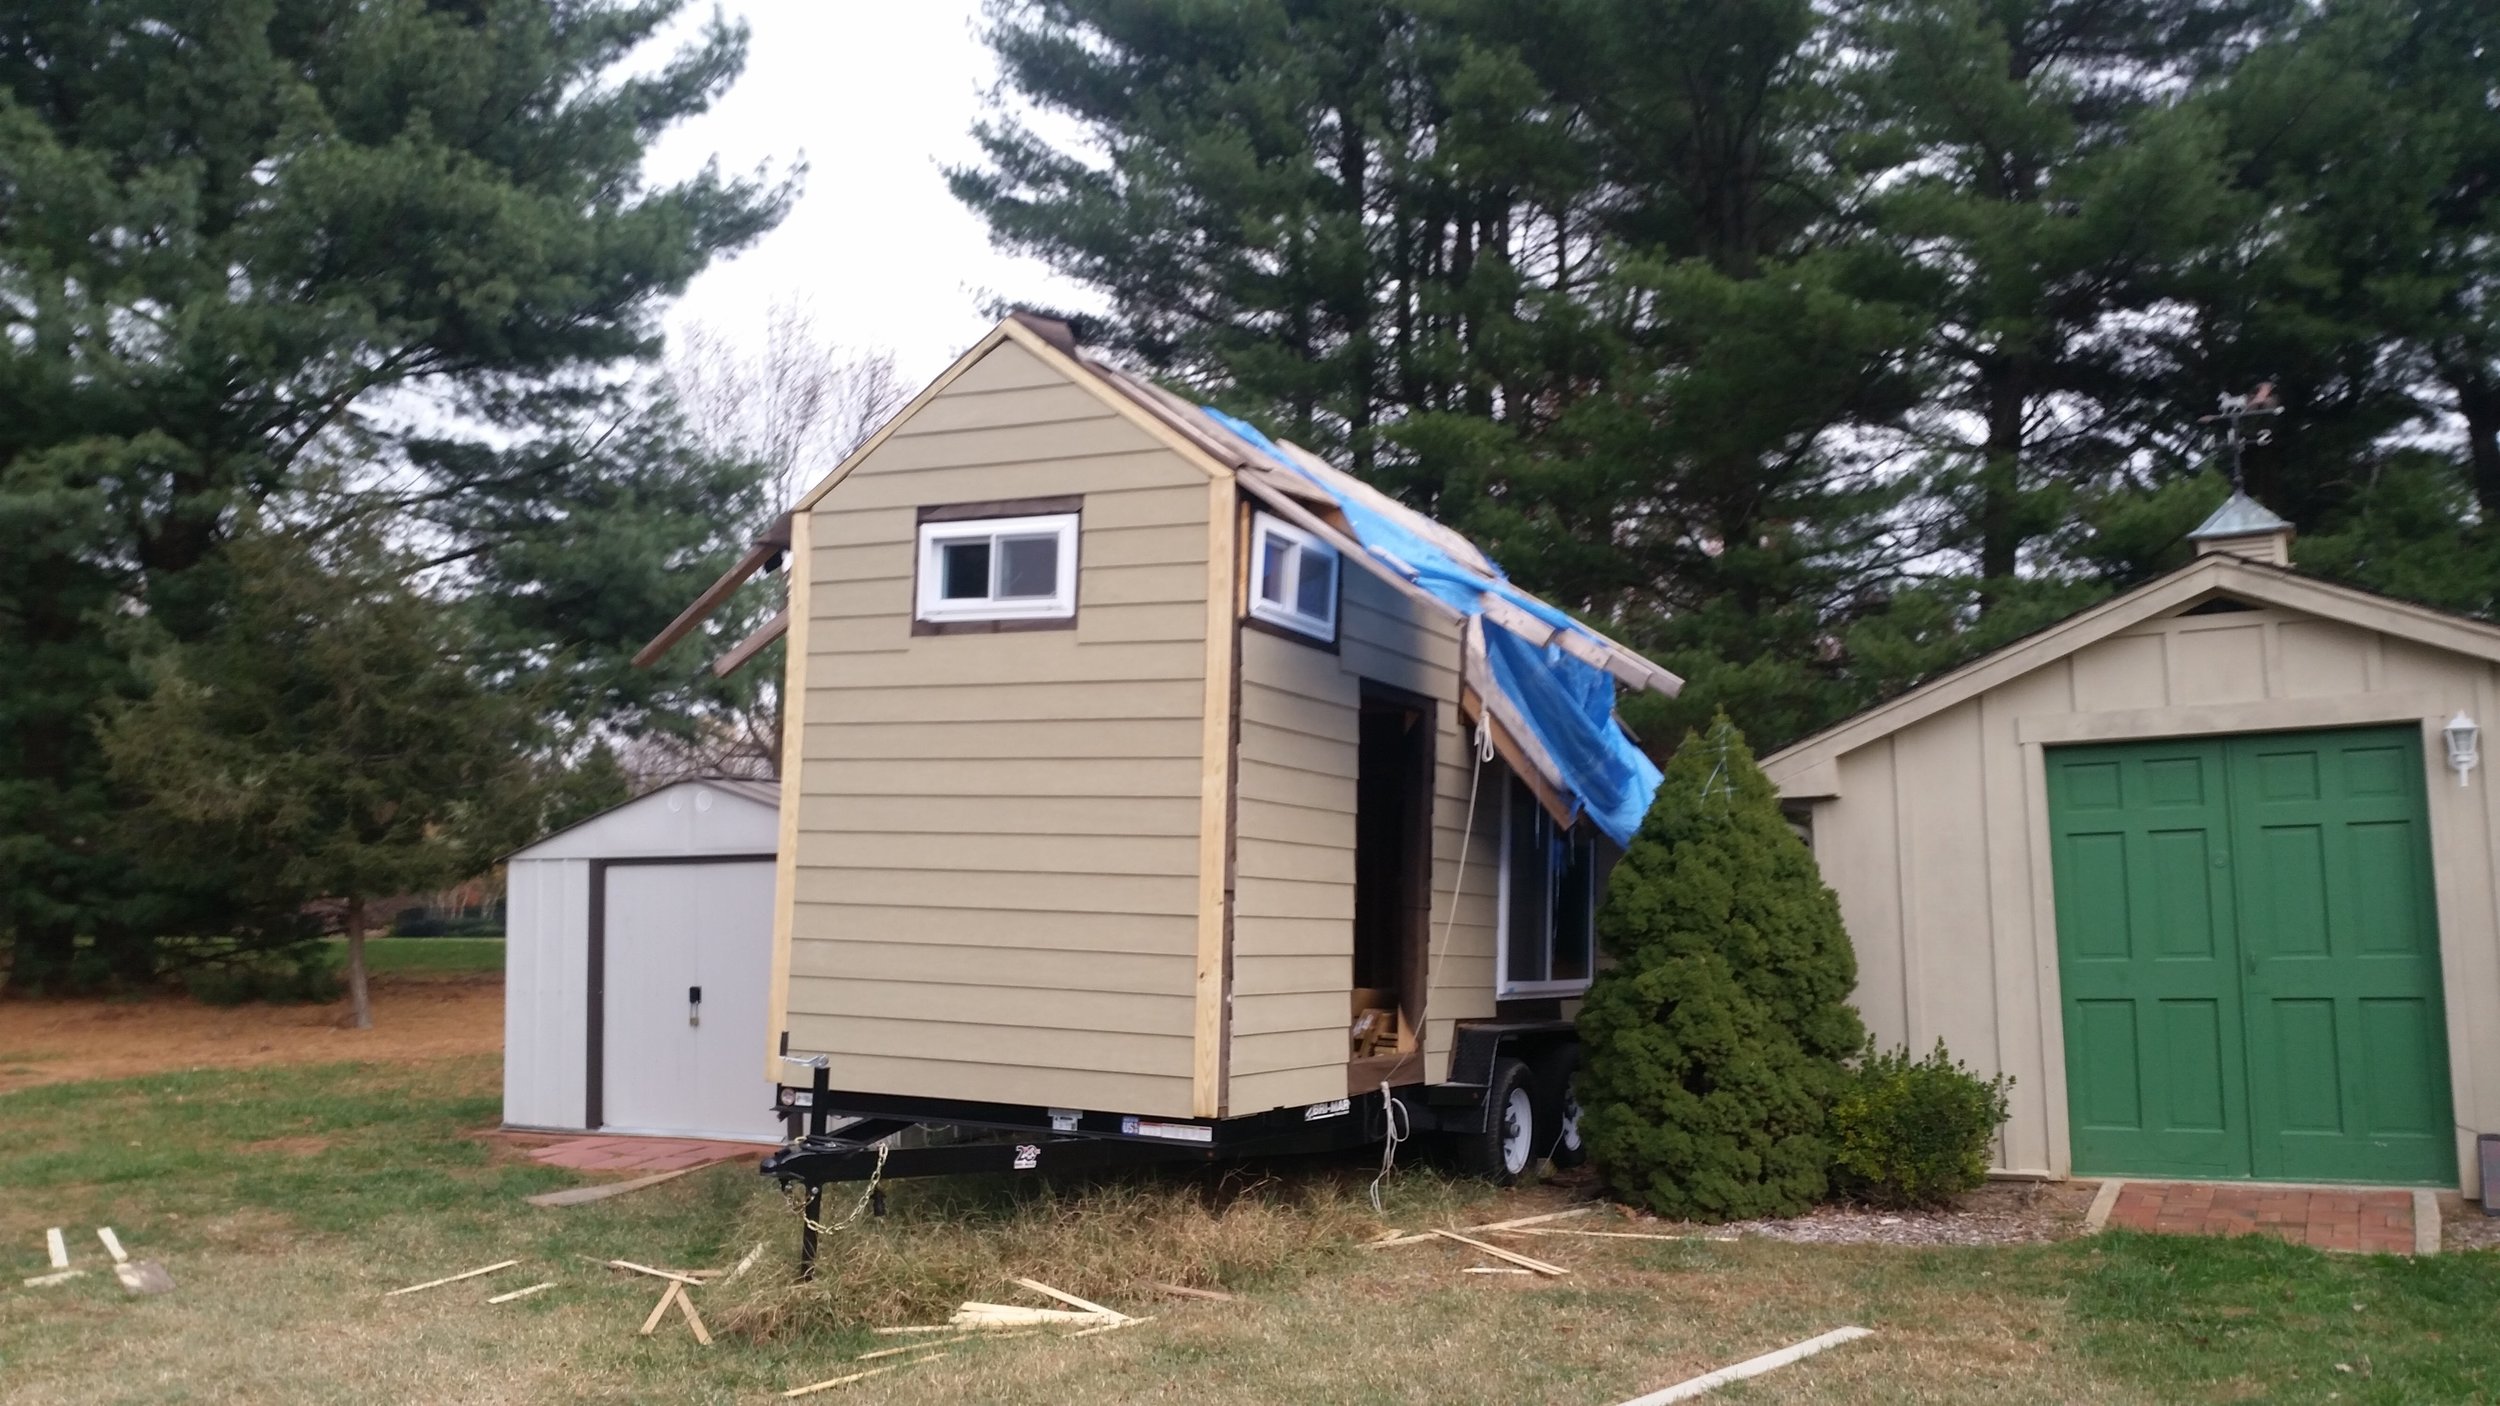
The rafters of the roof were installed full length with no regards for the size of the roof. This resulted in very long overhangs which have served to bump my head repeatedly over the course of the construction process. Today is the day these pesky overhanging 2x4s get cut to size! 

FullSizeRender.jpg

The overhang needs to be within the legal limits of width for the trailer, which is 8.5 feet. As long as I stay within the width of the fenders, I know I'm legal! 

The roof with the loft was easy to trim, I added a thin strip of plywood to the rafters to give the roof an eve. This section was easy to cut as the roof line was marked by the end of the plywood strip. All I needed to do was cut the rafters with a handsaw.  

The next section to cut is the roof over the great room, which has a much steeper pitch and plywood extending a long ways beyond the edge of the roof. I marked where I want the roof to be cut with a marker and then strung a rope across the roof to generate a straight line. I traced the rope with a sharpie and then used this line as my guide for the circular saw. 

FullSizeRender.jpg

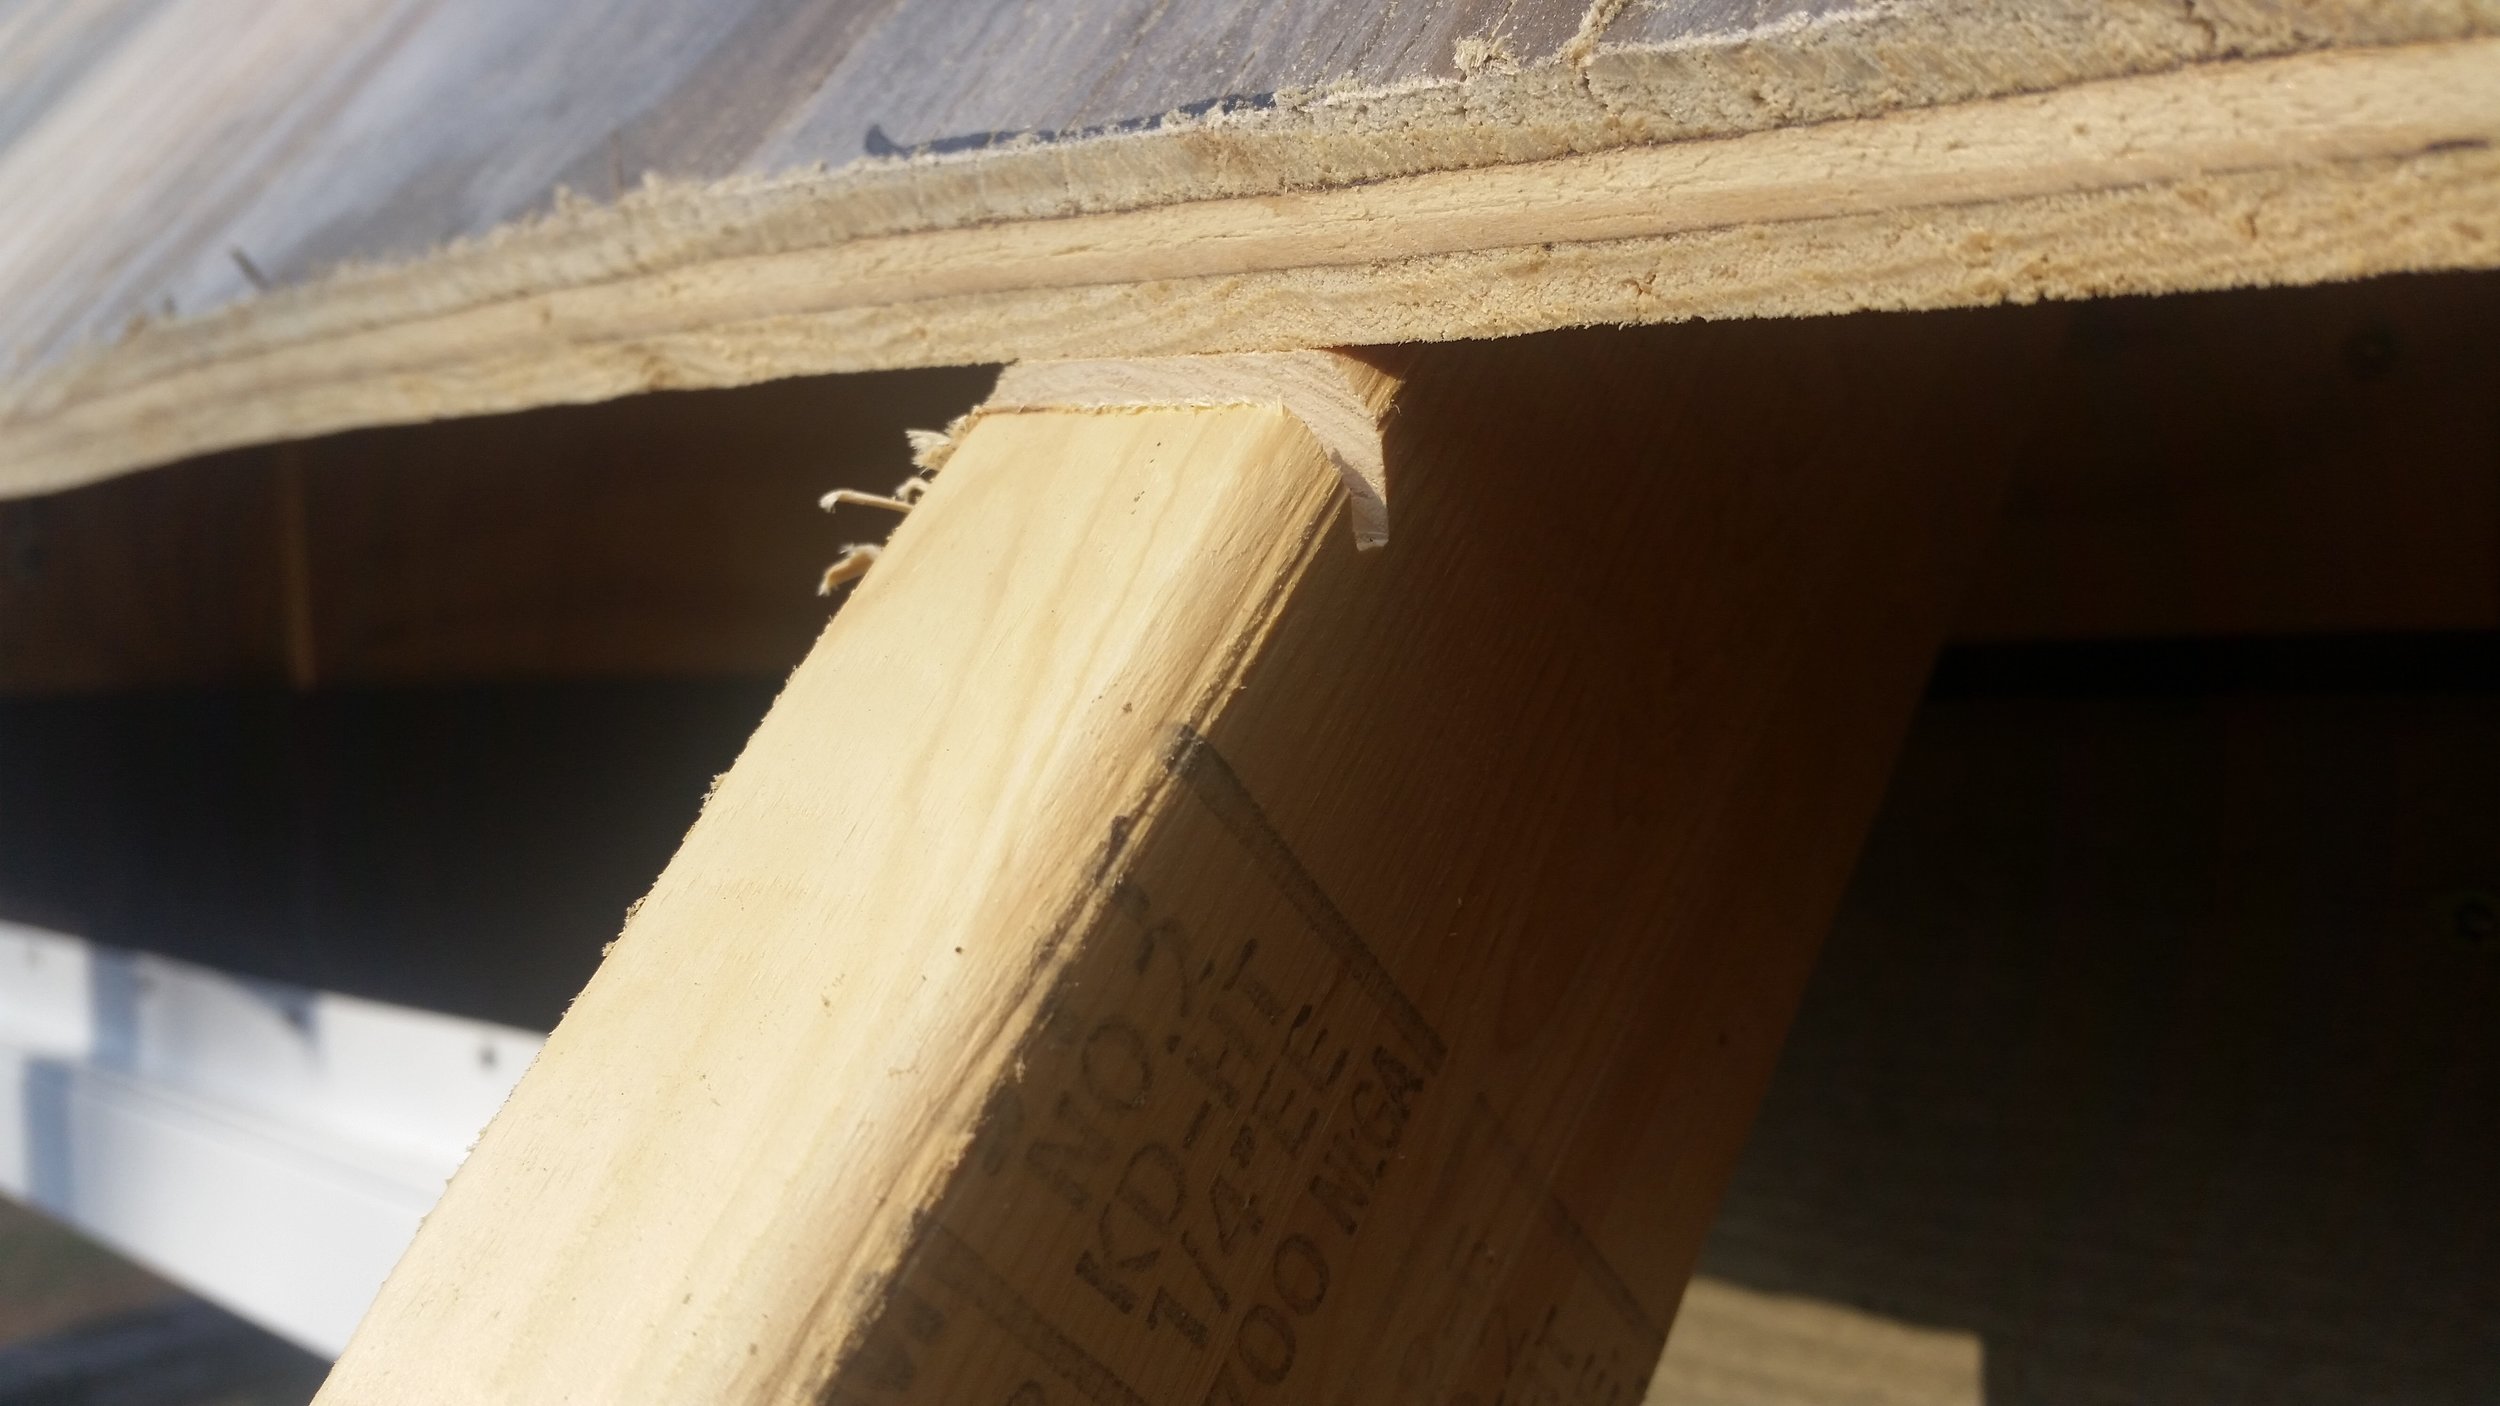
Cutting the plywood was rather straight forward, all I had to do was hold the saw firmly and cut straight along the line. The pitch of the roof was transferred to the skillsaw, allowing the blade to cut along the angle with a vertical end to the roof. The saw was also set to only cut through the plywood, not the rafters as well.

FullSizeRender.jpg

The rafters now have a slight notching in them indicating to me where to cut with the handsaw.

FullSizeRender.jpg

After cutting all the rafters, my arms were tired and I needed a rest. At least the tiny house is looking more like a house and less like a jumble of wood. 

FullSizeRender.jpg

Fitting the Transom

The transom board will be fastened to the stern post and will set into the keel below the stern knee. This will let the bottom planks flow effortlessly from the keel and rabbet line into the transom where they will fasten at the end. In order for the transom to fit into the keel, a notch must be cut to allow the transom a void to fill.

A square was set on the sternpost and was slid one inch past the top of the keel. The outline was traced as this would give me the profile of the transom board. I did not cut any bevels into the transom board as keeping its sides set to ninety degrees make assembly faster.

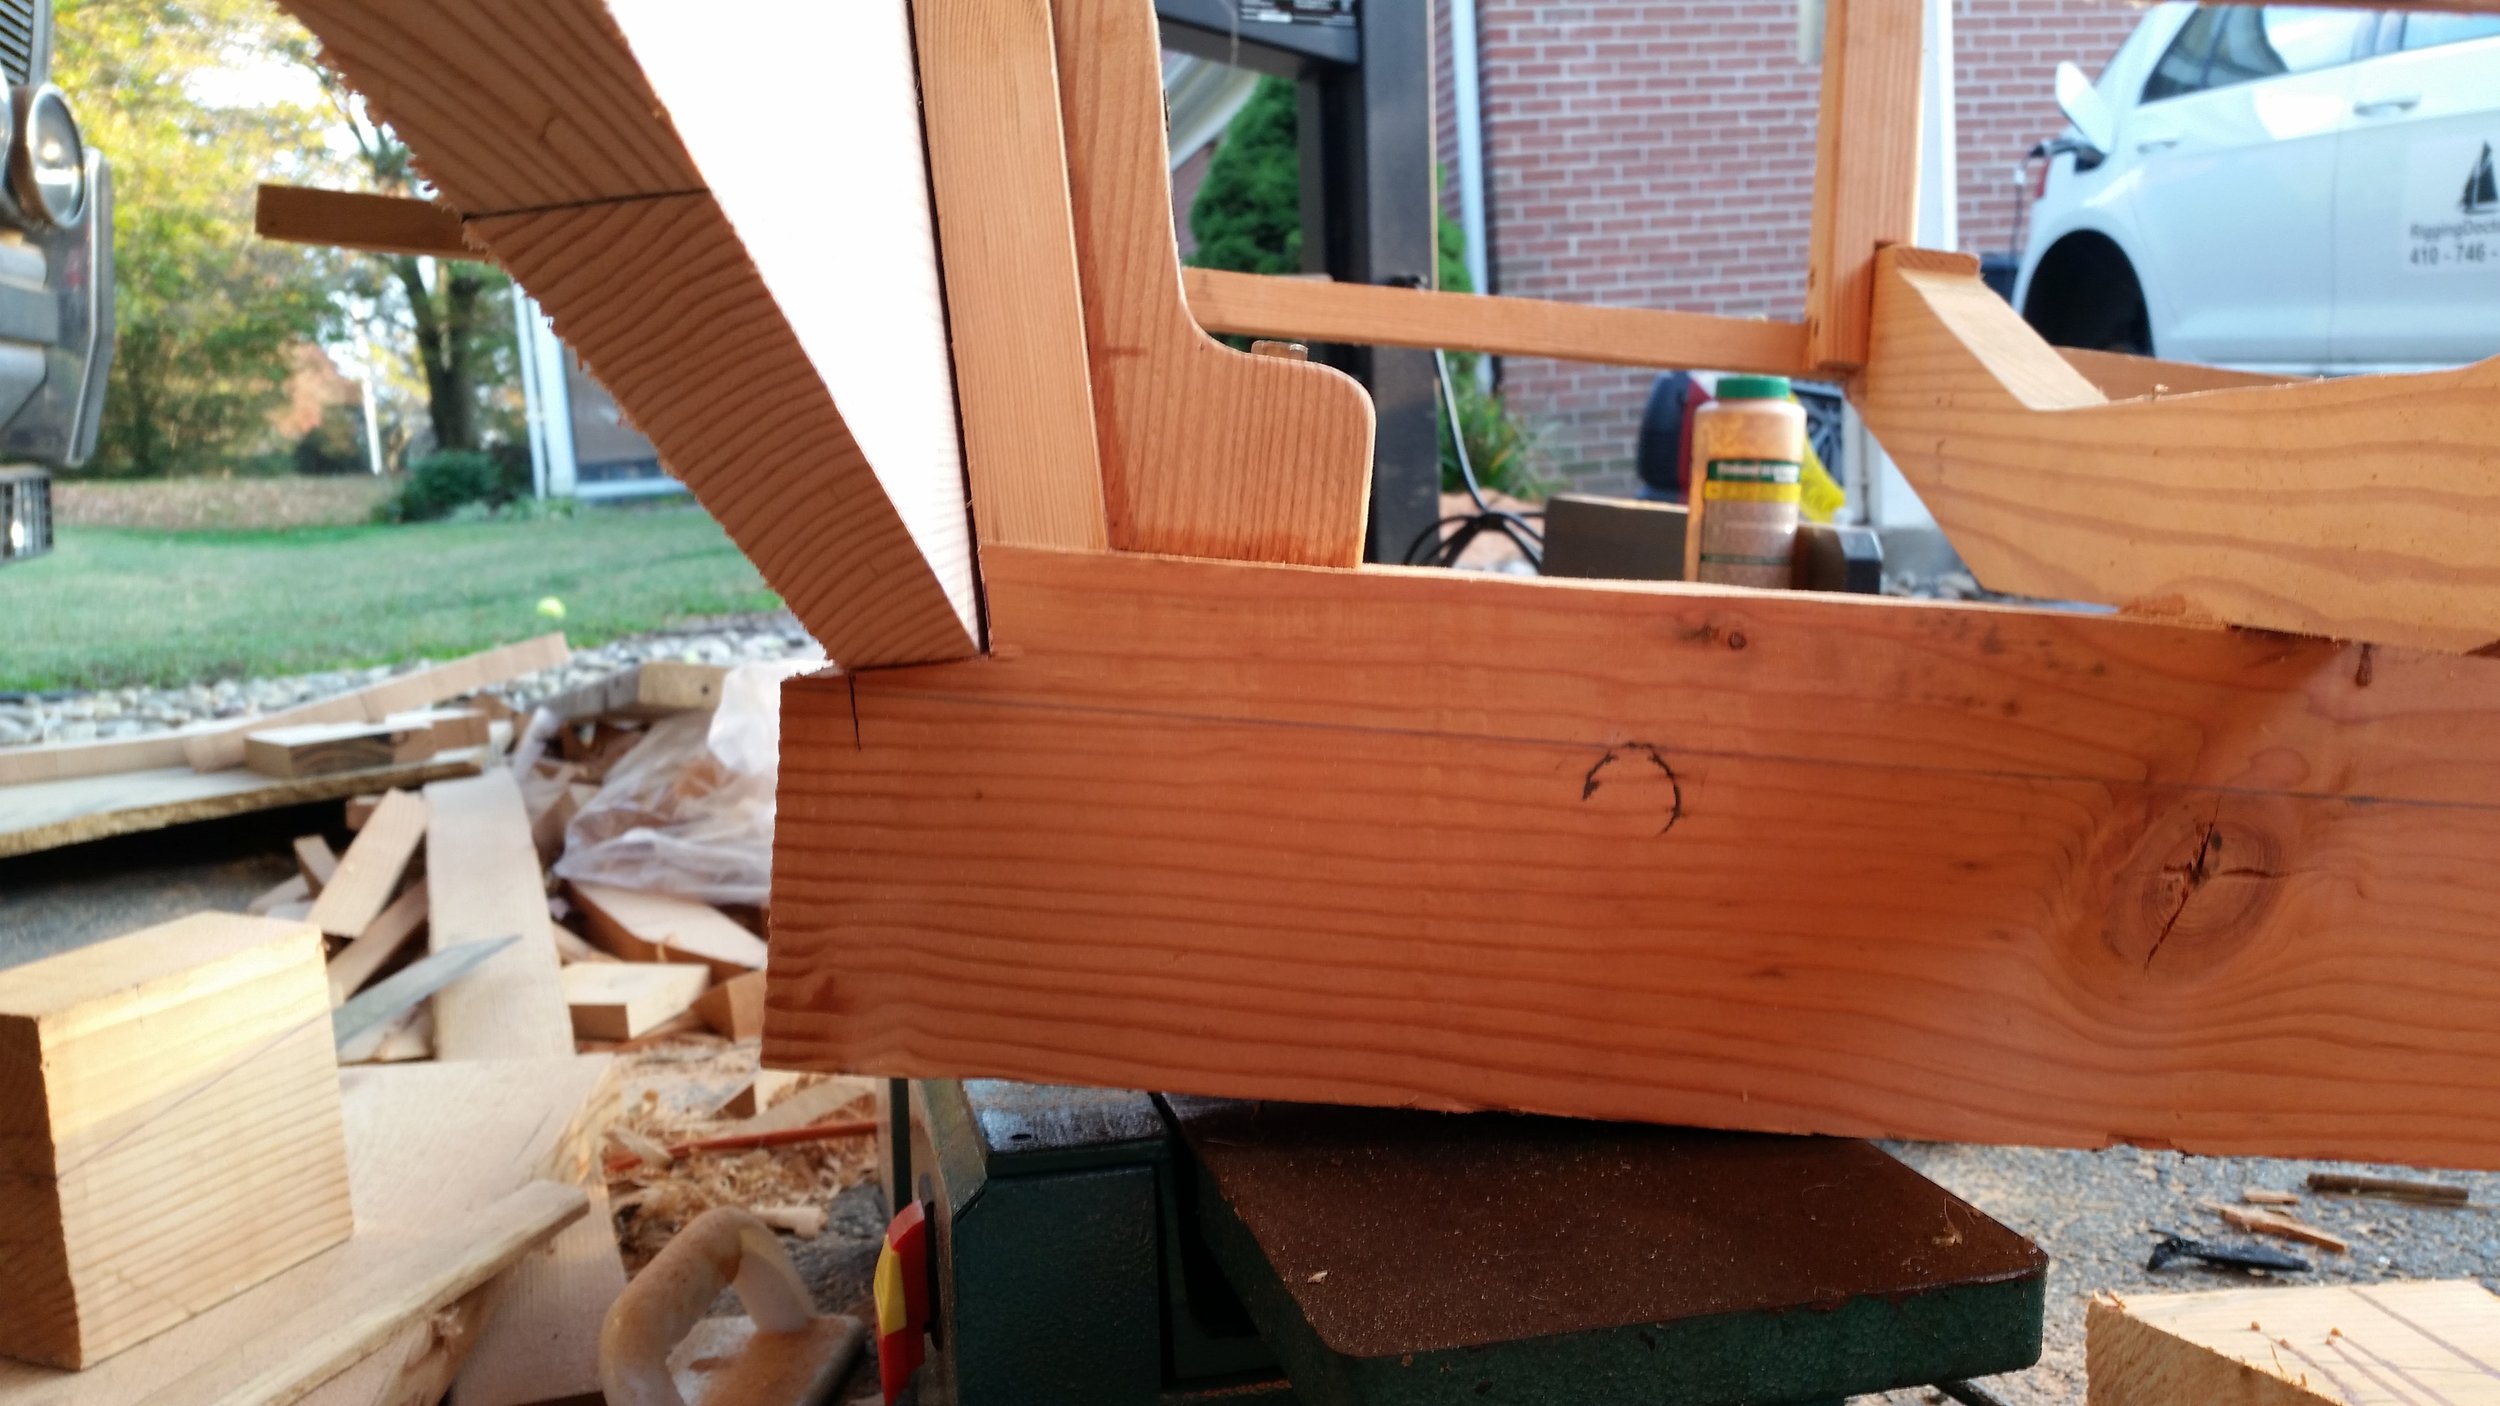
Using a miter saw, I carefully cut the notch into the keel, making sure that the saw was cutting parallel to the keel and not beyond the cut lines drawn on either side of the keel. The excess length of the keel was cut off using a regular hand saw and the transom board was dry fitted. The inside corner of the cut was refined using a series of files, converting the cut surface from a rough cut down to a fine and smooth surface that will closely accept the transom board. 

The faying surface was bathed with bedding compound and the transom was mated to the keel in a water-tight fashion. The added surface area offered by the rabbet will help ensure that unwanted water intrusion is avoided.