
The transom board will be fastened to the stern post and will set into the keel below the stern knee. This will let the bottom planks flow effortlessly from the keel and rabbet line into the transom where they will fasten at the end. In order for the transom to fit into the keel, a notch must be cut to allow the transom a void to fill.

A square was set on the sternpost and was slid one inch past the top of the keel. The outline was traced as this would give me the profile of the transom board. I did not cut any bevels into the transom board as keeping its sides set to ninety degrees make assembly faster.
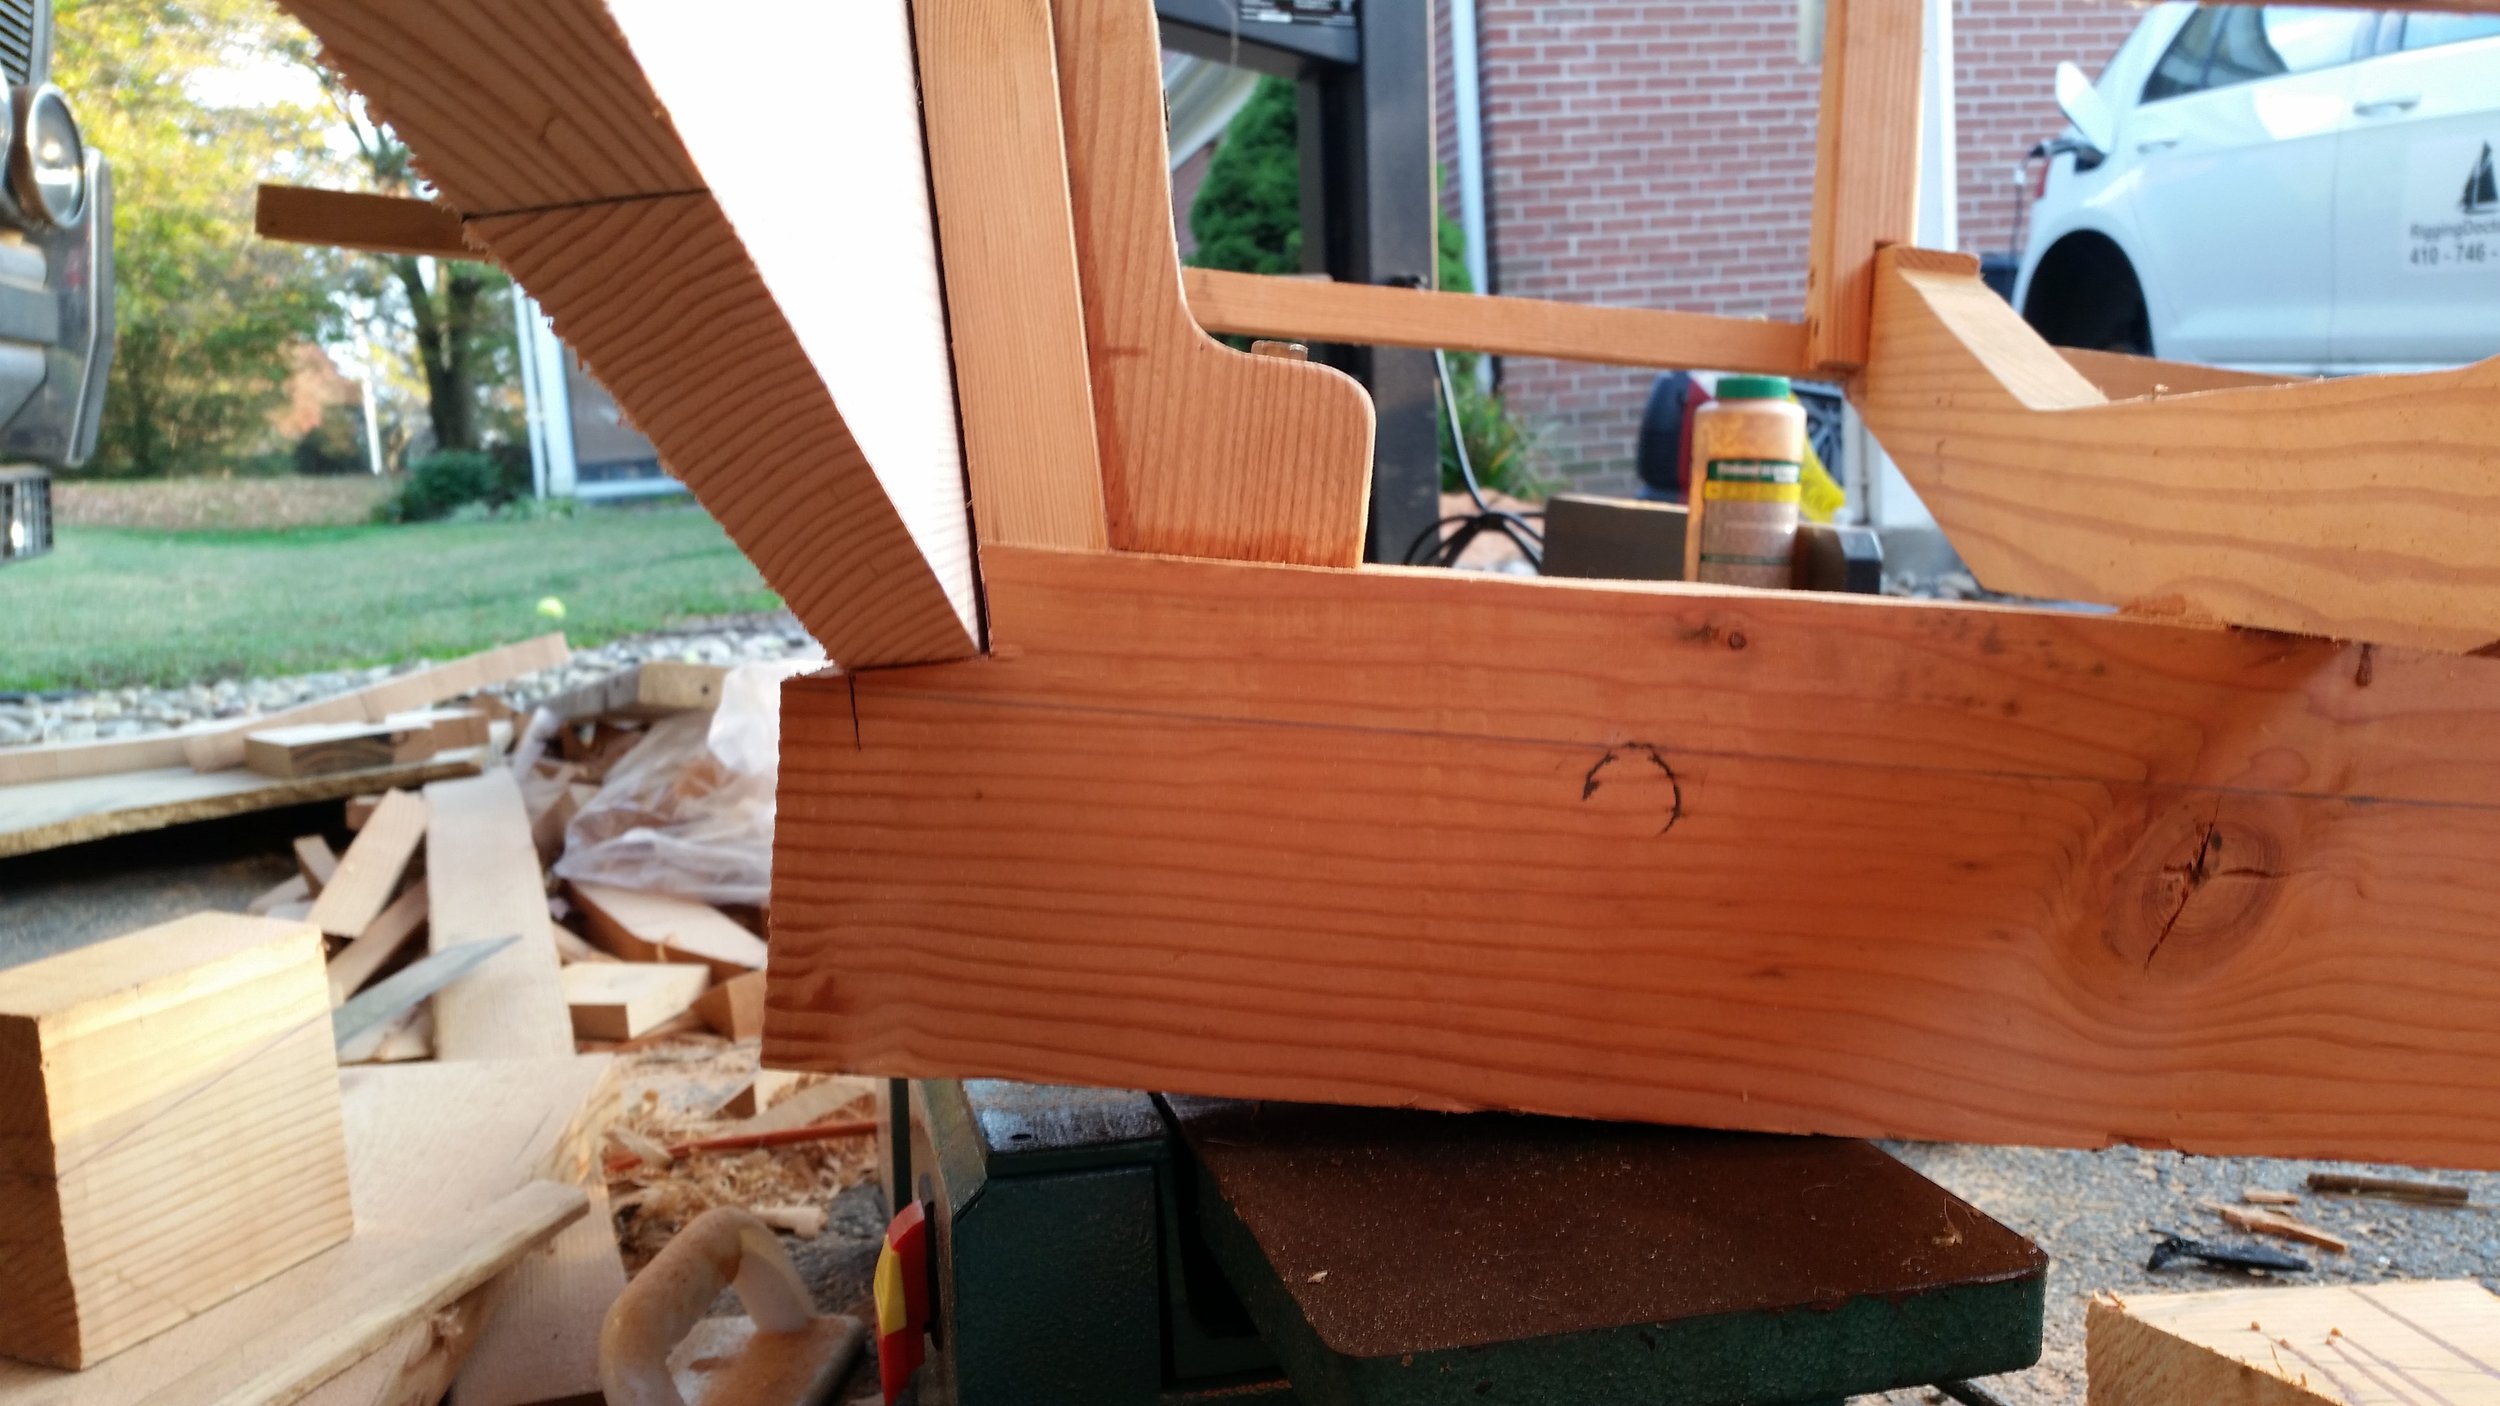
Using a miter saw, I carefully cut the notch into the keel, making sure that the saw was cutting parallel to the keel and not beyond the cut lines drawn on either side of the keel. The excess length of the keel was cut off using a regular hand saw and the transom board was dry fitted. The inside corner of the cut was refined using a series of files, converting the cut surface from a rough cut down to a fine and smooth surface that will closely accept the transom board.
The faying surface was bathed with bedding compound and the transom was mated to the keel in a water-tight fashion. The added surface area offered by the rabbet will help ensure that unwanted water intrusion is avoided.
