Trimming the Roof

The rafters of the roof were installed full length with no regards for the size of the roof. This resulted in very long overhangs which have served to bump my head repeatedly over the course of the construction process. Today is the day these pesky overhanging 2x4s get cut to size! 
FullSizeRender.jpg

The overhang needs to be within the legal limits of width for the trailer, which is 8.5 feet. As long as I stay within the width of the fenders, I know I'm legal! 

The roof with the loft was easy to trim, I added a thin strip of plywood to the rafters to give the roof an eve. This section was easy to cut as the roof line was marked by the end of the plywood strip. All I needed to do was cut the rafters with a handsaw.  

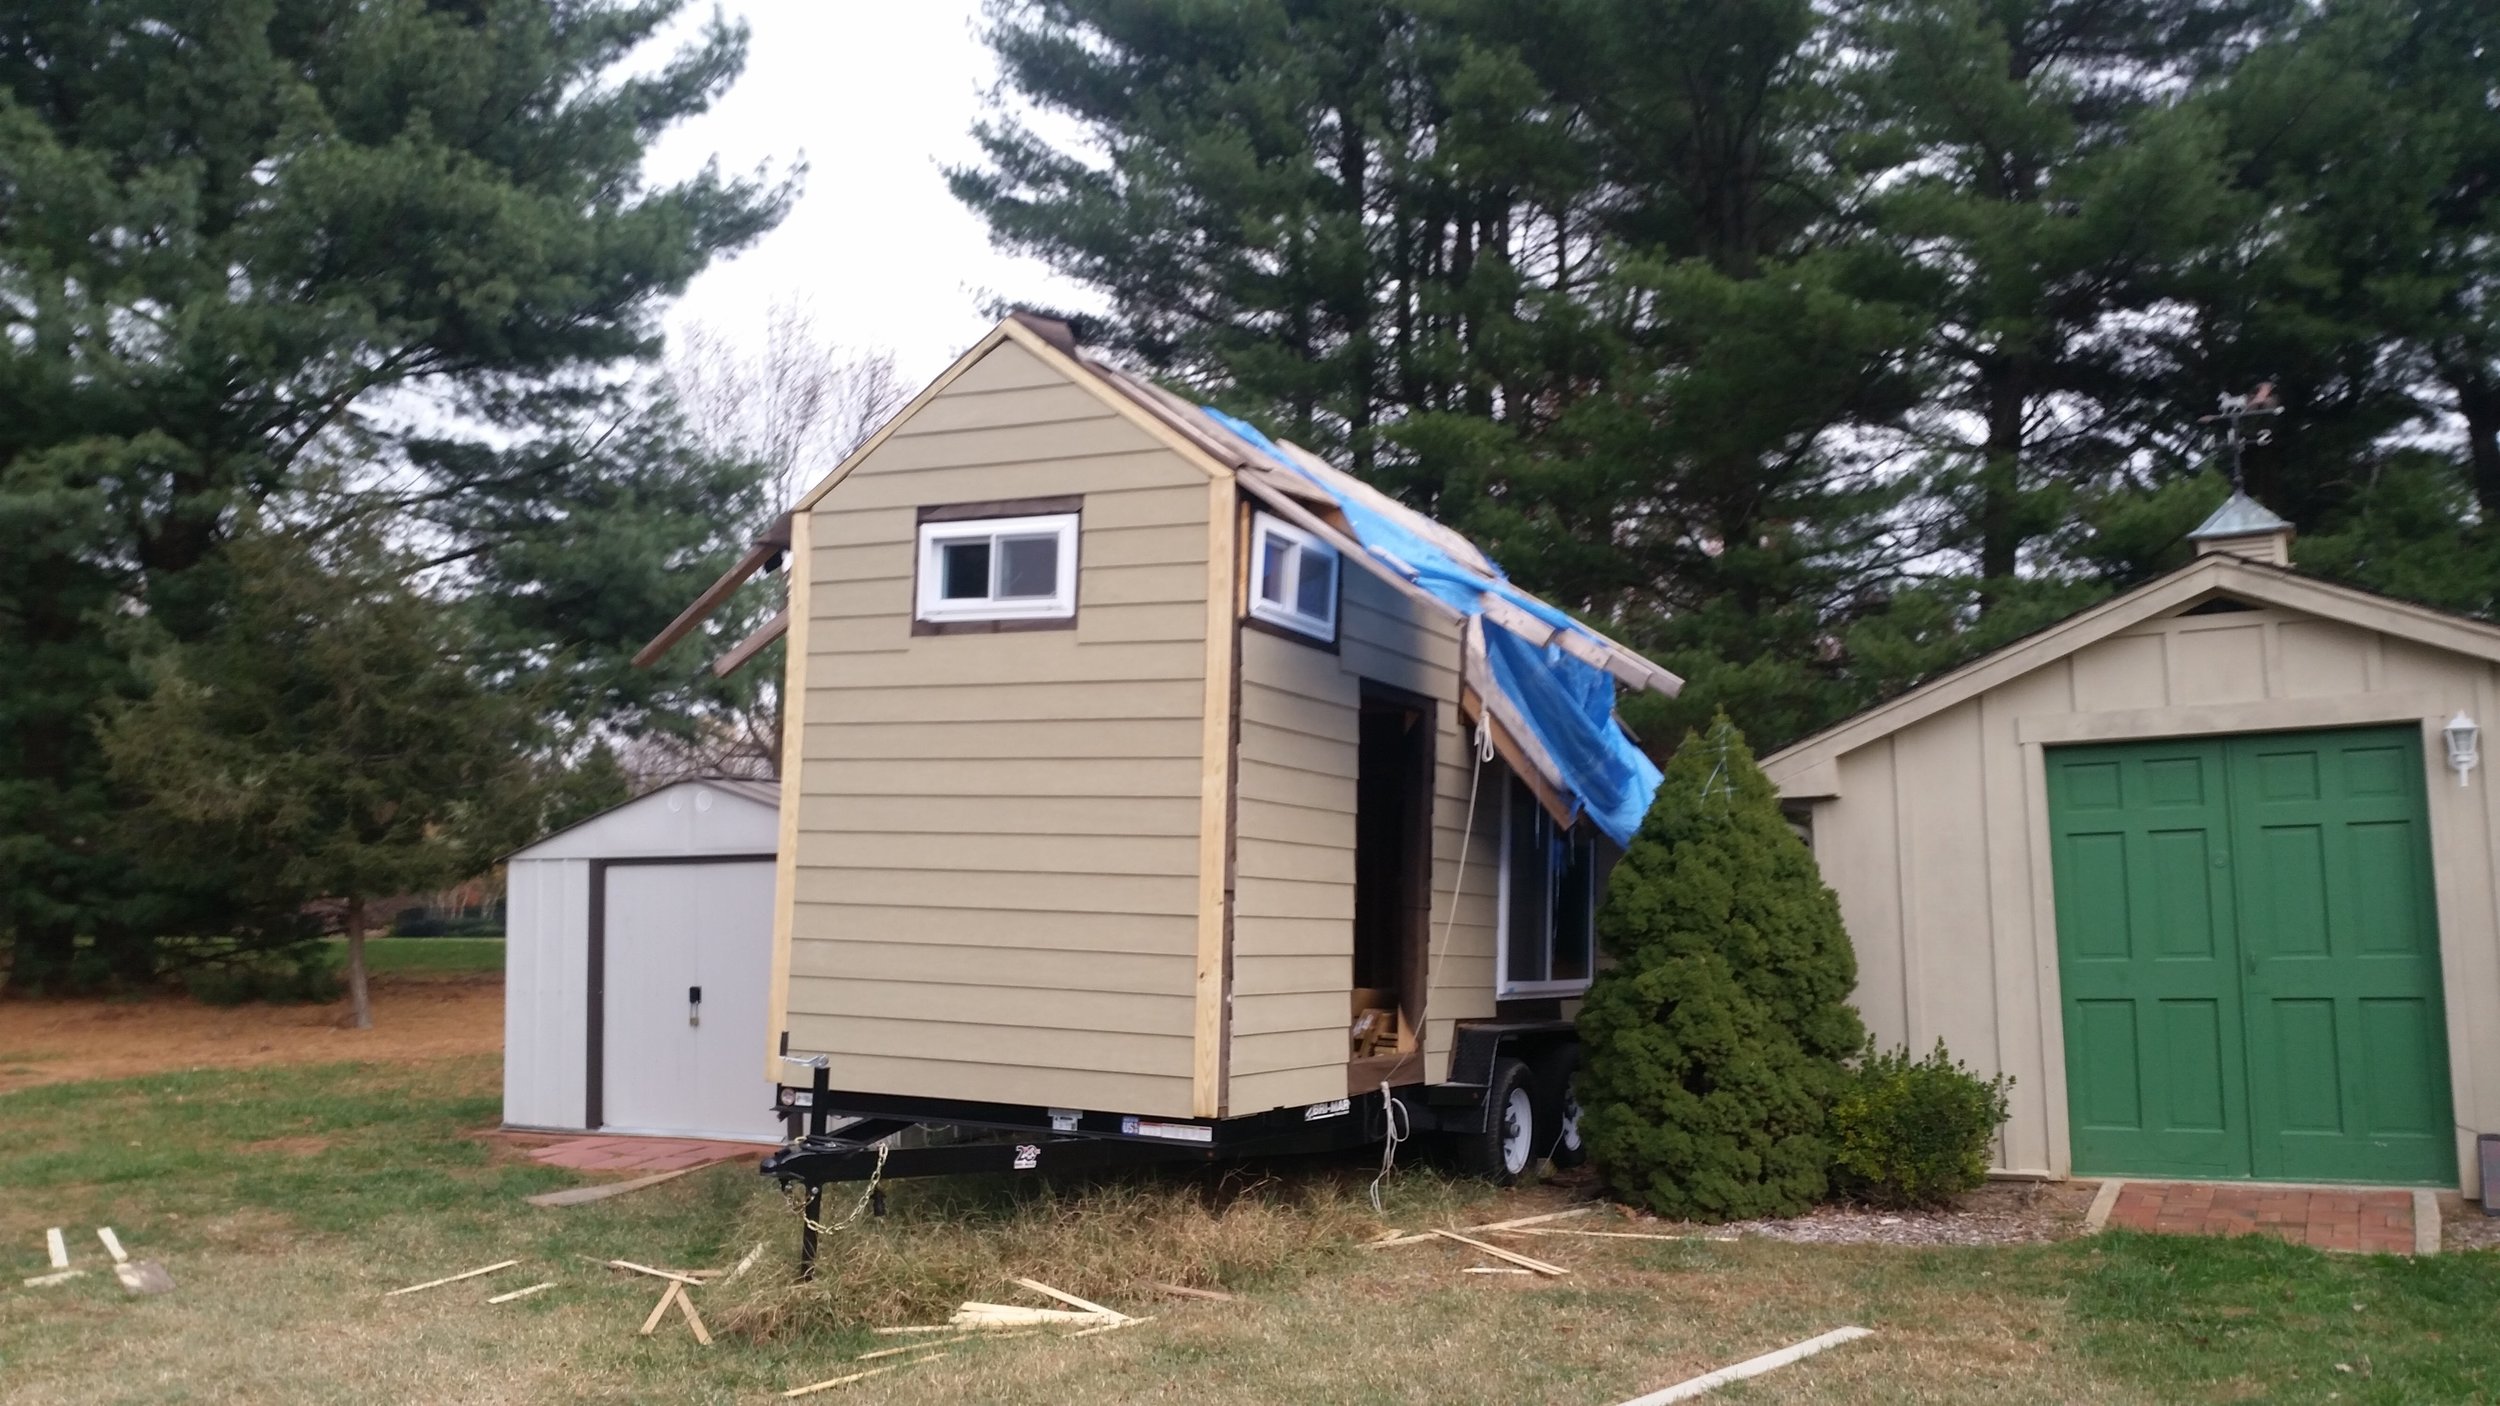
The next section to cut is the roof over the great room, which has a much steeper pitch and plywood extending a long ways beyond the edge of the roof. I marked where I want the roof to be cut with a marker and then strung a rope across the roof to generate a straight line. I traced the rope with a sharpie and then used this line as my guide for the circular saw. 

FullSizeRender.jpg

Cutting the plywood was rather straight forward, all I had to do was hold the saw firmly and cut straight along the line. The pitch of the roof was transferred to the skillsaw, allowing the blade to cut along the angle with a vertical end to the roof. The saw was also set to only cut through the plywood, not the rafters as well.

FullSizeRender.jpg

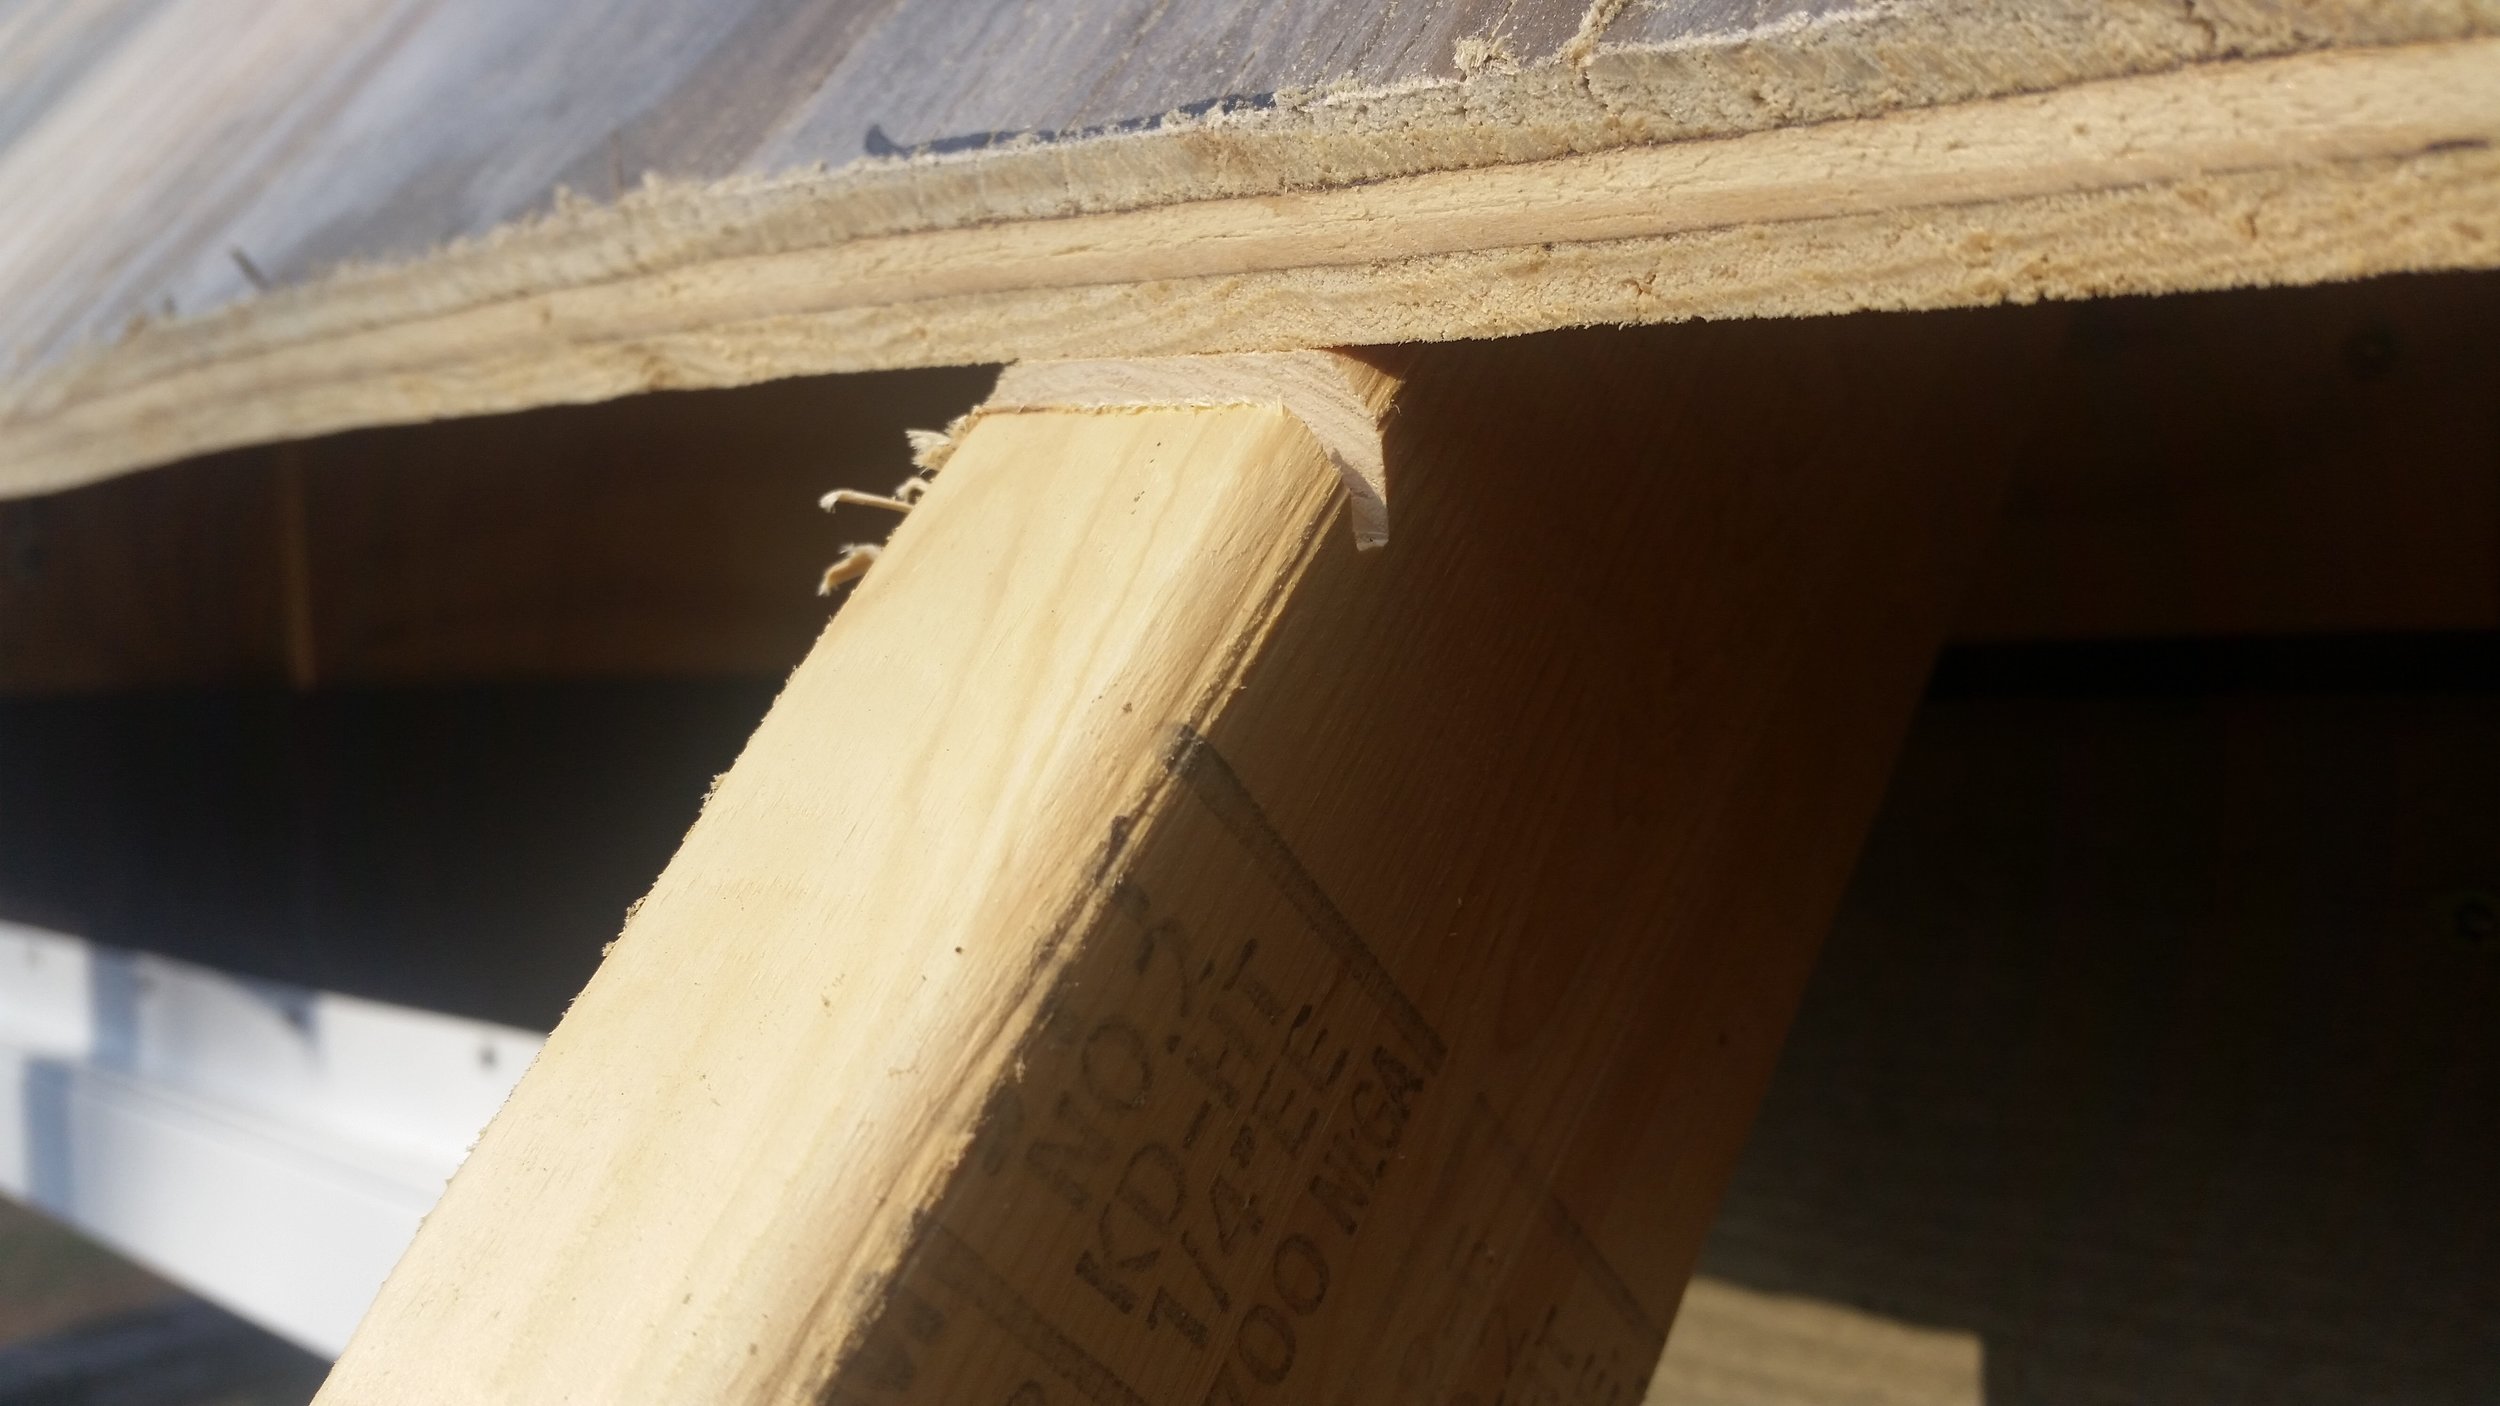
The rafters now have a slight notching in them indicating to me where to cut with the handsaw.
FullSizeRender.jpg

After cutting all the rafters, my arms were tired and I needed a rest. At least the tiny house is looking more like a house and less like a jumble of wood. 

FullSizeRender.jpg

Fitting the Transom

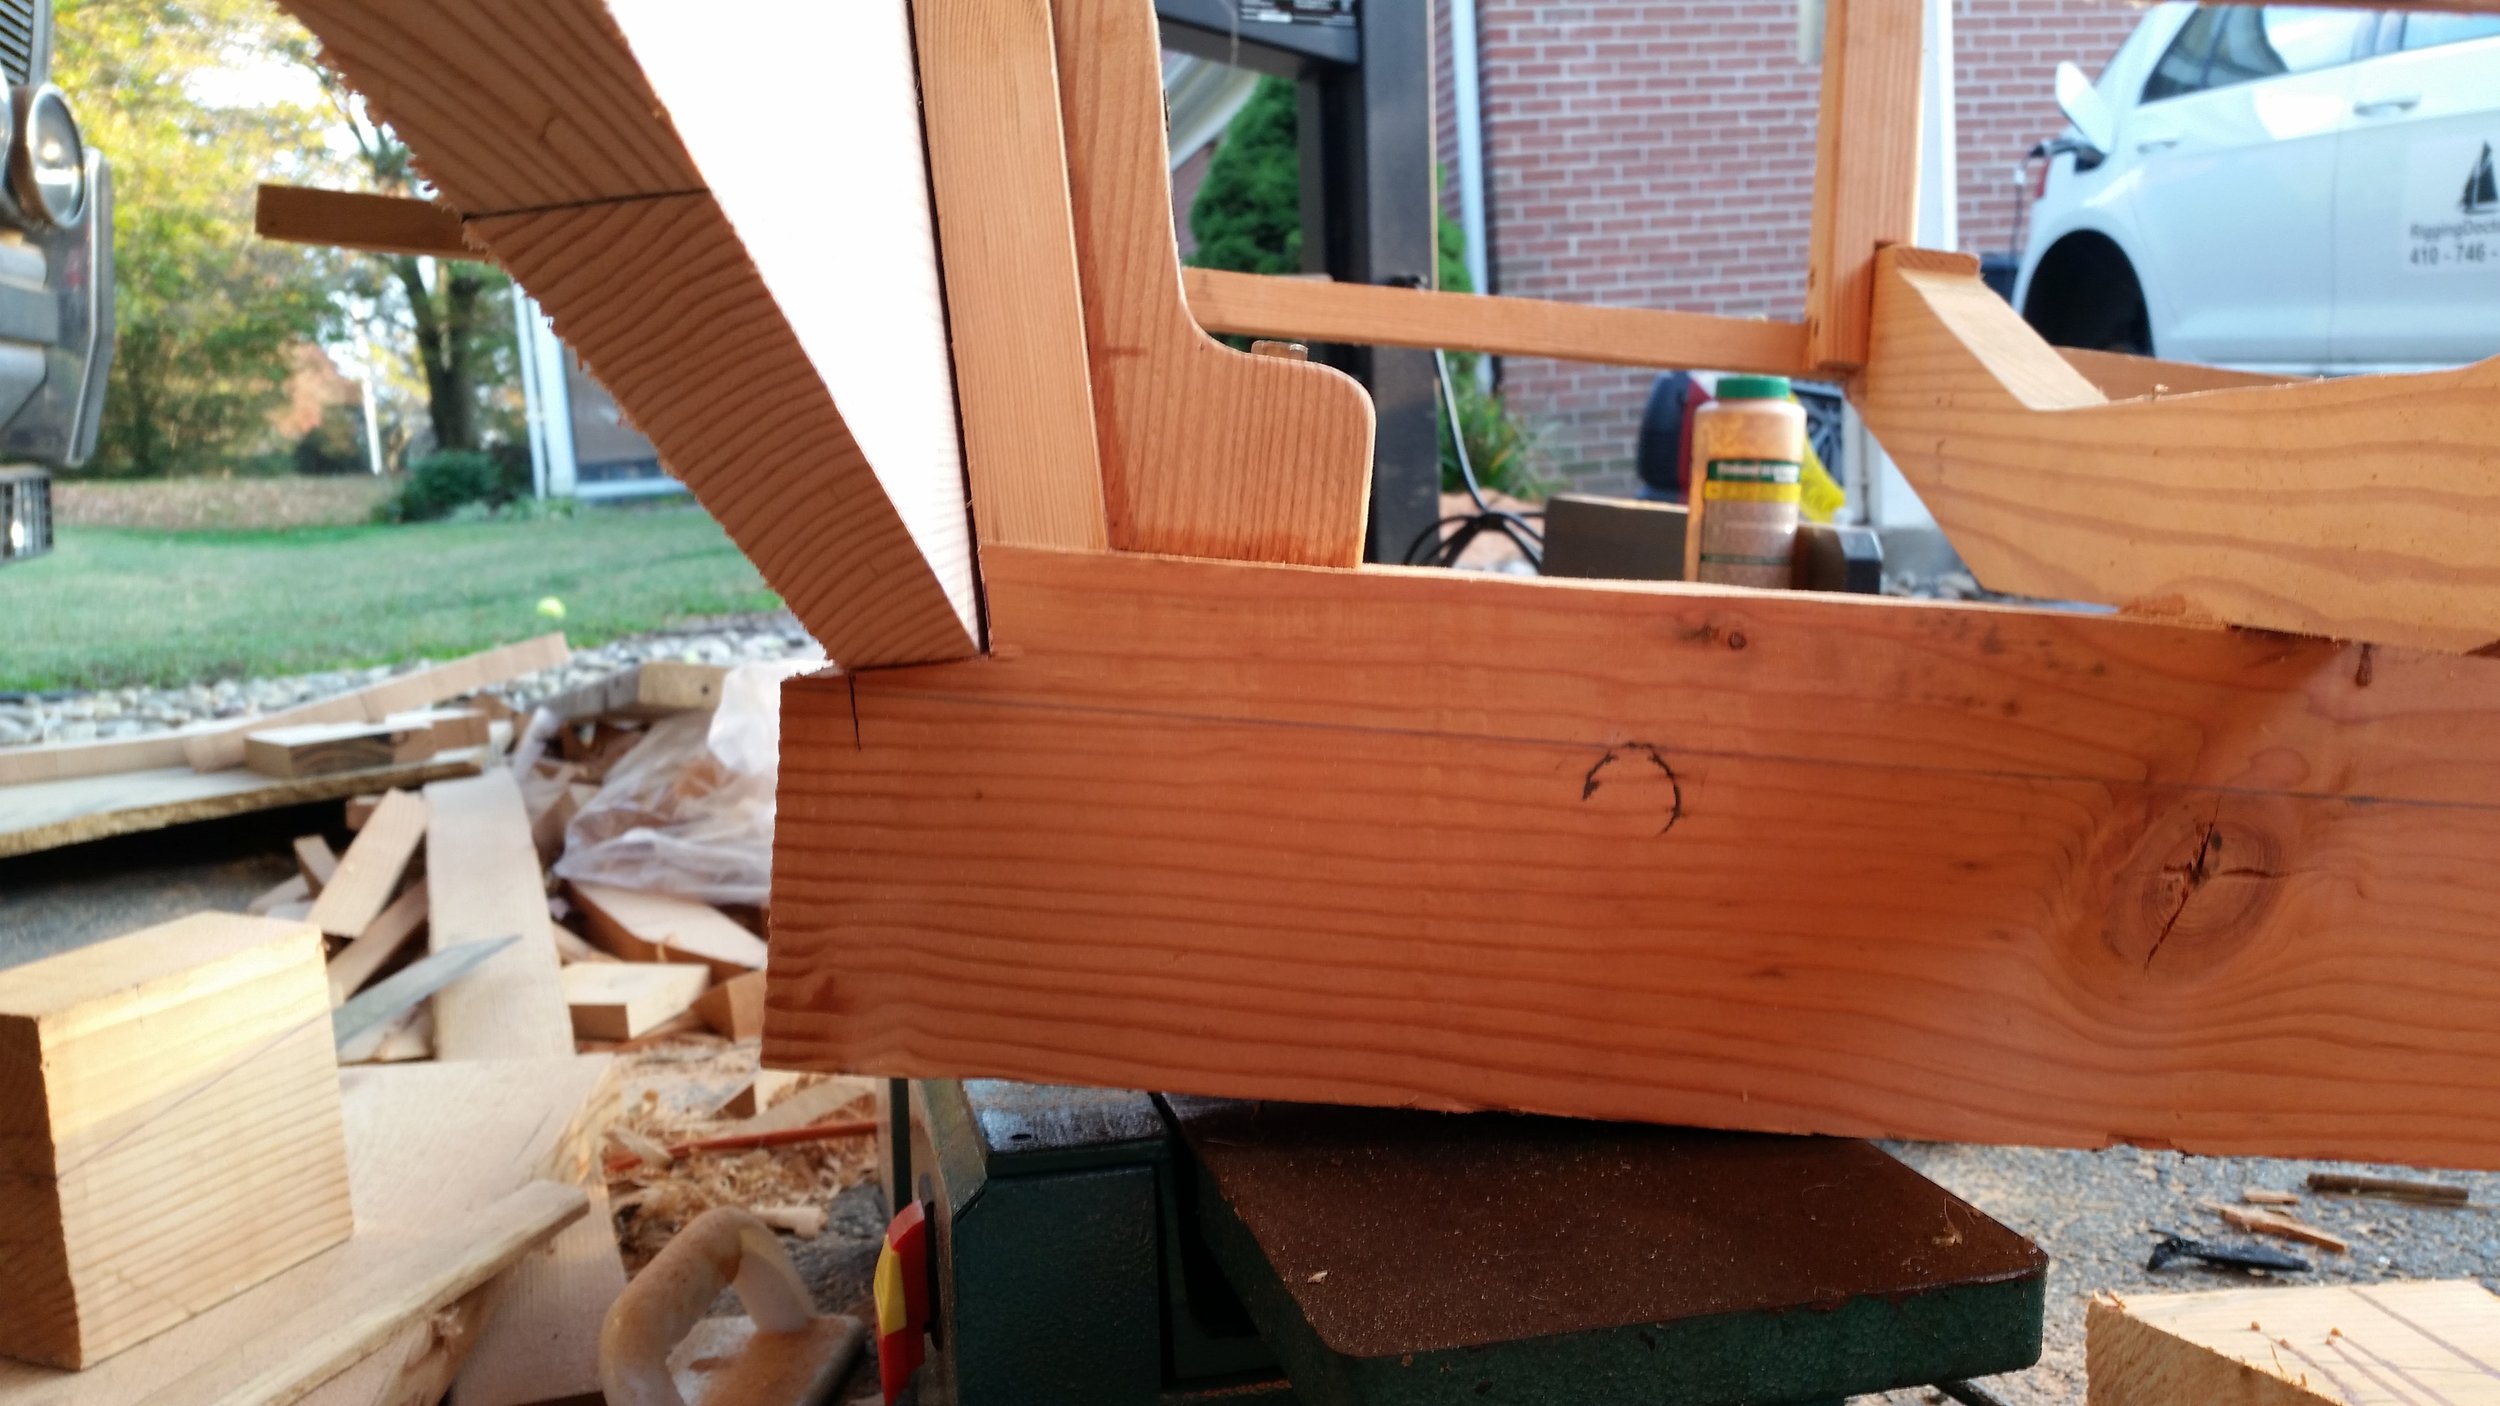
The transom board will be fastened to the stern post and will set into the keel below the stern knee. This will let the bottom planks flow effortlessly from the keel and rabbet line into the transom where they will fasten at the end. In order for the transom to fit into the keel, a notch must be cut to allow the transom a void to fill.

A square was set on the sternpost and was slid one inch past the top of the keel. The outline was traced as this would give me the profile of the transom board. I did not cut any bevels into the transom board as keeping its sides set to ninety degrees make assembly faster.

Using a miter saw, I carefully cut the notch into the keel, making sure that the saw was cutting parallel to the keel and not beyond the cut lines drawn on either side of the keel. The excess length of the keel was cut off using a regular hand saw and the transom board was dry fitted. The inside corner of the cut was refined using a series of files, converting the cut surface from a rough cut down to a fine and smooth surface that will closely accept the transom board. 

The faying surface was bathed with bedding compound and the transom was mated to the keel in a water-tight fashion. The added surface area offered by the rabbet will help ensure that unwanted water intrusion is avoided.

Towing Windpuff

In preparation for going cruising, we needed to get Windpuff out of the water and onto the hard. Windpuff lives near us in the marina, so we check on him all the time to make sure that none of the scuppers are covered with leaves that would cause rain to back up and make a mess. Since we are going cruising, we won't be around to check on him as often as we currently do, so we decided to pull Windpuff out and shrink wrap him. 

Windpuff will remain on land while we are away, safe and protected from the elements until we return.

Underlaying Trim

The first layer of trim is the 3 inch boards that flank the lapstrake siding. These boards will bring the cosmetic layer flush to the top of the siding, allowing the 5 inch boards to cover the siding without any obstructions.

The 3 inch boards are simply fitted as close as possible to the siding's edge with little regard for perfection. The gaps will be filled with caulk and this mess will be covered by the 5 inch trim board. The 3 inch boards simply bring the 5 inch  board up to the level of the siding so that there is no interference and the trim boards can go on effortlessly and cleanly.

The trim that lines the roof is very important because it tacks the tar paper in place wrapping over the edge of the roof. The shingles will cover this area and provide extra water protection.

Battens were added on the roof to hold the tar paper in place and avoid any tears. If the tar paper were left free over the roof, it could rip off in strong winds and negate any of the benefits of tacking the tar paper under the trim.

Cleaning up the Forefoot

Now that the bedding compound has fully cured, it is time to clean up the forefoot and make it look like the front of a boat and not a pile of scrap wood scarfed together.

The excess bedding compound was easily peeled off by hand, leaving a clean line that is (hopefully) water tight. The next thing to do is to cut the finger joints off the front of the keel. The finger joints were going to support the stem in a plumb position, but this plan was changed when the stem was not properly aligned with the frames. Setting the stem raked was the only option to salvage the stem, otherwise I would have needed to make a new stem that would fit plumb bow. 

The stem line was continued onto the keel, where it was then cutoff with a handsaw. This rough cut was simply to tone down the front of the dinghy and is by no means the final shape of the forefoot.

20161019_171307.jpg

Should the stem and keel junction leak, I have two choices: add lots of caulk and pray or cut and fit in a gripe.

When viewed from the front, the bookmatched grain is very apparent. This grain pattern will offer greater holding power to the planking screws when the rabbet is finally cut in and the garboard fitted. Until then, the forefoot will continue to be an overly bulky and clunky block of oversized wood.