Electronic Space Heaters

Electric space heaters are great for instant localized heat. They can heat up a tiny cabin or a small part of a larger space in a few minutes. While they may seem like the perfect answer to your heating needs, they do have some downsides.

They are a huge fire hazard. They produce so much heat that they can not be aimed too closely towards flammable materials, such as drapes or wood structures. On a boat, this is pretty much the entire structure! 

They are also a tipping hazard, which then contributes to the fire hazard problem. If a storm kicks up waves or a wake rolls through, the top heavy heater could fall over and start a fire. Some heaters contain shut off switches if they sense that they have tipped over, which is a very important safety feature, but still no excuse for unsupervised use.

Because of these problems, you should never leave a space heater unattended. If a problem were to occur, you need to be there to rectify it immediately.

We keep two space heaters on board, one from Walmart (we went through three before we found one that worked very well, the others didn't hold up) and one from West Marine.

The West Marine heater works wonderfully! It's called the Cube and uses a ceramic core heater. Its tip sensor works reliably (I actually test them out). If you tip it over about 30 degrees, it will turn off. The Walmart one (Holmes) will keep running after it has fallen completely over.

The Walmart heater was a bit of random luck. I would buy a heater and find that it failed to deliver as promised, then I would buy another heater to come to the same conclusion. This was the fourth heater I bought, so I can't say that any heater will work as they all seem to be different. The Cube from West Marine does seem to be a reliable work horse. It was the first one I bought and it heats so wonderfully that I bought a second as a gift for my sister and that one also heated very well. 

If you are going to buy only one electric space heater, I recommend the Cube from West Marine. It is expensive compared to other units, but it is worth every penny when you feel warm and cozy on a cold day!

Electric space heaters are an excellent supplemental source of heat and are very useful to add heat to a localized area. When used in conjunction with the other heat sources aboard, it can create a very comfortable living environment while consuming minimal resources.
Siding the Door Side

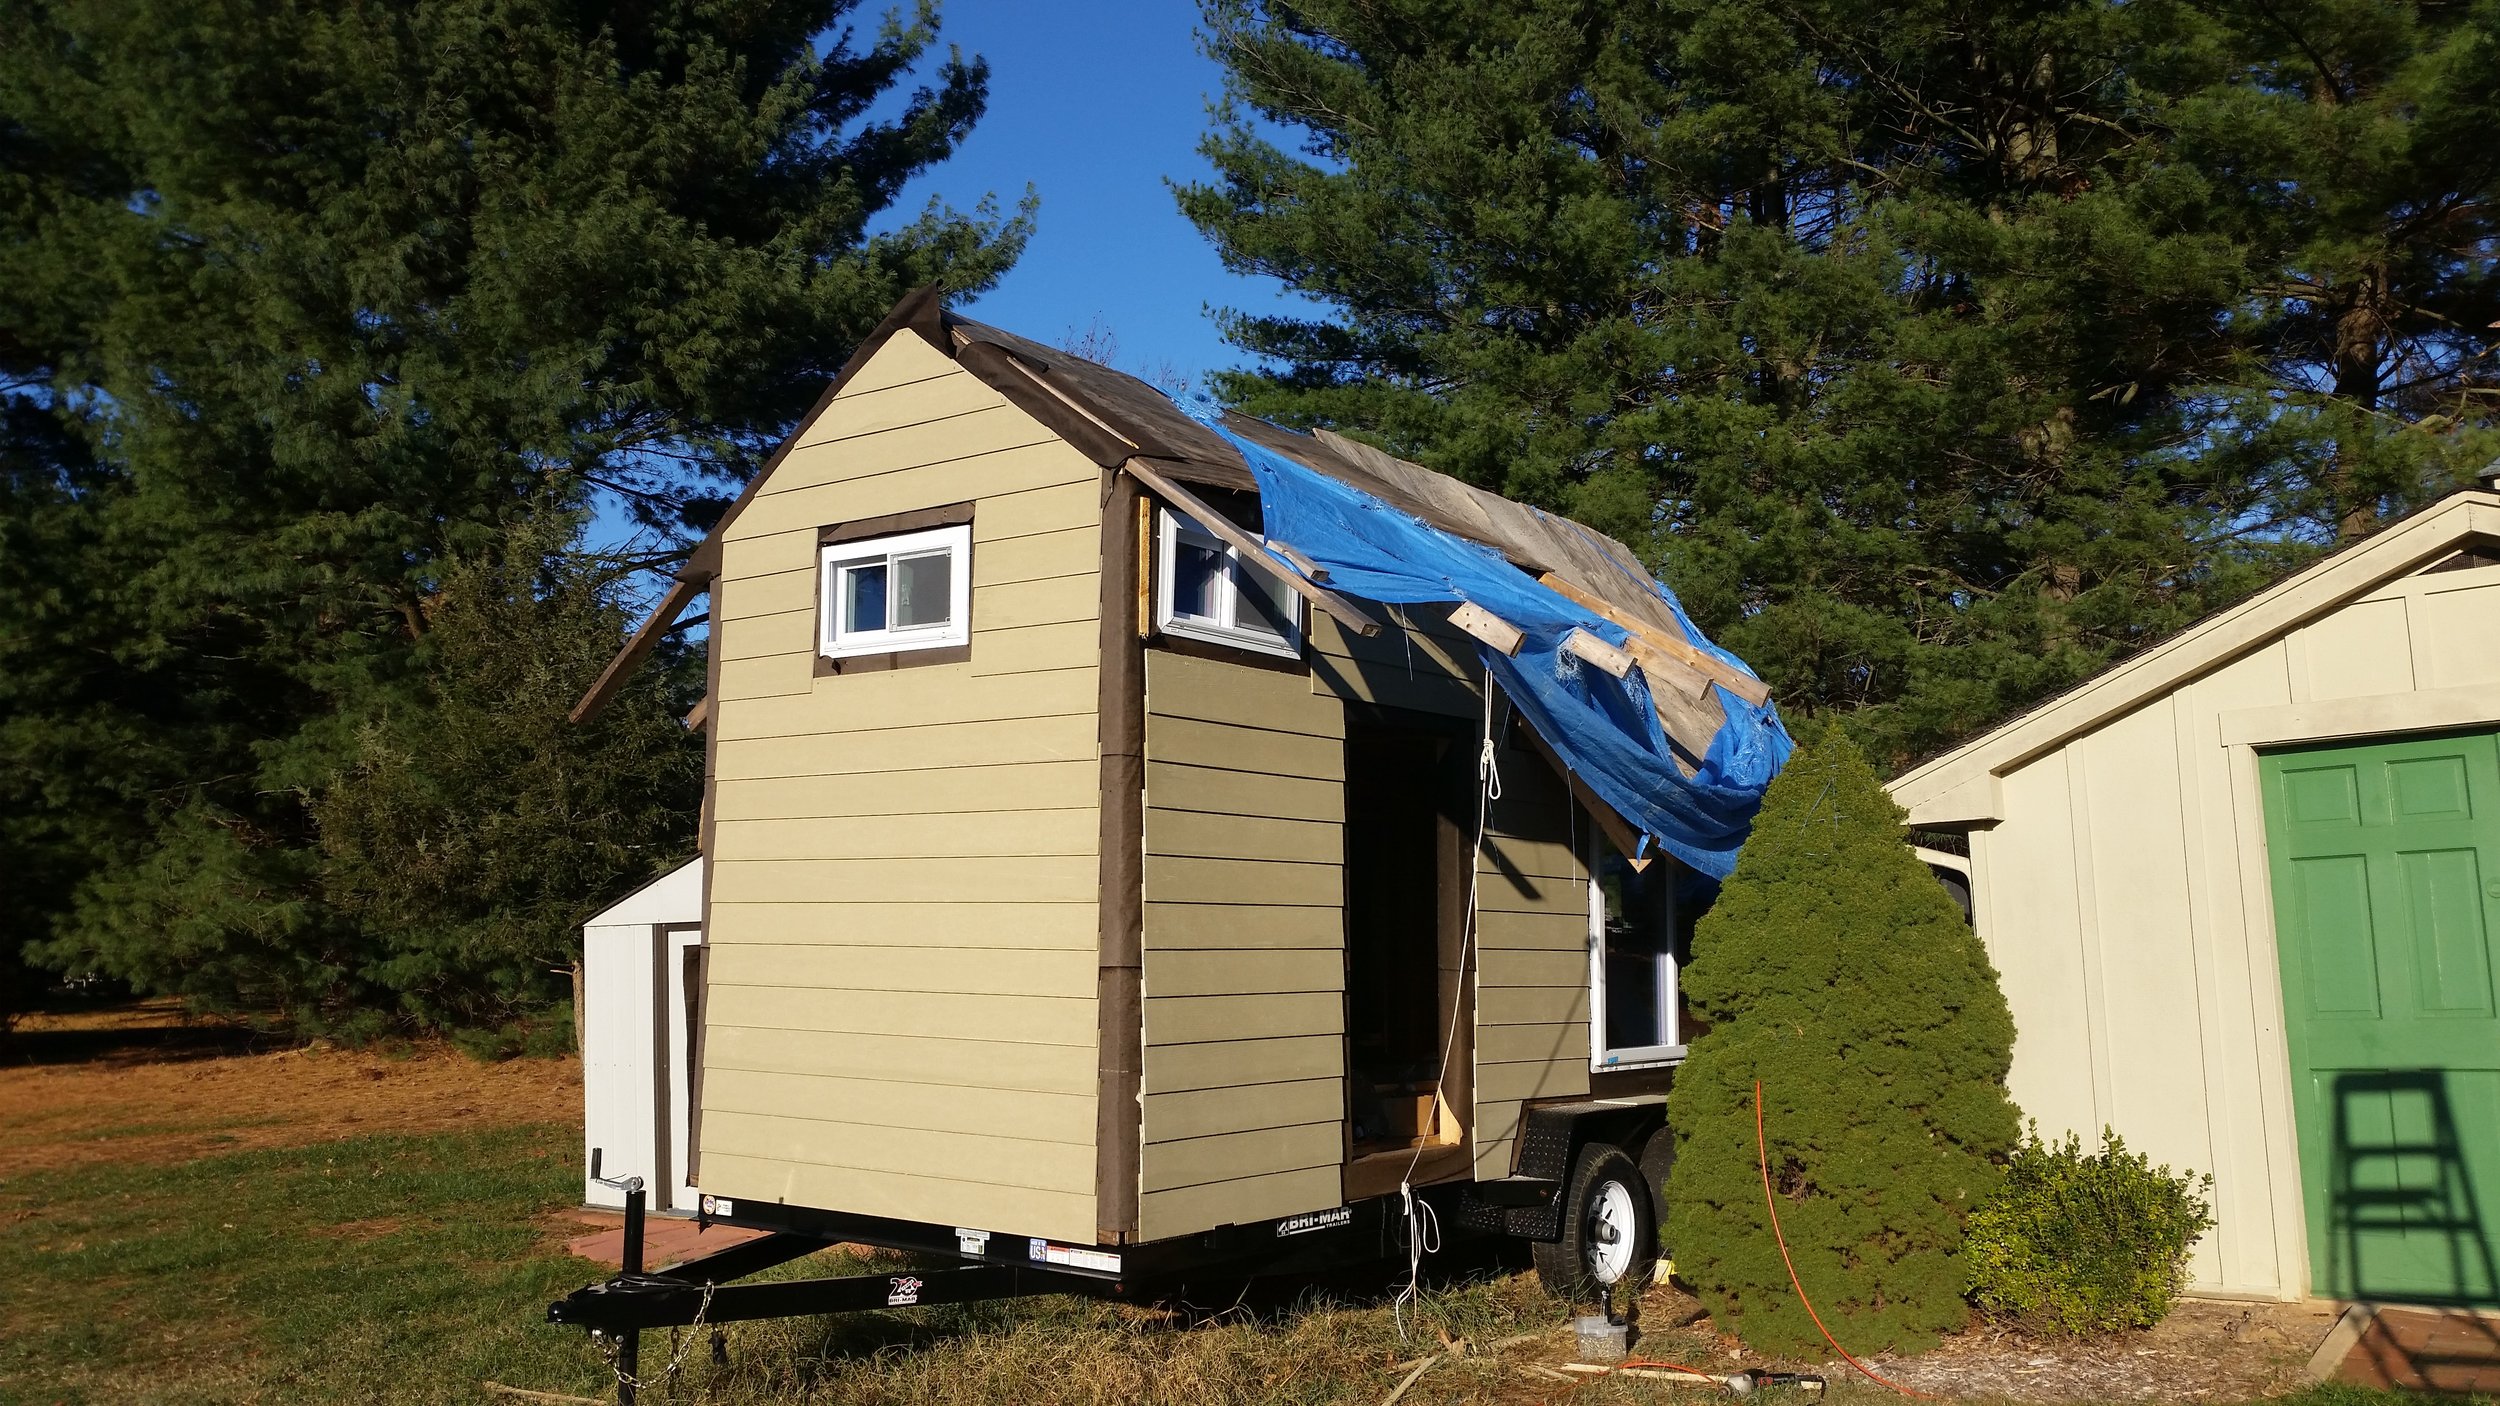
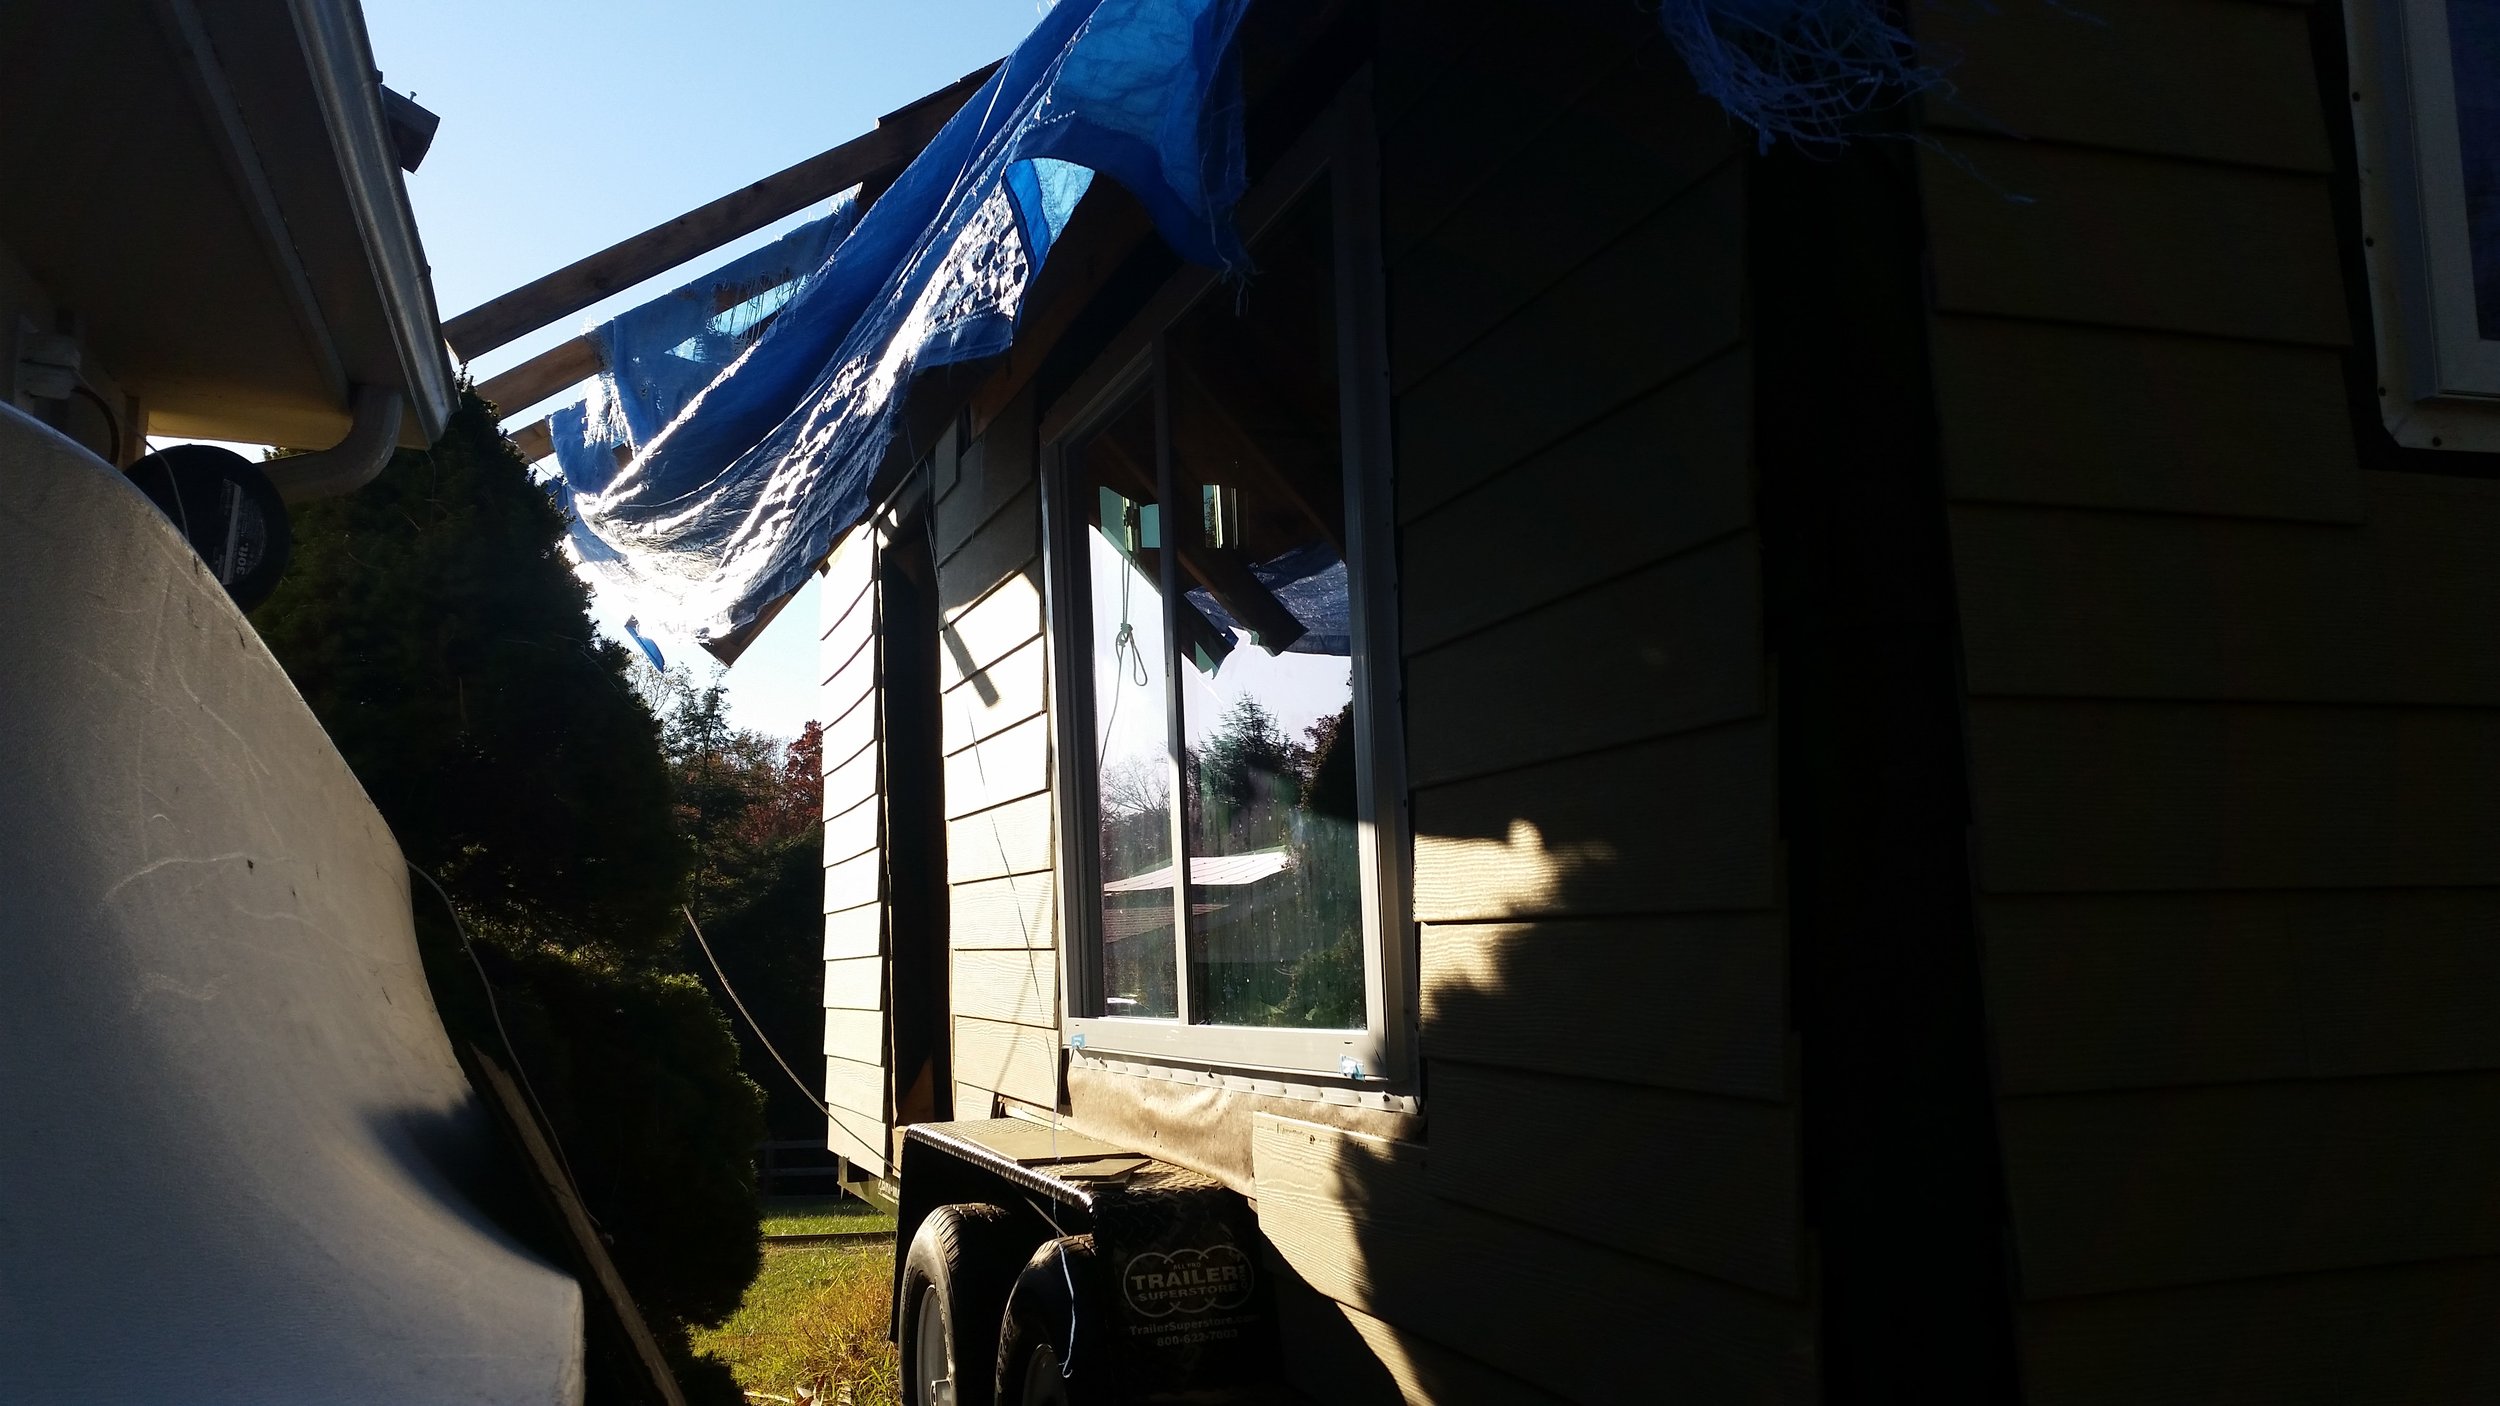
With the section below the window finished and the section between the door and the window set, the last bit to do is the little bit of siding that goes between the large window and the leeward side of the tiny house.

This is a big step in the tiny house construction as this side has so many small features to work around. Getting everything to line up took a lot of calculations and measurements, and the end result is a tiny house that looks uniform and orderly. The section below the large window will be covered by a window box so I didn't need to worry about putting siding on it. The window box will blend into the trim around the window and will hold small flowers or herbs.

All of these small strakes lined up and the end result is a uniform house with consistent siding.

Smoothing the Transom

In the steps leading up to this point, there has been very little regard for keeping the planks fair to each other. They were jointed and surfaced with no regards for a plank thickness. When the dowel holes were drilled, they were positioned in the middle of the plank with no regards for uniform thickness or edge leveling.

The reason fairness was not a concern during the construction process is because the planks are way thicker than they need to be, so scrubbing off a bit of wood won't cause any detriment. Not being concerned about the fairness of the planks makes the construction process proceed very quickly and much more easily. If I had stressed about fairness in the planks, I would still have needed to do some final fairing in the end anyways. To make my life easier and the construction process speedier, I disregarded obsessive concern for fairness in the interim, while keeping everything more or less even as assembly progressed quickly.

The irregular plank thicknesses are grossly apparent between the planks and the assembled board is too large to fit through the bandsaw or the jointer, so I am left to fairing the surface smooth with hand tools.

A Stanley No. 4 Plane served to remove the gross amount of wood and bring the planks down to a close match. I then ran a jack plane diagonally across the board to fair everything up and make the entire assembly uniform. Setting the long jack plane on its side demonstrates any high spots that need extra attention. These areas could be reduced with the No. 4 plane and then faired in with the jack plane. Once everything was very smooth and level, I began sanding.

The board was sanded using a straight board wrapped in sand paper. The paper took down any last imperfection and blended the entire face together. The end result was a smooth and uniform surface on one side. 

After one side is smoothed to perfection, the board was flipped and the same procedure was carried out on the other side. This left us with a very smooth transom that is ready to be cut to its final shape and fitted to the stern.

Stretching Your Dollar

When your funds are limited, you will make every effort to stretch out how far your money can go. Maddie and I have a few major items to purchase to finish outfitting Wisdom for our trip, and we have found ways to make minimize the expense of these items.

I worked at the Annapolis Sailboat Show in October and took great advantage of the discounts involved. Boat shows are excellent places to make large purchases as the vendors are all trying to get you to buy their product and the prices can become negotiable. Add to this that the prices start off at a discounted level and you have a recipe for savings!

We picked up the Monitor Windvane at the 2016 Sailboat Show for a significant discount. I purchased the unit over the phone while I was in Maryland and the company was in California. This purchase happened across state lines so no sales taxes were needed. Then, my unit was used as the display model which I picked up at the end of the show, saving me the cost of shipping! Since I technically purchased the unit at the boat show, they extended the boat show discount to me as well!

Aside from this much anticipated purchase, we also picked up some other needed items. On the shopping list was a 65 pound Mantus anchor, four person life raft, a sea anchor,  a very small inflatable raft, and a 2.5hp propane outboard.

While I personally don't want the inflatable or outboard, Maddie does. Almost everyone we encounter has told us that we need to have an inflatable raft and outboard if we want to go to the Caribbean. Then they begin to tell us about all the issues they have had with their inflatable and outboard. 

I think this is the worst idea for the tropics where the sun is strong and the sand is abrasive on the inflatable. The salt air will also wreck havoc on any engine parts made of cheap pot metals. We have agreed that the engine and inflatable will remain in the lazarette unless absolutely needed, out of sight of thrives and the sun.

The reason we are going with a propane outboard is it runs on the same fuel source we use for our grill. I don't want to carry gasoline on Wisdom because I feel that is an absolute hazard. If we had a small gas outboard, we would then need to carry a can of gas. By using a propane outboard, we we can carry cans of propane as our cooking fuel knowing that it can also be used to power our outboard if we so desire.

Cruising and marriage are a series of compromise, and if having an inflatable and outboard makes Maddie happy, we will carry just that and go cruising!

Siding Around The Fenders

Construction of the tiny house is proceeding smoothly, everything is square and all the edges are straight. Then you come to the fenders, which have curves and rounded edges that do not readily accept the siding.

To make life easier, the perimeter of the siding will have a splash of trim. This trim allows me to put off the fine fitment of the finished product until later, and lets me work with much smaller pieces as I fit everything. Lets face it, fitting a small cover board to the fender is much easier than manhandling a 6 foot board!

The front of the fender on the door side of the tiny house needs a very small section of siding placed, but it took a lot of measuring to get it all lined up perfectly. The siding on both sides of the door will meet above the door and if there is any discrepancy between the heights of the siding, it will be notable above the door when they don't meet properly. Careful measurements using the trailer as a reference point made everything line up and look even.

It all starts by removing the lower section of the batten off to make room for the new siding. Then install the starter strip at the bottom. This strip simply gives the bottom plank the right amount of flare to allow water to drip off the lowest strake without pooling and rotting out the plywood sheathing.

Be sure that the bottom of the board doesn't contact the fender as this will cause the water to pool and rot will set in promptly. A slight gap allows water to drip and drain off while also allowing air to flow under it and dry the area out, further preventing mildew and mold growth.

With the first board in place, not contacting the fender and properly flared to promote dripping, the rest of the siding proceeds quickly. The second board simply goes right over the nail line of the first board and the siding installation proceeds quickly and effortlessly.

The second strake is the last strake that needs to be beveled around the fender. The three inch gap is maintained as it runs up the side of the fender, but from there on, the edges are once again square and work proceeds much quicker.

In no time, the rest of that section of wall will be sided and the tiny house will look much more like a house and much less like a Halloween decoration!