Removing the Excess

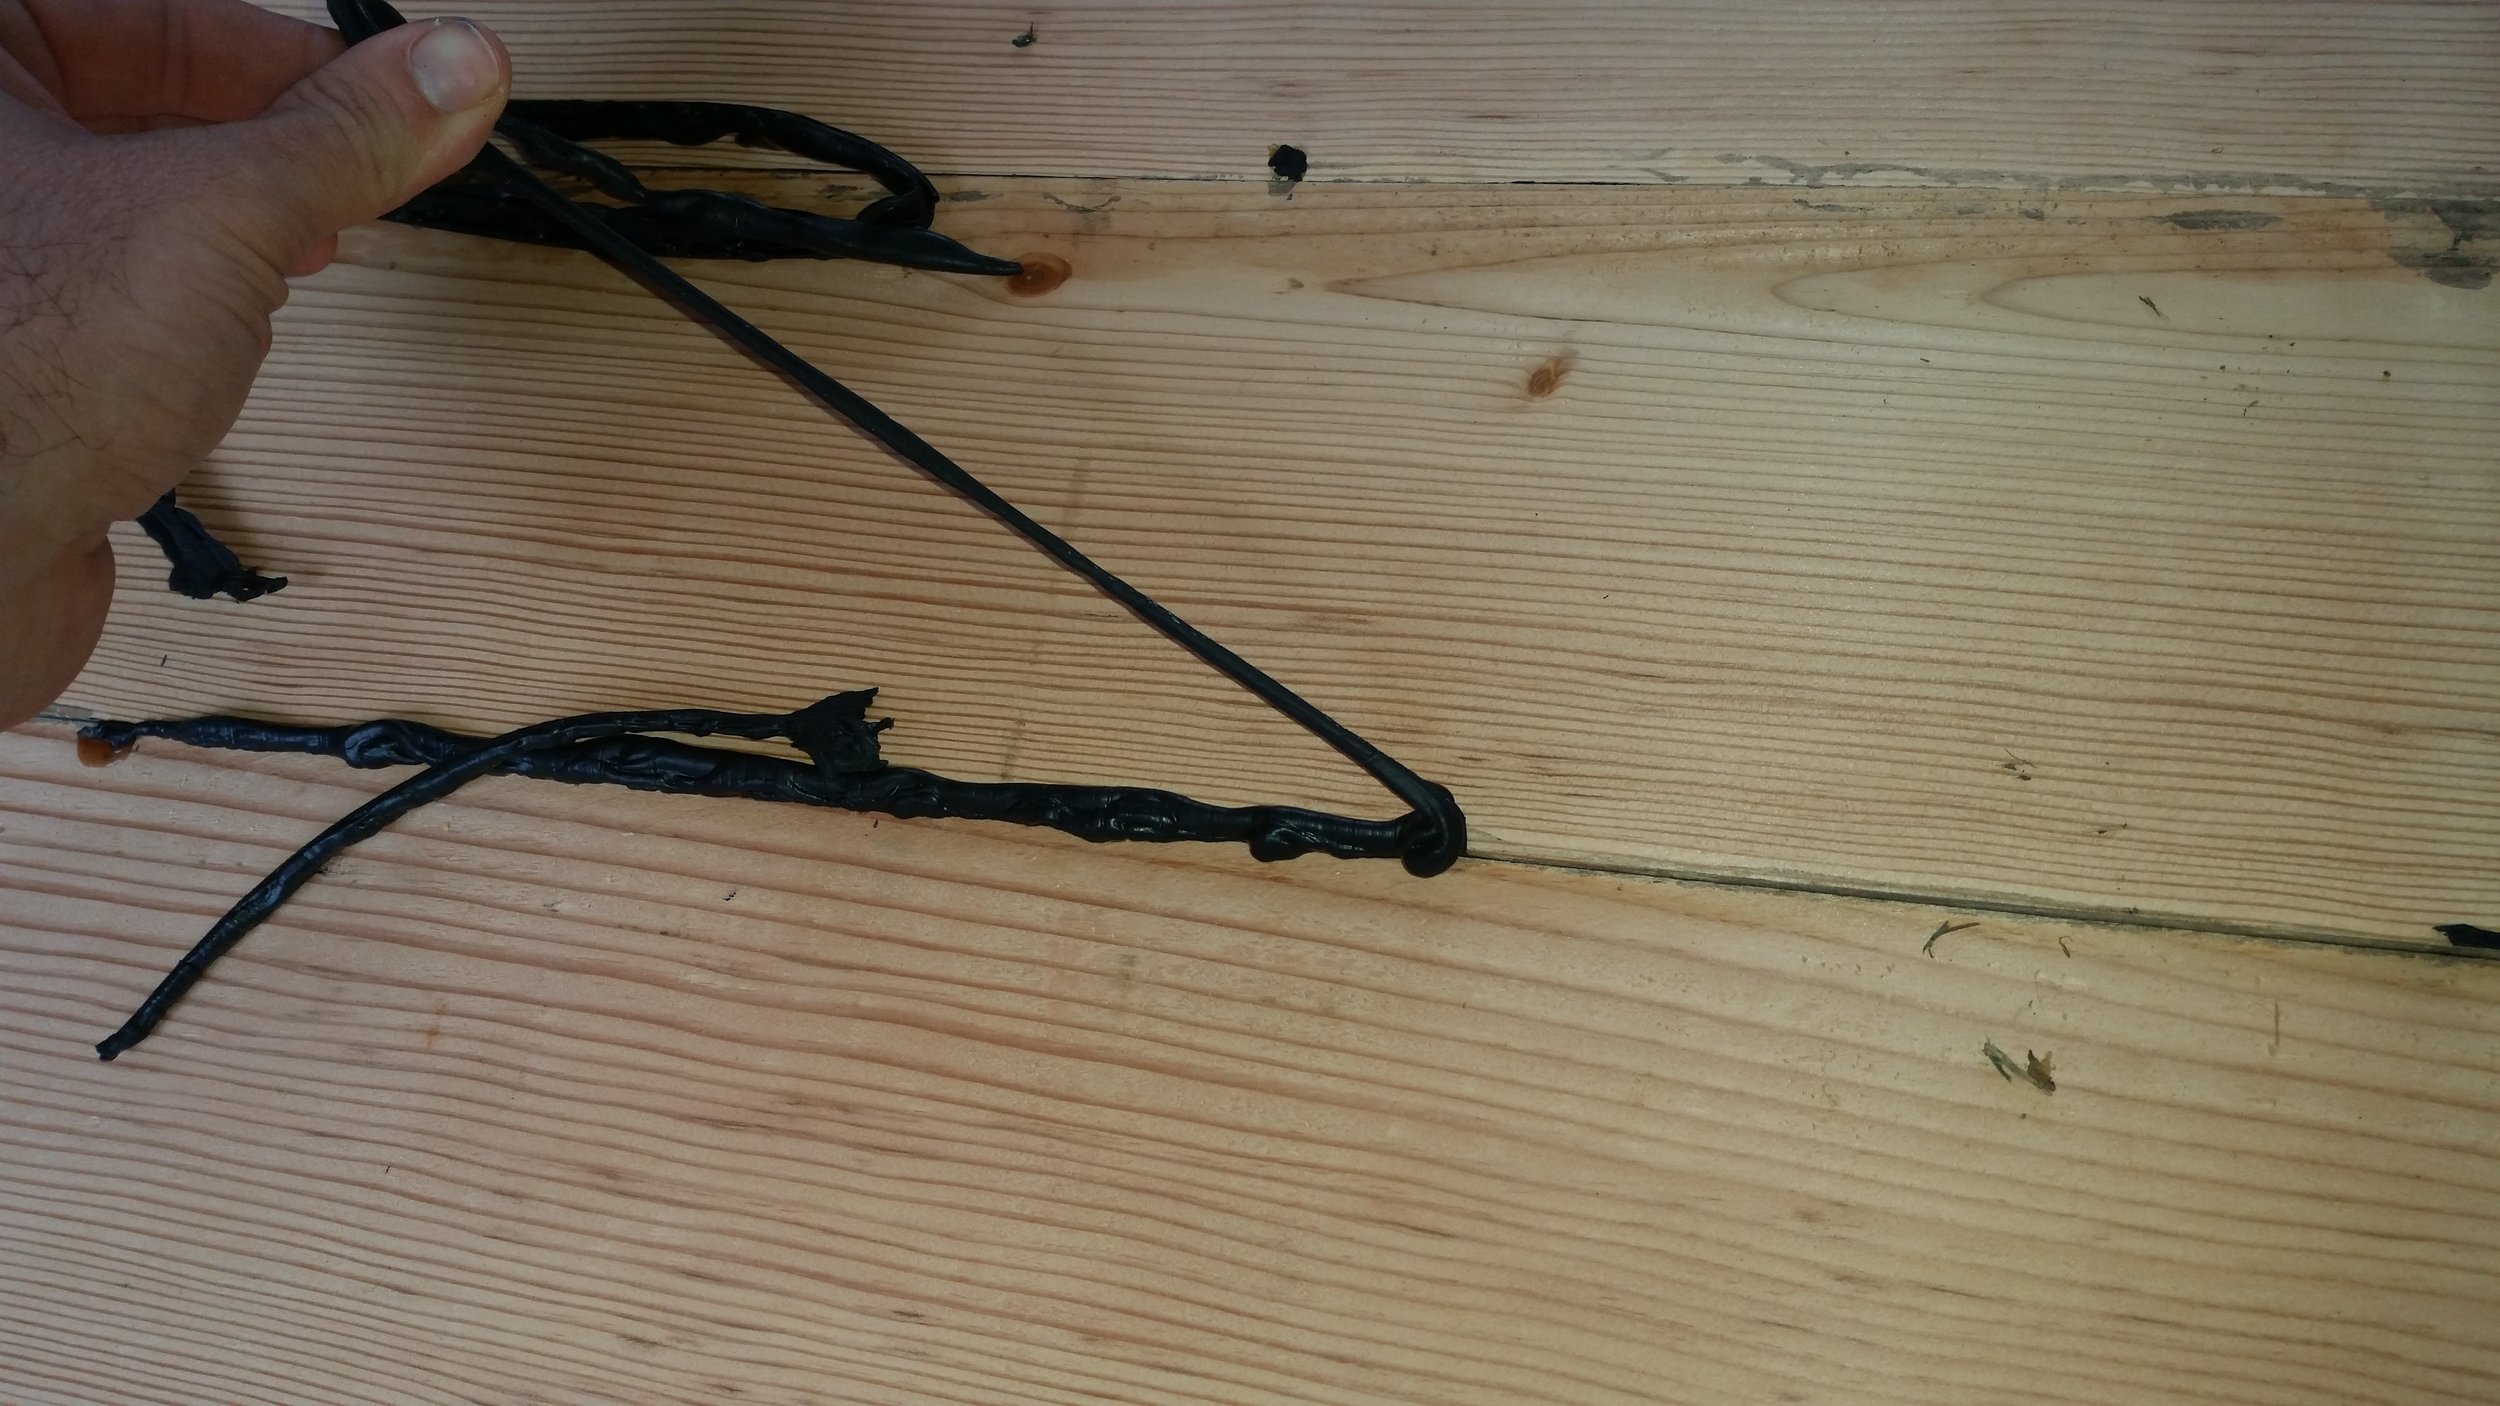
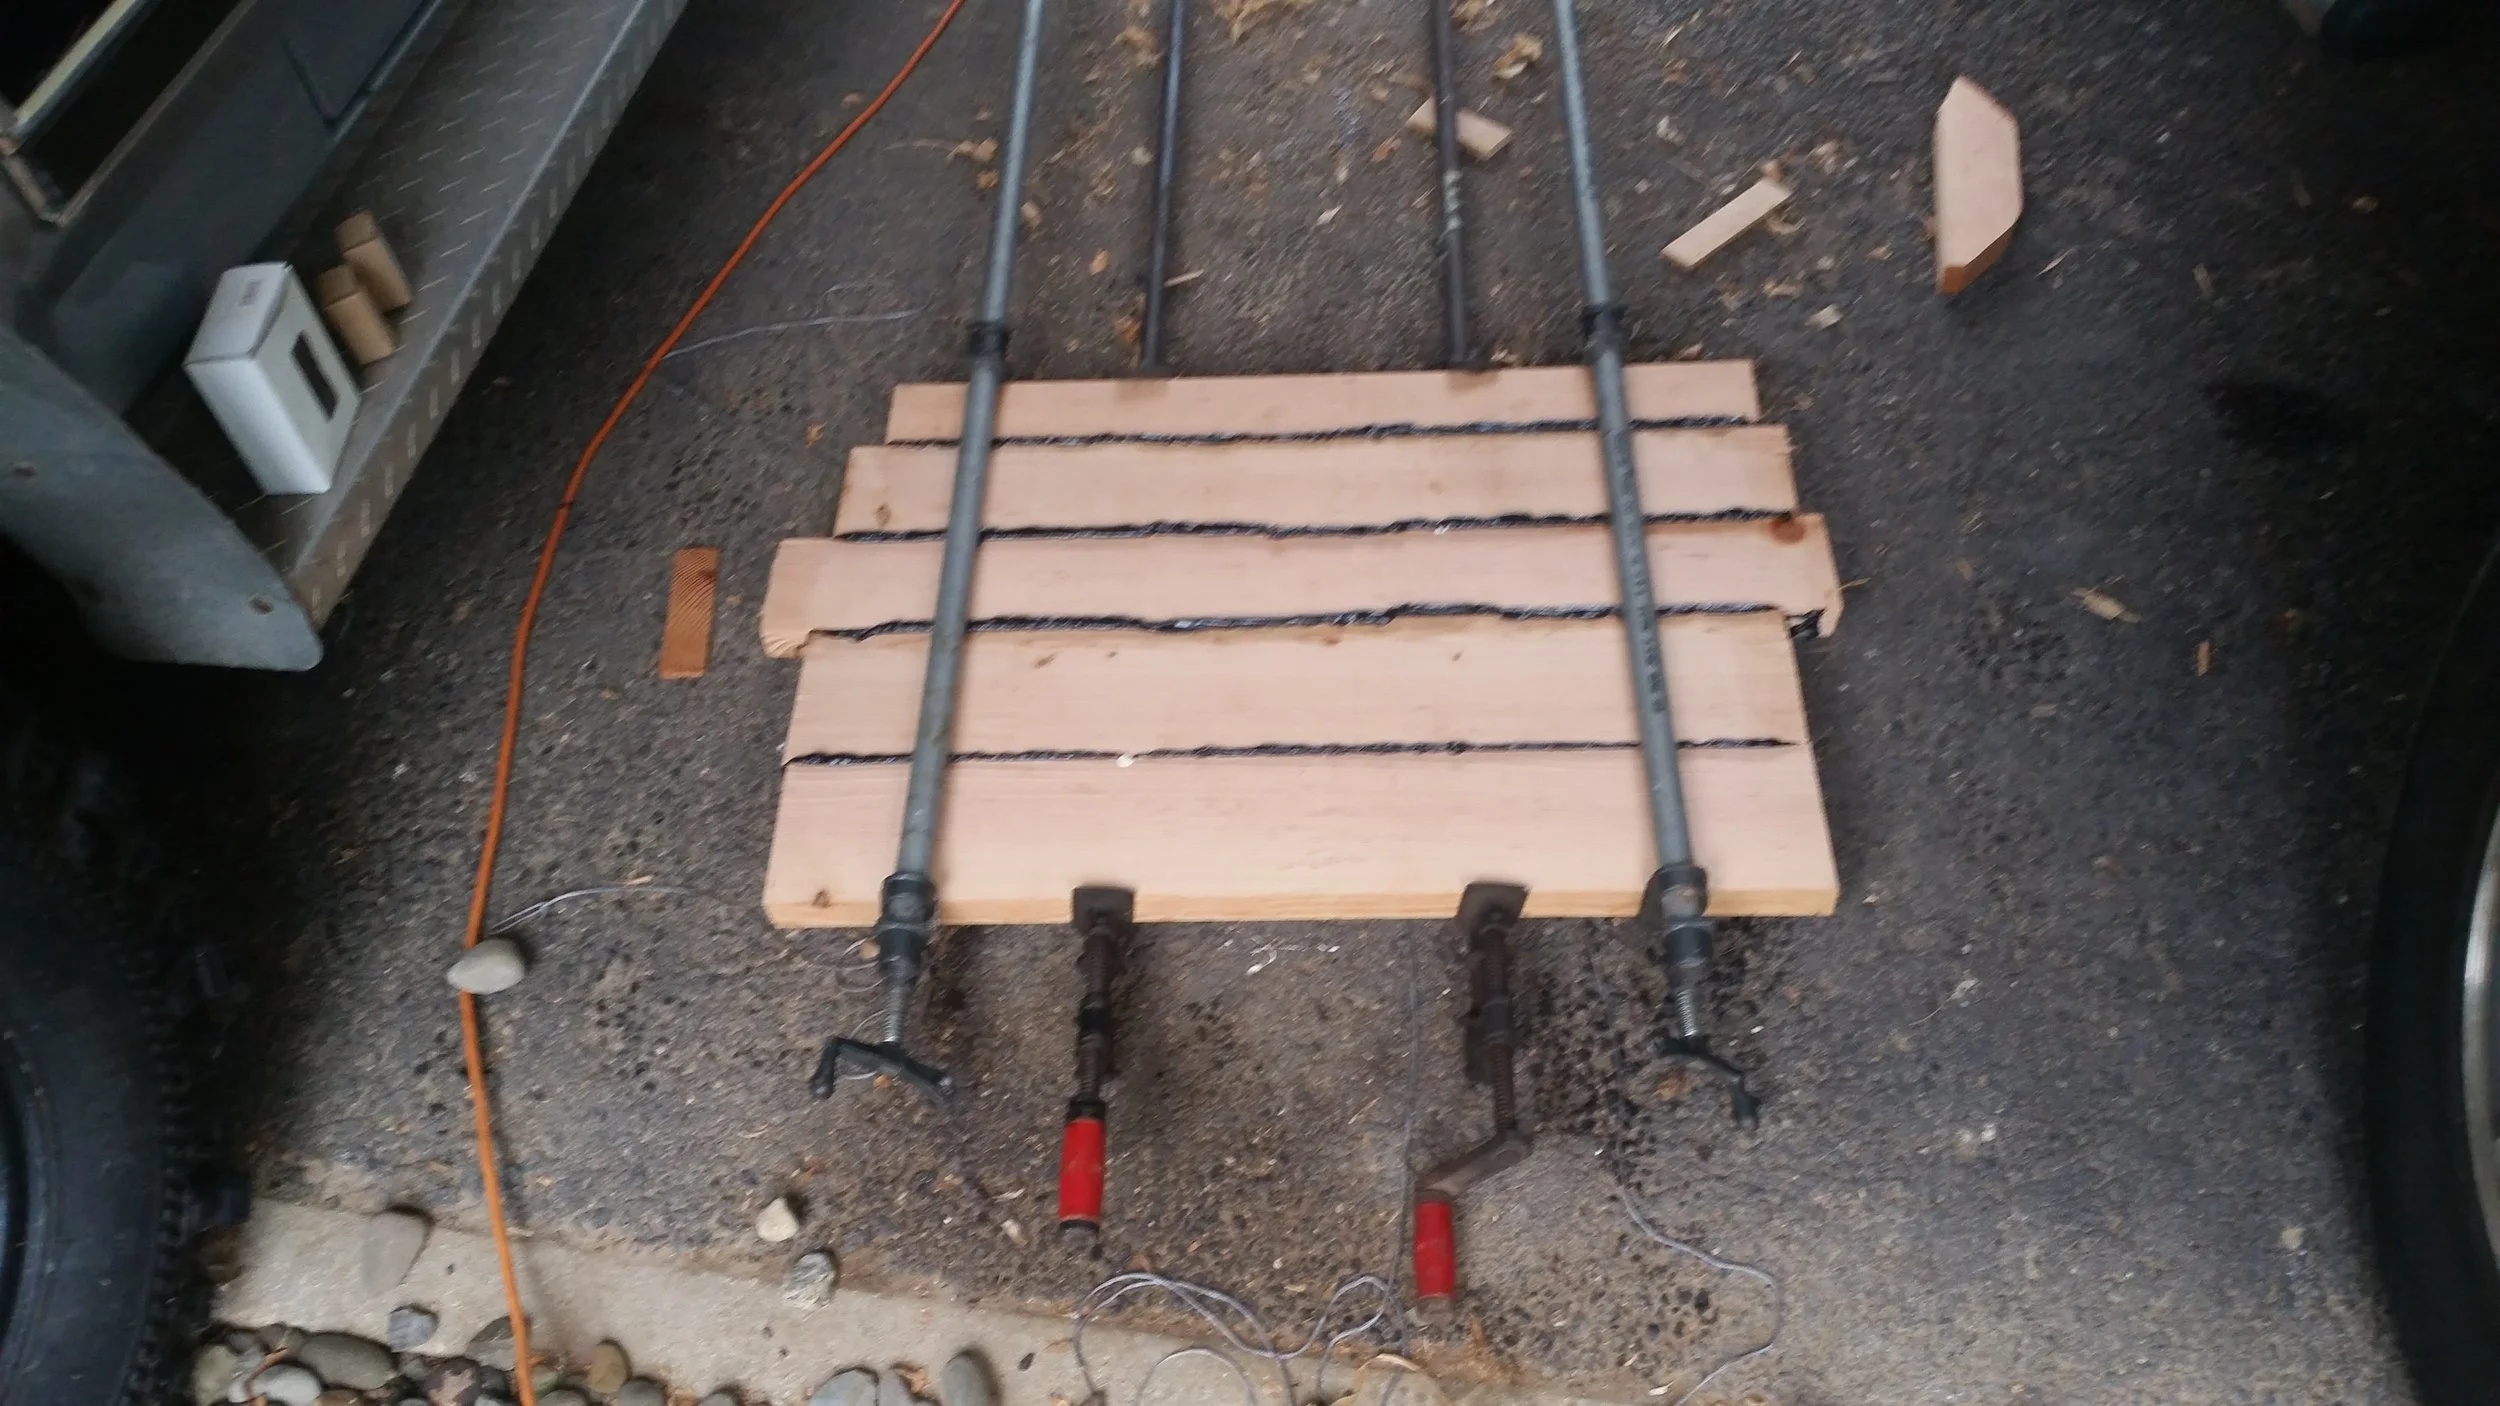
The transom planking has been allowed to cure for several days until the extruded material became hard and rubbery.

The excess material is easily removed without any tools or special skills, all you need are your hands! Simply grab the blob of rubber and pull upward at a sharp angle, the material will pull off cleanly and leave almost no residue behind.

What you have left is a simple clean black line as wide as the slim jointed surface! No mess, no crazy clean up, just squish the planks together and let the excess ooze out and cure, then peel it off!

Progress

As the tarp on the roof turns to shreds, the siding slowly comes to life on the tiny house. The top may look like Hell, but the sides are receiving new life as the work progresses from the bottom up. 

Once all the siding is finished and the trim work installed, the roof will go on and the tiny house will be transformed from a dilapidated shamble into a tiny home! 

Winter Laziness

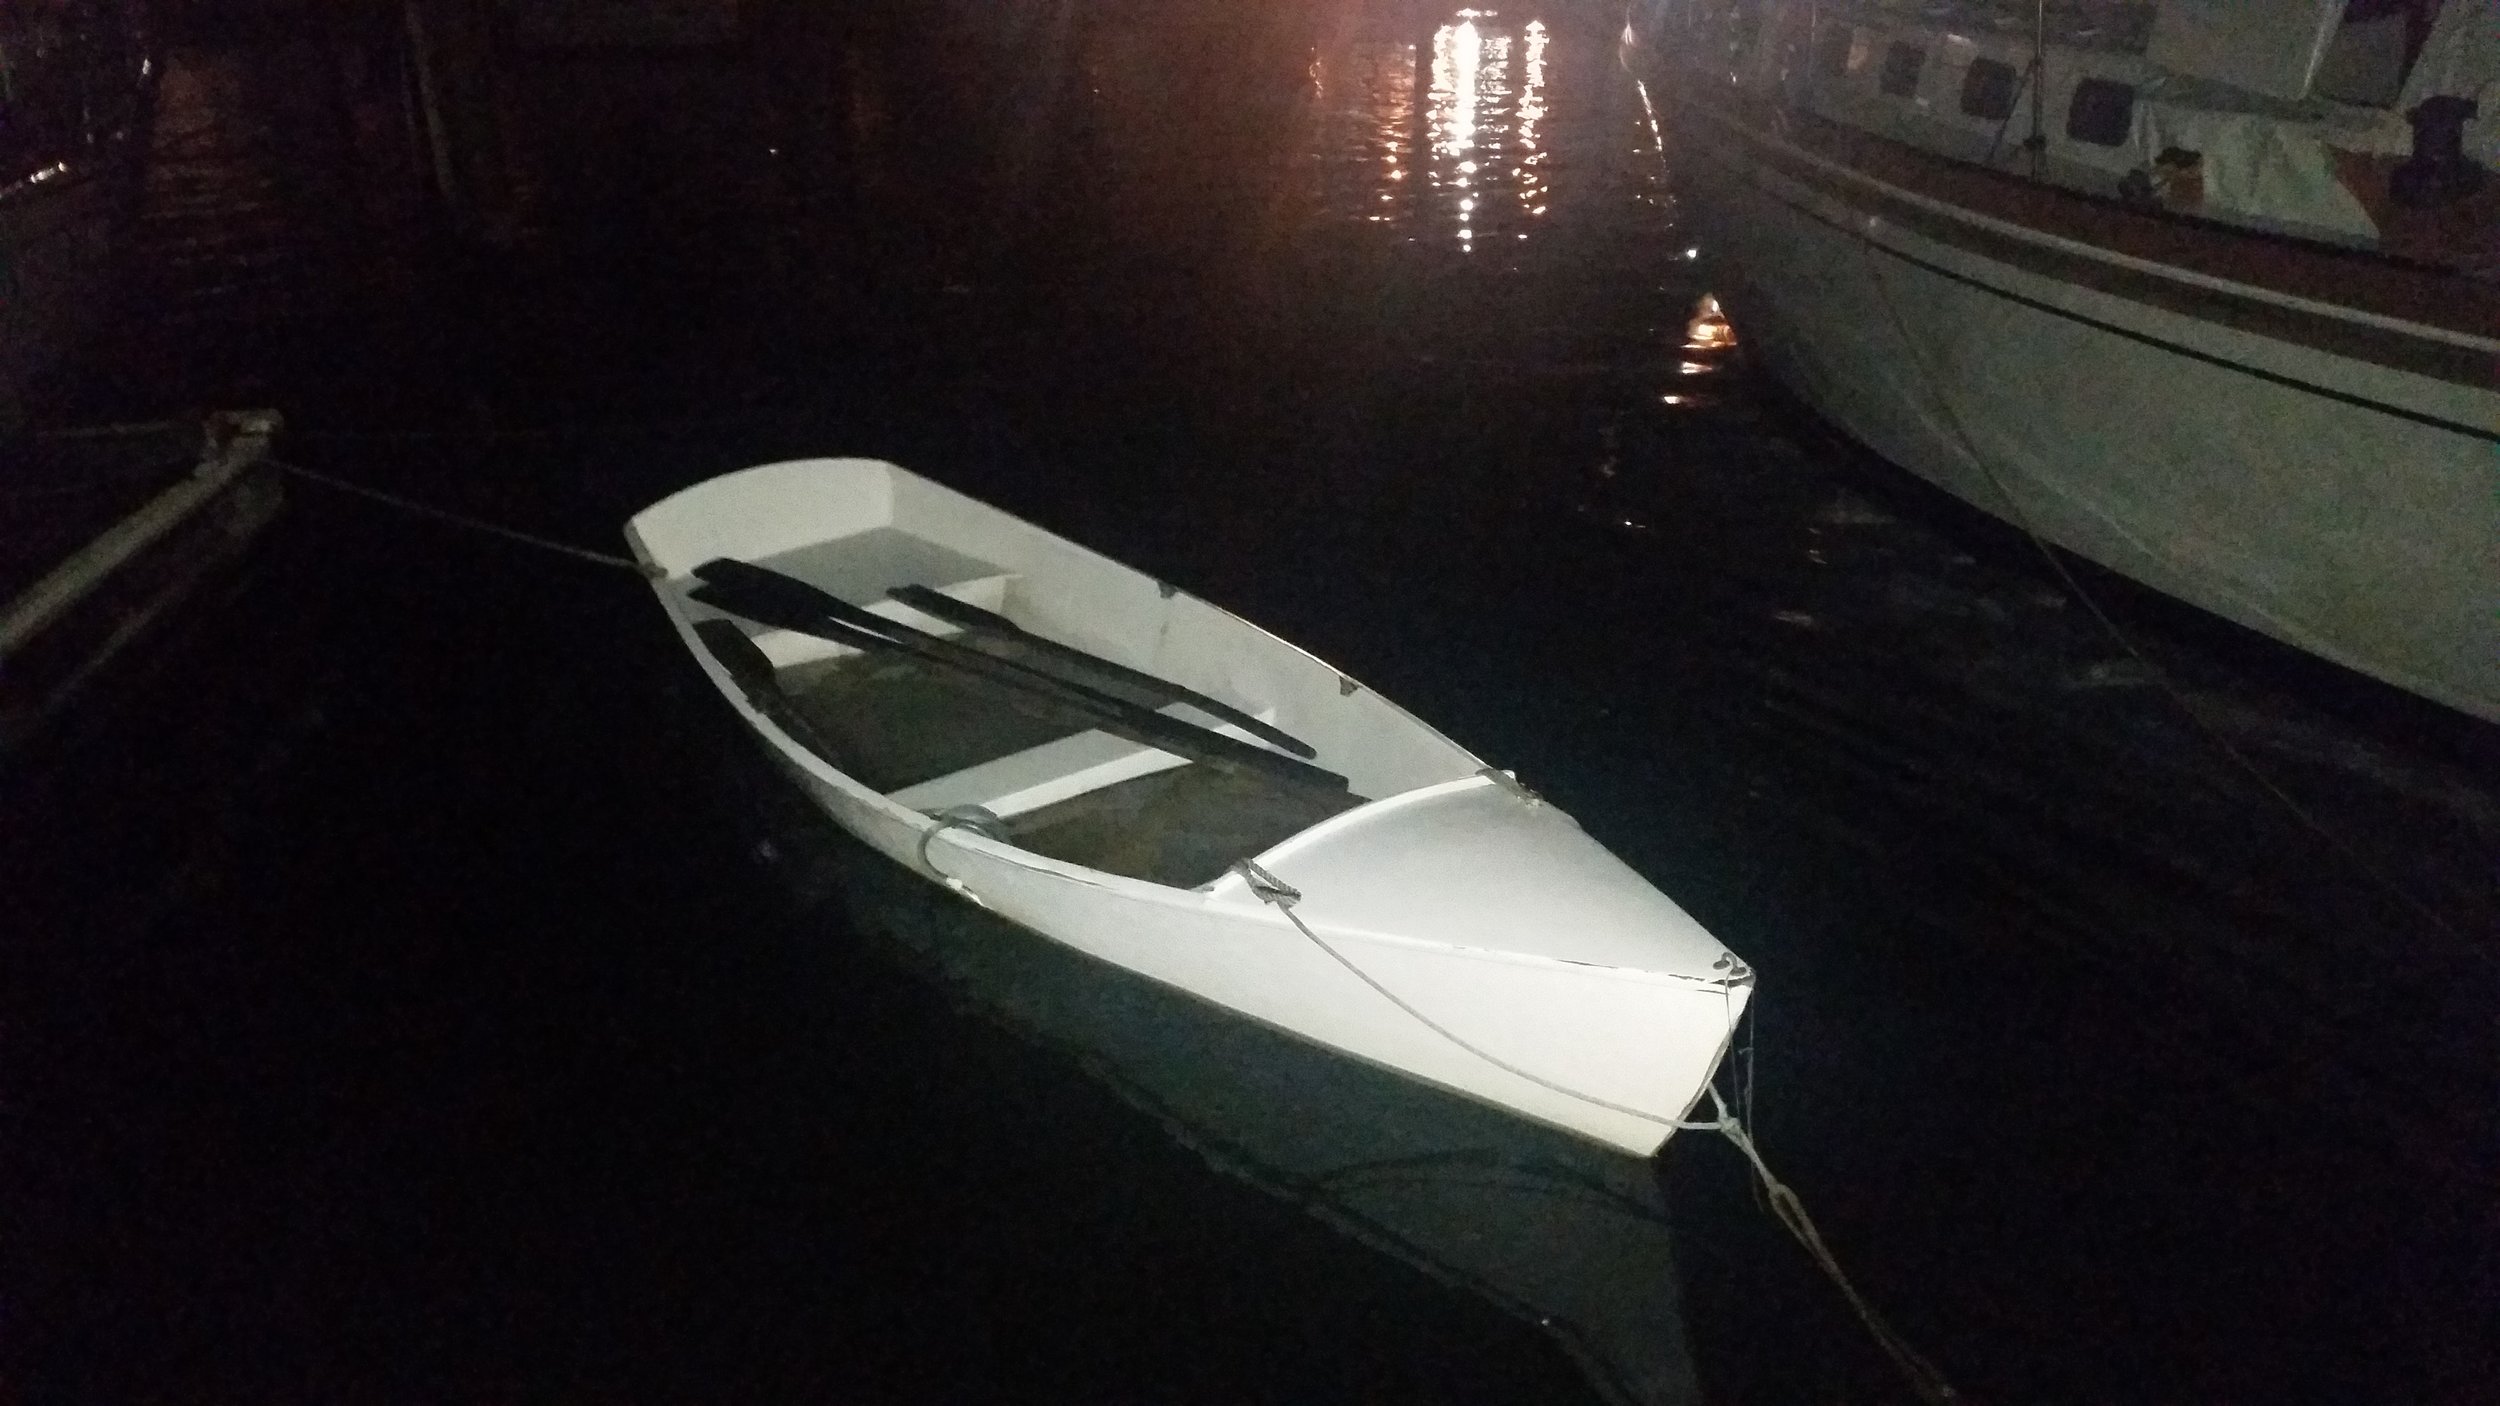
It's cold, and I don't feel like spending any more time than necessary outside. In the meantime, it has been raining, sleeting, and snowing for the past few days and Tooth has slowly been filling up with water.

As Tooth fills, he sinks into the water and has less freeboard keeping him afloat. The problem with decreased freeboard is if a winter storm strikes and kicks up some waves in the marina, Tooth could easily be swamped and sink. 

As mentioned, I do not want to spend any extra time outside in the freezing wet world that exists outside of the cabin, so the thought of trying to float our sunken dinghy would be less than pleasant.

A front was rolling in and we were expecting a lot of rain, possibly enough to sink Tooth. This served as enough motivation to get outside and pump the water out of Tooth!

While I did have to go outside to setup the pump, I didn't have to stay out there for very long. I hooked the pump over the sheer and pinched the pump under a block of ice that was floating around inside the hull. The pump runs on three D batteries, avoiding any manual labor on my behalf to remove the water. 

Setting up the pump was not much work, after which my presence was not necessary. I was able to return to the warmth of the cabin while I awaited the water removal to be completed. After 20 minutes, the dinghy was almost completely dry!

With Tooth emptied out, he would be ready to receive the coming rain, ready to be filled up again by the next heavy rainstorm.

Living Aboard

Living on a boat is not that big of a shock once you get used to it. The main differences are the limited space, and walk to car.

The inside of a boat is smaller than a house, there is no doubt about it. A large boat is still smaller than a comparably priced house or apartment. This means that you will have less space for stuff which means that you will have less stuff.

Having less stuff is great! It means you didn't have to waste your money buying all that stuff and can instead use your money for activities you can enjoy! Imagine if instead of spending money on dust collectors and clutter, you can save that money for a trip or a nice meal in a fancy restaurant.

The other benefit of less stuff is this directly translates into less stuff to clean. If you have a collection of figurines siting on a shelf, you need to purchase these collectibles, then you need to clean them and keep the dust off of them, lastly you need the space for them.

If you don't have the space for a shelf of delicate figurines, then you would never have had to spend the fortune to purchase them or the time to clean them. This little fortune can instead be spent on something like traveling and hotel stays. While you are on your trip, you won't have to worry about the dust collecting on the figurines while you are away!

Aside from the reduced interior volume, there is the walk to your car. If you live in a house, you might be accustomed to walking into your garage and hopping in into your car. If you live in an apartment, you might be accustomed to walking a bit further to reach your car, usually set in a parking garage or street parking. On a boat, your car will be parked on land and your home will be set in the water. To get between these two points you will walk down a pier where you will be surrounded by fish, birds and other fauna. Walking to your car is akin to walking through a natural park, surrounded by life as you leave your home and return to civilization and all of its rushing and stress.

This is where the most notable difference is between living ashore and living aboard exist.

Clamping the Transom Planks

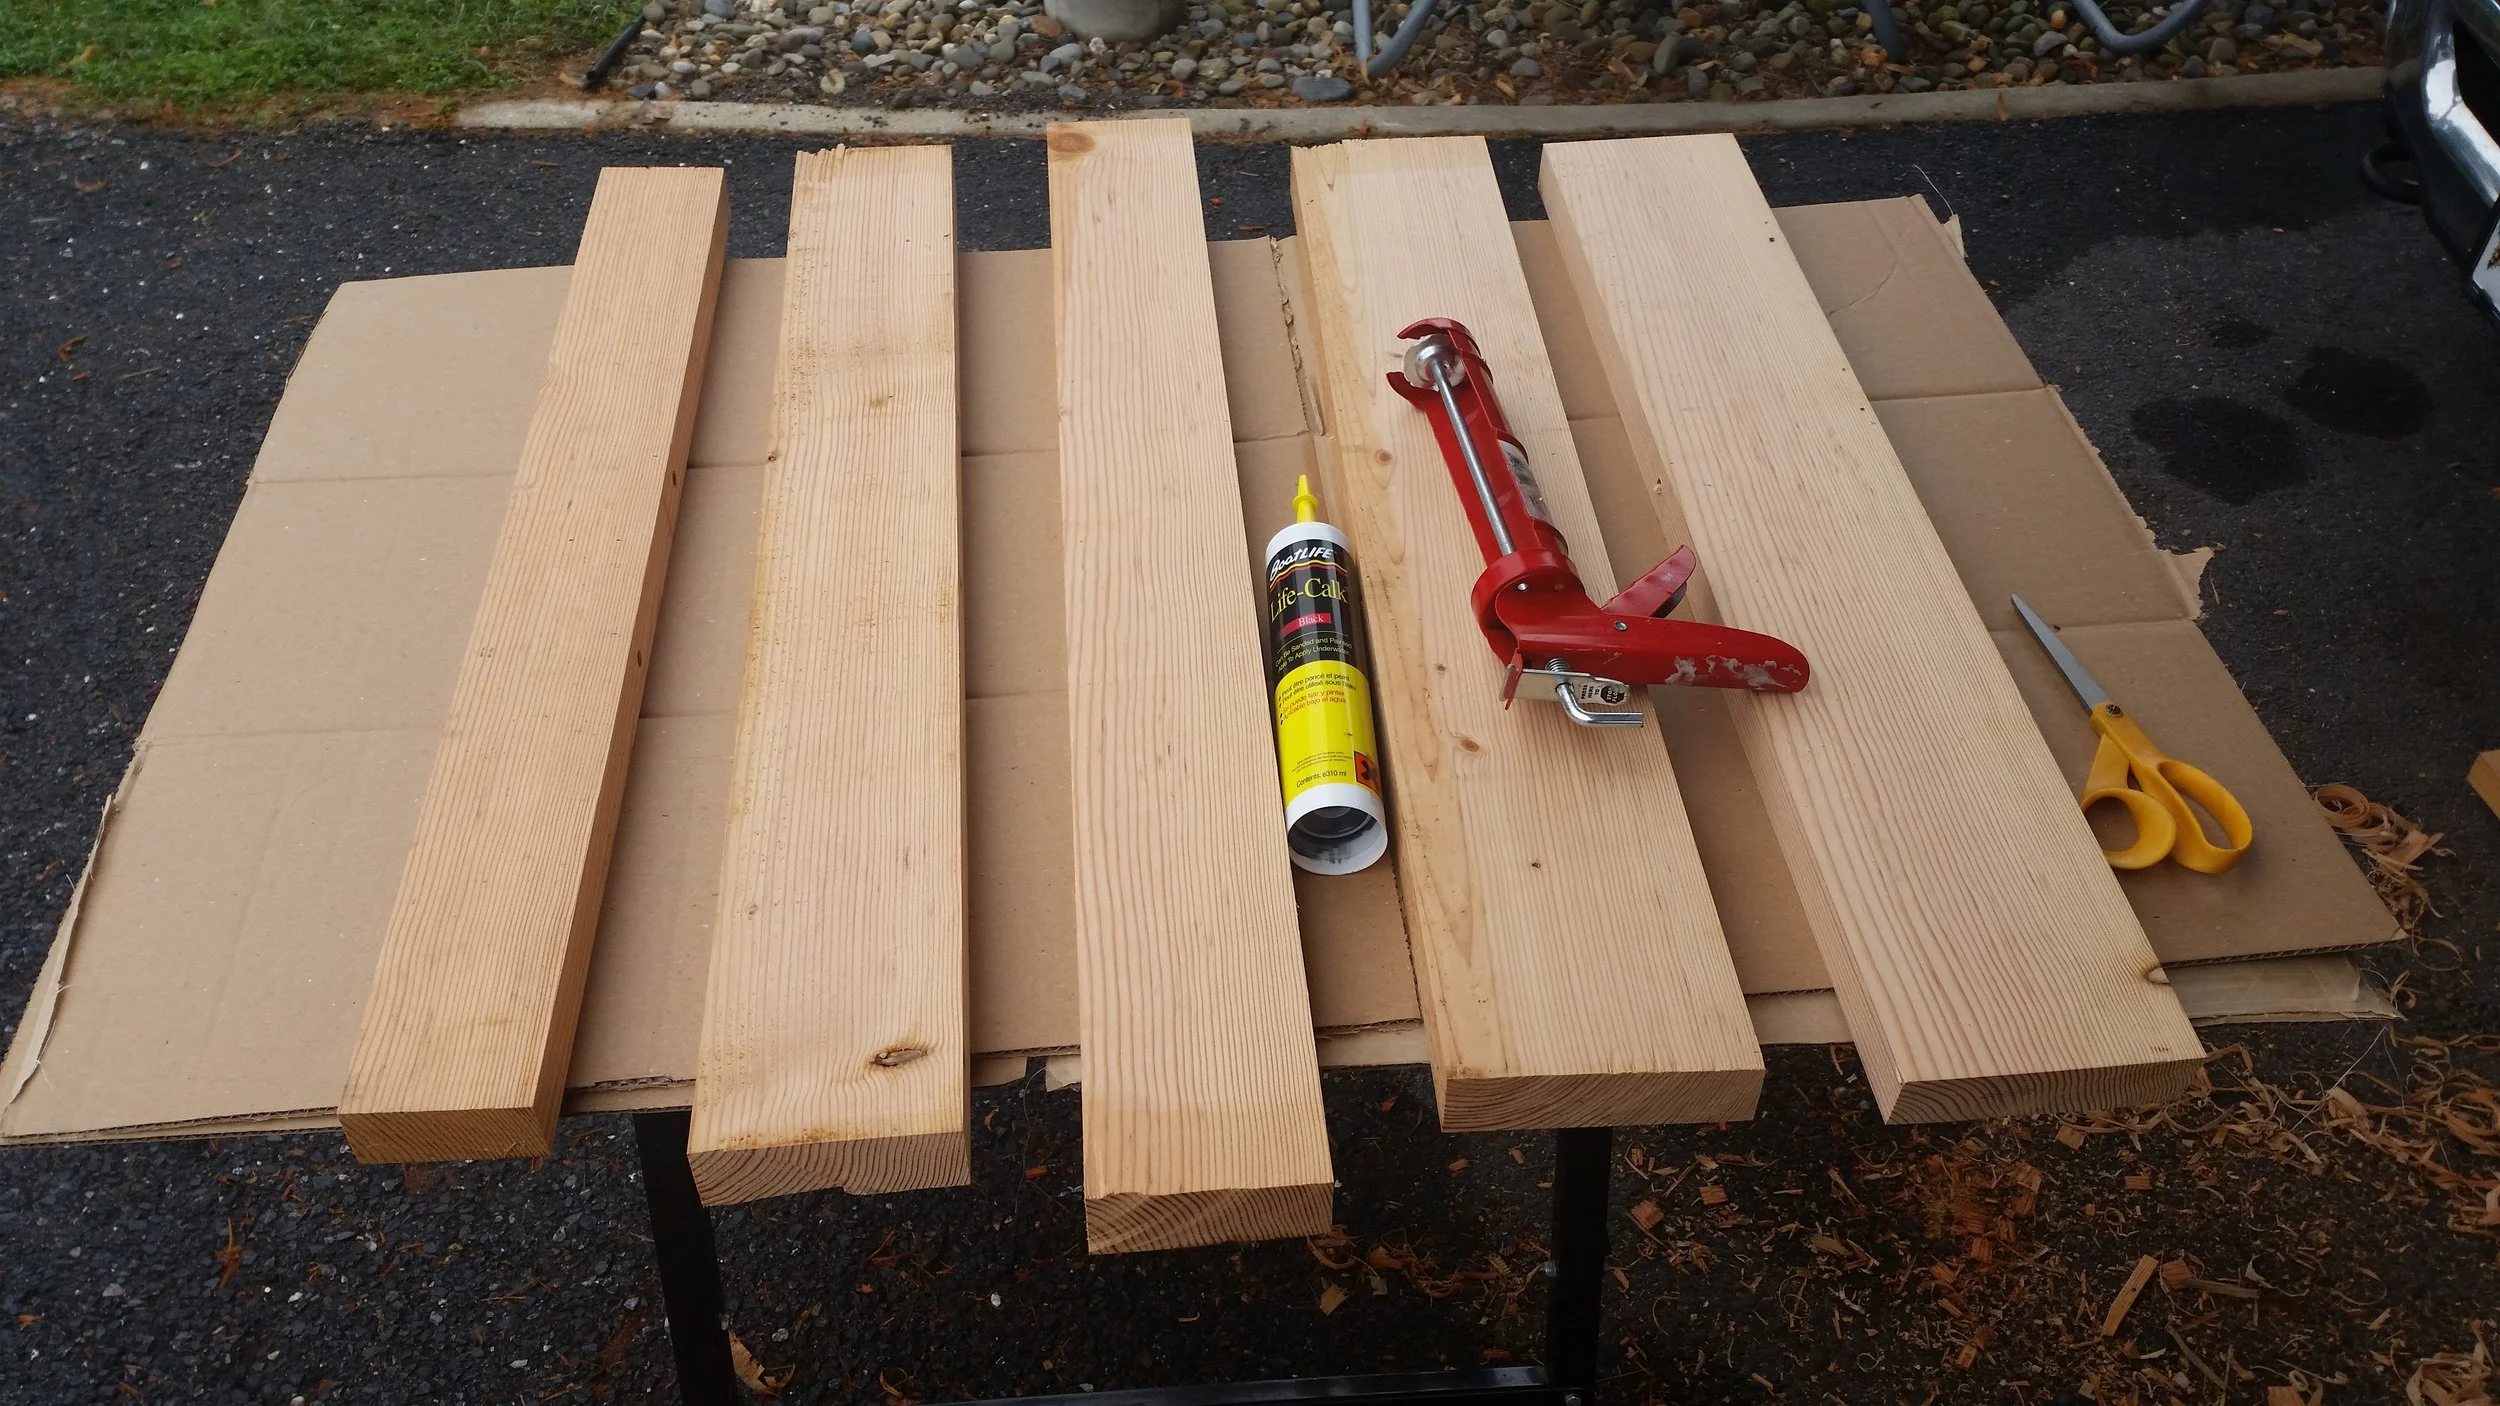
The planks were all oriented with their respective faying surfaces in the proper direction and all the materials needed at the ready. For this procedure, we need:

  • Bedding Compound
  • Wood Glue
  • Dowels
  • Table Clamps

Everything was setup on an elevated work surface protected by an old box which can be discarded at a later point in time. The process is relatively simple, glue goes in the holes and bedding compound on the surface of the wood.

You can choose to glue the strakes together which will yield a solid board that will work very well to keep water out of the boat and keep the interior of the hull dry, for a while. A dinghy, unlike a piece of furniture, will be exposed to the harsh marine environment. The hull will sit in water where it will swell and then sit on the deck where it will dry out. It will be exposed to both fresh and salt water, and lastly, it will be exposed to the full heat transferred via the suns radiation.

Over time, the planks will begin to shrink and swell and the joints between them will become very stressed as the boards push and pull on each other. Eventually, cracks will develop in the board and un-seal-able leaks will become the bane of your dinghies existence! To avoid these issues, wood glue will not be used on the interface between the planks, instead a soft rubber polysulfide material will be used as it will allow the wood to shrink and swell without opening the seams.

While polysulfide will hold the planks together, it is never going to be as strong of a bond as wood glue, so some wood glue will be used to help secure the planks. The wood glue is only used on the interface between the dowels and the boards, giving the boards the flexibility to move on the dowels without tearing open a seam.

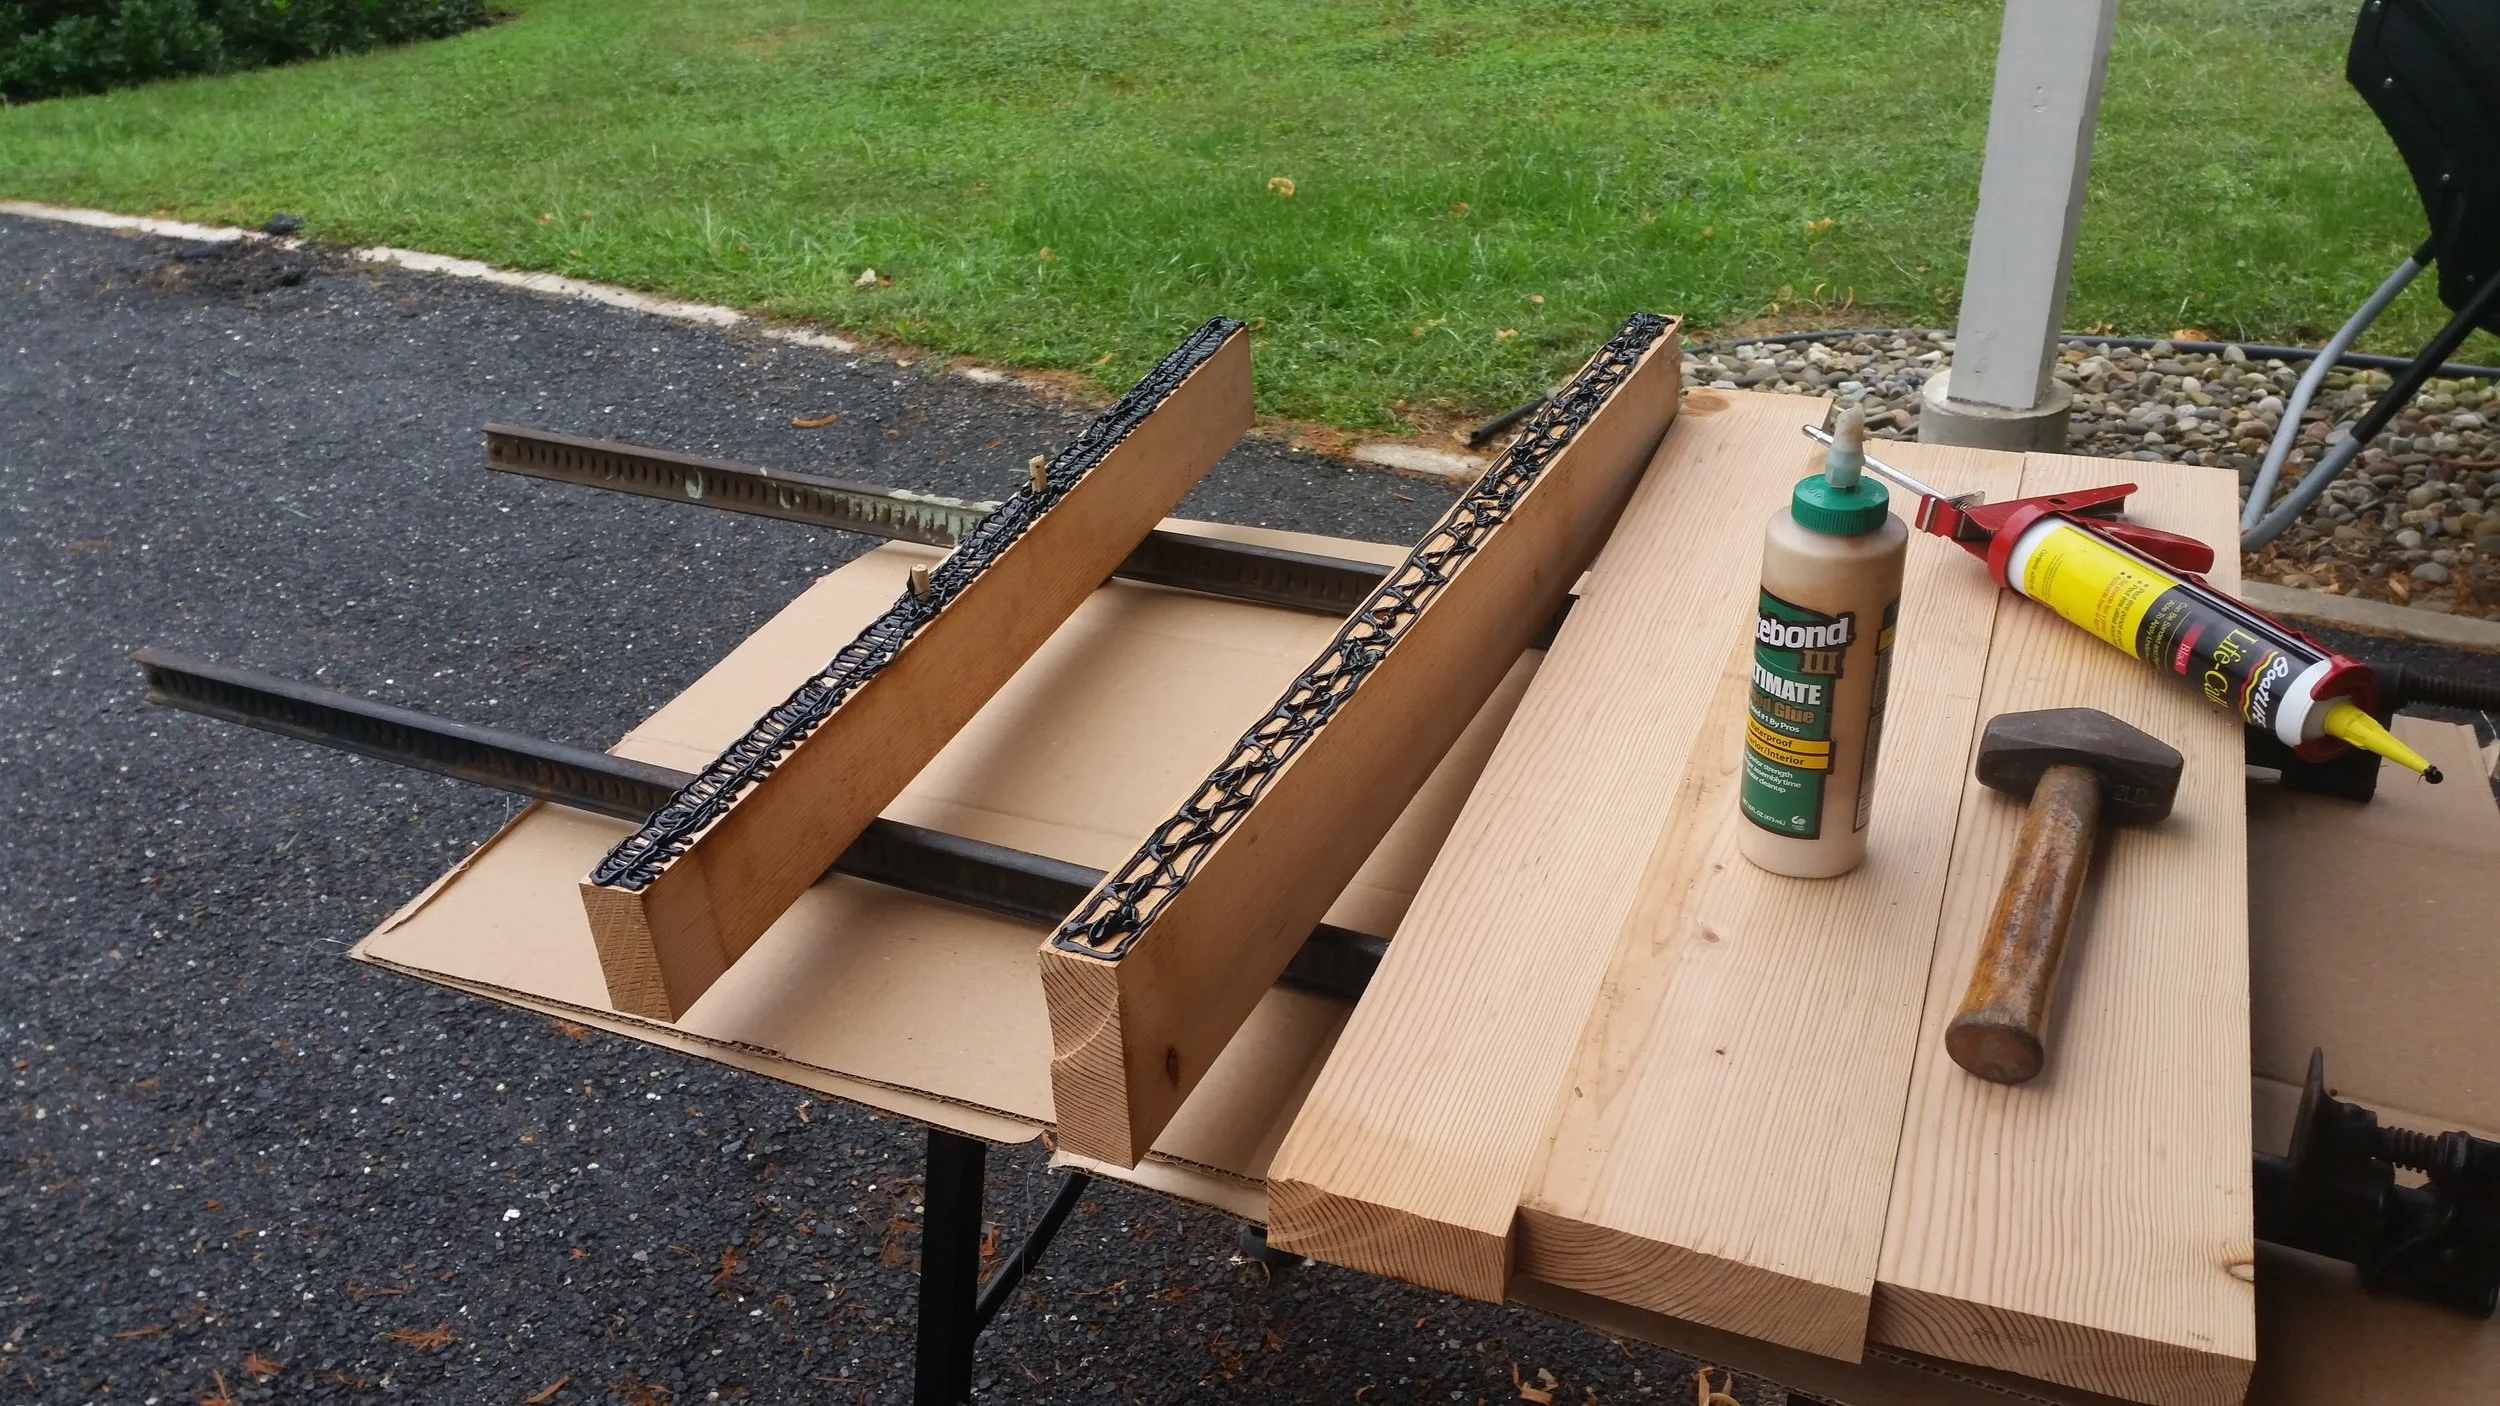
The wood glue I used is Titebond III, a water proof and outdoor rated wood glue. The polysulfide I used is Boat Life Life Caulk in black. Life Caulk is readily available in Black, White, and Mahogany. I chose black because I'm finishing the dinghy bright and black lines between the boards seems more cosmetically pleasing than white or purple lines. 

Wood glue was carefully placed only into the dowel hole and quickly followed by the dowel. A mallet proved indispensable to driving the dowels all the way down the hole as the wood had swelled with all the rain we have been having. The faying surfaces were covered with a very liberal amount of polysulfide bedding compound. It was laid down in a pattern where the outer perimeter is covered and then a zig zag between the lines connecting the perimeter line. When clamped down, this material will spread everywhere and provide a very uniform gasket that will keep water out from between the boards.

Once all the boards are glued, doweled, and bedded, apply pressure to the entire assembly with a set of table clamps. This will squeeze out most of the bedding compound, leaving a thin layer in the joint on the faying surfaces. You can attempt to scrape this excess off or just leave it to cure and peel it off later. It is actually easier to leave it in place at the moment instead of disturbing a gooey monster!

The board was moved to the ground and another set of clamps was set on it. Final clamping pressure was achieved on the boards and the last bit of excess oozed out from between the planks! Setting the clamps on opposite sides prevents the boards from bowing under a unilateral pressure. Having the clamps on opposite sides will even the forces placed on the boards and ensure that the result is a flat transom.

With the clamps exerting significant force on the boards and the glue and bedding compound curing, the boards were allowed to sit for the next four days. I waited until the polysulfide felt like a hard rubber instead of the squishy goo that it started out as. This change in state signals to me that the bedding compound is fully cured and the clamps are no longer needed to provide support to the boards.