Siding Around The Fenders

Construction of the tiny house is proceeding smoothly, everything is square and all the edges are straight. Then you come to the fenders, which have curves and rounded edges that do not readily accept the siding.

To make life easier, the perimeter of the siding will have a splash of trim. This trim allows me to put off the fine fitment of the finished product until later, and lets me work with much smaller pieces as I fit everything. Lets face it, fitting a small cover board to the fender is much easier than manhandling a 6 foot board!

The front of the fender on the door side of the tiny house needs a very small section of siding placed, but it took a lot of measuring to get it all lined up perfectly. The siding on both sides of the door will meet above the door and if there is any discrepancy between the heights of the siding, it will be notable above the door when they don't meet properly. Careful measurements using the trailer as a reference point made everything line up and look even.

It all starts by removing the lower section of the batten off to make room for the new siding. Then install the starter strip at the bottom. This strip simply gives the bottom plank the right amount of flare to allow water to drip off the lowest strake without pooling and rotting out the plywood sheathing.

Be sure that the bottom of the board doesn't contact the fender as this will cause the water to pool and rot will set in promptly. A slight gap allows water to drip and drain off while also allowing air to flow under it and dry the area out, further preventing mildew and mold growth.

With the first board in place, not contacting the fender and properly flared to promote dripping, the rest of the siding proceeds quickly. The second board simply goes right over the nail line of the first board and the siding installation proceeds quickly and effortlessly.

The second strake is the last strake that needs to be beveled around the fender. The three inch gap is maintained as it runs up the side of the fender, but from there on, the edges are once again square and work proceeds much quicker.

In no time, the rest of that section of wall will be sided and the tiny house will look much more like a house and much less like a Halloween decoration!

Removing the Excess

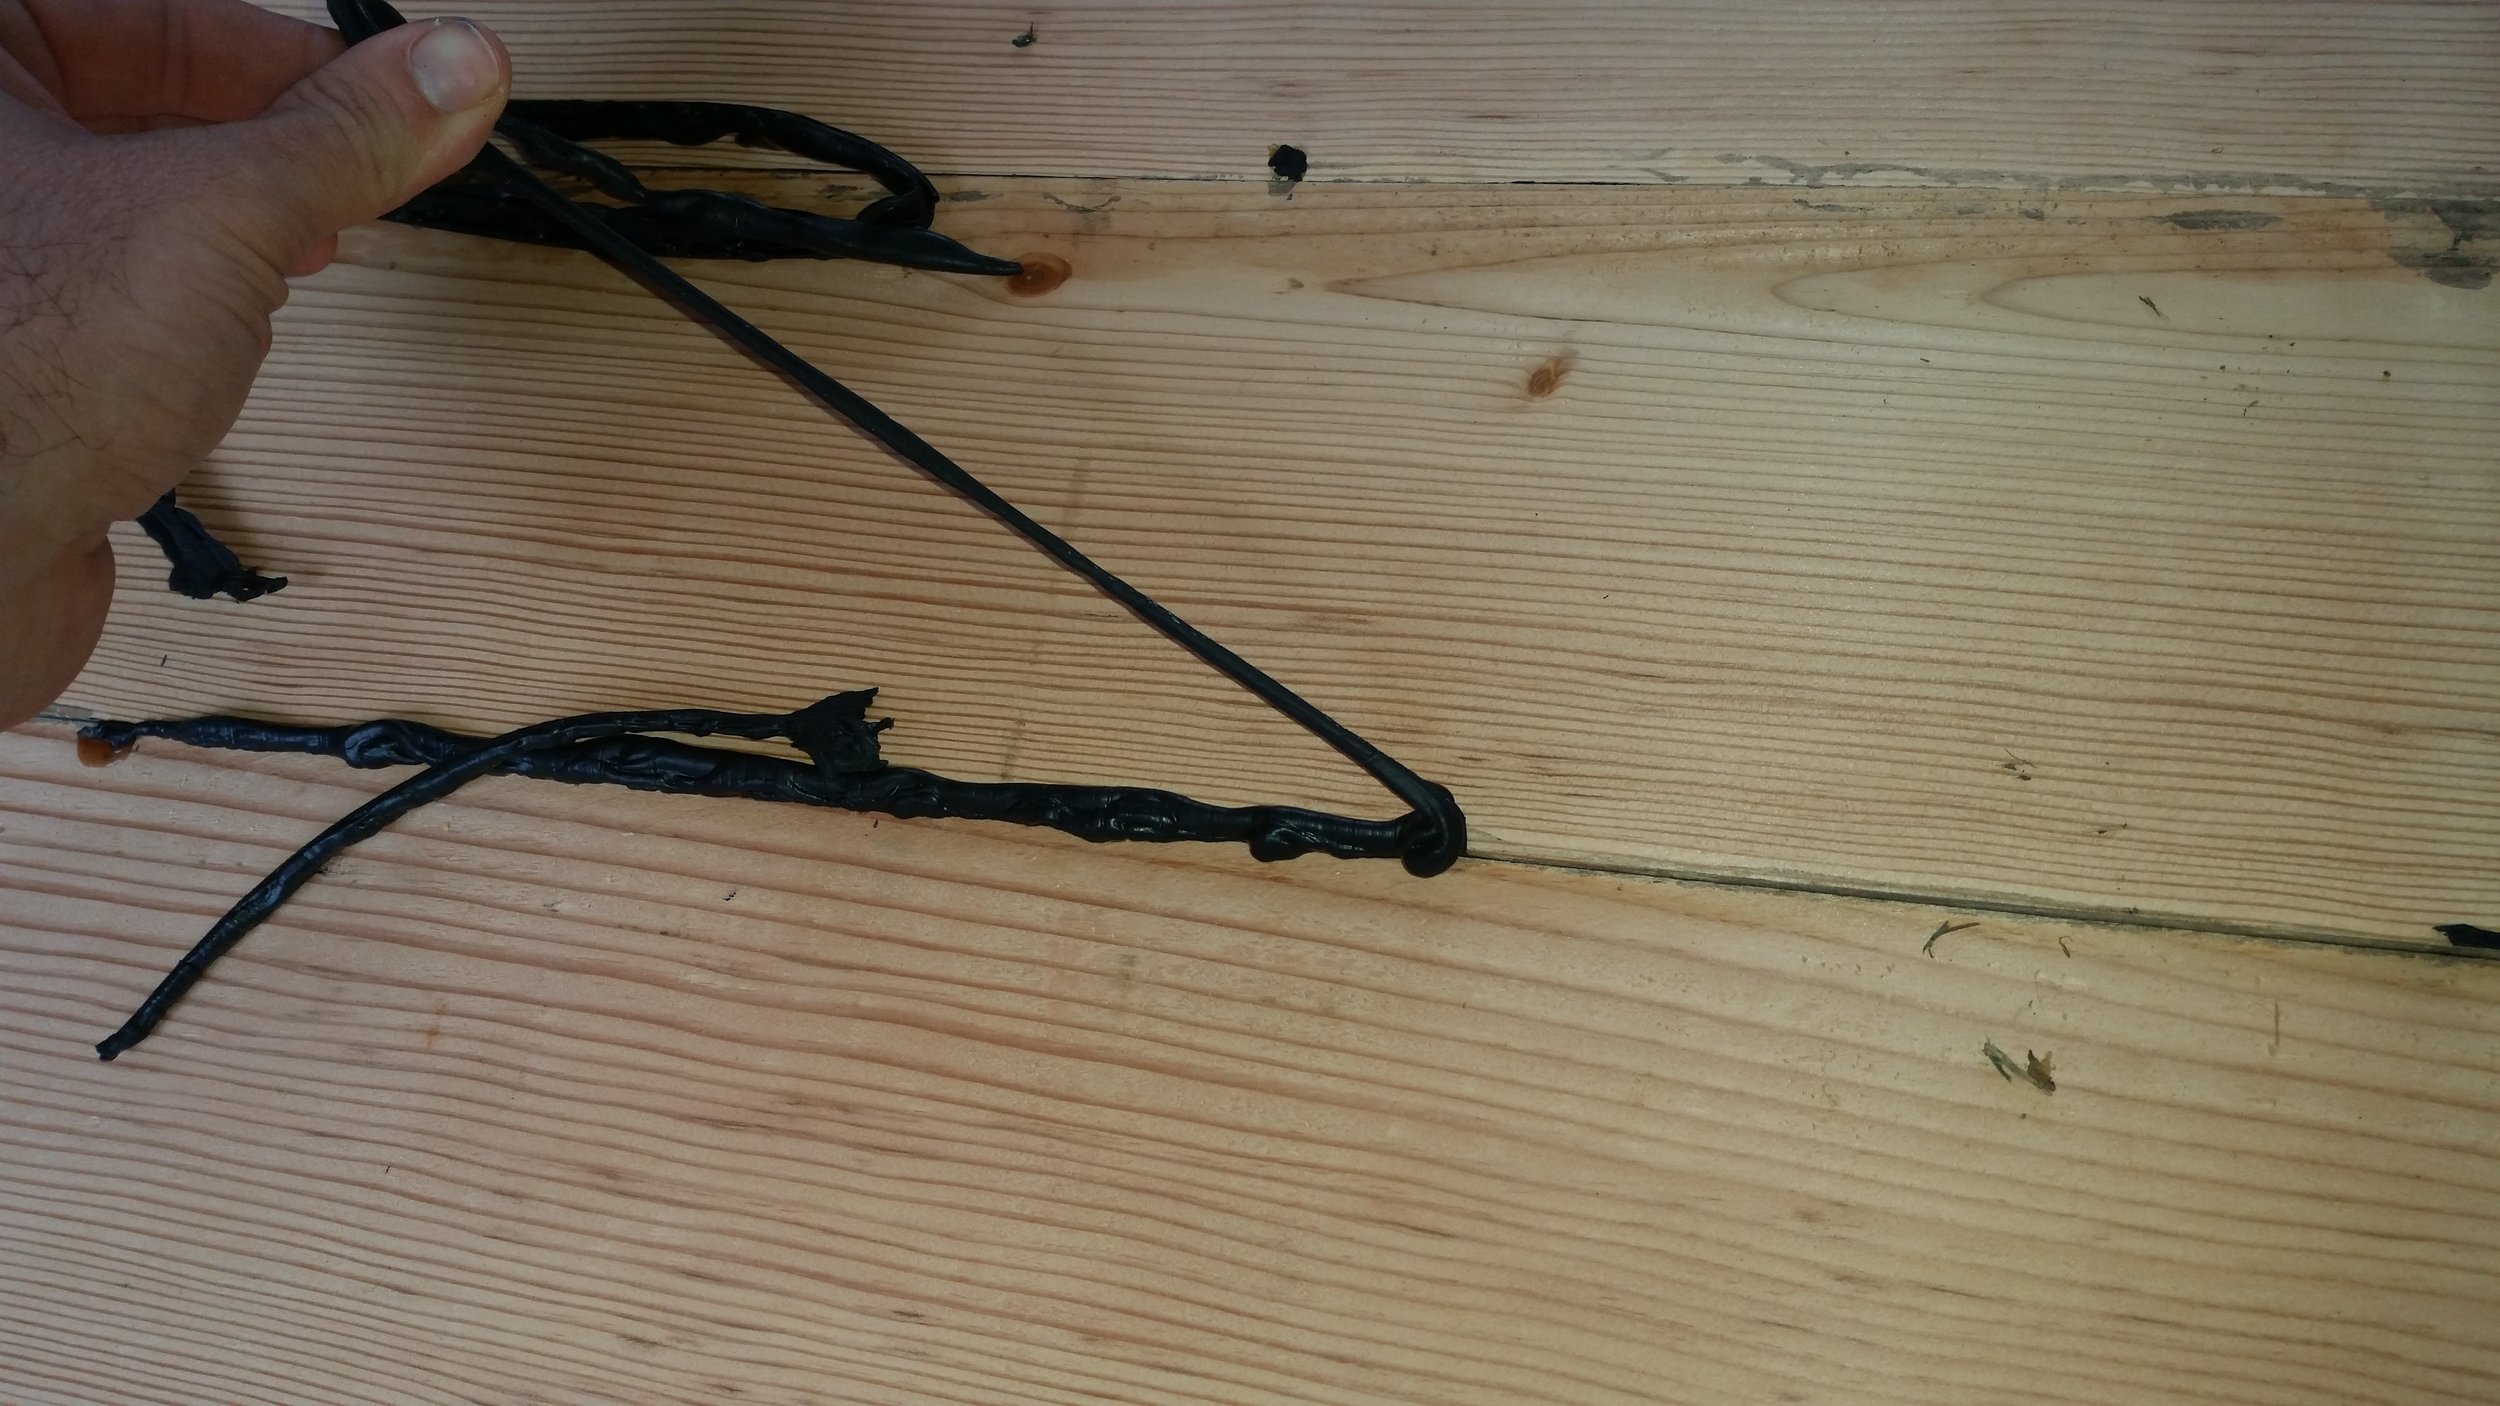
The transom planking has been allowed to cure for several days until the extruded material became hard and rubbery.

The excess material is easily removed without any tools or special skills, all you need are your hands! Simply grab the blob of rubber and pull upward at a sharp angle, the material will pull off cleanly and leave almost no residue behind.

What you have left is a simple clean black line as wide as the slim jointed surface! No mess, no crazy clean up, just squish the planks together and let the excess ooze out and cure, then peel it off!

Progress

As the tarp on the roof turns to shreds, the siding slowly comes to life on the tiny house. The top may look like Hell, but the sides are receiving new life as the work progresses from the bottom up. 

Once all the siding is finished and the trim work installed, the roof will go on and the tiny house will be transformed from a dilapidated shamble into a tiny home! 

Winter Laziness

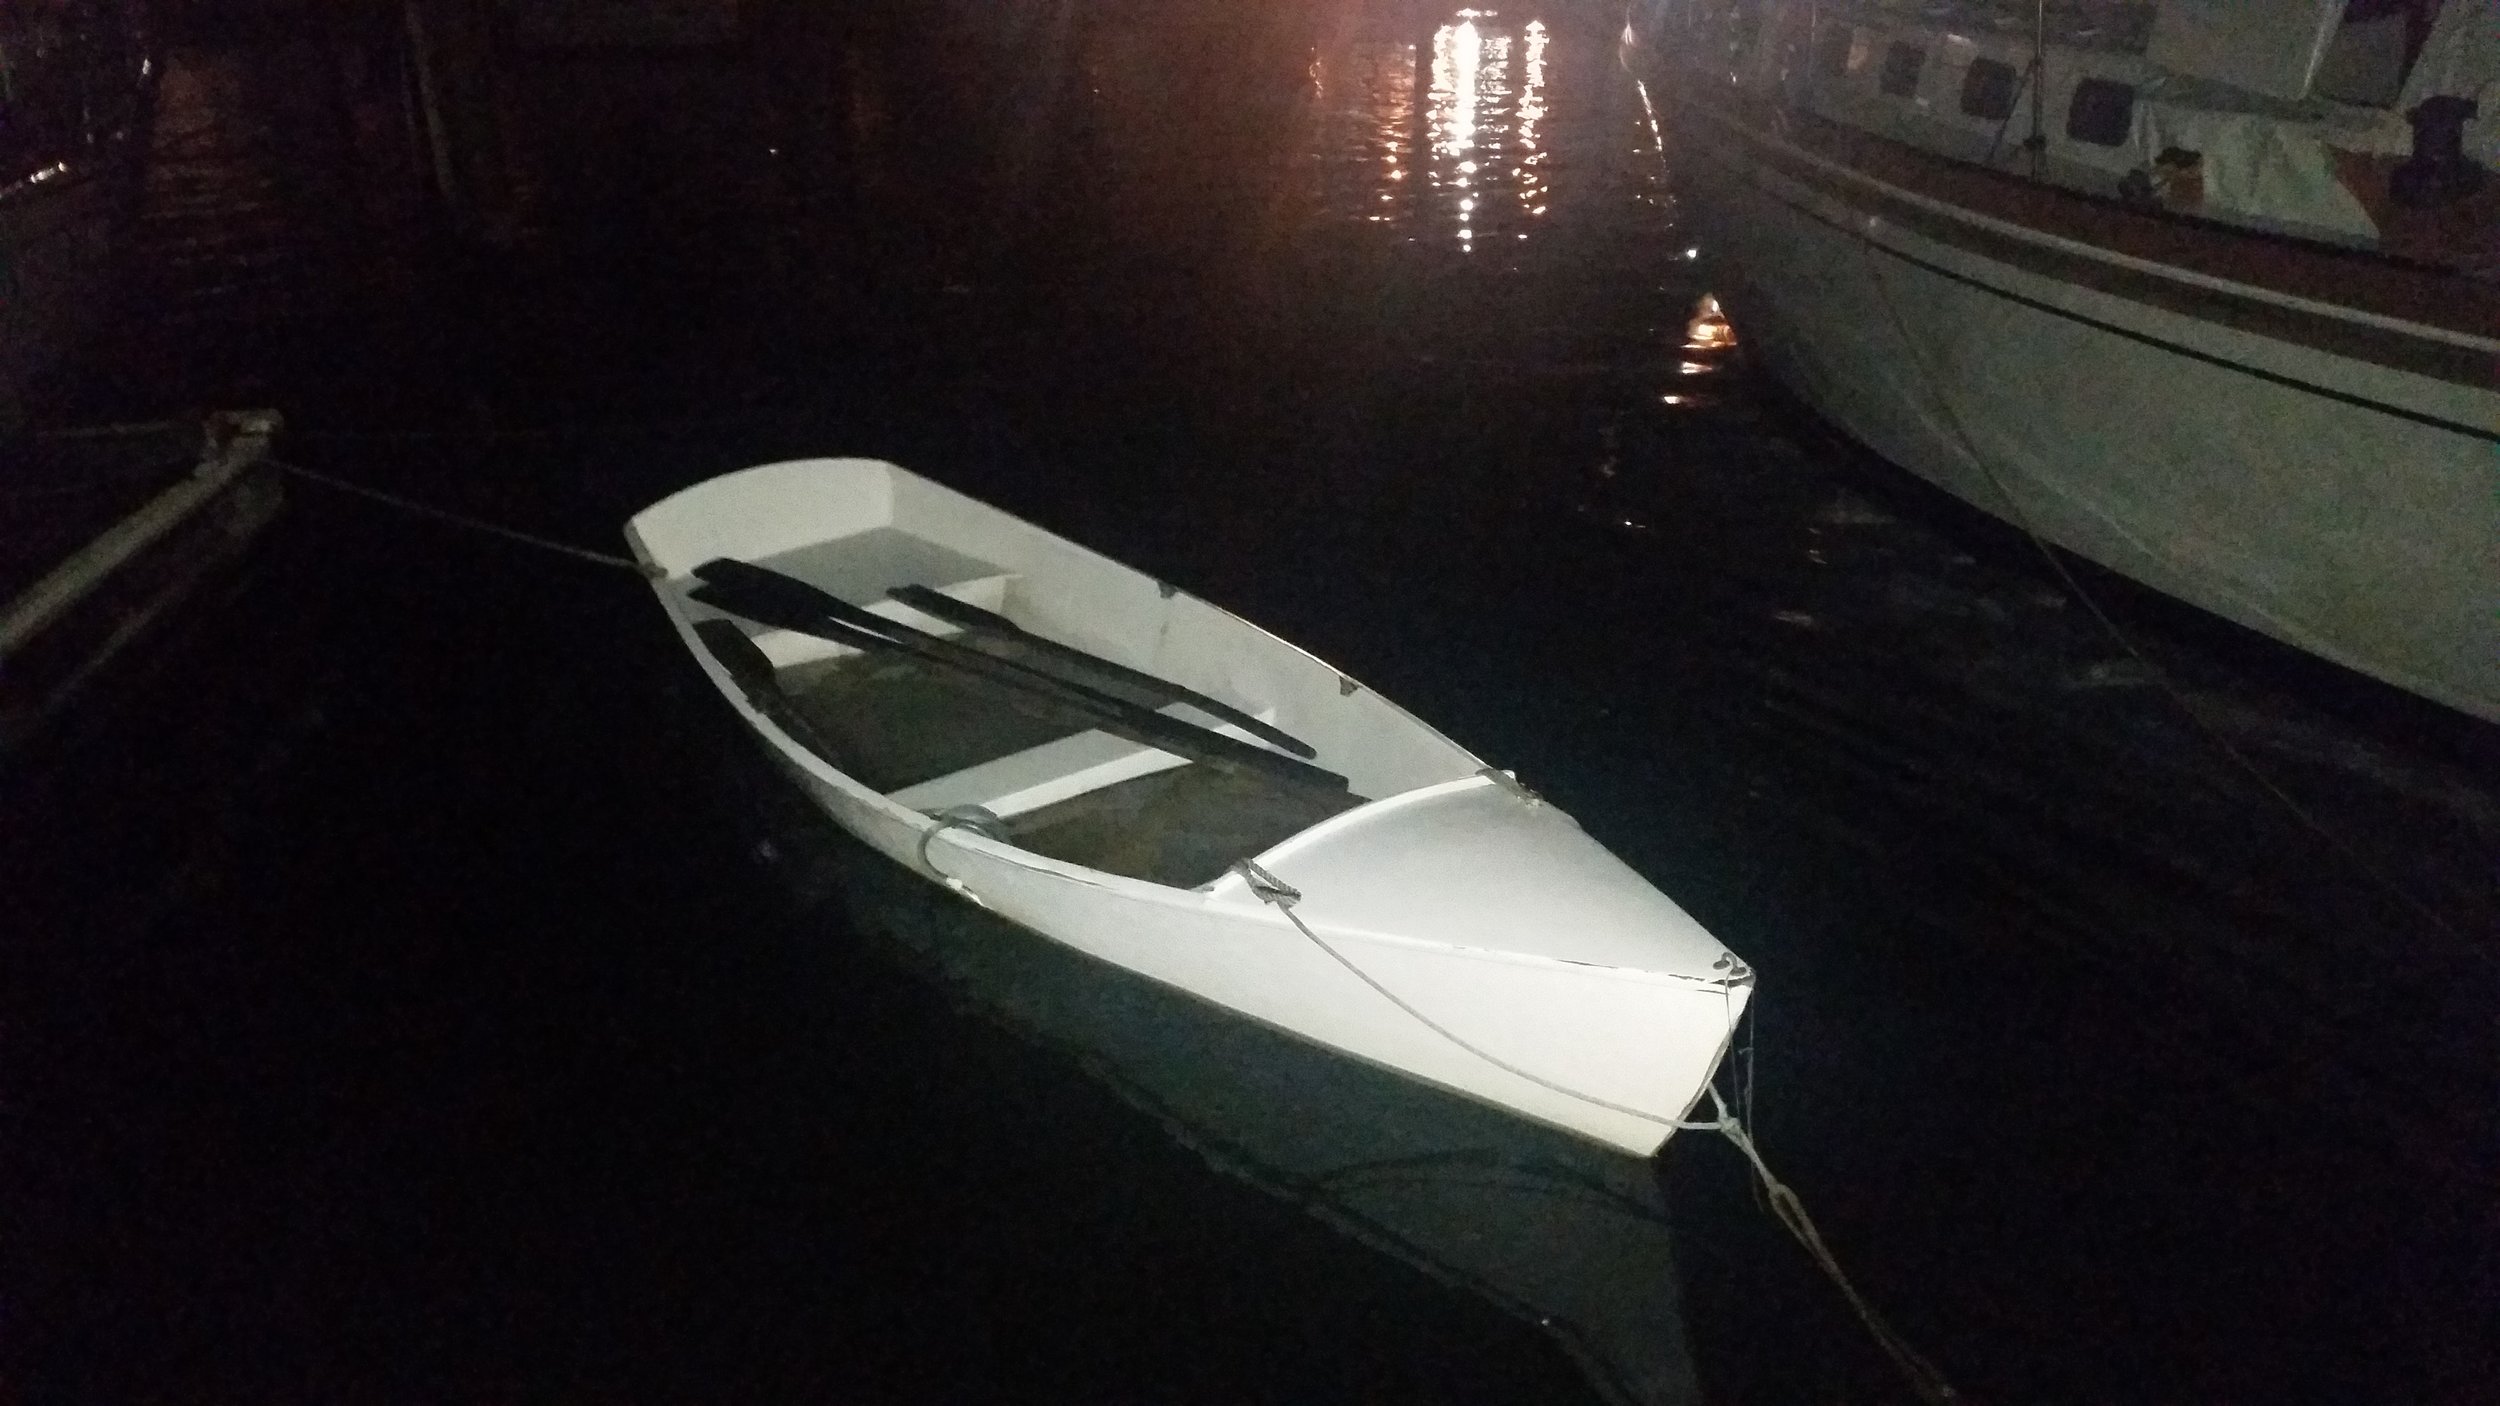
It's cold, and I don't feel like spending any more time than necessary outside. In the meantime, it has been raining, sleeting, and snowing for the past few days and Tooth has slowly been filling up with water.

As Tooth fills, he sinks into the water and has less freeboard keeping him afloat. The problem with decreased freeboard is if a winter storm strikes and kicks up some waves in the marina, Tooth could easily be swamped and sink. 

As mentioned, I do not want to spend any extra time outside in the freezing wet world that exists outside of the cabin, so the thought of trying to float our sunken dinghy would be less than pleasant.

A front was rolling in and we were expecting a lot of rain, possibly enough to sink Tooth. This served as enough motivation to get outside and pump the water out of Tooth!

While I did have to go outside to setup the pump, I didn't have to stay out there for very long. I hooked the pump over the sheer and pinched the pump under a block of ice that was floating around inside the hull. The pump runs on three D batteries, avoiding any manual labor on my behalf to remove the water. 

Setting up the pump was not much work, after which my presence was not necessary. I was able to return to the warmth of the cabin while I awaited the water removal to be completed. After 20 minutes, the dinghy was almost completely dry!

With Tooth emptied out, he would be ready to receive the coming rain, ready to be filled up again by the next heavy rainstorm.

Living Aboard

Living on a boat is not that big of a shock once you get used to it. The main differences are the limited space, and walk to car.

The inside of a boat is smaller than a house, there is no doubt about it. A large boat is still smaller than a comparably priced house or apartment. This means that you will have less space for stuff which means that you will have less stuff.

Having less stuff is great! It means you didn't have to waste your money buying all that stuff and can instead use your money for activities you can enjoy! Imagine if instead of spending money on dust collectors and clutter, you can save that money for a trip or a nice meal in a fancy restaurant.

The other benefit of less stuff is this directly translates into less stuff to clean. If you have a collection of figurines siting on a shelf, you need to purchase these collectibles, then you need to clean them and keep the dust off of them, lastly you need the space for them.

If you don't have the space for a shelf of delicate figurines, then you would never have had to spend the fortune to purchase them or the time to clean them. This little fortune can instead be spent on something like traveling and hotel stays. While you are on your trip, you won't have to worry about the dust collecting on the figurines while you are away!

Aside from the reduced interior volume, there is the walk to your car. If you live in a house, you might be accustomed to walking into your garage and hopping in into your car. If you live in an apartment, you might be accustomed to walking a bit further to reach your car, usually set in a parking garage or street parking. On a boat, your car will be parked on land and your home will be set in the water. To get between these two points you will walk down a pier where you will be surrounded by fish, birds and other fauna. Walking to your car is akin to walking through a natural park, surrounded by life as you leave your home and return to civilization and all of its rushing and stress.

This is where the most notable difference is between living ashore and living aboard exist.