Transom Planking

The transom of the dinghy is going to be made out of very stout strakes. These strakes are going to be around one inch thick and will tie together the stern of the boat. The planking will run the length of the hull and be fastened into the sides of the transom. The force of the lift rings will also be exerted on the transom, as well as the force from the outboard motor. For these reasons, the transom needs to be stout and overbuilt.

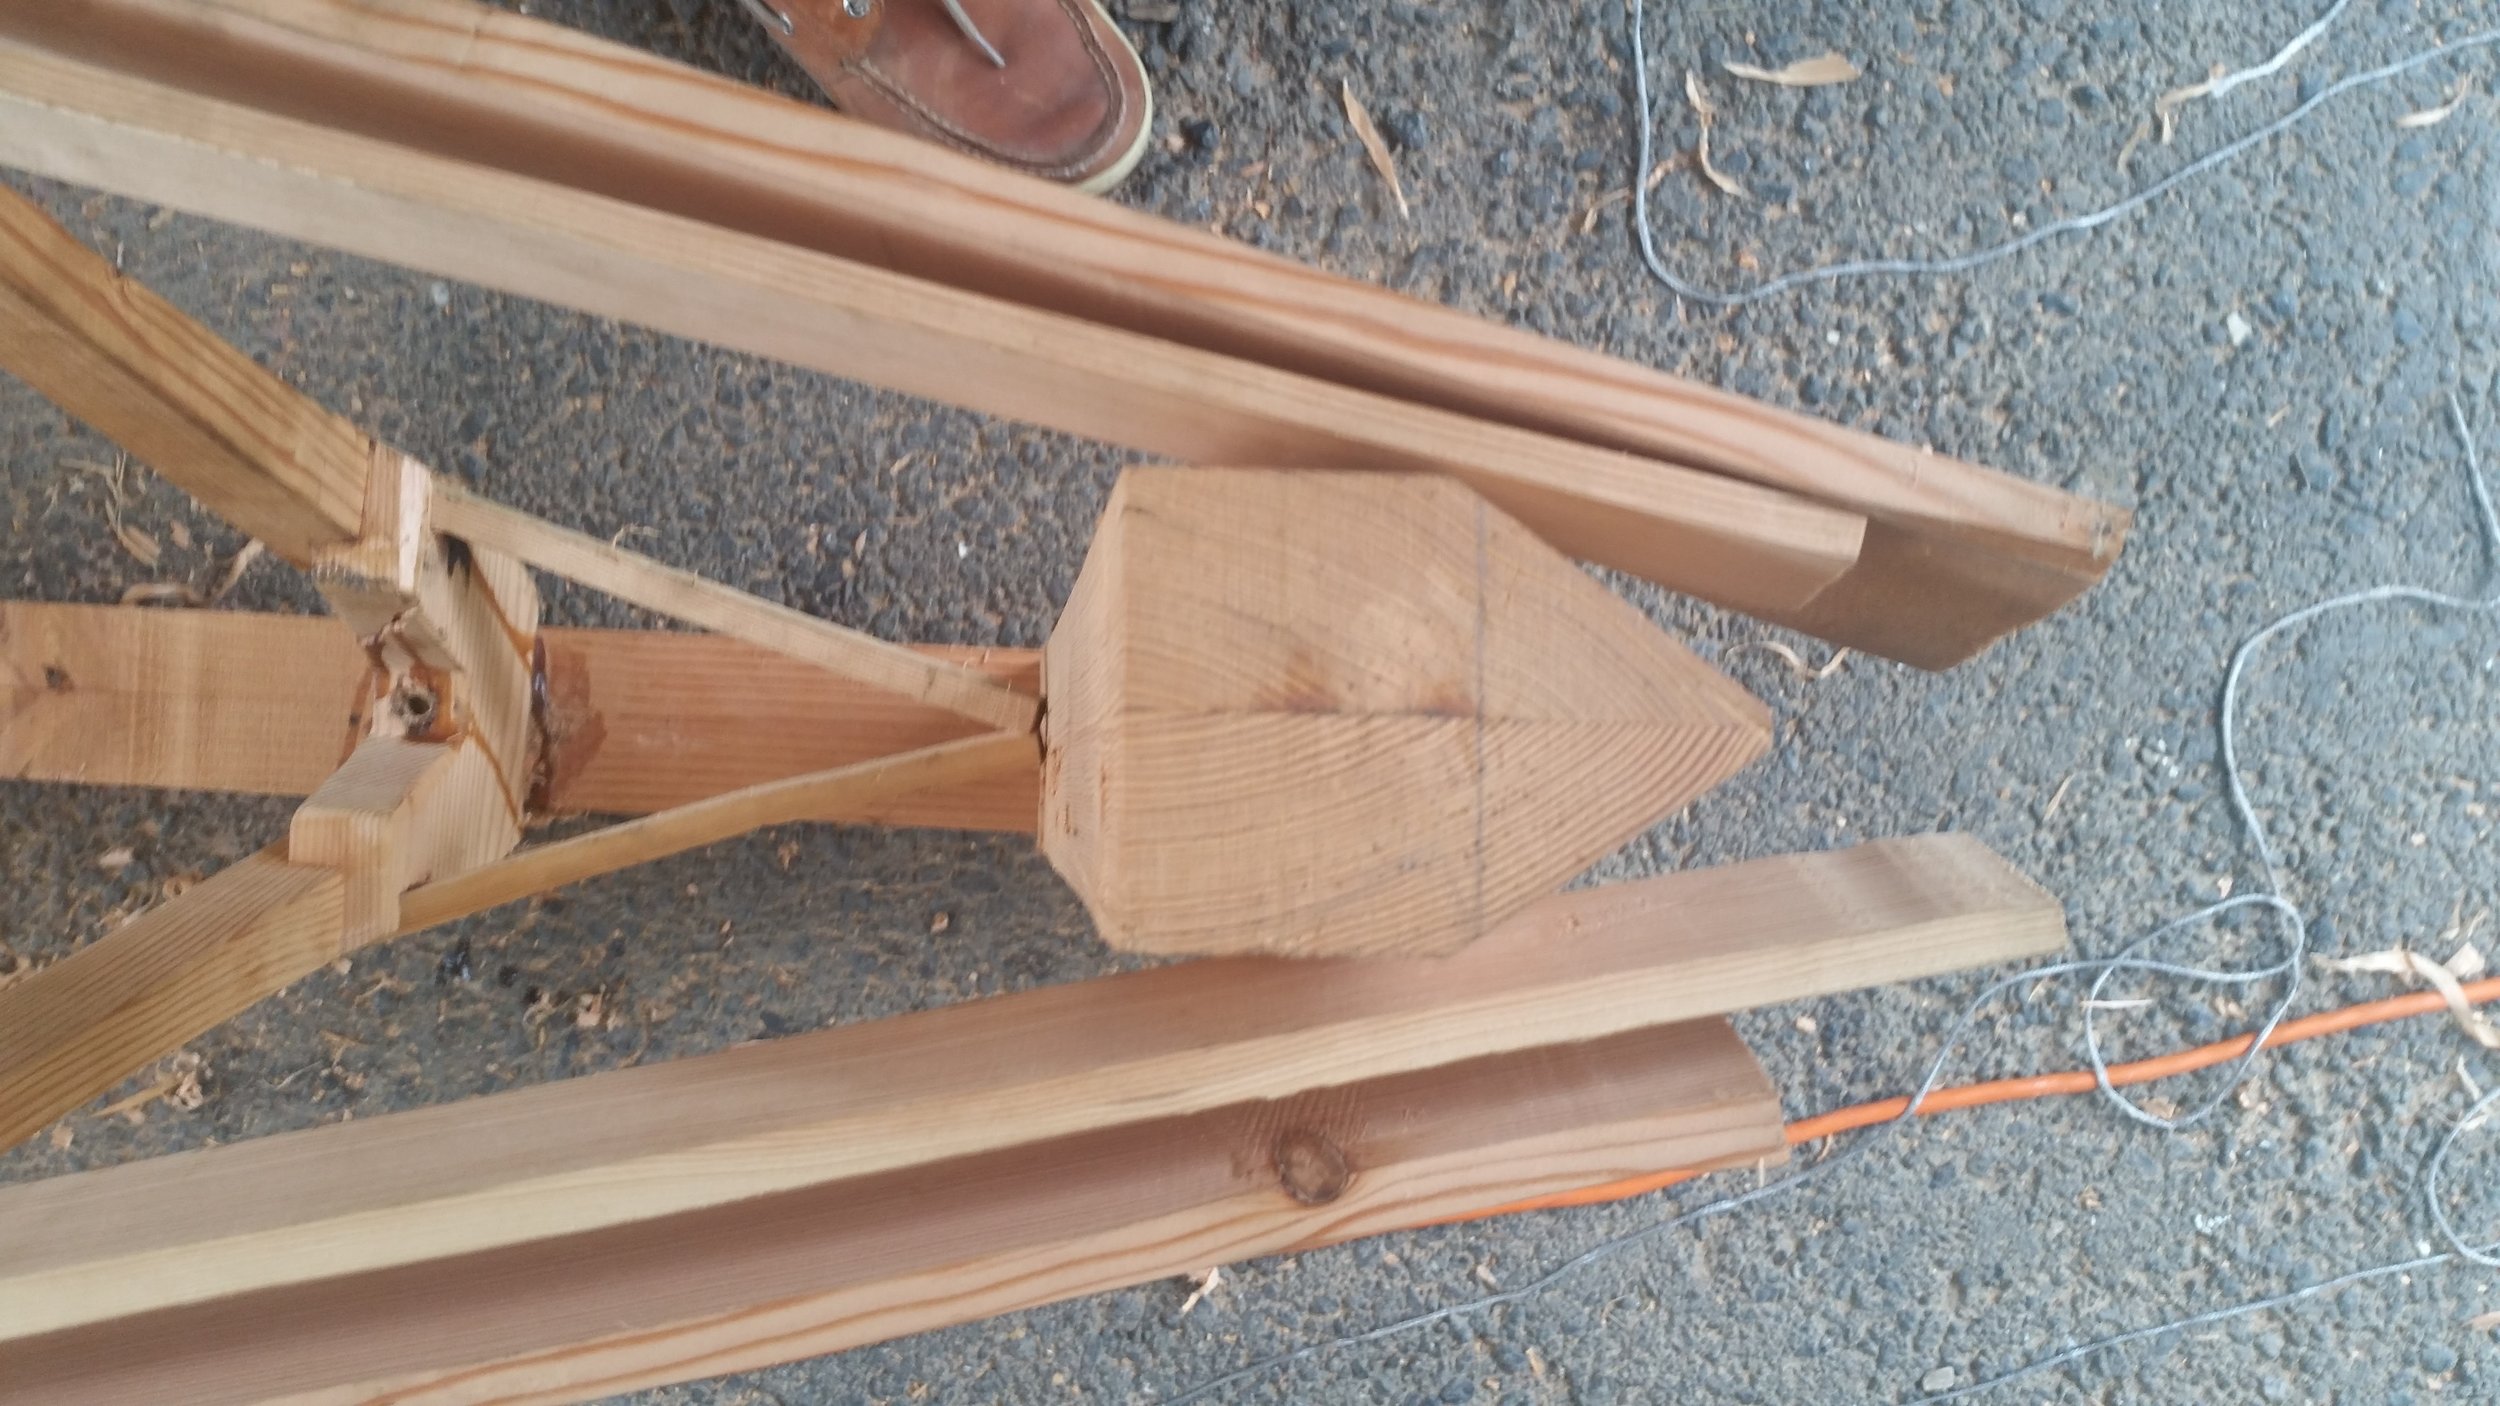
To create the transom, clear pieces of a flat sawn plank were selected and then cut out in a way to produce quarter sawn boards. These boards were then finished on all four sides and jointed to remove any irregularities. Having no irregularities means that the planks will meet perfectly and there will be no space for water to seep through. Since these strakes will be part of the external planking, they need to be water tight to avoid any leaks.

This is also the only section of the hull that will be single planked, which is also more prone to leaking. I decided to make the transom tight seamed instead of caulking the seams with cotton because the transom will have the lettering for the name on it and I don't want the lettering to have to cross over seam compound. By tight seaming the planks, cotton caulking and seam compound will not be needed and polysulfide bedding compound will suffice to keep any leaks from occurring.

The widest part of the transom will be 26.5 inches across, and it will taper down from there to the keel. To ensure that there is enough wood to work with, I cut the transom planks to 30 inches. The ends of the planks contain knots as these sections will be cut off at a later point along with all of their imperfections.

To tie the boards together, I will use wooden dowels that will act as drifts, giving the planks more resistance to sheer forces without the risk of internal metal corrosion seeping out from between the plank seams. The wooden dowels will swell as they get moist, further locking them into place and never letting the wood slide out of place.

The boards are stacked, all irregular thicknesses, ready to be connected with dowels and polysulfide bedding compound, then they will be surfaced to perfection and the sides trimmed to fit the transom of the dinghy.

If you look closely, you can see that the strakes have pink and white colors. The pink is freshly surfaced heartwood, the white is freshly surfaced sapwood.

Douglas Fir heartwood is very rot resistant and strong. Douglas Fir sapwood is garbage and will rot very quickly. I need to revise the strakes and remove the sapwood from the strakes and re-joint the boards to achieve the same tight seams without any rot prone sapwood.

Once the strakes are revised and the seams perfectly tight, the holes for the dowels can be drilled and the entire transom can be clamped together with table clamps, providing plenty of pressure for a few days as the polysulfide cures.

Approaching Warm Front

The sky was filled with altostratus clouds that came in from the South and were very slowly creeping North.

This thick cloud cover tends to indicate the presence of a stable air mass (and light winds). The streaks and the undulating wave formation in the cloud cover is indicative of wind shear through the cloud formation.

While we were under heavy cloud cover, we knew that today would stay pretty calm and the winds would remain light for as long as the clouds covered the sky. If we were sailing today, we would have kept a closer eye on the clouds, knowing that if the clouds cleared out or got thicker: stronger winds would follow.

Clear skies would indicate that a cold front (high pressure) system would blow in and blow rather hard on us. Thicker clouds would indicate that we were moving deeper into the warm front (low pressure) system and stormier conditions would become present.

Either way, this cloud covered sky lets us know that calm winds will be upon us.

Siding with Angles

The leeward side of the tiny house has a much steeper roof and much shorter walls. The walls are only 6 feet high, yet the roof reaches 13 feet! This means that the majority of the leeward wall is going have angled ends to the siding planks.

The plank above the window is the last piece that has straight ends, all the planks above this one will have beveled ends to accommodate the pitch in the roof. From a visual point of view, it is best to make this plank a continuous one with no butt joints. This plank will receive considerable visual attention and a butt joint will draw the eye to the blemish instead of blending in with the rest of the wall. The butt joints are visible in the lower planks, but they blend in with the rest of the wall below the window.

The planks are all set, measured, and cut to maintain a three inch gap between the end of the plank and the roof line. I also avoided butt joints in the pitched part as they would only add complexity to the beveling process of the siding installation. 

The siding proceeded quickly and with no hard labor. The only added complexity to siding this part as compared to the lower (square) part was the additional trips up and down the ladders. These trips up and down simply add steps to the installation and steps take time. On cold fall days, daylight is a limited resource so time is of the essence. Once the sun sets, the temperature drops and working conditions become unbearable (for me at least). To reduce working times, having all of your tools set up and materials right by the house keeps the amount of walking under control and helps increase efficiency which decreases installation time.

Siding is not rocket science, it just requires repeatable and consistent working. This will produce a uniform looking job that will last for years. 

Stem Knee

The stem knee is going to connect the stem to the keel via bronze lag bolts, holding everything in place. All of the stringers will come forward to tie into the stem, making it a very important component of the dinghy backboard.

The chine logs come forward to a point a lot closer than the sheer and shelf clamps do, and they won't allow the stem to fit between them, so the choice was simple: cut some wood to make it fit!

If I cut the chine logs shorter so that they could tie into the stem, the stem would need to be set very far aft and that would shorten the whole boat. The other option is to have the chine logs tie into the stem knee and have the planks skip the chine log between the first station and the stem. This span is only a few inches, so there will be no major catastrophic reductions in strength by not attaching the forward strakes to the chine log.

To get the stem knee to fit between the chine logs, I set the knee in front of them and marked the chine logs anterior portion with a a saw. After removing the knee, to avoid scaring the sides of the knee, I cut the chine logs vertically, creating an opening that would fit the stem knee in the middle of them.

When the time comes to bolt and glue everything together, the chine logs will be glued and screwed to the stem knee;s sides. This will tie the chines in on the forward part of the dinghy while almost connecting to the bottom of the stem.

Annual Rings

Trees are round and boards are square. Herein lies the problem with lumber. How your board will behave during it's life depends greatly on where the board came from in the tree and how the annual rings are oriented in the final cut of wood.

Trees are cut up in two typical ways: 

  • Flat sawn
  • Quarter sawn.

Flat sawn, also called live sawn, slab sawn and plain sawn, is where the tree is sliced into a stack of boards. This is the most common method for boards to be cut as it results in the least amount of waste. Since more wood is recovered from the tree, this method of sawing wood is quite popular. The top and bottom cuts will have arcs in the end grain that look like rainbows and will lead to the formation of cups as they dry, leading to warpage as the wood dries

As you move further down the stack, you will have more diagonal rings on the outsides of the boards and more arcs towards the center. The outsides of the boards will resist warping while the middle will cup.

The middle cut of the tree will have vertical rings from the bark to the heart, then vertical rings on the other side until you reach the bark on the other side. These boards will not warp, the the heart will check. 

The boards below the heart will exhibit the same grain patterns in reverse until you reach the bottom plank.

As you can imagine, these boards will warp over their life and can result in problems on a boat. For these reasons, the use of flat sawn wood is discouraged on a boat.

The alternative way to cut the tree is called quarter sawn, where the tree is cut into quarters and every board that comes out of the tree has diagonal grain. This will yield the best lumber from the tree, but up to sixty percent of the tree is lost to waste.Since most of the tree is lost to saw dust, this method of sawing lumber is unpopular with lumber mills and quarter sawn lumber is hard to find. If you are lucky enough to find quarter sawn lumber, you will feel like your luck has turned the moment you see the price tag!

The alternative is to buy flat sawn boards and make it quarter sawn. If you get a board that is near the top of bottom plank from the tree, rip it in half. Now you have two thinner planks that no longer have arcs, but instead diagonal rings that run less than 45 degrees but still diagonal.

The closer the board was to the heart of the tree, the better the grain orientation will be. As you approach the heart, the rings will be closer to 45 degrees and resemble quarter sawn lumber. This method works well for situations where you don't need wide boards, as you are taking your wide boards and ripping them in half. A 2x12 becomes two 2x6's. While the loss of width is apparent, most boat timbers don't need that much width. If you do need the width, the ripped boards can be joined back together with drifts or dowels to reinforce them from sheer forces while changing the grain orientation to reduce the risk of warpage. Instead of cupping, which is what flat sawn wood does, your quarter sawn lumber will stay relatively dimensionally stable. This means that your lumber wont warp when it gets wet and dries again, which is the life of any wood on a boat!

When shopping for lumber, try to find flat sawn boards that you can rip into quarters sawn lumber. This will save yourself the cost of buying premium quarter sawn lumber allowing you to purchase more wood with your money. It takes a bit more effort to get your lumber ready, but the end result is quality lumber while paying the price of economy boards.