Connecting the Sheer and Shelf Clamps

On our little dinghy, we are tying the frames together with stringers. The sheer and shelf clamp are being riveted to the frames. Copper rivets offer a lot of resistance to corrosion, offer the same benefits of through bolting, and are less bulky. 

The head of the nail lays flush with the planking on the outside while the head of the rivet is pounded smooth with the inside of the hull. There are no hex heads or nuts to get hooked up on, instead only smooth rivet ends. 

image.jpg

A pilot hole is drilled through the sheer, frame head, and shelf clamp. The strakes need to be in their perfect final location as there will be no moving once the hole is drilled. 
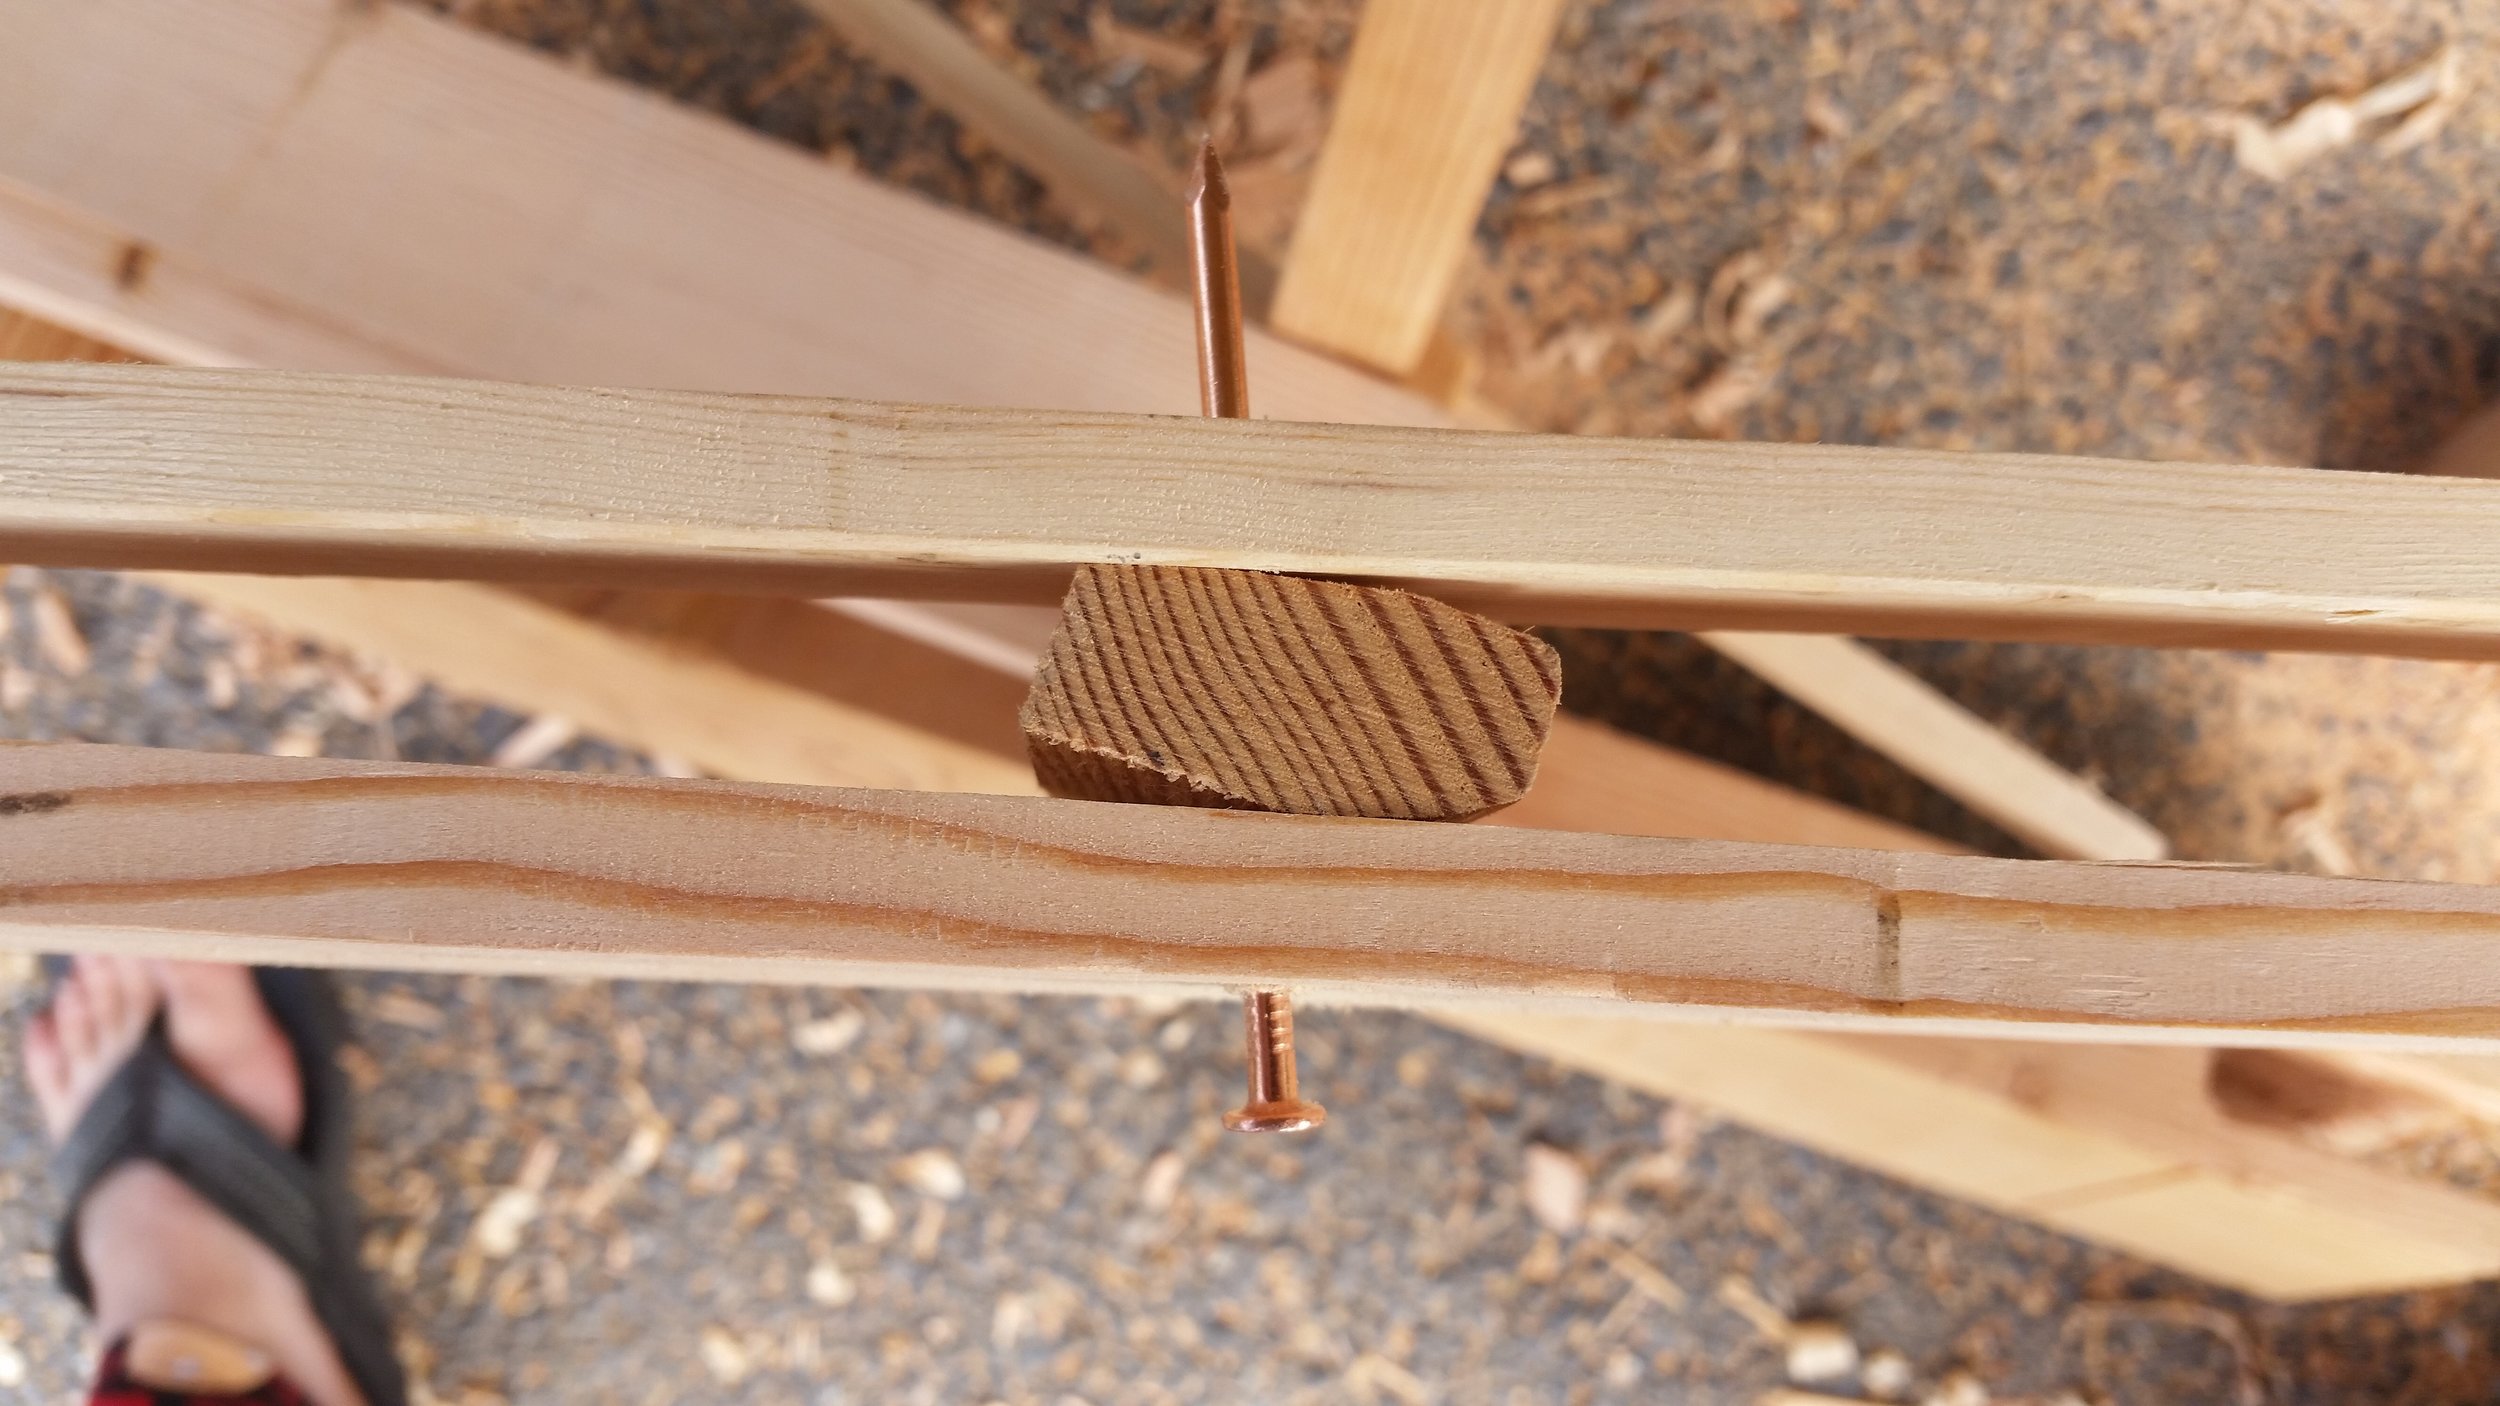
image.jpg

The copper nail is tapped through the wood members until it projects out the other side. This nail will be used to create the final rivet that will connect these stringers. 

image.jpg

The rove was driven over the copper nail using a modified clamp. As pressure is applied to the clamp, the rove is driven all the way down until the strakes compress over the frame head.  

image.jpg

The copper nail is then cut short and the end of the nail is mushroomed. 
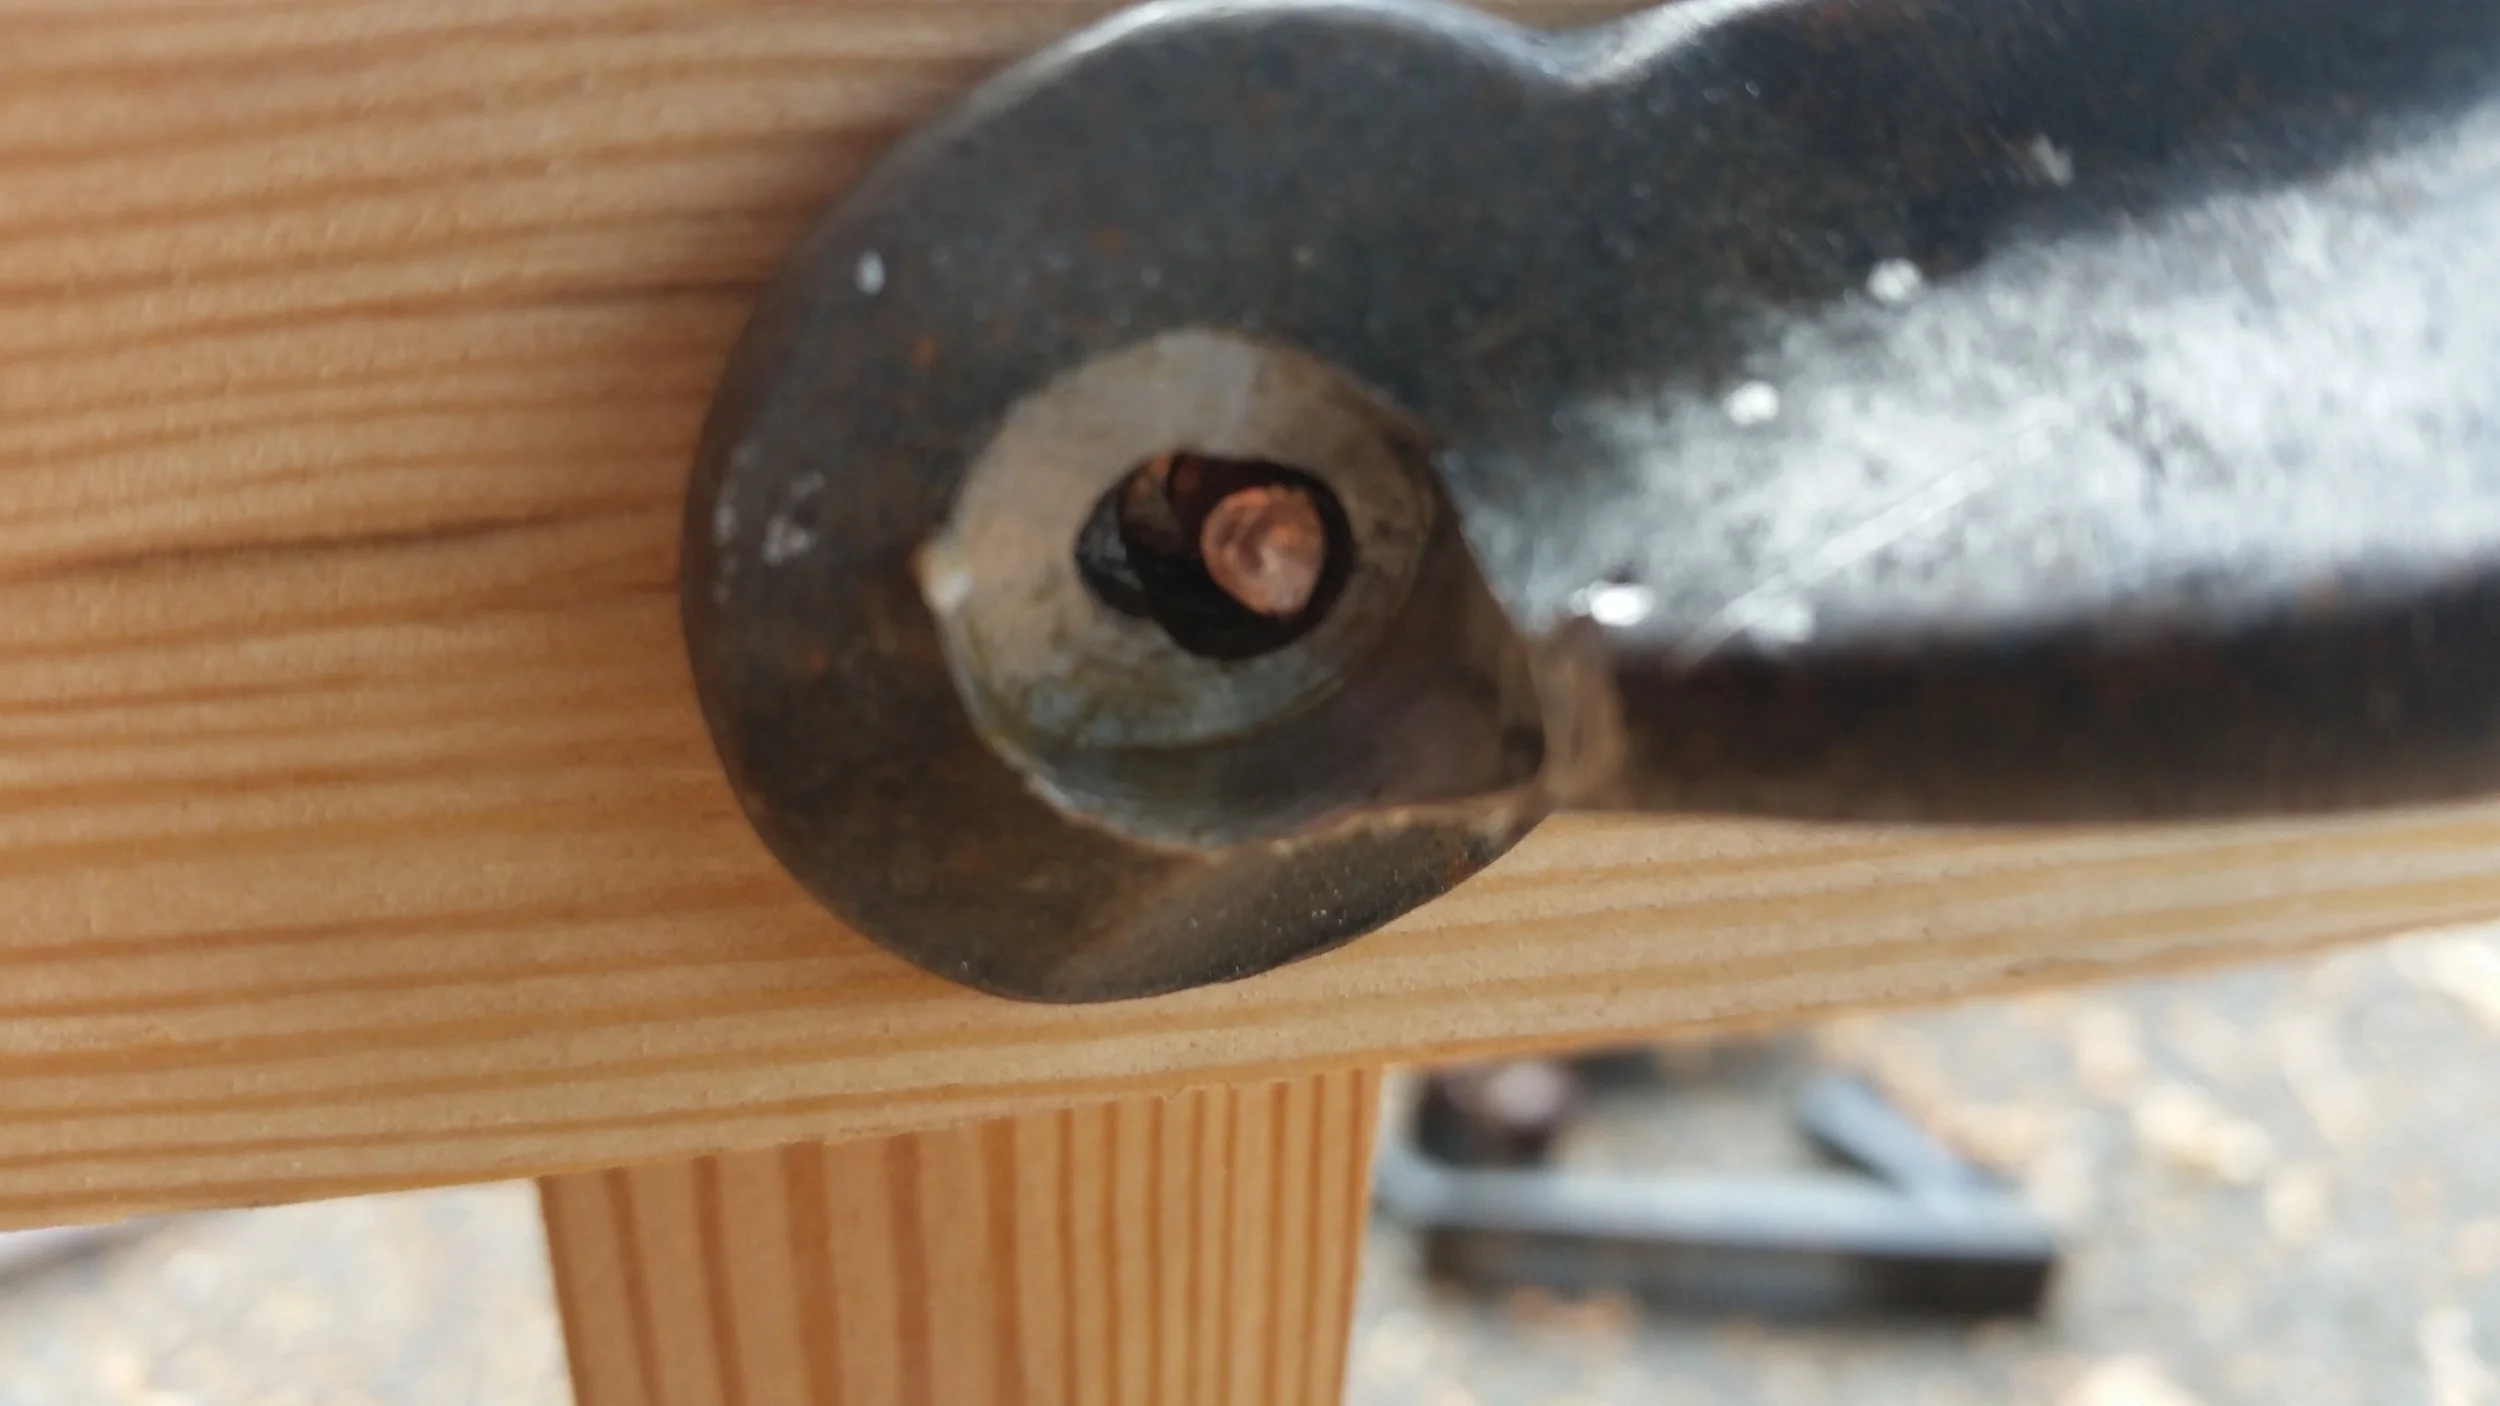
image.jpg

At this point, the clamp can be removed as there is no risk that the rove will slide off the nail. With the clamp off and out of the way, the end of the head can be mushroomed to tighten up and finish off the rivet. I like to secure another regular C-Clamp next to the rove and over the head of the nail. This will keep the nail from backing out while I shape the head and will tighten the boards together and produce a very strong connection between the frames and the stringers.

Life Aboard vs. Life Ashore

People often ask us how safe it is to live aboard and to go long distance sailing. While life aboard can have its risks, life on land is not devoid of dangers either. 

20161217_113027.jpg

We woke up on the winter morning of December 17, 2016 and found the boat covered in ice. The deck was a bit slippery, but we were able to walk on the deck by chocking our feet into the toe rail. We held onto the lifelines and grab bars as we worked our way to gangplank. 

20161217_113146.jpg

The gangplank was completely covered in ice, and traction was non-existent. Thankfully, the rat bars offered a way to hold our feet in place and keep us from sliding down the gangplank onto the pier. While this entire journey was not the most graceful nor quick, it was also never risky to our safety.

20161217_113138.jpg

Walking down the pier, our neighbors wooden yawl had gorgeous icicles hanging from his mizzen boom. The ice covered everything and made the boats look like a magical wonderland! I decided to go visit my parents this morning, so I made my way to the car and found life ashore to have a completely different outlook to the winter wonderland.

Cars in the city were spun around and smashed into light poles and walls, but city drivers swerve around the city streets like madmen. The fact that they may have spun out on a patch of ice was of little surprise to me. I continued to make my way towards the country, where my parents live, when I came upon a massive disaster on the highway!

In the early hours of the morning, a fuel tanker slid on ice and went over the barrier wall, exploding into a blaze of fire that engulfed the highway. Approaching traffic slammed on their brakes as they approached the inferno, but they slid on ice and began crashing into each other. By the early morning, the cars and trucks had been turned into scrambled eggs as they kept compacting into each other.

When people question how safe living aboard or cruising is, I must ask, how safe is it to live on land and commute on crowded highways traveling very fast and close together. If a driver error were to occur, the consequences could be dire! This mornings collision involved more than 50 automobiles and caused at least 2 deaths!

Sailing in the exact opposite, everything happens very slowly and you always keep plenty of space between you and the next yacht. When we are in the bay, we set the proximity alarm on our AIS receiver to 0.25 nautical miles. In the ocean, we increase the alarm range to 2 nautical miles! If someone were to come within that distance, we begin to worry as we are getting "too close for comfort". Yes, on a sailboat traveling 6 knots, 0.25 miles is too close for comfort, whereas on a highway, cars traveling over 65mph are only a few feet apart!

When landlubbers seem concerned about the safety of sailing, I wonder what they think about the safety of driving.

Siding is Magical!

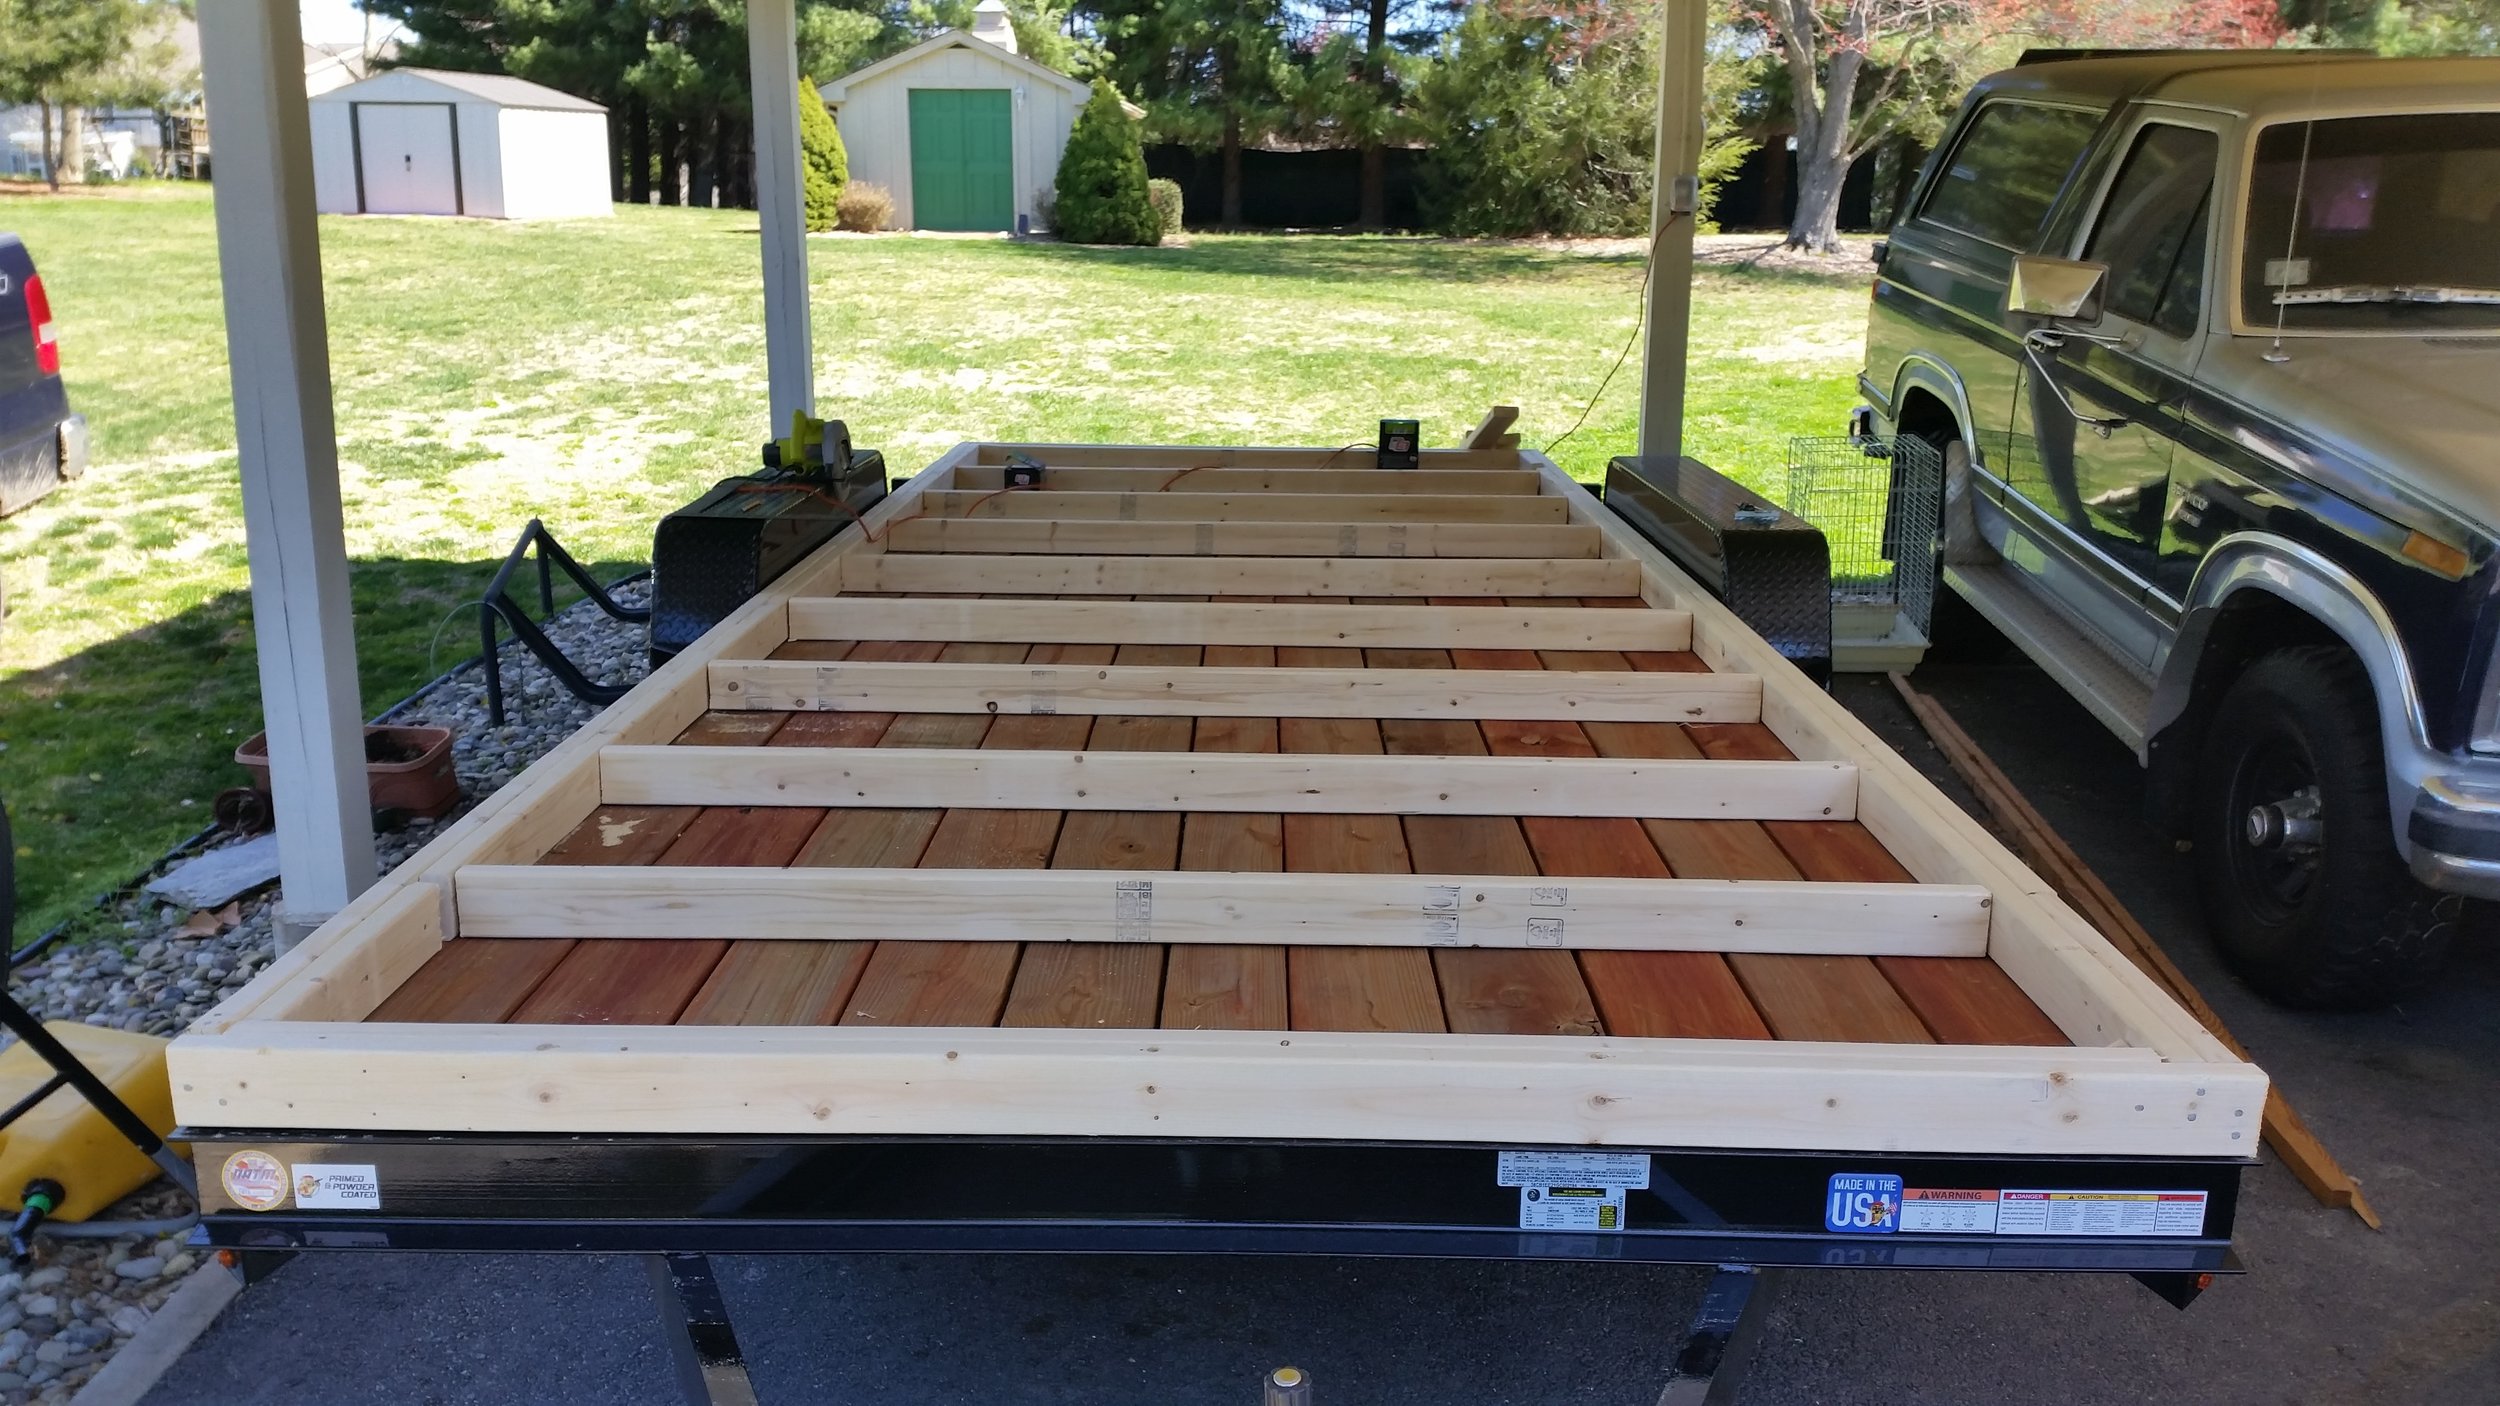
As you build, the tiny house will take on various appearances. When the wall frames are raised, the tiny house looks amazing. It just transformed from a flat trailer to a stick figure outline of the house!

Then the sheathing goes on and the house looks smaller all of a sudden. You can no longer see into the house and all of the internal components. Now it just looks like a small box on wheels.

Then the roof goes on and the windows are cut out, and it begins to look like a tiny wooden house on a set of wheels. At this point, the neighbors of the property you are building on will come over to see what you are making and tell you how awesome it looks! It seems that everyone has seen a tiny house show and they have enjoyed watching you build so far.

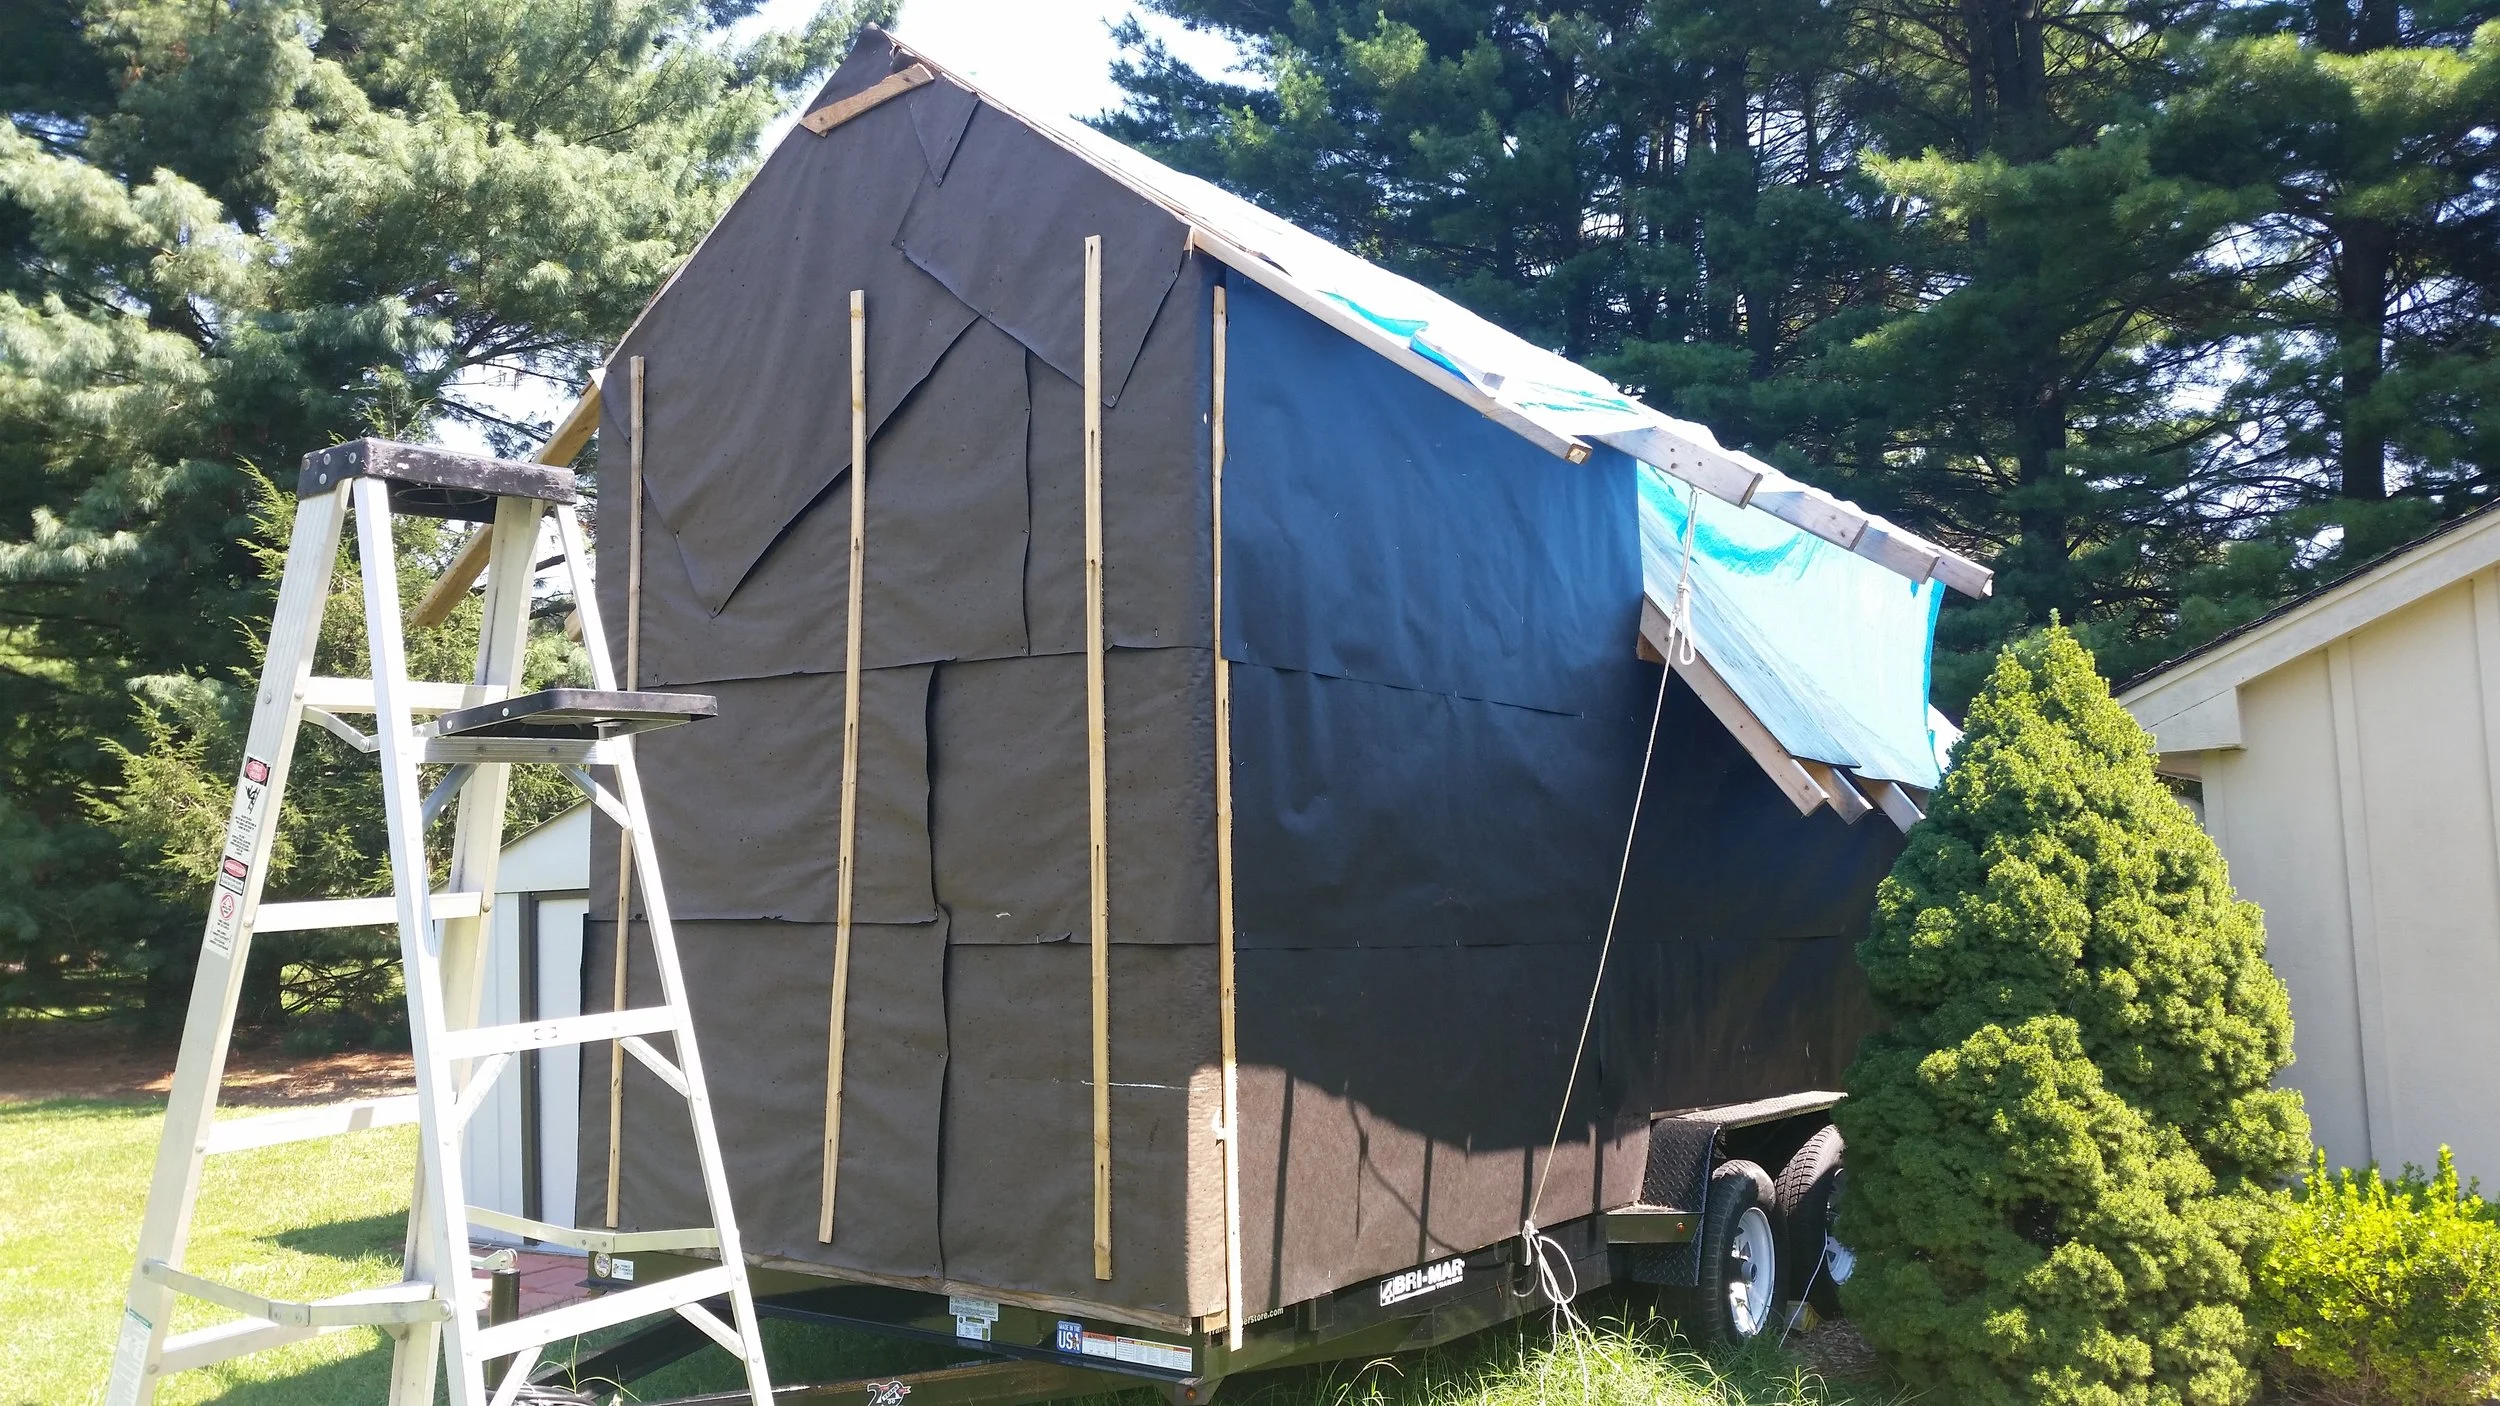
Then the wrapping goes on the house, and everything changes. Your cute wooden tiny house now looks like a black smudge in the yard. Neighbors will no longer ask to see the progress, but instead ask where the tiny house will be stored after it is completed. 

The black tar paper will begin to fade in the sun and make the whole tiny house look like crap. I got married after this step and was not around for almost a month and the tar paper faded while the tarp on the roof began to tear. 

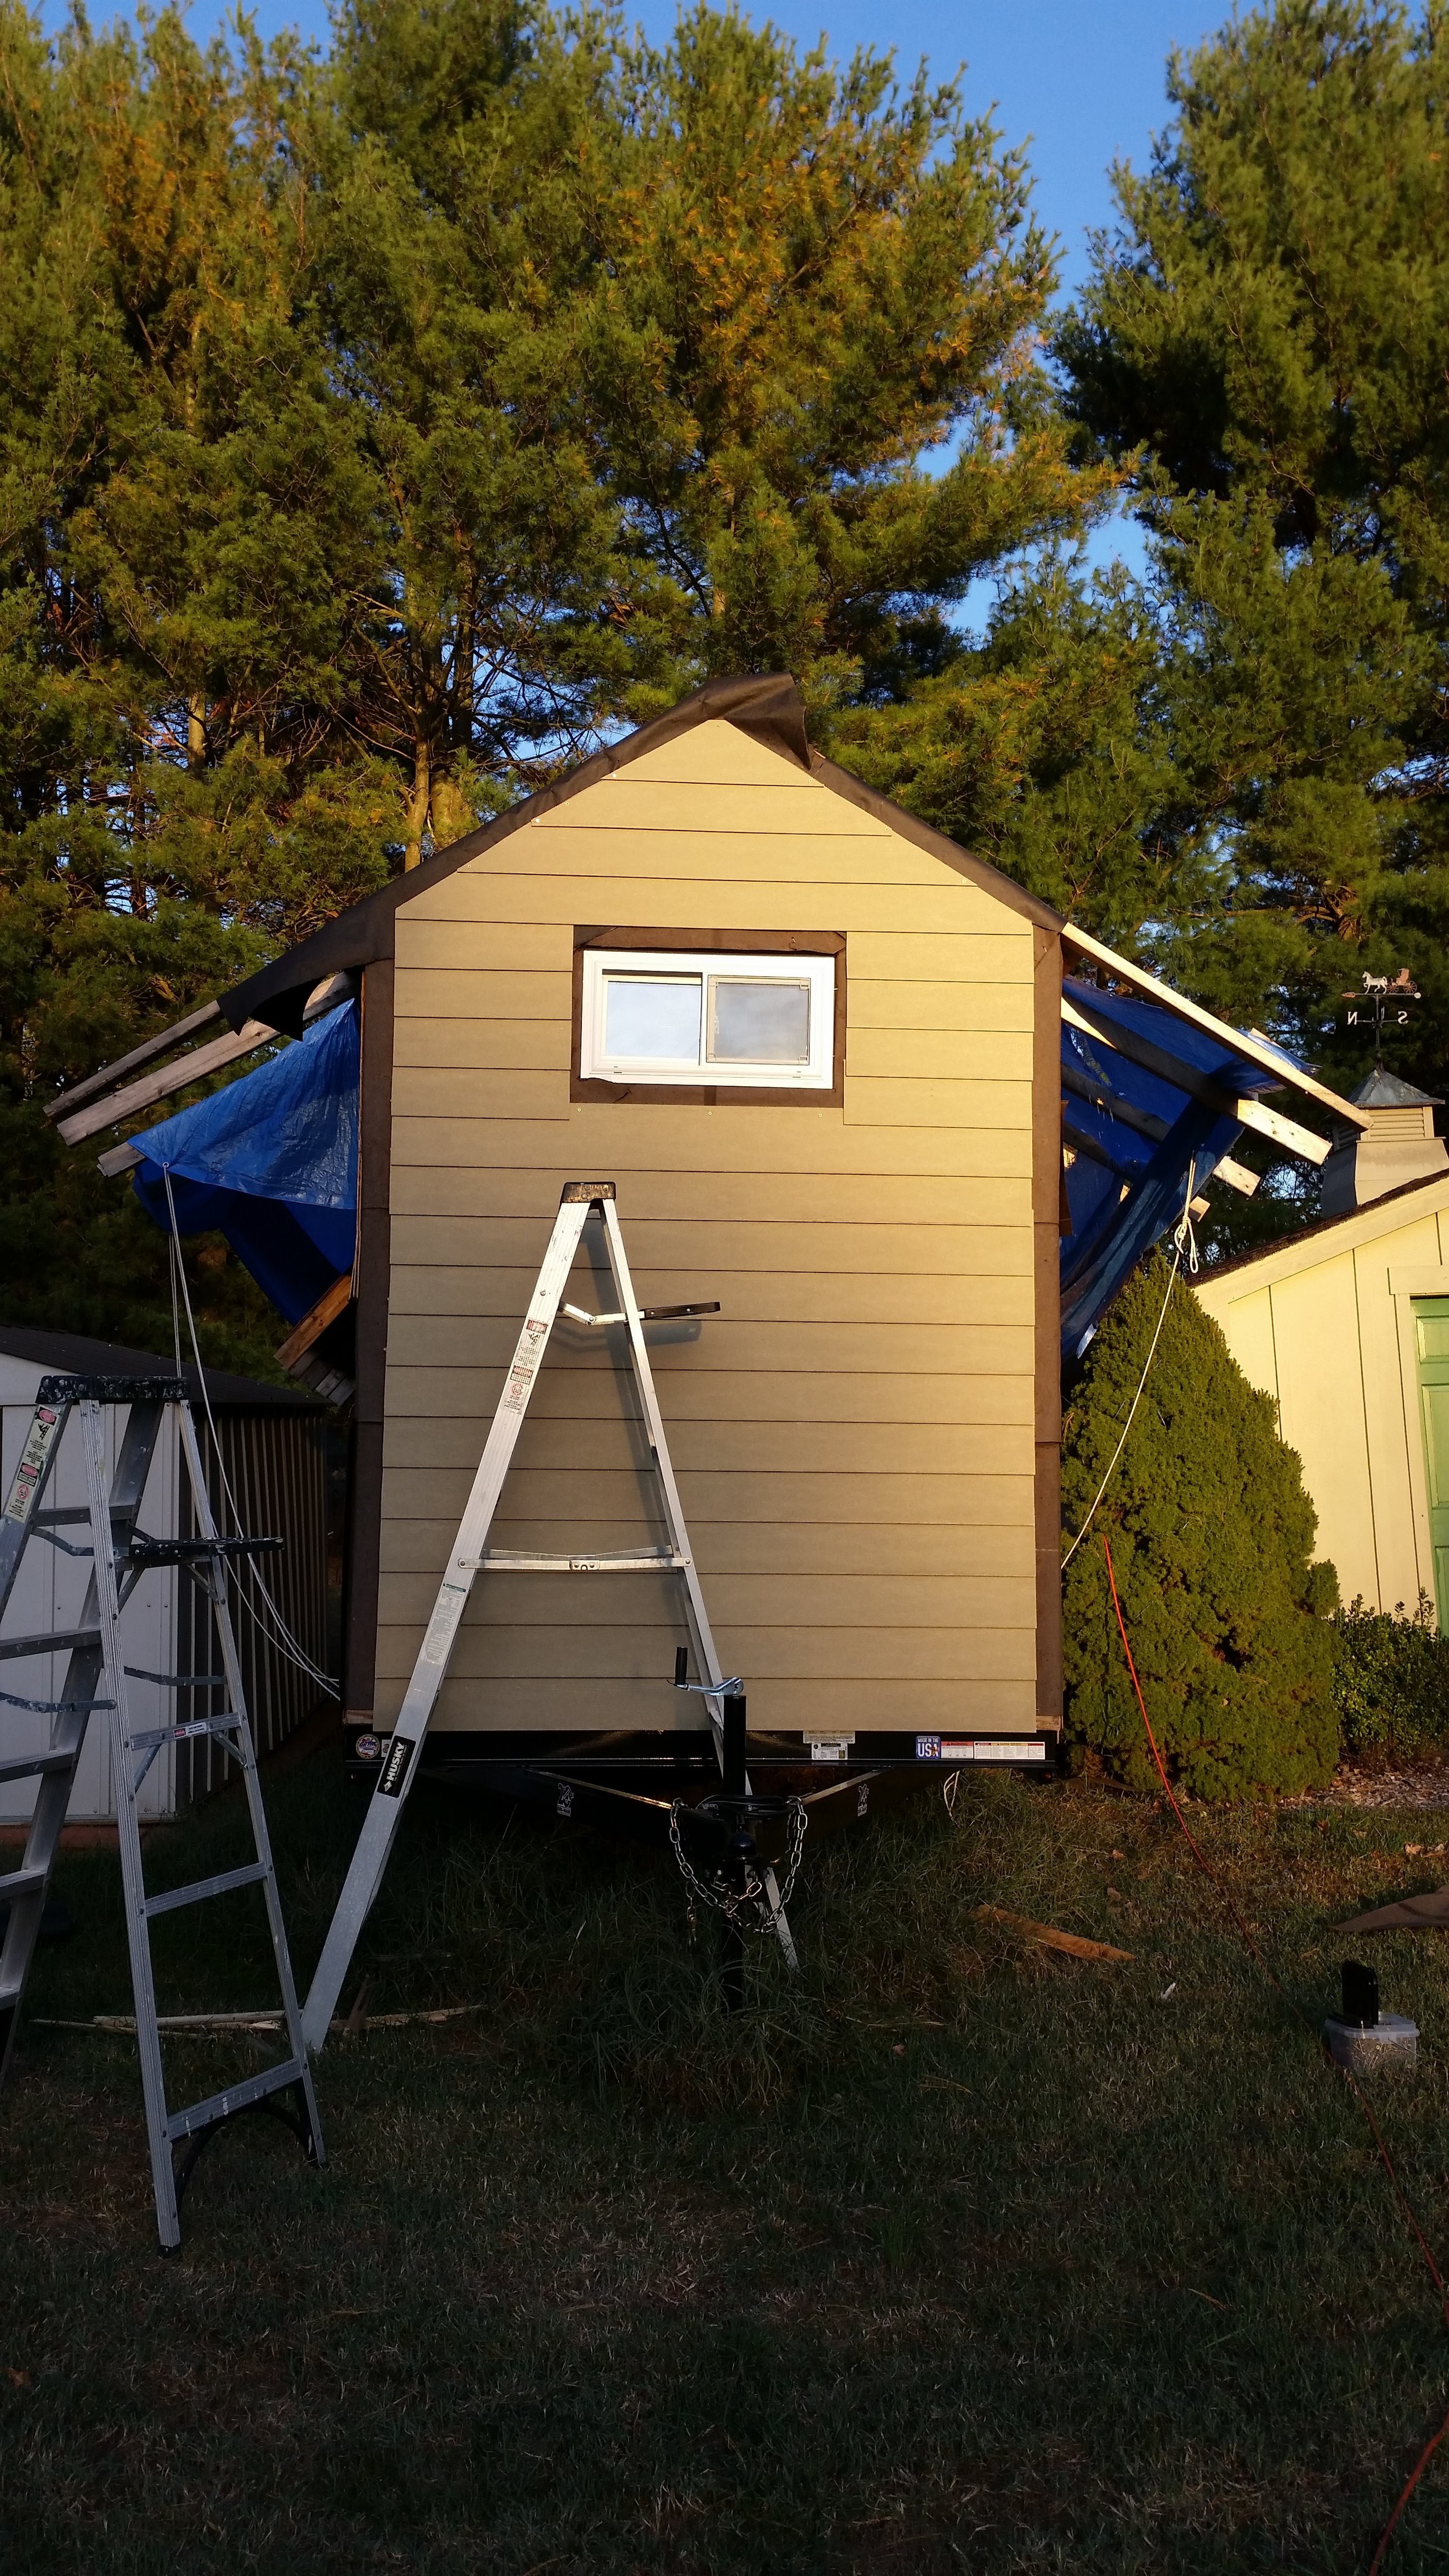
Once I returned to construction, I cut the tar paper over the window holes and set the windows into the frames. At this point, the neighbors approval of the project returned slightly, but they were still not thrilled. Then the magic of siding was realized.

All of a sudden, the tiny house looks magical once more! It only took a few hours of work to transform the tiny house from a fading collection of tar paper to a gorgeous tiny house. 

The siding I am putting on is coated in primer, which gives it the gray appearance. Even though this is not a very pleasing color, I received many positive comments on the choice of color for the siding because it was such a great improvement over the aging tar paper.

Sheer and Shelf Clamp

The chine log is the major structural stringer on the lower part of the frames, and the sheer and shelf clamp are the major structural stringers on the higher part of the frames. These three stringers tie all the frames together and spread the loads around, evenly distributing the forces on the hull throughout the other members.  

The sheer is the top strake that runs on the outside of the frames. The shelf clamp is the strake that runs on the inside of the frames. These two stringers tie the tops of the frames together into a very rigid and strong unit where forces are distributed throughout the members of the hull.

The sheer and shelf clamp also go by many different names which do serve to denote their position, but are not the most correct of terms for these pieces of wood on a boat. 

The sheer is also called the gunwale or outwale. The shelf clamp is often called the inwale. The terms inwale and outwale are rather informative, identifying the strakes that run on the inside and outside of the top of the hull. Gunwale came to be because guns sit over the top of this strake as they aim out towards other vessels. While these names are commonly used, it is still preferred to call them by their correct names: Sheer and Shelf Clamp. 

The sheer is considerably thicker than other topside planks and is ideally made out of a single continuous piece of lumber. If the span is too long to make it out of a continuous piece, scarfing is acceptable and preferred over butting.  

The shelf clamp is crucial as it ties the sheer to the top of the frame and attaches the deck above it. The sheer and shelf clamp are through fastened, tying the top of the frame to the rest of the members with considerable pressure, negating the posibility for any movement to develop and loosen this junction. The deck then attaches to the top of the shelf clamp, forming a very strong component that ties the whole boat together in unison. 

With these two stringers connected, the frames will become incredibly resistant to forces placed upon them as the boat is being tied together. 

Tiny House, Huge Window

The process of installing the windows in the tiny house is becoming a trying event. The house is not perfectly square, but the windows are! This means that one side of the window is a bit loose in the frame while the other side won't even fit.

The large window, which requires two people to manage, is test fitted into the hole where problem areas are identified. The usual culprit is the plywood sheathing. When I cut the window holes out, I wandered a little from a perfect straight line. These wandering a lead to small peaks in the plywood projecting into the window frame.

The window will rest on this small protrusion and rock to one side or the other, making one of the corners overlap with the wall and not fit into the frame. To trim off these small annoyances, I use a hand saw and cut flush with the 2x4 framing. This removes the error while providing a clean smooth surface to receive the window.

After several test fits, the window will finally fit into the frame! A few screws are placed on each side of the window to tack it to the wall and avoid any disastrous window jettisons. This allows me to walk away and observe the window from a distance, to evaluate the squareness from a far. If the window seems crooked, now is the time to correct it by placing small shims inside between the window and the frame.

Shimming the window is temporary, as it is only needed until all the screws are installed. Shimming also gives you the ability to hold the window in place while you re-evaluate its squareness. Building on a trailer not set on level ground precludes you from using a plumb bob or bubble level, instead you need to rely on your eyes. Comparing the sides of the window with the sides of the tiny house will tell you if it looks straight or not. In the end, looking straight is the whole objective!

With the window straightened out, all the screws are installed, wrapping the window in a barrage of tiny stud screws which collectively hold this massive window in place. Once all the screws are installed, it is safe to remove the shims as they are no longer needed nor functional in this type of construction.

image.jpg