Tiny House, Huge Window

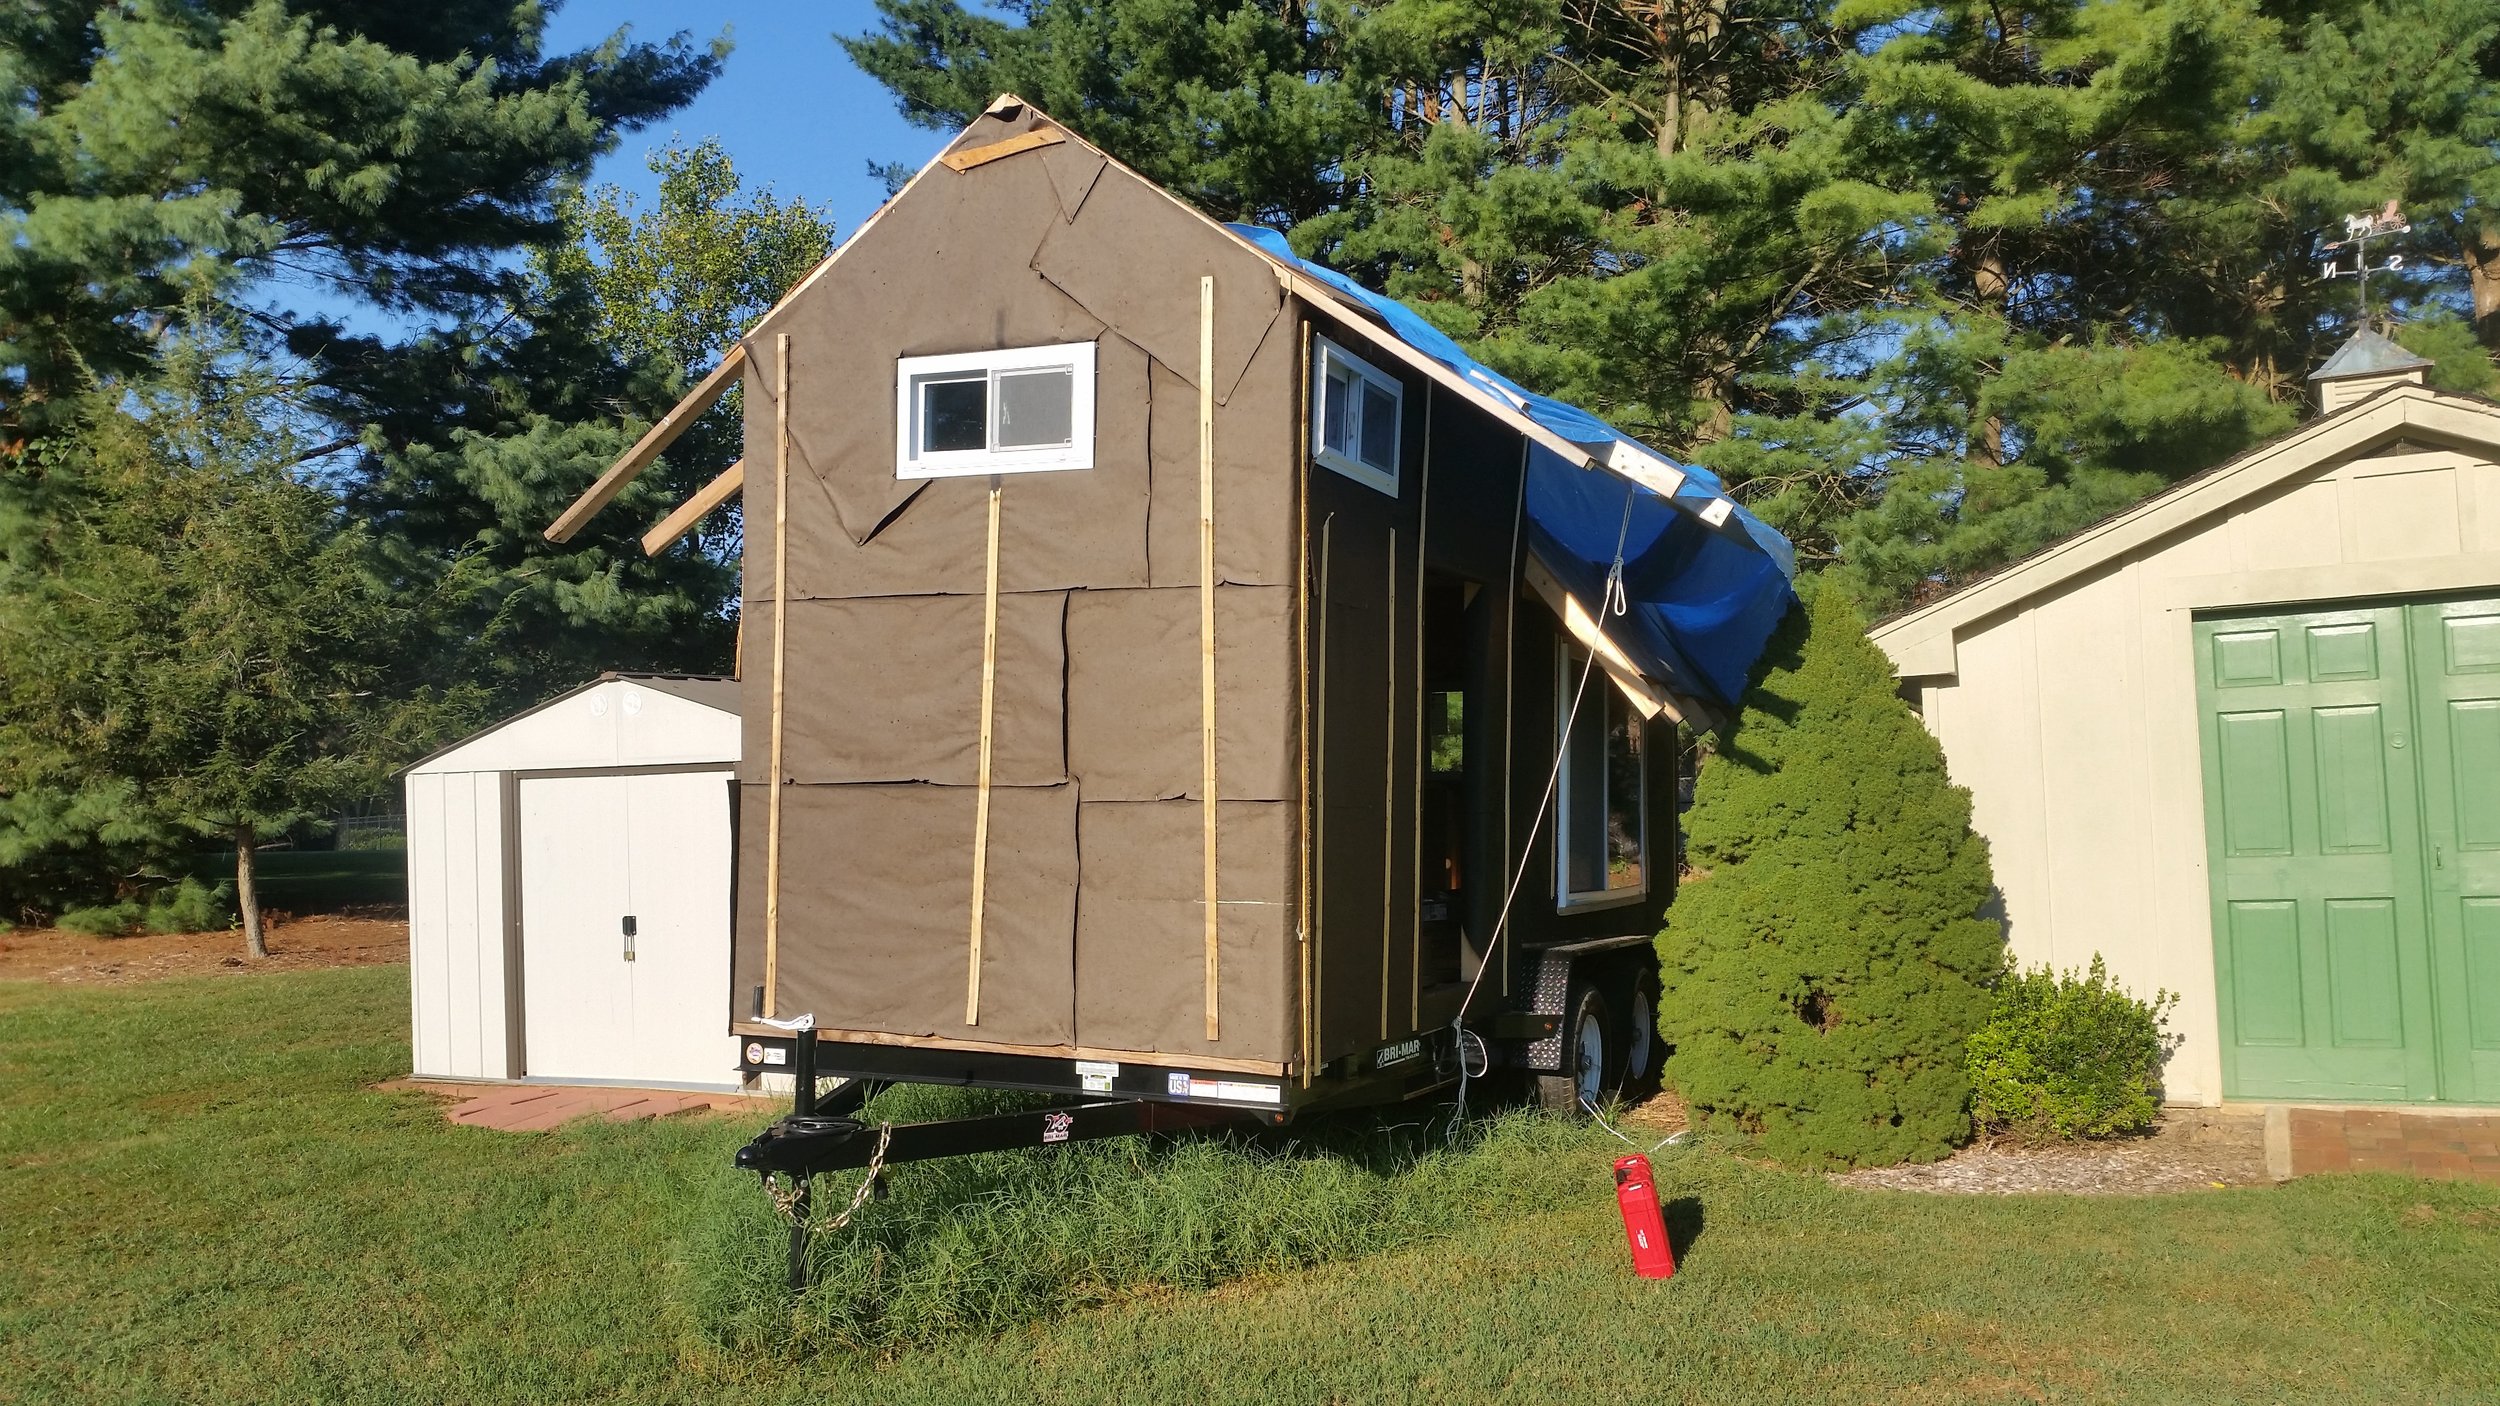
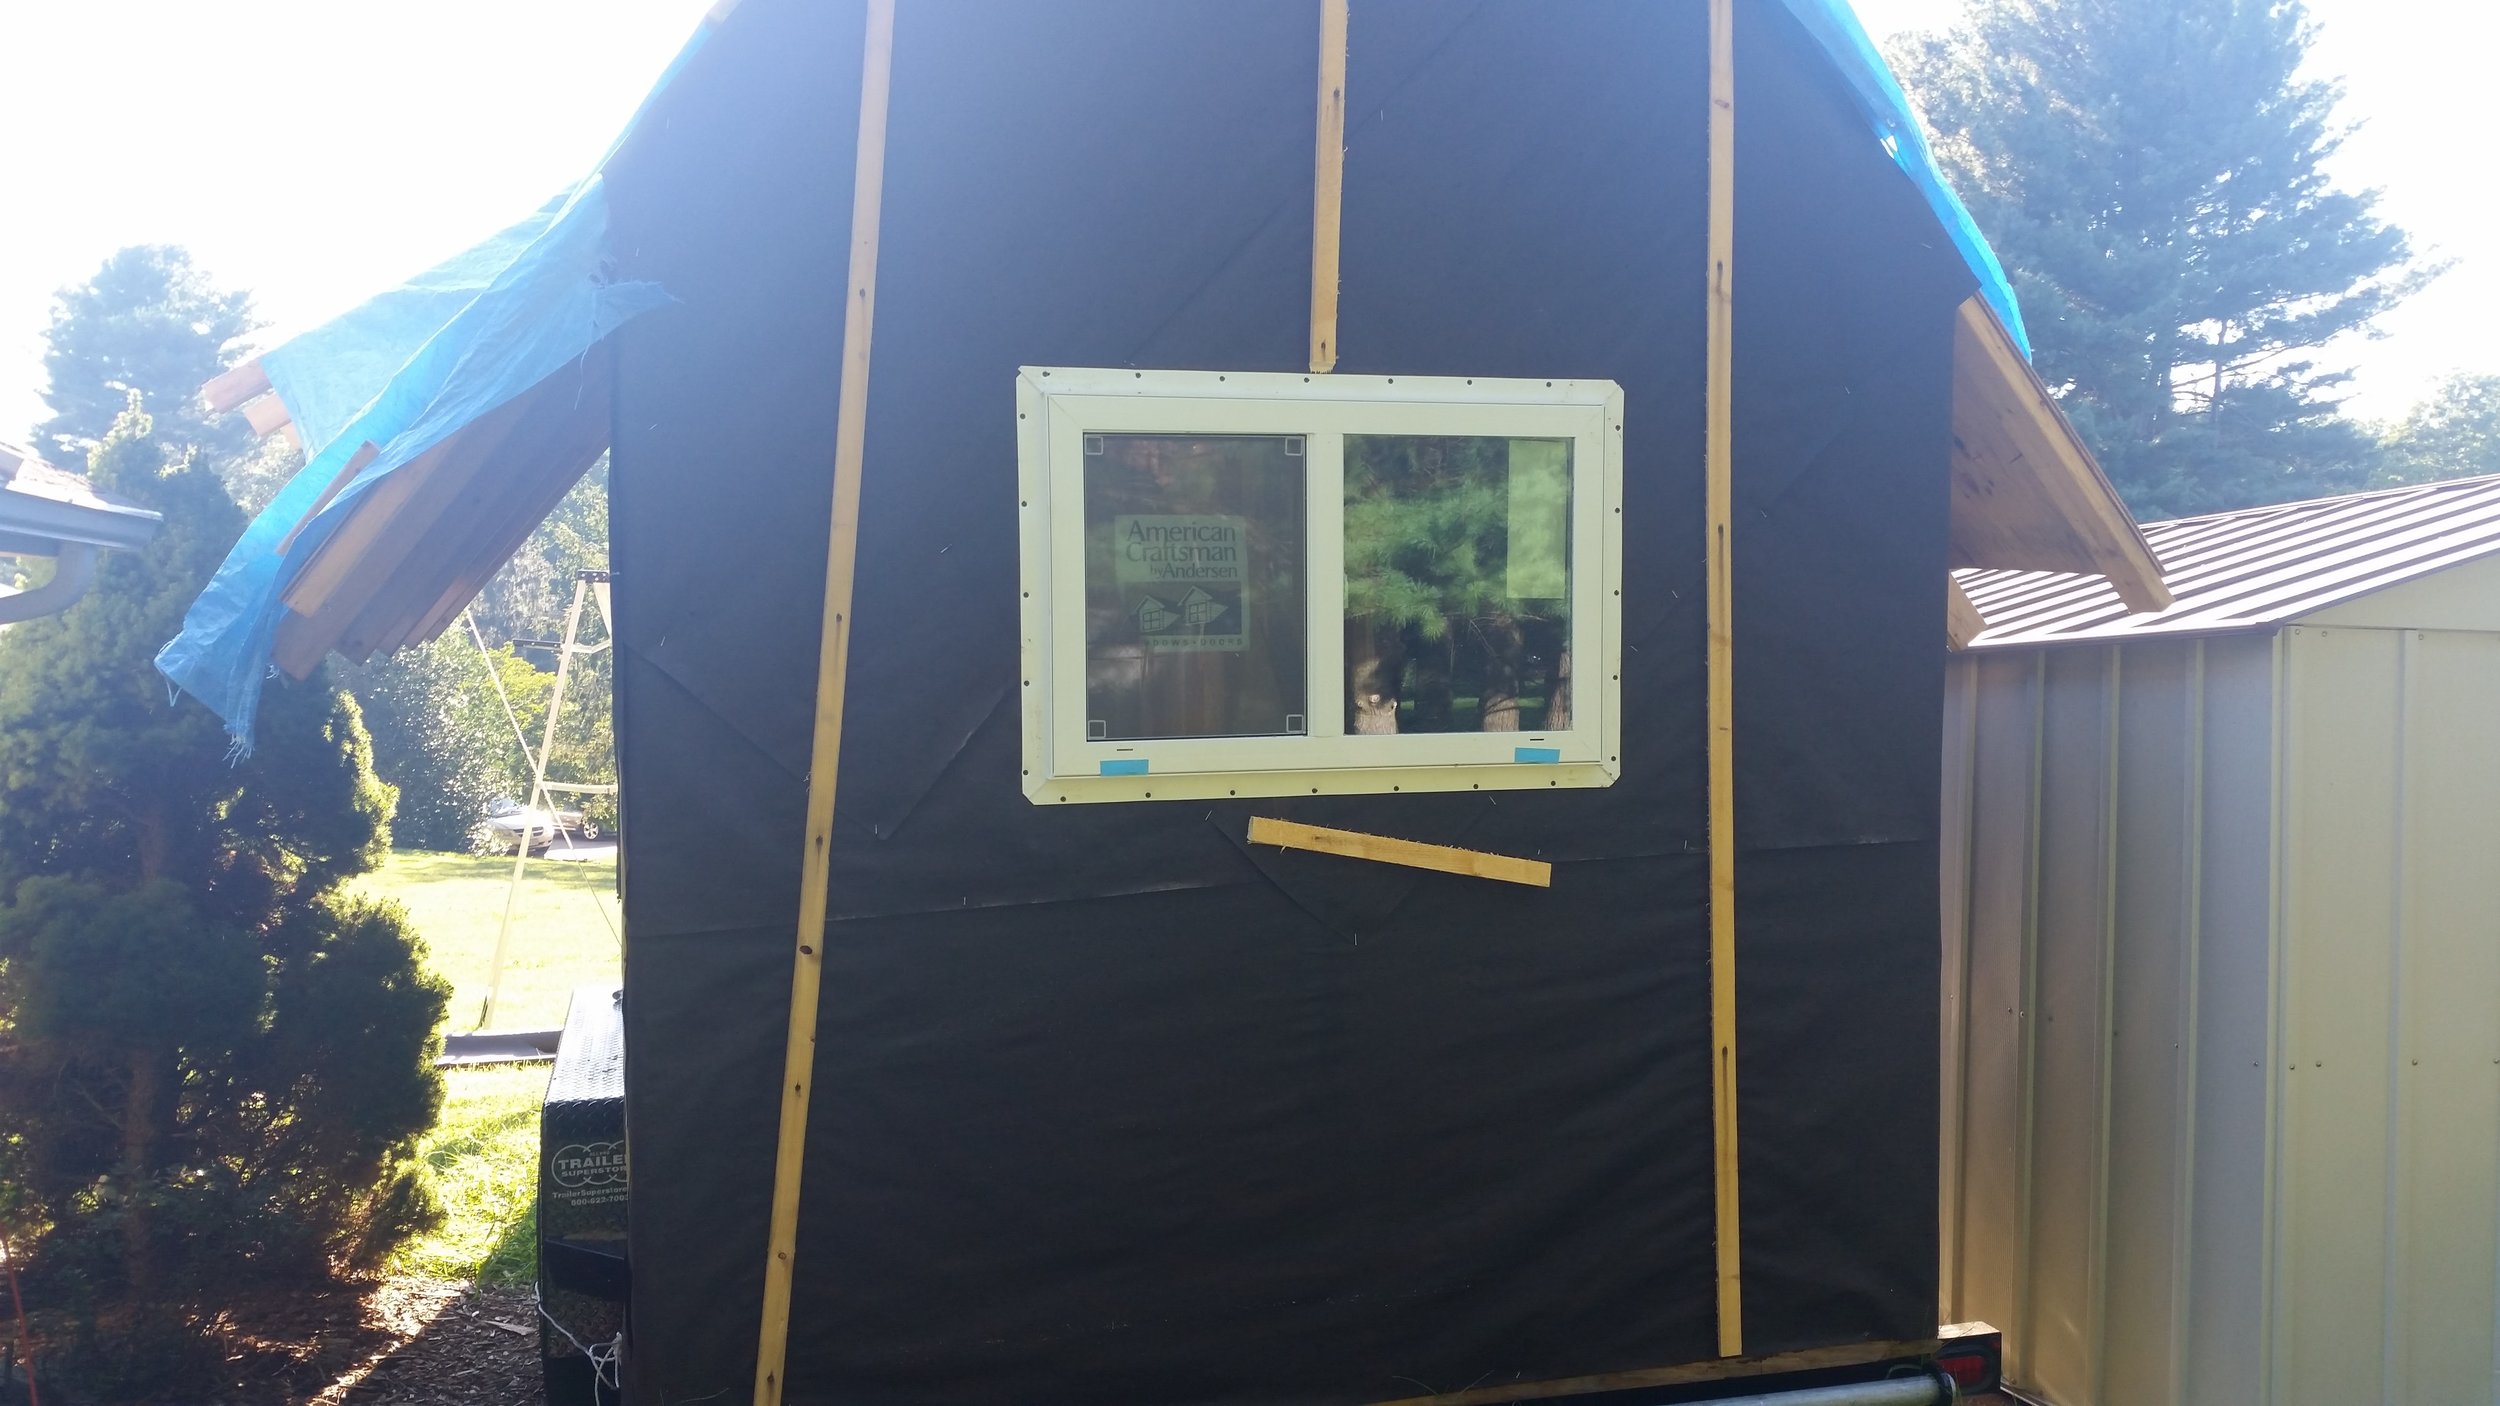
The process of installing the windows in the tiny house is becoming a trying event. The house is not perfectly square, but the windows are! This means that one side of the window is a bit loose in the frame while the other side won't even fit.

The large window, which requires two people to manage, is test fitted into the hole where problem areas are identified. The usual culprit is the plywood sheathing. When I cut the window holes out, I wandered a little from a perfect straight line. These wandering a lead to small peaks in the plywood projecting into the window frame.

The window will rest on this small protrusion and rock to one side or the other, making one of the corners overlap with the wall and not fit into the frame. To trim off these small annoyances, I use a hand saw and cut flush with the 2x4 framing. This removes the error while providing a clean smooth surface to receive the window.

After several test fits, the window will finally fit into the frame! A few screws are placed on each side of the window to tack it to the wall and avoid any disastrous window jettisons. This allows me to walk away and observe the window from a distance, to evaluate the squareness from a far. If the window seems crooked, now is the time to correct it by placing small shims inside between the window and the frame.

Shimming the window is temporary, as it is only needed until all the screws are installed. Shimming also gives you the ability to hold the window in place while you re-evaluate its squareness. Building on a trailer not set on level ground precludes you from using a plumb bob or bubble level, instead you need to rely on your eyes. Comparing the sides of the window with the sides of the tiny house will tell you if it looks straight or not. In the end, looking straight is the whole objective!

With the window straightened out, all the screws are installed, wrapping the window in a barrage of tiny stud screws which collectively hold this massive window in place. Once all the screws are installed, it is safe to remove the shims as they are no longer needed nor functional in this type of construction.

image.jpg

Loft Windows

The loft windows are "replacement windows" meaning that they are designed to slip into an existing window frame. There is no flange that attaches to the sheathing, instead, the window simply screws into the existing frame. Shims are very helpful with these windows to get them straight and level.

After the windows are crudely screwed into place, the siding and window frames will cover up any voices and irregularities in the installation. Expanding foam will also be sprayed into the gap to seal out any drafts that could rip through the windows in the winter.

The loft windows will provide plenty of ventilation to the loft allowing us to sleep in there with comfort. The screens on the windows will also help keep any critters at bay.

These windows, with their eight screws, went in very easily and require very little skill to install. If I had the choice, I would say that regular windows offer more strength in their installation, but these windows install much more easily.

Fastening the Chine Logs

The chine logs run through the frame notches at the turn of the bilge and terminate at the back of the stem and front of the transom. The transom has yet to be built and the stem has yet to be attached to the keel, so for now the chine logs simply extend further than they are needed. Once the stem is attached, the chine logs will be cut flush with the back of the stem and set in place permanently. 

The hull turns towards the bow to meet at a central point while the aft section is relatively flat. The hull is composed of five frames, and only the last two are set relatively flat. This means that the front three frames are pretty much in line with each other until the hull curves towards the transom. 

To make installation and fastening easier, I began at the first station and worked my way aft. The chine log was held in place by hand and a pilot hole was drilled through the chine log and into the bottom futtock.  

image.jpg

With the first three stations screwed into place, the chine logs were bent back into place and aligned with the chine notches of the last two stations. As they were held in place, the pilot holes were made and the bronze fasteners were screwed into place, securing the chines and tying the whole hull together. 

upload.jpg

Titebond III was also liberally applied to the faying surfaces between the chine log and frame notch, further reinforcing the bond between these structural members.  With the chines in place, the frames already feel much more secure and stable!

image.jpg

Installing Windows

Not the computer program, but equally as frustrating when trying to install!

I decided to install the smallest window first, as it is straight forward and low to the ground. This would be good practice for the massive windows that will fill the walls on the sides of the tiny house.

The back window is 36 inches wide, at least that is what the sticker on it said. So I built the tiny house to have a window frame that is 36 inches wide! When I went to install it, the window didn't fit because it is actually 36.25 inches wide. Oh joy!

I cut 1/4 inch notches into the frame on one side of the house and then began splitting the flat sawn 2x4 with a wood chisel. 

After mutilating 1/4 inch off of the the window frame 2x4, the window should now fit in its frame.

With the frame cut out to the appropriate size, the window was able to drop right in, be shimmed to level it, and then screwed into the sheathing and 2x4 frame. 

From the inside, an important step can be visualized. The tar paper that was covering the window should be folded into the window and wrapped over the frame. This will help keep that wood from rotting away because of rain water seeping in around the window frame.

Notching the Frames

The chine log needs to be set into the frames at the turn of the bilge. This means that the corner needs to have a section cut out of it which will hold the chine log. If you a building a large craft where proper lofting was carried out, the chine log notch would have been cut when the futtocks were being cut out and assembled.  

Since we are building a small dinghy, we do not have a full set of plans and proper lofting was not carried out. The futtocks were cut out and shaped with no regards for bevels or future stringers, and simple assembled onto the keel where they await further fabrication. 

They say the beauty of building a dinghy is you can make up your mind about the finished product as you go! This statement could not be more true. You start off with a set plan in mind and then modify this plan based on materials you have access to and ease of building. 

The depth of the chine log was cut into the corner using a handsaw. Once the cuts were made, the retained wood was chiseled out in small quantities. The end result was a rather well fitting notch that will retain the chine log and tie the frames together, offering loads of rigidity to the hull of our dinghy. 

image.jpg

Once all the frames were notched, the chines could be test fitted to ensure that they will lay fair and flush with the curves of the hull. 

image.jpg

One important point that does require some forethought is the fasteners that connect the futtocks need to be set in a way that they won't interfere with the chine log. I set the lower screw more inboard and the upper screw outboard. The upper screw and lower screw were set outside the imaginary area that would become the chine notch. This allowed me to simply cut out the notch without needed to relocate any fasteners. 

image.jpg