Electronics Decrease the Value of Your Yacht

When you go to sell your yacht, a survey will be performed. A survey is pretty much the equivalent of a "Board Exam" for boats. This is a massive exam where everything your boat can do is tested to its fullest potential. The more gadgets and gizmos you have on your boat, the more test questions your boat test will have.

The way this exam is graded is very unfair:

If you get 1 out of 100 wrong, you don't get a 99%; you get 1.
If you get 1 out of 5 wrong, you don't get a 80%; you get 1.
If you get 10 out of 100 wrong, you don't get a 90%; you get 10.
If you get 10 out of 20 wrong, you don't get a 50%; you get a 10.

Having more accessories on your boat only increases the length of the list to be tested, and every accessory that doesn't work gets added to the list of problems with the boat. The longer the list, the harder it will be to sell the boat (or the further you will have to come down in price to sell the boat).

I saw a survey where the owner installed a third A/C unit in the salon, and it didn't work. The surveyor listed this as a problem that needs to be fixed. No one cares that the fourth A/C unit (that doesn't exist) doesn't work! If he didn't have the unit, the surveyor would have simply said: "Two A/C units in the salon that work well" and nothing would be added to the list.

My favorite accessory that didn't work was a set of LED underwater lights. These lights are not important in the realm of boating, they supposedly attract fish to the surface when fishing by night. 

This unnecessary non-functional accessory went down on the list as non-functional which goes down on the list of "Recommended Corrections". This list is used by the buyer to negotiate an even lower sale price, and the longer the list, the more the buyer can negotiate.

If you have less accessories in the boat, then you will have fewer items that don't operate and a shorter list overall. Next time you go to install some doodad from the boat show, think about how necessary it is to your boat and if it is worth the loss in value when the accessory fails.

Dodger Snaps

The snaps that hold your dodger to the deck can become a nightmare to work. Being exposed to a marine environment for a short amount of time can cause the metal components of the snaps to corrode. This corrosion can make any attempts at manipulation a true chore. If the corrosion gets severe enough, you do run the risk of ripping the snap out of the canvas!

To avoid these problems, oiling the snaps will help keep corrosion at bay. I would caution against spraying oil onto these snaps, as it will get on the canvas. If you have light colored canvas, these oil stains will show up clearly from a distance! 

Instead of ruining your canvas to maintain your snaps in operational condition, use a Q-Tip. Wetting the cotton end of the Q-Tip with oil will safely contain all the oil you could need for the snap without having excess run into the cloth around it.

Simply place the oil soaked cotton into the snap in the canvas to lubricate the mechanism. This will lubricate the metal and help retard any corrosion without putting too much oil into it and causing it to run into the canvas.

Now your snaps will remain easy to operate and provide you years of headache free operation.

Islander 36 Conversion: Starboard Lowers

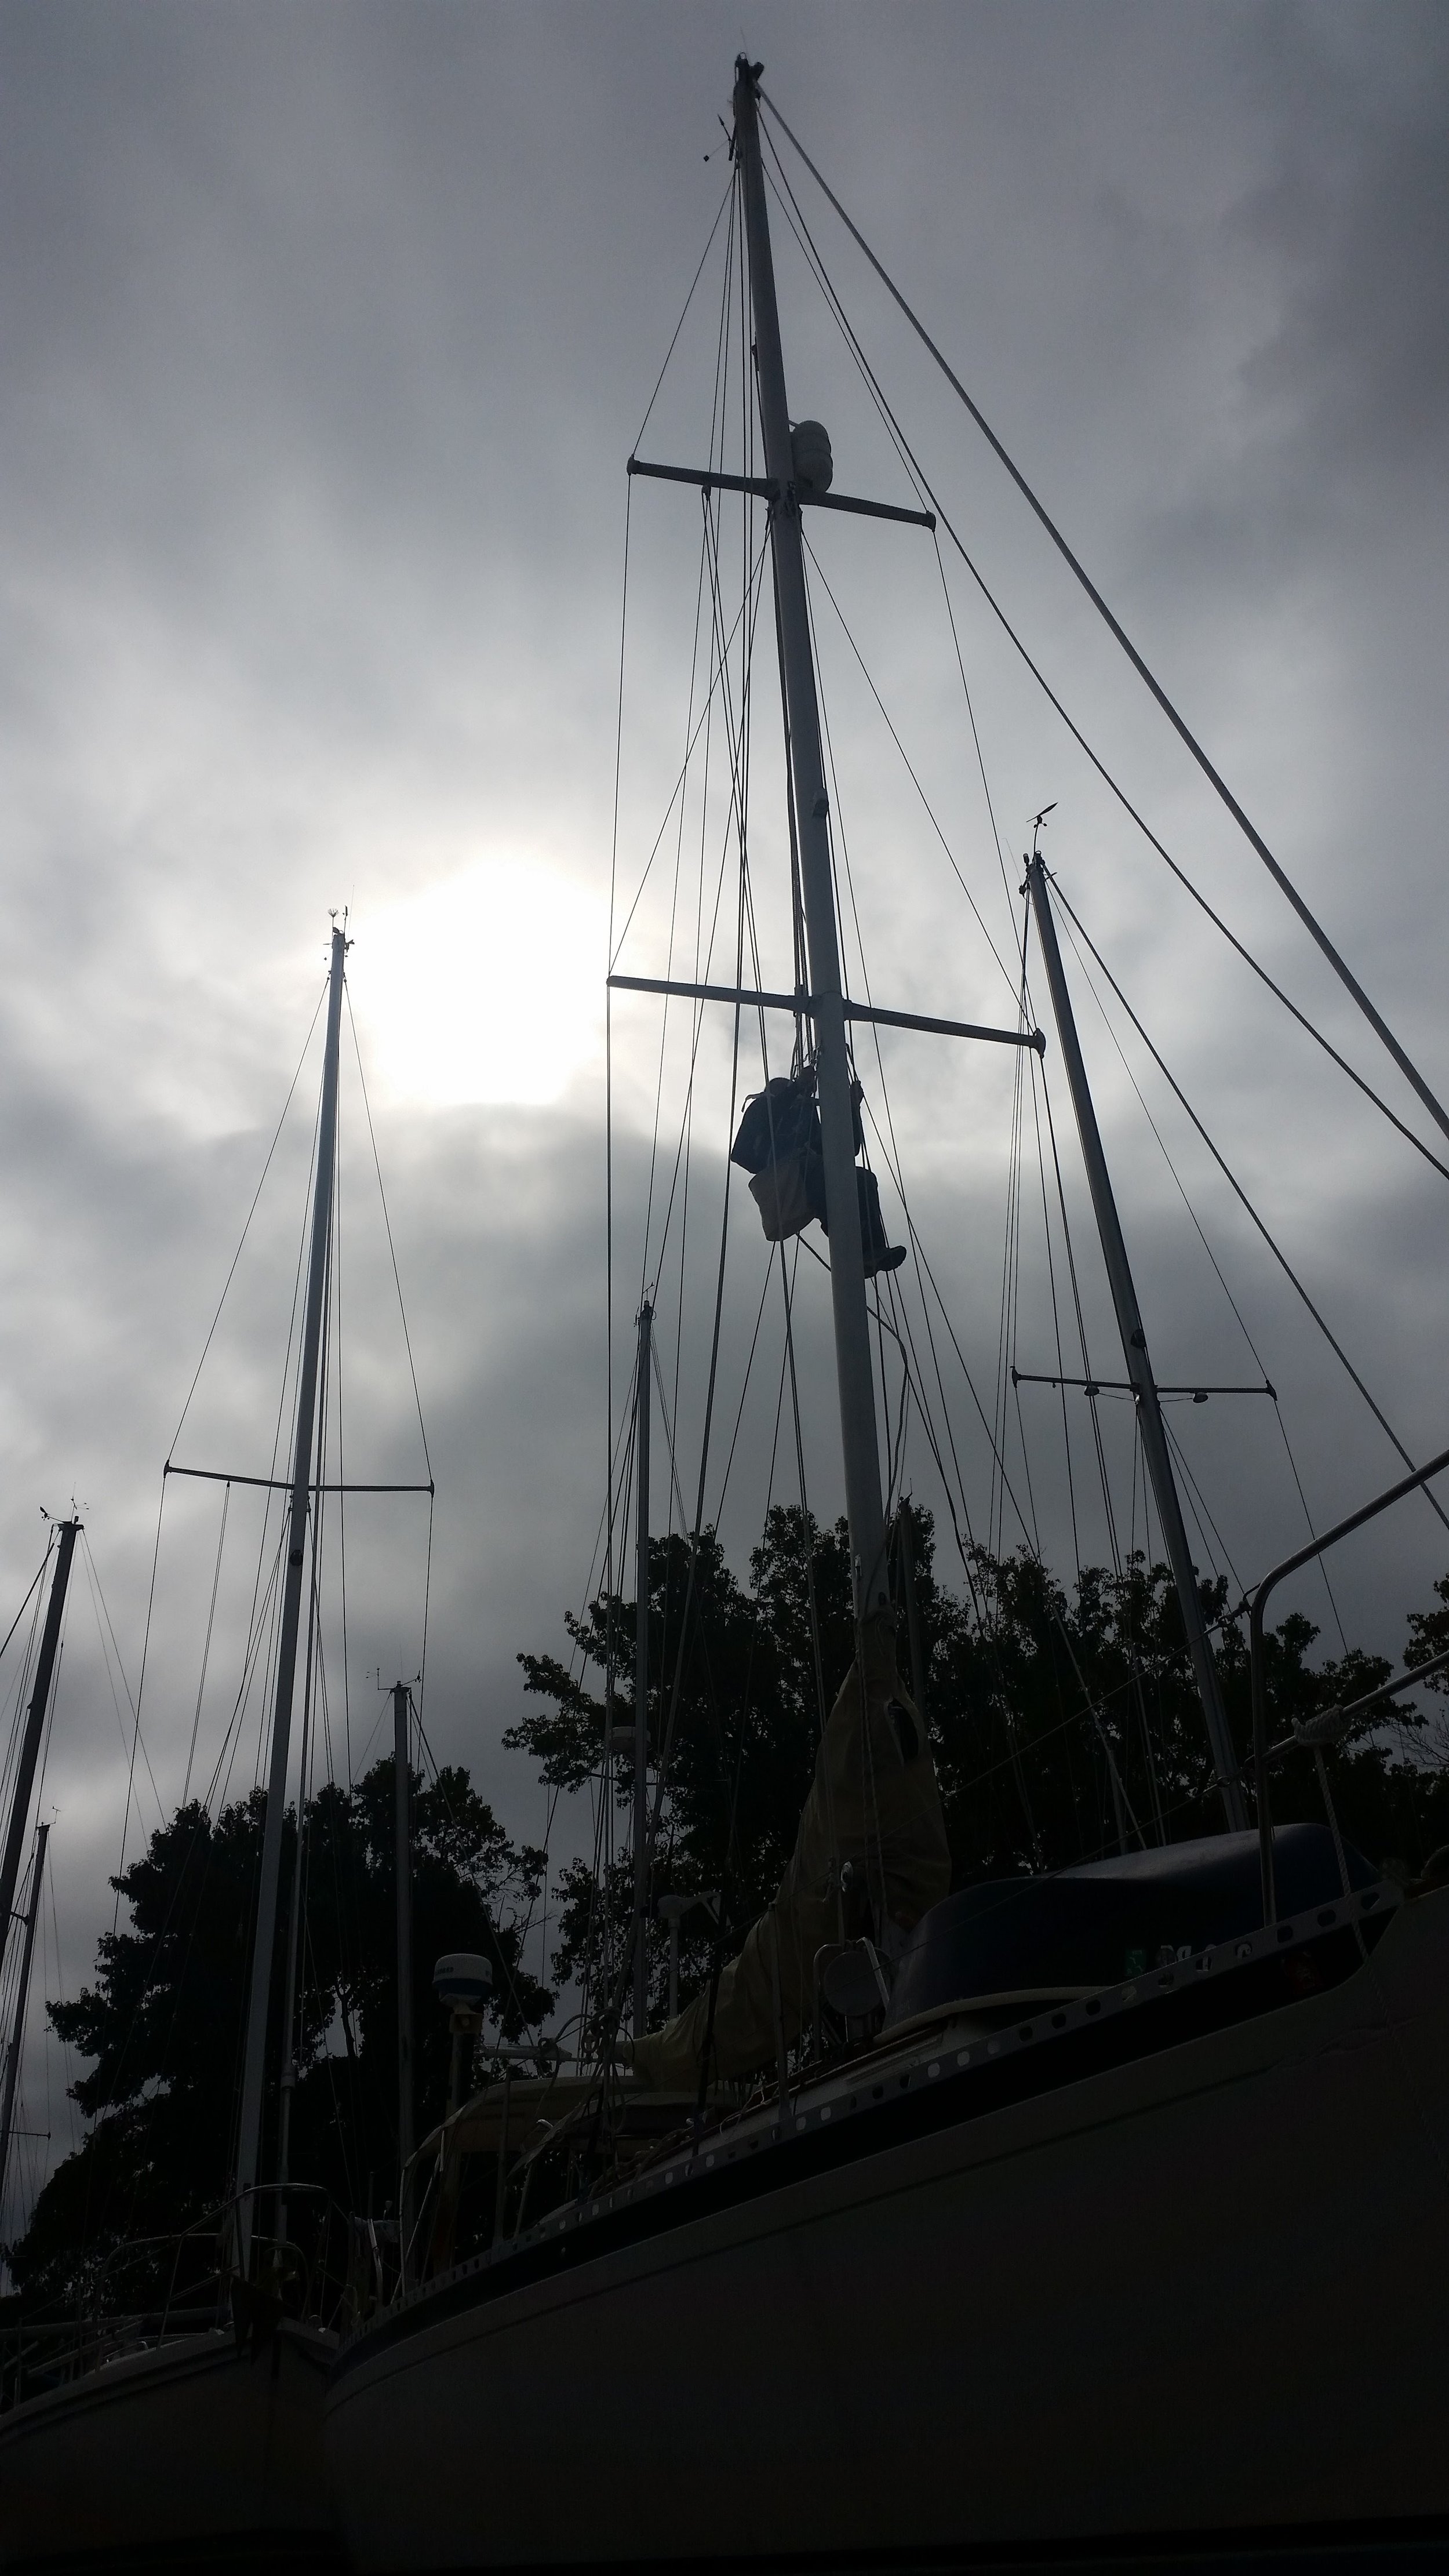
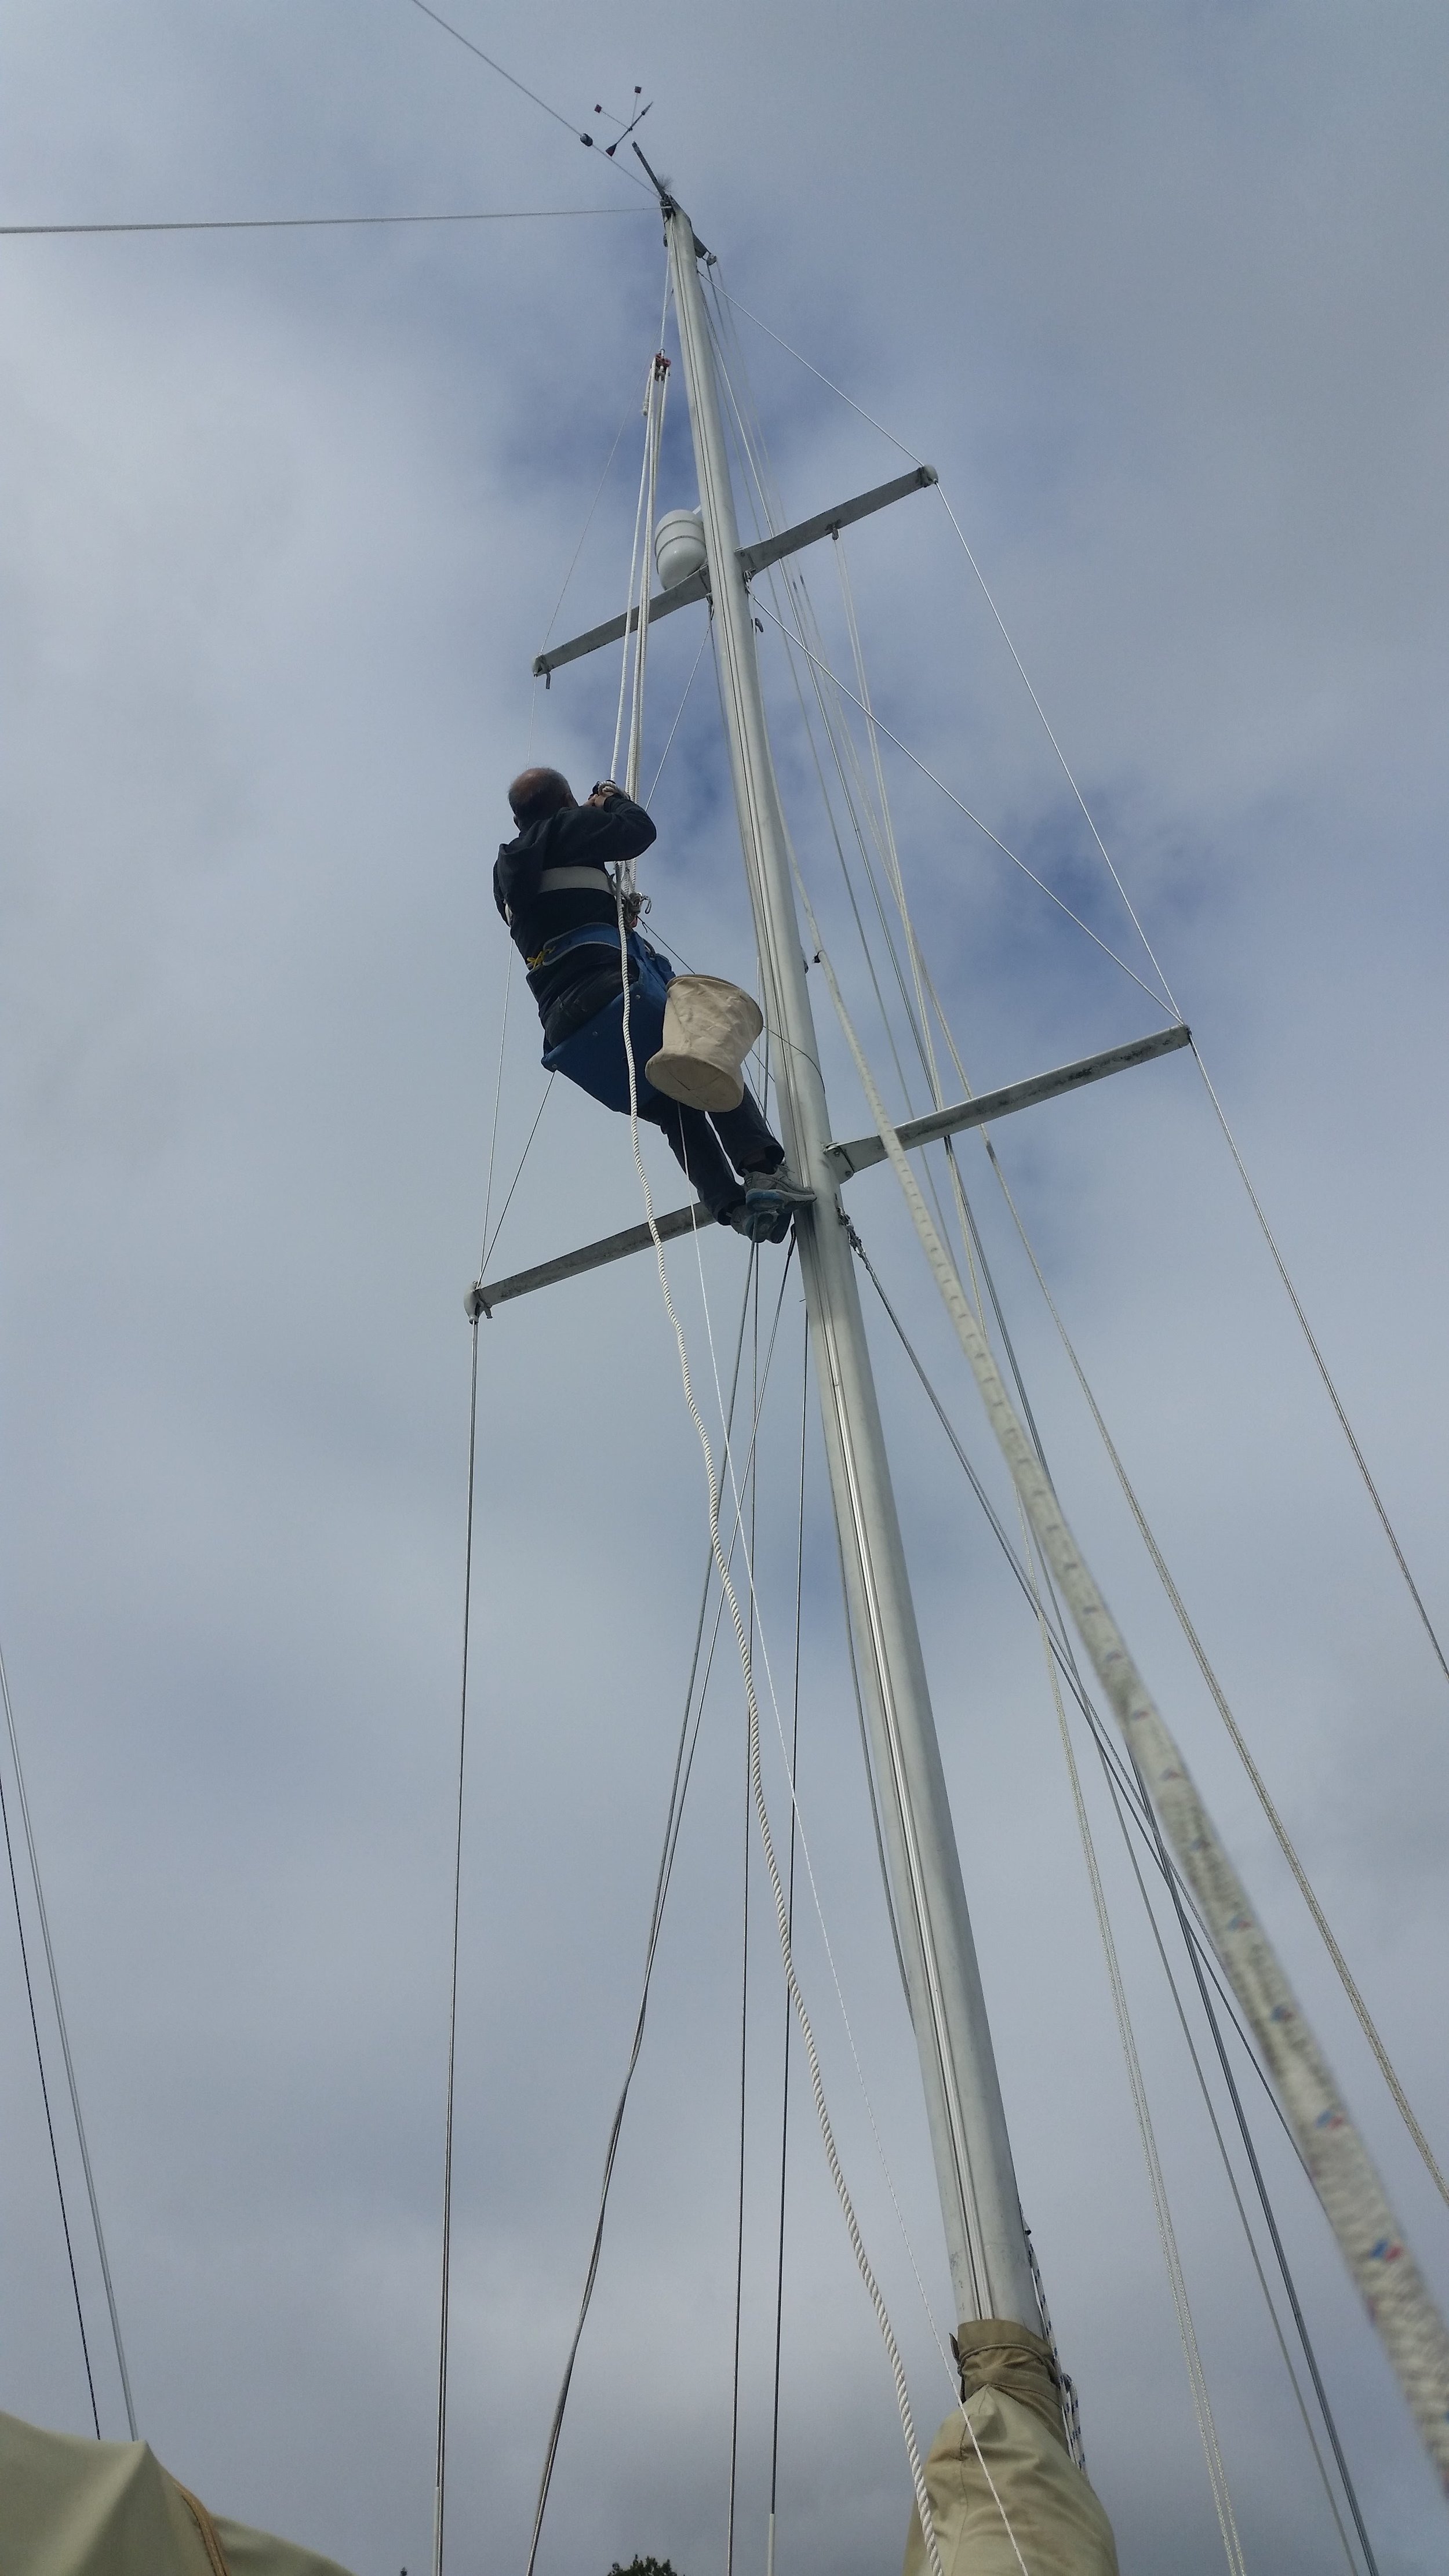
The first stays that were put up were the starboard lowers. There were many reasons for this, as they are the lowest stays on the mast and served as a great demonstration stay to the owner of what he was expected to do. I was able to demonstrate how to use all the gear to climb the mast and how to remove and install the stays from the mast. After a brief climb and explanation, the owner was able to use the gear and do the rest of the work himself. Once the lowers were connected, I tied them to their deadeyes and tied the excess out of the way for the mean time.

With the mast fully supported on the port side and the jib halyard set to the starboard lower chainplate, along with the cap shrouds in place, the owner climbed the mast to remove the seizing from the tips and prepare to remove and install the new cap shrouds.

The plan was to do all the stays on the starboard side and then begin working on the port side. This minimized the number of times we would need to move the jib halyard during the installation process.

Islander 36 Conversion: Installing the Synthetic Standing Rigging

The synthetic standing rigging is completely fabricated and ready for installation!

To save on labor, the owner is doing the installation himself and I am simply tensioning the stays once they are in place. This sailboat is a double spreader rig, so the conversion is rather straight forward.

We decided to start on the starboard side of the rig. The first trip is up to the first spreader to remove the old lower stays and connect the new ones, then out to the lower spreader tip to remove the seizing. After that, a short trip up to the second spreader to remove the seizing from the tip as well. This is all performed with the mast properly stayed on the port side with the jib halyard tied to a starboard chainplate. 

The process will proceed as quickly as the owner can work, as he gets them connected at the top of the mast, I can go tying them to their respective deadeyes.

Islander 36 Conversion: Shroud Service

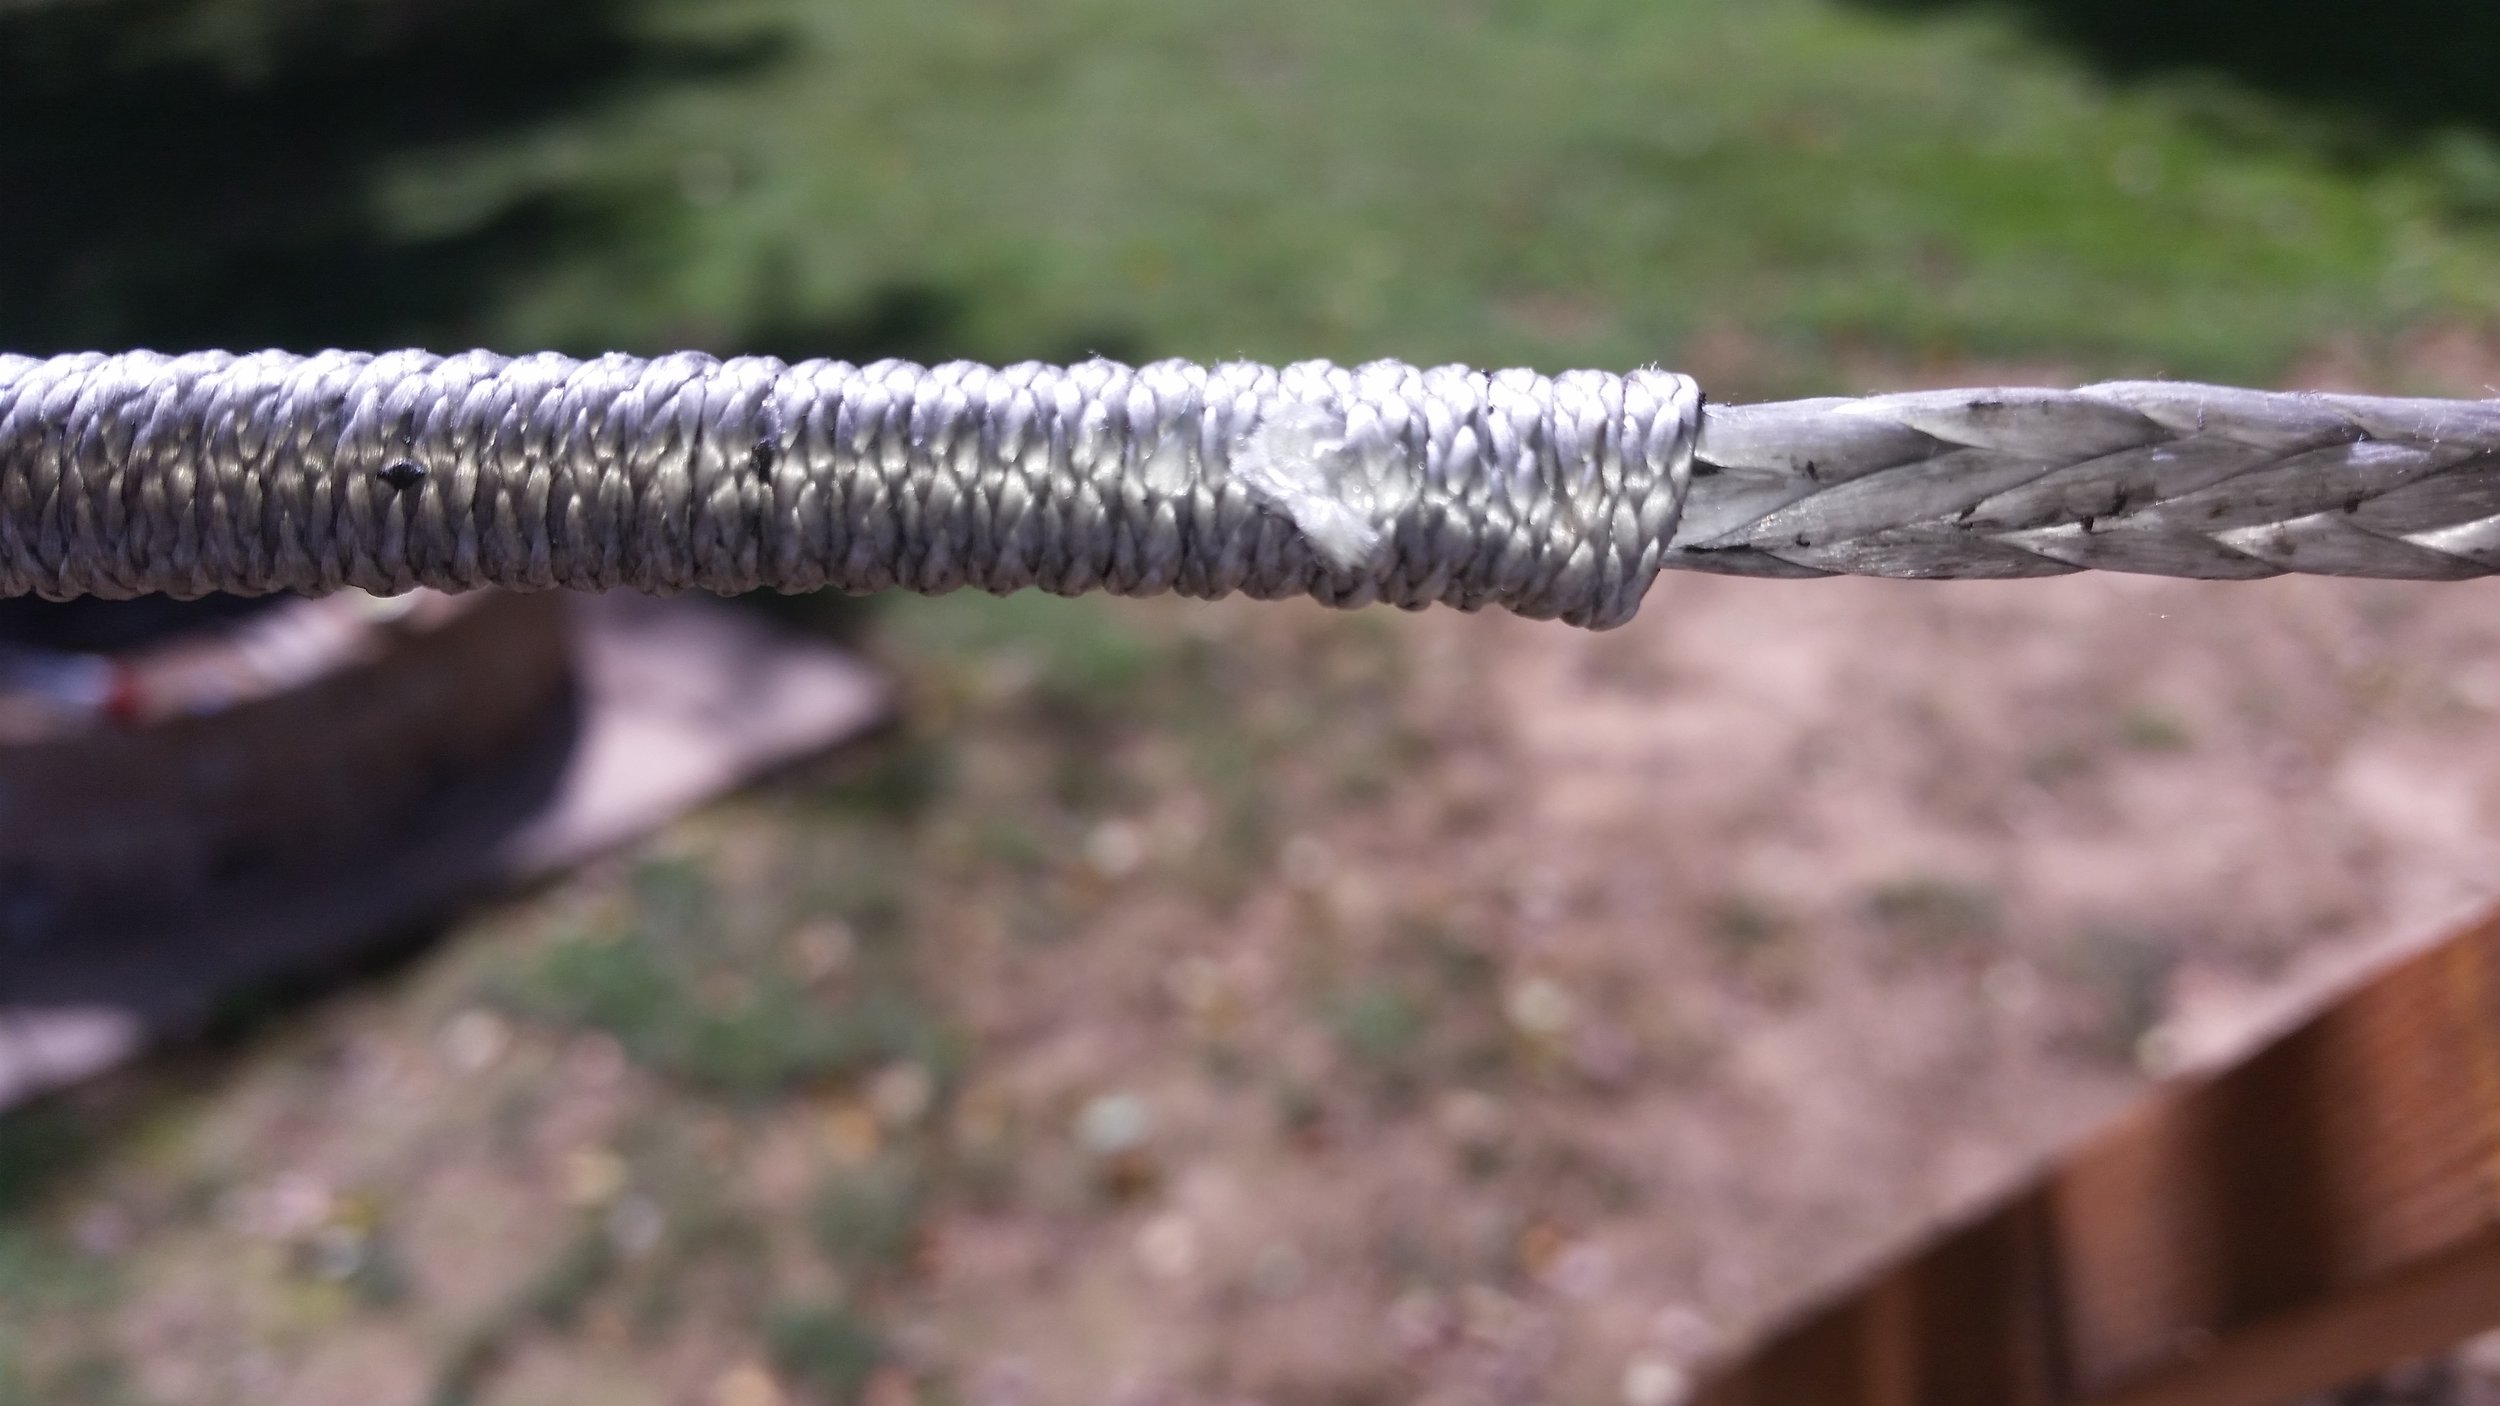
Service is tightly wrapped line that protects the underlying rope from damage caused by chafe. Service is applied using a serving mallet which is a tool used to create incredible amounts of tension on the line and install the service line in a very organized and methodical fashion.

The spreader location is marked on the shrouds, indicating the location of the current spreader tip. This position may not actually be the ideal location, so the mark should be considered a guide and not an absolute. Spreaders vary in position by a few degrees, which translates to a few inches at the spreader tip. 

For the sake of numbers, if a spreader tip can vary by 6 inches (up or down) and you do not know where it is in its range, its position could be +/- 6 inches. This becomes a 1 foot span of possible spreader tip contact points. For the sake of safety, I plan +/- 1 foot to the marked position, that way the spreader tip doesn't contact the edge of the serviced section. 

Service is started and finished by hand, meaning that the ends of the serviced section are actually the weakest parts. To ensure that the section contacting the spreader tips is very strong, I start and end the service 1 foot beyond where I need it to be. This translates into a +/- 2 feet of the marked spreader tip position. Basically, each spreader gets a 4 foot section of service to ensure that the tip lies on a very strong and protected section of the shroud. If your yacht has exceptionally long spreaders, consider increasing this distance to ensure that your shrouds are protected.

The setup is rather simple. All you need to do is stretch the stay out and connect some stakes to the stay to avoid twisting the whole thing up, then begin servicing! I measure 24 inches in either direction from the marking and indicate this position with some masking tape. The tape is easily removed later, but provides an easily seen indicator of where the service needs to start and stop.

The stakes are lashed to the stay to keep the twisting force limited to the serviced area. You can see how the section being serviced is twisted while the rest of the stay beyond the stake is untwisted. The twisting doesn't harm the synthetic stay, but it can wreck havoc at the ends where the stay is tied. 

I tied the ends to two strong tree branches, and a strong twisting force could damage the bark and injure the tree. Using these stakes protects the rest of the stay from twisting while letting you work in a controlled environment.

With the stay staked and secured, it is time to begin the service. Beginning service is rather tedious. I wind the tail of the service line 10 times around the stay and then pass it back through the first 5 loops, leaving the tail exposed and pushed forward. With a marlin spike, I tighten the loops and get the service underway so I can connect the serving mallet. 

With 10 tight loops present, the service will stay in place while I connect the mallet. The mallet is lashed to the stay with many wraps around the handle adding resistance to the service line. This resistance allows me to control the tension in the service line as it is wrapped onto the stay. More resistance means a tighter and stronger wrap. Too much can cause the service line to break, too little is not very strong. Balancing the tension is crucial as it will directly relate to the quality of the service.

I gauge the service by the temperature of the freshly serviced part of the stay. Too loose and the service will be cold, too tight and the stay will twist without accepting any new line, just right results in warm service. By keeping a hand trailing the serving mallet, I can monitor the temperature with my hand to ensure that it is going on properly.

If you attach the spool of rope to the end of the serving mallet, the entire process will be greatly expedited. Service becomes a simple task of spinning the mallet around the stay thousands of times. As the mallet spins, the spool will travel with it and feed the mallet along the way.

When you get to the end of the service section, you will tie it off in the same way you tied off the beginning of the section. I disconnect the serving mallet and cut the line with a few inches of a tail.

With the tail stretched out, make sure you have enough to tie a marlin spike hitch later in the process.

Unravel 5 loops while keeping tension present on the 6th loop to avoid it from coming loose. If it does come loose, don't worry, just unwrap the last loop so that you still have 5 loops present and ready.

Now slip the tail through the raised loops and hand tighten the loops back down. Pull the tail by hand as well to help tighten the knot. Be sure that the tail remains straight and doesn't begin to twist under the wraps. Keeping it straight will make  a tighter and stronger knot later.

With a marlin spike hitch, pull on the tail to fully tighten the knot. This will result in a very tight knot that can not be undone with ease. This will keep the ends from unraveling when high up on the mast.

After it is tied tightly, cut the tail off flush with the service using a sharp rigging knife. I fuzz the end of the tail to avoid any potential chafing points on the service.

Following these steps, you can properly install service on a stay that will protect against chafe and wear while increasing the service life of your standing rigging.