Building the Backbone: Part 2

The stem and keel are connected via a finger joint, which is strong, but not strong enough. All the force of waves hitting the bow will stress this joint, trying to push back into the boat. To further strengthen the stem, a knee is placed to transfer the load to the keel.

To fabricate this piece, a large cutoff was placed over the stem-keel junction and skewed at an angle, allowing us to create a slightly larger knee than if we used the board set ninety degrees to the joint.

A pattern was drawn on the board, giving me a guideline for the pattern to cut out of the board. I don't want to use the portions of the wood with large knots, so I sketch out a pattern that will cut out the knots and just leave clear clean wood with good grain orientation. The faying surface of the knee is verified to be square, ensuring that the stem will remain plumb. The finished knee is much smaller than the original sketch, as all the bulk simply adds weight to the bow and takes up interior volume.

Building the Backbone: Part 1

The backbone of a boat is the keel, stem, and stern post. These three timbers will be the key pieces that will support the entire boat, this is why they are referred to as the "Backbone". 

The stem and keel are made out of laminated douglas fir, with the grains book matched and set in towards each other. This will give the timbers very good dimensional stability and strength.

20160902_123532.jpg

Most stem-keel junctions are either butted or connected via a gripe. I decided to further strengthen this connection by adding a finger joint. 

The bottom of the stem was cut to match the front of the keel. This will give me a lot of surface area where glue can act to hold the joint in place. The joint will be further reinforced with bronze fasteners. During the next few stages of construction, the keel and stem will be left over sized, allowing us flexibility in scrubbing wood that is not needed at a later point in the construction process.

Keel Construction

The keel is the next component to be made for the dinghy. Its final length is planned to be 6 feet long, so I am making an 8 foot long timber out of douglas fir which will let me cut it down to the needed dimensions.

Just like the stem, I am fabricating this timber out of two planks of quarter sawn lumber. Just like the stem, the keel is cut out of a flat sawn board that was next to the heart. When I ripped the board down the middle, the two remaining pieces are quarter sawn and will be much more dimensionally stable. Book matching the boards will also increase the dimensional stability of the keel as the grains will oppose each other and prevent any warpage from taking place.

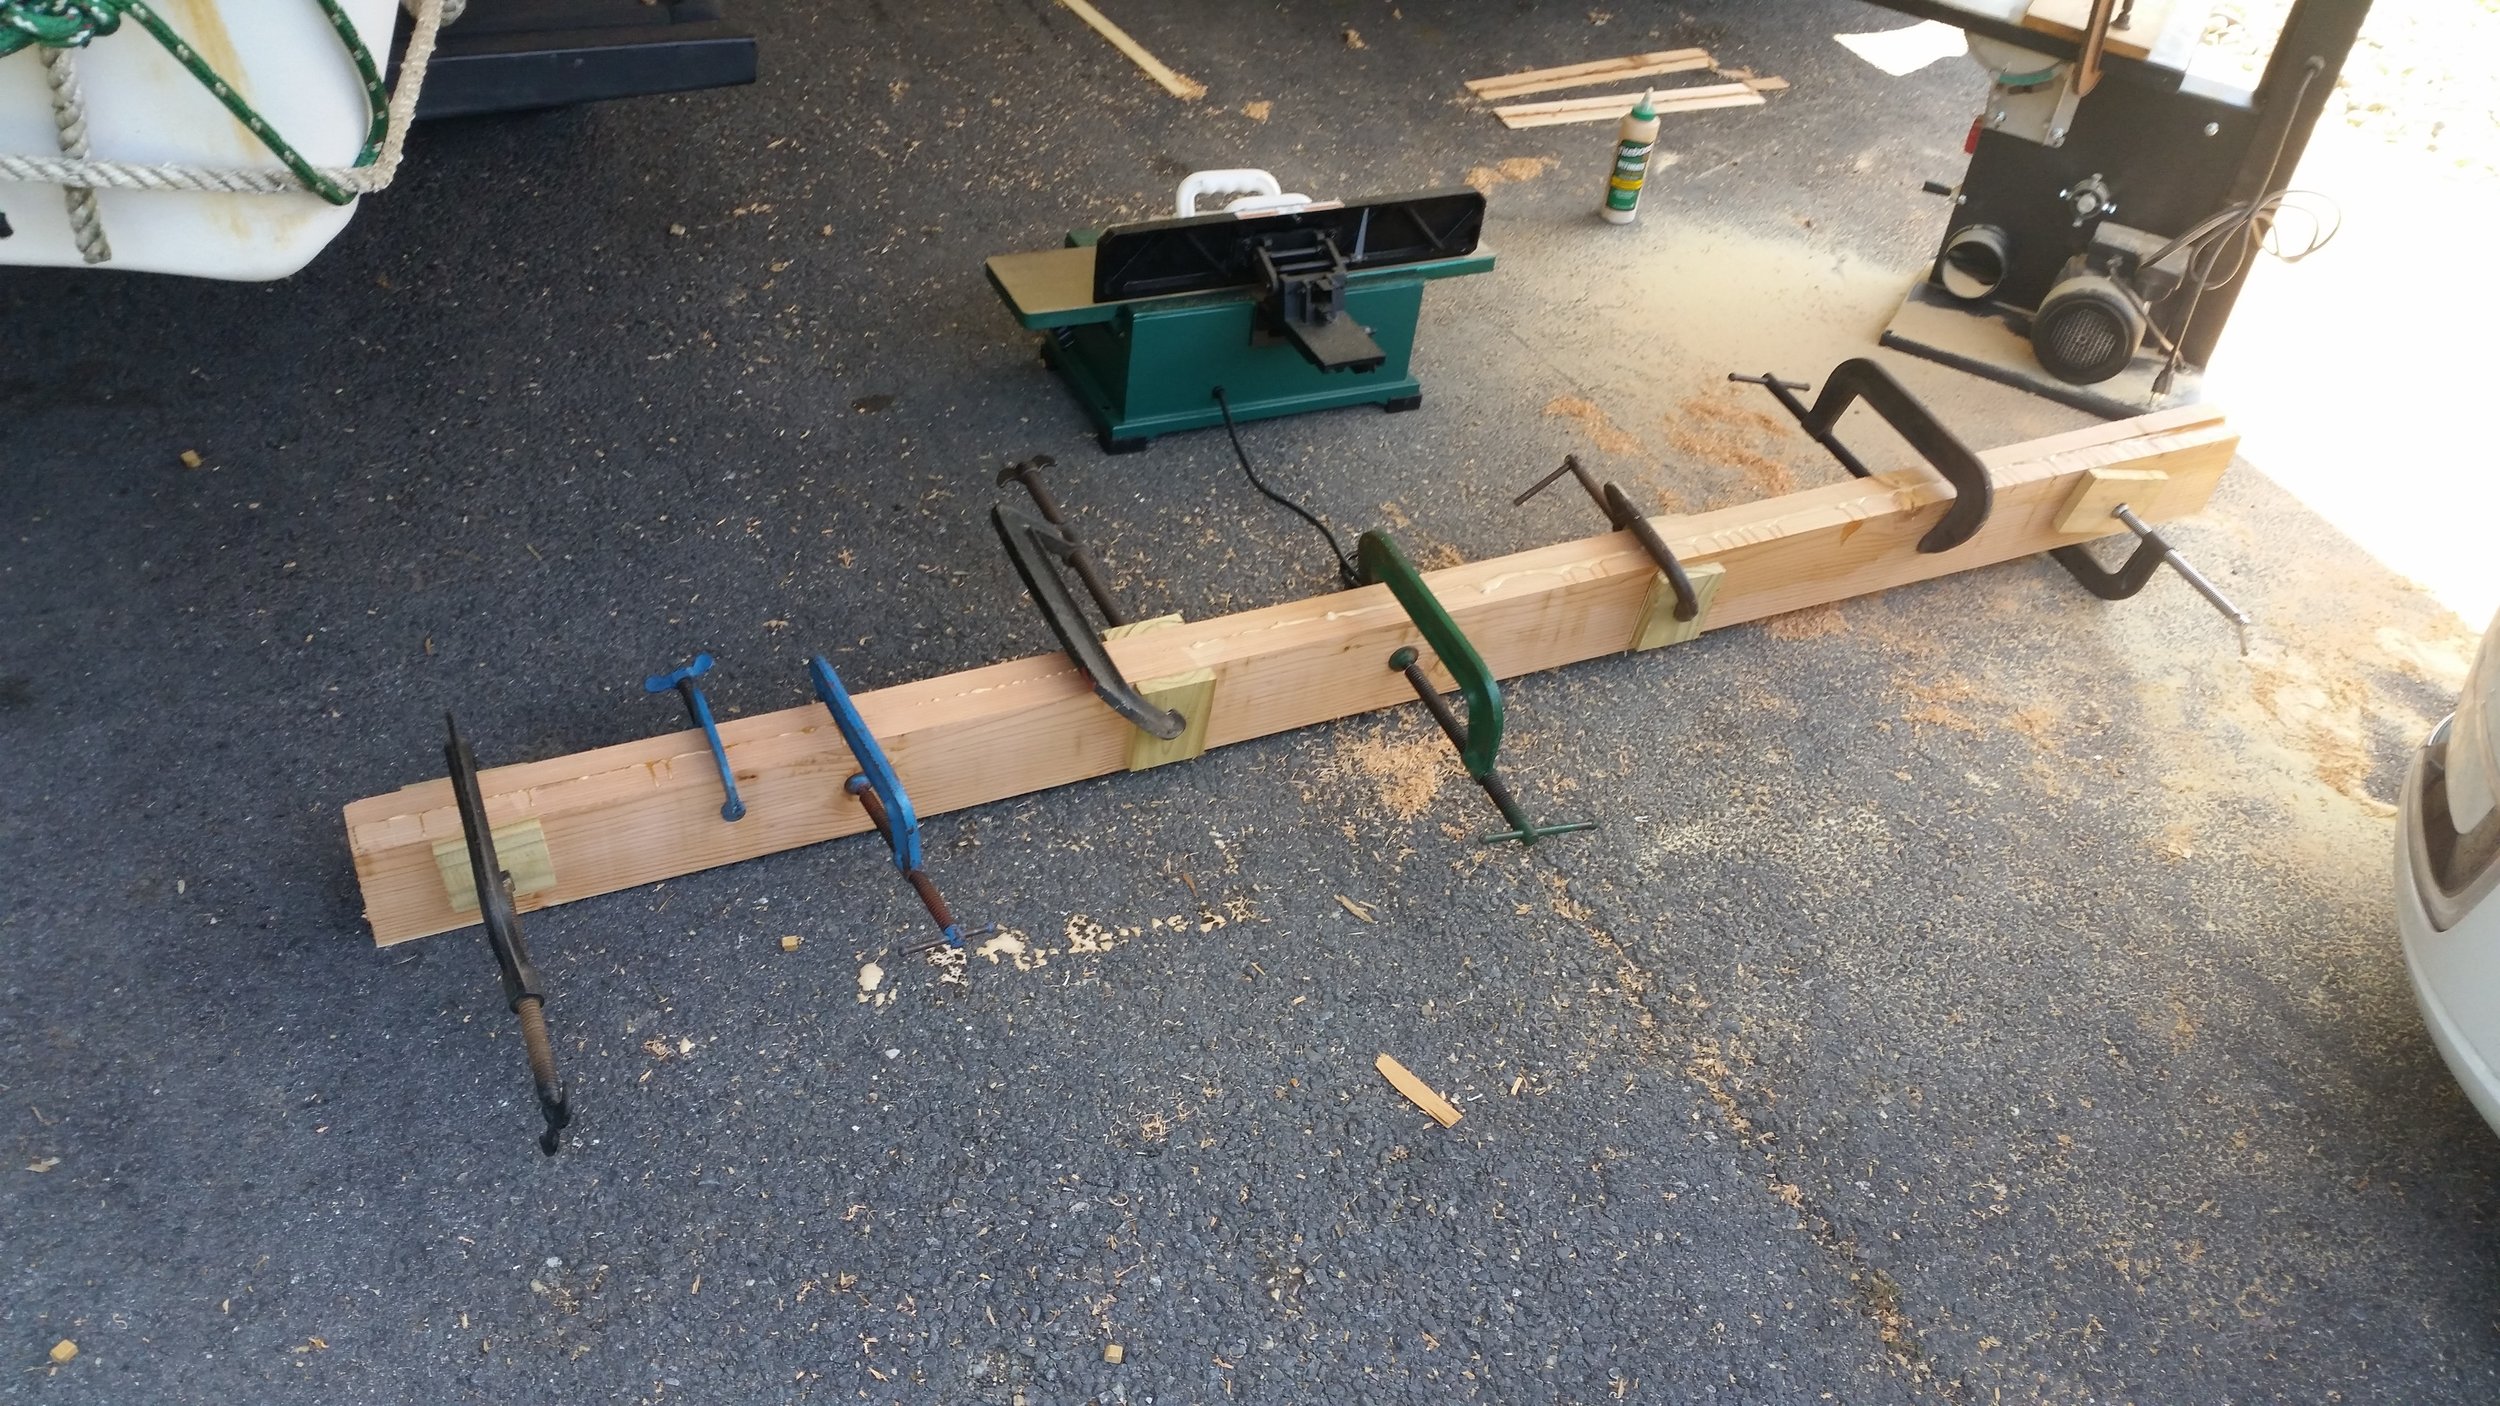
To ensure that the boards will match up perfectly, I need a very tight joint. Running the boards on the jointer provided me with a smooth face that will provide the best gluing surface. The problem is my jointer is rather small and the keel timbers are very large, making this a difficult task. 

20160831_091831.jpg

After the faces were smoothed, I still had this one bump. I decided to plane this down by hand instead of taking off an entire layer of wood again.

Reducing the high spot, the two faces were able to meet much closer. This makes for a tighter joint which will result in a stronger bond. Ideally, the two boards would be perfectly perfect, but the truth is, this is on an end with knots, so it will end up being cut off during later construction of the dinghy.

After planing the bump in the board, the two faces meet much more evenly. The little gap will be removed when the two boards are clamped together.

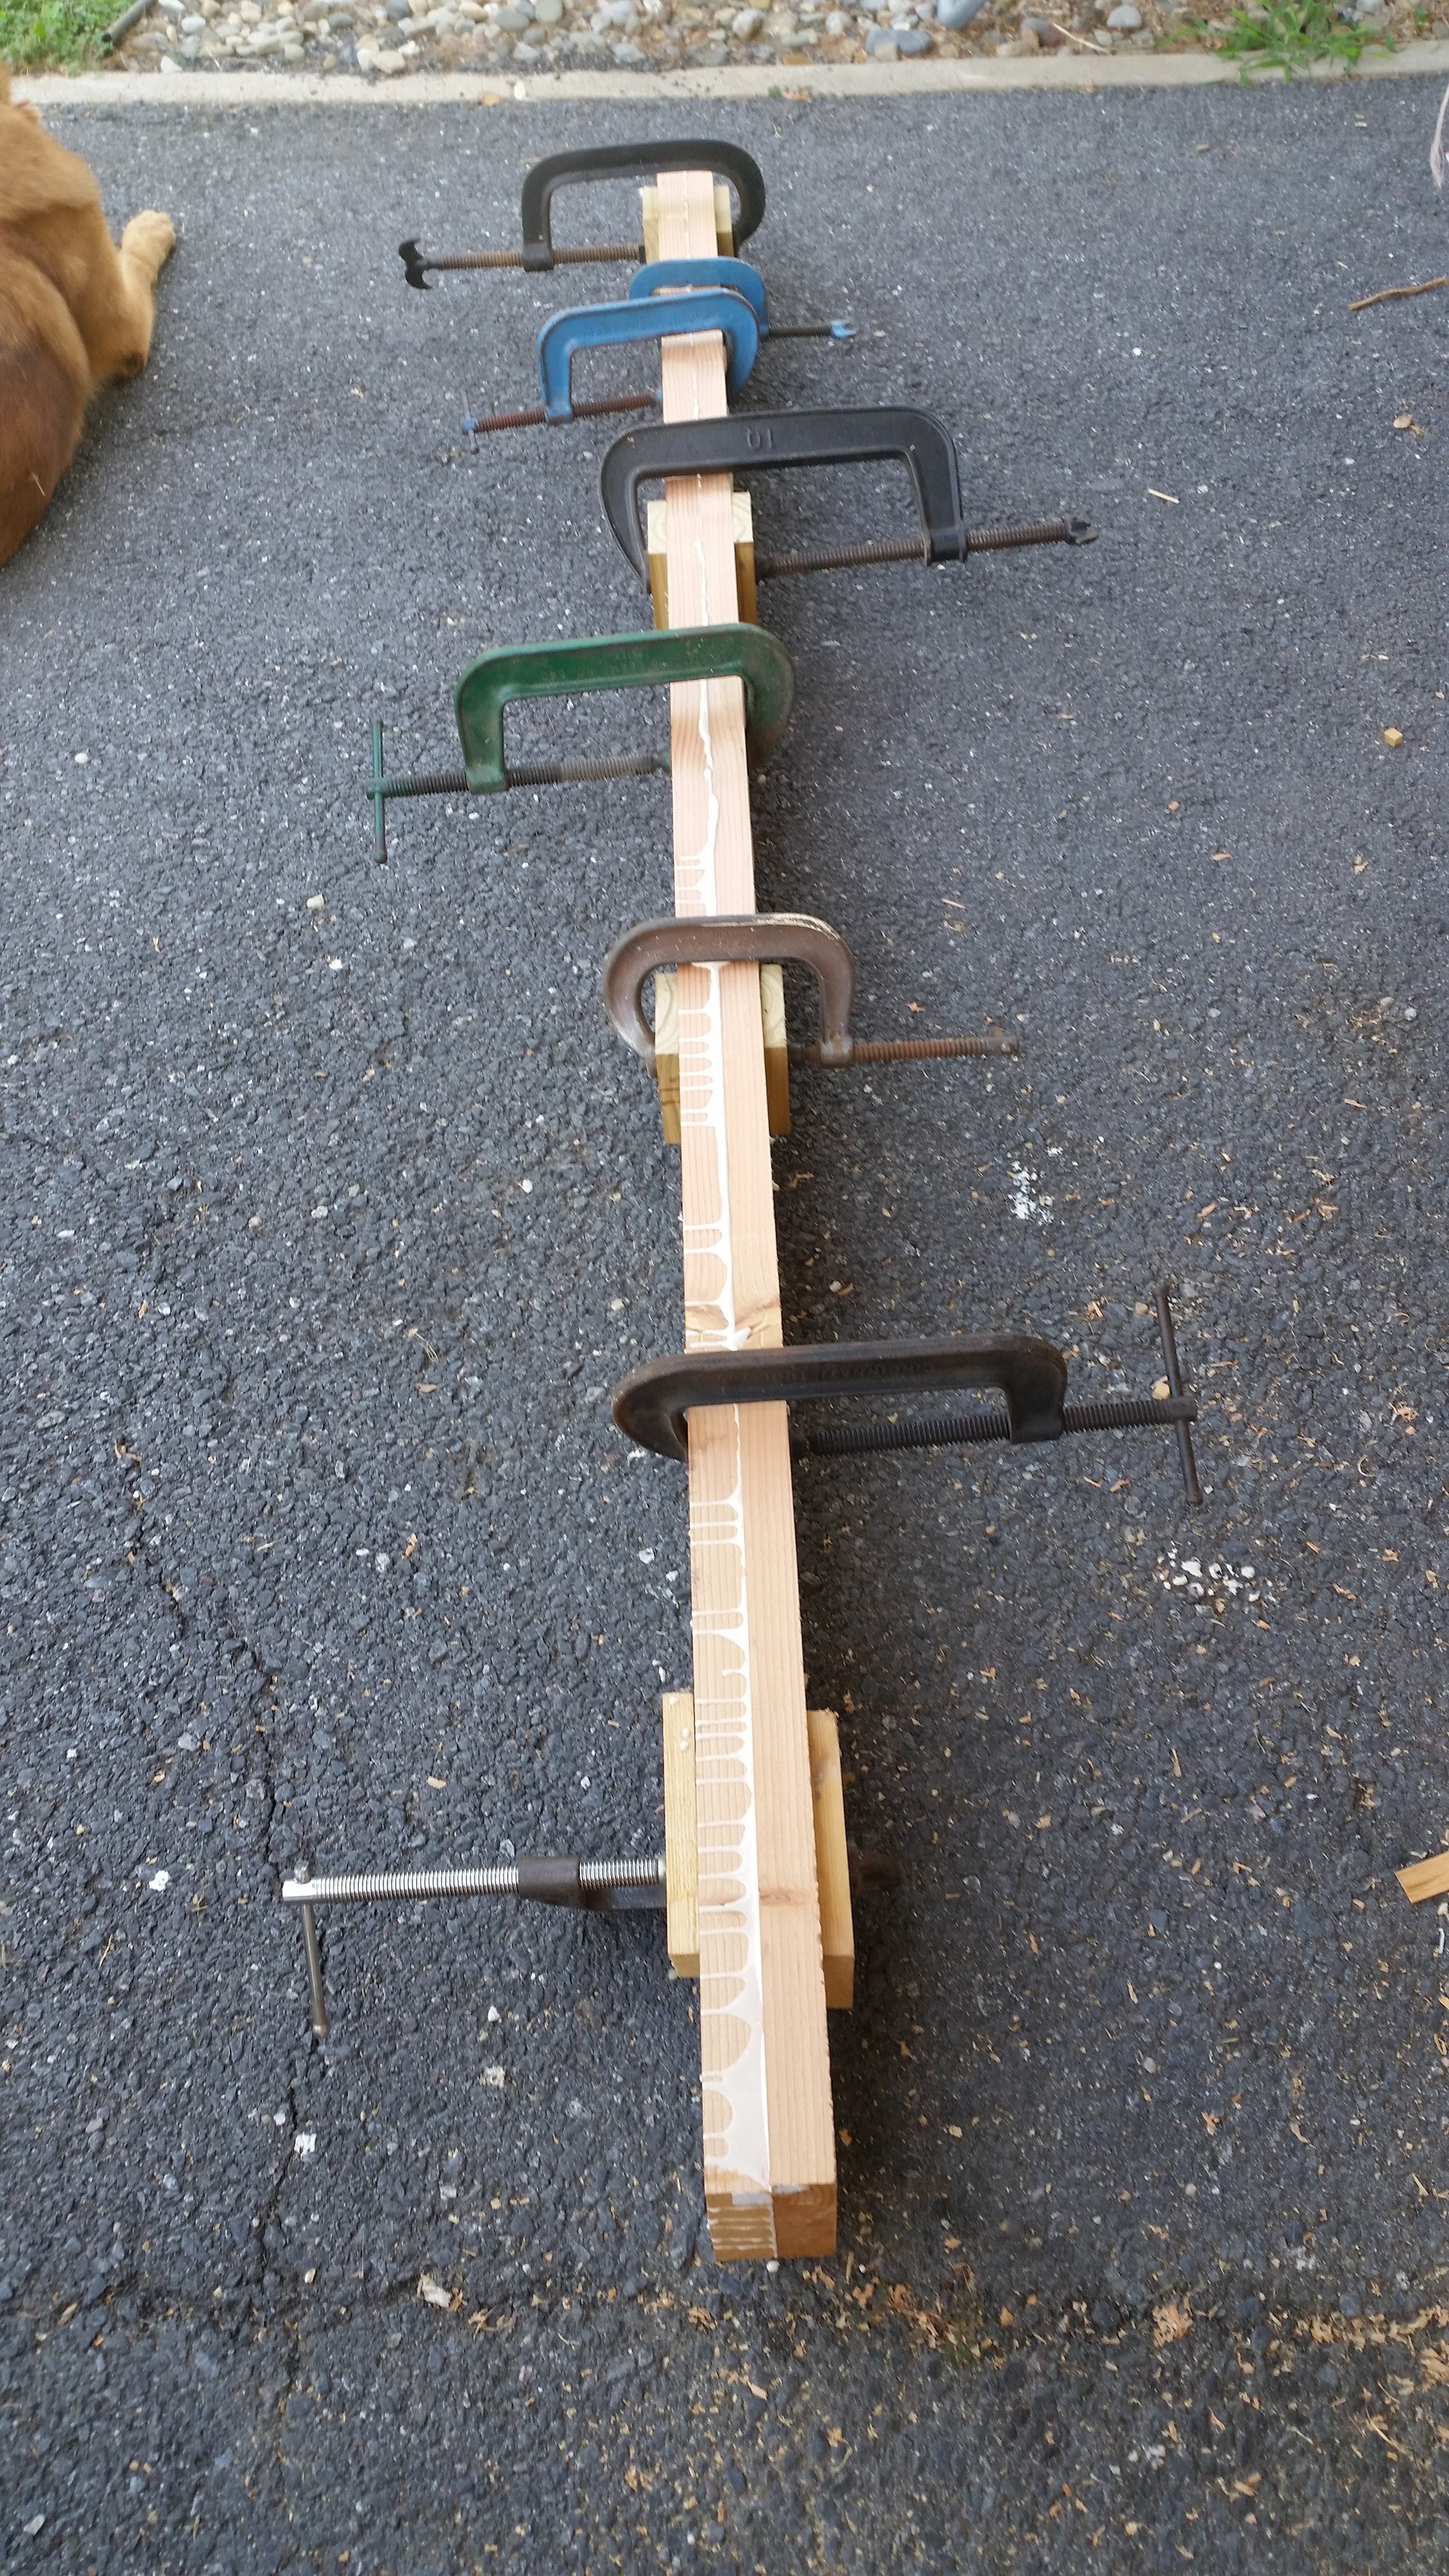
The excess glue that squeezed out doesn't need to be cleaned since the entire face will be cut off when the keel is shaped. The squeeze out is actually wanted, as it lets you know that the entire face is covered with glue. If you glue the two boards and no glue squeezes out, you can assume that either you had the perfect amount of glue or not enough glue. More likely than not, there was not enough glue and the resulting dry spots will not be glued together, creating a weak bond and a location for moisture to collect. The moisture that will collect between the faces will cause the boards to rot from the inside out. 

An important note with clamps is to alternate the sides the clamps are on. If you put all the clamps on the same side, the combined pressures will induce a twist into the boards. This can cause distortion in the glue up, producing a bowed product. By alternating the direction the clamps are placed will help cancel out this tendency and produce a straight glue up.

Now the assembly can sit and cure for the next day or two before I take it out of the clamps and clean up the sides on the band saw, just like I did for the stem.

With the stem and keel glued up, I can begin positioning them to create the gripe that will hold these two pieces together. While construction will seem slow in these stages, once the backbone is completed, the dinghy will appear rather quickly from the pile of lumber.

Dinghy Stem: Part 2

The stem has spent two days in the clamps, it is time to free it and begin cleaning it up.

The two boards were glued together with the bad parts biased towards the outside, that way when the finished stem is shaped up, the bad parts will be trimmed off. You can see a significant step in the two faces where a knot is present. This will be facing the inside of the hull, but the knot will be cut out. The other knot at the bottom of the stem will be cut off entirely.

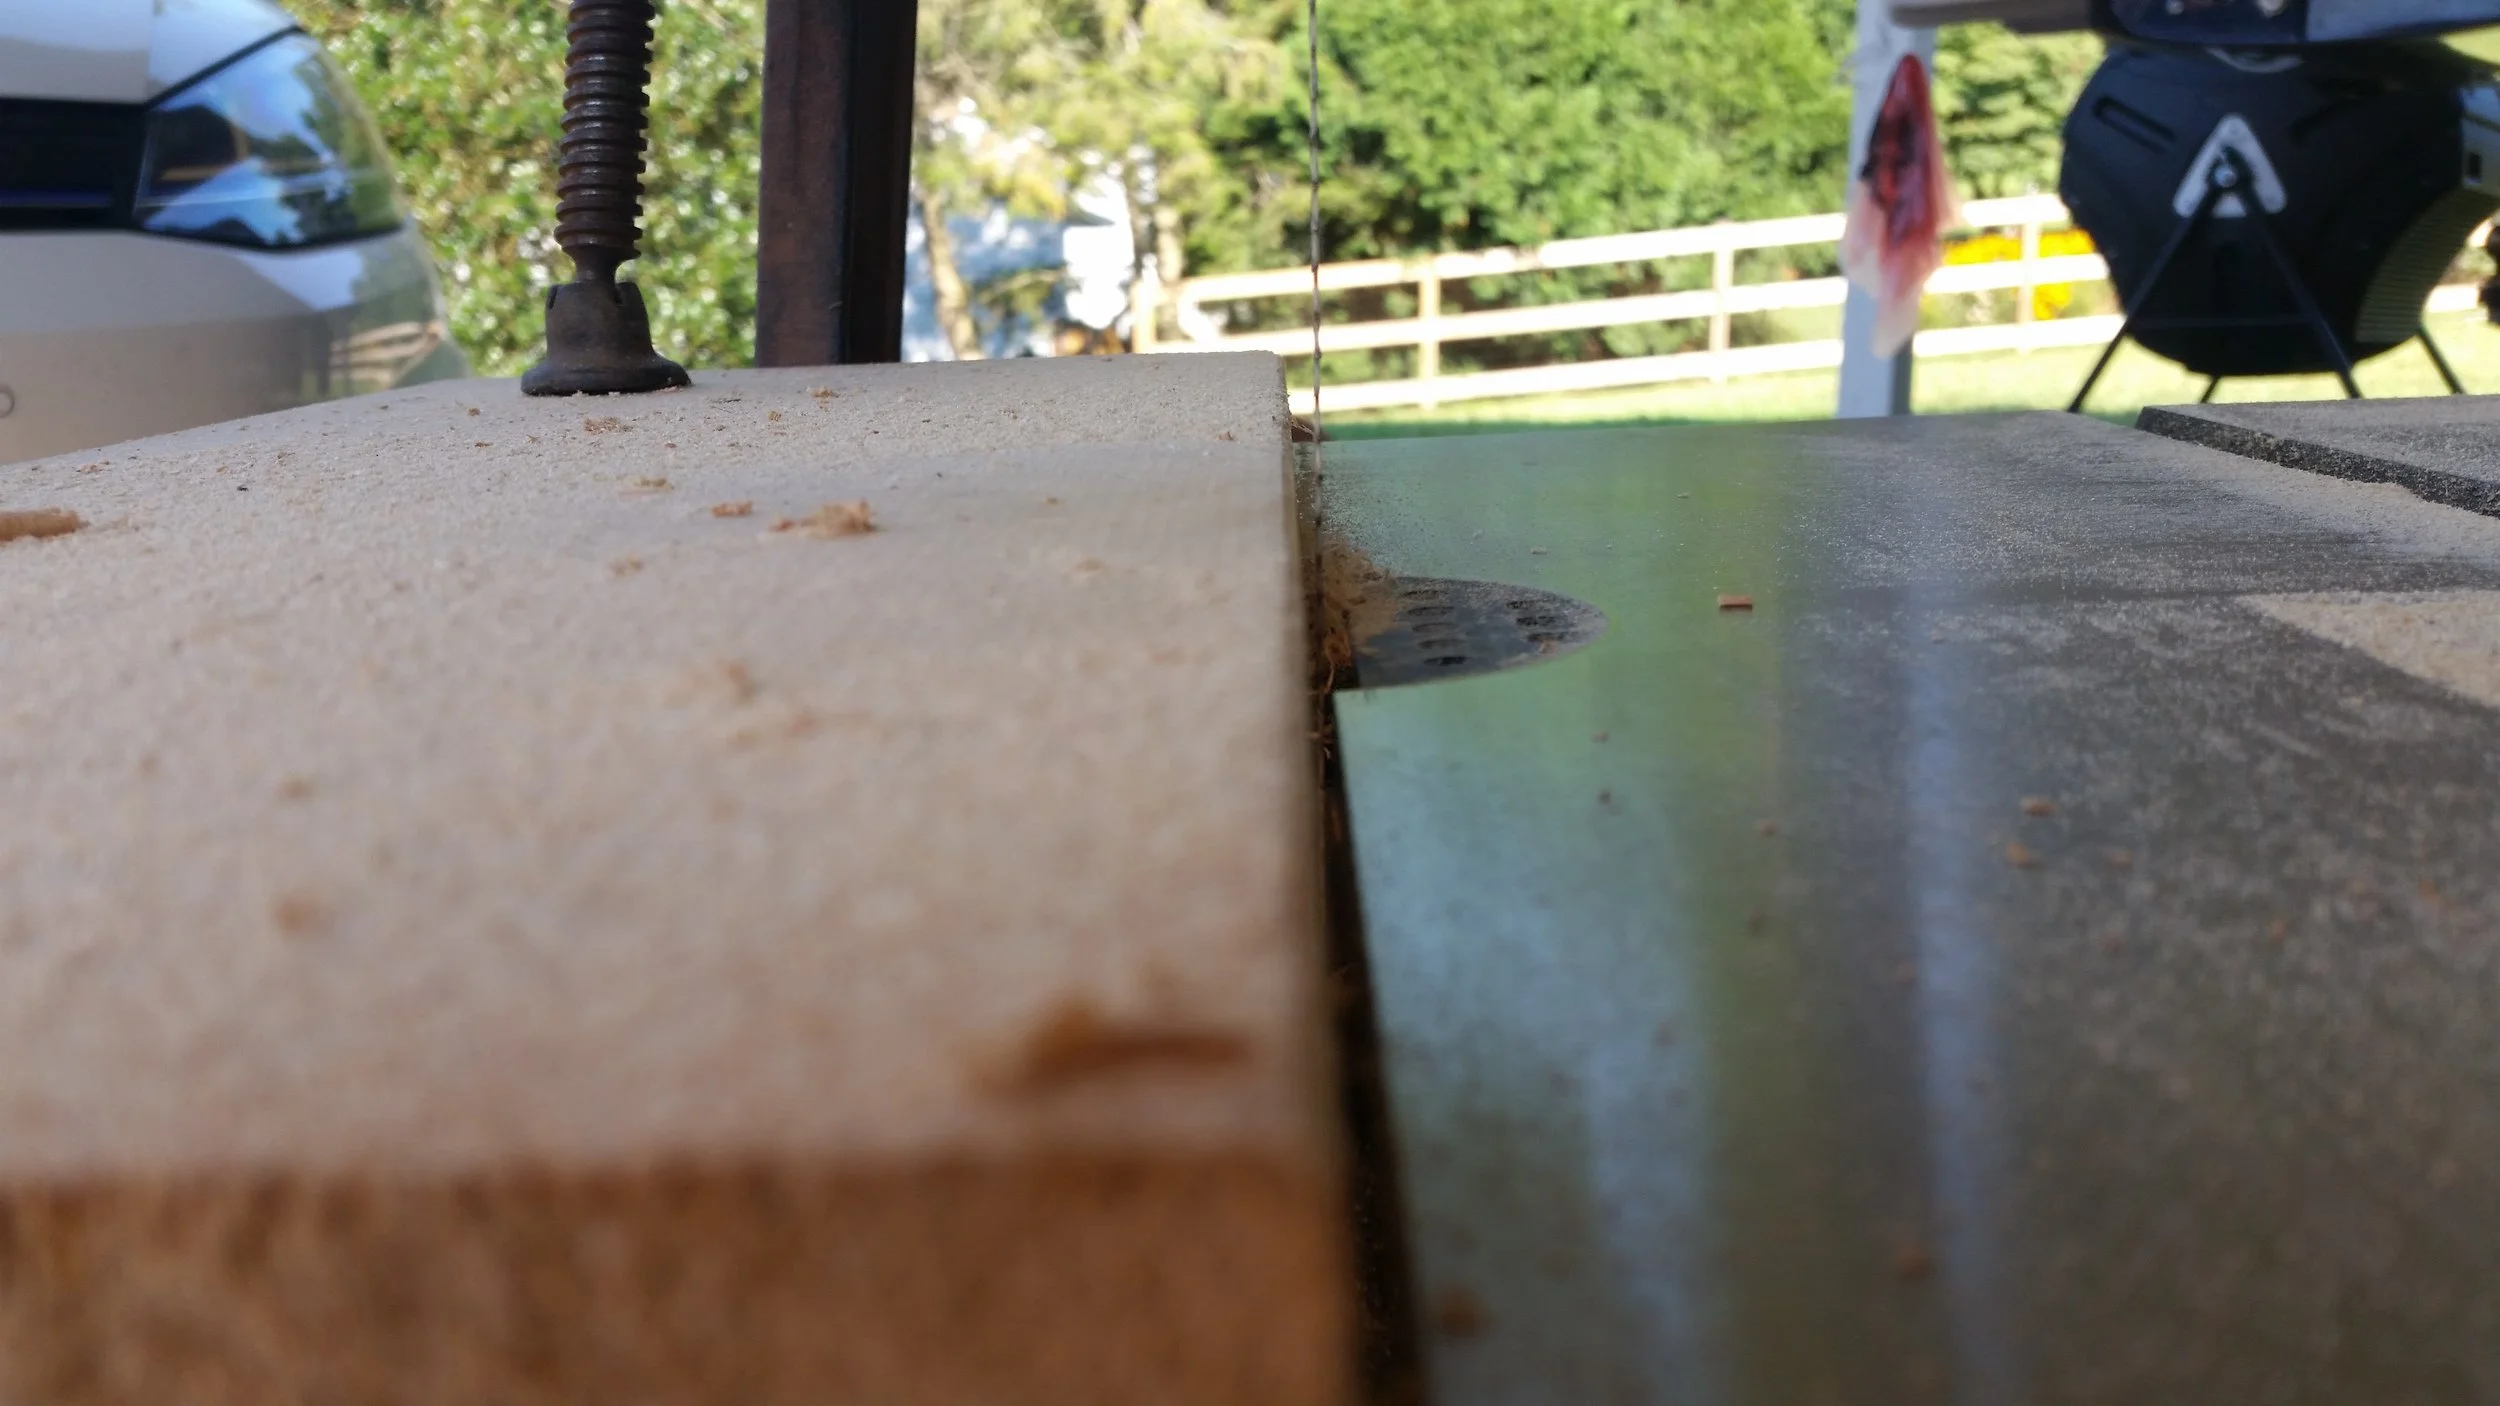
To trim off the excess glue as well as clean up the sides, I setup the band saw to cut just a hair off the faces. Setting the rip fence a few millimeters away from the blade would ensure that minimal wood is wasted while producing a clean and even face.

After running the stem through the band saw, all the glue and uneven wood was removed, leaving a very clean timber with bookmatched grain to best support the stresses exerted on the stem.

Cutting the Stem

After finding a design, revising the design, revising the design again, and then throwing out the design and starting from scratch; it is finally time to start cutting the wood for the dinghy construction!

While the dinghy design is still not finalized, there are two parts of the dinghy that are, the keel and the stem. So in the interest of getting it built, these two pieces are going to be cut.

The height of the stem will be 18 inches, and it will be a plumb bow. Knowing this, I decided to cut the stem out of the pieces of Douglas Fir, also called Oregon Pine, that I have been drying for the past few months. The stem will be subjected to a lot of stress and needs to be a very strong component.

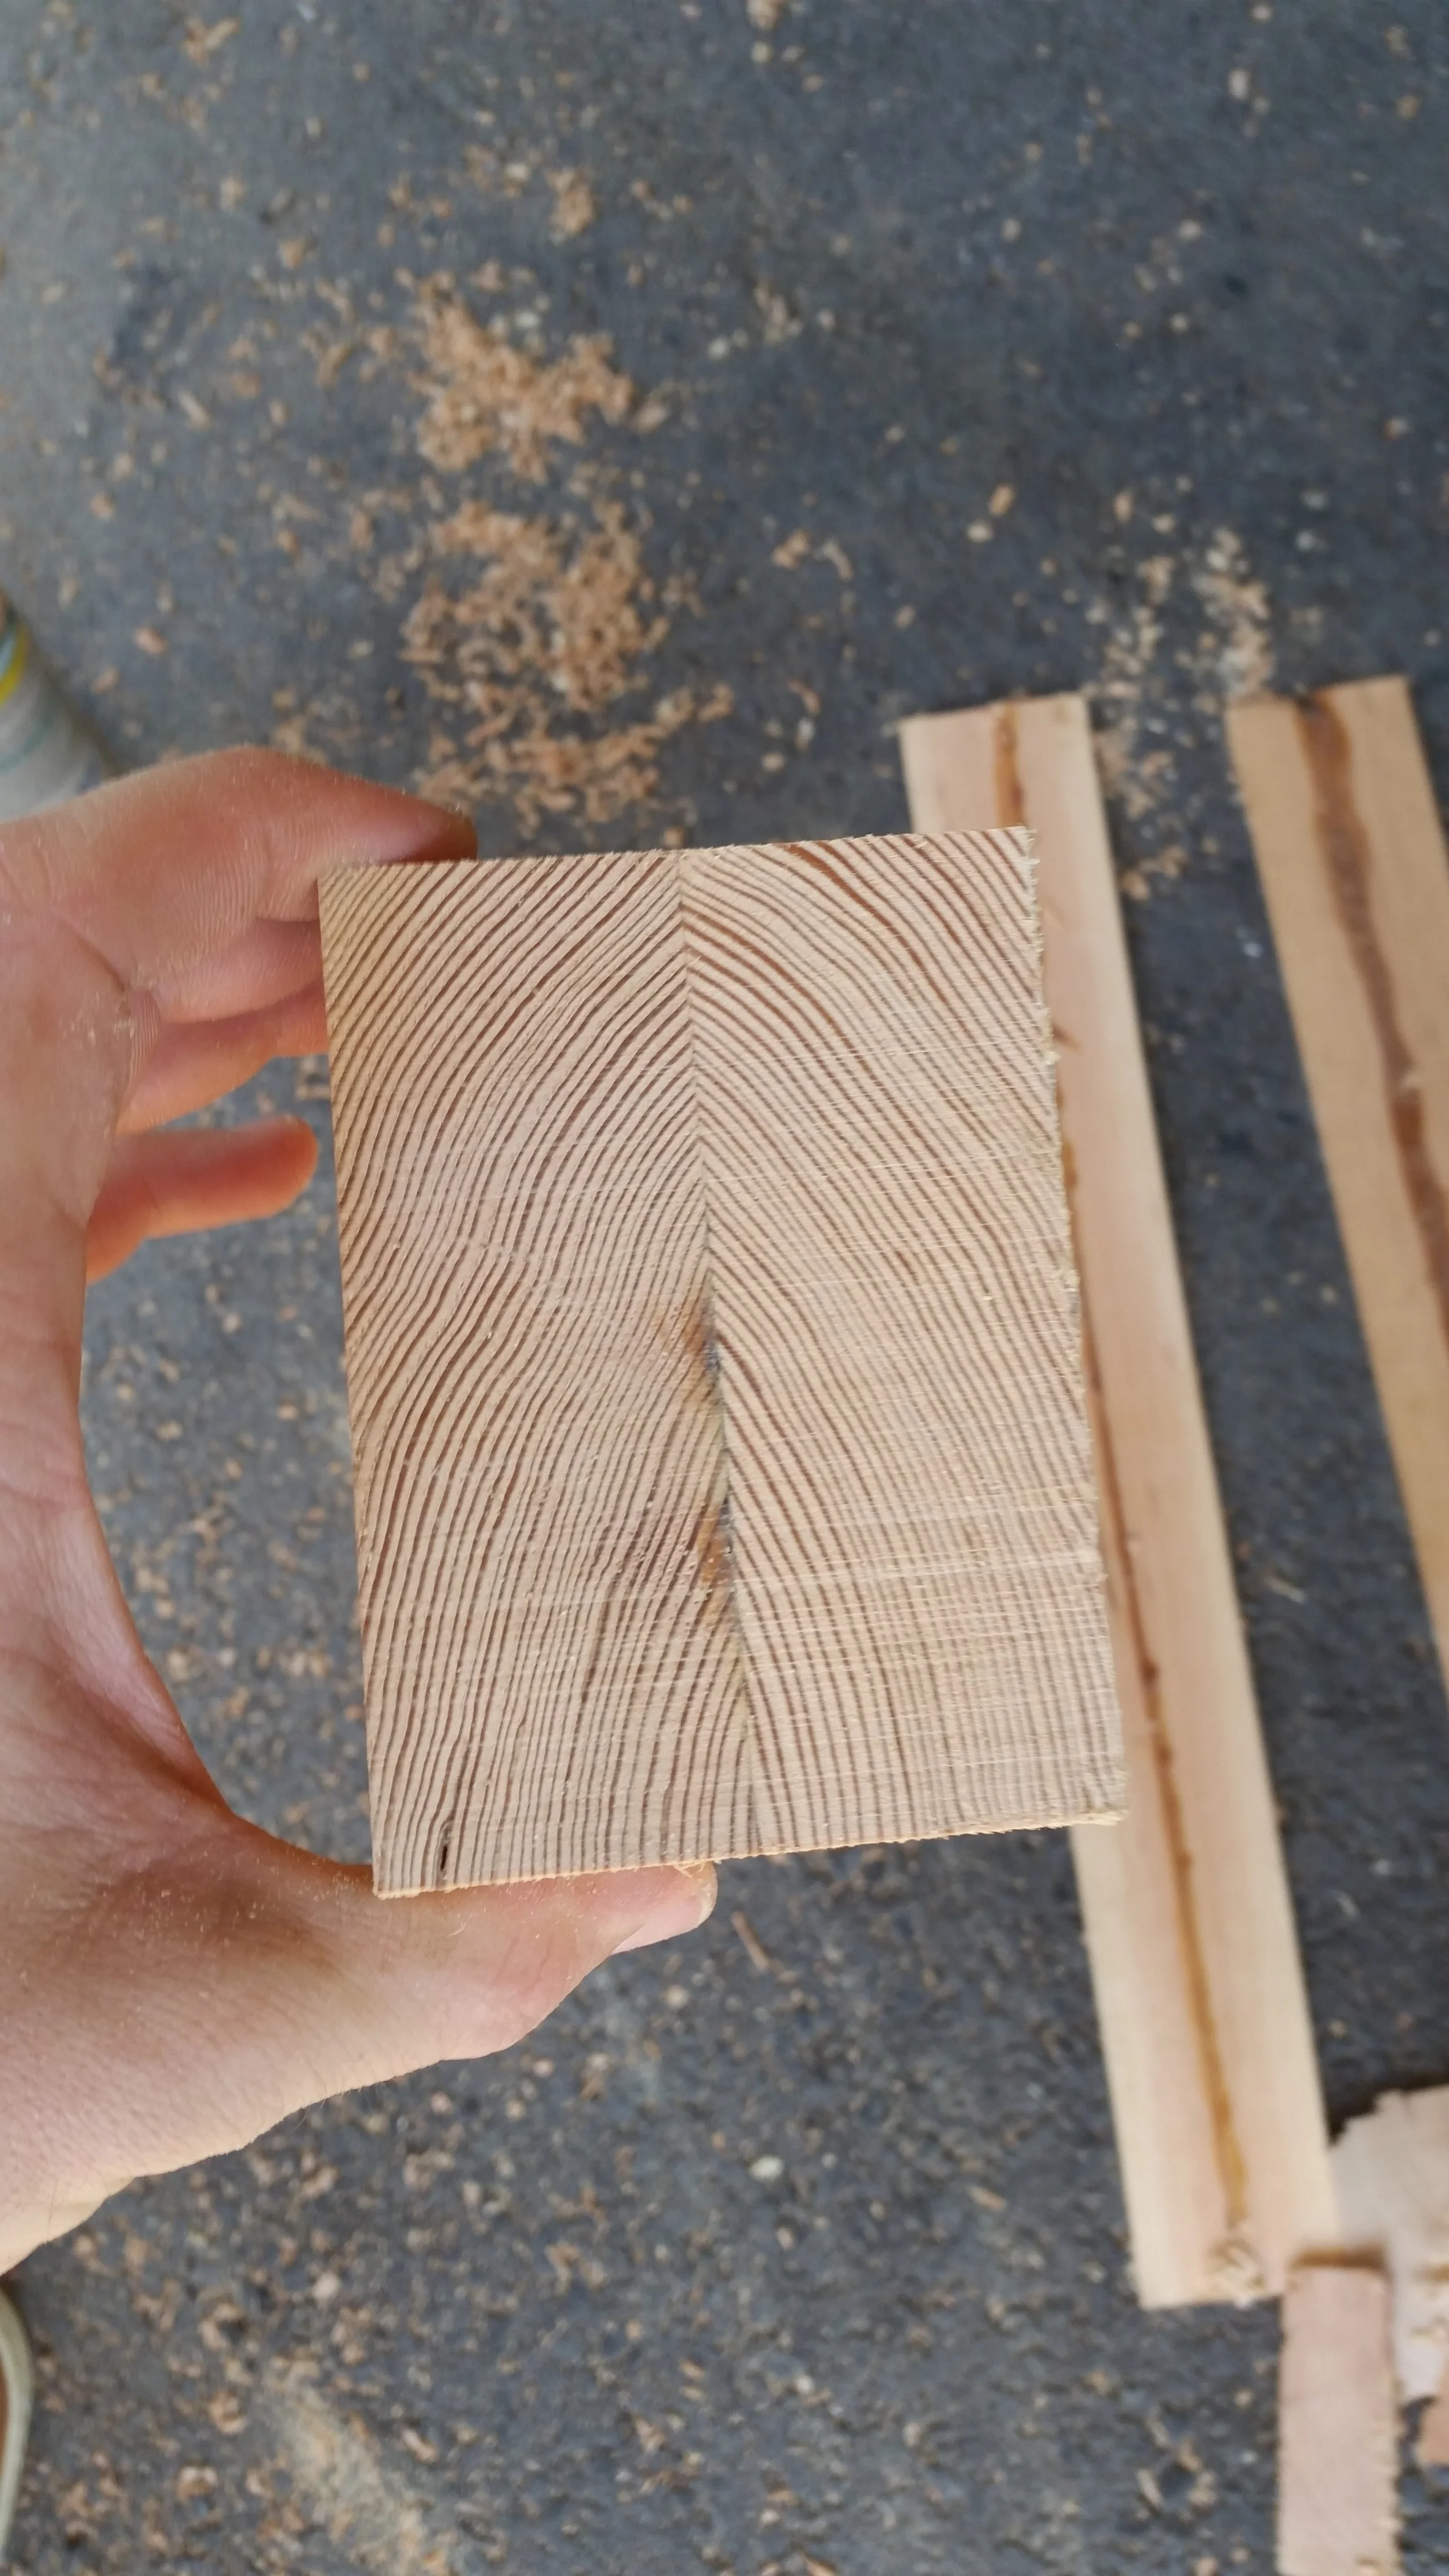
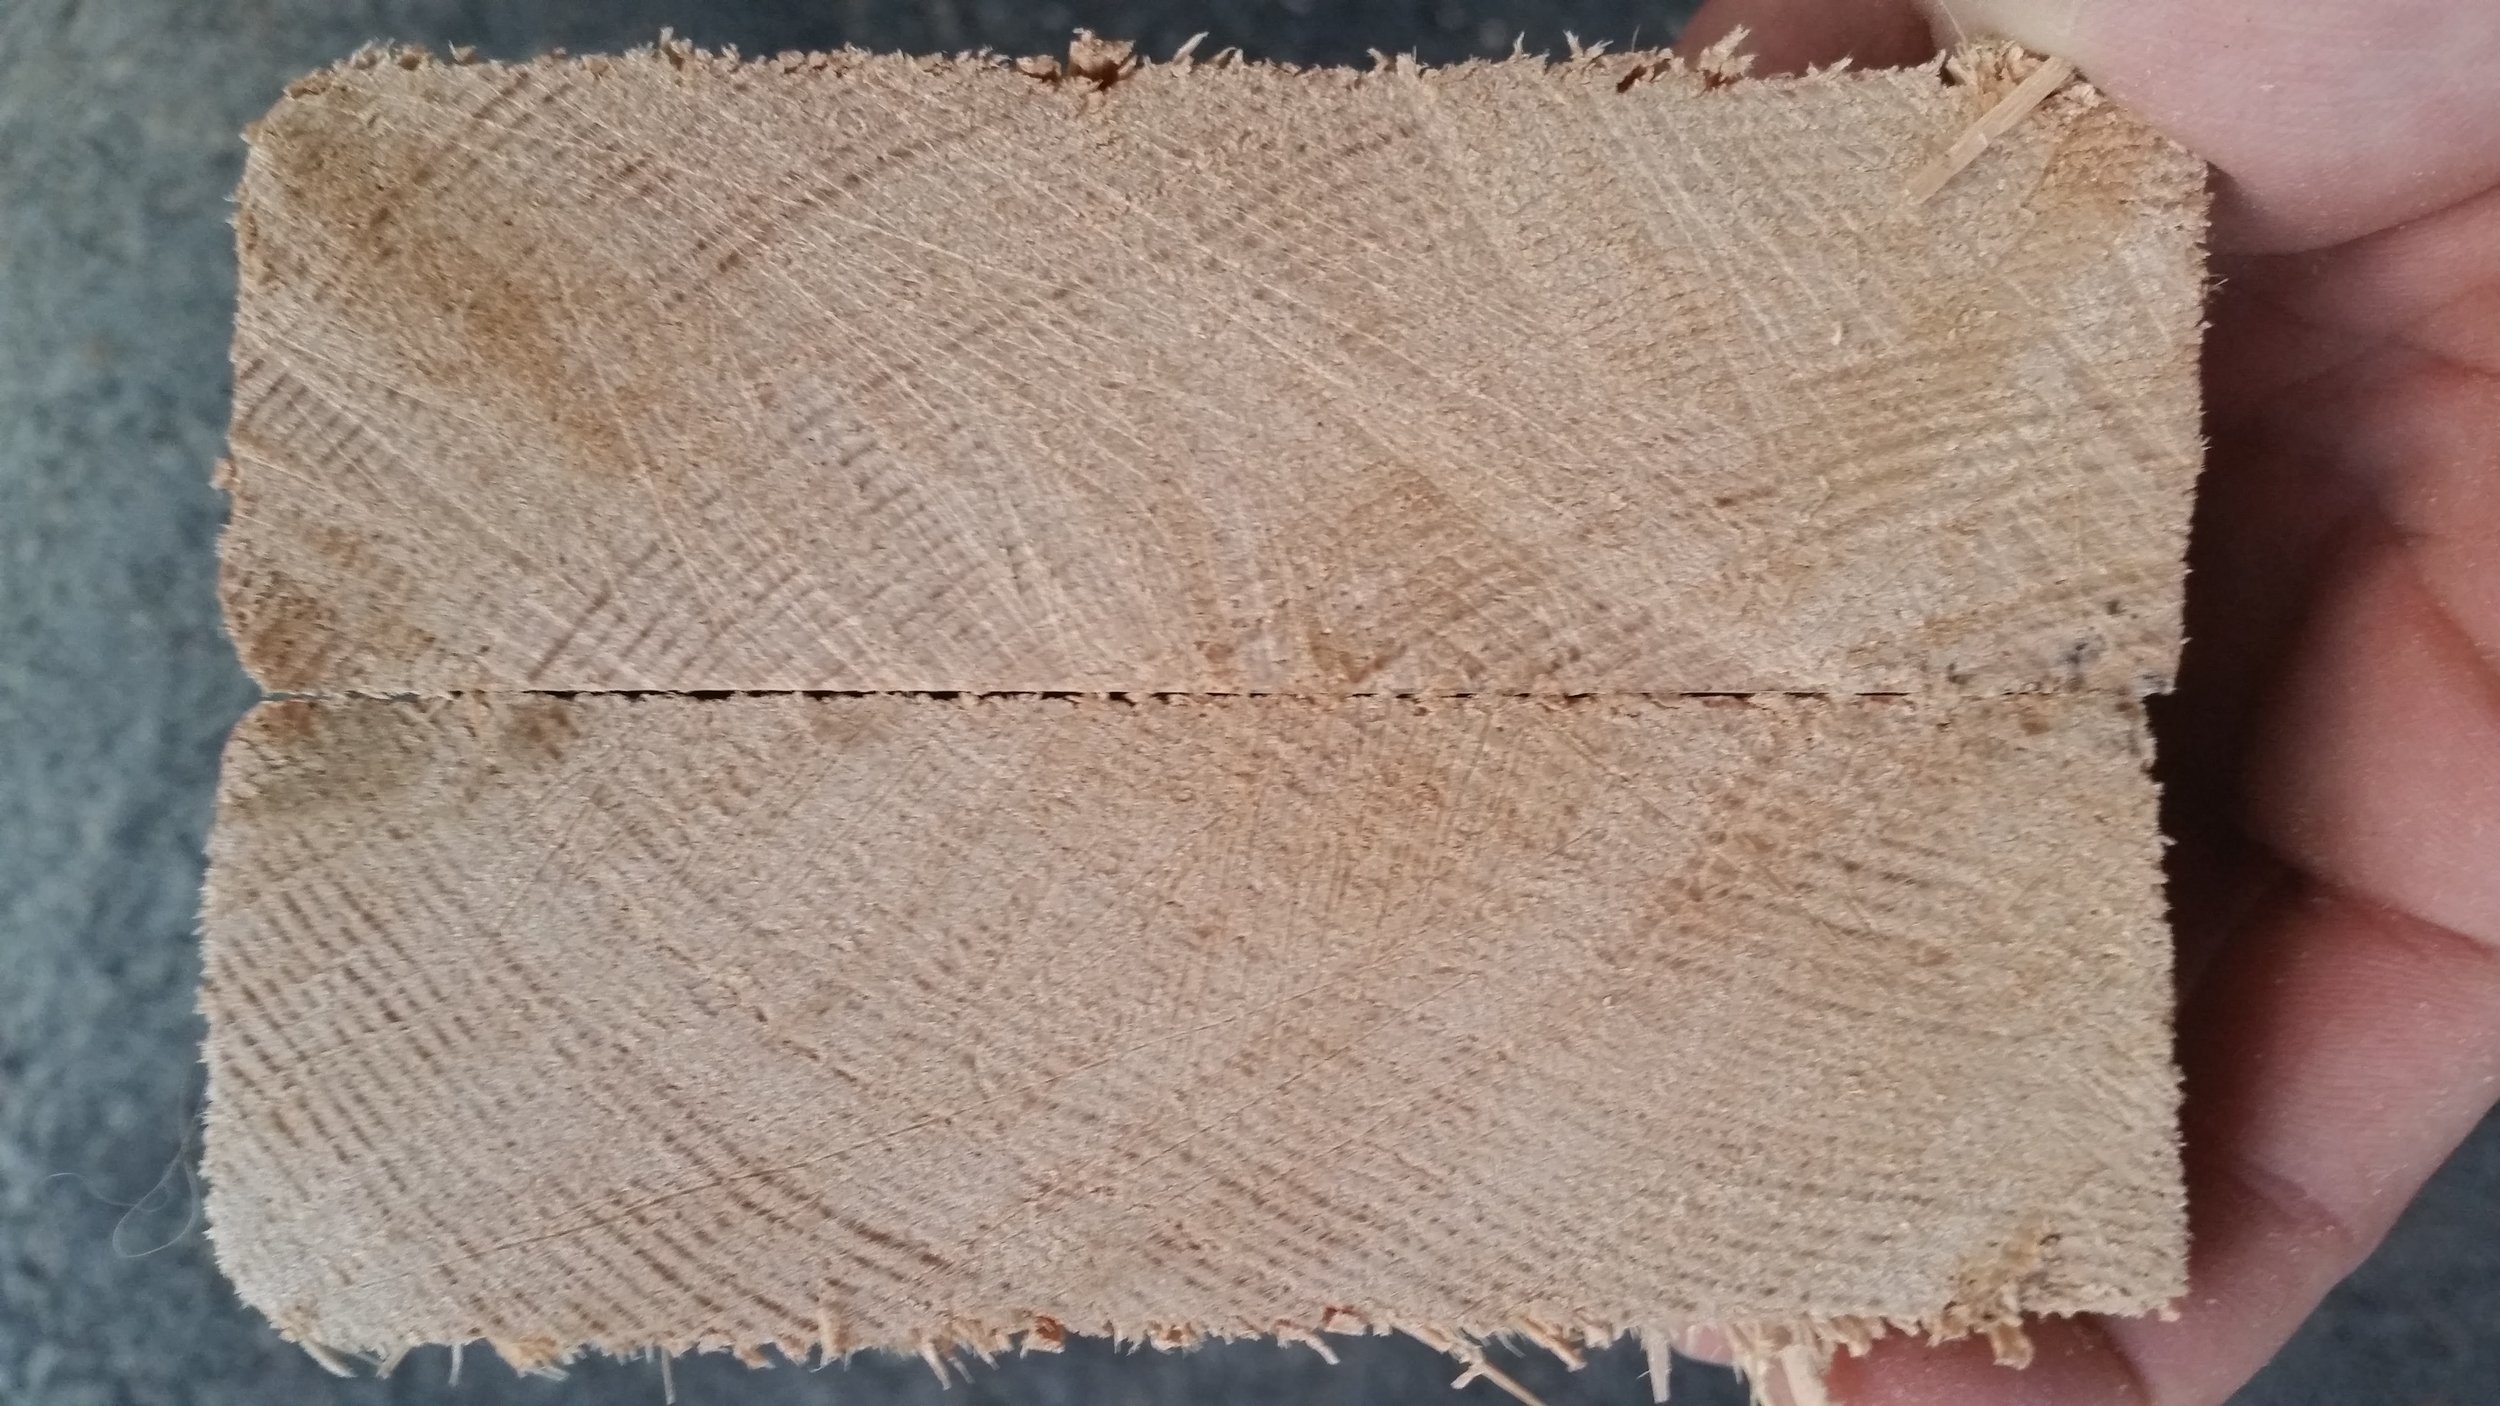
For these reasons, I selected a board that has a very tight ring structure with diagonal rings on the board. Diagonal rings are called quarter sawn, and these boards will not warp. They are very dimensionally stable and will expand and contract evenly across the board. This will result in a stem that will swell and contract evenly and hold the bow of the boat together as we cruise.

Quarter sawn lumber is very expensive, so the cheaper alternative is to comb through the available lumber and find a piece of flat sawn lumber that crosses the center of the tree. This board is flat sawn but when cut in half, the end result will be quarter sawn.

Looking at half the board, the rings run diagonal across the board in quarter sawn fashion. 

The stem will end up being 18 inches long, so I need to find two 18 inch sections in this board that are clear and clean of knots. This strip here is 47 inches long, and has one knot in it near the bottom, but outside of the 18 inch sections needed. The knot on the midline will be cut out when the stem is shaped.

By cutting the section out, the boards can be set with grain opposing itself which will provide even more structural integrity.

The rip fence was installed to guide the saw and make sure the cut is straight and even. The wood was removed from the board and then cut in half. Each half is set so that the grain will point forward and towards the middle. This will provide a very secure surface for the planks to attach with the screws traversing the wood nearly perpendicular to the grain.

After cleaning up the boards on the jointer, the pieces are beginning to look a lot better. The grain will oppose each other and ensure that no movement happens in this piece.

A very liberal coating of glue was applied to the boards and they were set up in clamps for 24 hours to allow them to cure. This will glue the halves of the stem together very securely. During the construction of the dinghy, screws will be placed through the stem, further tying the two halves together in a permanent manner.