Honey, the sink won't drain!

The sink in a sailboat galley is not like a regular house-type kitchen sink in that the galley sink drains directly overboard through a sea cock. What ever you pour down the sink will find its way down the drain and into direct contact with the water you are floating in. For this very reason, you need to be mindful of what you pour down the drain. Oil, plastics, and non-biodegradable soaps can never be rinsed down the drain as they will pollute the very waters you are floating in.

I was cooking spaghetti with meat sauce for Maddie, which is a normal occasion since we both love pasta dishes. The meat I was cooking is 80% lean meat, and 20% fat, yay! In the interest of avoiding coronary artery disease, I like to cook the fat out of the meat and remove it from the dish I am creating. By cooking the meat alone in a frying pan, the fat will melt out of the meat and begin to flow around as a runny liquid. 

Transporting the hot pan over the sink will facilitate the removal of this fat as it can easily be flushed down the drain! Once the fat has been removed, the sauce and other goodies can be added to the meat to create a pasta sensation!  

The fat that was removed from the meat was melted due to the heat of the pan. As it runs down the galley sink, it will begin to cool and solidify. Once it comes into contact with the cool water that we are floating in, it will quickly solidify in the drain, just like it would do inside your arteries!   Instead of developing a stroke or heart attack, this fat clog merely obstructs the hose from draining the contents of the sink. 

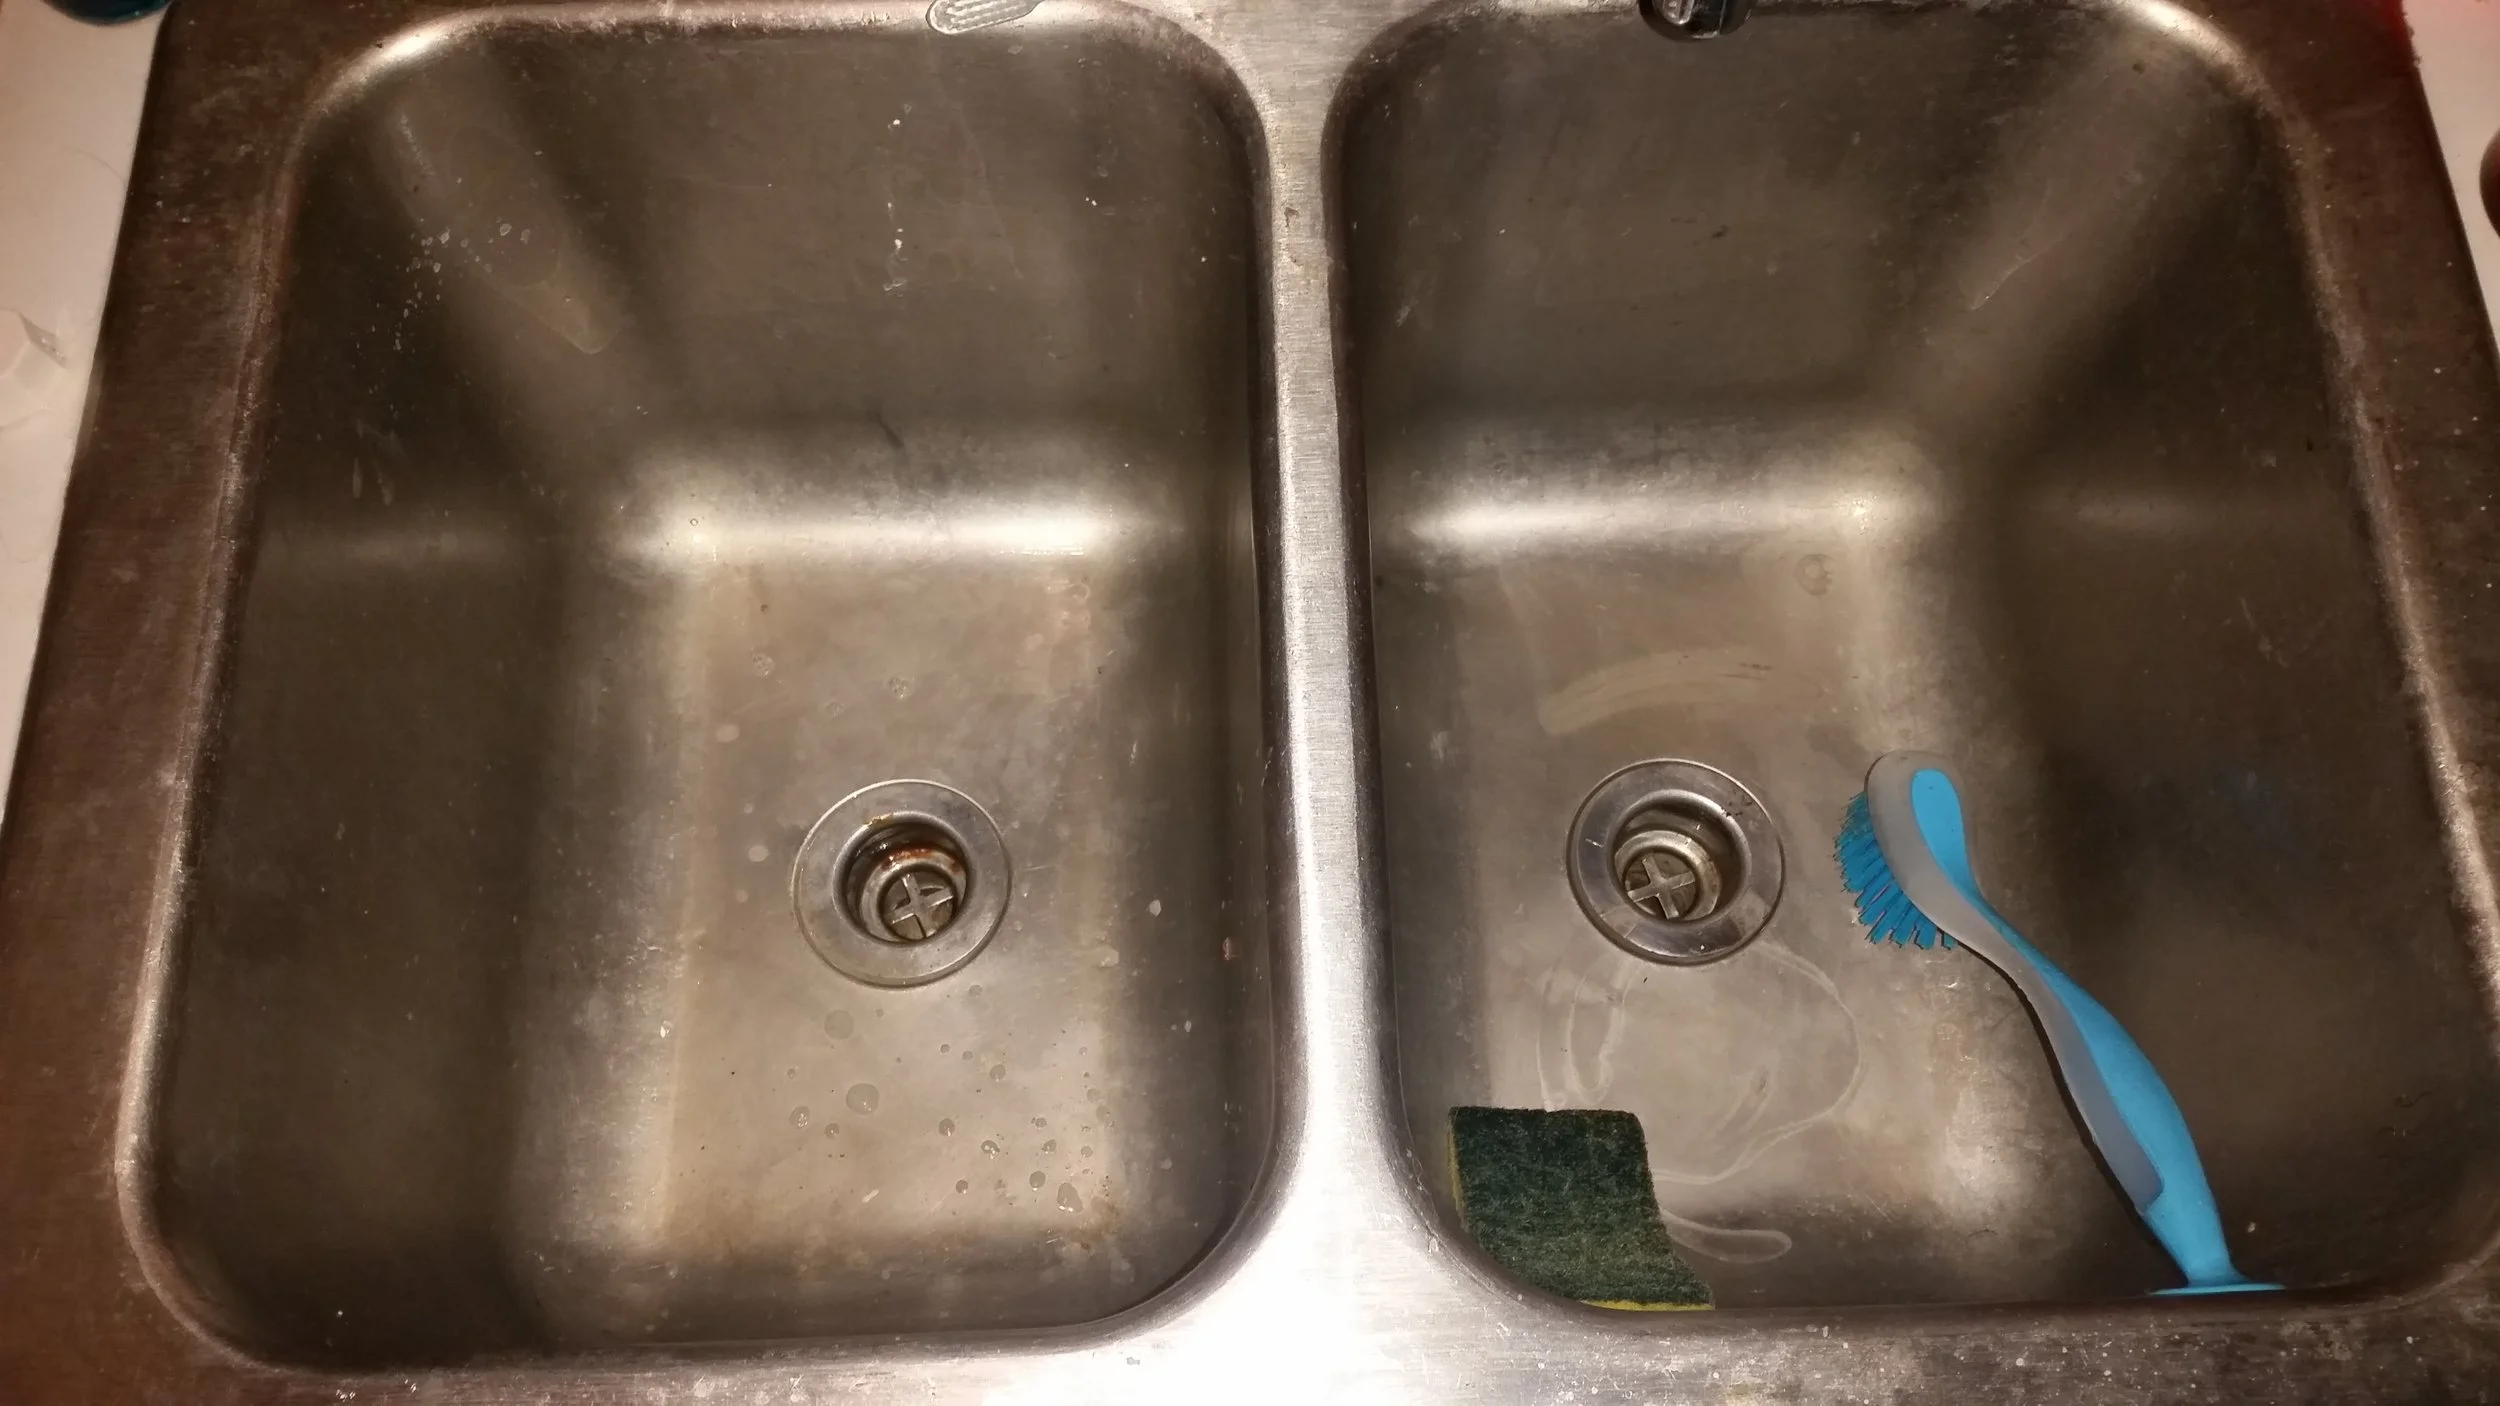
The problem won't materialize until you begin to do the dishes and the wash water will begin to back up. Since we are in port and have easy access to fresh water, I let the faucet run for longer than I would have if we were cruising. This wastefulness only compounds the problem, as  all of this extra water will begin to fill the sinks up and make it painfully apparent that the drain is clogged. 

IMG_0083.JPG

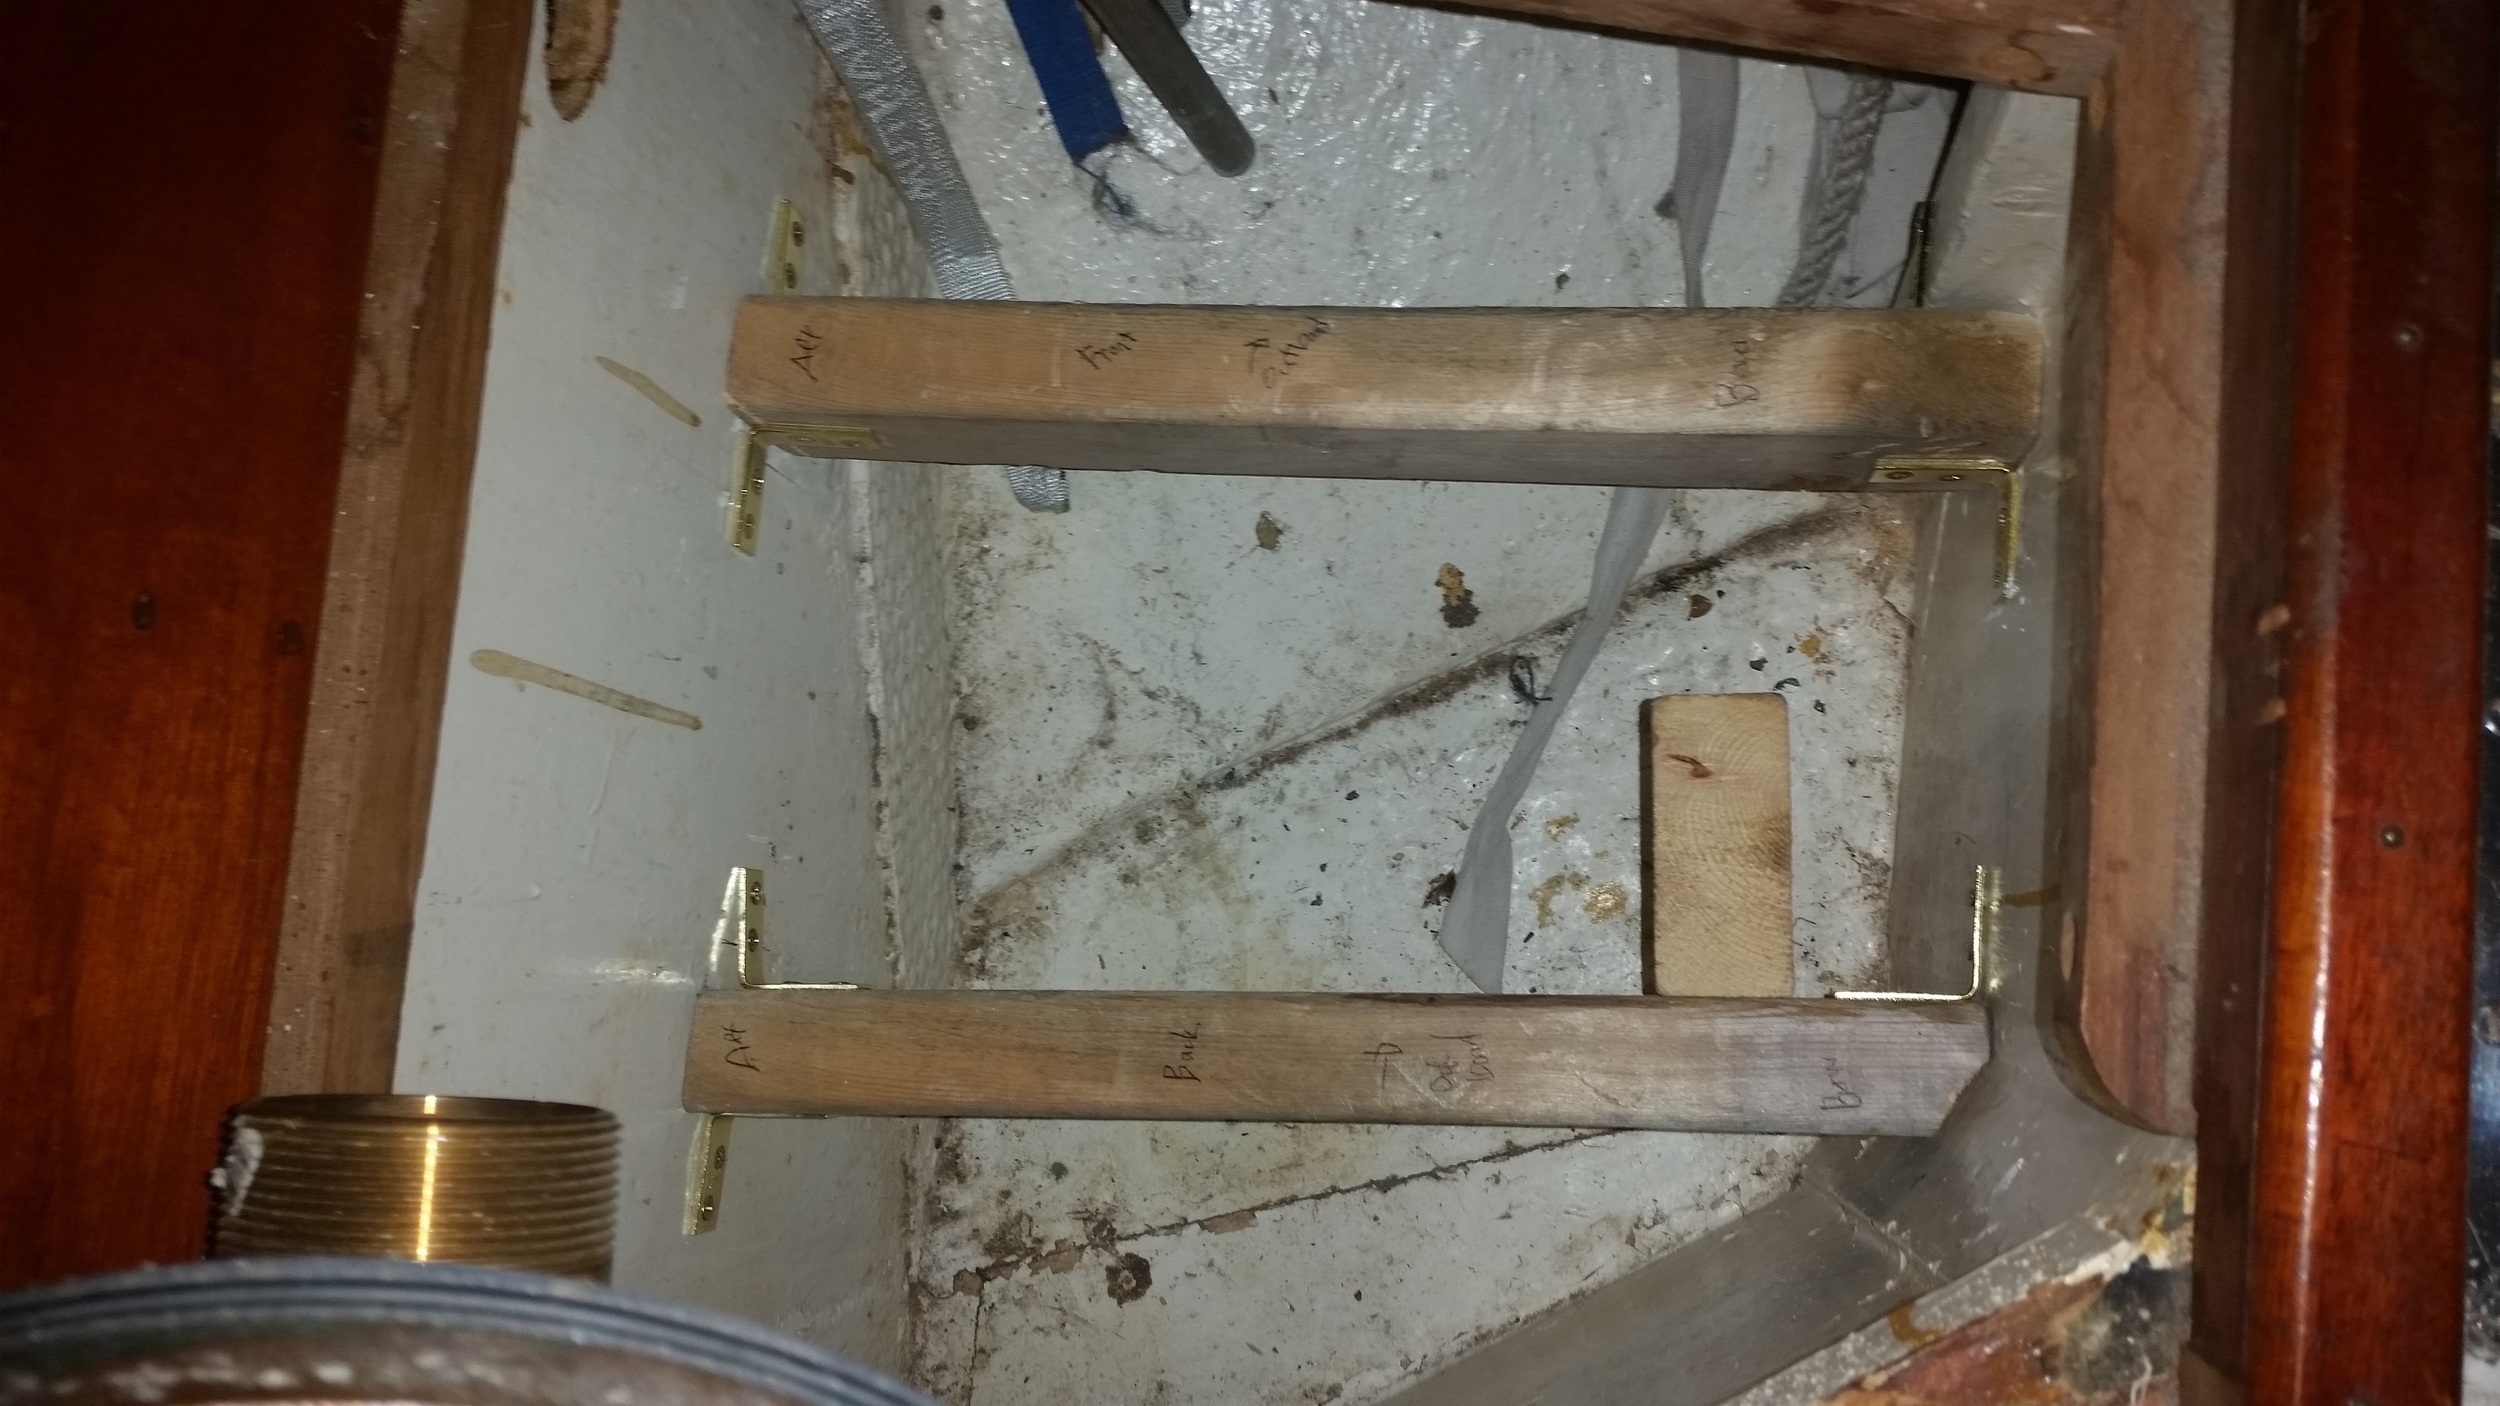
Using a translucent drain hose is beneficial in moments like these as they will allow easy inspection of the drain. If you see large fatty deposits on the side of the hose, you know for certain that it is clogged. 

IMG_0082.JPG

Now that you know hat the problem, it is time to fix it!  

Fixing a fat clogged drain is very easy, all you need to do is fill the sink with water to create pressure on the fat clog and then poke it with a probe. Upon provocation with a probe, the fat will move as the water column above it pushes through. You will actually hear a suction sound as the sink drains very rapidly, carrying the fatty deposits out of the drain with the rush of water. 

IMG_0080.JPG

I use a soft leader wire with the end folded back to snake down the drain and into the fat clog. Folding the end over negates any risk of the wire getting hooked up on the internal structure of the drain or the risk of the wire perforating the wall the hose. 

IMG_0078.JPG

Having a translucent hose makes it easy to see how your repair is progressing. Here you can see that the top part is somewhat filled with water while the bottom is full of fat. If you look closely, you can see the tip of the wire yet showing up between the ribbing at the top of the fat clog. Since I am in the right area, it is time to jiggle the wire up and down a bit to disturb the fat clog and get the water flowing through.
IMG_0076.JPG

Just that easily, the fat will break open and the contents of the sink will drain out in record time. The clog is cleared and the sink will operate as normal once more! If you develop a fat clog in your drain, don't call a repair man, simply get a light duty wire and snake out the clog in the drain.  
Morty Knows Where He Is

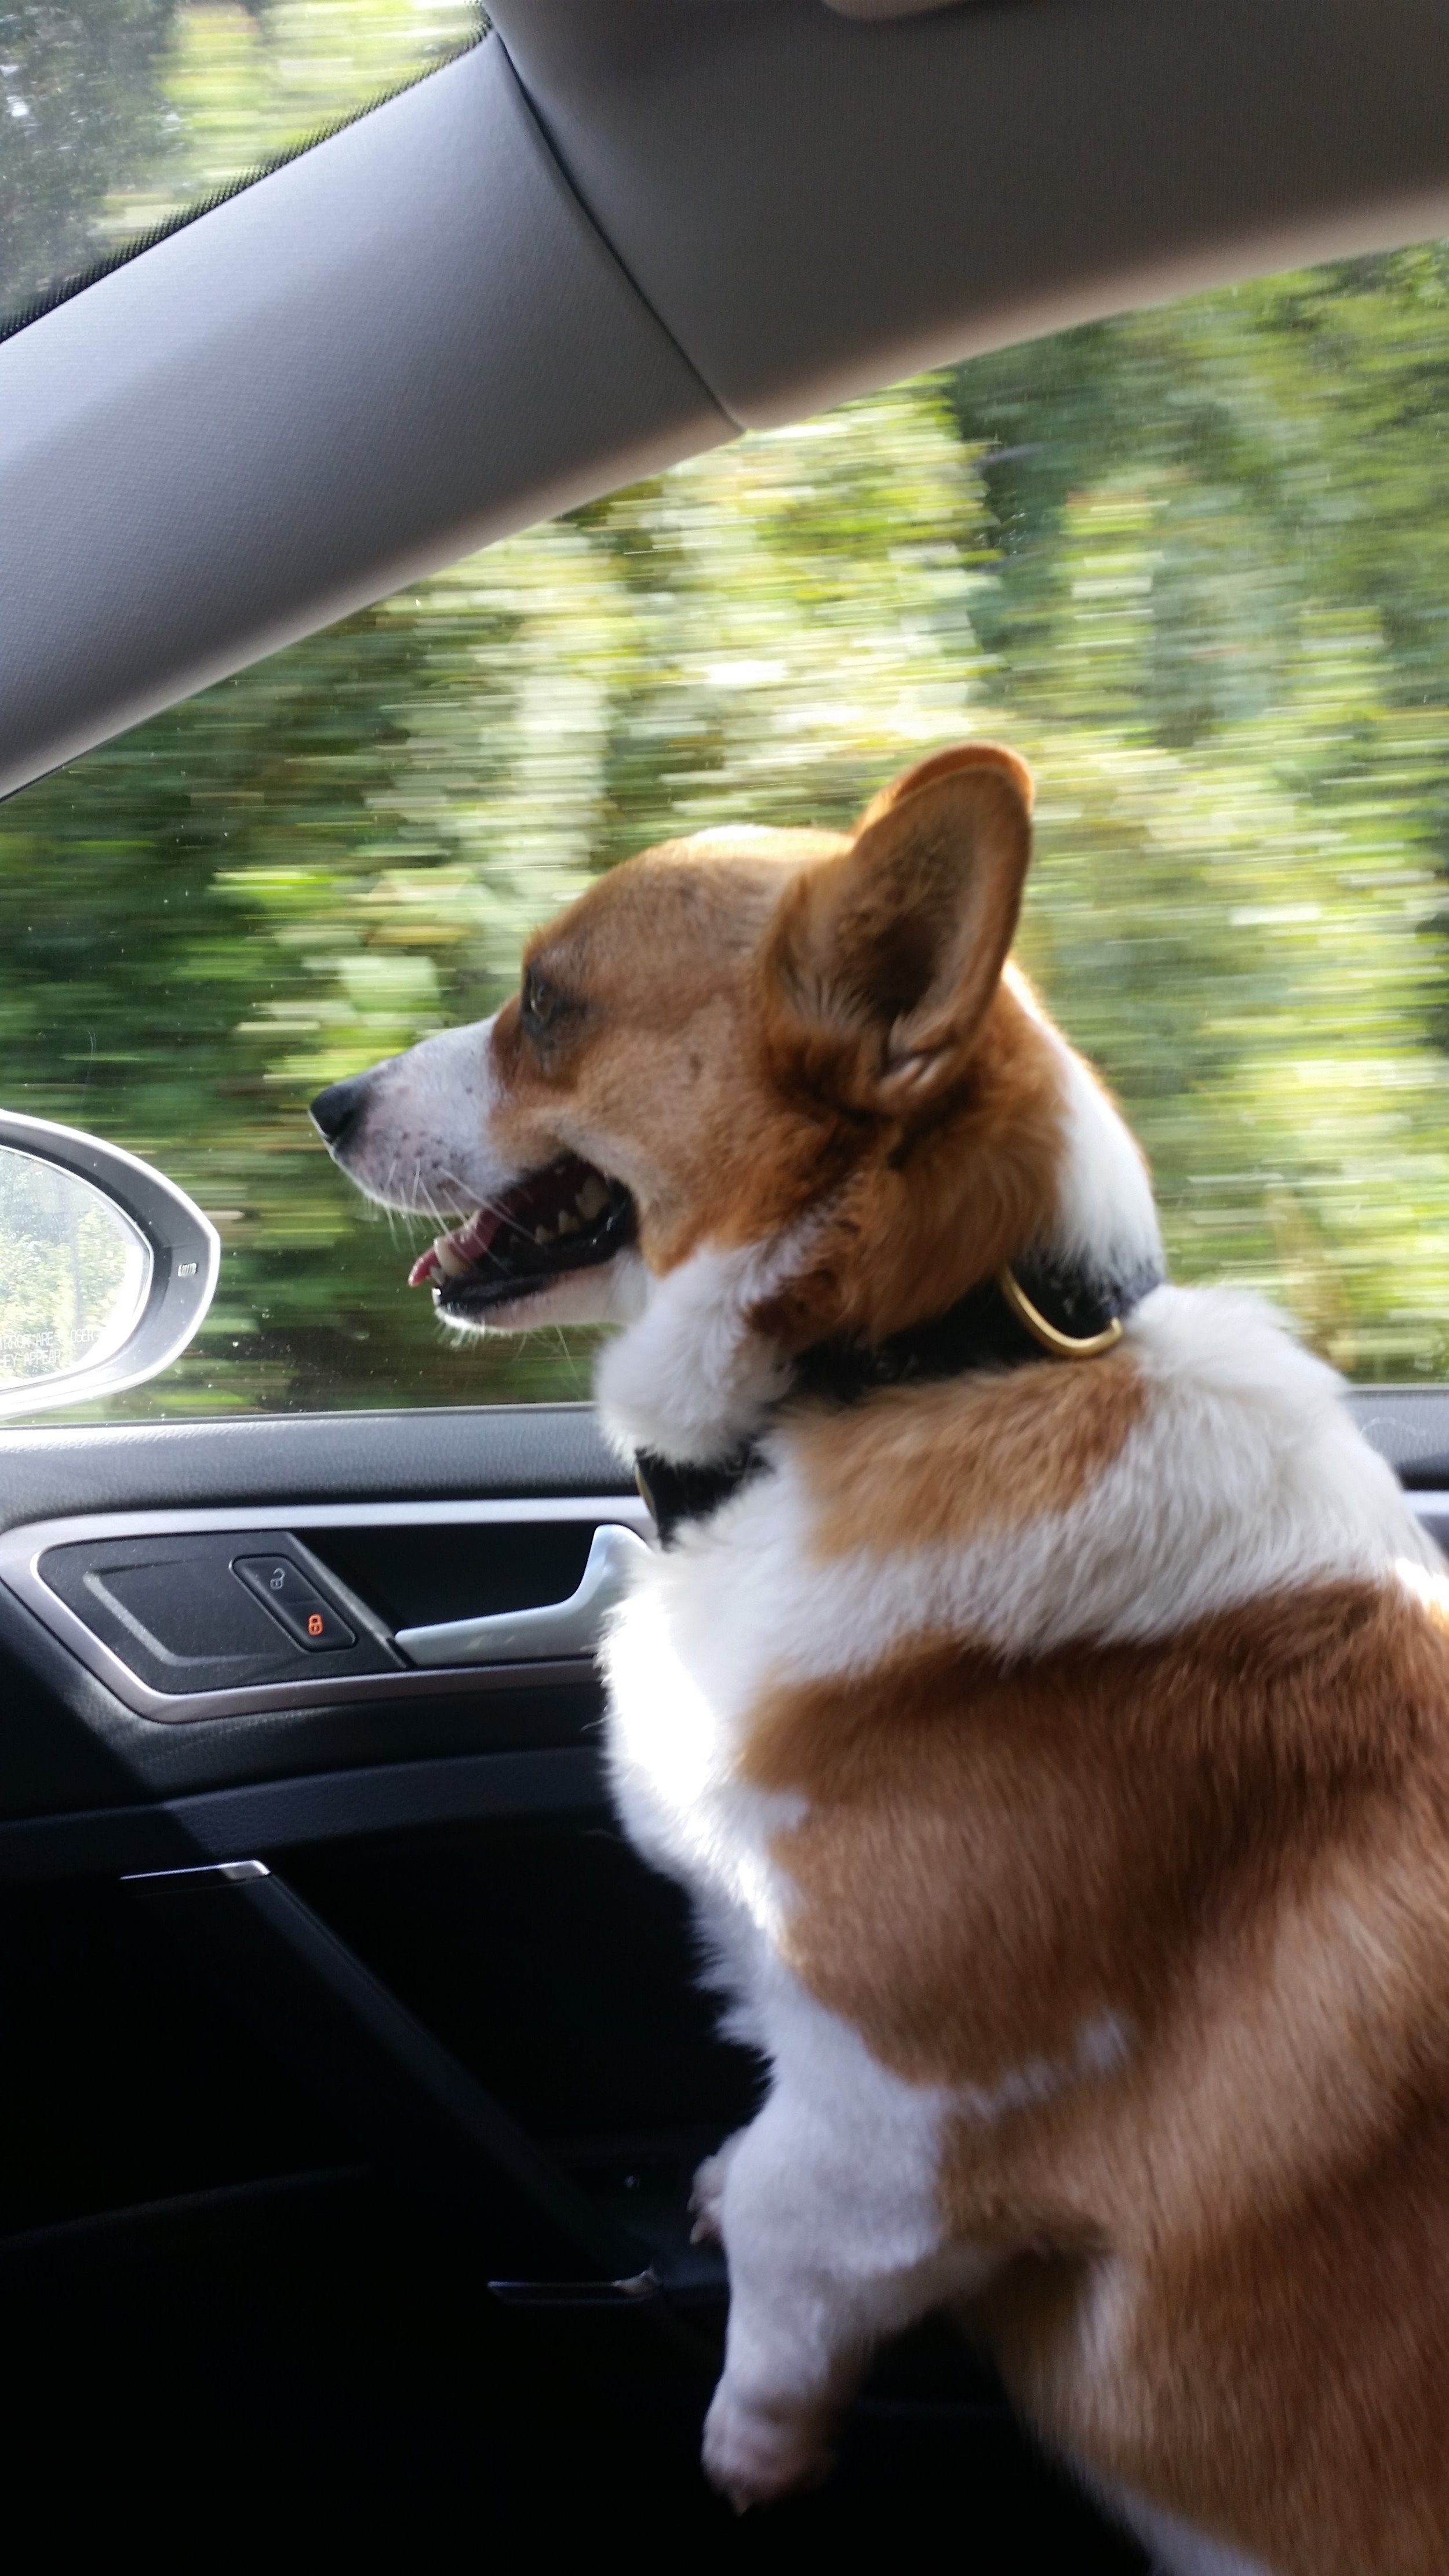
Morty, our boat dog, usually sleeps in the car seat as we drive around running errands. On a trip to my parents house, where he gets to play with my parents dog, he smelled the air coming through the vents and perked up. 

He perked up and took a glance out the window to see familiar trees. From that point on, he stood like this as he excitedly awaited meeting my parents dog again for an afternoon of playing and fun!

Why are Screws Right Handed?

A right handed screw is driven in by rotating it clockwise. A left handed screw is driven in by rotating it anti-clockwise. What does the rotation of a clock have to do with handedness? 

The truth is, there is nothing about the screw that gives it the designation of right handed or left handed, in fact, this designation comes from our anatomy and physiology.

When you hold your arm straight out and rotate your hand so that the palm is up, this is called a supine position and the act of rotating your hand is called supination. When you rotate your hand so that your palm faces down, this is called a pronate position and the acto of rotating your hand is called pronation. Awesome, now you can get that question right at your local pubs trivia night! But what does it have to do with the handedness of a screw?

Simple, the muscle that supinates your hand when your arm is stretched straight out is called the Supinator. The muscles that pronates your hand are called the Pronator Teres and Pronator Quadratus. These muscles are all very small and weak, making this motion a rather weak movement. This is why it is hard to get any leverage on a screwdriver with your arm outstretched. If you bend your arm, the biceps brachii comes into play and can help supinate your hand with a lot of force, driving the screw all the way down!

As you may have noticed, your hands supinate in opposite directions, your right hand supinates in a clockwise direction while your left hand supinates in an anti-clockwise direction. This means that you can drive a right handed screw with your right hand using your supinator and bicep, while your left hand would only be able to use the pronator muscles. Hence, a right handed screw can be driven in with the greatest strength when using your right hand.

This little mnemonic helped me learn supination and pronation while in dental school:

You hold the soup, and you "pro" it out.

To hold the soup, your hand needs to be supine. Turning your hand into a pronated position would throw out the soup.

The take home message is when you need to put in and take out a bunch of screws that are all right handed. Drive them in with your right hand but back them out with your left hand. This will make sure your strong biceps do all the work and your forearms will not get fatigued. 

Manual Bilge Pump Supports

After deciding where we wanted to stand while pumping out Wisdom in the event of an emergency, it was time to actually install the pump. Maddie wanted to be near the companionway so that she could hear me if I were at the helm while still being safely protected inside the cabin. 

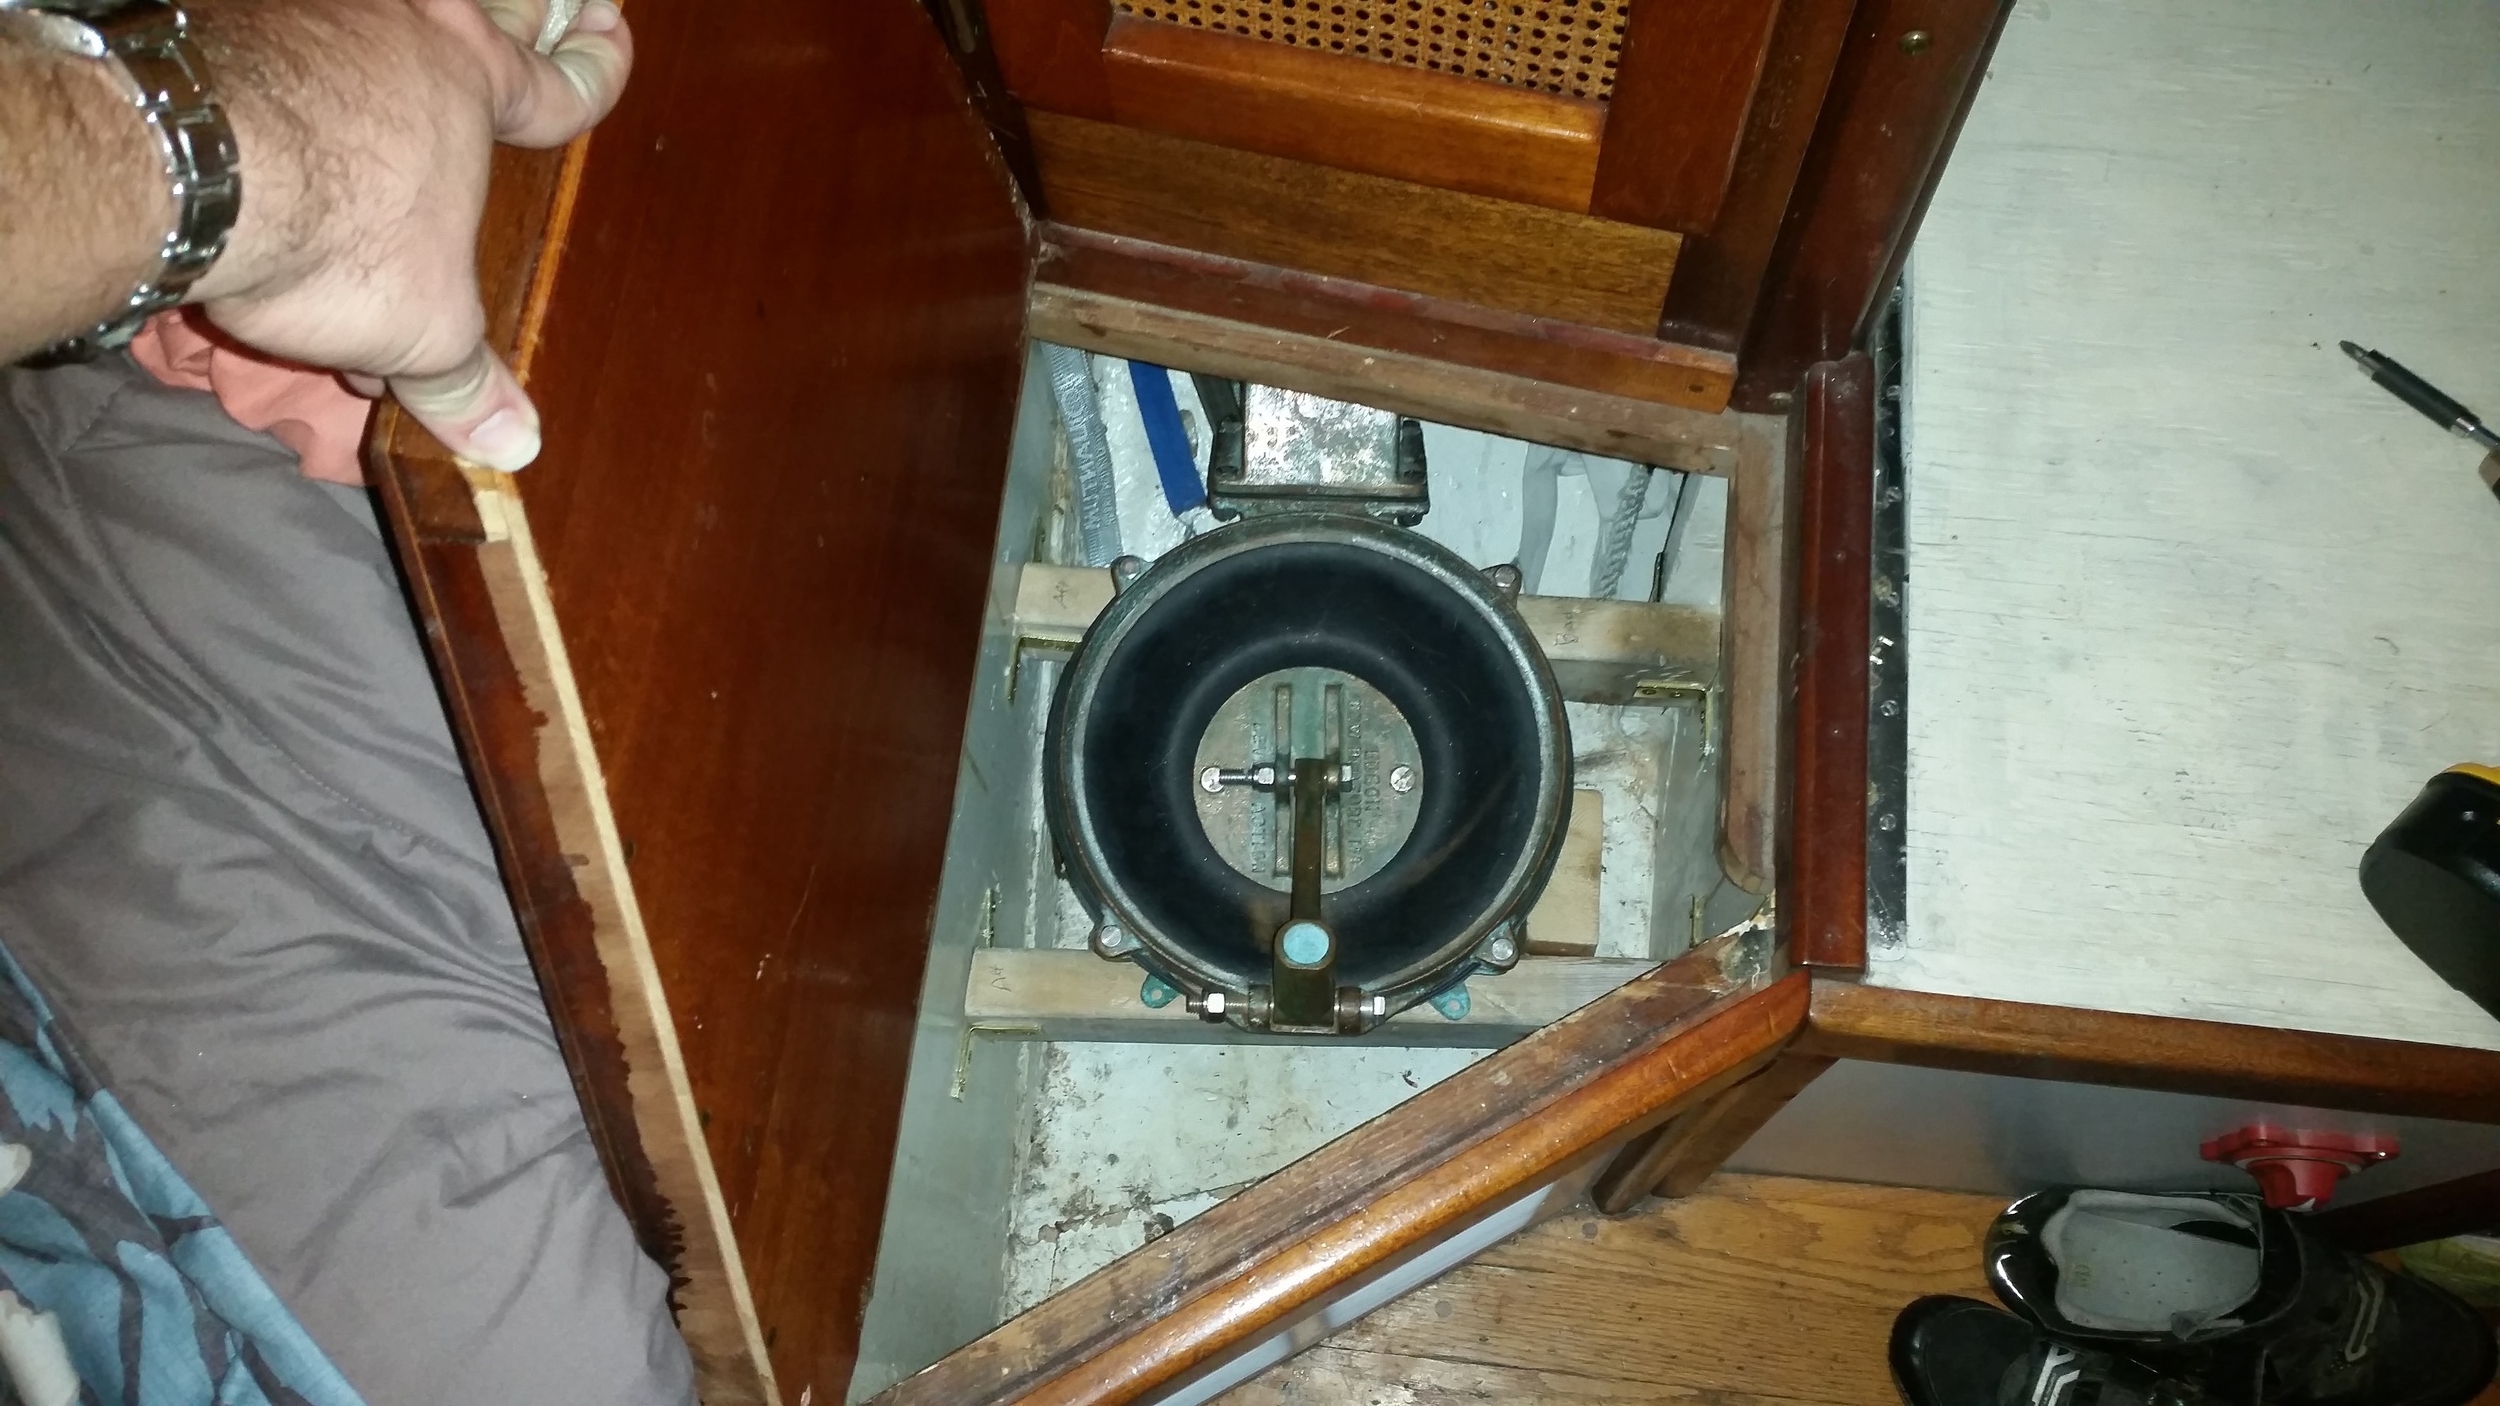
The bottom of the wet hanging locker seems to be the best location for the pump, it can be easily operated by lifting a lid and inserting the pump handle into the top of the pump. Now we just need to make this location a reality!

First, we need to locate the pump in a position where we can comfortably swing the lever arm without the risk of striking nearby objects. Next, we need to make sure that all the plumbing can run to and from the pump with ease. To meet these two conditions, we decided to mount the pump as close to the top of the compartment as possible and angle the pump towards the midship a bit. This will set the pump lever further from the cabinet next to it and allow you to pump without leaning over the unit the whole time. 

Wooden supports were set in place to keep the pump just shy of the inside of the lid, and then marked and secured. I am securing the supports with brass L brackets during the mock up procedure. 

Once the position on the support boards is finalized, I will drill the large holes through the bulkheads to pass the 2 inch hose to feed the bilge pump. The output end of the bilge pump will run up the back of the closet and out the side of the hull, just under the rubrail. 

After all the holes are drilled, I will remove the wooden support boards and prepare the area for fiber glassing. The ends of the boards will be tabbed and filleted onto the bulkhead to produce a very strong connection which will augment the strength of the screws and brackets. After everything is glassed up and cured, the pump can be installed on its very strong and secure base. The hinge might end up being removed from the lid, converting it to a regular lid which can be placed out of the way should we need to gain access to the pump.

One last point about where to position the pump in the locker, if we had placed it at the bottom of the locker, junk would end up piled on top of the pump. By locating the pump at the very top, nothing will fit over the pump and we won't be tempted to pile junk on it. Should clutter accumulate under the pump, it will not impede our quick use of the pump in an emergency.

2016 Honeymoon Cruise vs 2015 Summer Cruise

Our honeymoon cruise was very relaxing. We spent more time at anchor than under sail, and enjoyed more meals off the boat than on board. Most of the trip consisted of calm weather with light winds, with a few isolated storms. We only sailed 190 miles and stopped in Harness Creek, Annapolis, Deale, and Oxford.

Our relaxed pace was the polar opposite to our previous years cruise. We traveled 190 miles, as opposed to 751 miles, and we stayed in protected anchorages for a much longer amount of time. 

On our 2015 cruise, we would sail from dawn to dusk, everyday and all day. We spent very little time relaxing as one of us had to be steering the boat at all times as we worked our way to windward. We anchored out in the middle of the bay, where the winds and tides would toss us all night long and make for a very rough anchor recovery in the morning. We suffered through this because our main goal was to reach the Atlantic Ocean and spend a few days out there beyond sight of land. 

For our 2016 cruise, we had much smaller goals: sail to Oxford to visit my grandmother. We had a week and a half to get there, so we took our time and enjoyed the trip. We spent our first night in the marina waiting for better weather, then made our way to Harness Creek. We stayed in the protected creek for a few days as we relaxed and took it easy. When the weather was favorable, we set sail and made our way to Deale, where we pulled into Herring Bay and enjoyed a delicious dinner ashore. Once in Oxford, we relaxed on the boat and did day trips by car to other nearby towns. Wisdom stayed anchored in the same spot for several days before we decided to make our way home. The return trip was equally as relaxed; we slept in, we sailed to the nearest protected harbor, we ate ashore, and slept well.

Our slow pace did greatly reduce the distance we would be able to cover in a set amount of time, but a combination of the two will yield a very pleasant pace for our future voyages. 

The goal of the 2015 trip was to give us a taste of sailing in the ocean and to make sure that Maddie wouldn't go stir crazy when land was not in sight for some time. Our next big trip is going to take us far out into the ocean, so we need to have some practice before we go. This trip to Oxford was simply a relaxing continuation of our honeymoon, and not a trip to test anything out (even though we did experience a wonderful opportunity to test out sail combinations for heaving to). We were simply going cruising for a week and a half and going to enjoy every moment of it.

Sailing South in the bay is a tedious process, the prevailing winds blow from the South meaning the entire trip is spent beating to windward. We will stop at convenient anchorages along the way and enjoy nice shore side meals while we are still close to land, but there will still be some nights when we anchor in unprotected waters in the interest of making it South as fast as possible. 

Once we are out in the ocean, we won't need to find protected anchorages because we heave to at night. This means that the windvane can steer us all day long and we will be able to relax around the boat while underway (in between sail changes and storms), until we heave to for the night and go to sleep again. 

The only reason we feel any rush when sailing, and the reason we don't sail everywhere with this relaxed pace, is because we do have a fixed amount of time to sail. I take time away from my dental practice and Maddie takes time away from painting and teaching to go on these trips. Without these time constraints, the only logical method to travel would be at the slowest and most relaxed pace. In our case, we need to work a bit at getting there first, then we can relax and meander our way back. The longer we take off for these trips, the more relaxed we can travel through the water.