Trysail Setup

The trysail is a very small sail set in place of the main for storm conditions. It is considered one of the two sails that are never used on a sailboat, the other being the spinnaker. This is probably because people like to turn into powerboats during a storm by dropping all the sails and cranking up the engine.

The problem with this is the extreme motion of the boat during a storm is sediment in the fuel tank can become suspended in the fuel and clog the fuel filter. This is why you always hear of sailors complaining that their engine died at the worst time possible during a storm. If you were relying on your engine, then now you are adrift! Laying a hull under bare poles has been proven a horrible storm tactic, leading the boat to lay beam to the seas and usually capsizing or rolling over completely. When your engine dies in the peak of the storm is not the ideal time to raise your trysail, but at that point, you might be willing to "try" anything, even that "sail".

Being how we don't have the luxury of motoring during a storm (our electric motor doesn't have enough charge to power us through a long storm), we rely on our sails and have actually used the trysail a few times! As soon as we see a severe storm on the horizon heading our way, we rig our trysail. This lets us get everything ready and rigged in calm weather so we are ready for the storm as soon as it hits. 

The trysail runs up its own mast track next to the mains track. This allows the trysail to be raised without removing the mainsail. 

The sheets of the trysail are run to a turning block aft, and then forward to a large sheet winch. A simple bowline tied to the clew will hold very well during the harshest of blows. 

It is important to make sure the lazy sheet is run over the boom and not under it. When it is led over the boom, the sail is able to switch to the other side without issue. If the sheet is led under the boom, the boom will interfere with the sails ability to be on the opposite tack.

The trysail has fallen out of favor by most sailors who state that they could more easily tuck in a third or fourth reef into their mainsail than to rig up a trysail. This is a true statement, trysails take some time to rig in fair weather (before the storm) and could be nearly impossible to rig during a strong blow! 

Trysails do have their place though, as they are made out of much heavier sail cloth and are purpose built to weather out a storm. This means that your mainsail is not subjected to all the wear and tear of a storm. If your deeply reefed main were to tear or rip during the storm, you would have no mainsail once the storm has passed. If you tear or rip your trysail during a storm, your main is still untouched and ready to hoist once conditions improve!

The other advantage of a trysail in a heavy blow is it takes the boom out of the equation. Jibing the main can be an eventful occurrence in heavy wind. The boat will heel over greatly and the boom will slam to the other side as it falls past the midship point! Accidental jibes due to wind shifts or purely accident are risky and dangerous during high wind situations. The trysail takes the boom out of the equation and lets you jibe it as easily as you jibe your jib! Simply turn the boat, loosen the windward sheet and tension the leeward sheet; it takes all the fear and noise out of storm sailing. 

On a final note, the storm trysail has less going on than a reefed main, which translated into less to break during the storm. The sheet is tied to the clew, run to a turning block and set on a strong winch. Any snags or problems are easy to identify and straightforward to correct. 


Top Loading Refrigerators

We have an obscenely large refrigerator/freezer on Wisdom, which lets us carry plenty of cold food (as long as the batteries and solar panels can keep it running). Our fridge is 14.5 cubic feet, and is insanely deep! This may sound like tons of space, but the reality is the fridge relies on proper airflow to keep everything cold and organization so that we can access our foods.

The boat originally had holding plates that were driven off of the old diesel motor. This large compartment had two holding plates, making it a giant freezer. The other smaller side had only one holding plate and was the refrigerator. We converted the chill plates and re-arranged the setup making the small side the freezer with a spill over fan to the large side (now refrigerator).

In order for the fridge side to work, we need air flowing through. A small fan set low in the fridge draws low cold air from the freezer side and sends it over to the fridge side. A series of holes in the top of the divider lets the air return to the freezer from the fridge. This setup lets air flow and circulate from the freezer side over to the fridge, and back to the freezer.

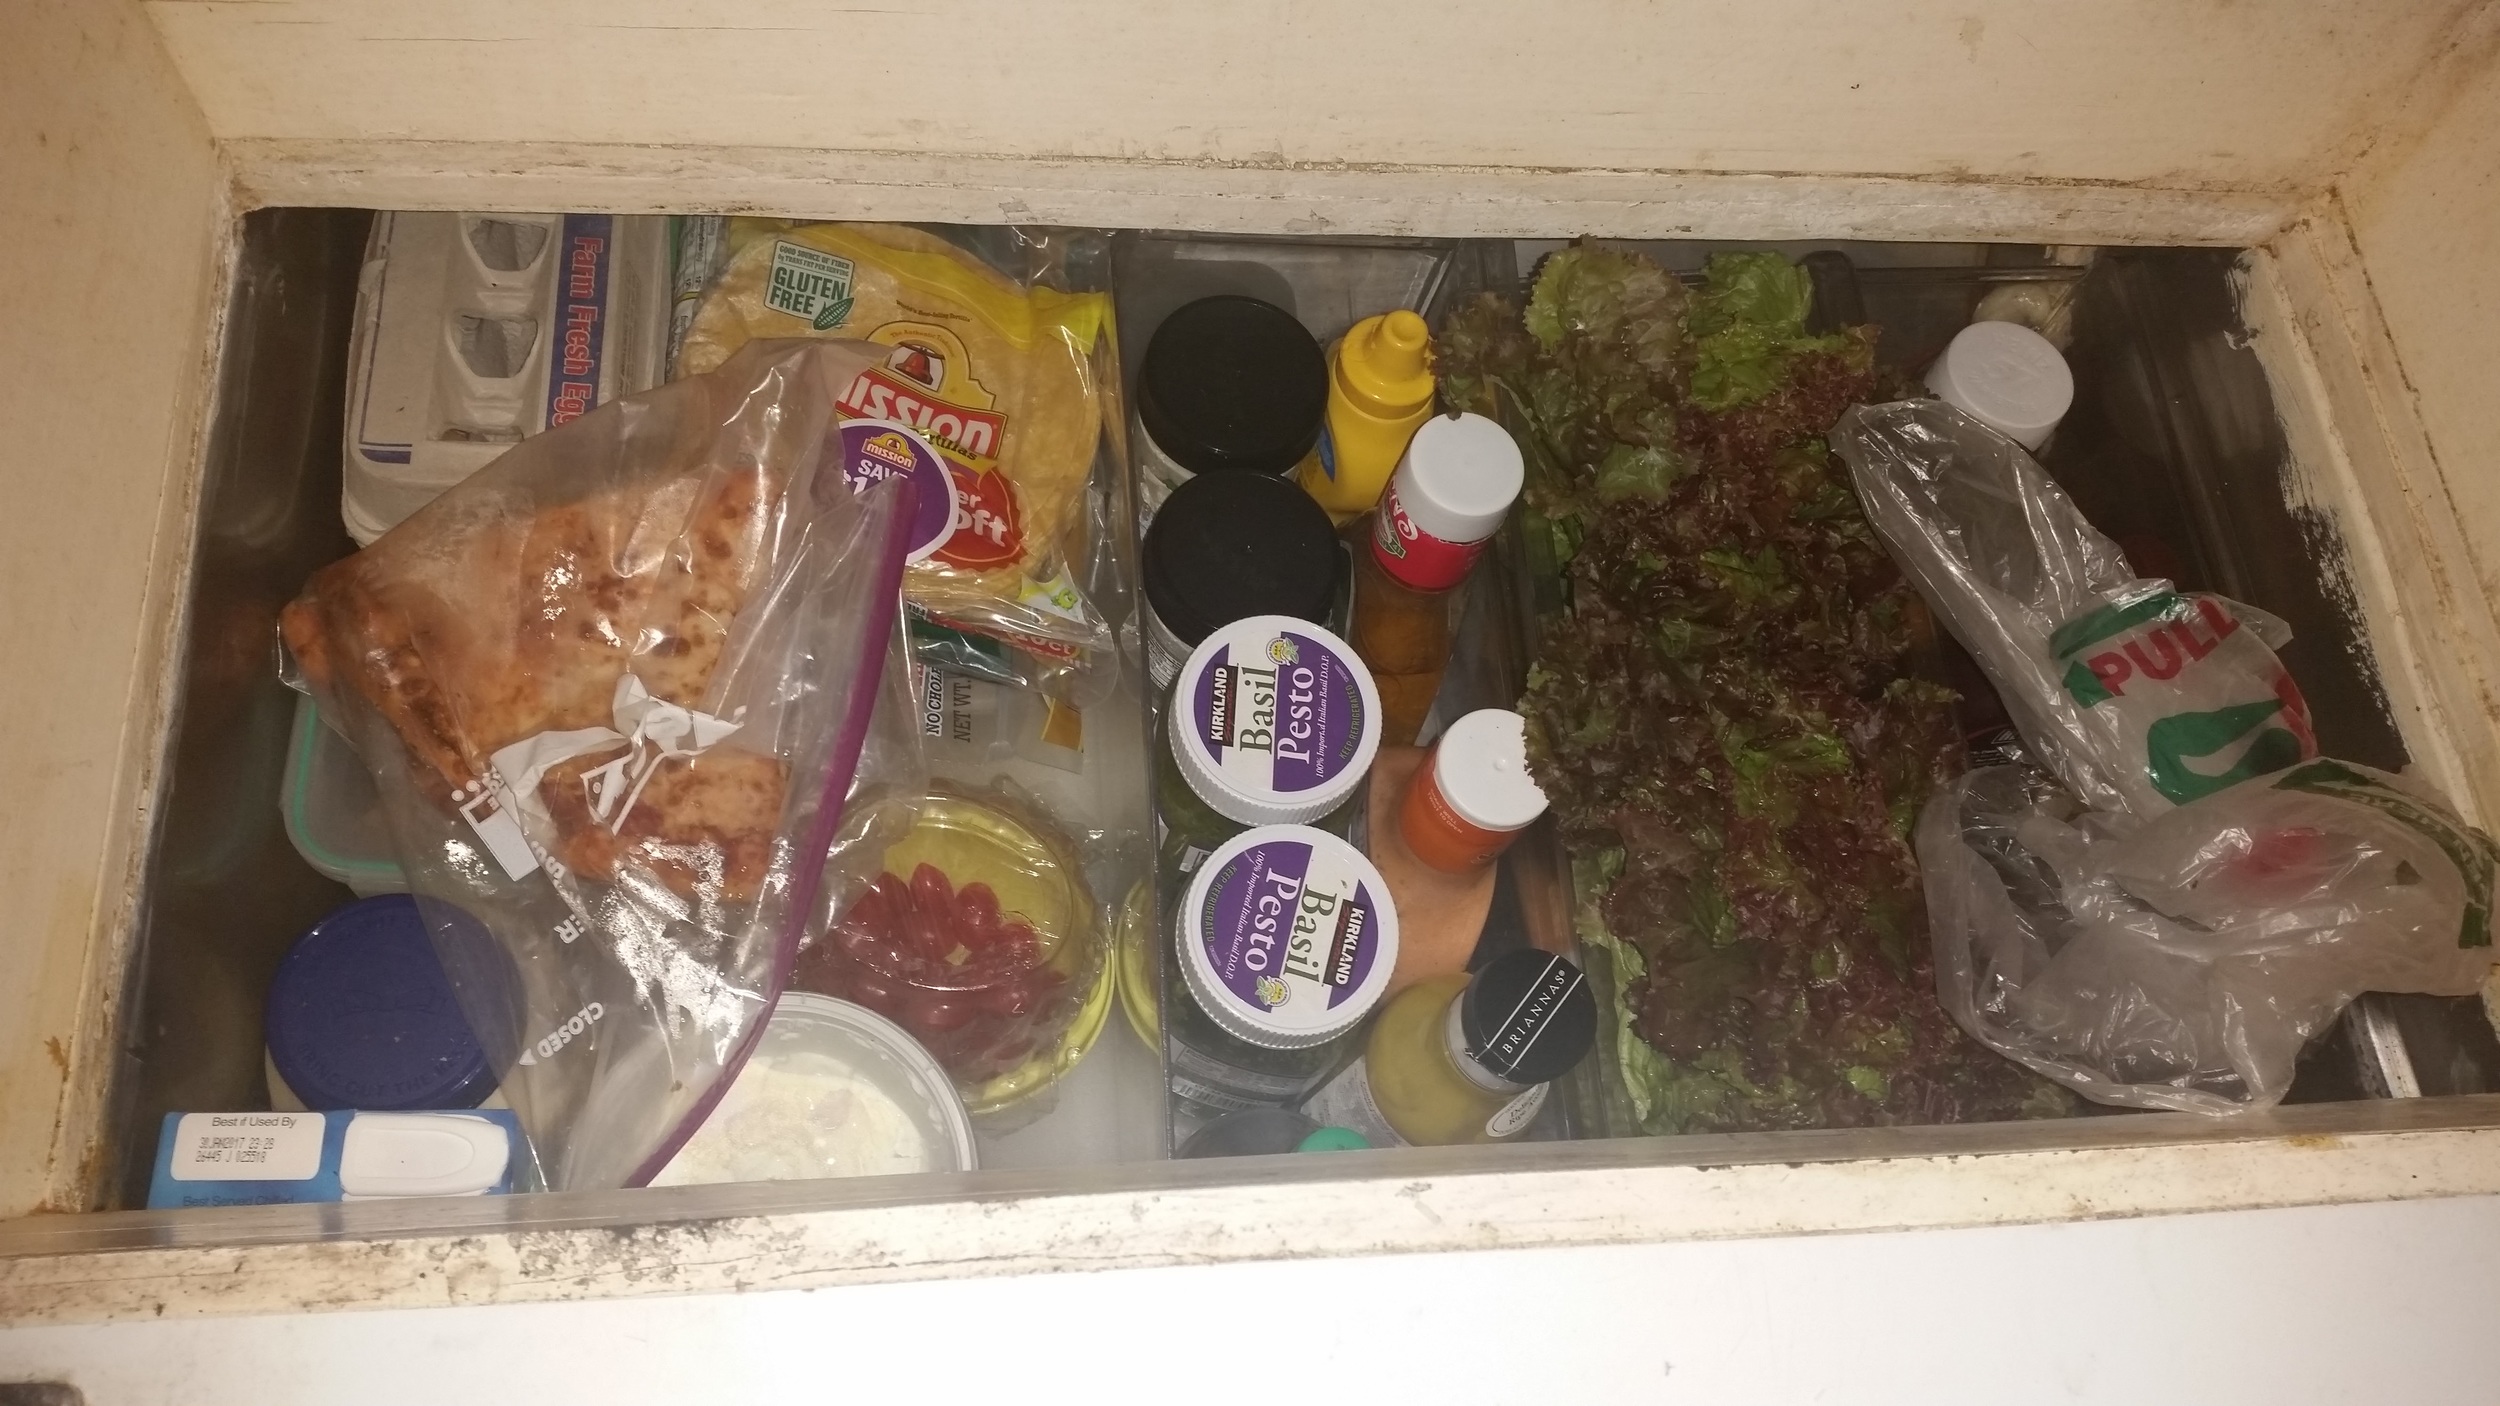
The problem with this setup is air needs to flow freely through the compartments. If we packed it full with food, air would not flow and the fridge would begin to heat up! To avoid this, a series of containers is used to keep the foods organized and still allow air to flow freely.

Two plastic boards hold everything up near the top where we can easily reach it and provides a flat surface to store food on. The left has a very large plastic cutting board and the right has three drawers from an old refrigerator. Air can easily flow into the bottom compartment, through the gaps in the plastic and back up to the surface where it returns to the freezer side.

Using plastic for all the dividers makes clean up much easier if something were to spill or spoil. Everything can be easily wiped down periodically, keeping our food stores fresh and accessible.

Putting Floors in the Ceiling

The tiny house was designed as an upside down boat. The ridge beam is the keel, the rafters are the frames, and the floors go in the ceiling!

Source: http://www.denmanmarine.com.au/images/Restoration_and_repair/teal/fitting_frames.jpg

Source: http://www.denmanmarine.com.au/images/Restoration_and_repair/teal/fitting_frames.jpg

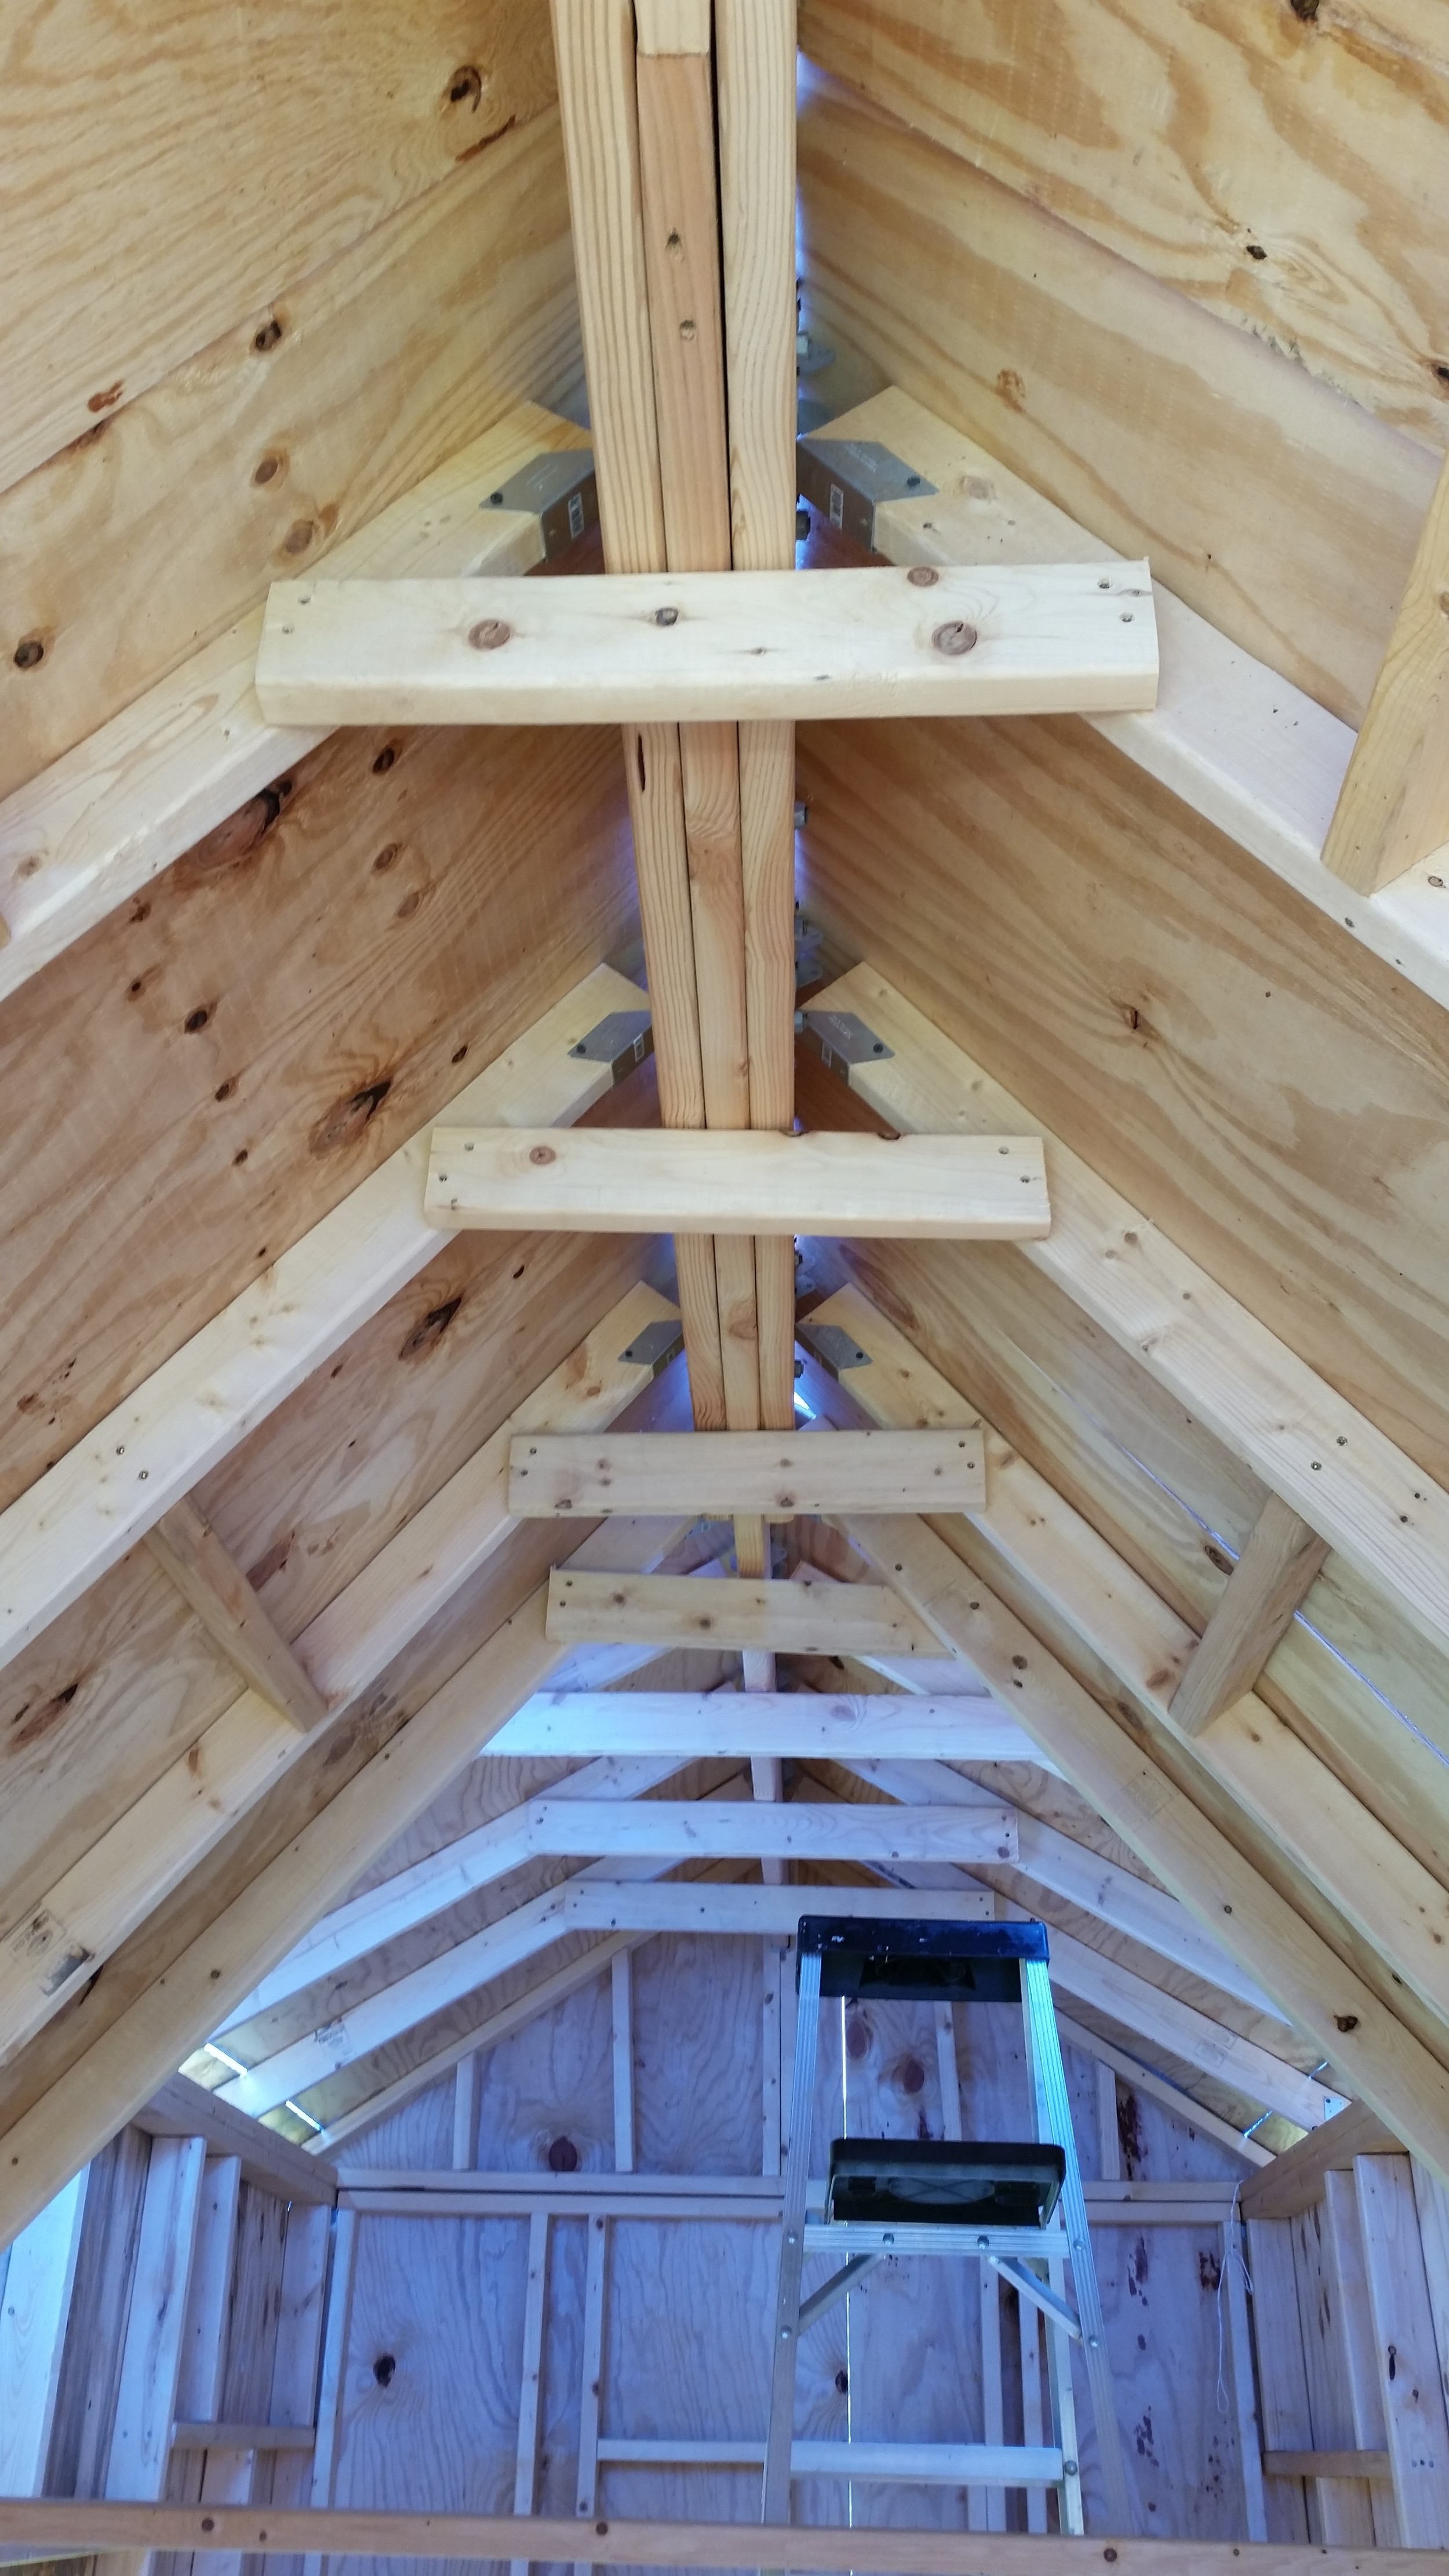
Floors are the horizontal boards that connect the frames to the keel. They strengthen the hull and prevent wracking (twisting) and flexing. Tiny houses need this as they will be exposed to hurricane force winds while driving down the highway! I could not find the name of this piece of wood in house building, but I have heard of people complaining about the house twisting in high winds. These wooden floors should strengthen up the roof and the entire tiny house.


Installing the floors was rather straight forward. A length of 2x4 was cut and screwed to the rafters. If the roof were to try and lift, the floors would move upward and be stopped by the ridge beam. If the house were to twist, the triangulation of the floors, rafters, and ridge beam would resist the motion.

The floors are eventually going to be covered up when we insulate the inside and then cover the frames with interior siding, but for now, they can shine in the sun with all their structural glory!

Sailboat Art

Maddie and I visited an outdoor sculpture garden of mammoth proportions. One of the installations caught my eye from a distance.

It looked like the hull of a sailboat from a distance! As we closer, I was more and more certain that it was in fact a sailboat hull.

When we got up close and read the plaque, I was proven correct! The artist took a retired sailboat and painted a mermaid on the side of the hull. This installation was in stark difference to the other sculptures, mostly metal giants that towered over the landscape; whereas this one floated on along on its small island in a protected lake. No modification needed to be made to the shape of the hull, as the hull of a sailboat is already graceful and pleasing to the eye. All that separates our sailboats from this work of art is a paint job!

Refrigeratior Gasket

A leaky gasket will let more moisture into the fridge, which will then build up on the freezer plate via deposition. Deposition is the phase change between gas (vapor) and solid (ice). It will build up like snow on your freezer plate, taking up all the space and making it impossible to fit your frozen foods into the compartment. This picture was taken after I had poured some warm water on the ice in an attempt to remove it from the freezer plate. 

Warm water works well, but it is very time consuming. A heat gun is another and quicker alternative. The slowest option is to leave the freezer off and simply waiting for it to melt off. Under no circumstances should you ever take an ice pick to the ice! One small puncture will destroy the freezer plate and drain your system of its refrigerant. If you damage it with an ice pick, the only solution to repair the system is to purchase a new freezer plate and recharge the system; which will set you back several hundred dollars!

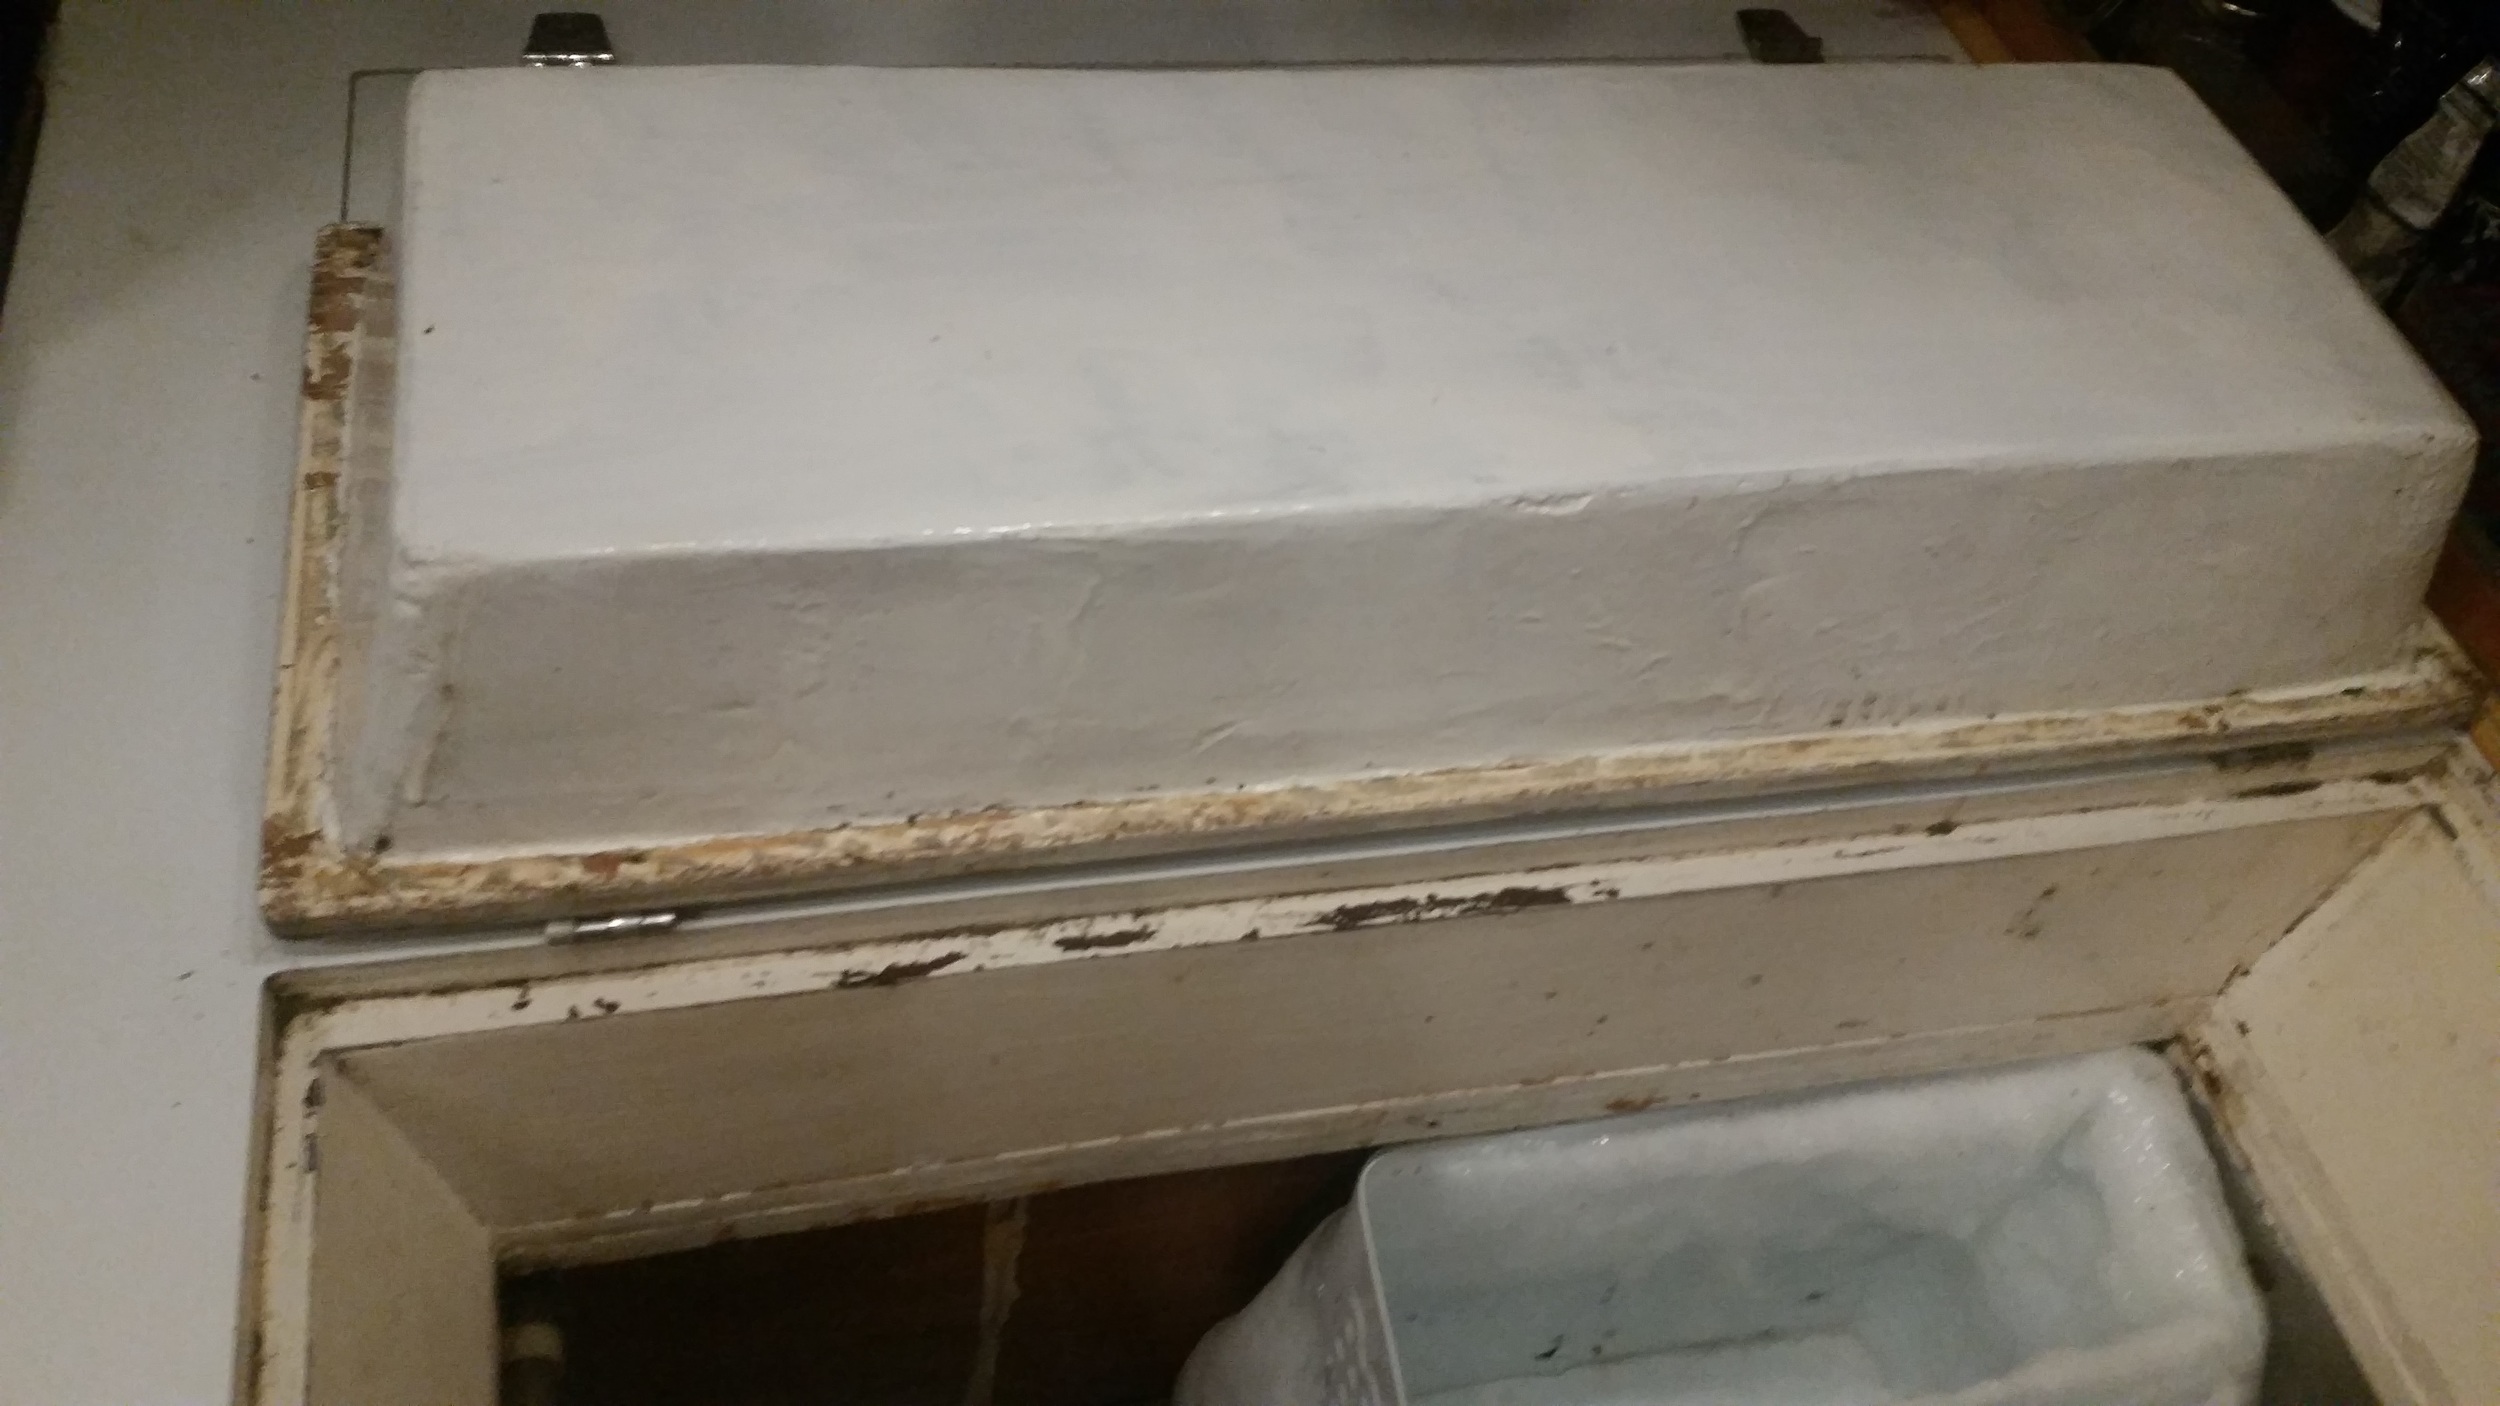
Top loading fridges have weather stripping gaskets that get old and beat up over the years, loosing their seal and allowing moist air to enter the fridge. The best solution is to remove the old weather stripping and replace it with new weather stripping. 

Removal is very simple, as weather stripping is attached with a weak adhesive. Simply roll up a corner and begin peeling it off. Once removed, I suggest a thorough cleaning of the lid and sides of the fridge as the weather stripping can make cleansing difficult.

Once everything is cleaned to a satisfactory level, begin laying down the new weather stripping. Set the weather stripping at one corner and unroll it as you adhere it to the edge. Pull it all the way to the other end and then cut it with scissors in place. 

Once it is stuck down, peel the white backing paper off weather stripping. Always pull the backing paper off at a sharp angle to avoid lifting the weather stripping off the flange. If the weather stripping does lift up, simply re-position it and push it back down to adhere everything.

Once finished, check for any open corners where the weather strippings might have pulled back and opened up as these openings will leak in warm and moist air. If the corner is open, lift up the last few inches of the weather stripping and tack them back down in contact with the other leg of the seal; this will ensure that you end up with a tight seal which will keep out moisture and make your fridge run more efficiently!