Rainy Days

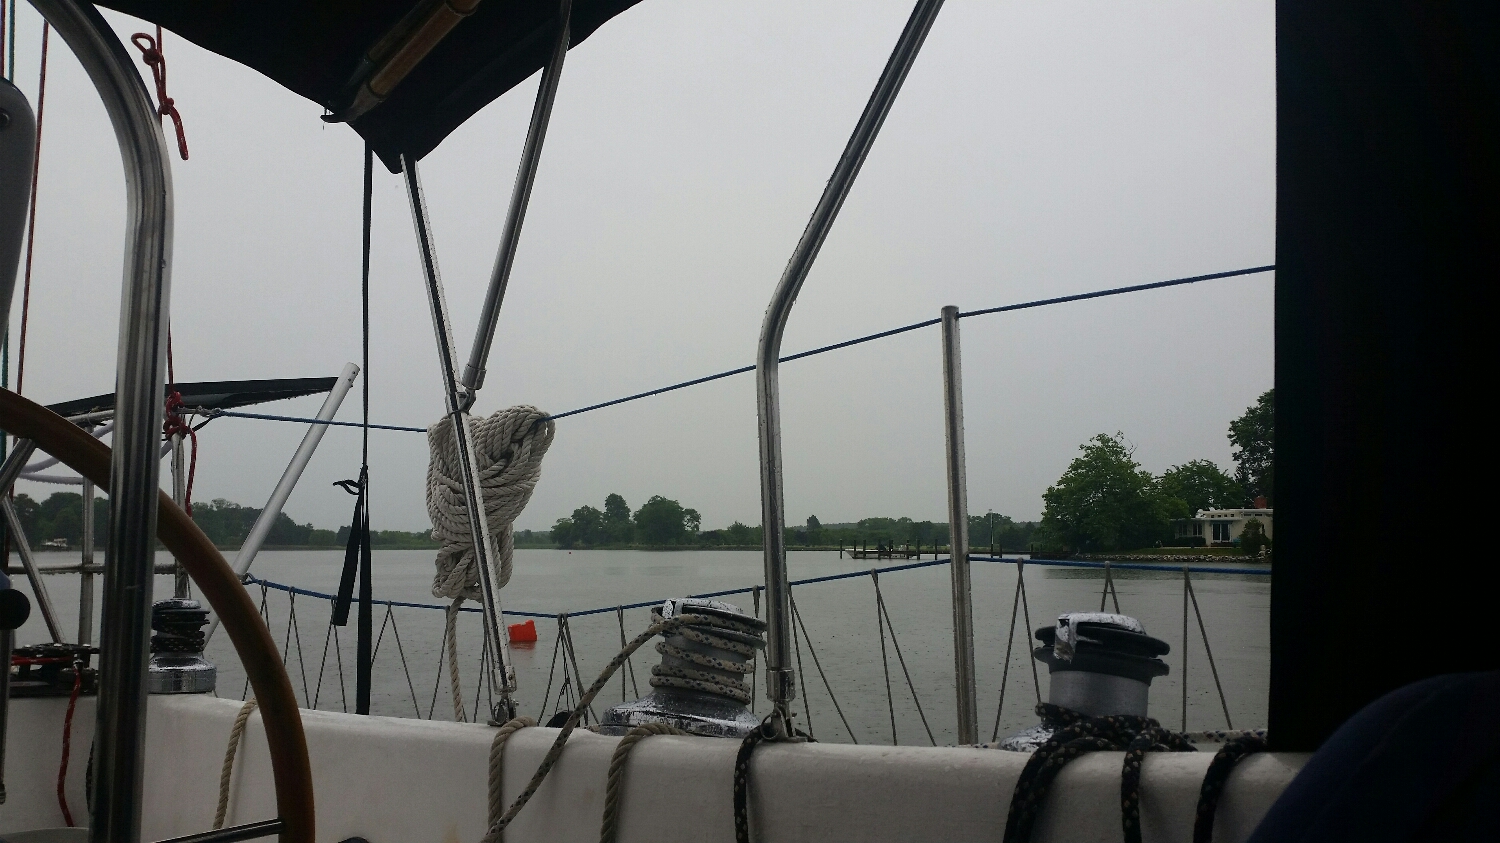
We are anchored in Town Creek, next to Oxford Maryland at the moment and it has been raining all morning. The rains started at 4 AM and have not let up all morning. 

upload.jpeg

The gray and gloomy skies take all the desire out of going outside our rowing to shore. 

Maddie is still sleeping and I am looking into the gray skies with Morty and Sammy, waiting for the weather to change.  

The good side to this rain is I can collect some water off the sails to do laundry with. This rain has no wind accompanying it, so I feel confident about opening the sails to serve as make-shift rain collectors.  

Once the buckets are a bit more full, I can get to the laundry. Until then, I sit looking out the companionway at the raindrops hitting the water.  

Sheepshank

The sheepshank is probably one of the most under appreciated knots. It's fatal flaw is directly responsible for its lack of popularity: if the knot looses tension, then while thing comes undone. 

People usually tie a knot and expect it to hold until they release the knot, but the sheepshank will not do that. It will hold as long as the line has tension; but as soon as tension is lost, the knot falls apart. 

The sheepshank is used to take slack out of a line or to make a line shorter. As long as the line is pulled tight, it will continue to hold and do its job wonderfully. 

Knowing its flaw is important in deciding when and where to use it. If you shorten a dock line with it, you will be sorry! But is you shorten a line that is always under tension, you will be very pleased.  

I use this knot to take out the slack on my backstay adjuster. When I tighten the backstay, the adjuster line goes slack. A well tied sheepshank will take up the slack and will also release very quickly is I need to ease the backstay in a hurry! 

I must admit, this is the only place I have ever used a sheepshank on any boat, but I still don't think this knot should be cast aside as a worthless or useless knot. 

Navigating Under Sail Using Lubbers Lines


upload.jpeg

The compass is on of the most valuable navigational instruments on a sailboat! The require no electricity, they do not need software updates, they just work! 

The compass lives on the top of the binacle, where it can always be clearly seen. In the compass are a series of lines that flank the compass dial, these are called "lubbers lines" and they are crucial to navigation under sail. 

In this example, I am sailing south (180) and the line that points ahead is in line with the ship, and marks our heading as 180.  This line is simple to understand, as it points in the direction you are going. 

If you look around the compass some more, you will see several other lubbers lines.  

upload.jpeg

These other lines are set at +/- 45 degrees and +/- 90 degrees to the heading line. In our case, with a heading of 180, the next lubbers line to port would be 135, followed by 90, and to 225 and 270 to starboard. 

What do these lines mean and what is their purpose?  

Let's start with the +/- 45 lines. These lines show the approximate wind direction. If you are sailing as close to the wind as possible on port tack, and your heading is 180, the wind is coming from the port 45 line: 135. This means that the wind is coming from 135.  

If you were on starboard tack, then the wind would be coming from 225. 

The next line is the +/-90. These lines indicate your new heading after you tack. So if you are sailing as close to the wind as possible with a heading of 180 on port tack, the wind would be coming from 135, and your heading after the tack would be 90. 

If you were on starboard tack, the wind would be from 225 and your new heading would be 270. 

This may sound like a fun academic exercise with no real world application, but in fact, this is vital information that is needed to quickly navigate to you windward target using the least amount of tacks.  

When you are sailing to your windward destination on port tack, with your destination on your port side, knowing when to tack is crucial.  

If your heading is 180, and you are sailing close to the wind which is coming from the -45 line (135), your beating to the destination needs to be at 90 or less or you will fall short of your mark. 

Instead of getting out a hand held beating compass, taking a sight, and plotting a course to see if you can track yet, simply use the lubbers lines!  

All you need to do is sit on the starboard side and look at your target over the ships compass.  

upload.jpeg

If the line in the center of the compass and the port 90 lubbers line line up, you know you are looking at the lines correctly. Now look up into the distance and locate your target. Once it has moved in line or aft of the port 90 lubbers line, you know you will be able to reach your mark on the next tack. 

Lazy Days

When the winds are light and we are ghosting along on a broad reach, an aire of relaxation seems to come over the crew. 

Everyone seems so relaxed and the desire to sleep the day away comes over us all! 

Maddie and I take turns at the helm, usually dictated by how sleepy we are. I steer while she sleeps, then she steers while I sleep.  

We sleep in the cockpit with Morty, so we don't have to move very far when we trade watches. We simply nudge them to wake them and then curl up with the cockpit pillows.  

I couldn't think of a better way to spend the day!  

Reefing Tack Line

​Most mainsail reefing involves a tack hook and clew line to secure the reefed foot of the sail. Reef hooks are very secure and strong and offer little risk of allowing the sail to slip off.

The way they work is you slip the tack cringle over the hook and then haul in on the halyard to secure it. This works well on small light sails, but heavy sail cloth and/or high winds can make it nearly impossible to reach the hook. For this reason, tack straps have become a wonderful solution, aiding the sailor in securing the tack. A webbing strap with a ring hangs down and can easily be hooked onto the rams horn. Once secured, the halyard is hauled in and the sail is raised. This secures the tack in its reefed position.

While tack hooks are a standard, they do have a significant problem: they are hooks!

A flaked mainsail can easily lie under the tack hook, and if raised quickly, it can be pierced by the hook. This will create a puncture in the luff if you stop instantly, or a large tear if you raise the sail before you realize what is going on.

I personally pierced my old sail three times on my old tack hook. The last thing I wanted in my new laminate mainsail were luff punctures, so the hook had to go! This led to my current and very sail friendly tack setup, a tack line.

upload.jpg

I used a length of dyneema (regular, not heat set SK75) for my tack line, and another length tied to the reefing tack points on the sail. The length of dyneema is tied to the goose neck on a strong attachment point with a bowline ready to connect to the sail.

On the sail, I tied a very fancy series of knots to the reefing tack points. The first set of knots is an interlocking double fishermans knot. This keeps loops from coming apart when the tack is loaded. The tails are then further knotted into the loops to ensure that these knots will never come undone!

I did not make grommets for these locations because grommets bulk up the loop considerably and I was concerned that they would be overly stressed passing through the tack ring and decided to simply tie a strong knot and keep the bulk of line passing through the ring reduced.

I tie the tack line tail to the loop via a sheet bend with a slip. If you do not include a slip, you will be hard pressed to untie the bend knot after a stormy sail. The slip gives you the ability to pull the knot apart if you are unable to untie it in a timely manner.

The sheet bend has a tendency to slip out, which is why considerable care should be taken to make sure that it becomes fully tightened as the sail is raised. If you see the knot slipping, simply tighten it a bit more and continue raising the sail. It will become incredibly tight as the winch pulls the sail into position and will not come untied under any situation!

Shaking the reef out literally becomes a matter of shaking the knot out, and raising the sail all the way.

This method makes reefing hardware very safe for your sails and provides a very secure method to attach your reefed tack point.