Squaring the Walls

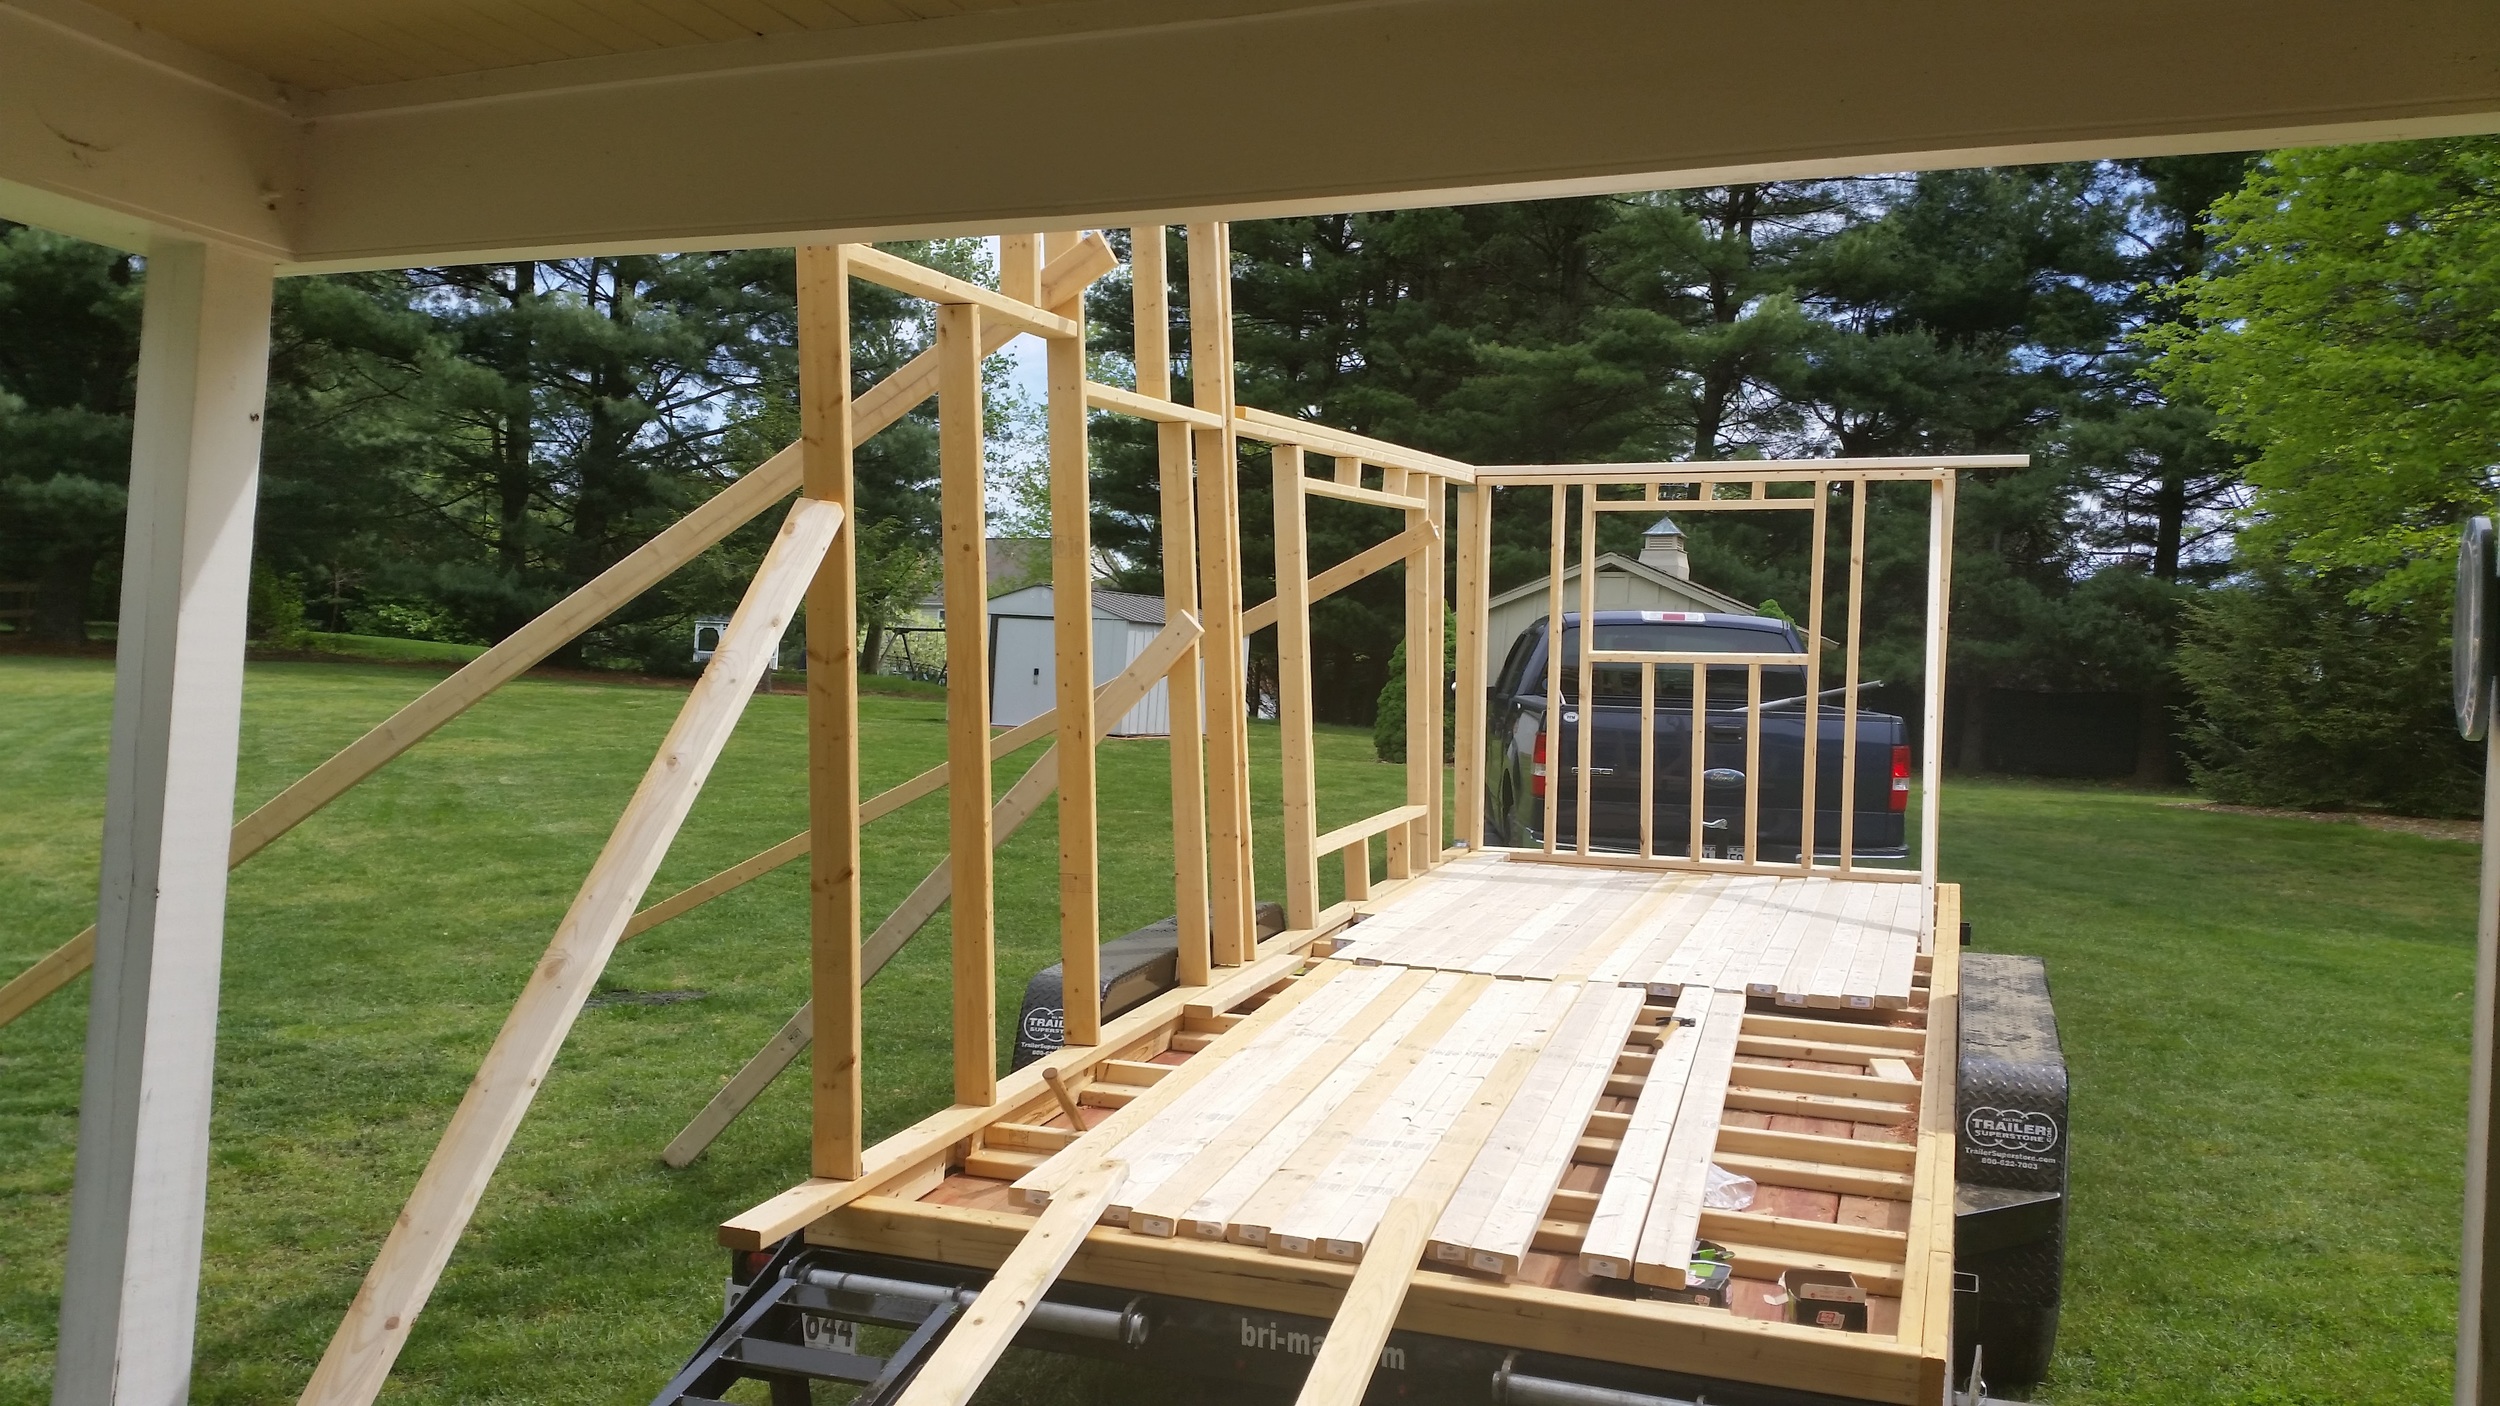
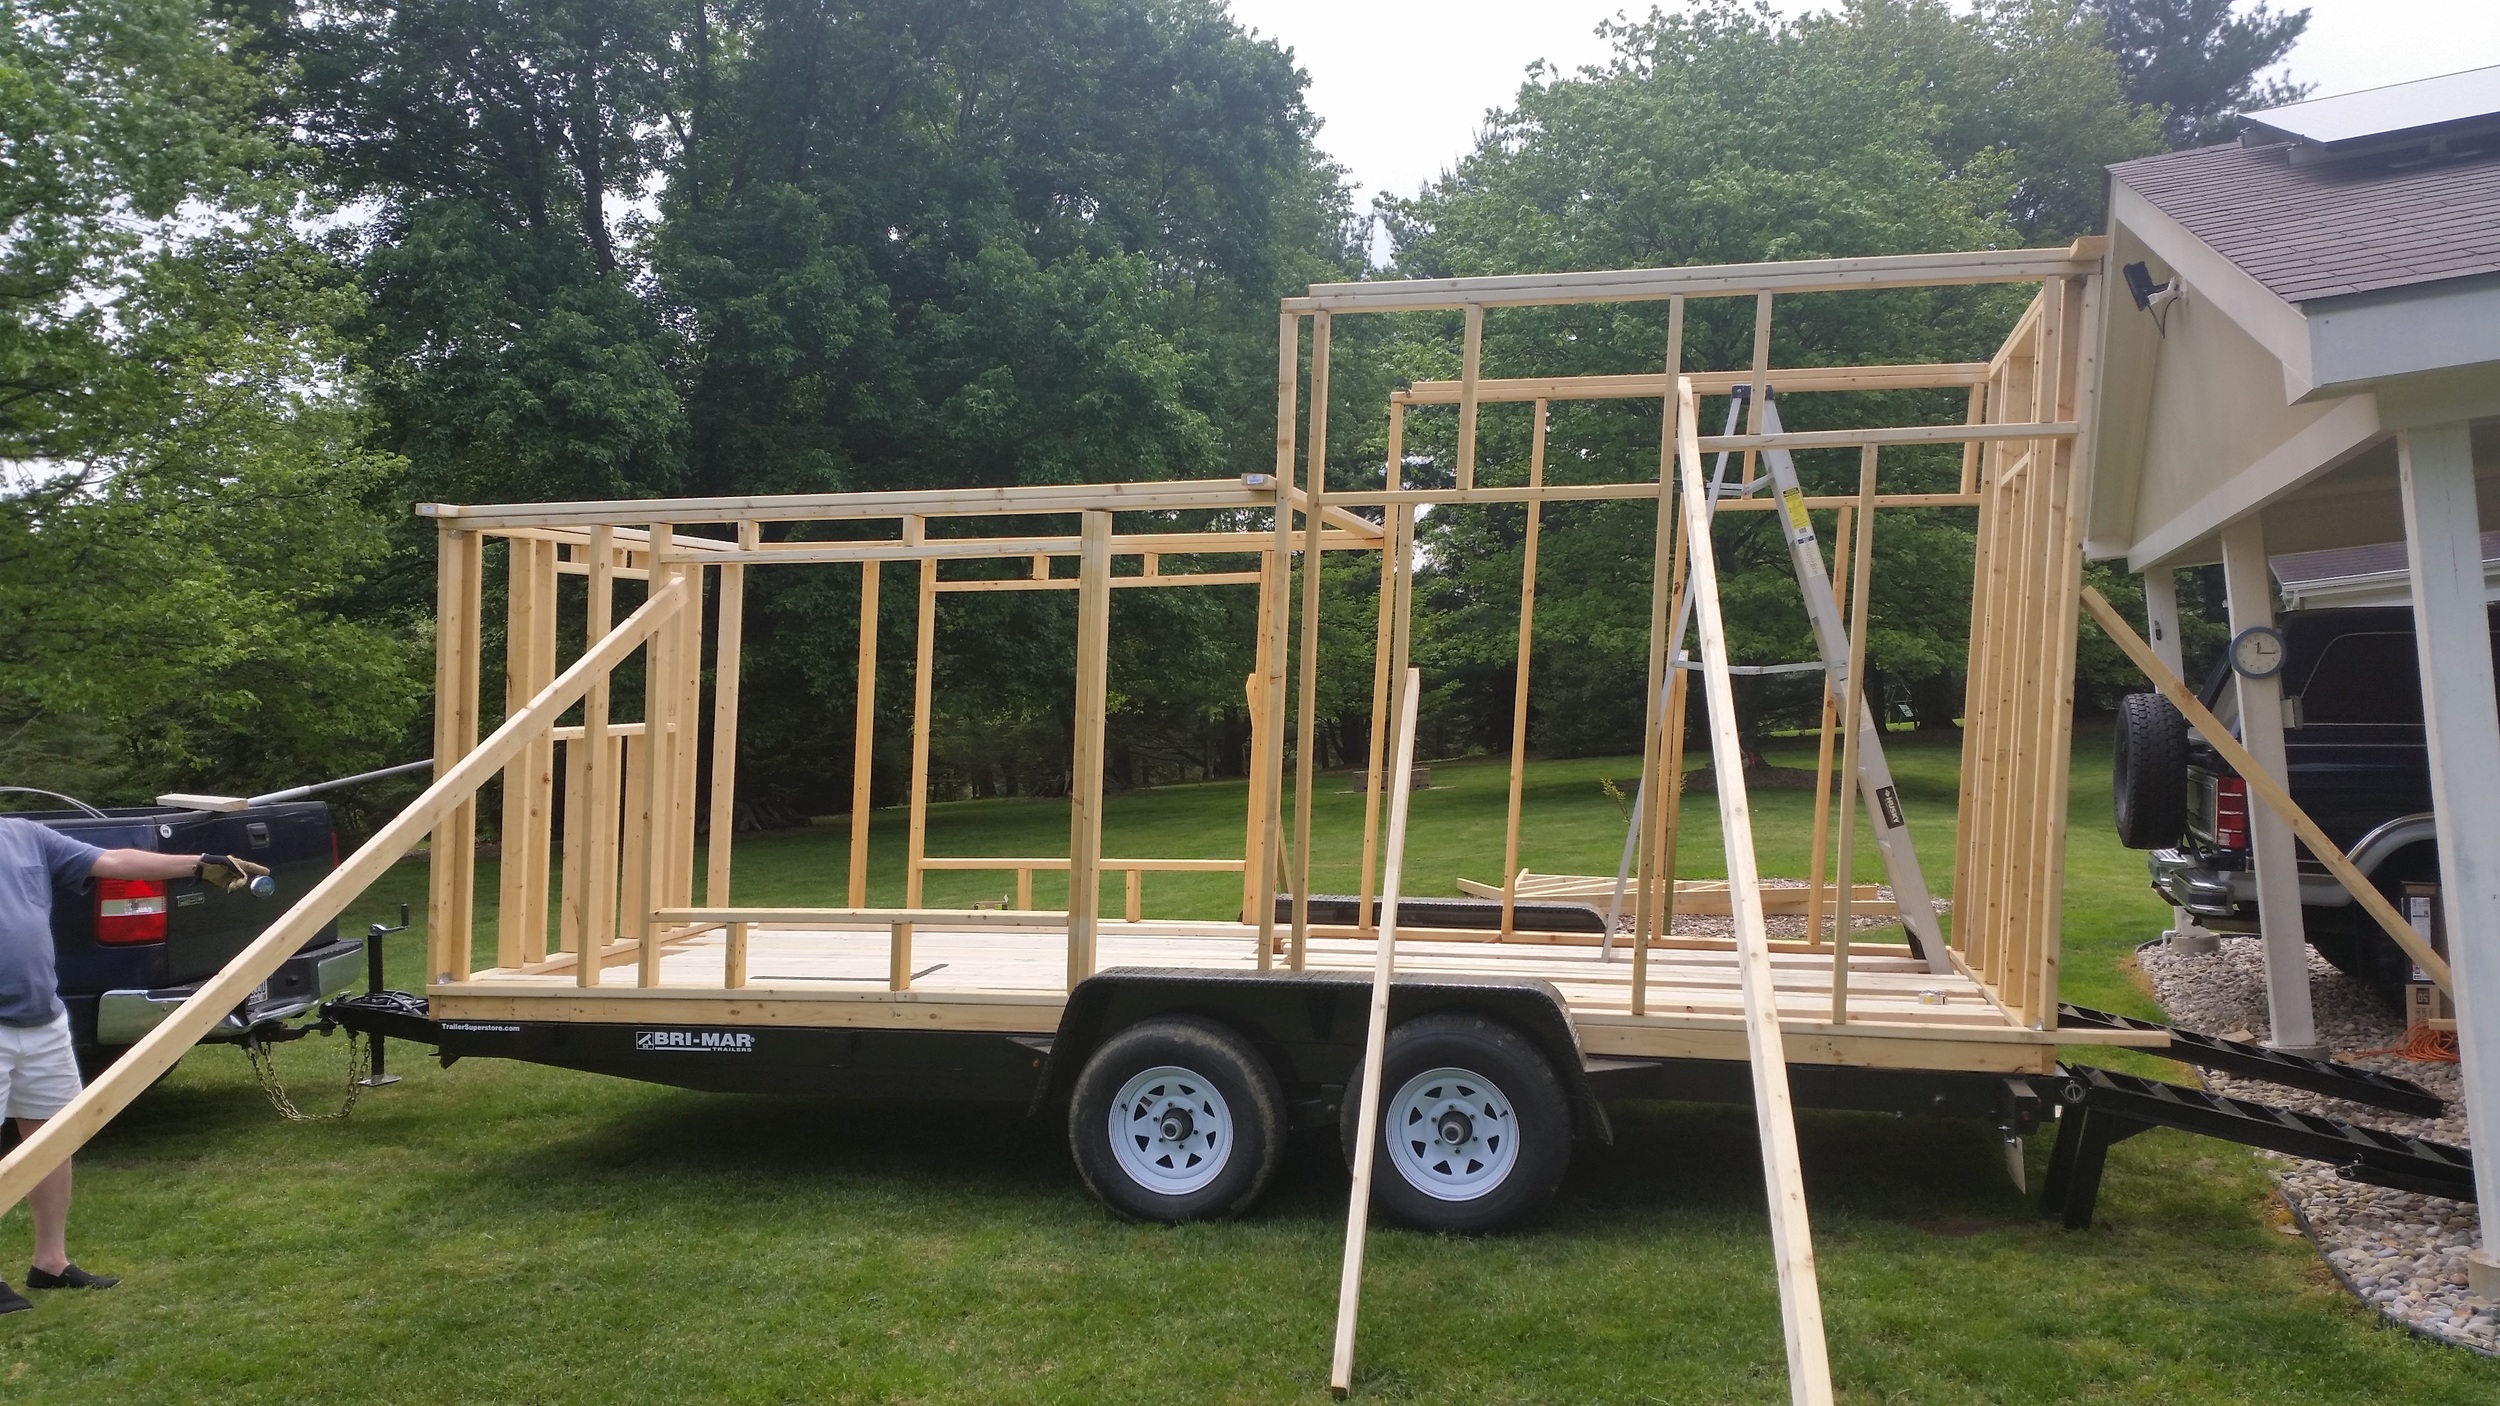
Now that the walls have been erected, it is time to square everything up. The wall frames contain notches at their corners where support boards will be placed to hold the tops of the walls steady as we build. By setting the upper width equal to the lower width, the wall becomes a rhombus, and slight adjustment will convert it into a square.

These support boards can be seen hanging out beyond the wall frame. They are nailed into place but need to be removed as construction progresses. Nailed boards can be reluctant to release, so the ends hang beyond the frames so we can bang them upwards to remove them at the appropriate time.

Now that the frames are all tied together, it is time to square the structure. The lateral slant was addressed first, then the fore/aft slant was taken care of later. To set the lateral slant, my mom stood at the corner of the structure with a square and measured as my dad and I pushed on the wooden stays to align the walls. The principle is simple, the stays inhibit the walls from falling towards them, and since they are all tied together, the structure is stable. If we needed to go in one direction, we would lift the stays out of the grass on the side we needed to come towards and push on the opposite side. This would pull the frame over and straighten the whole assembly. We oriented the short side first, then the taller side.
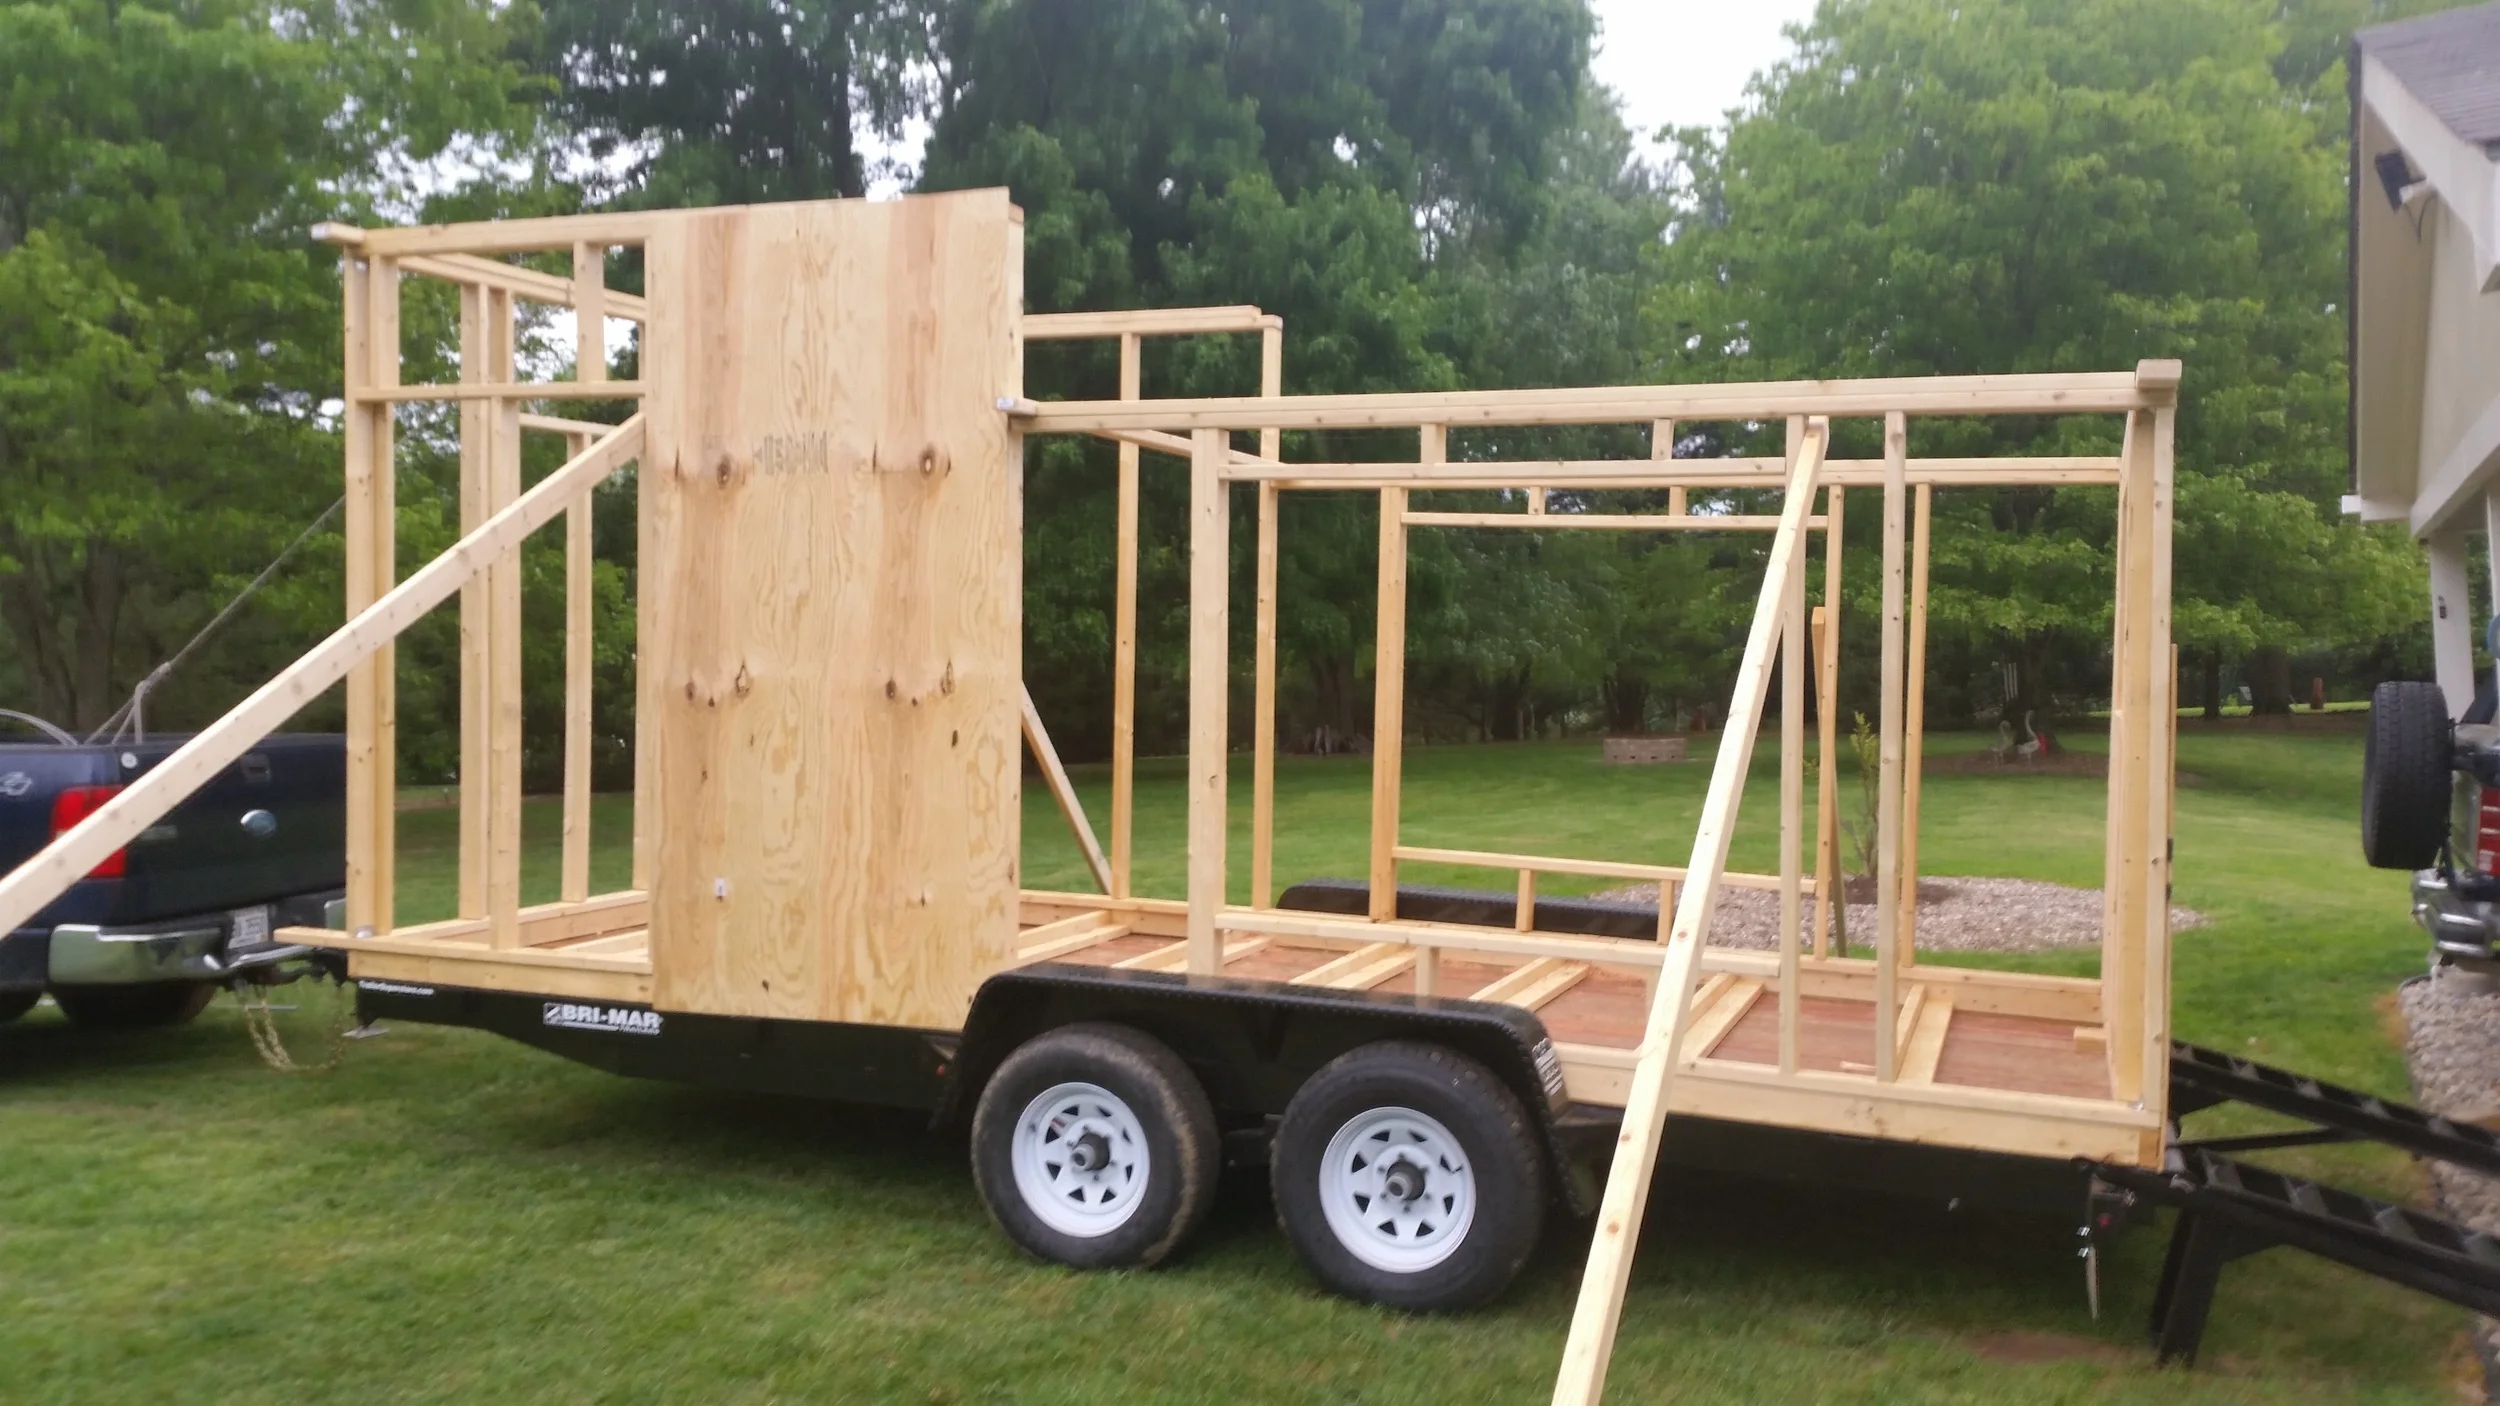
To set the fore/aft slant, I tied a bowline to the top of the front wall and led the line to a strong attachment point in the bed of the truck. I tied a bight in the line and formed a truckers hitch which gave me a purchase system to pull the assembly forward in a controlled manner. Once it was square, I tied off the truckers hitch and verified that the structure appears straight in respect to the trailer.

Once both axis were rectified and squared, we began sheathing the structure in 1/2 plywood. This locked the structure into place and prevents any wracking of the frames. As the plywood panels were installed, we began taking down the wooden stays.  

Our next step will be to fully secure the plywood sheathing to all the studs.
Initial Setup of a New Stay

After the stay is run up the mast and connected to the mast tang, the deck level attachment becomes the top priority. There are two ways to set up a stay:

  1. Stay to deadeye to chainplate
  2. Stay to deadeye to turnbuckle to chainplate

I have set up my old rigging via the first method, and this worked well but it was very time consuming. Each time I wanted to tension the stay, I needed to set up the purchase system. This took me a few hours each time I needed to tension the stays. While the system worked well, it was time consuming. In the interest of saving time, I decided to set up the check stays following method #2.

If you wish to have turnbuckles at the end your stays, I still recommend having a deadeye as it gives more flexibility when dealing with creep during the first phase of the dyneema lifecycle. Phase I is characterized by rapid elongation due to creep, which translates into weekly tensioning of the rigging. If you only have deadeyes, you will need to set up the whole assembly each time you need to tension the rigging. By connecting the deadeye to a turnbuckle, the deadeye can be tightened by hand and tied off, then further tensioned with the turnbuckle. Once the turnbuckle is two-blocked (fully closed; it relates to a pulley system when the two blocks are touching), simply open the turn buckle and take the slack out of the stay with the deadeye, then re-tension the turnbuckle. 

If you are going to use turnbuckles permanently, the turnbuckle setup would include a double jaw turnbuckle. If you are only going to use the turnbuckle for a few weeks while you get through Phase I, then simply tying a hitch to the cut end of the stay will suffice. 

Eventually, I will set the check stay up like all my other stays, using only deadeyes; so I cut the 1x19 cable close the the terminal fitting and tied the deadeye to the system. 

The deadeye is simply hitched to the old stay on the turnbuckle with the upper part is assembled as normal. This allows me to tension the stay by simply turning the turnbuckle. Once the turnbuckle is two-blocked, it can be opened and the slack taken out of the system with the lashings, then to be re tightened with the turnbuckle.

Each time the stay feels bar tight, I heave hard on the stay (not really apparent in the video) to apply lateral tension to the stay. This will stretch the stay as it settles the splices. Even though I had hung the truck from the stay, I still had some constructional stretch left in the stay that was removed by this method.

When I began, the turnbuckles were completely open and the deadeye lashings were around 8 inches long. By the end, the deadeye and stay were two-blocked and the turnbuckle only has 1 inch remaining before it was also two-blocked.

Once all the fittings are two-blocked, I will shorten the hitch to the deadeye which will bring the distance down a few more inches. After everything is fully two-blocked and there is nothing left to tension down, I will return to the conventional method using only deadeyes. Even though the end step is the same, I did save a lot of time by holding onto the turnbuckles for a little while.

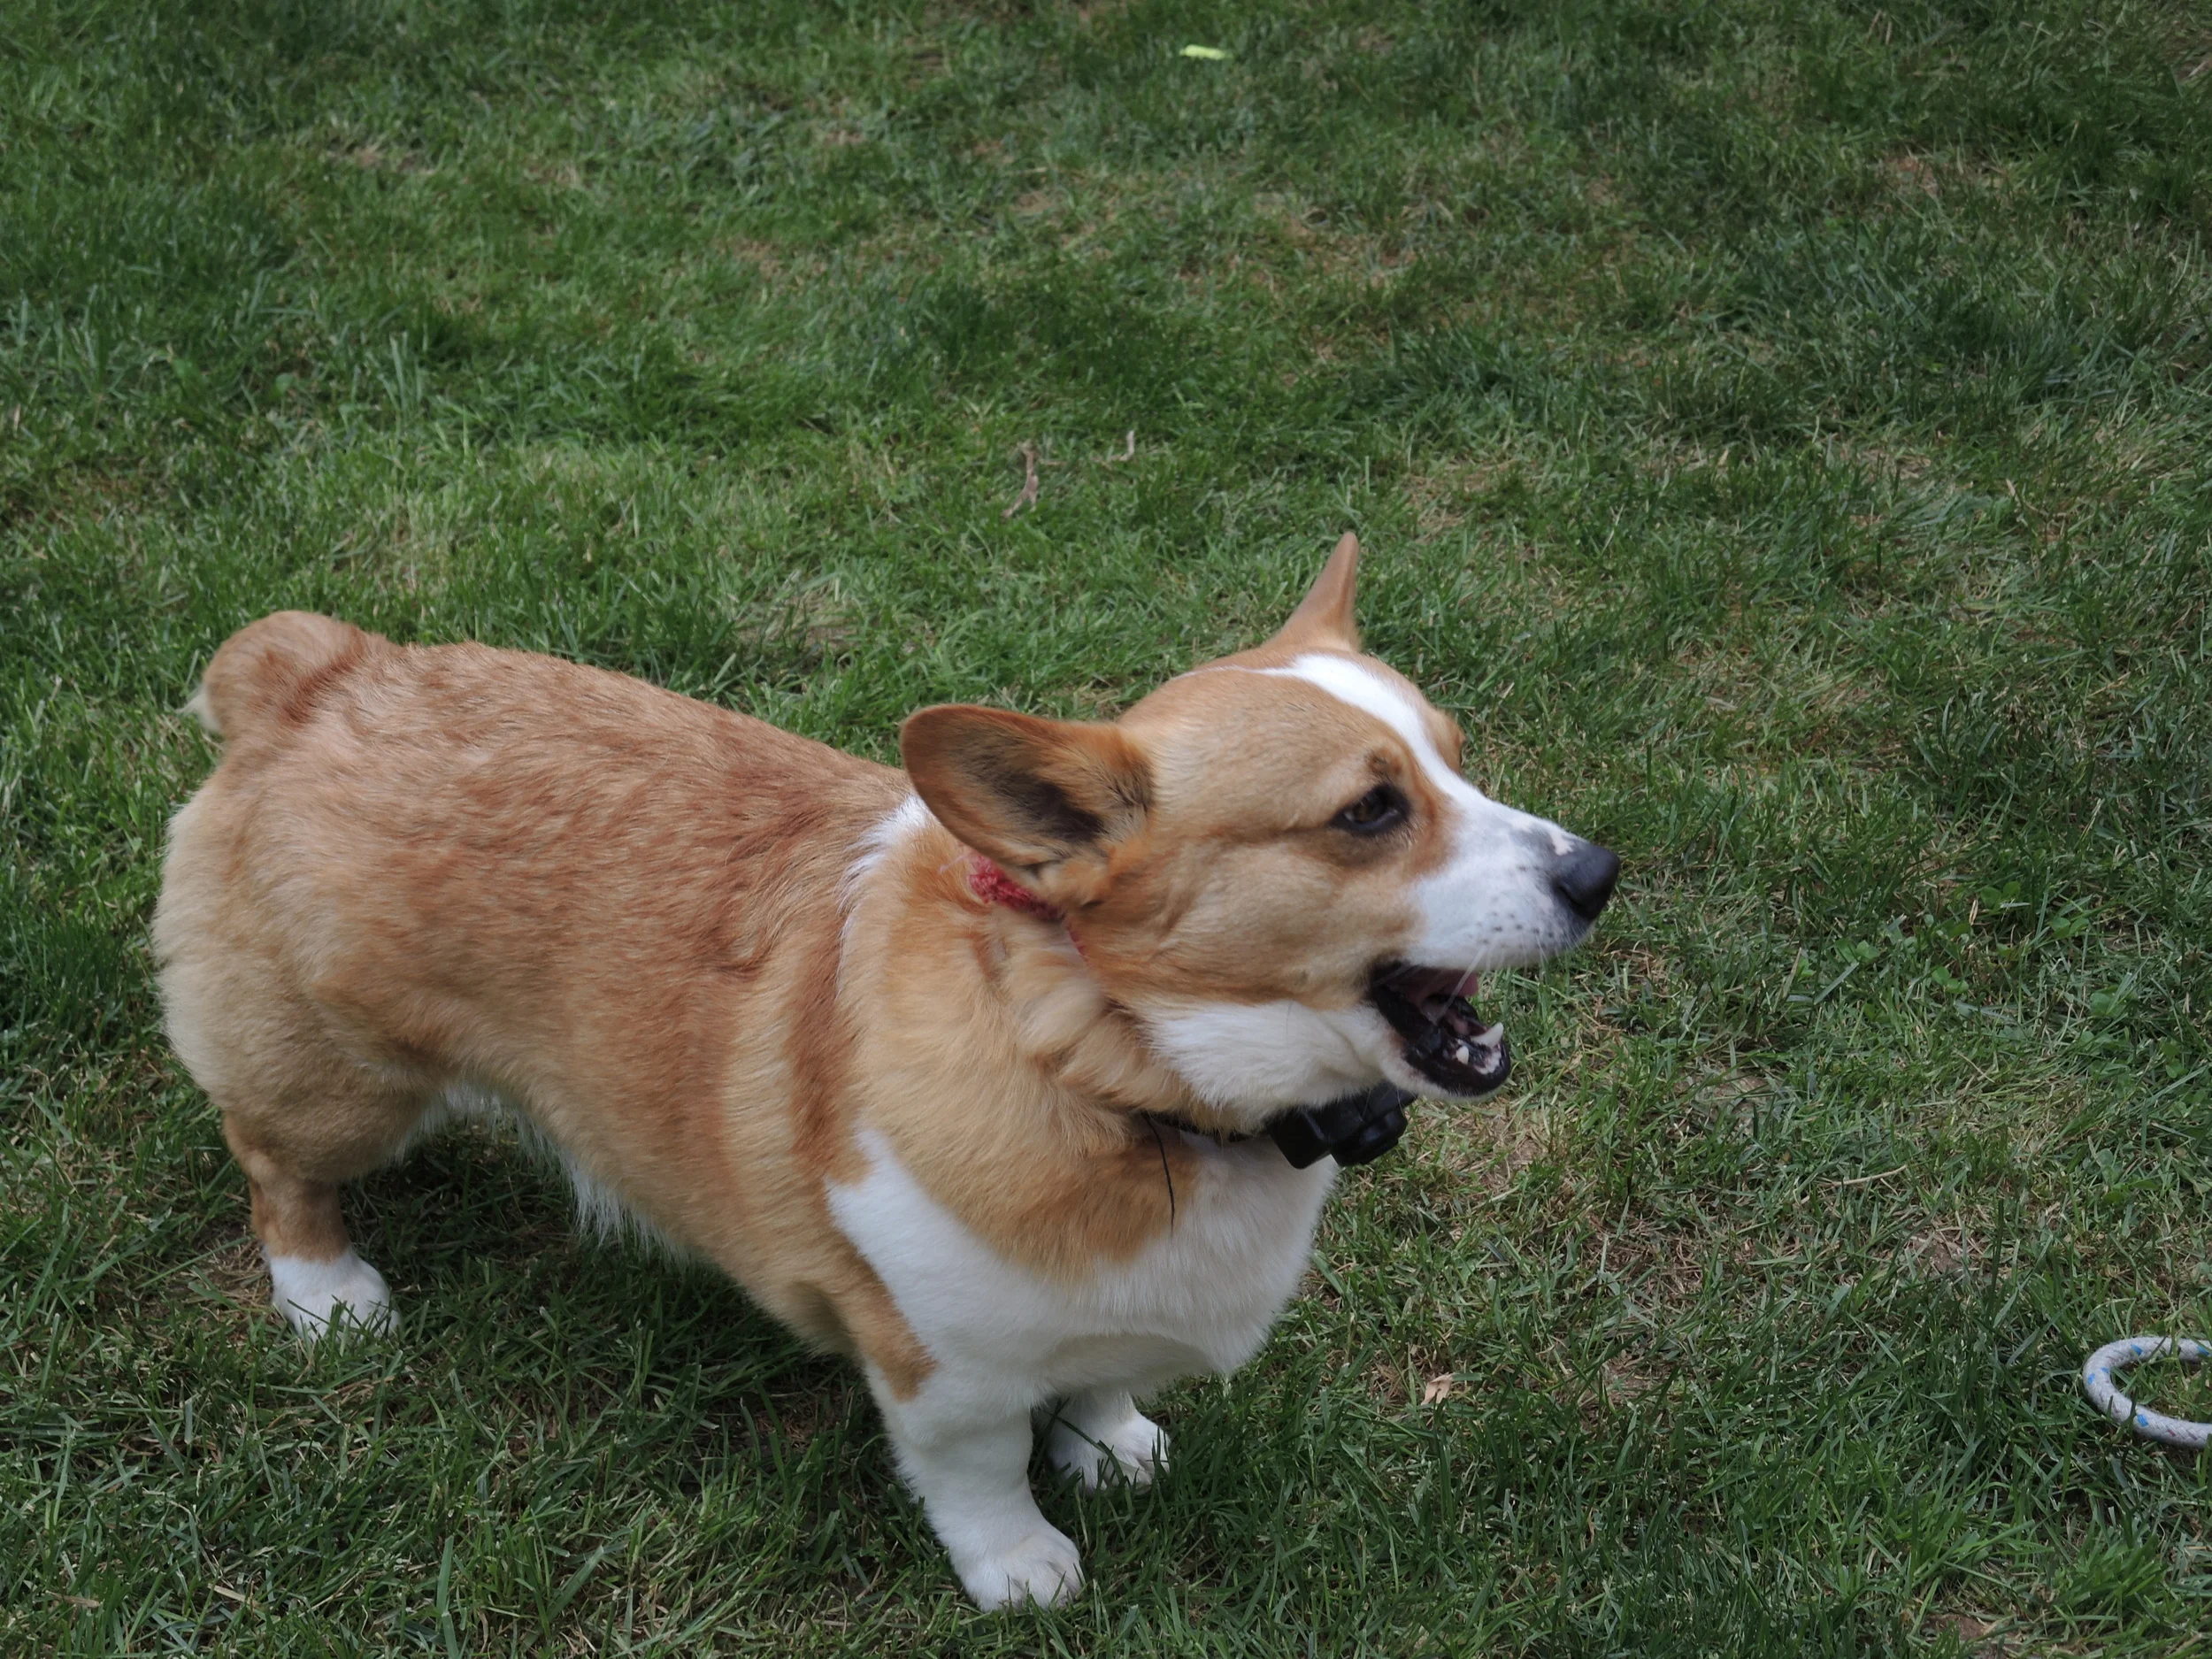
Morty is a Happy Dog

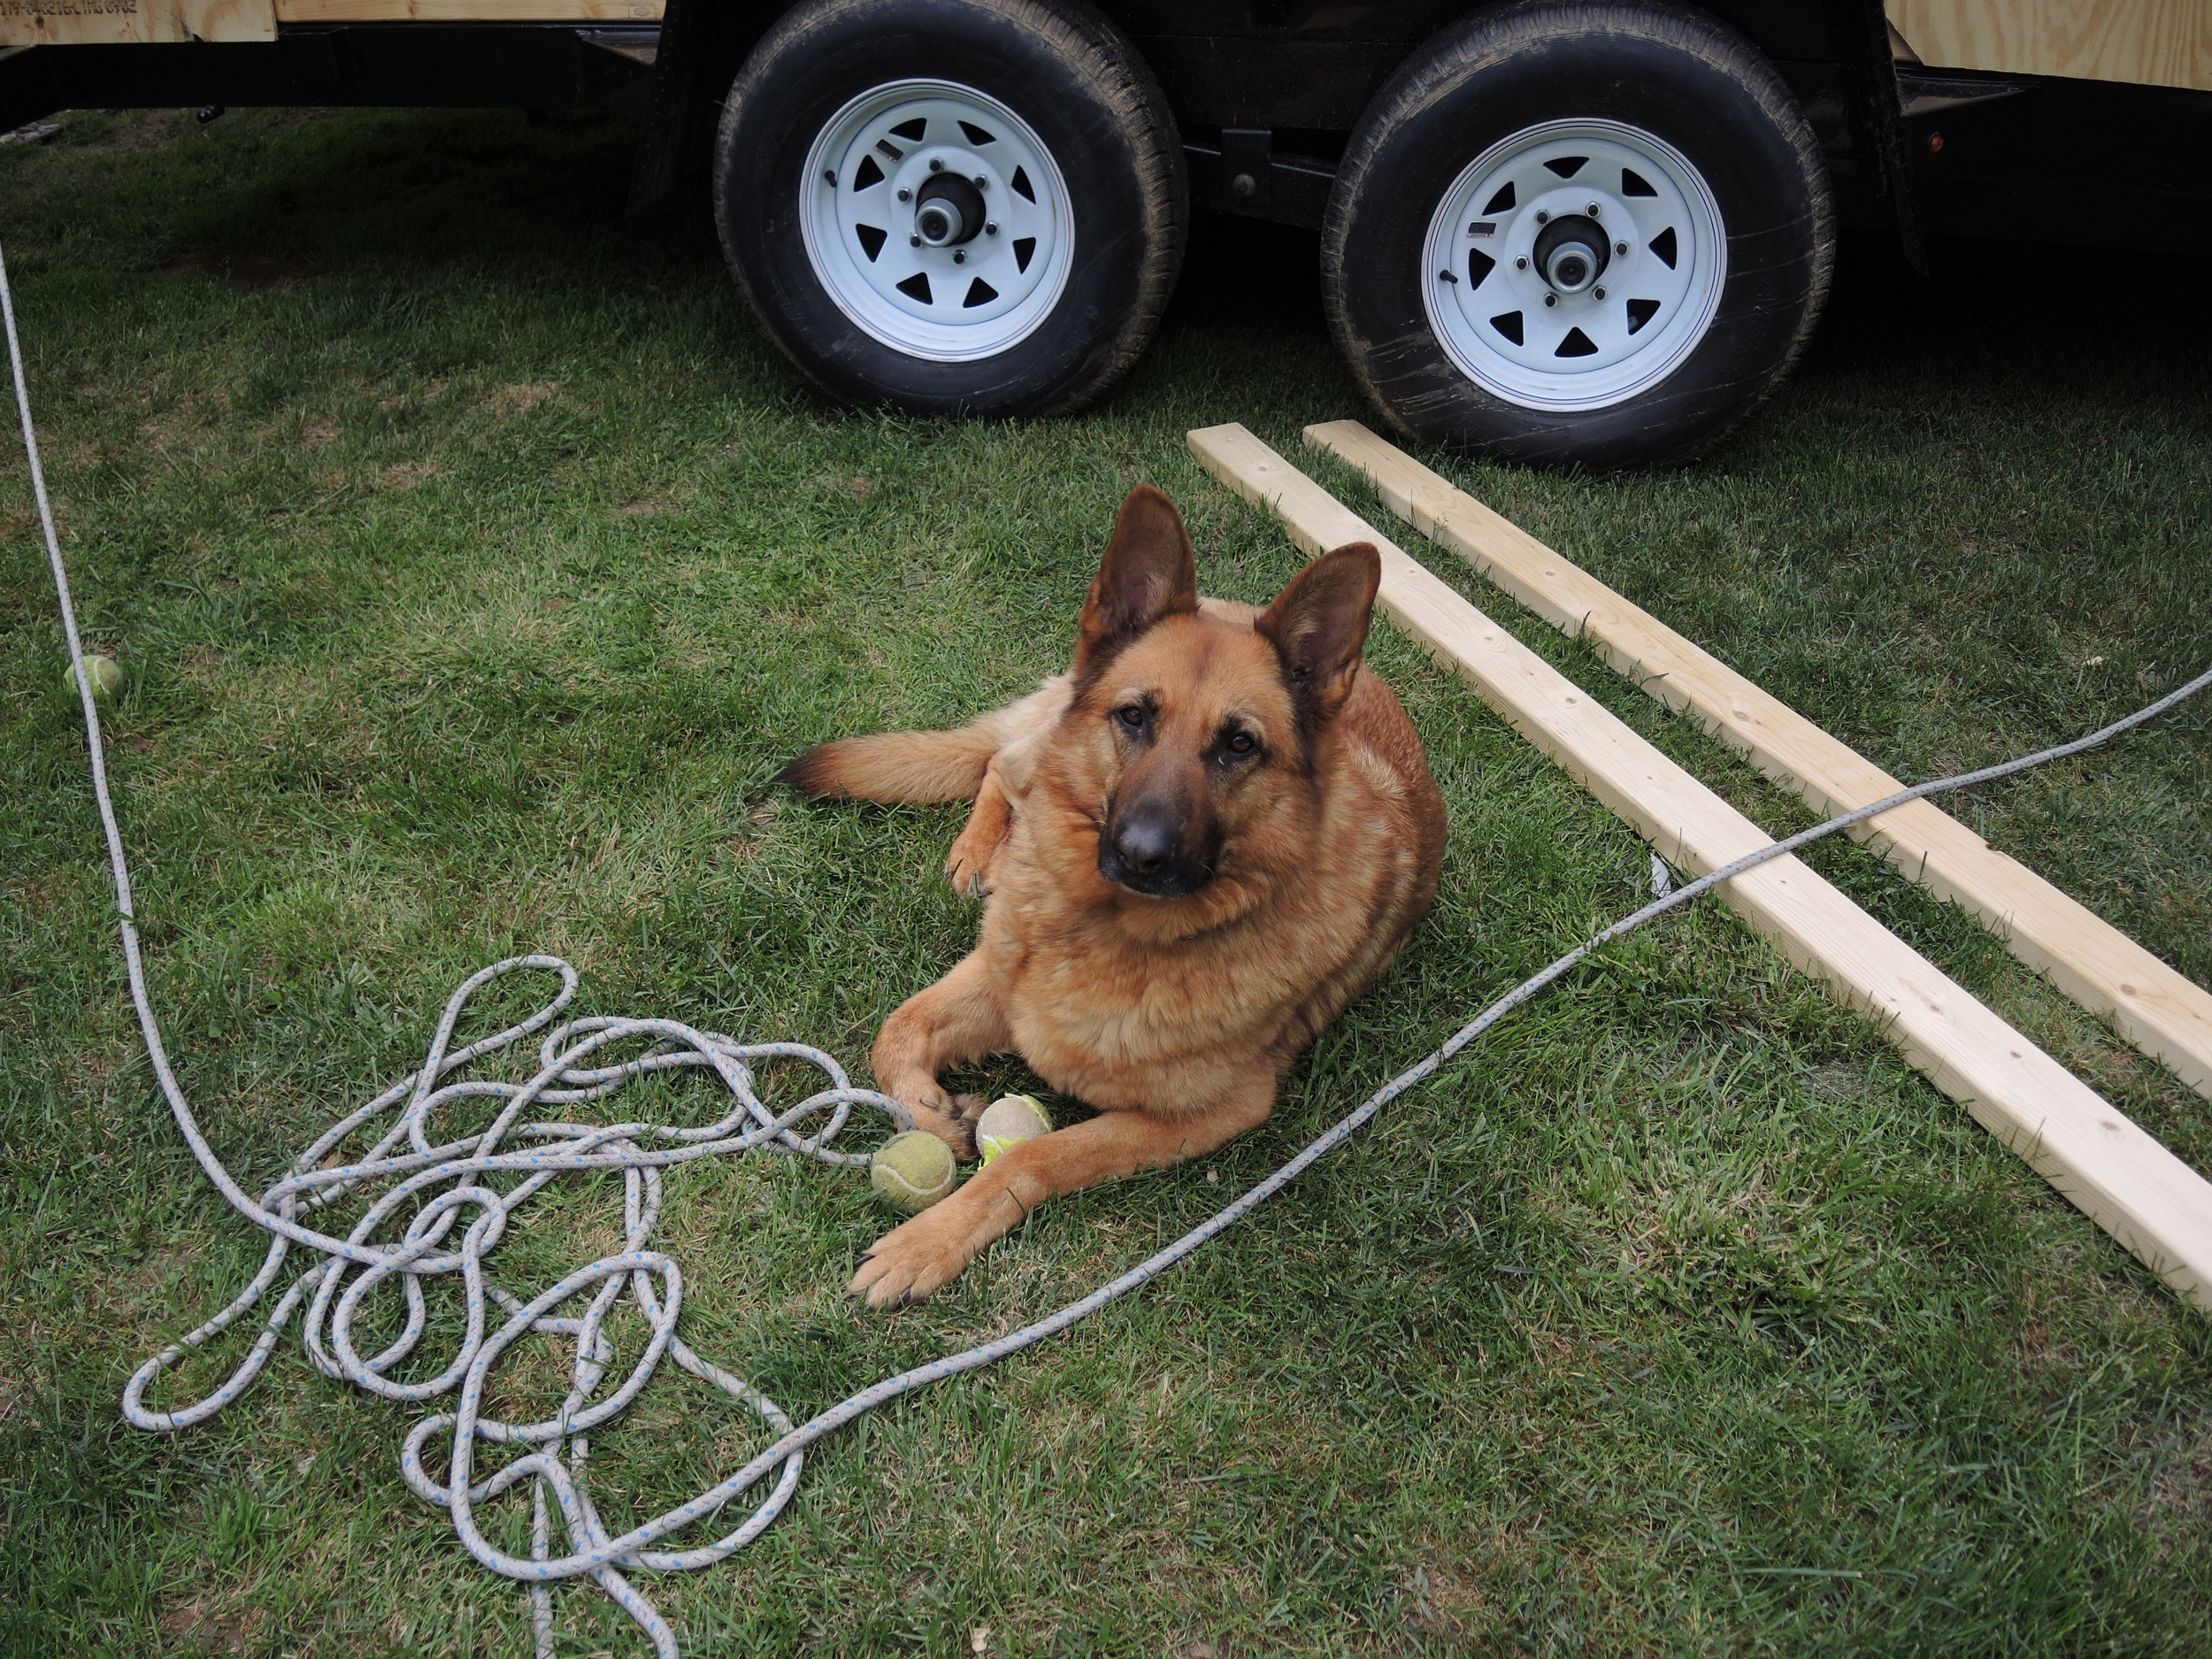
Morty had a good day! He got to play with Ginger all day while we worked on the tiny house. 

Ginger loves her tennis balls, and the happiest day of her life is when she learned how to carry two tennis balls in her mouth. Morty likes to steal her tennis balls and run around her. While she is considerably faster than he is, he always escapes by running under her!

The two of them will play, then relax, then play some more.

Now it is time for sleep, and he is ready for bed with a smile on his face!

Rigging Toggles

Rigging toggles are simply connectors placed between the stay and the mast tang. They are typically considered an after thought, since they add between 1.5" to 2" of length to the stay. Typically, if  a stay comes out a bit short, toggles are used to bridge the gap and connect the stay to the tangs. Because of this, toggles have taken on somewhat of a bad image; broadcasting to the world that the stay was measured a bit too short!

The reality is toggles should be used at the mast tang connection, especially with metal rigging! Metal rigging is very unforgiving when torqued, usually resulting in stress cracks. These cracks in combination with crevice corrosion will lead to the early demise of a steel rigged vessel. 

You would think that these wonderful and relatively inexpensive toggles would be in widespread use, but look around and you will rarely see a boat with such toggles. 

Toggles add one more axis of rotation to the stay. When the sail fills with wind and the boat heels over, the mast moves! It might move less than an inch, but it will move laterally. In heavy seas, the boat will be pitching back and forth, and the mast will also scoot forwards and backwards with each wave. The combination results in a mast that will move side to side and fore to aft. If your stays are connected to the tang directly, they would only have articulation for fore and aft movements. Lateral movements would cause stress on the fittings which can lead to premature failure.

The addition of the toggle makes the stay a universal joint so the fittings can articulate fore/aft as well as laterally. This will greatly reduce the amount of stress on the terminal fittings which will extend their serviceable life.

Synthetic stays are much less sensitive to these forces, as they are made of rope which can move around more easily. I reused the toggles that were on my mast for the lowers to place the eye splices in a vertical orientation so that their sides would not be in contact. If I had connected them inside the tang, their sides would have been rubbing, leading to chafe and premature failure. At the masthead, the stays are connected directly to the tang because the space was available. 

While toggles on metal rigging should be considered mandatory, with synthetic rigging, they are considered a convenience item and used to help orient the eye splices as they connect to their mast end fittings.

Tiny House Assembly

All the individual parts have been assembled as best they can before any "true" construction has occurred. Everything had been sitting in wait during our two week long period of rain, waiting for the clouds to part and construction to resume.

The trailer was driven out from the carport and set on the grass near an outlet and all the wall frames were carried out to the trailer. Each wall was set up with the frame tilted outward and supported with long wooden stays to keep them in place.

The walls were coming together nicely and quickly!

In no time flat, we had all four walls up! Then we realized that we had built the house backwards. The pop-up is supposed to face the truck and the low end hangs off the back! This meant that everything came down and had to be reassembled.

We were much faster setting the walls up the second time around! Now that the pop-up is facing the truck, we are able to continue building.