Liveaboard Safety

Living on a boat has many advantages as well as its disadvantages as compared to life on land. The biggest issue I am frequently asked about is drowning. (This is going to be such a chipper topic)

Motor boats typically have swim platforms and ladders placed conveniently on the stern. If you were to fall into the water, this ladder will let you climb back out with some effort. 

Sailboats, on the other hand, typically have no such platforms or ladders. Instead they have tall smooth sides that offer no aid in your climb from water.

The piers are also unforgiving. most floating piers are 2 feet above the waters surface. 

The only option is to swim to shore and come onto dry land at the waters edge. Once again, marinas are huge and this could end up being a very long swim from some slips.  

If it were winter with freezing cold waters, you would only have a few minutes of working time before hypothermia sets in and everything ends.  

You can not rely on a neighbor to hear you splash, as boats are well insulated and no one will hear your cries for help.  

This is why you must have your own emergency plan set in place and ready to save yourself if you were to fall in the water. 

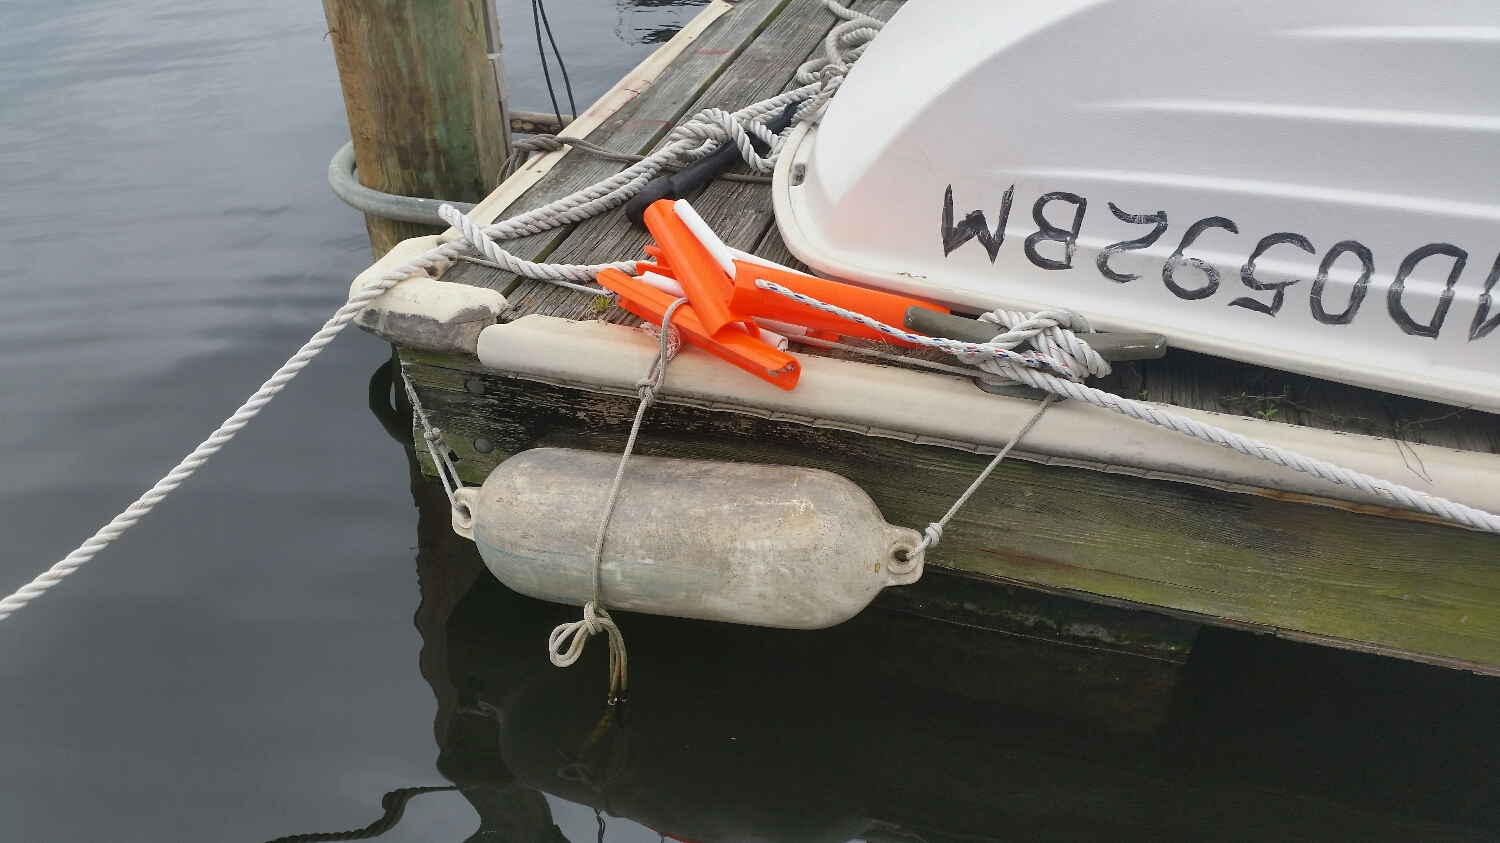
At the end of our finger pier, I have a rope ladder tied to the cleat at the corner of the slip. Since I didn't want it to get covered in growth, it remains on the pier with a line hanging from it into the water. I tied some knots near the end to make it easier to grab and pull into the water.

In a moment of panic, it will be hard to find this safety line, so it rests conveniently on a fender.  
upload.jpeg

All we need to do is swim over to the fender and pull on the line. The ladder will drop into the water and we can climb out to safety. 

I (thankfully) have never tested this ladder in this location, but I have tried it out in a creek. It isn't the most comfortable thing to climb, but it will get you out of the water!  

Obviously, the first priority is to not fall in. If you do happen to fall in, having these safety measures in place will make all the difference.  
Scarfing the Ridge Beam

The ridge beam runs from the front of the house to the back of the house and is one continuous piece of wood that supports the entire roof structure. Naturally, this timber needs to be very strong!

I chose to use a 2x12 of Douglas Fir for this beam as it will be more than strong enough to carry out the task at hand. The problem is our tiny house is 18 feet long and the longest cut I can easily get is only 16 feet long. This is where this beam gets complicated.

In order to reach the full 18 feet, I decided to scarf two pieces of wood together and then reinforce the joint with butt blocks on either side.

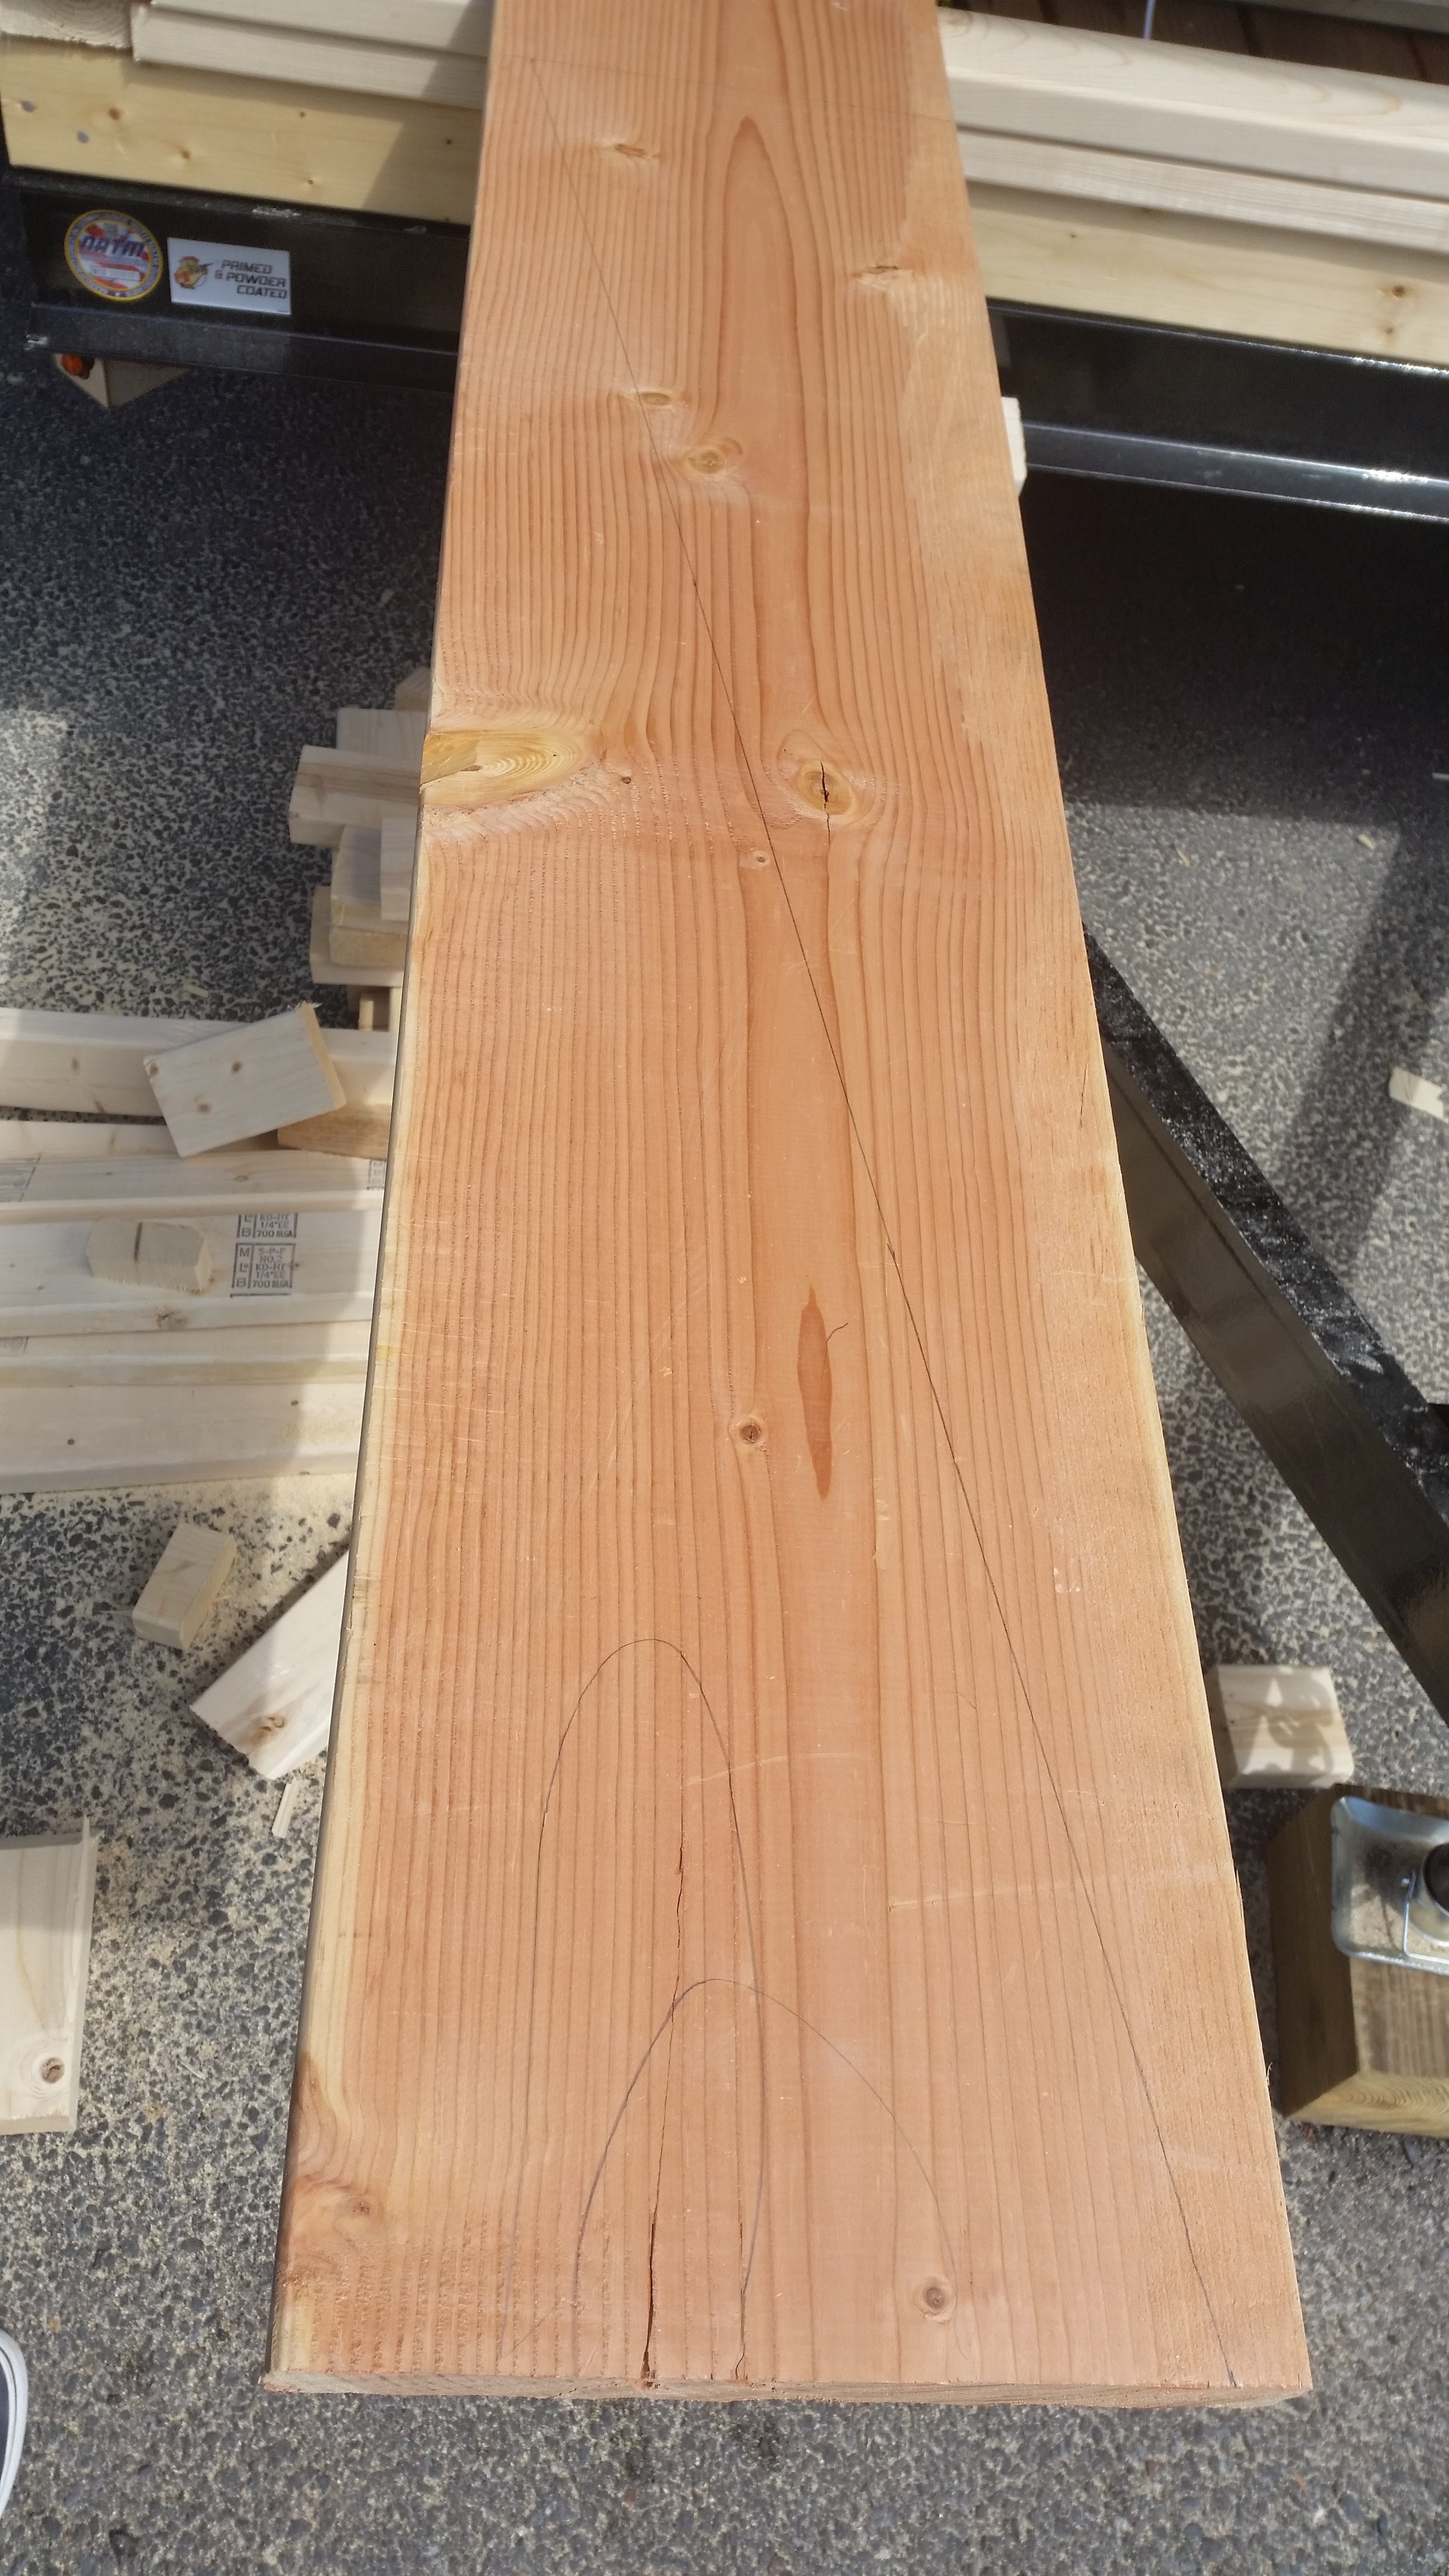
The scarf was calculated and drawn out on the timbers. I highlighted cracks and checks in the wood to make sure that these defects were removed in the cut.  The cut was made with a circular saw a bit proud of the line. I then brought the faying surface right down to the line with a jack plane, chisel, and a rasp. All this work payed off because they fit very well on their first test fit!

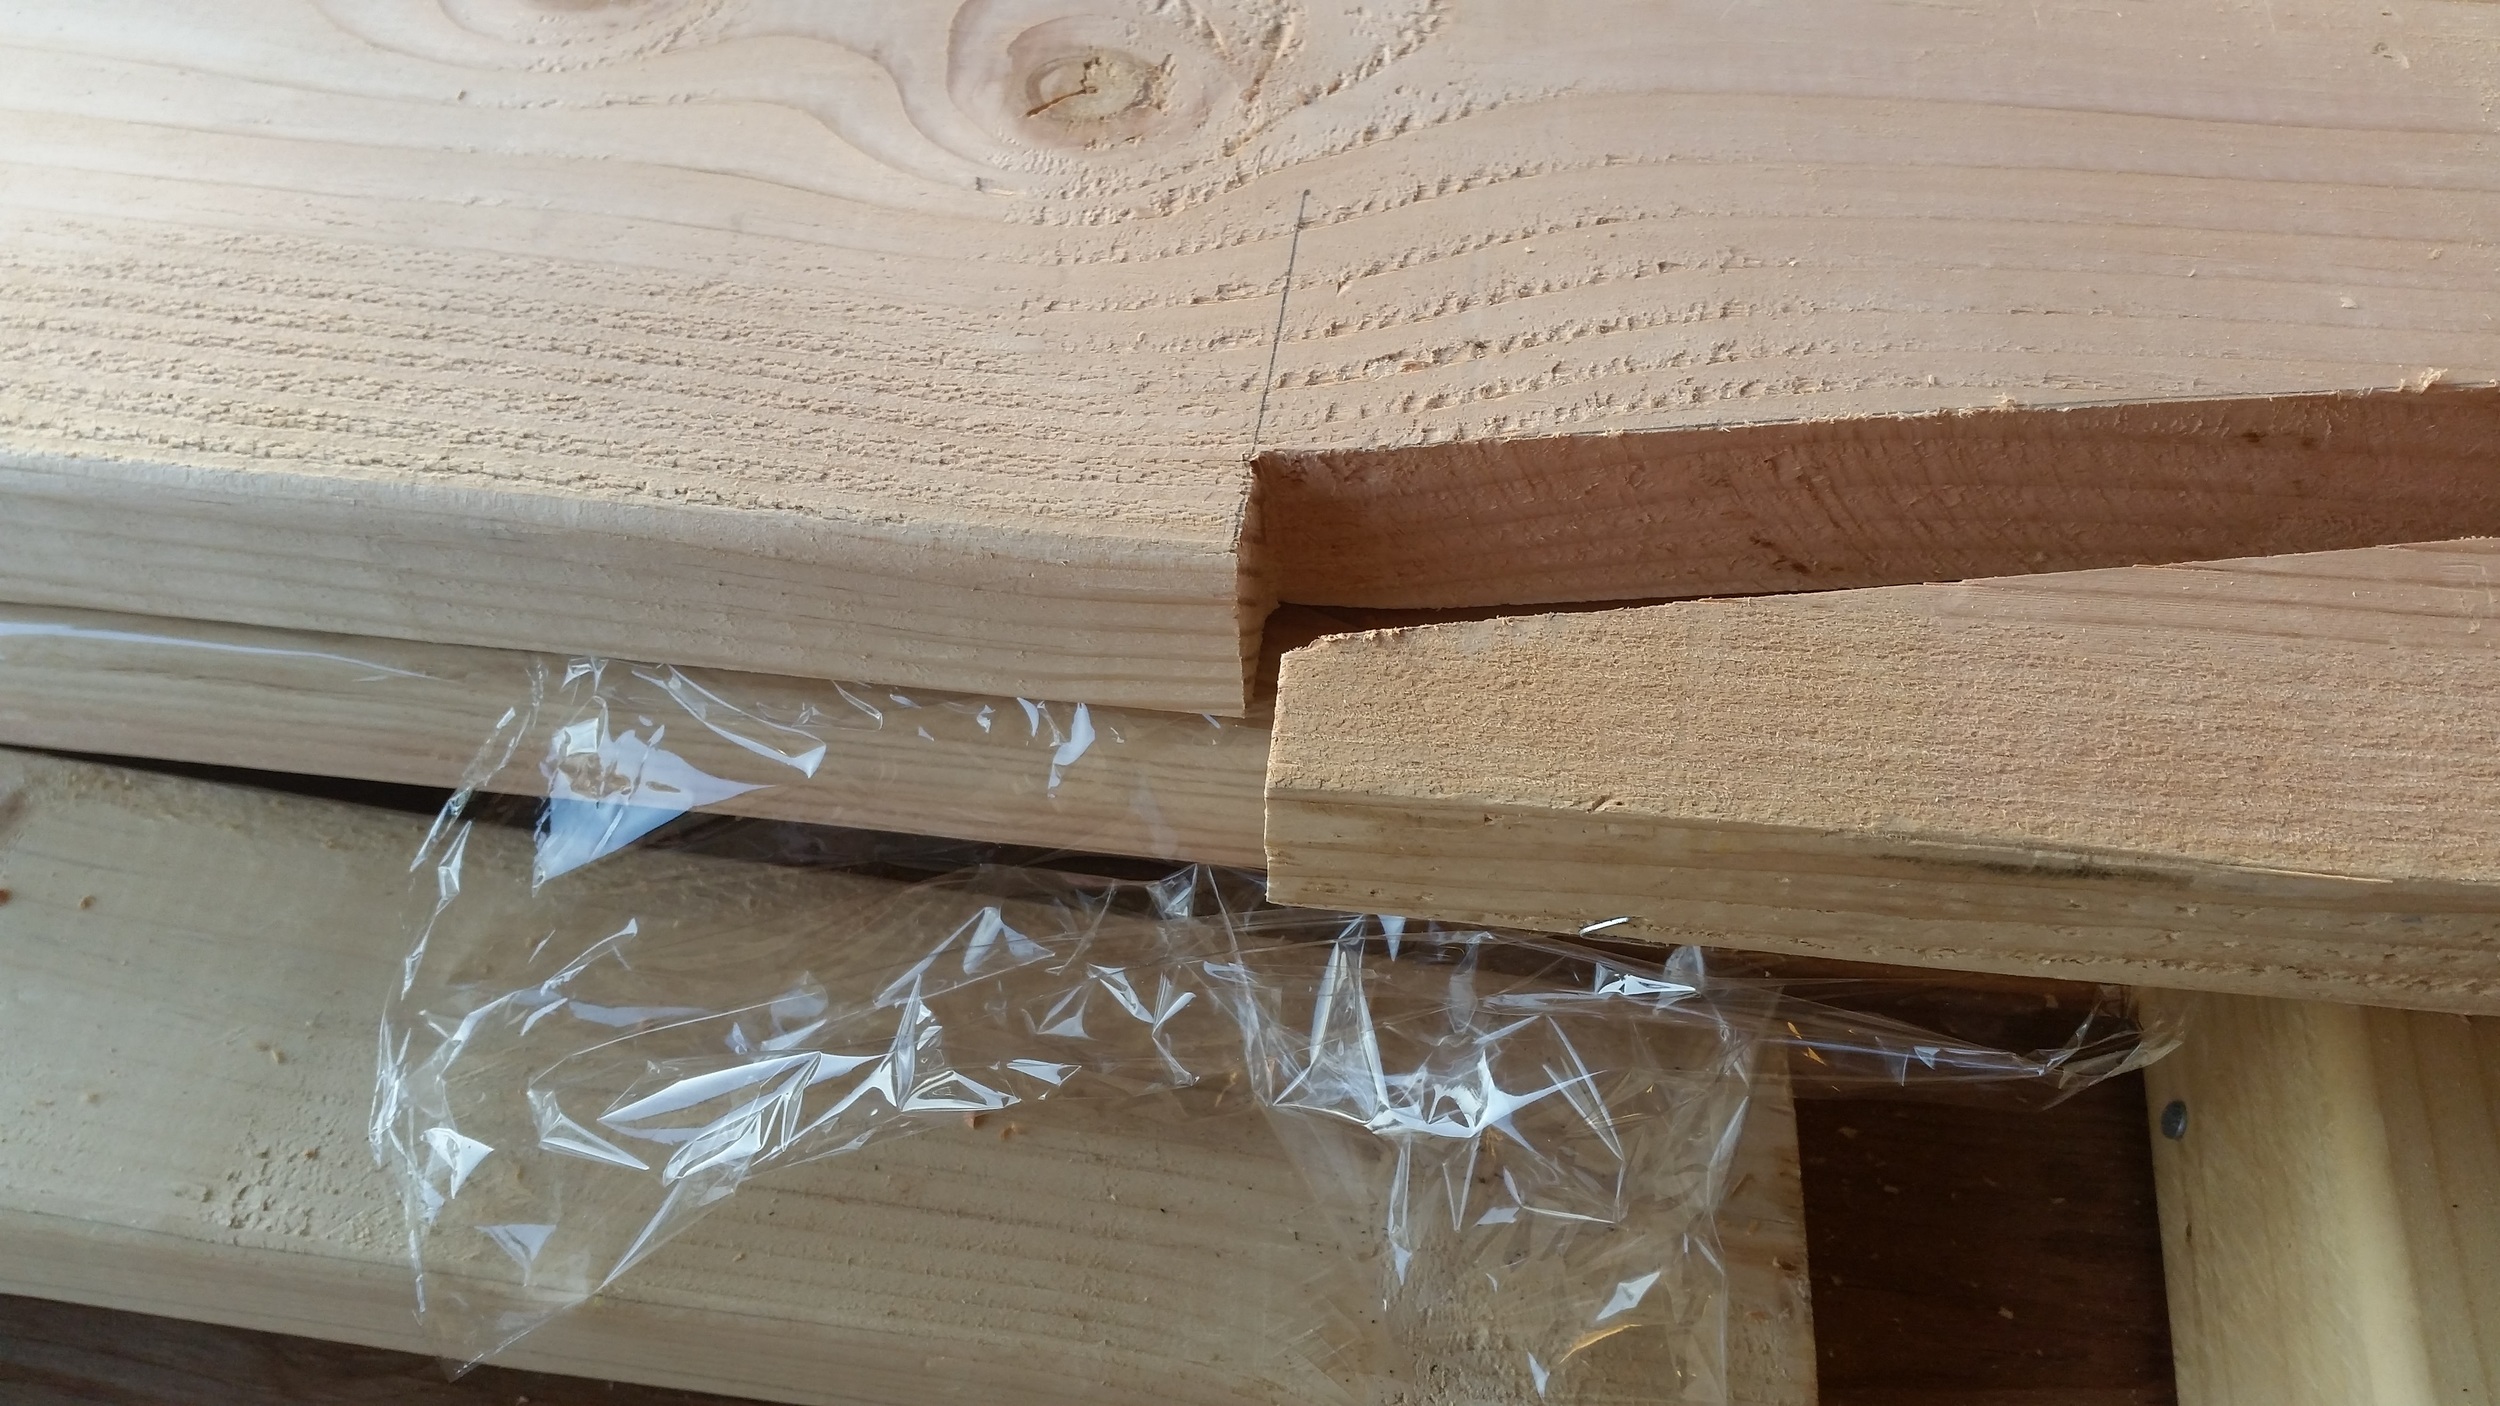
Dry test fit shows how tight the seam is between the two boards

Dry test fit shows how tight the seam is between the two boards

I made a 4 foot scarf with nibbed ends, creating a very secure and sturdy junction between the two boards. A little bit of fine tuning got the boards very close together, producing a very tight seam that will be very strong once glued.

I separated the boards and set plastic wrap under them to prevent them from gluing themselves to the wood beneath them.

After applying a liberal amount of glue to the faying surfaces, I presented the edges of the scarf to make sure everything is lined up properly.

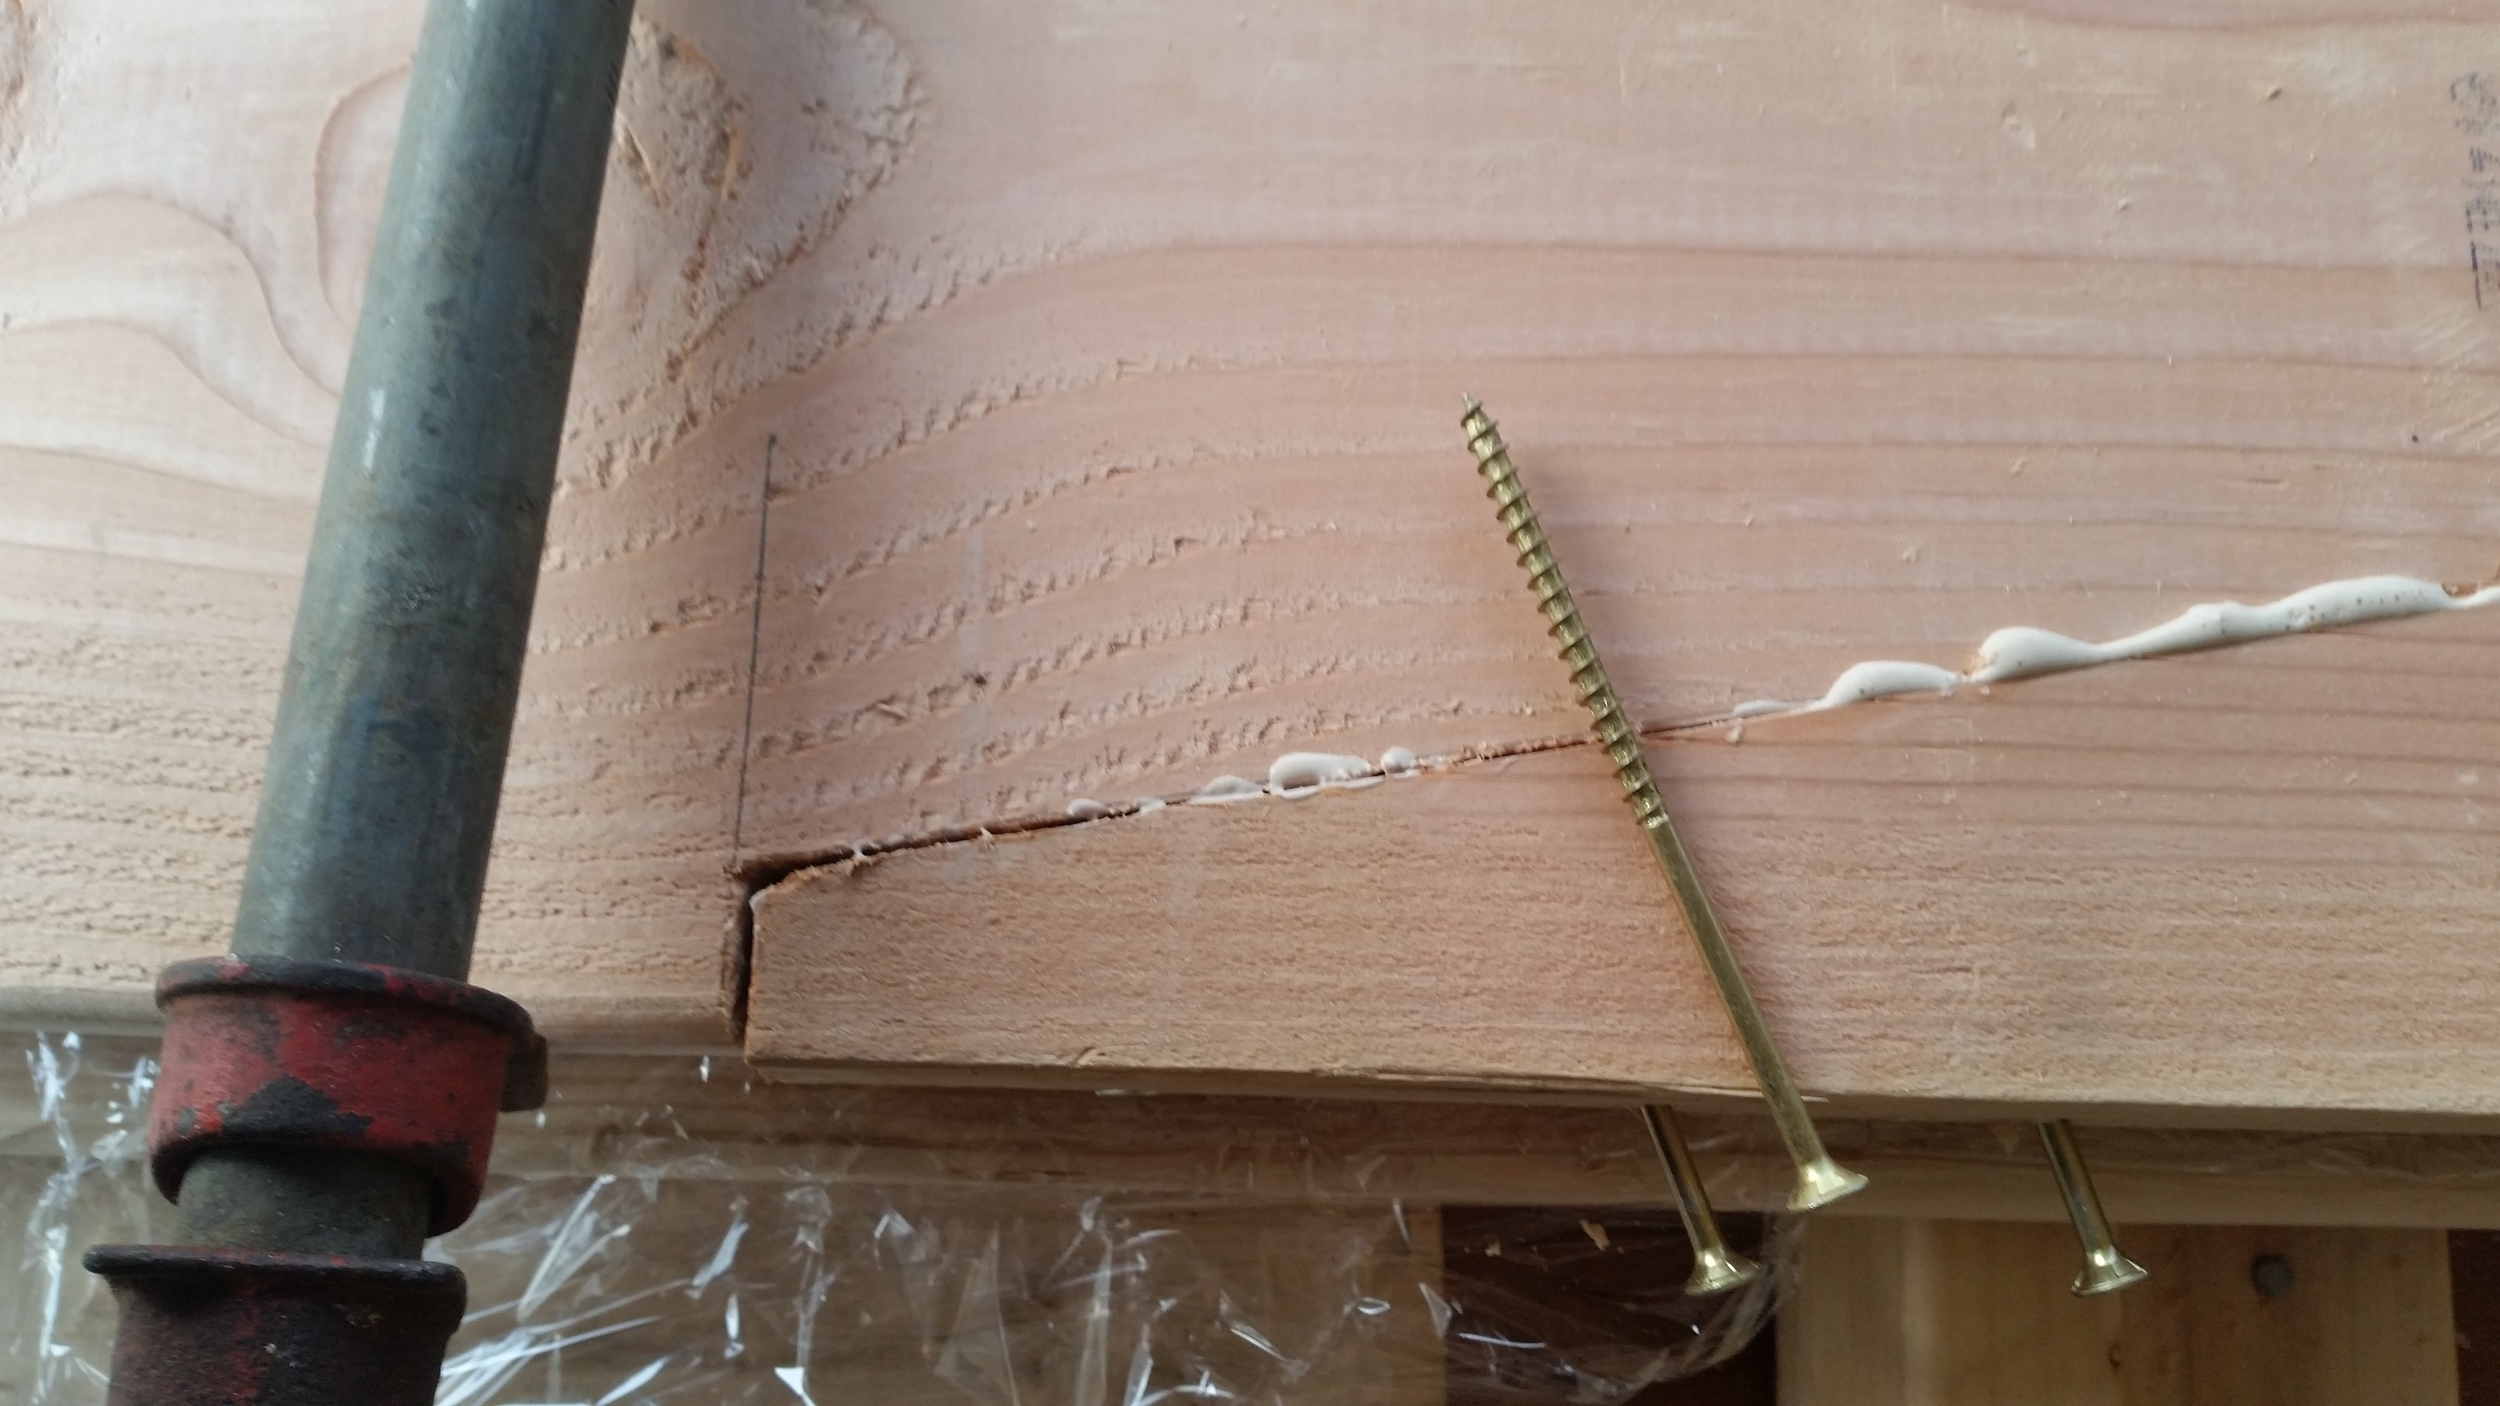
I then set the five clamps to hold everything together very tightly and squeeze out the excess glue.

For extra insurance I set 4 long screws to into the boards at an angle to help pull them together and offer structural support as well.

The clamps were all tightened down fully with the four 4-3/4" long screws holding the scarf nice and tight for the next few days while the glue sets. After the glue fully cures, the excess will be removed with a block plane as I prepare the sides of the boards for the butt blocks which will really tie it together!

Making Wide Mast Wedges

Oval mast sections require wide wedges to spread out the forces on the broad side of the extrusion. The problem is wide wedges are hard to come by! Narrow wedges are easily created by cutting wedges off a board of rot resistant wood. Broad wedges are created via bandsaw or by splitting the board along its grain. 

I do not currently own a bandsaw, and if I did, it would not fit on the boat, so I must resort to the other methods of creating broad wedges.

To begin, you must select a board with proper grain orientation. The grain must run up and down the blank of the wedge you wish to create. If the grain runs across the blank, it will not split properly.

Now that the grain is oriented properly, cut out a blank of the wedge you wish to create from your board in the desired dimensions. Now begin to resaw the blank with a handsaw, this will create a notch which your chisel will follow. Resawing is pretty much the same as "cutting the board into a thinner piece" whereas ripping is "cutting the board into narrower pieces".

Now that the notch is cut, place a beater chisel in the notch and drive it through the grain to split the board. The reason you want to use a beater chisel is this will quickly dull a good chisel. 

As you drive the chisel in, the board will split along its grain, separating the board into two wedged shaped pieces.

Some points to remember when making wide wedges:

When resawing, make sure that the width of board is wider than the gap between mast and deck partner. This will ensure that no matter how the board splits, you will not end up with a wedge that is wide enough to secure the mast.

You want a slight taper to the wedge, that way a longer portion of the wedge is mating up to the mast and spreading the load over a greater area.

If a piece comes out too small, keep it! You might need to shim something else later.


Morty Turns Three Years Old

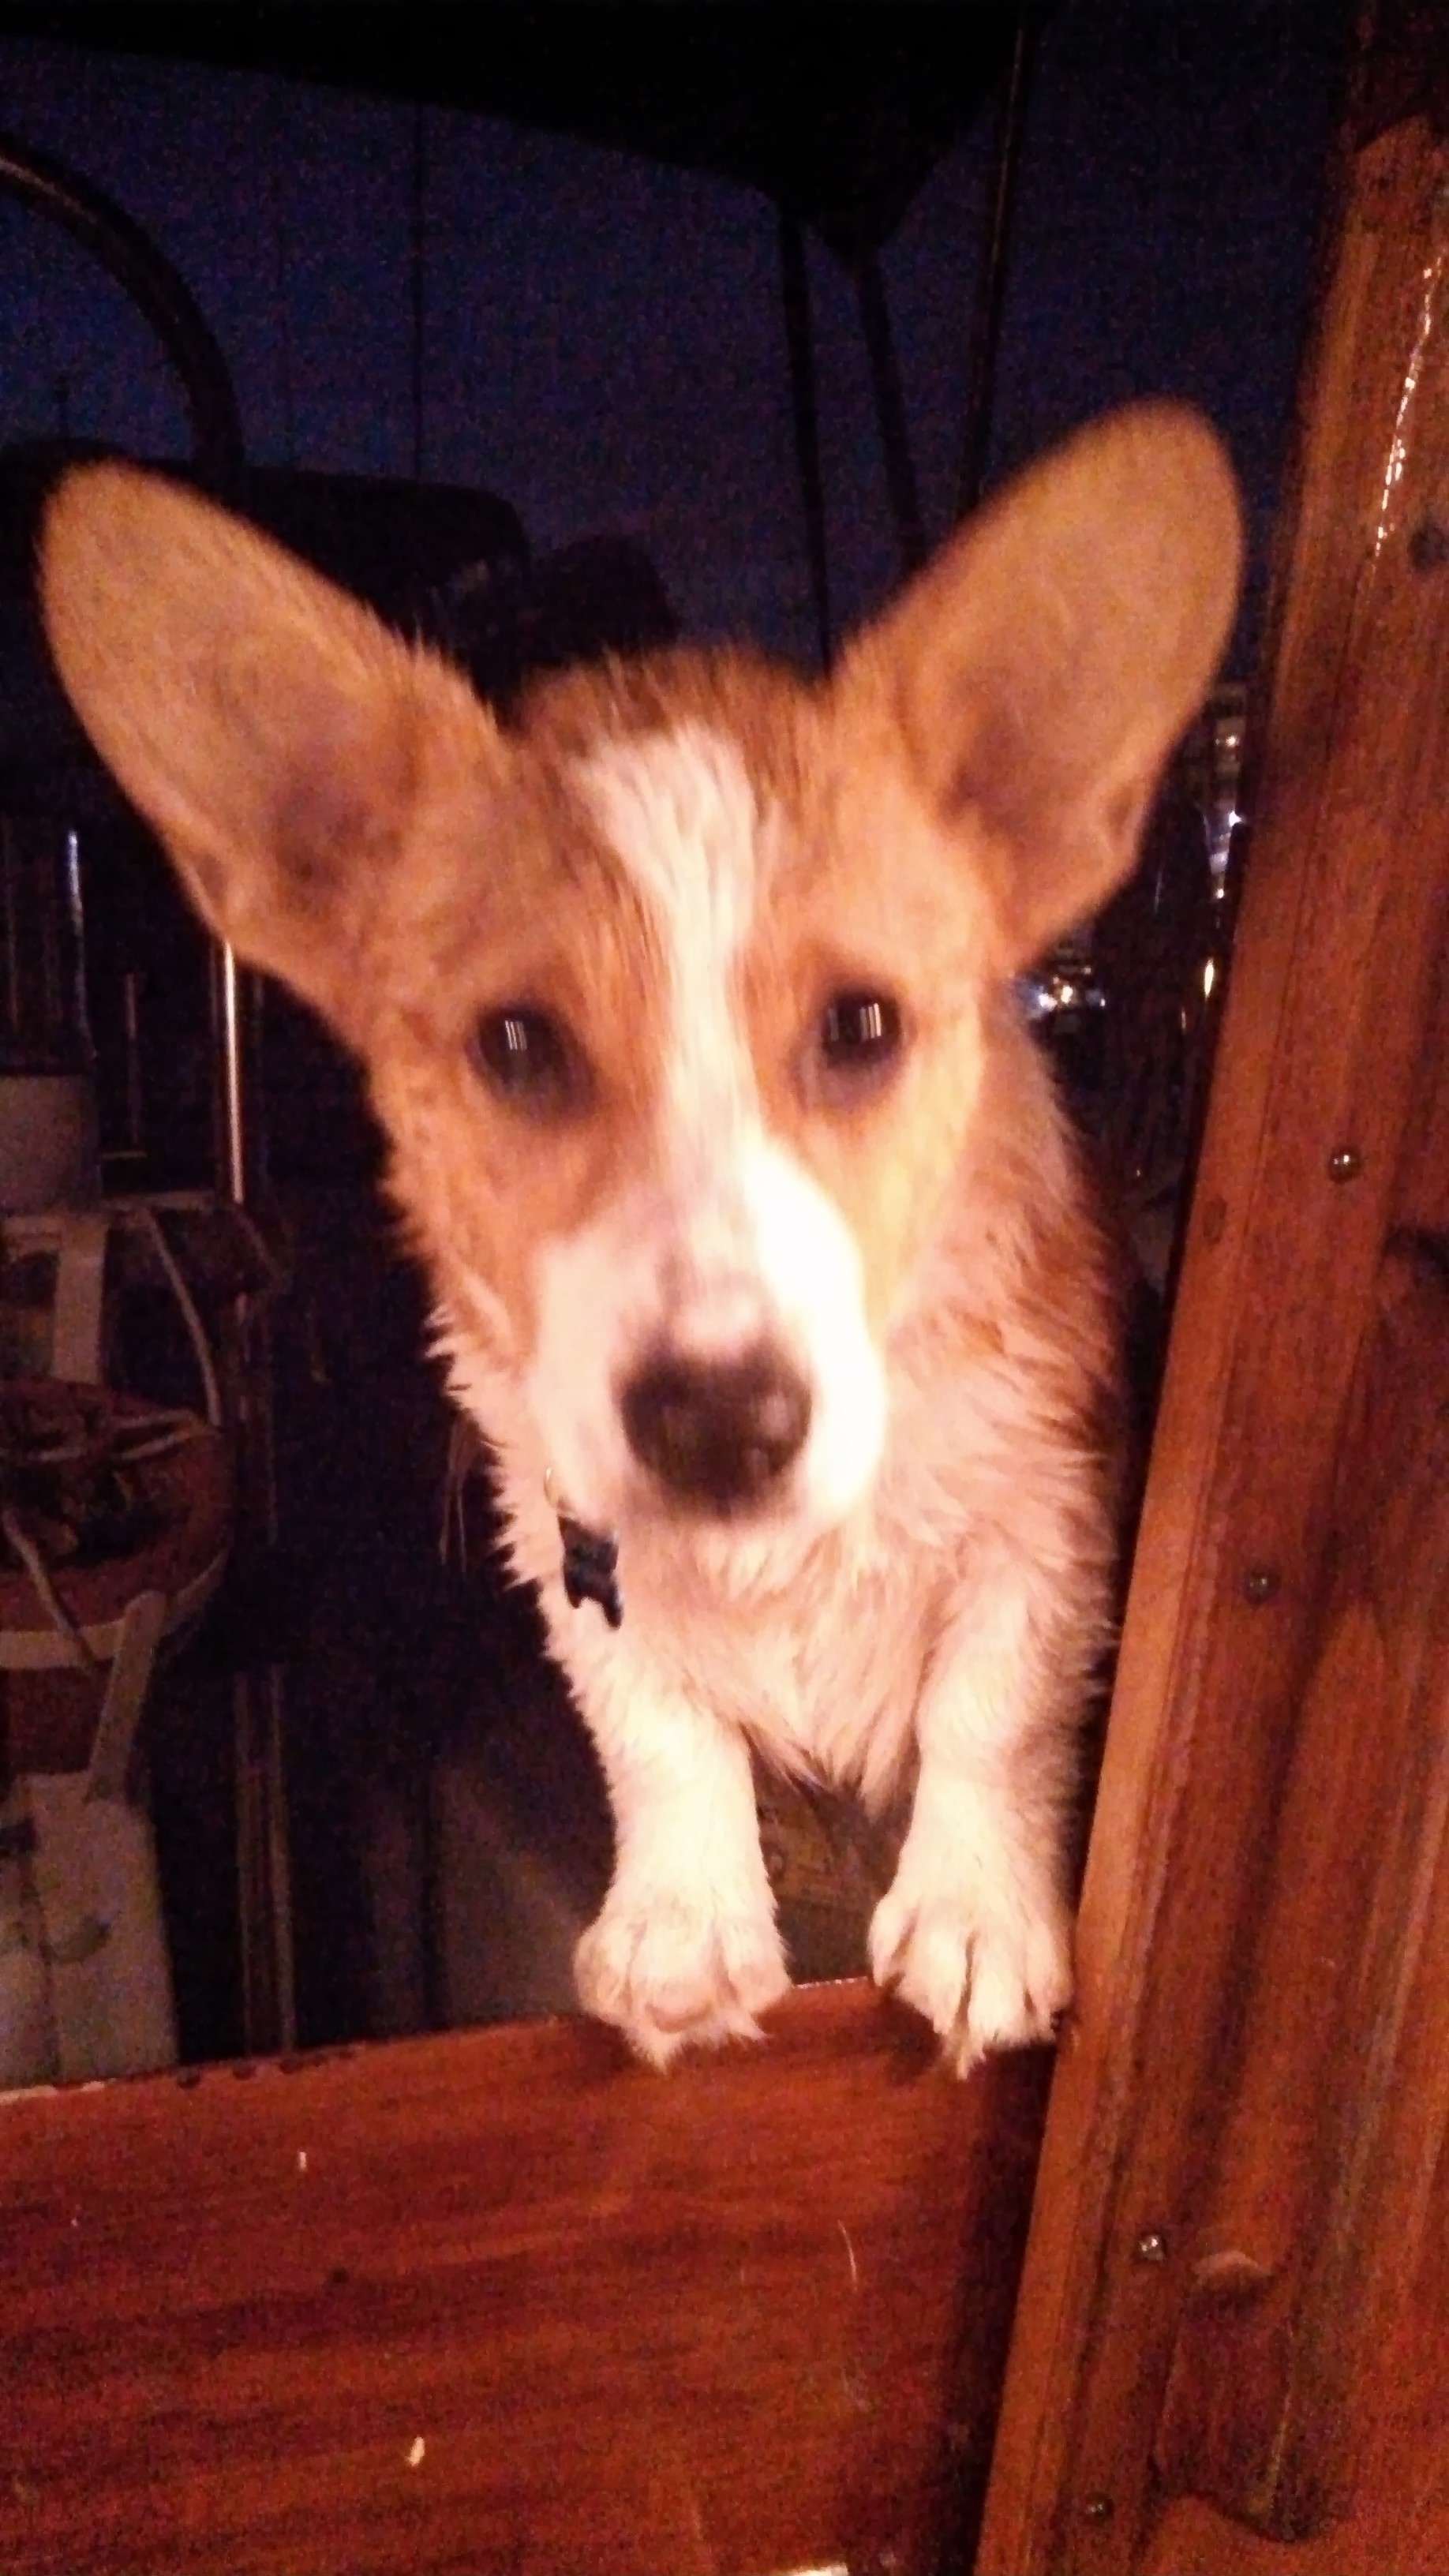
Morty is our boat dog! He lives a happy life on board Wisdom, enjoying life with me as a bachelor before I met Maddie, and now greatly enjoying life with Maddie in our lives.

I got him as a puppy, and he was tiny. He rode home in a cat litter box (in case he had an accident).

He quickly grew to like life onboard (as it was all he knew). He was a very relaxed puppy who liked to sleep and lay around all the time. He would play with his rope toys, but then quickly fall asleep.

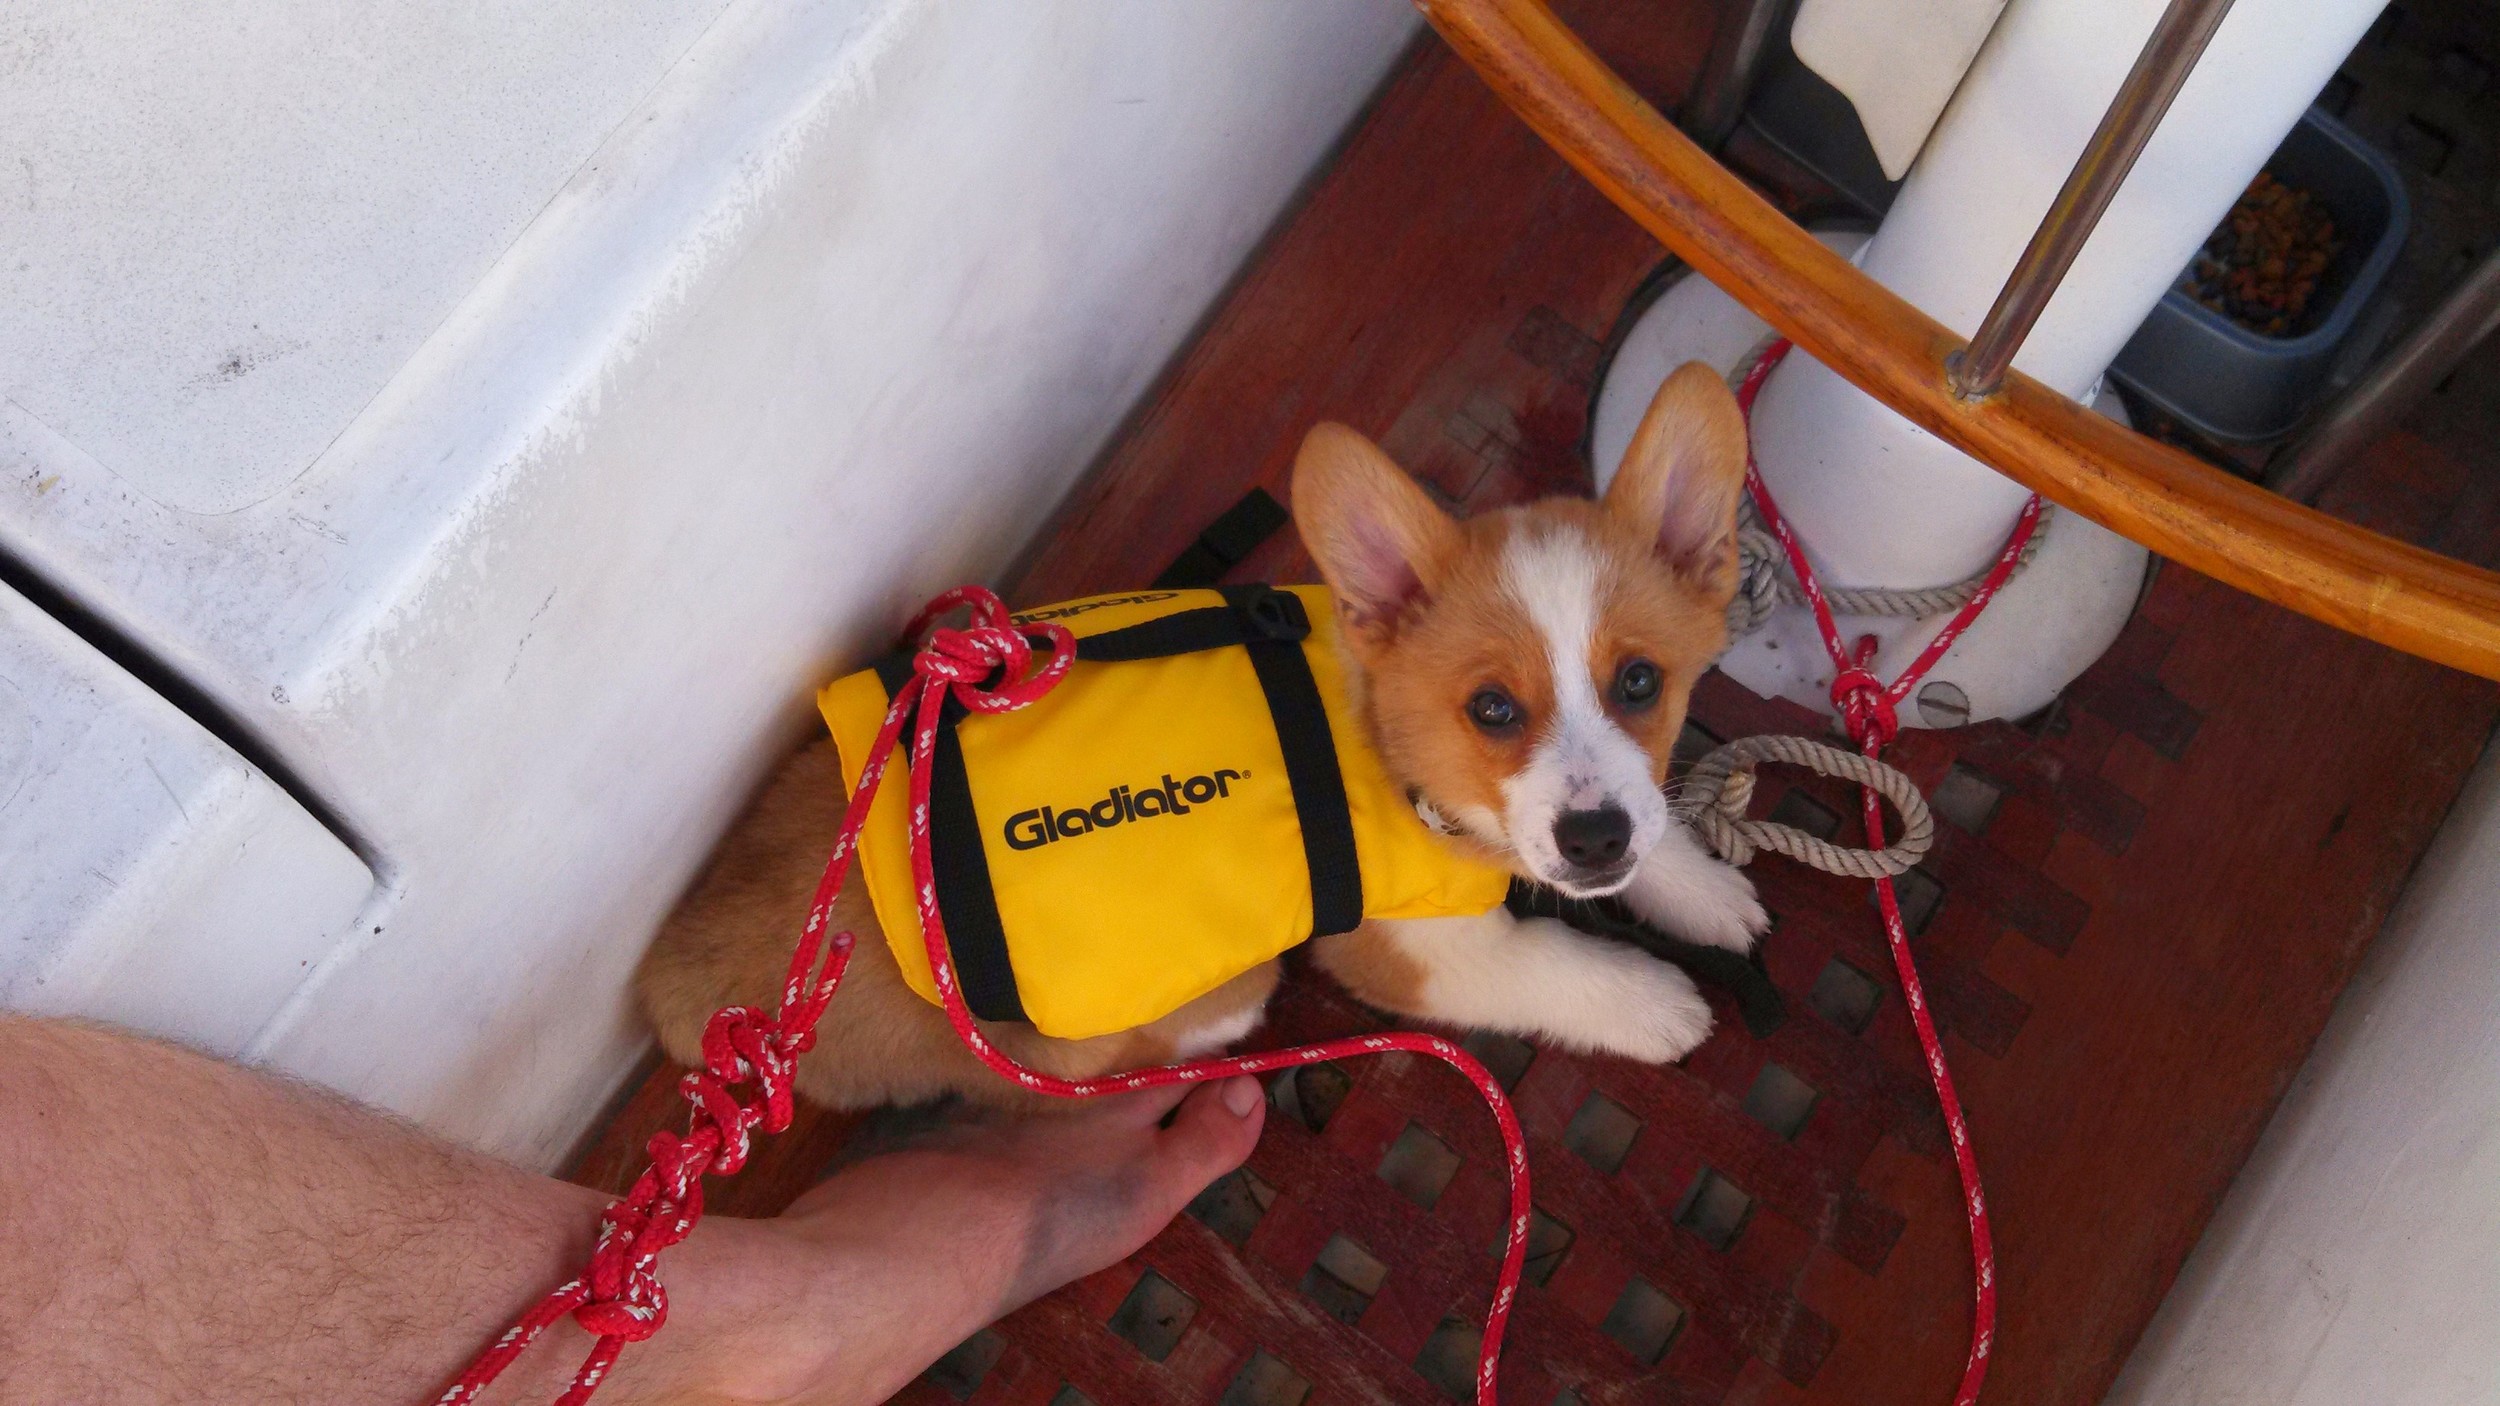
When he was big enough to wear a chihuahua life jacket, I decided to take him out sailing. I expected him to run around the deck and fall into the water, but he stayed in the cockpit with me and never left my side. If I was standing, he was by my foot, if I was sitting, he was by my side. 

I kept a line tied to his life jacket, tethering him to the binnacle, but he never tried to run around the boat anyways. The truth is he would always lay by my foot and go to sleep while we sailed through the waves towards our destination.

As a young puppy, I kept him well socialized; always introducing him to new dogs so he could make new friends. One of his favorite friends is named Ginger, she's my parents dog, and they used to play together all day while I was at work.

He also learned valuable life lessons, such as "Don't fall into the harbor" and if he jumps into the water, he will get a bath as soon as I pull him from the water. He doesn't like baths, so he also avoids getting in the water.

On his first Christmas, Morty received his skull and crossbones collar. My mom got him an elf costume which he only wore for a few moments before he laid down to take a nap.

Life was good, we would go sailing on the weekends. Morty enjoyed his lazy days at anchor, sleeping in on the berth next to me! It was a simple life which we both enjoyed thoroughly.

This is around the time that Maddie came into the picture. There were some changes that happened right away, such as a more comfy bed, and long walks during the day while I was at work.

As a true boat dog, his leash is a sail tie.

As a true boat dog, his leash is a sail tie.

Even though we changed the mattress in the V-berth, Morty still sleeps in the same spot after all these years. His spot is up in the peak of the bow, right next to the chain locker. I guess he likes the cool air that comes in the hoss pipe in the deck for the anchor chain. He has grown a bit since he first slept up there.

After Maddie moved in, the boat was further along in its preparation for longer voyages and that means that Morty got to go on longer trips with us. As usual, he enjoys relaxing near us as we sail along.

It's been three fun years so far, and he is an awesome boat dog. He's explored new waters and slept most of the way there!

Headsail Reefing

Roller furling headsails have the distinct advantage of limitless reefing. If you feel that your headsail is a bit over-canvased, simply pull in on the furling line to reduce the amount of sail area exposed. 

The goal of reefing is to produce a smaller sail that is nearly flat, that way any excess wind is spilled off and does not overpower the smaller sail. Roller furling does make the sail smaller, but baggy instead of flat. Foam luffs can help reduce the amount of bagginess, but it will still occur to some extent. While a smaller baggy sail may be more powered than an unfurled flat sail, the truth remains that the sail can simply be furled up even more, making the exposed sail that much smaller. While roller furling can't produce the best sail shape when partially furled, it does have the distinct advantage of being able to always make the sail smaller.

Hank on sails are known for their reliability and excellent sail shape. There are much fewer moving parts involved in setting a hank on sail as compared to all the mechanisms needed for a roller furling sail. The problem is sail makers don't have a method in place to reef your headsails.

When I talked with my sail maker about this, his suggestion was to purchase a smaller jib. This means that I would have to perform a headsail change during reefing conditions. This might be the standard operating procedure on board racing sailboats where there are plenty of crew to help execute a speedy headsail change and a limitless budget to buy all of these sails, but I don't have either of these faculties on my boat. I needed a way to reef my hank on sails that could be quickly carried out alone and not break the bank!

Yes, I had a juniper bush growing in my bow. It died because I forgot to water it for a few weeks (and maybe the salt spray).

Yes, I had a juniper bush growing in my bow. It died because I forgot to water it for a few weeks (and maybe the salt spray).

The old staysail that came with the boat had a reef point in it, and this gave me the idea to have reef points added to my current headsails. I talked it over with my sailmaker and they decided to give it a try. They told me that most people with hank on sails are racers and the rings add too much weight to the sail, which is why they don't typically put reefs in headsails. I told them I would be fine with a bit of extra weight in the sail and they went to work installing the reef points in the sails!

The standard way to reef a hank on headsail is to:

Lower the sail into the deck
Attach the reef tack point to the deck
Attach the sheets to the reef clew point
Raise the reefed sail and adjust the sheet leads as needed

The problem with this in my opinion is when I lower the headsail, the boat becomes unbalanced. This will make the boat head into the wind as it has lost all lee helm from the headsail. The other issue is I would have to crawl all the way out onto the forepeak to switch the tack point during rough seas. I know I should reef before it gets bad, but at some point, I'm going to be caught off guard and need to do it in sloppy weather.

I have installed a downhaul system for the headsails so that I can lower them all the way from the mast in a controlled manner, never setting foot further forward in heavy weather. Why not rig something else up that will keep me at the mast where my halyards are when I need to put in a reef? I did just that.

Photo courtesy of Anastasia Forrestal

Photo courtesy of Anastasia Forrestal

I attached a 7mm piece of polyester covered dyneema to the deck tack point, up through the reef tack loop, back through the deck tack point, and then aft towards the mast. This lets me stand in front of the mast, lower the halyard while pulling in on the tack line (through a 2:1 pulley system). Once the tack is drawn down, I can cleat it off on a spring cleat and attach the reefed sheet lines to the reefed clew.

Once the tack and clew are attached, I can easily crank on the halyard to tension the luff again, producing a very flat reefed headsail. 

With the sail up and loaded, the foot will blow in the wind like a skirt. Simply rolling it up will get it out of the way and make it compact for the reefing lines to hold in place.

I also like to tie the clews together to help keep them from flopping around. A flying clew plate can cause a serious amount of pain!

The reef lines are simple to make. I took 1/4 inch 3 strand nylon and passed it through the reef holes, tying double fisherman knots on either side to keep them in place. The ends of the lines are crown knotted and backspliced to keep it from unraveling. Since these lines will be rubbing on the sails, it is imperative that the ends be fuzzy and not melted into hard points!

On a side note, I am using a snap shackle during the dockside test fitting of this sail. Never use a snap shackle in stormy conditions! If that shackle were to open up by accident, the sail is going to turn into a flag, balance will be lost, and it will be really hard to attach another sheet in its place. Always use a sheet that is tied securely with a bowline or a larkshead knot for any reefed sails.