Deadeyes serve one purpose, that is to connect the synthetic stay to the chainplate. Chainplates have a small hole in them desinged to connect the rigging via a clevis pin attachment. Normally, the clevis pin is connected to a turnbuckle, but with deadeyes, the clevis pin connects a toggle to the chainplate.
This toggle serves as a metal strap that will hold the deadeye securely in place.
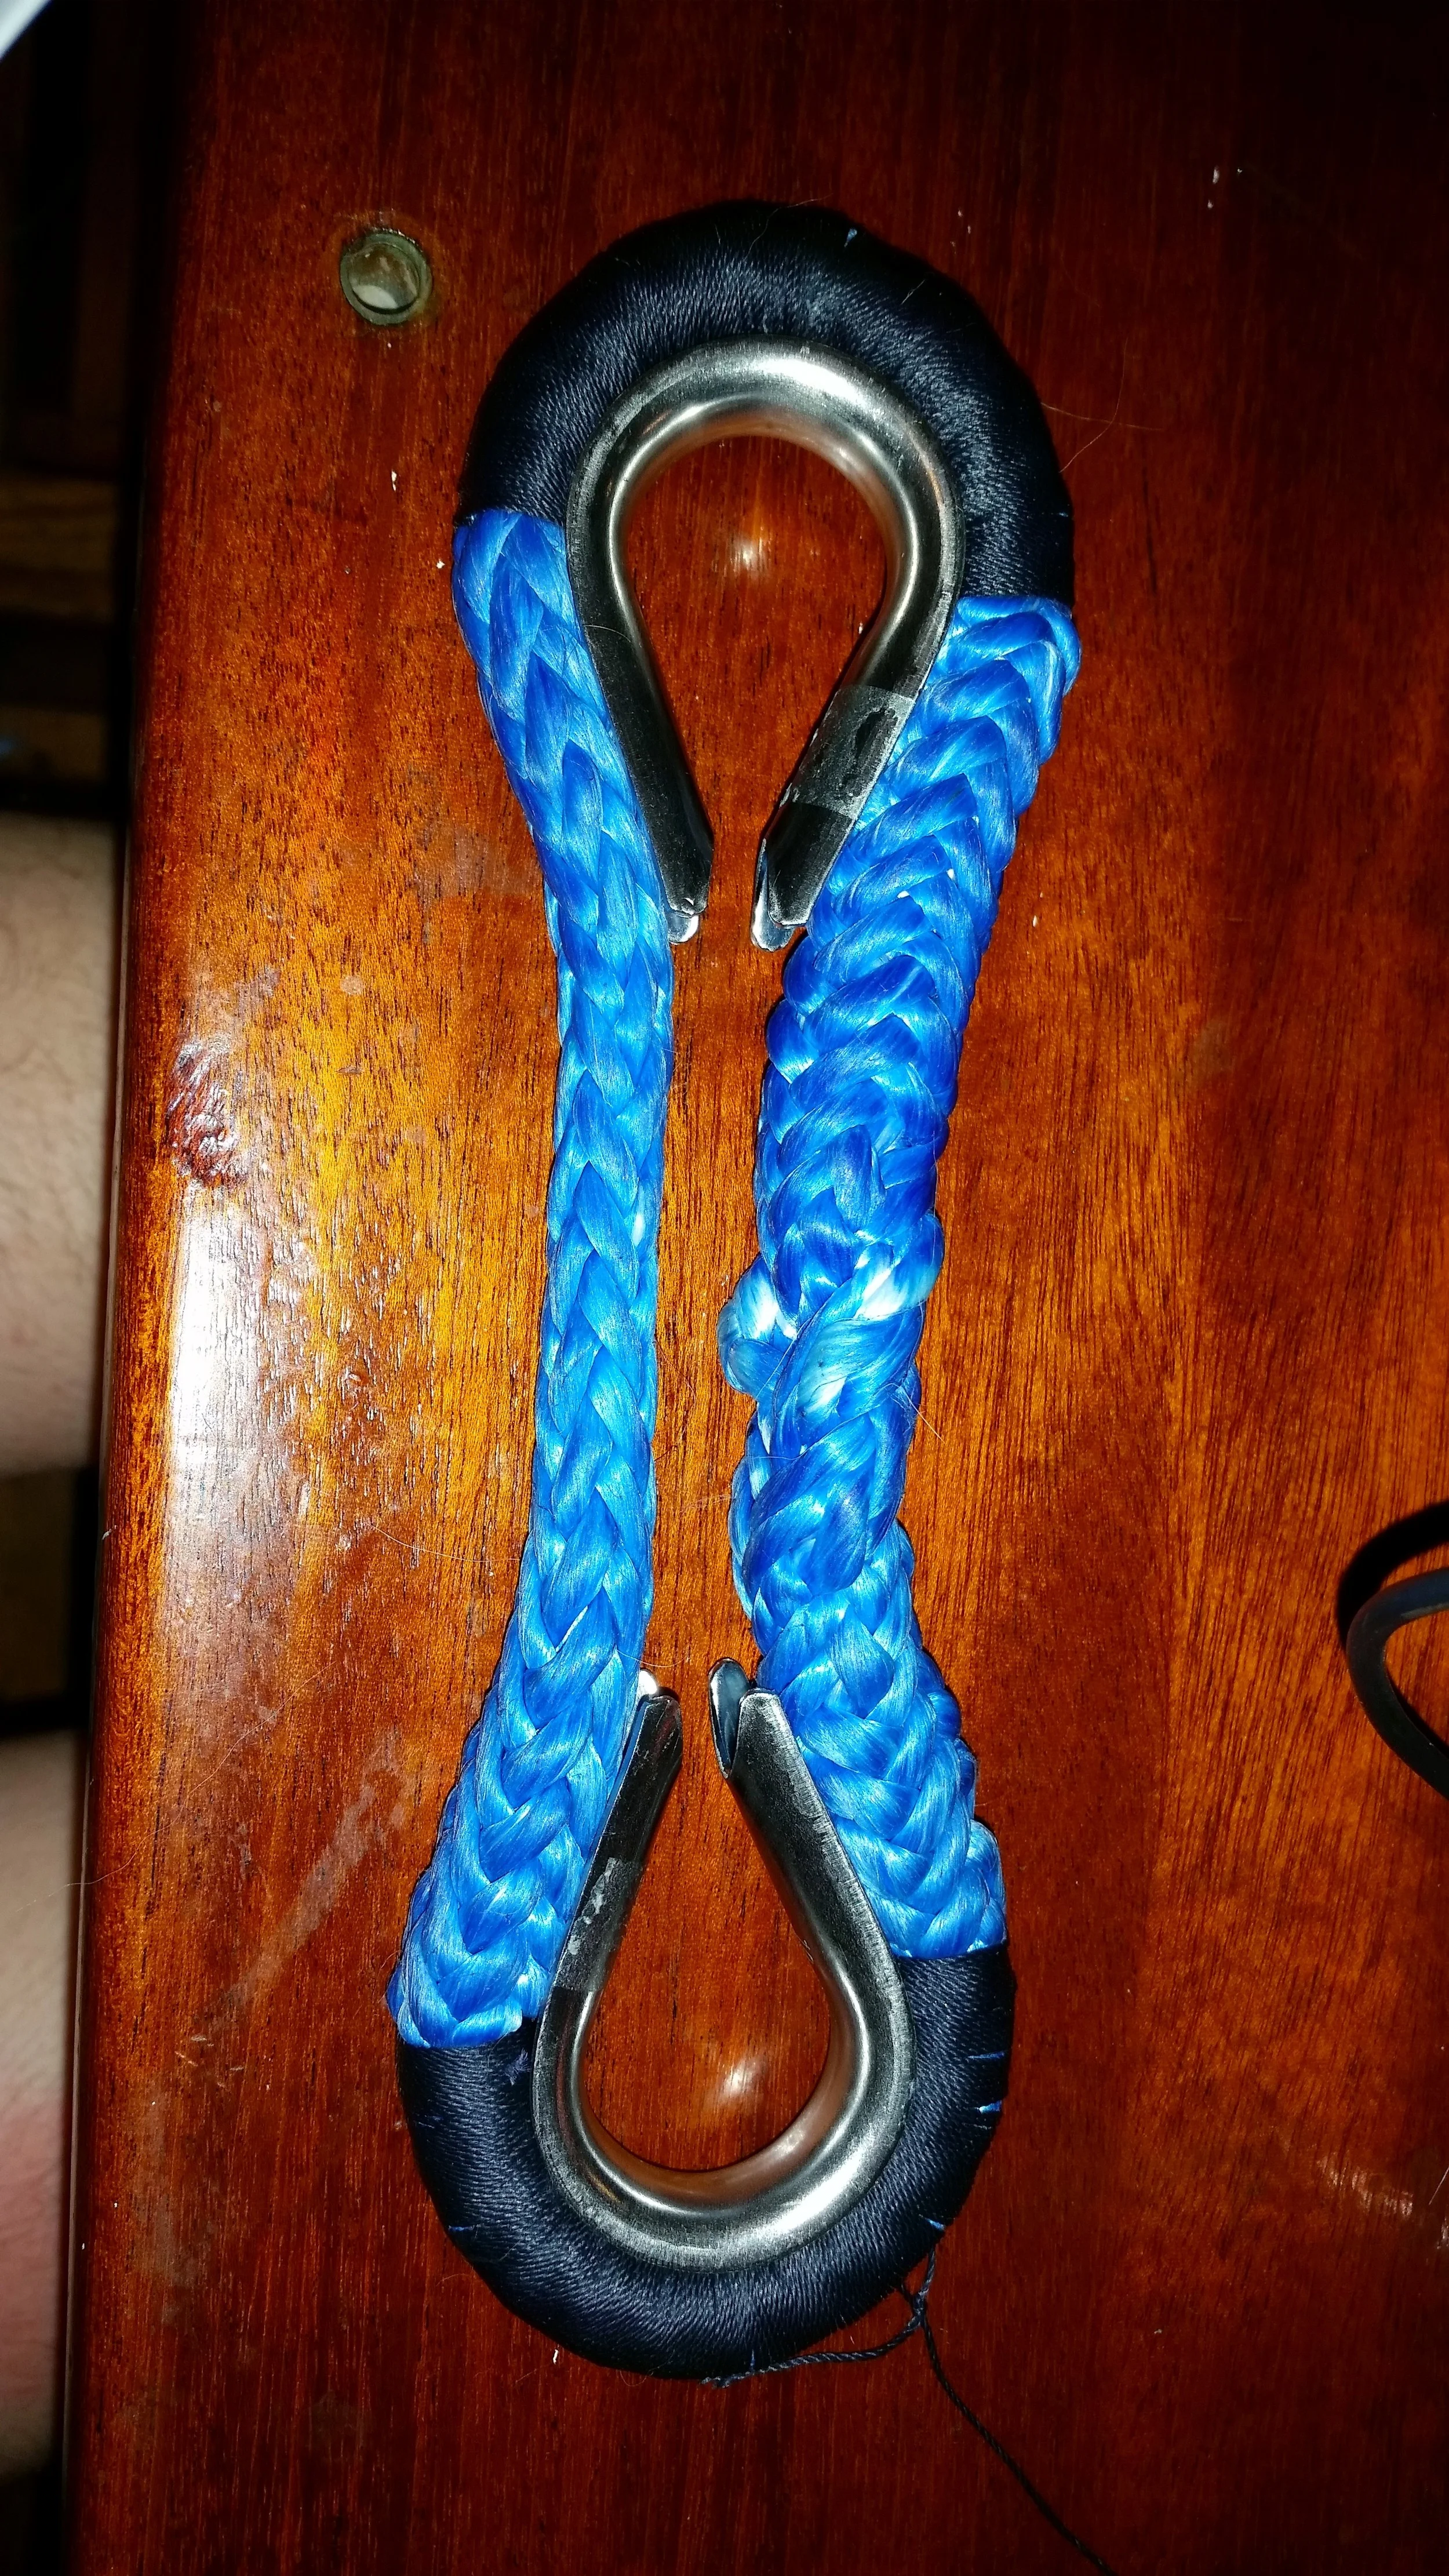
Dyneema deadeyes may look fancy with their loops and fittings, but the are actually just a dyneema grommet with two thimbles in them. The central tie is only there to hold the thimbles in place.
Making a grommet is a tedious task, and making one out of dyneema proves to be all the more complex. Dyneema is classified as 12 Strand Class II rope, and relies on a long bury to securely hold the splice. The typical recommended bury for a dyneema splice is 72 times its diameter. This means that for the 9mm line I'm using for these deadeyes, I need to bury 648mm (25.5inches) on each side. In other words, the grommet would need to be 25.5 inches in long. Mind you that dyneema deadeyes are less than 12 inches long! How can this be done?!
The trick is understanding how the line works and how splices work. 12 strand Class I and II ropes are simply made of 12 lines woven in a tube. When you scrunch the rope together, the hollow center will open up. When splicing 12 strand, the tail is slid through the hollow center and left untouched. There is no fancy weaving involved because the 12 strands surrounding it will crush down on it like a Chinese Finger Trap when you try to pull it apart. Class I fibers are not very slippery, so they require less bury; Class II fibers are very slippery, and require a longer bury. Dyneema is a Class II and is very slippery!
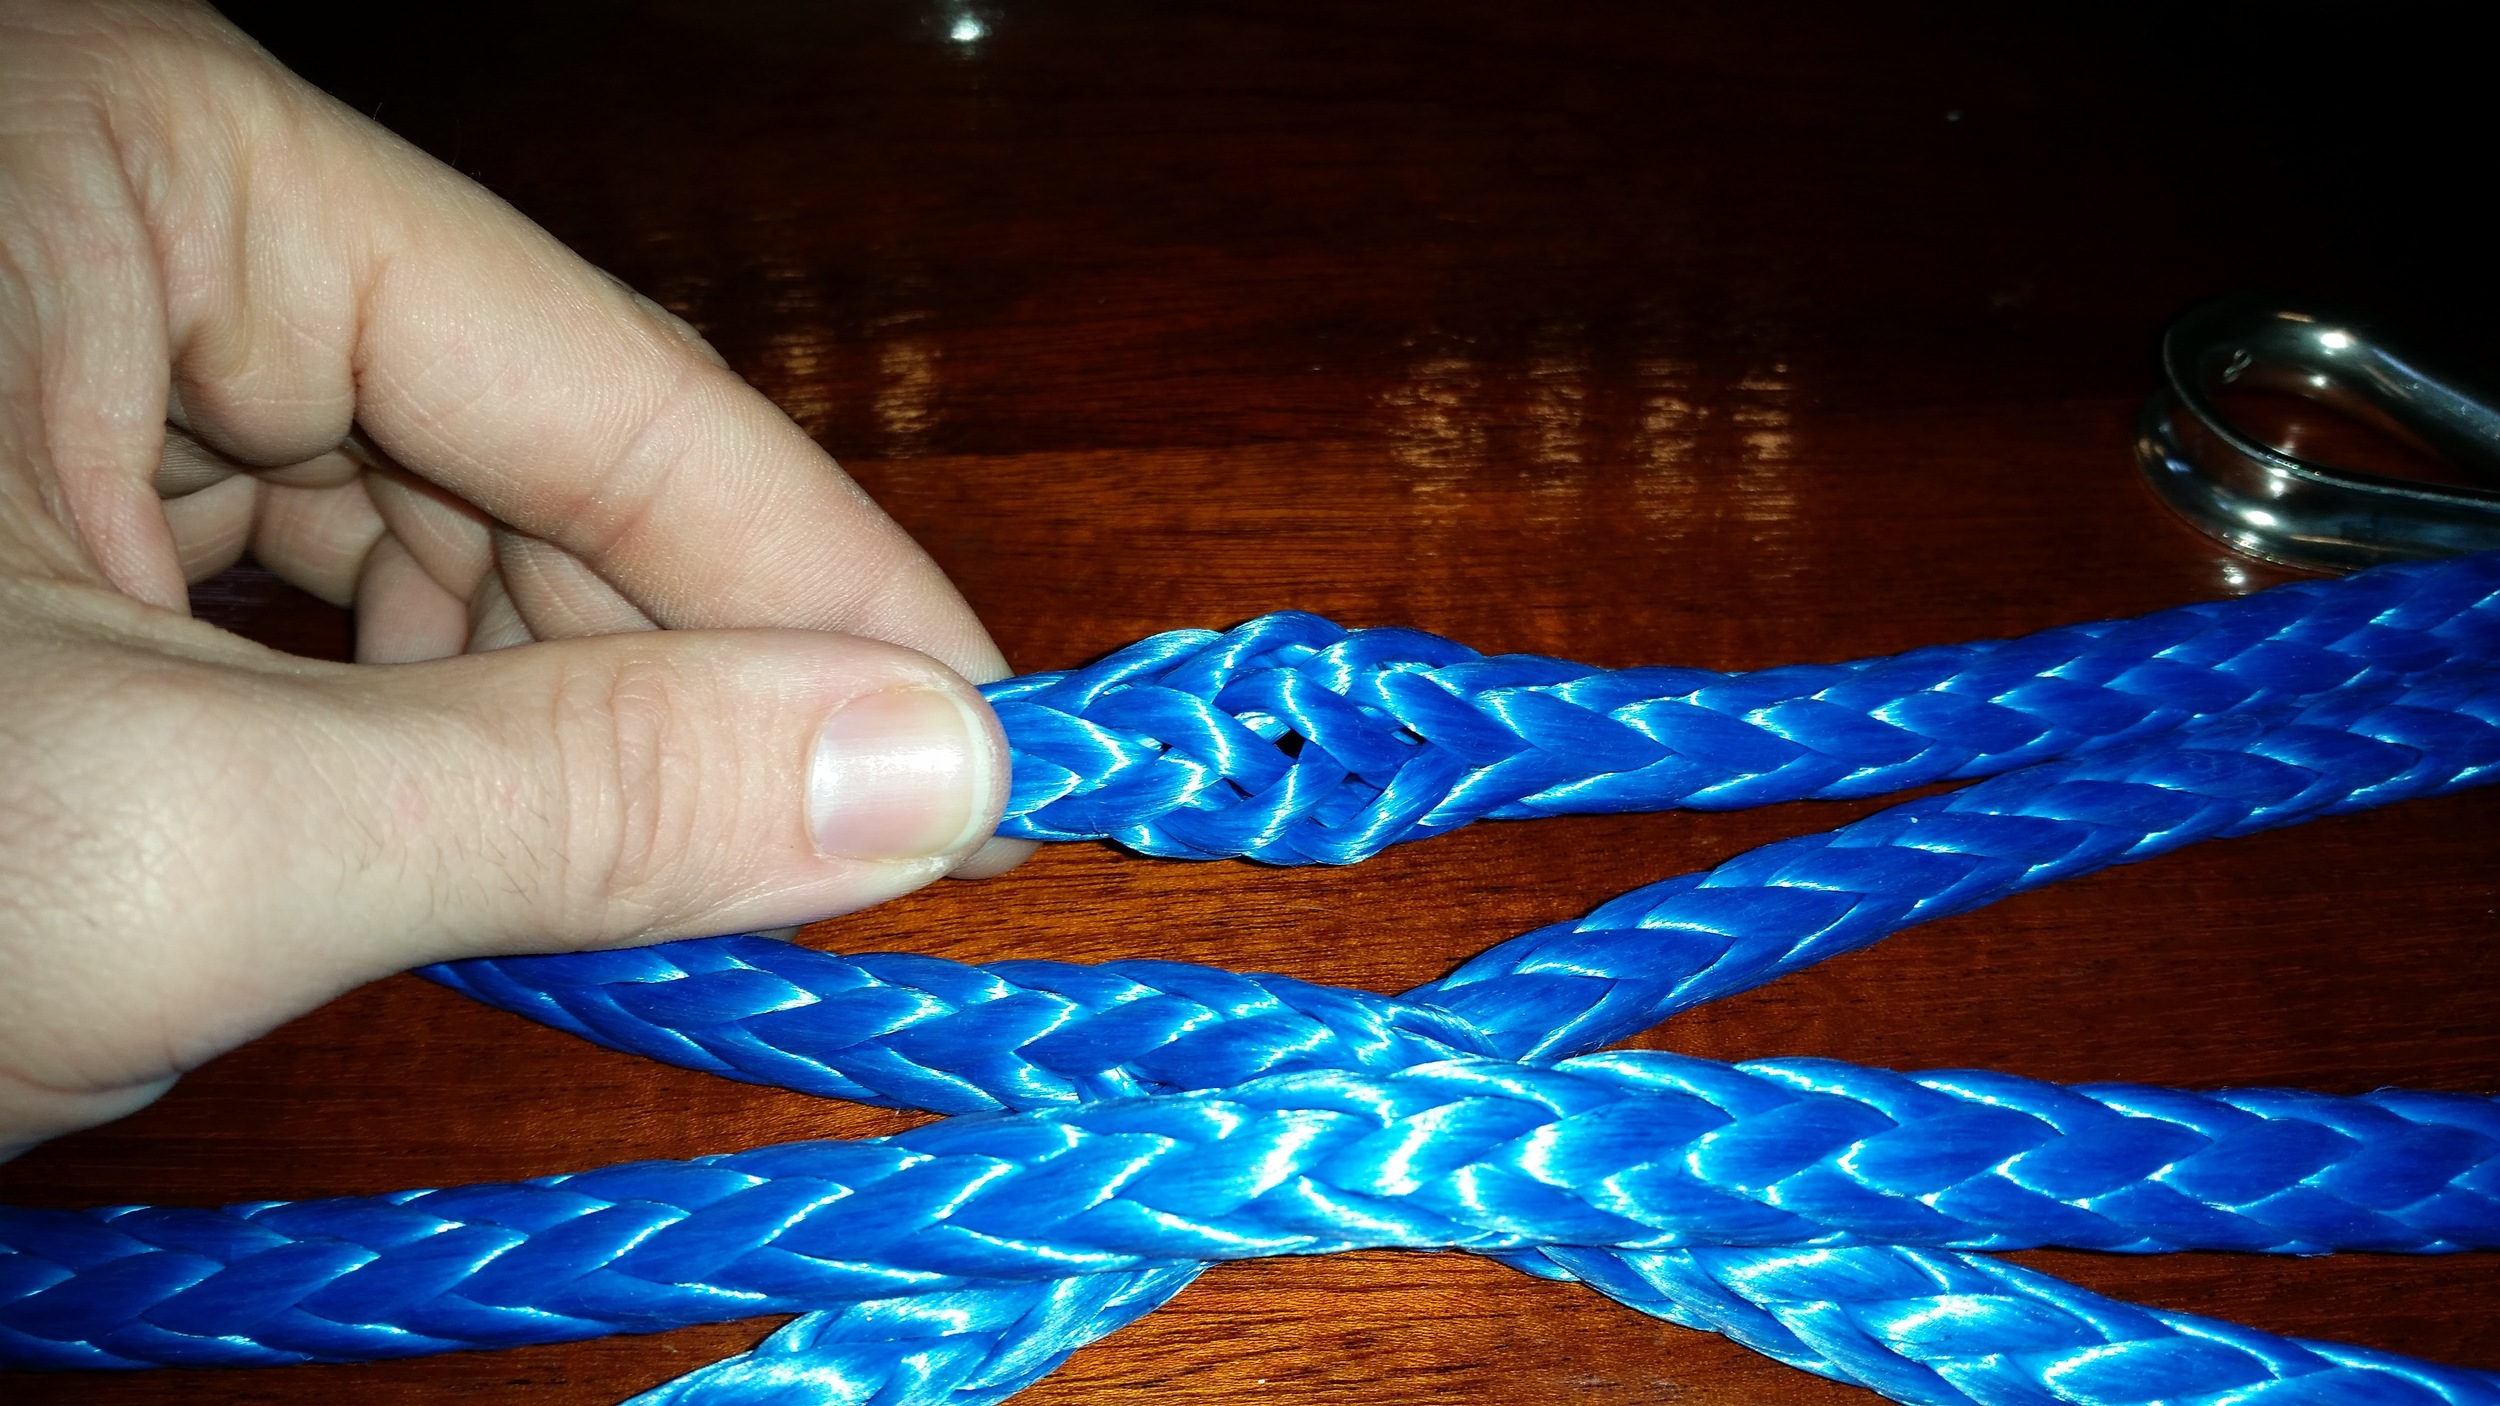
A secret to side step the bury requirement is to perform a Mobious Brummel Splice. A Mobious Brummel works by passing the ropes through each other, causing them to lock against each other when pulled. The tail is then burried, further locking the splice in place. For the junction to open up, the 12 woven strands need to unravel and separate in order to pull apart. The pressure from the woven tube crushing down on the burried tail will not allow the strands to unravel and will keep the splice secure. Locking stitches will add extra insurance to make sure that nothing slips and everything holds
Mobious Brummel splices are easy to do, simply pass the two free ends through each other and bury the tail. When making a grommet, this is not possible. There is no way to pass the other line through as it is trapped on the other side of the grommet. To get around this, you simply deconstruct and reconstruct the line as you make the splice.
As usual, the first side is the standard and simple way. Simply open the braid with the fids and pass the line through.
Now balance the tails to ensure that everything you are doing is symmetrical. I pierce the splice cross with a pin to keep everything in place. If you are doing multiple grommets, do them all at the same time so they all come out relatively the same size.
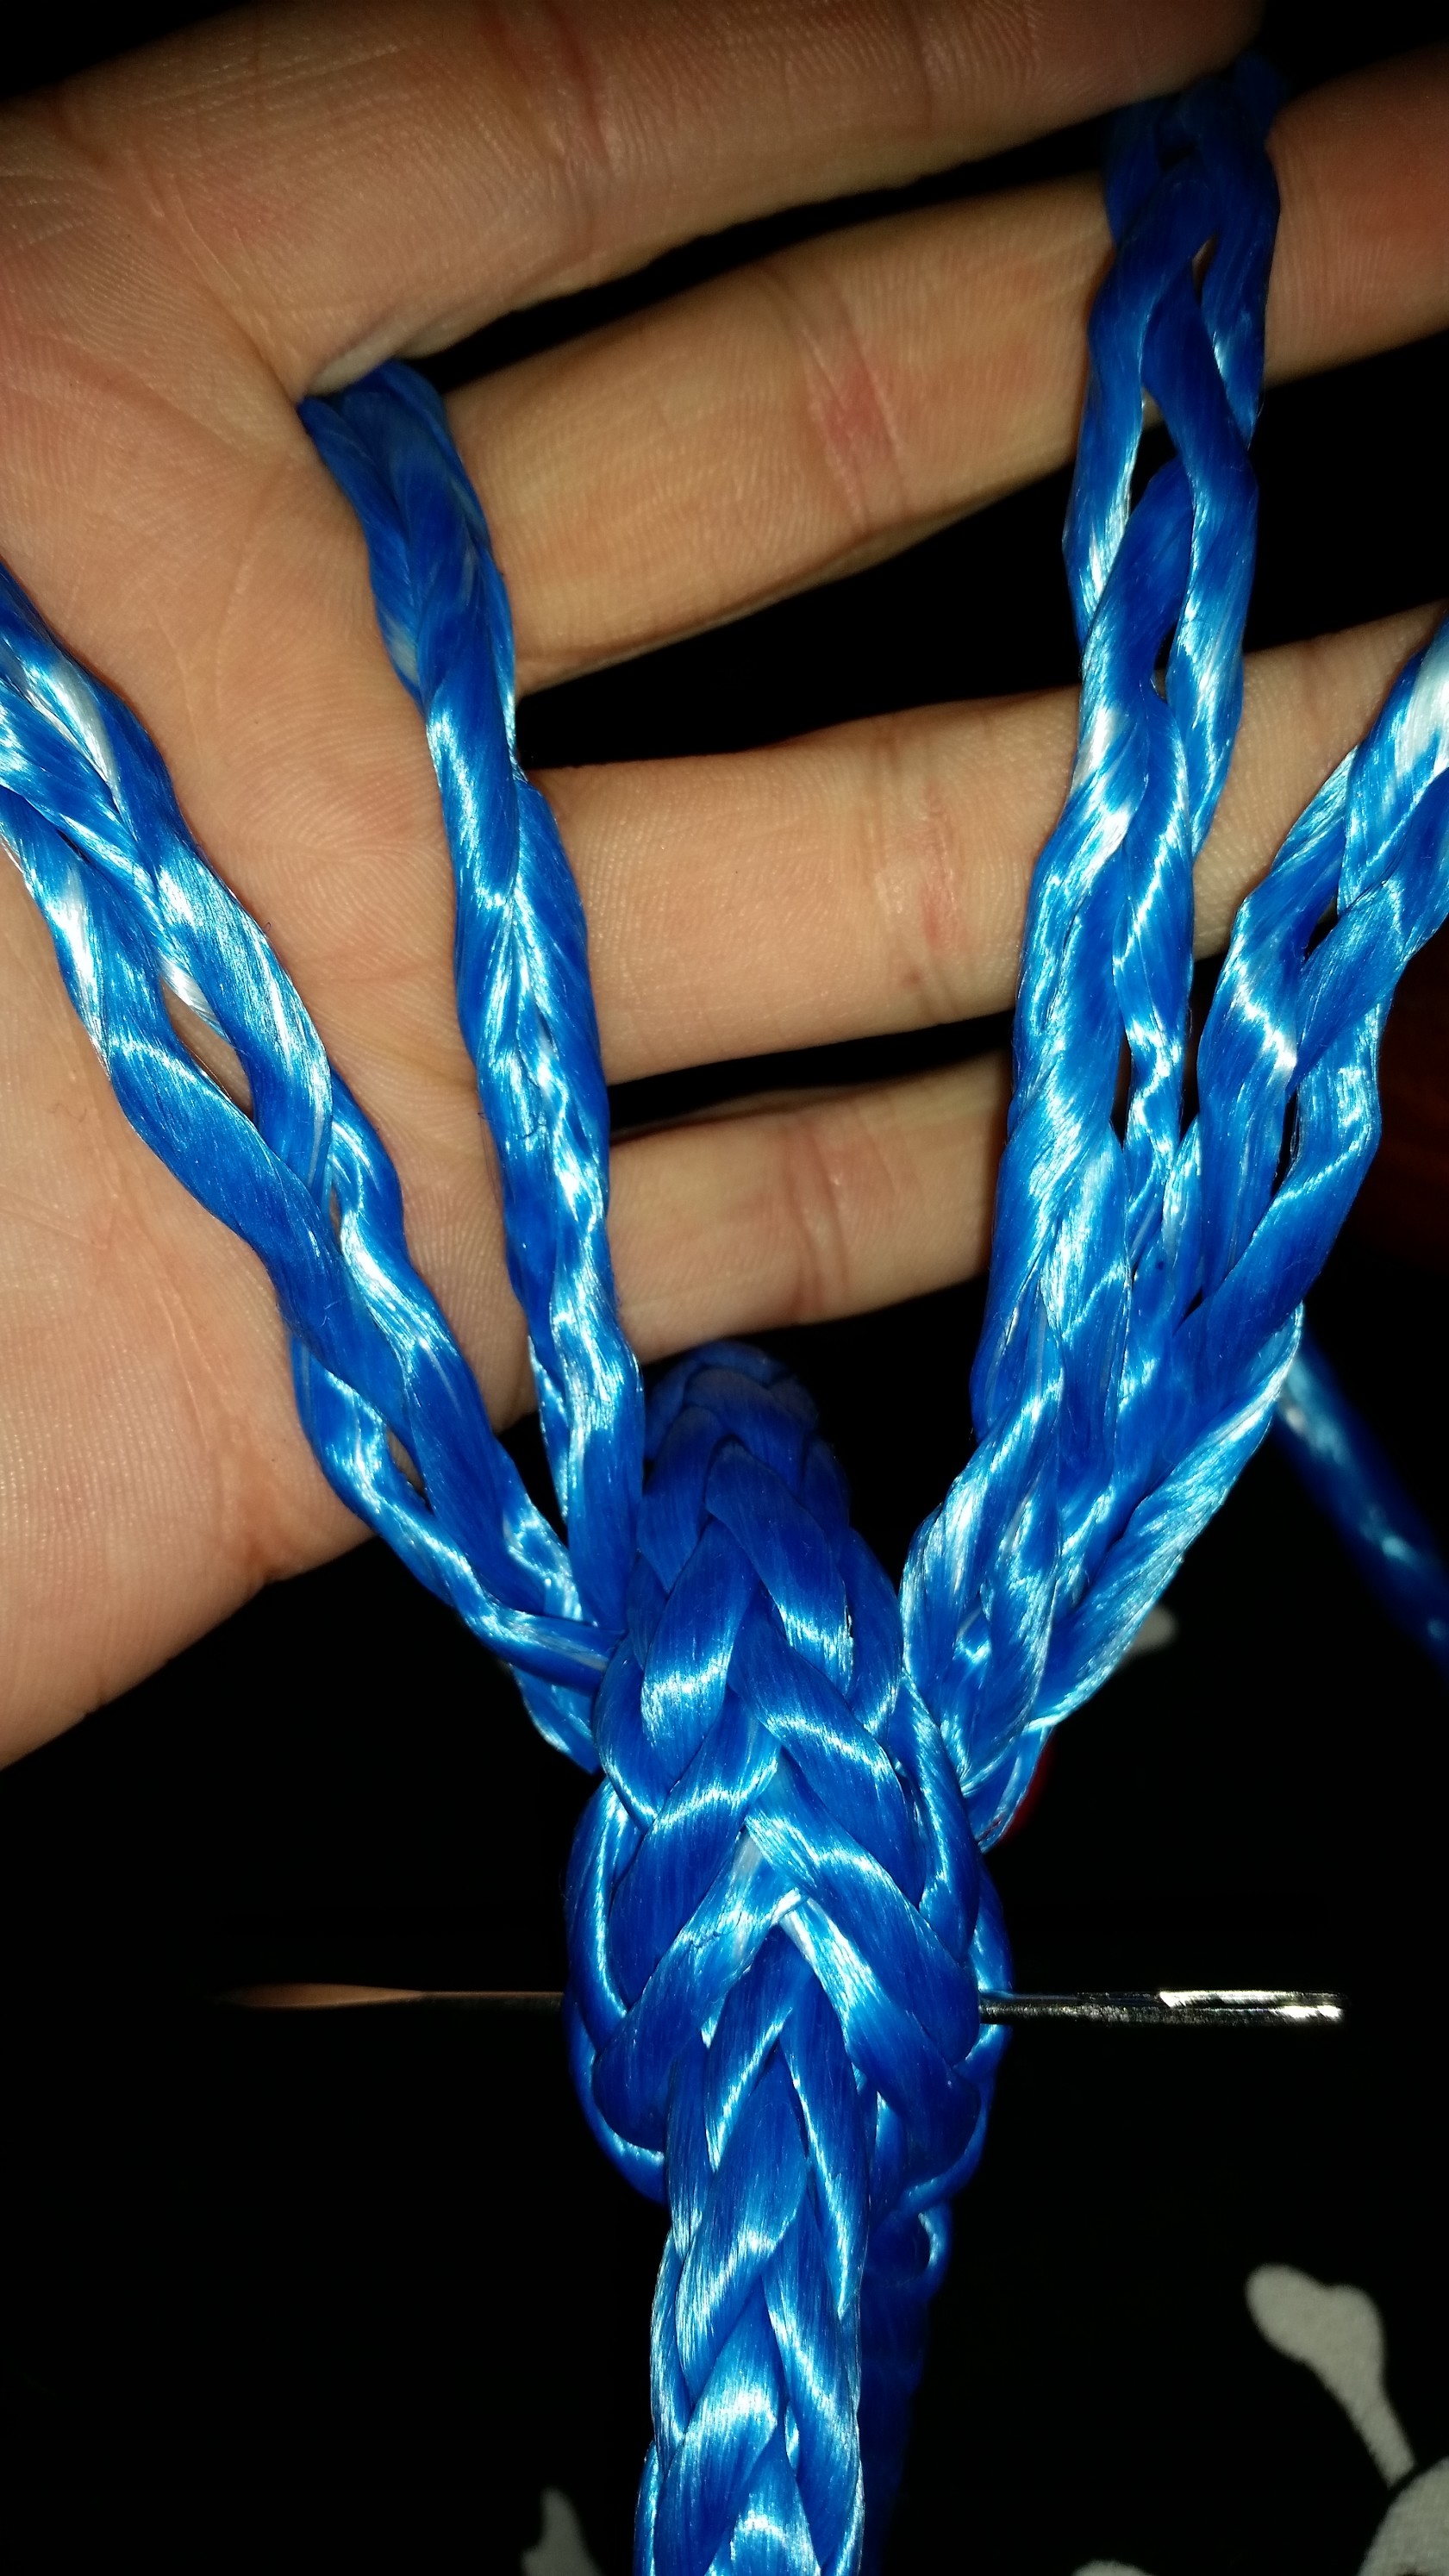
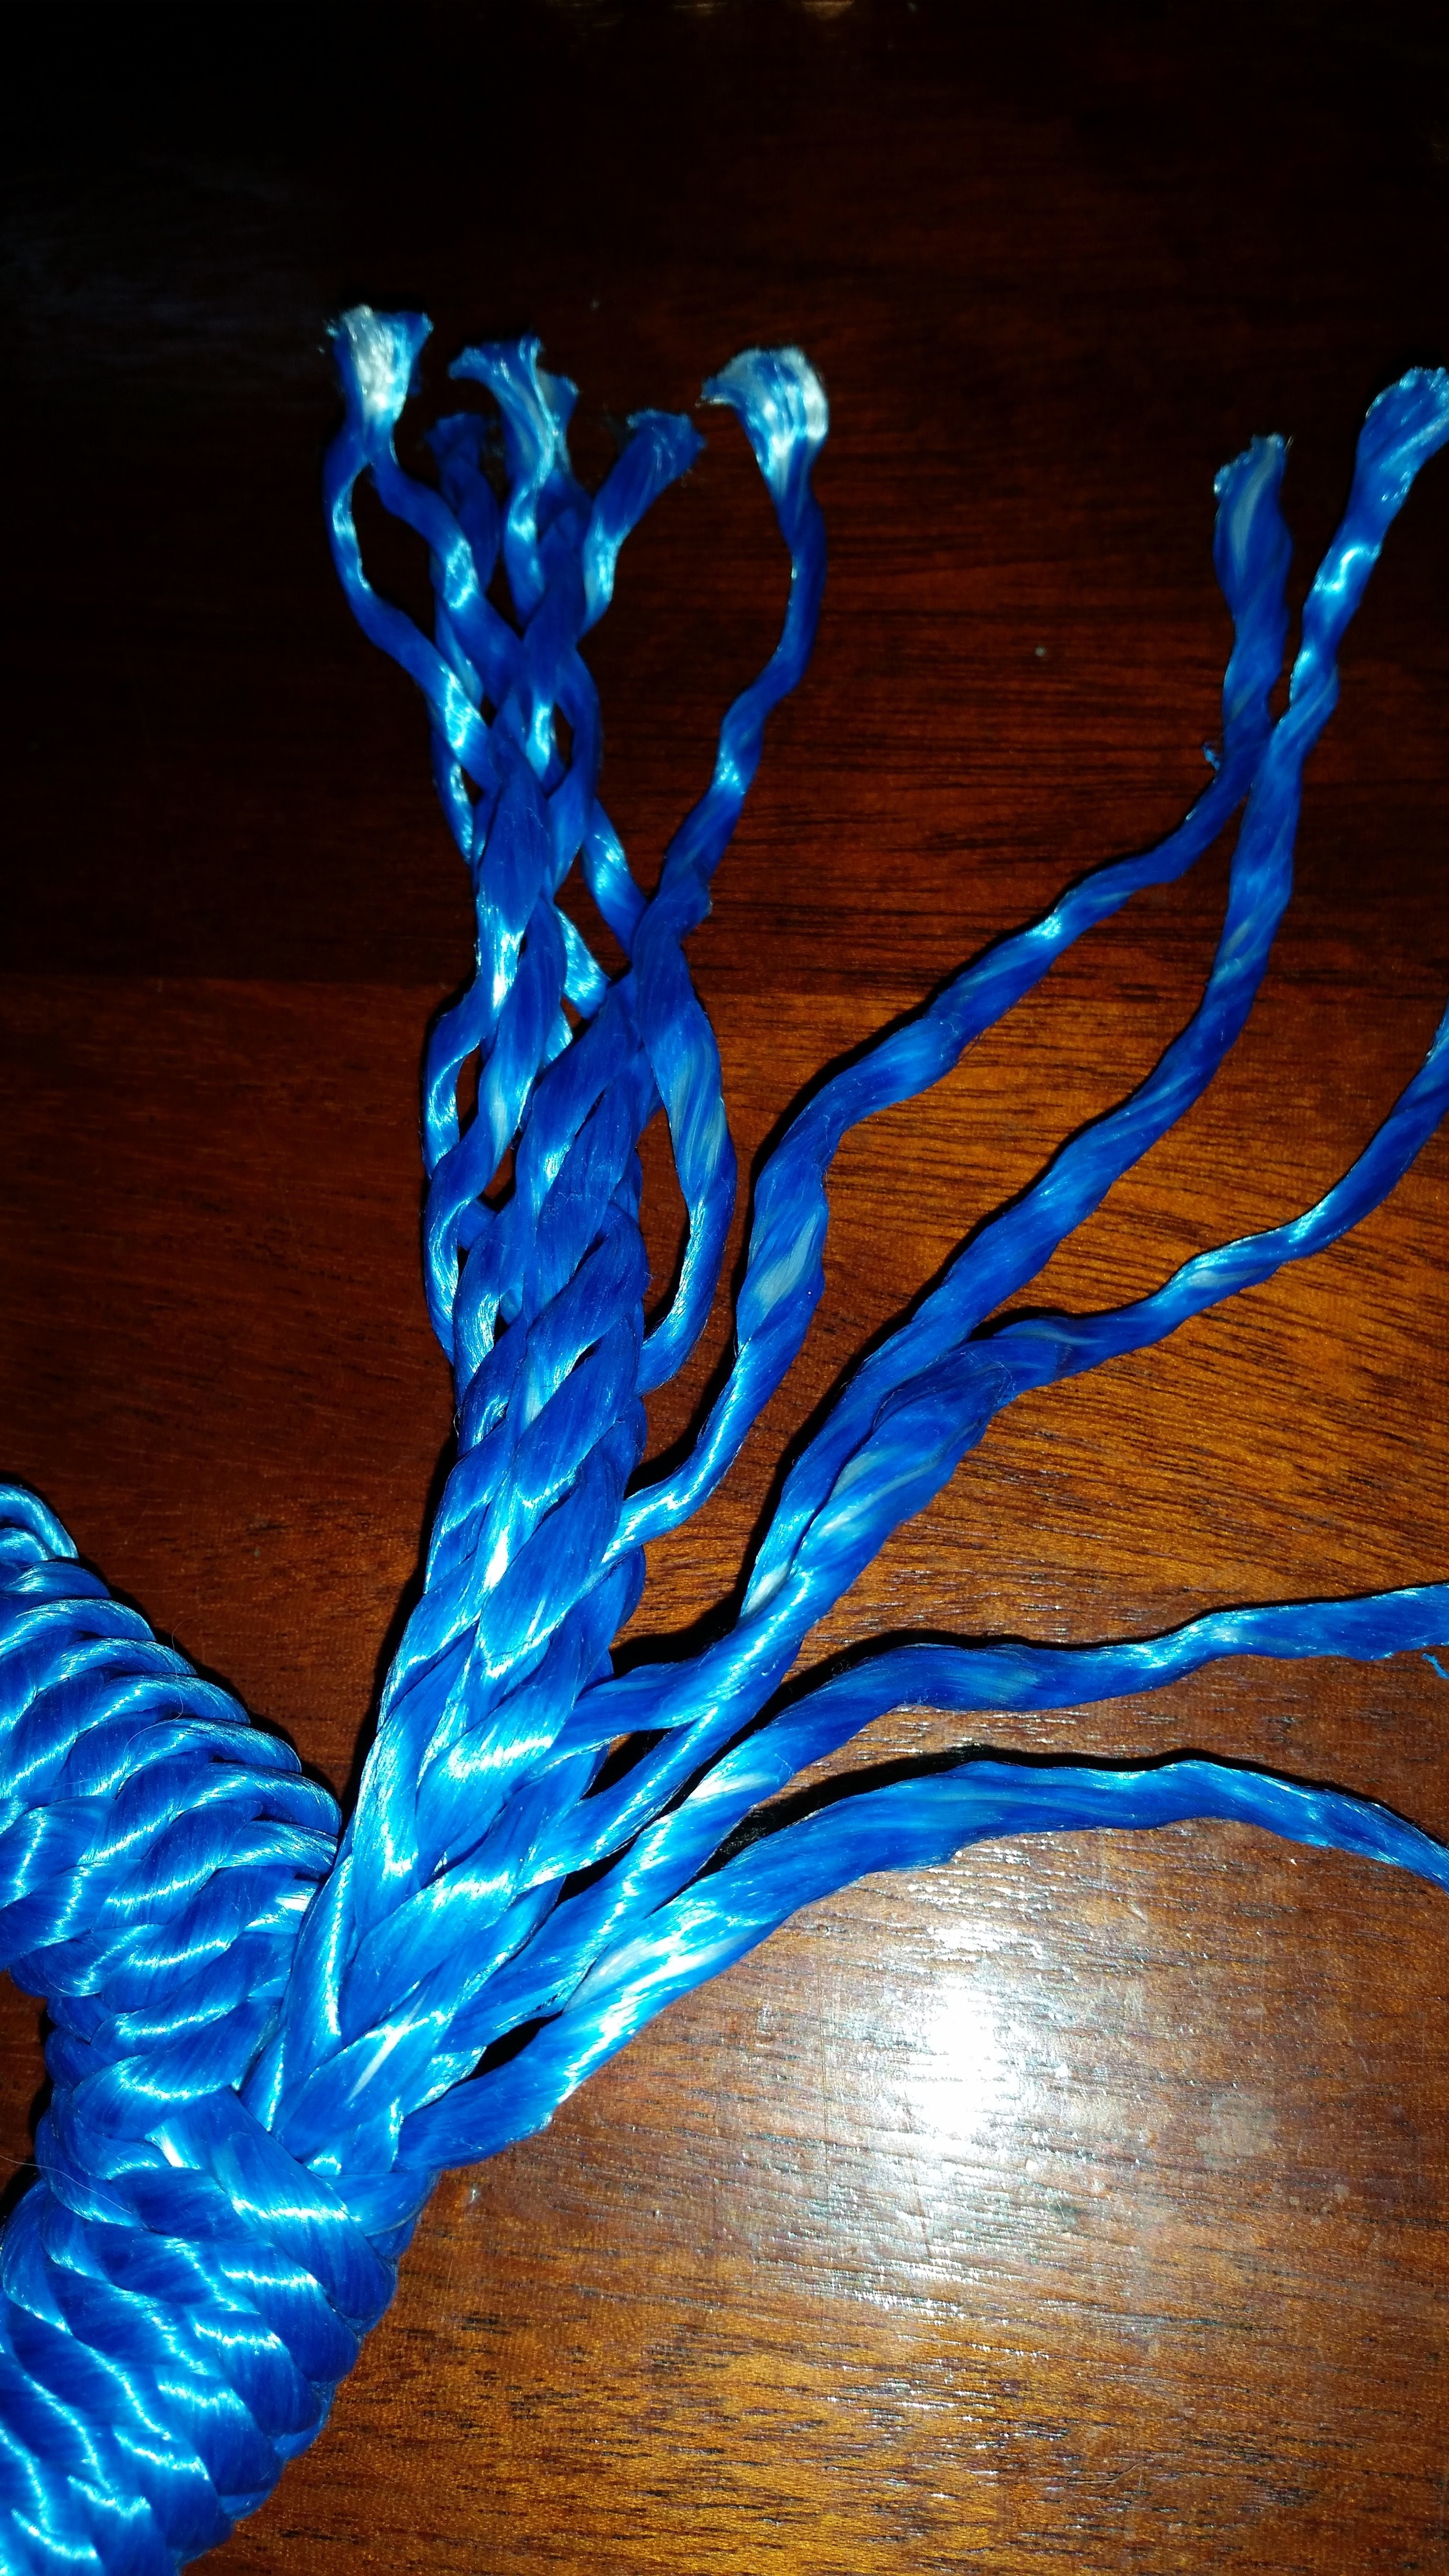
Now prepare to do the second pass of a Mobious Brummel splice. Separate the 12 strands into two groups of 6 strands. The goal will be to reassemble the 12 strands on the other side of the line, thus completing the Mobius Brummel splice. If you feel talented and gifted at weaving, you may re-weave the 12 strands into a hollow tube, as if nothing had happened. I am not that gifted, so I take a different approach.
When you look at a cross section of 12 Strand Dyneema, it can be grouped into 4 clusters of 3 strands.
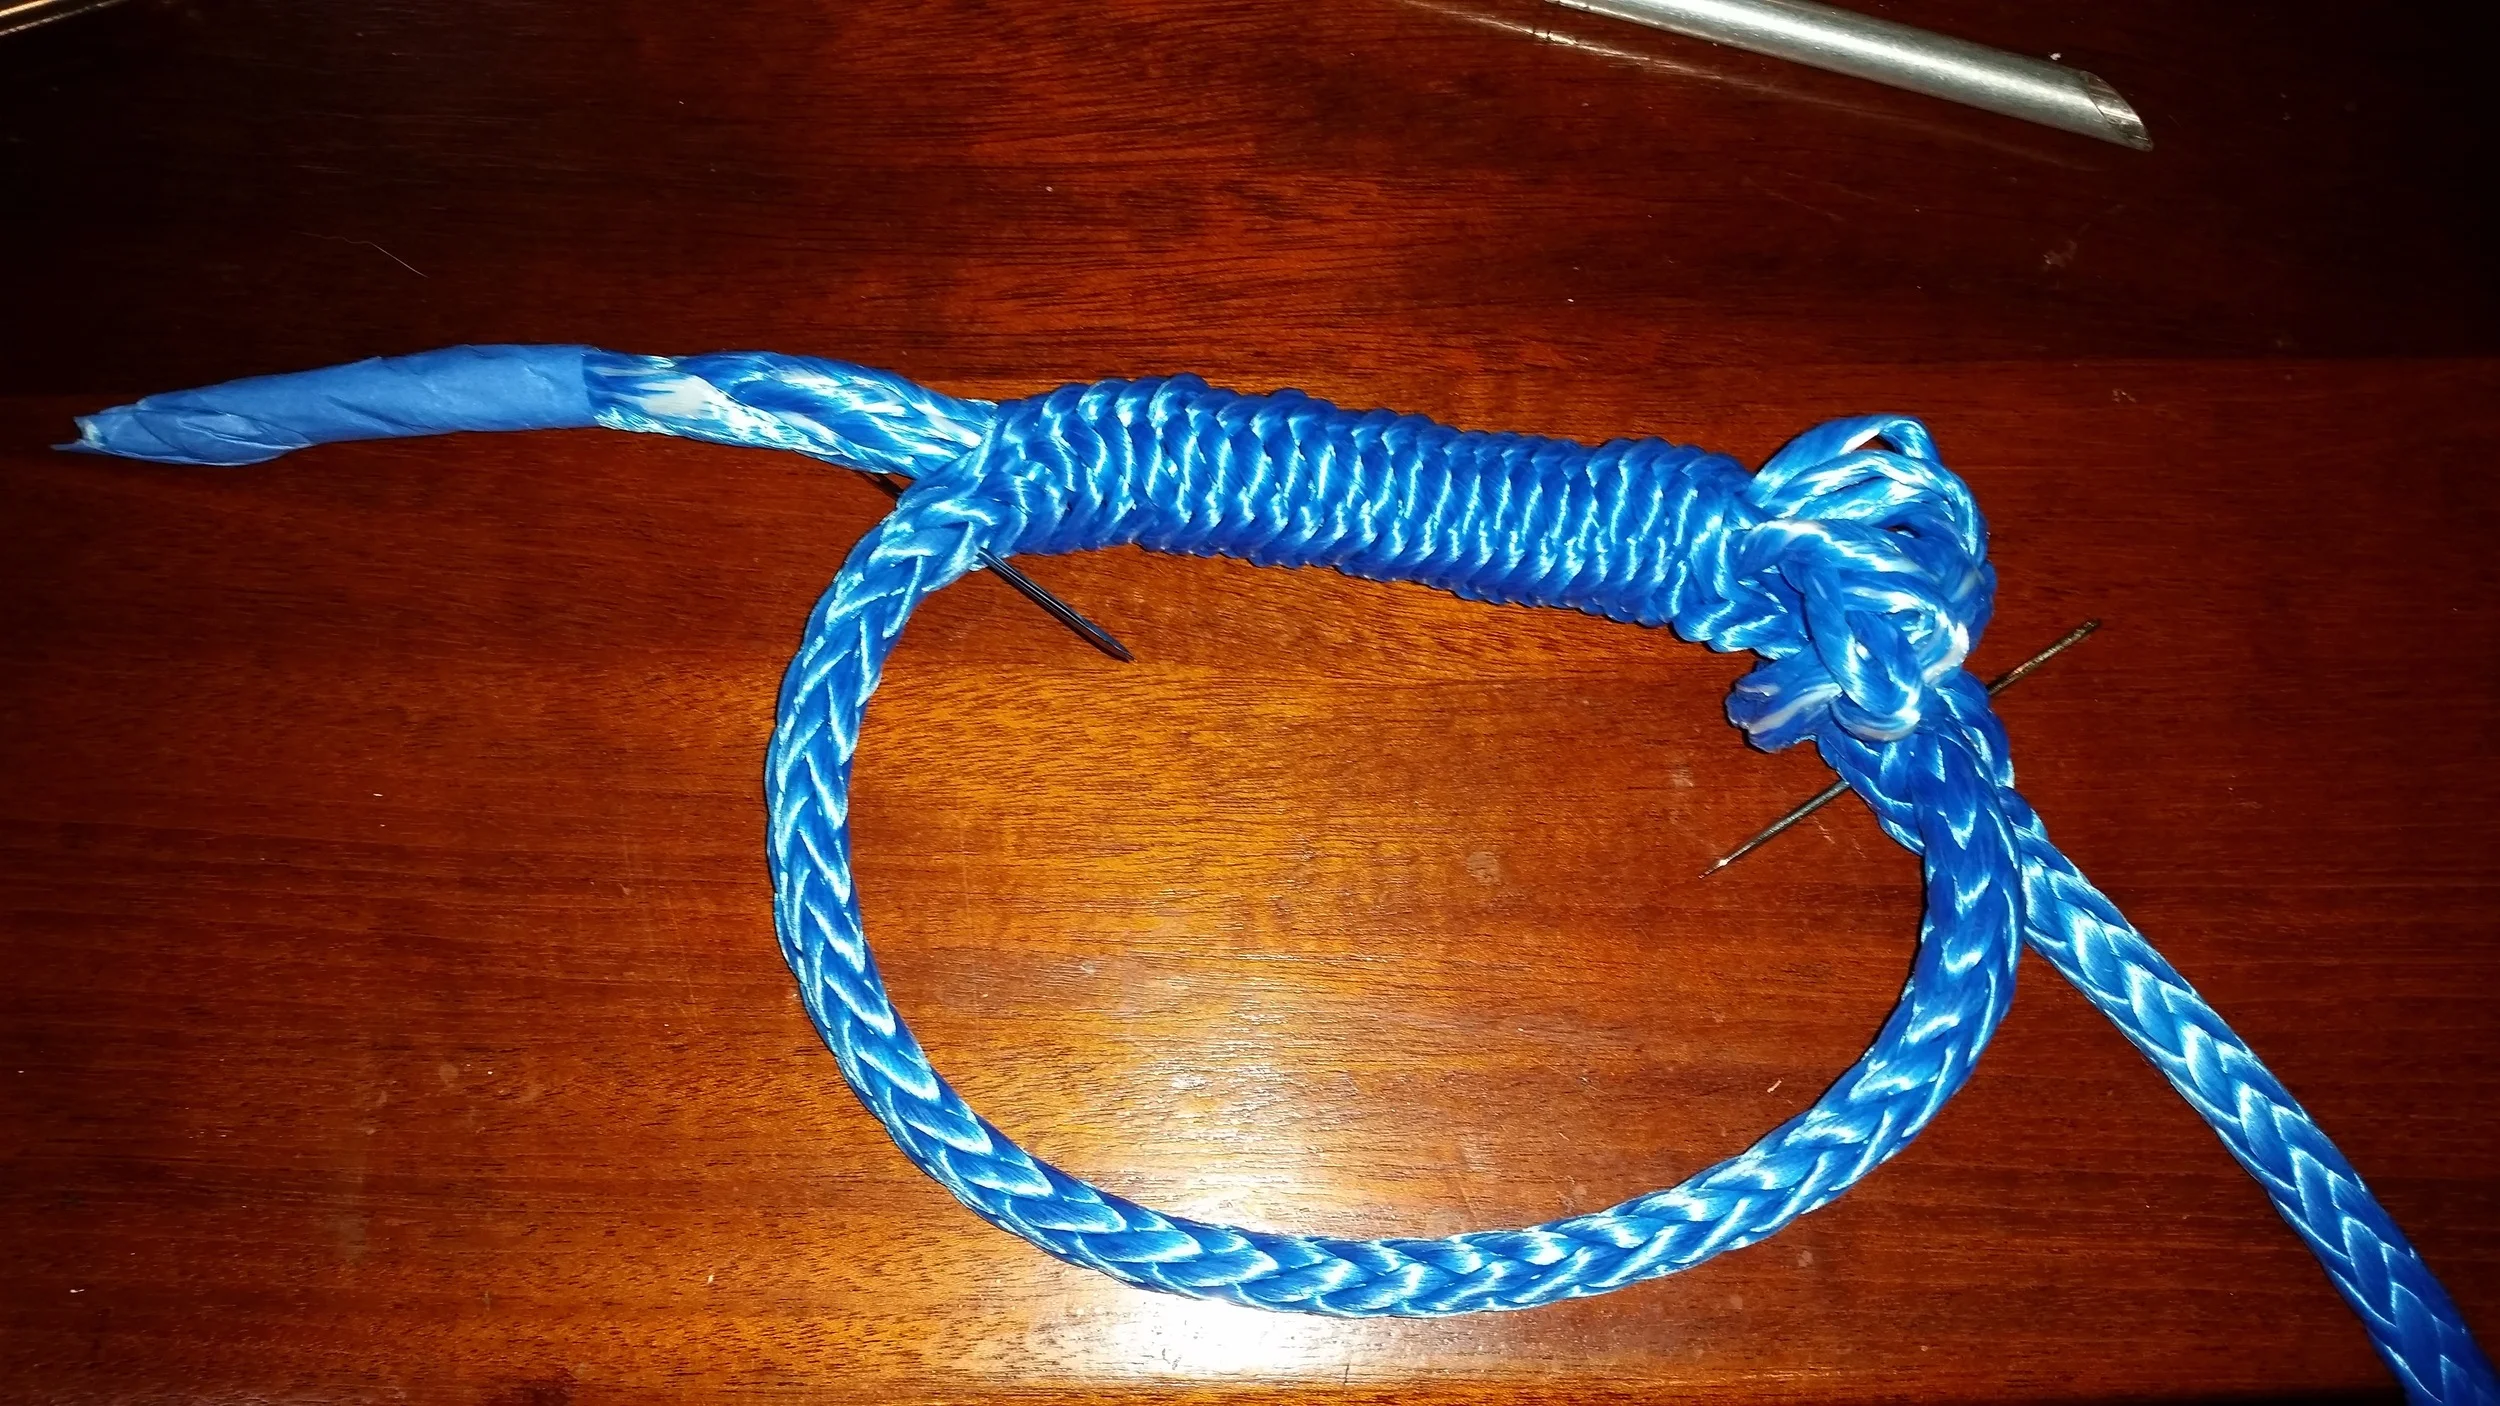
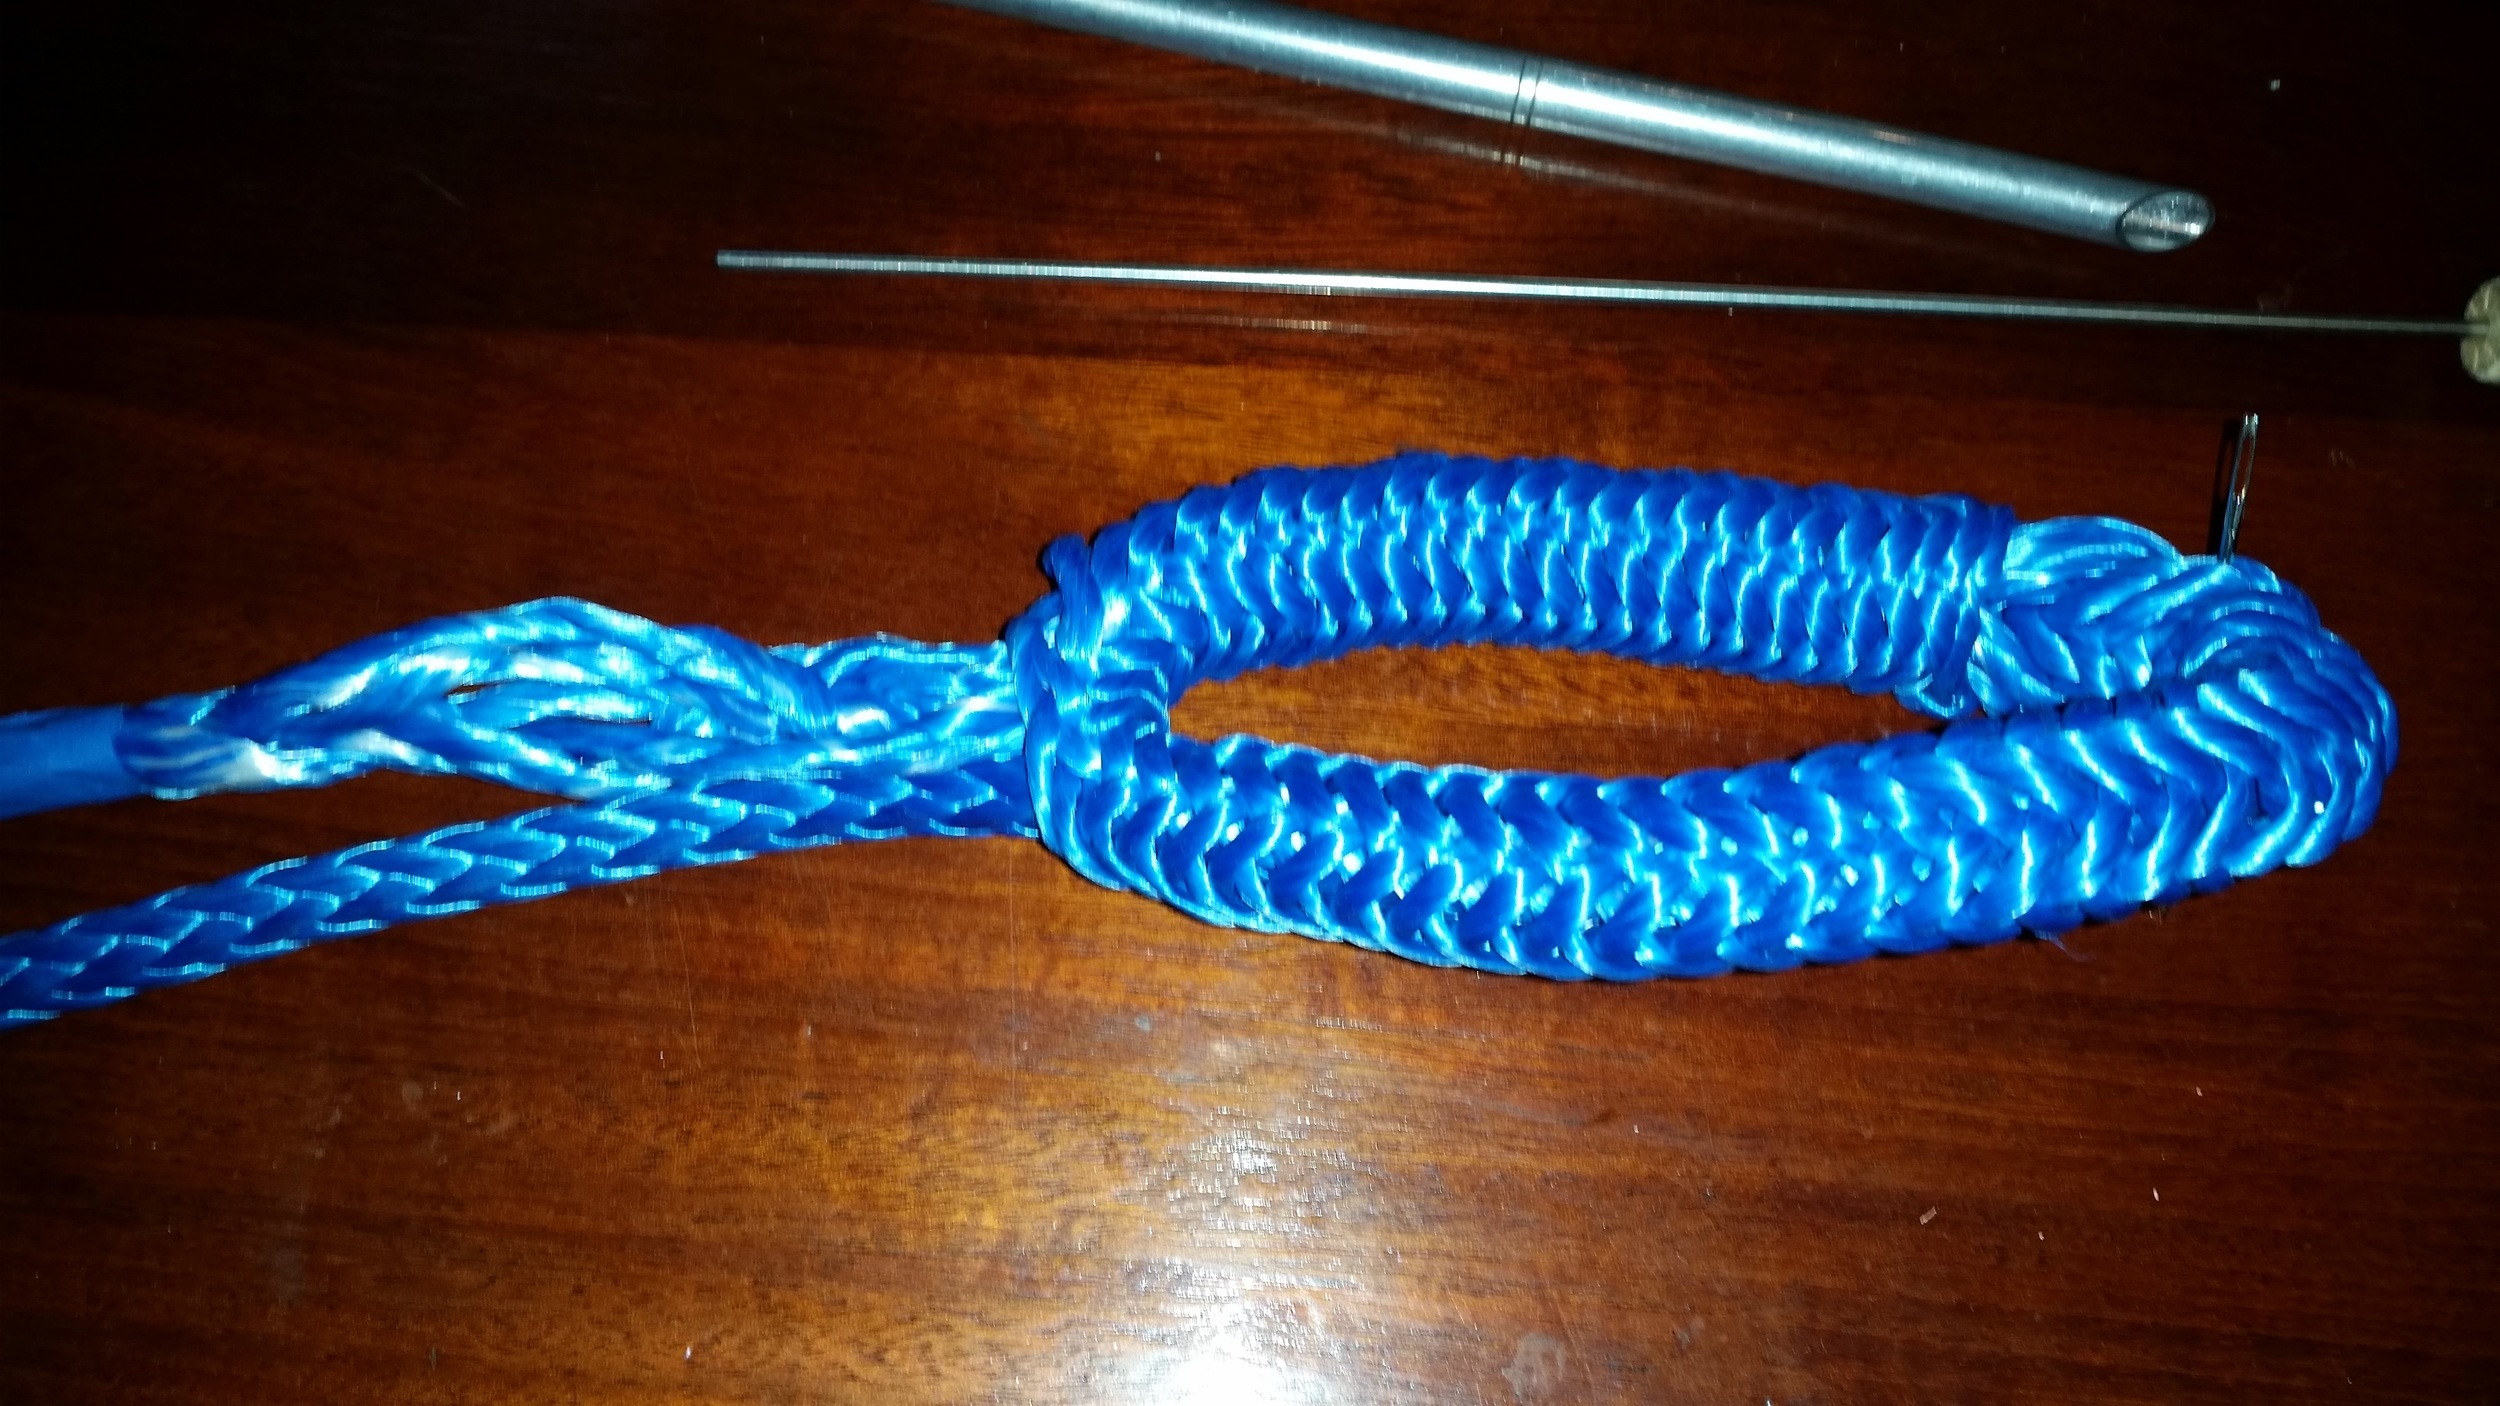
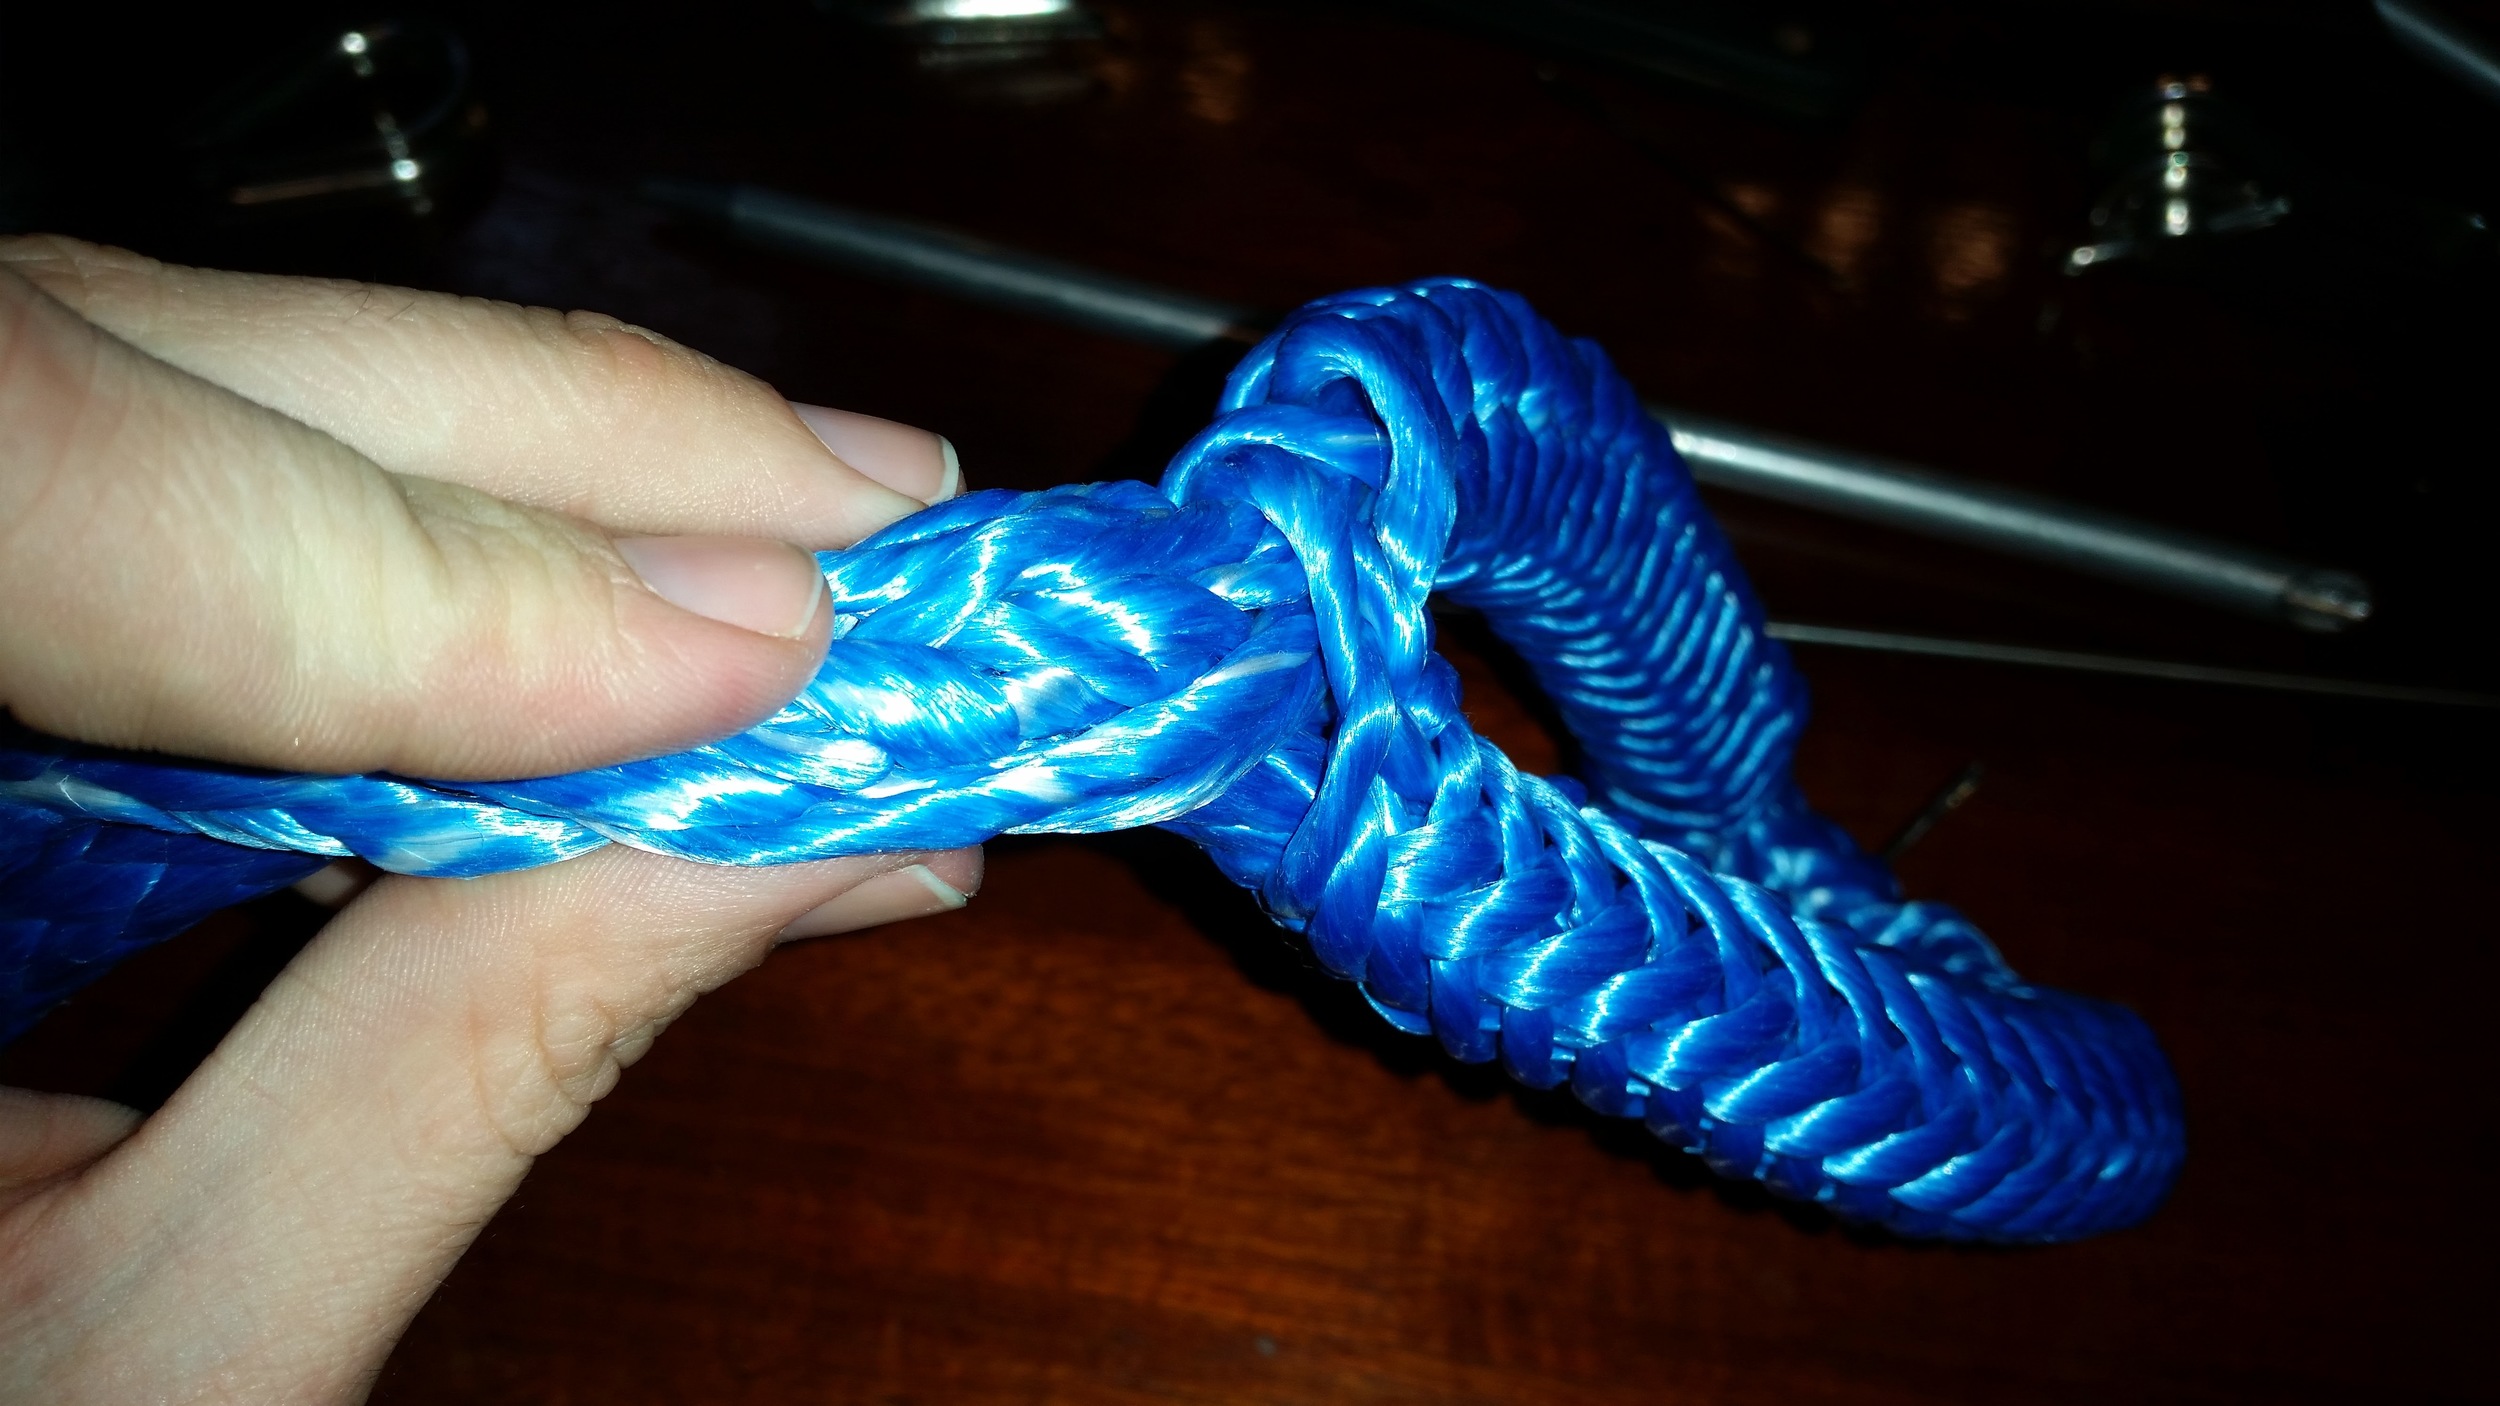
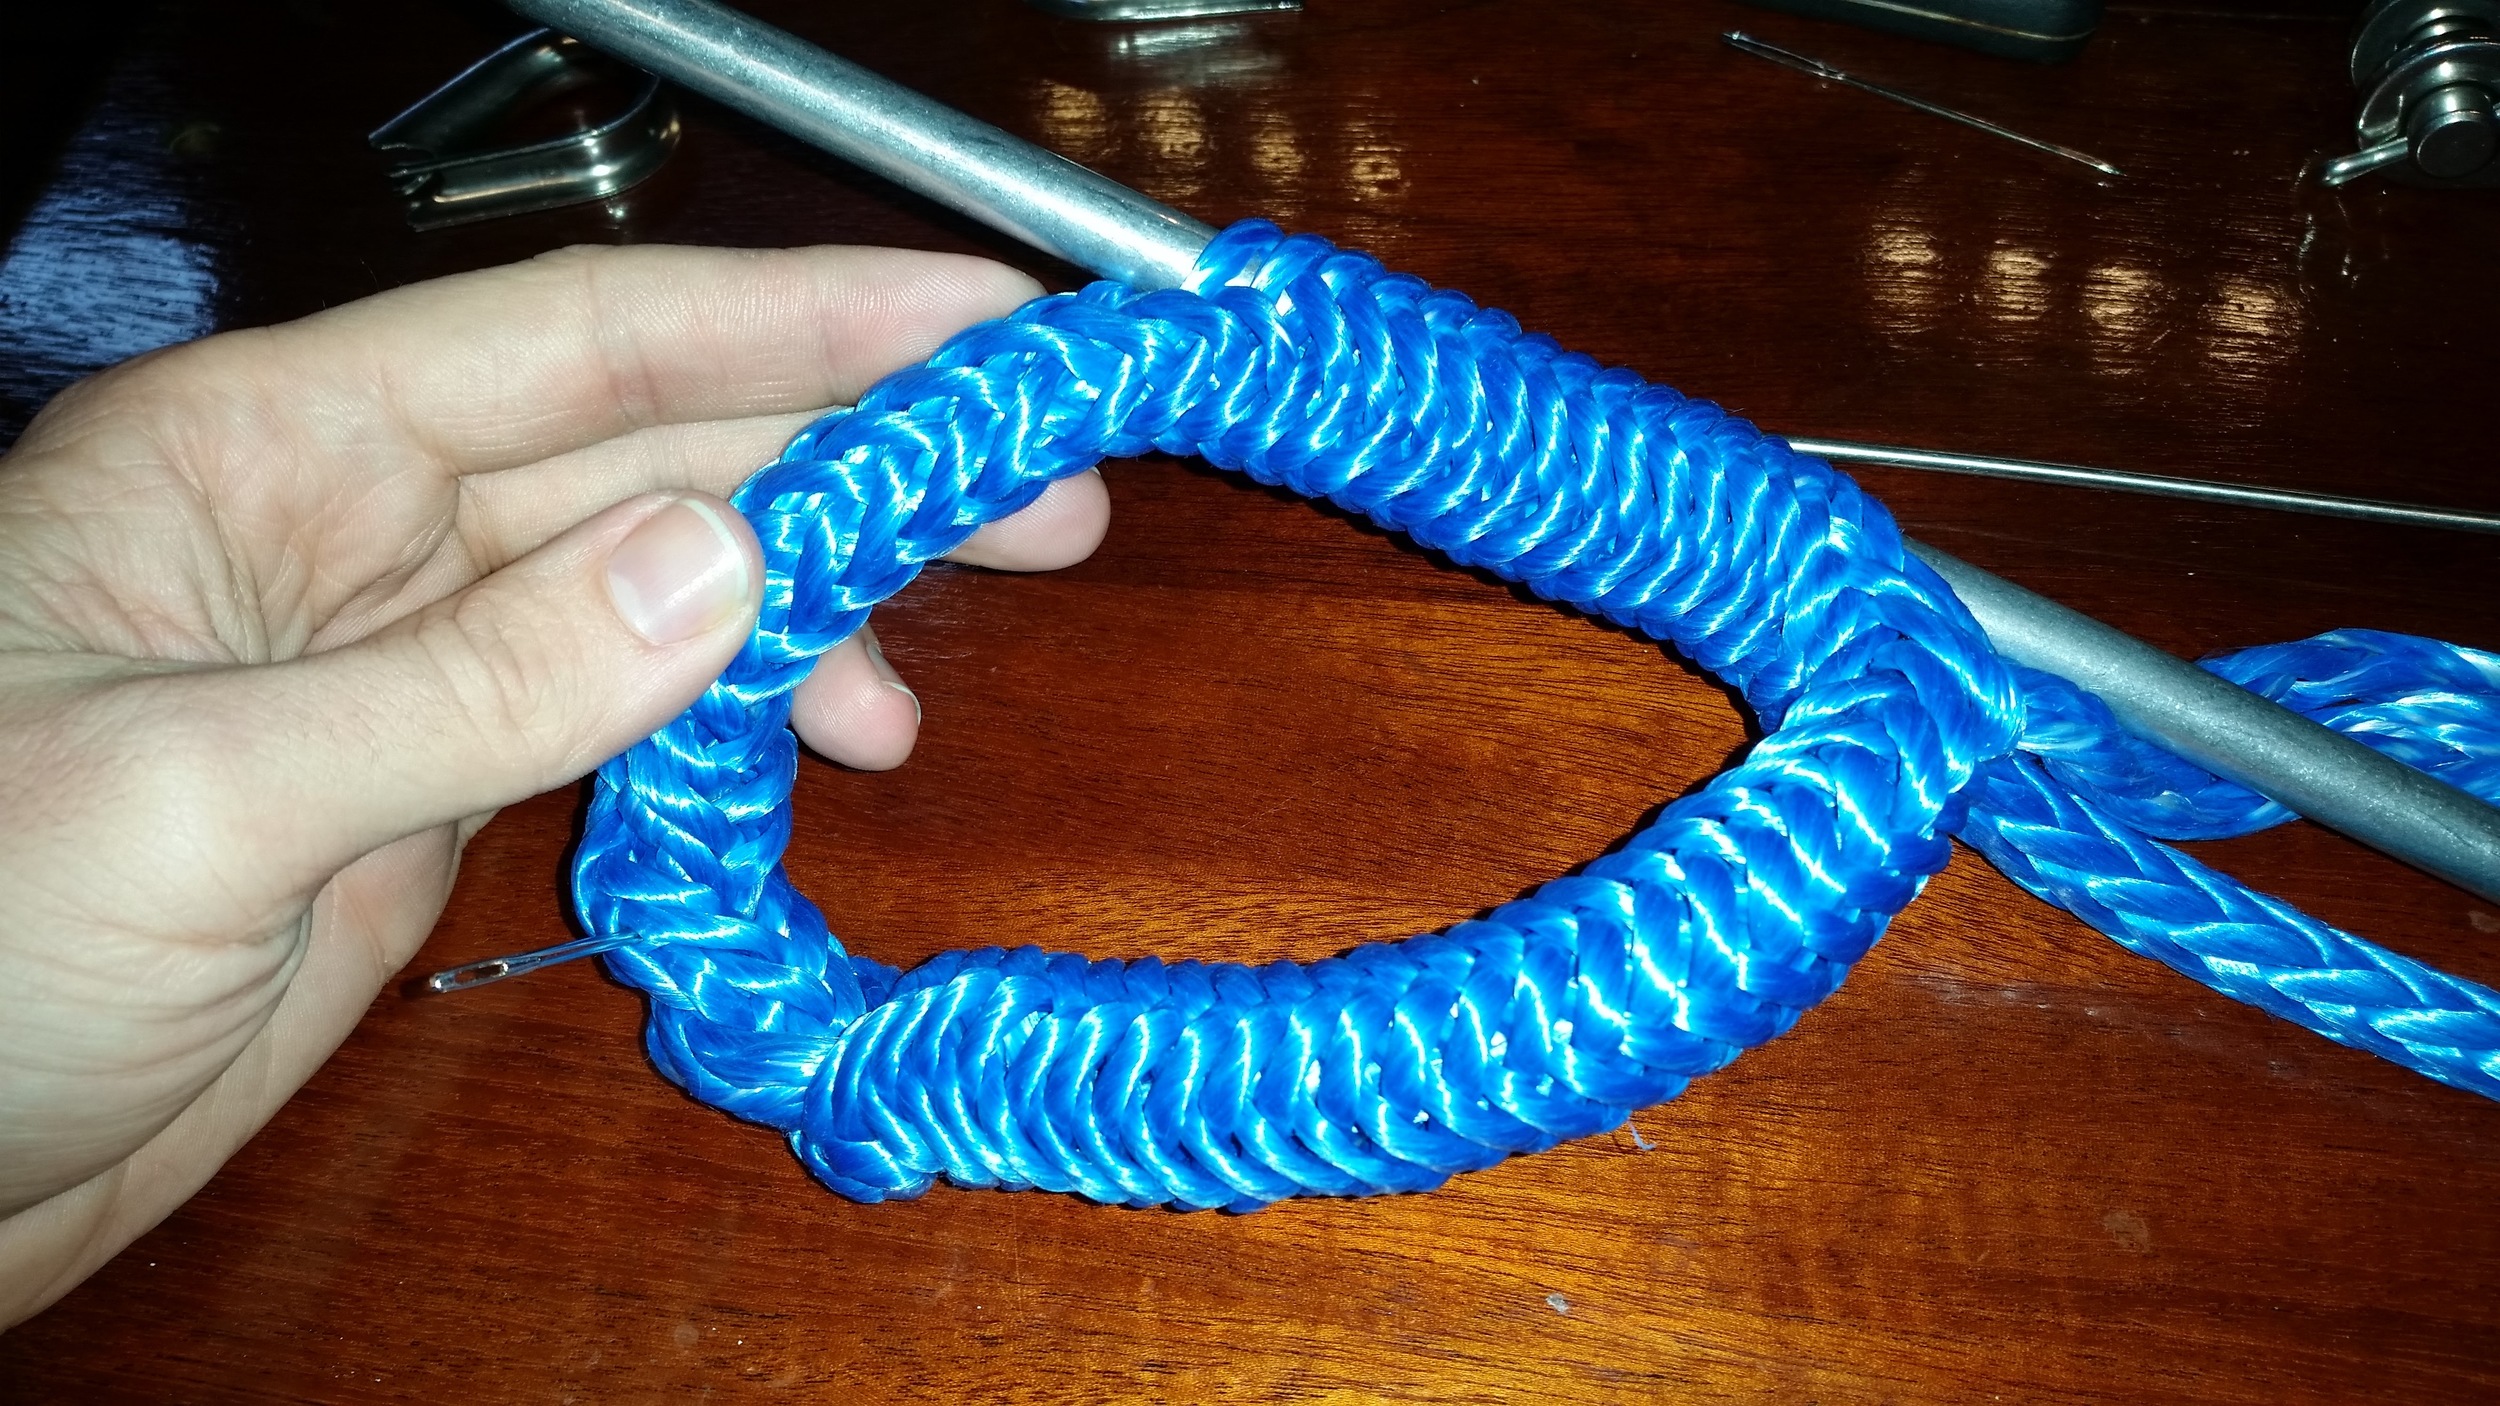
I simply take the 12 strands, split them into two groups of 6 which I weave into 4 groups of 3 strands. This takes the unruly 12 strands and makes it a much more manageable set of 4 strands. Now I have two sets of 2 strands on each side of the line. I pass them around the line and begin weaving them together.
All the weaves are made loosely that way the lines can be stretched and curled back into a round shape.
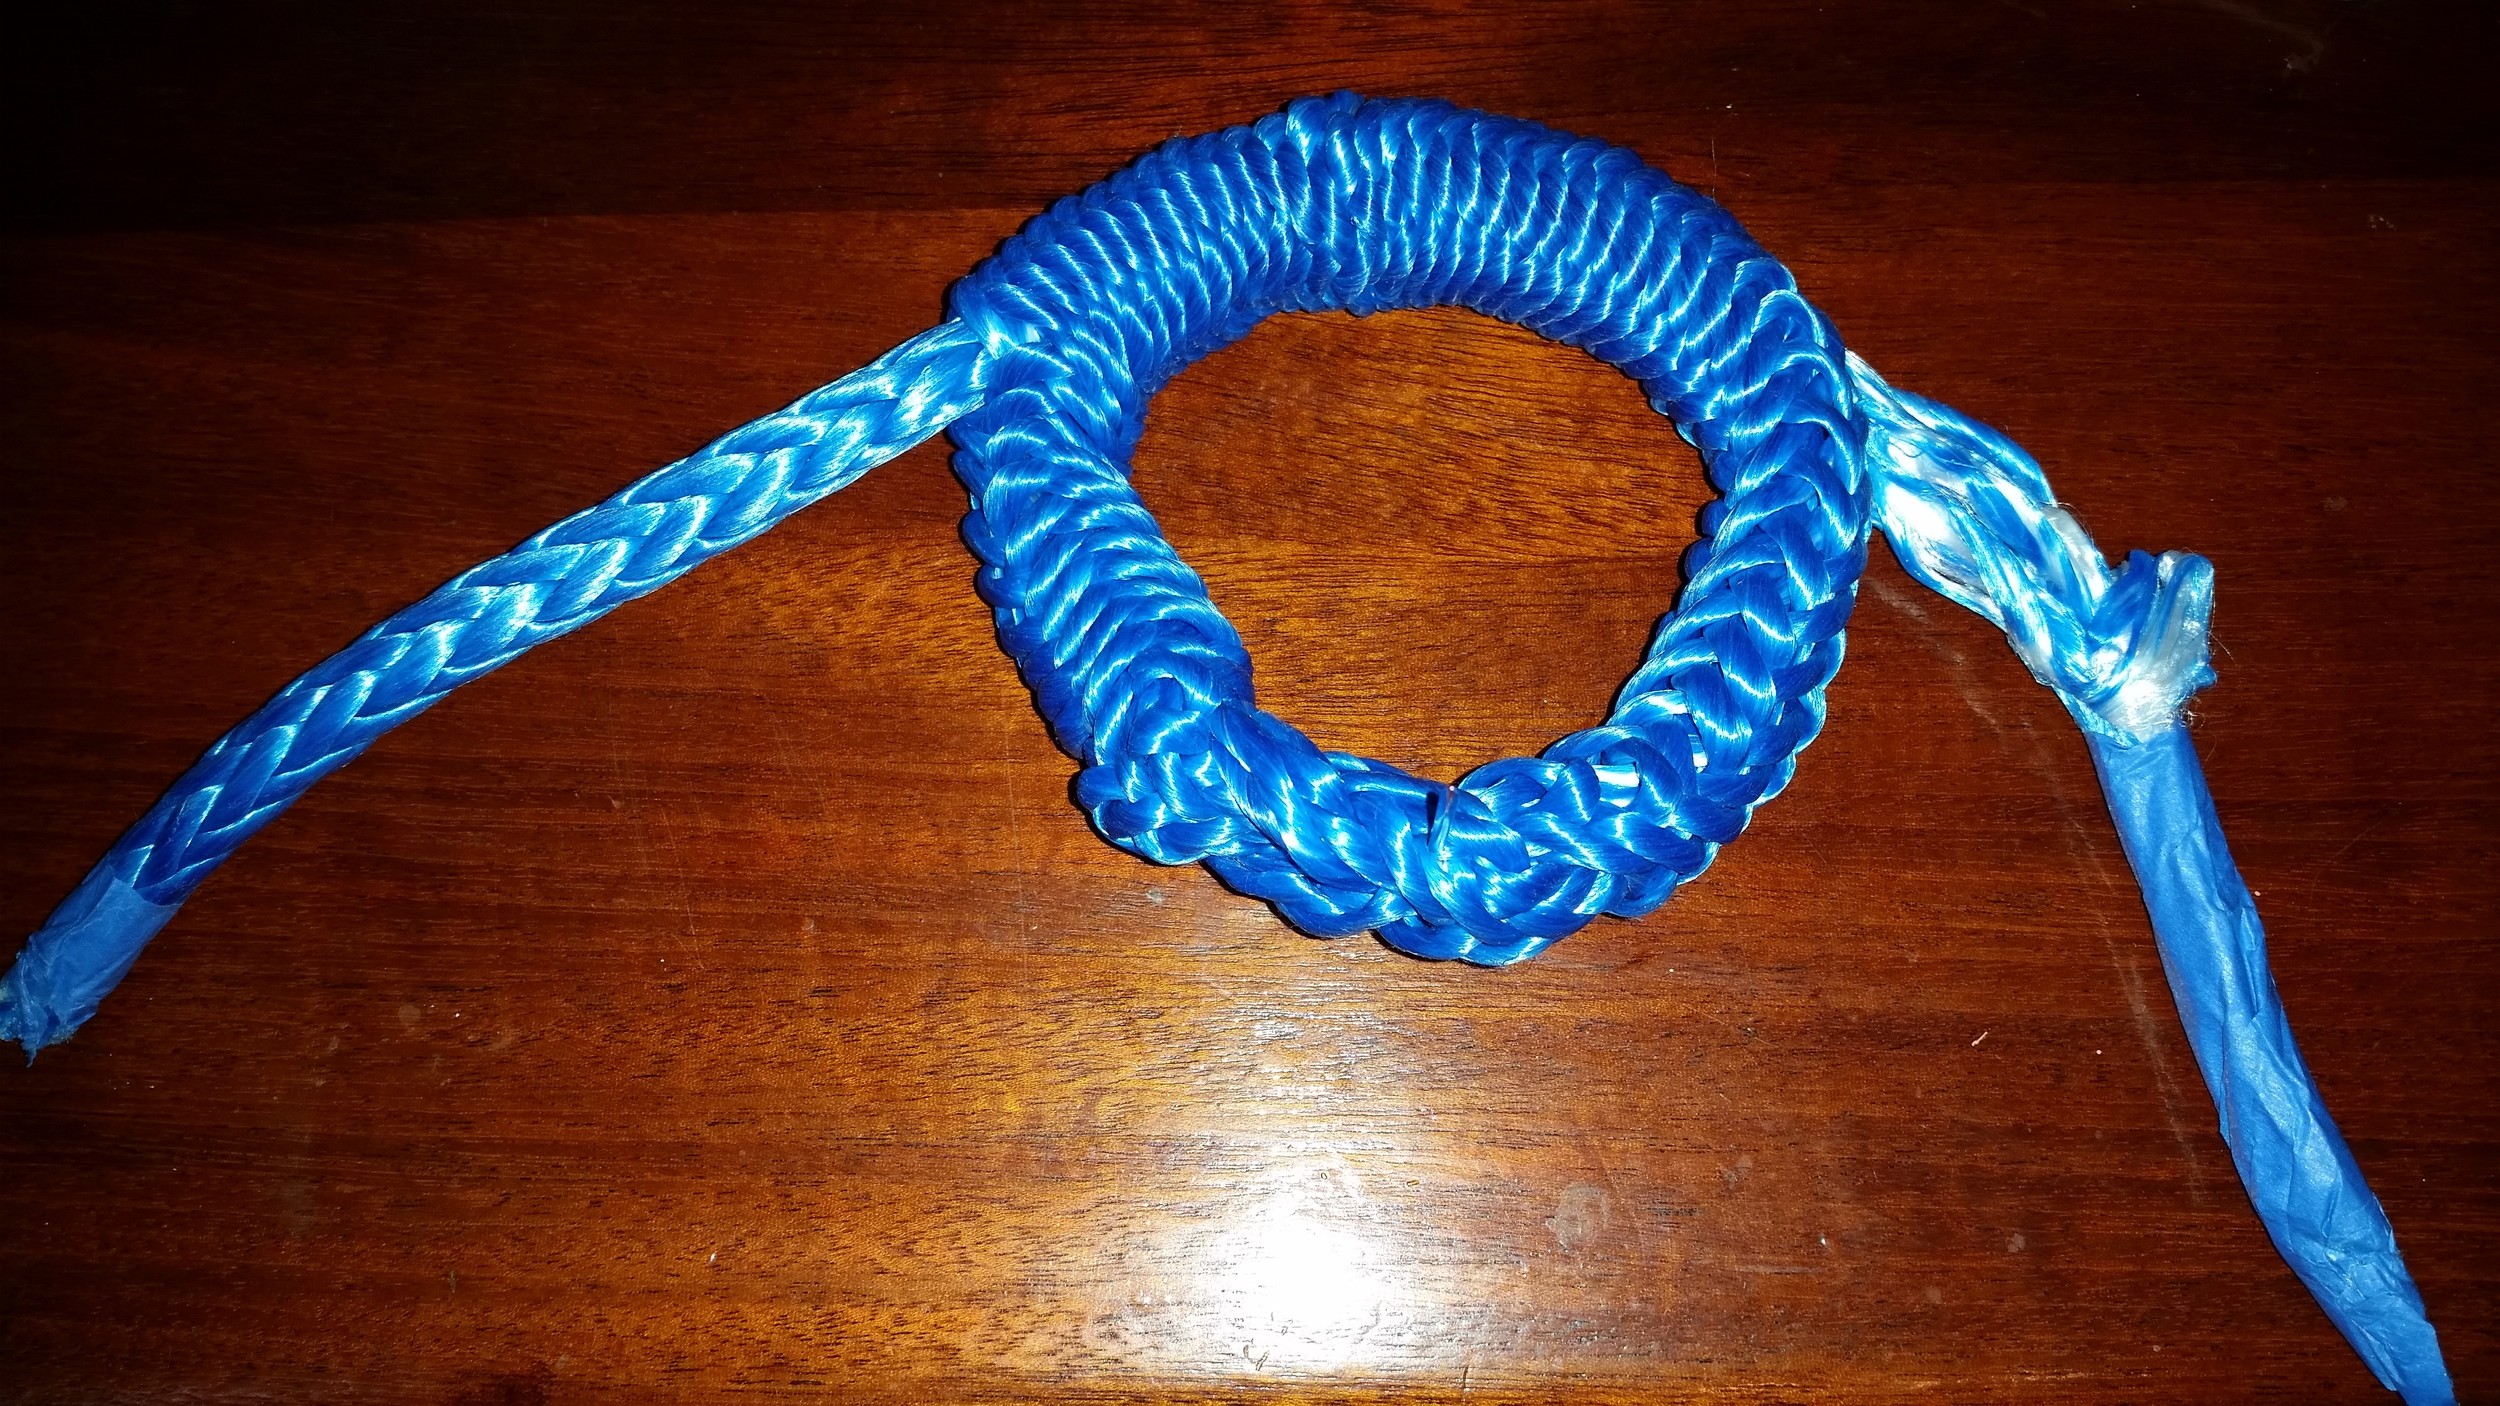
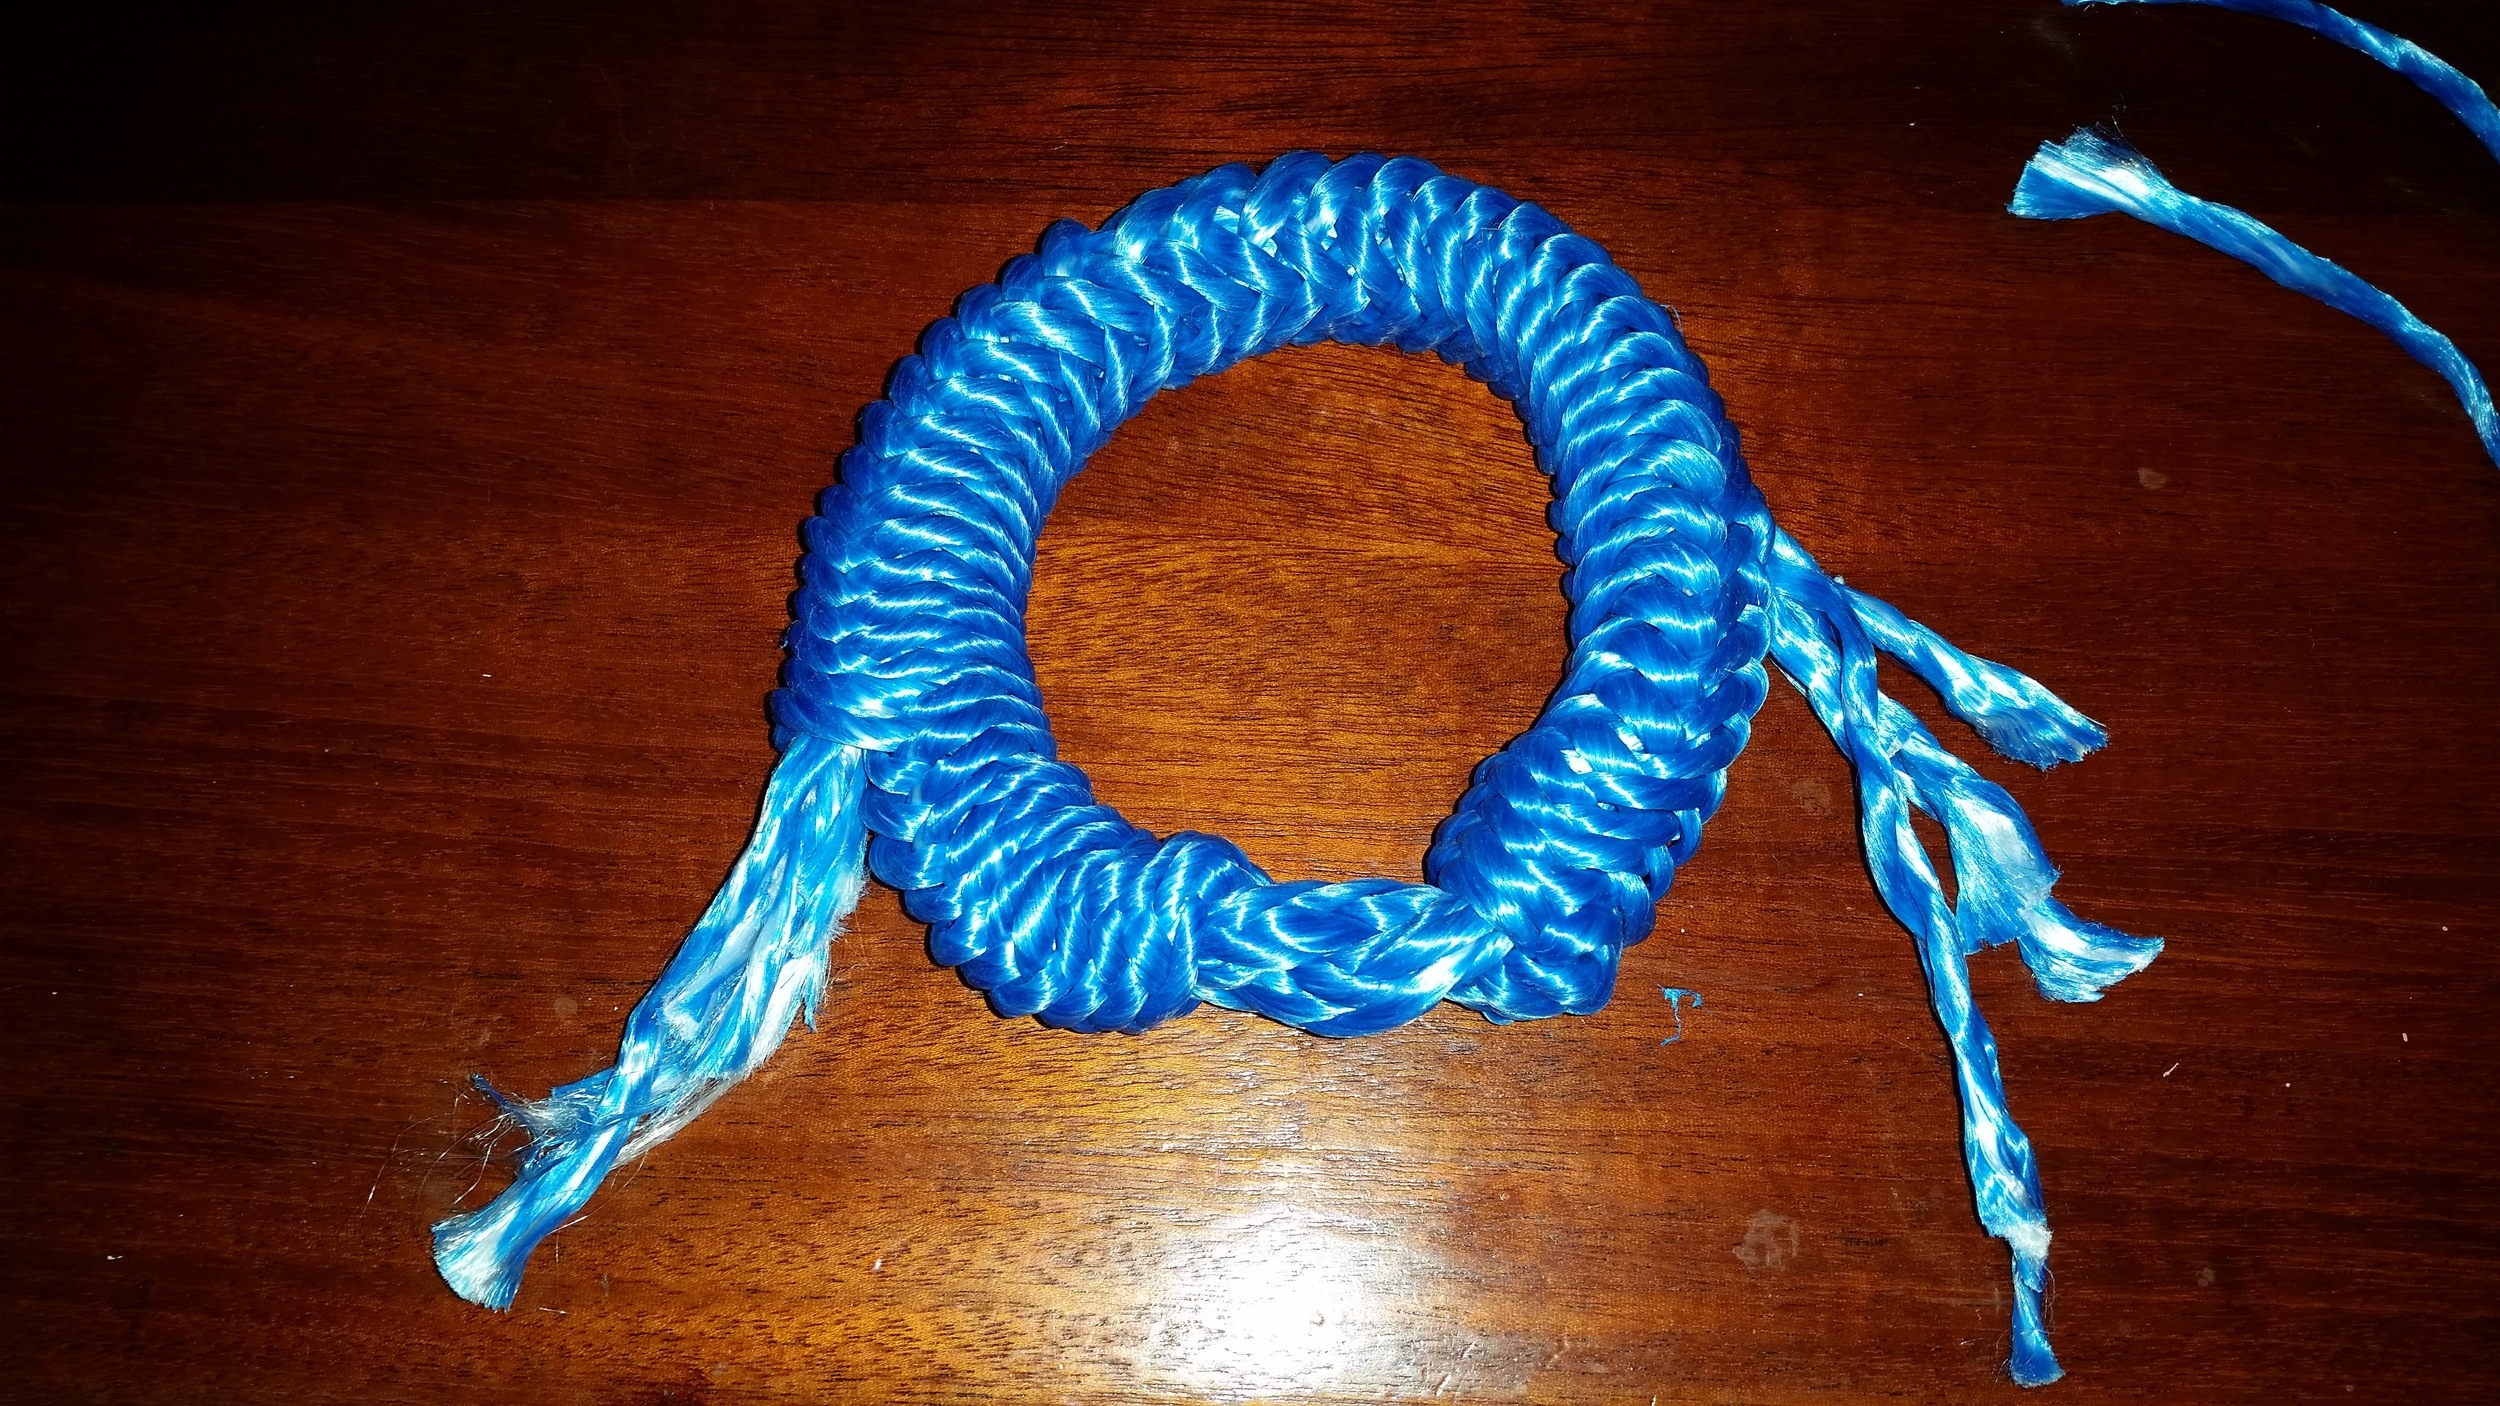
At the end, I have a Mobious Brummel splice made over a grommet. Now to bury the tails!
The midpoint of the grommet is marked with a pin, since the midpoint will move and change as the weave is opened up during the splicing.
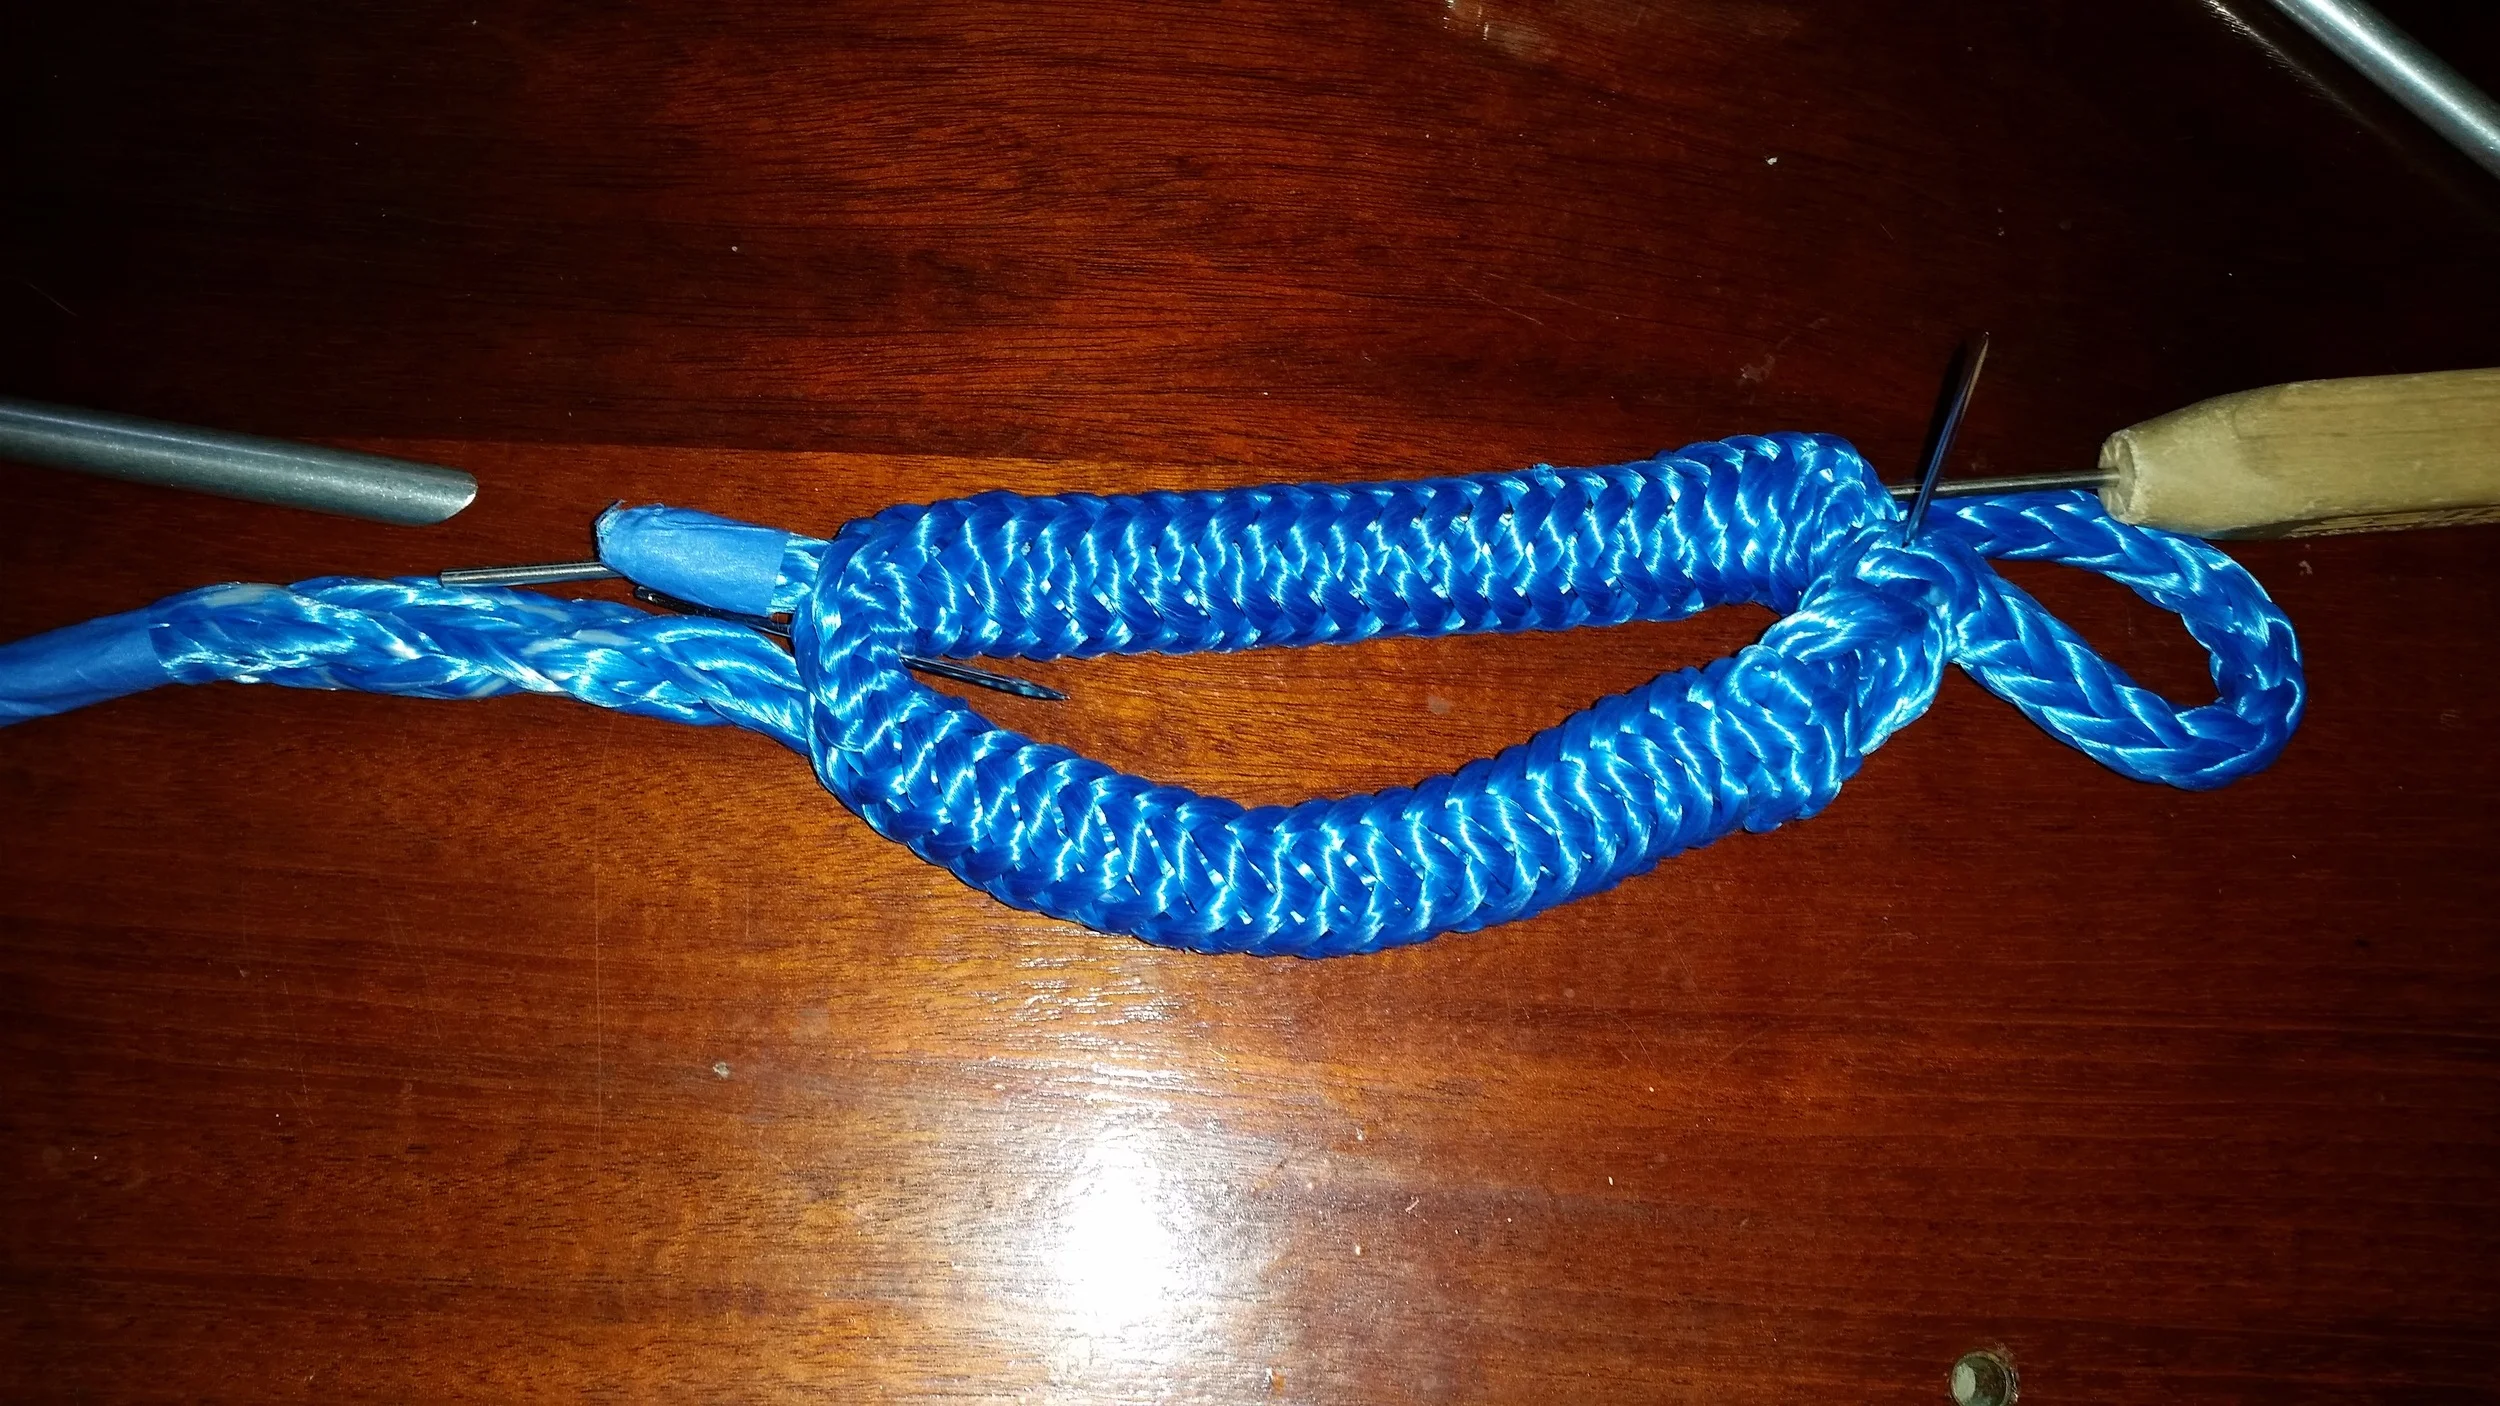
I pass the tails down to the end and have them exit just next to the midpoint.
Now I work the tails through the grommet all the way, making sure everything is even and symmetrical.
Now I pass one of the tails through a few more weaves so that they both exit from the same hole.
From here I bury the tails halfway through the other side and pull them out.
I then work the dyneema to open the grommet back up and assume a close to finished size and mark where the tails exit the grommet with a pin.
Now pull the tails back out and cut them off just after the pin. The pin marks the length that will go back into the grommet when it is worked out and stretched. Now that the longest point is marked (and cut off), you can begin tapering the tails. 12 strand has 12 tails, which means that you need to trim 11 of the strands to shorter lengths in a gradual and systematic method.
On grommets, everything is condensed, so I trim back every row of the rope. I pull out the bottom six strands and trim them off, then I evenly trim off the remaining 5 strands. Be sure to keep the first and second strands you cut off as you will use them later.
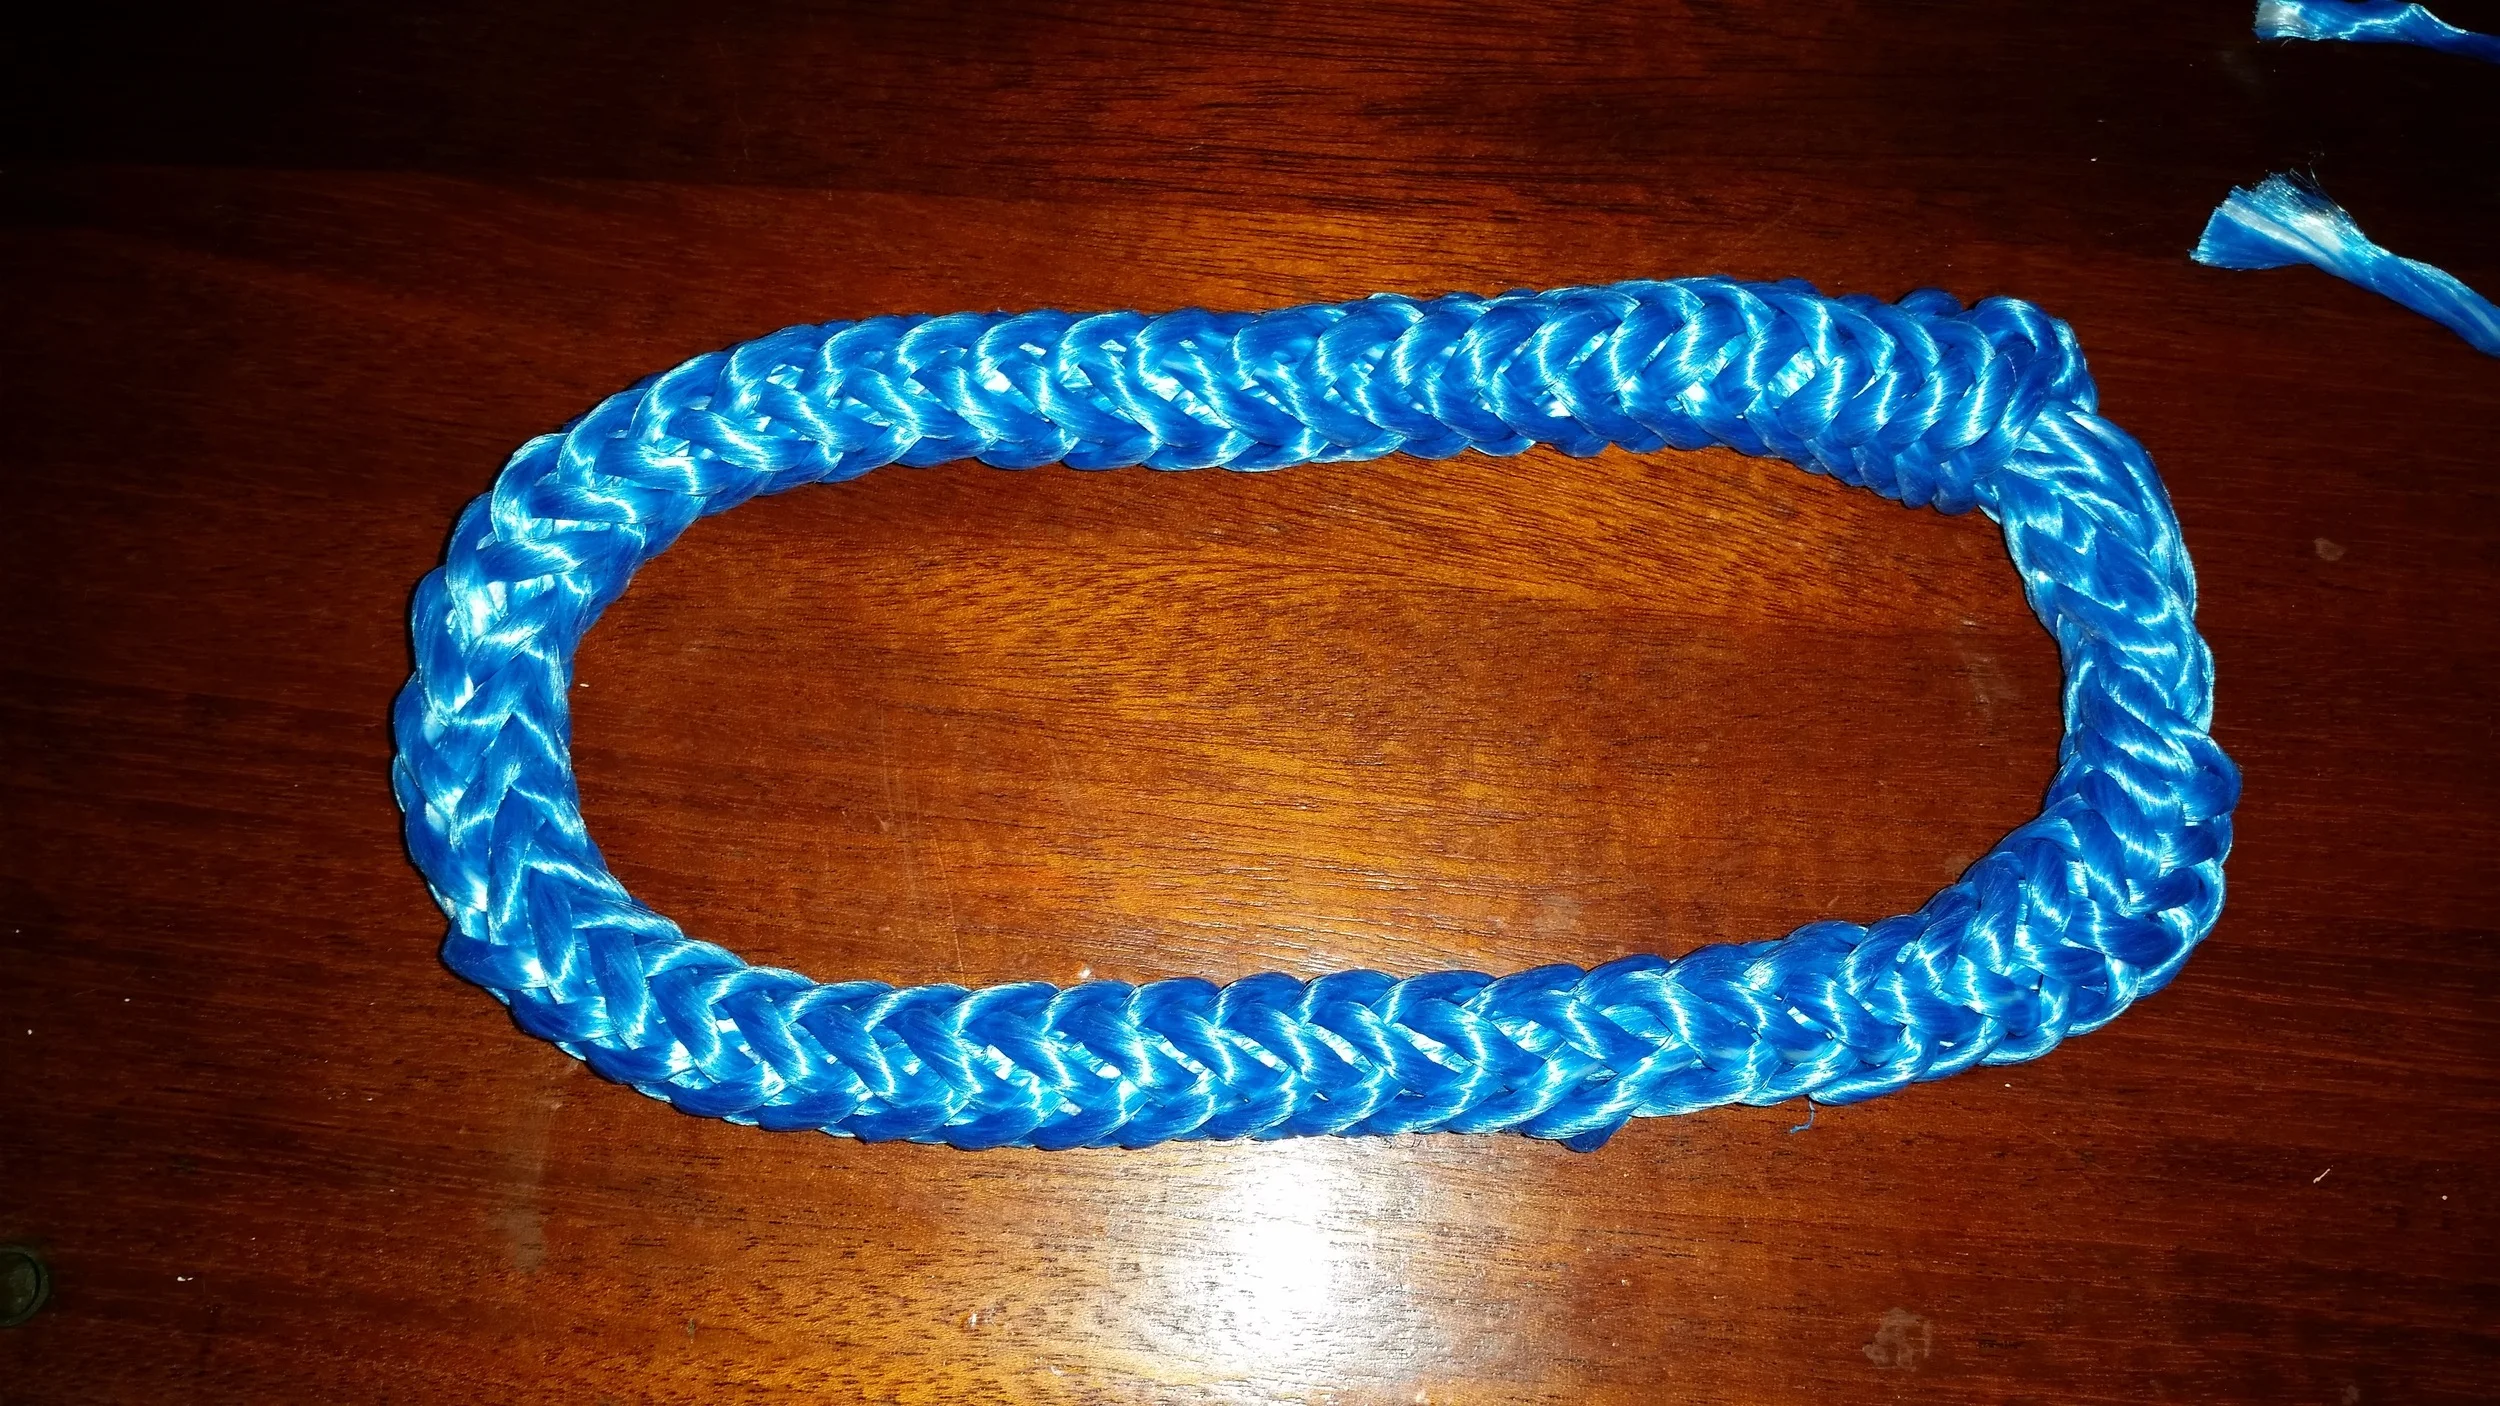
After the tails are tapered, work them back into the grommet and work the grommet back to its expanded size. The tails should disappear into the grommet as if nothing had happened at all.
Now take the long strands of Dyneema that you cut off while tapering the tails and thread it through a needle. Stitch the strand of Dyneema through the line being sure to cross over the strands of the outer line, piercing through the line inside. This will act as a locking stitch to further ensure strength and stability.
Now you have a finished grommet made out of Dyneema that will be able to hold the rigors of standing rigging.
You may be wondering if it will be strong enough since you are grossly under burying the tails? The answer is "Yes", it will be strong enough. The buried tails will wrap 3/4 of the way around the grommet. The tapers will ensure an even transition from tail to no tail, preventing any sharp changes in the weave of the outer line. This will prevent any stress points from arising in the grommet. The locking stitches will keep the tails from sliding around, which will also help keep everything in place and avoid the tails from sliding out to unravel. Since the tails can't move, the Mobious Brummel will serve to lock the grommet closed and keep it secure.
I used 9mm Samson AS-78 for my deadeyes which will support 9mm dyneema stays and have no problems with them. They will stretch out a bit and grow very thin as the weave settles back into place when tensioned to a few thousand pounds! This is why the gradual tapers are so crucial. It may look oversized for the thimbles, but once it is loaded up, it will be just right.
Each deadeye consumes 4 feet of 9mm AS-78 and takes me around 1 hour to make.
Now that the grommet is made, simply insert the thimbles and hold them in place with a flat seizing knot set in the middle of them to create the finished deadeye.
To see these deadeyes in use, check out the links below.
You can also check out this video where I walk you through the entire process, start to finish, of making the grommet for the deadeye.


