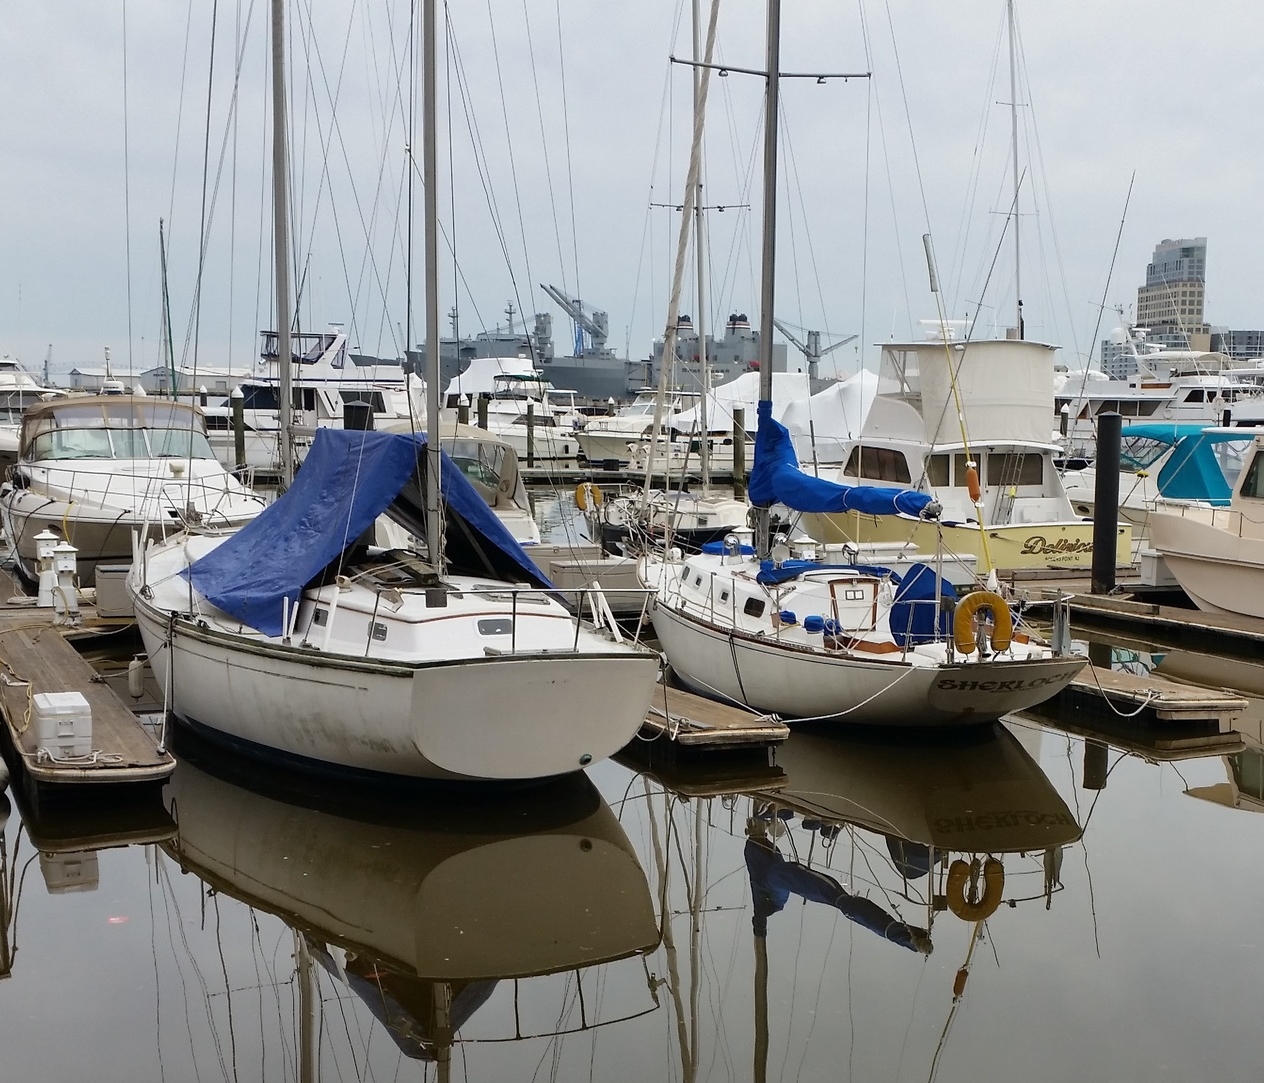
Floating Plastic Debris

I always say "The tides are constant, but what they bring never is." Sadly, the tides tend to bring a variety of garbage into the harbor. Usually it consists of plastic bottles and Styrofoam cups; we even had an entire tire and rim wash in once.

These lightweight pieces of plastic originate as litter that had been discarded in an inappropriate way, either being tossed on the side of a road, or into an overflowing trash receptacle. These debris end up being washed away with the next rainfall. To a land based observer, it may appear that the rain has washed the street clear of debris. All the trash is gone!

Trash never goes away, it simply gets relocated. The rain runoff tends to carry lightweight plastic debris off to the storm drainage system. In Baltimore, these consist of grates placed over large holes that pipe the runoff directly into the harbor. All of these pieces of plastic then float along the surface until they are washed up on the shoreline or swept out to sea to contribute to the immense trash gyres of the oceans. After a rain, the waters surface is peppered with small floating pieces of trash, slowly being carried away by the wind and current. 

After the storms pass, the water seems to clear up! All the trash has been whisked away from our immediate area and from our minds as well. The water seems cleaner and the birds more vibrant as they fly around and swim in the harbor water around the boats. Then the tide begins to come back in.
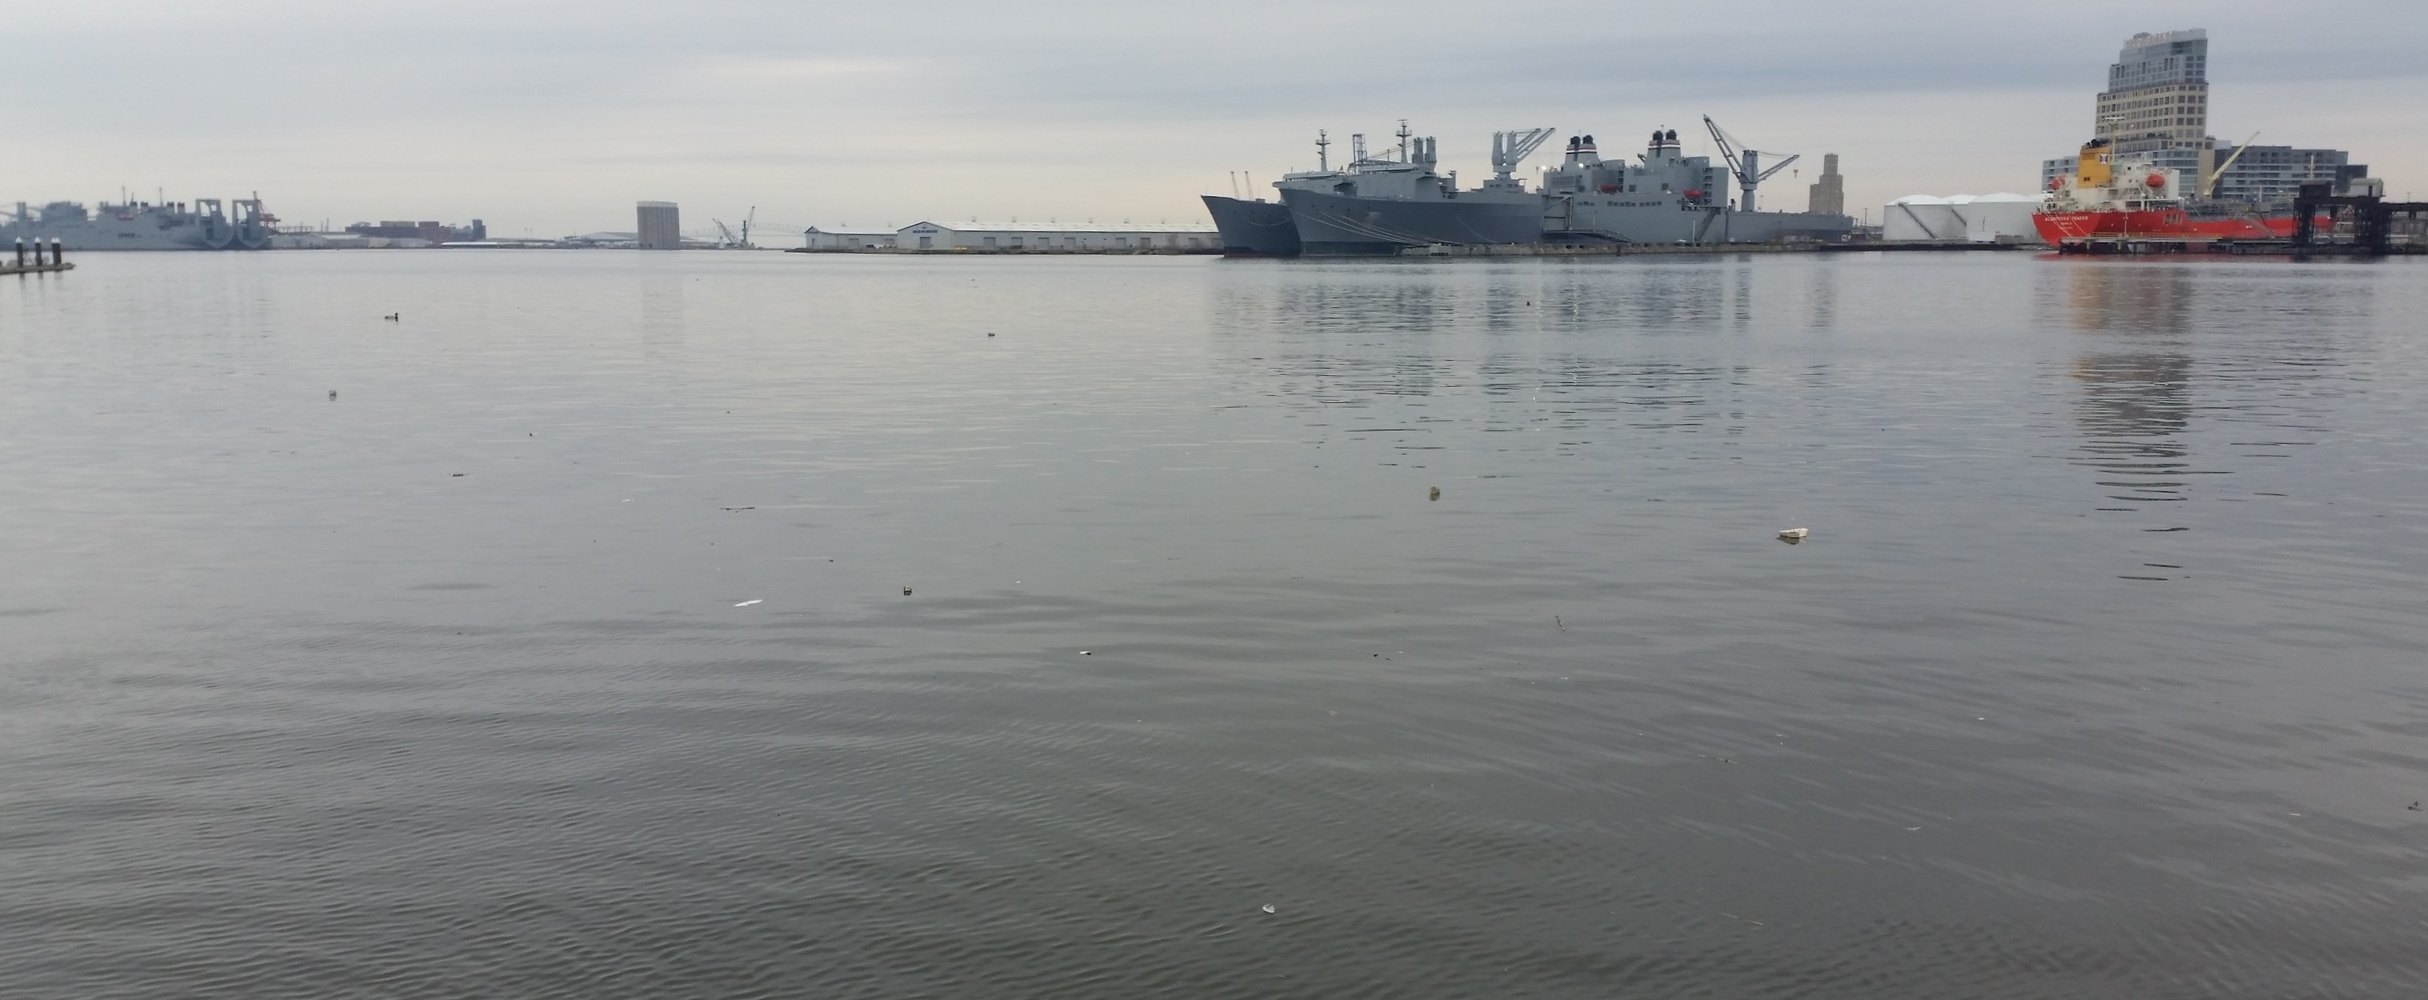
The incoming tide is not signaled by strong currents or rushing water, but rather a sea of trash approaching! As the tide returns, it also returns the trash that had been swept away hours earlier.

The ducks begin to swim more cautiously as they move between the floating waste and the seagulls take to the skies.

At high tide, we float in a sea of debris. 


Reverse Cycle Heating and Air Conditioning

Reverse cycle heating and air conditioning work just like the one in your home or apartment. You simply set a temperature and it will do its best to keep it there. 

It works wonderfully, but it does recirculate the same air. Because of this, we like to open the hatches on nice days to completely change over the air in the boat. 

One of the best features is it offers a steady air temperature in the boat. If you set it to 70F, it will get no colder than 68F and no warmer than 72F. 

This may sound like the perfect way to control the temperature of your boat, but as always there are downsides. The system will cool a boat incredibly well, but it has limitations when it comes to warming the boat.  

If the water temperature gets below 38F, the system stops heading the boat. This forces many people to fill their boats with space heaters when their only heat source stops producing.  

The other problem with winter use comes from the fact that the unit recycles the same air over and over again. Moisture in the air will build and during the colder season, condensation will form on everything. This may only seem like a minor inconvenience, but I have seen boats where every surface in the boat is sweating and a portable dehumidifier can't keep up with the demand.  

The convenient system is also a very complicated system with many places to fail. If anything stops working, the whole unit fails.  

One of the weak points in the unit is the need for constant water supply. If air gets into the water line, the flow of water will be interrupted. Air locks are very frequent issues and can be tedious to manage if you are not properly equipped.  

Reverse cycle heating and air condition units are very useful for making a boat a home, but they require constant supervision. It is not recommend that weekend boaters leave their units on all week (or longer) while they are away. If the unit runs dry and fails to shut itself down, the unit can become a fire hazard as it becomes dangerously hot. 

While this may seem like a major downfall to this unit, I can assure you that with proper care and maintenance, these units will make your boat feel like your home!  

Dealing with Tails

When you pull into a marina slip and tie up, you will find that you have long tails leading away from the cleats. This is where the dilemma on what to do with the tails comes into play. There are several common options on what to do with these tails:

Jumble mess
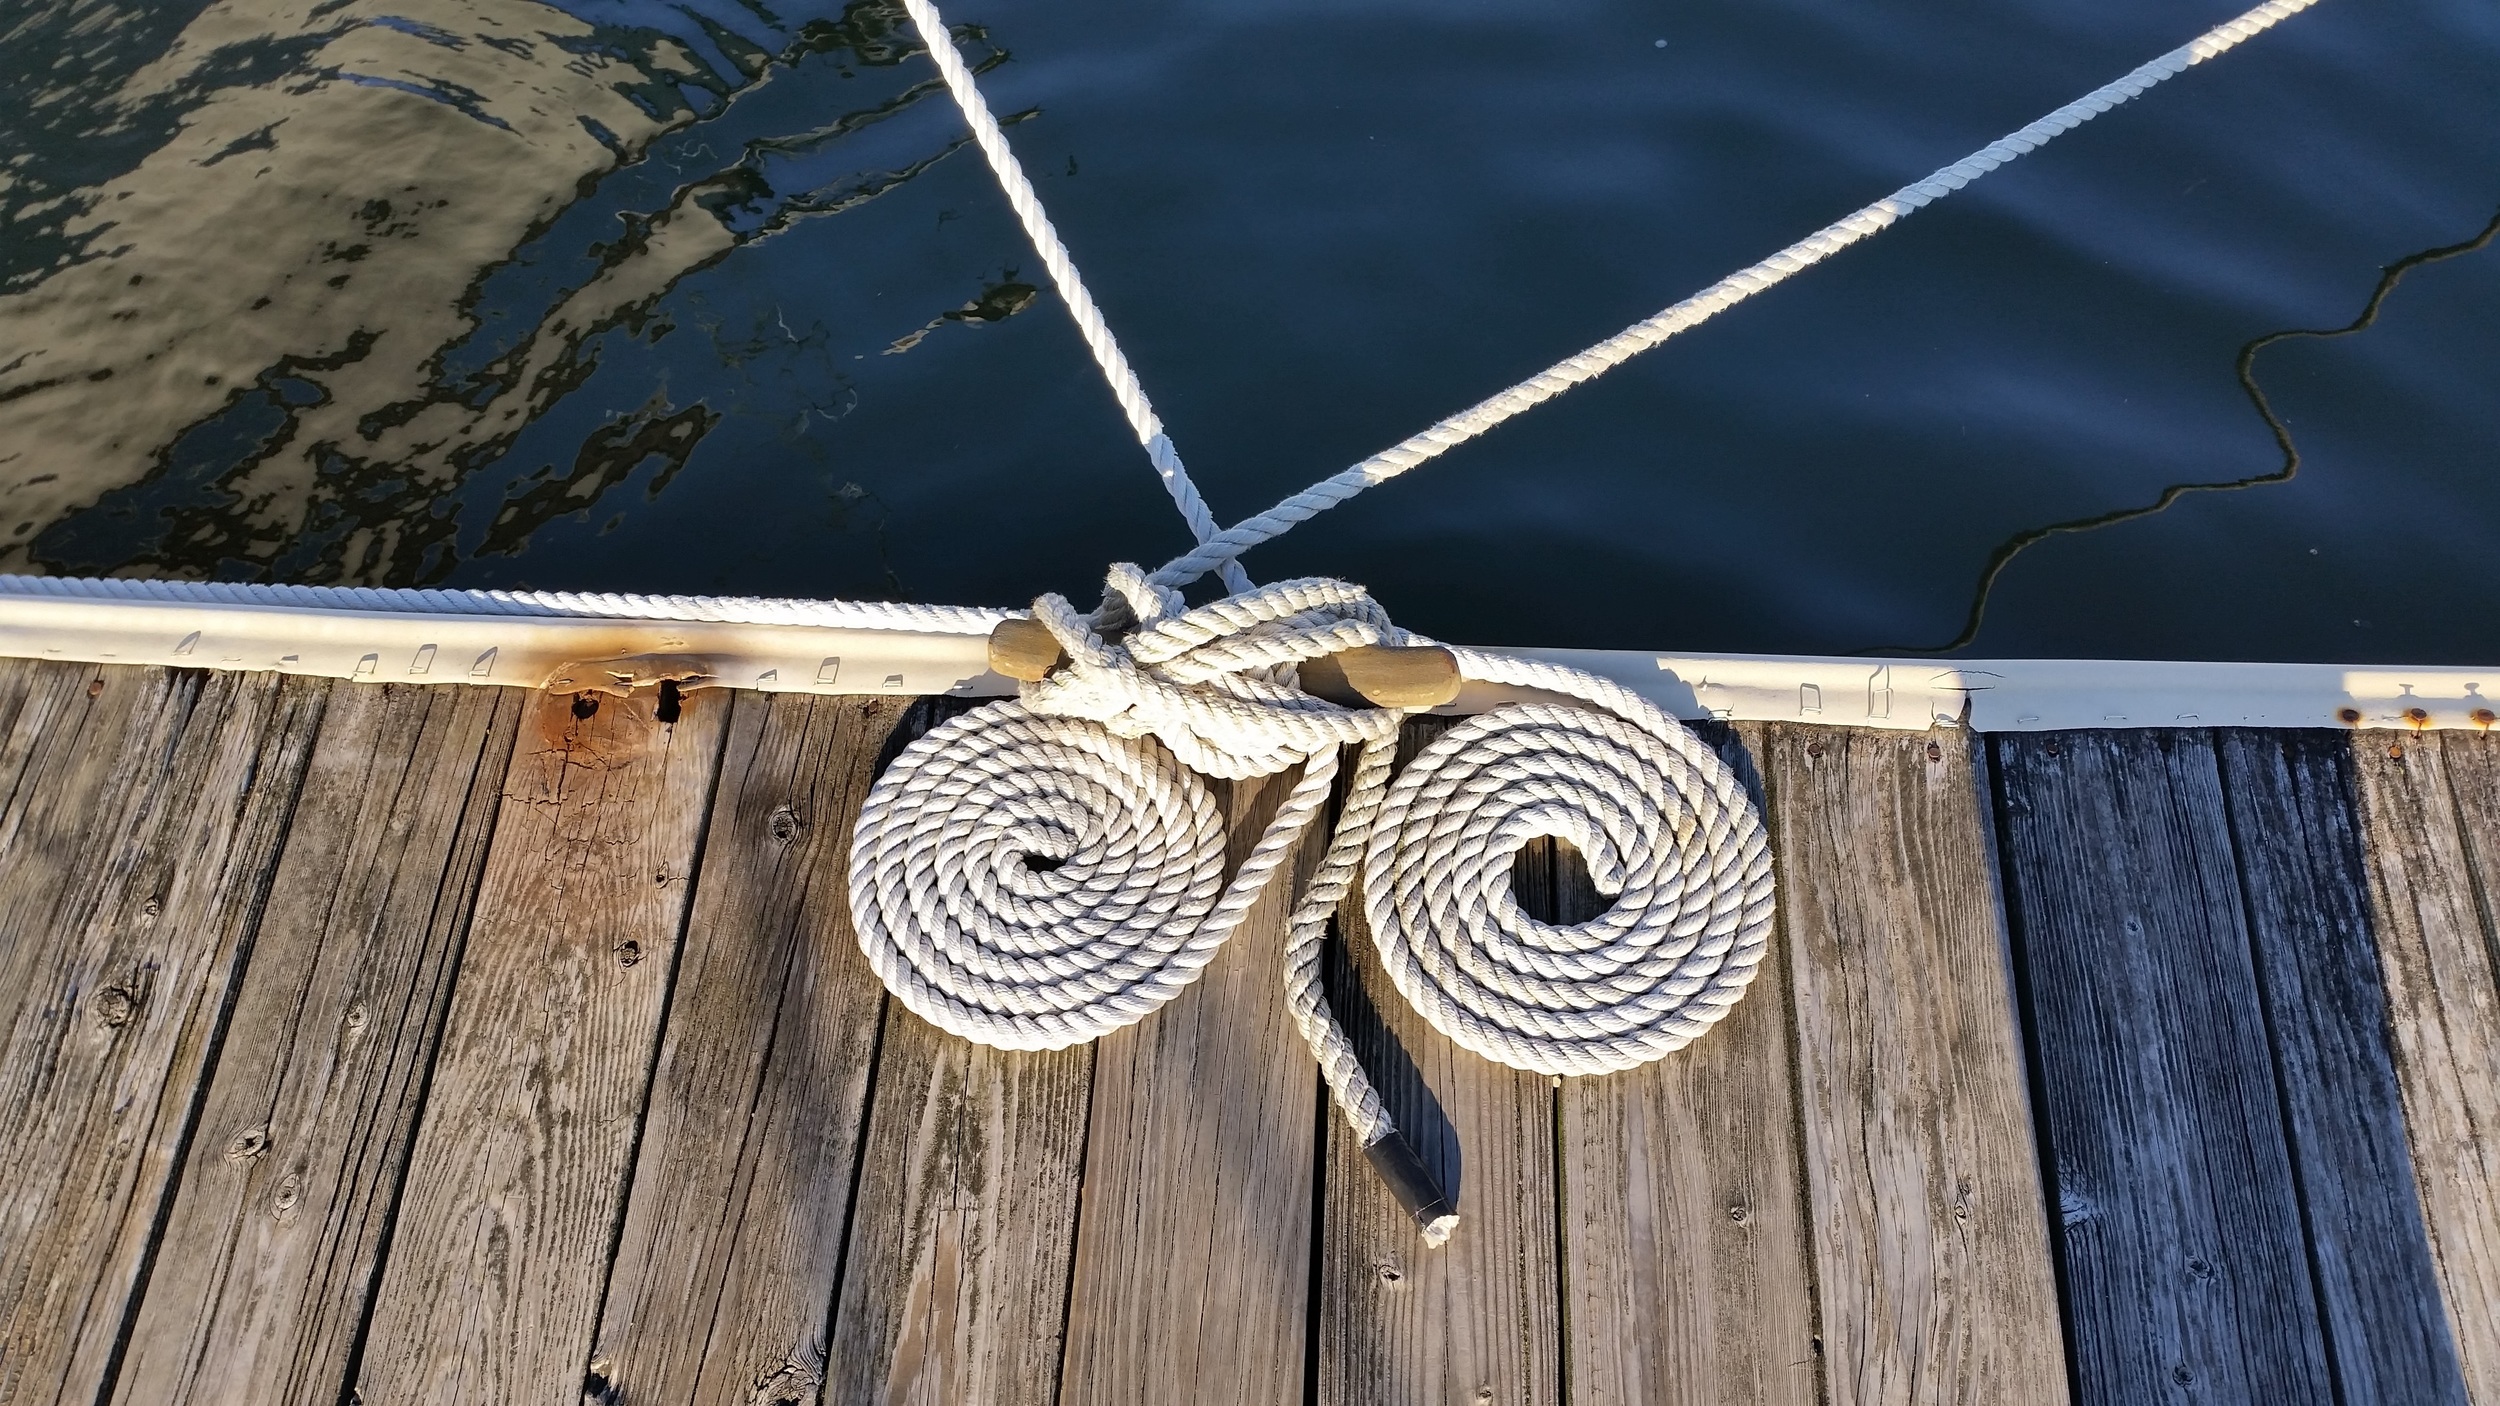
Coil
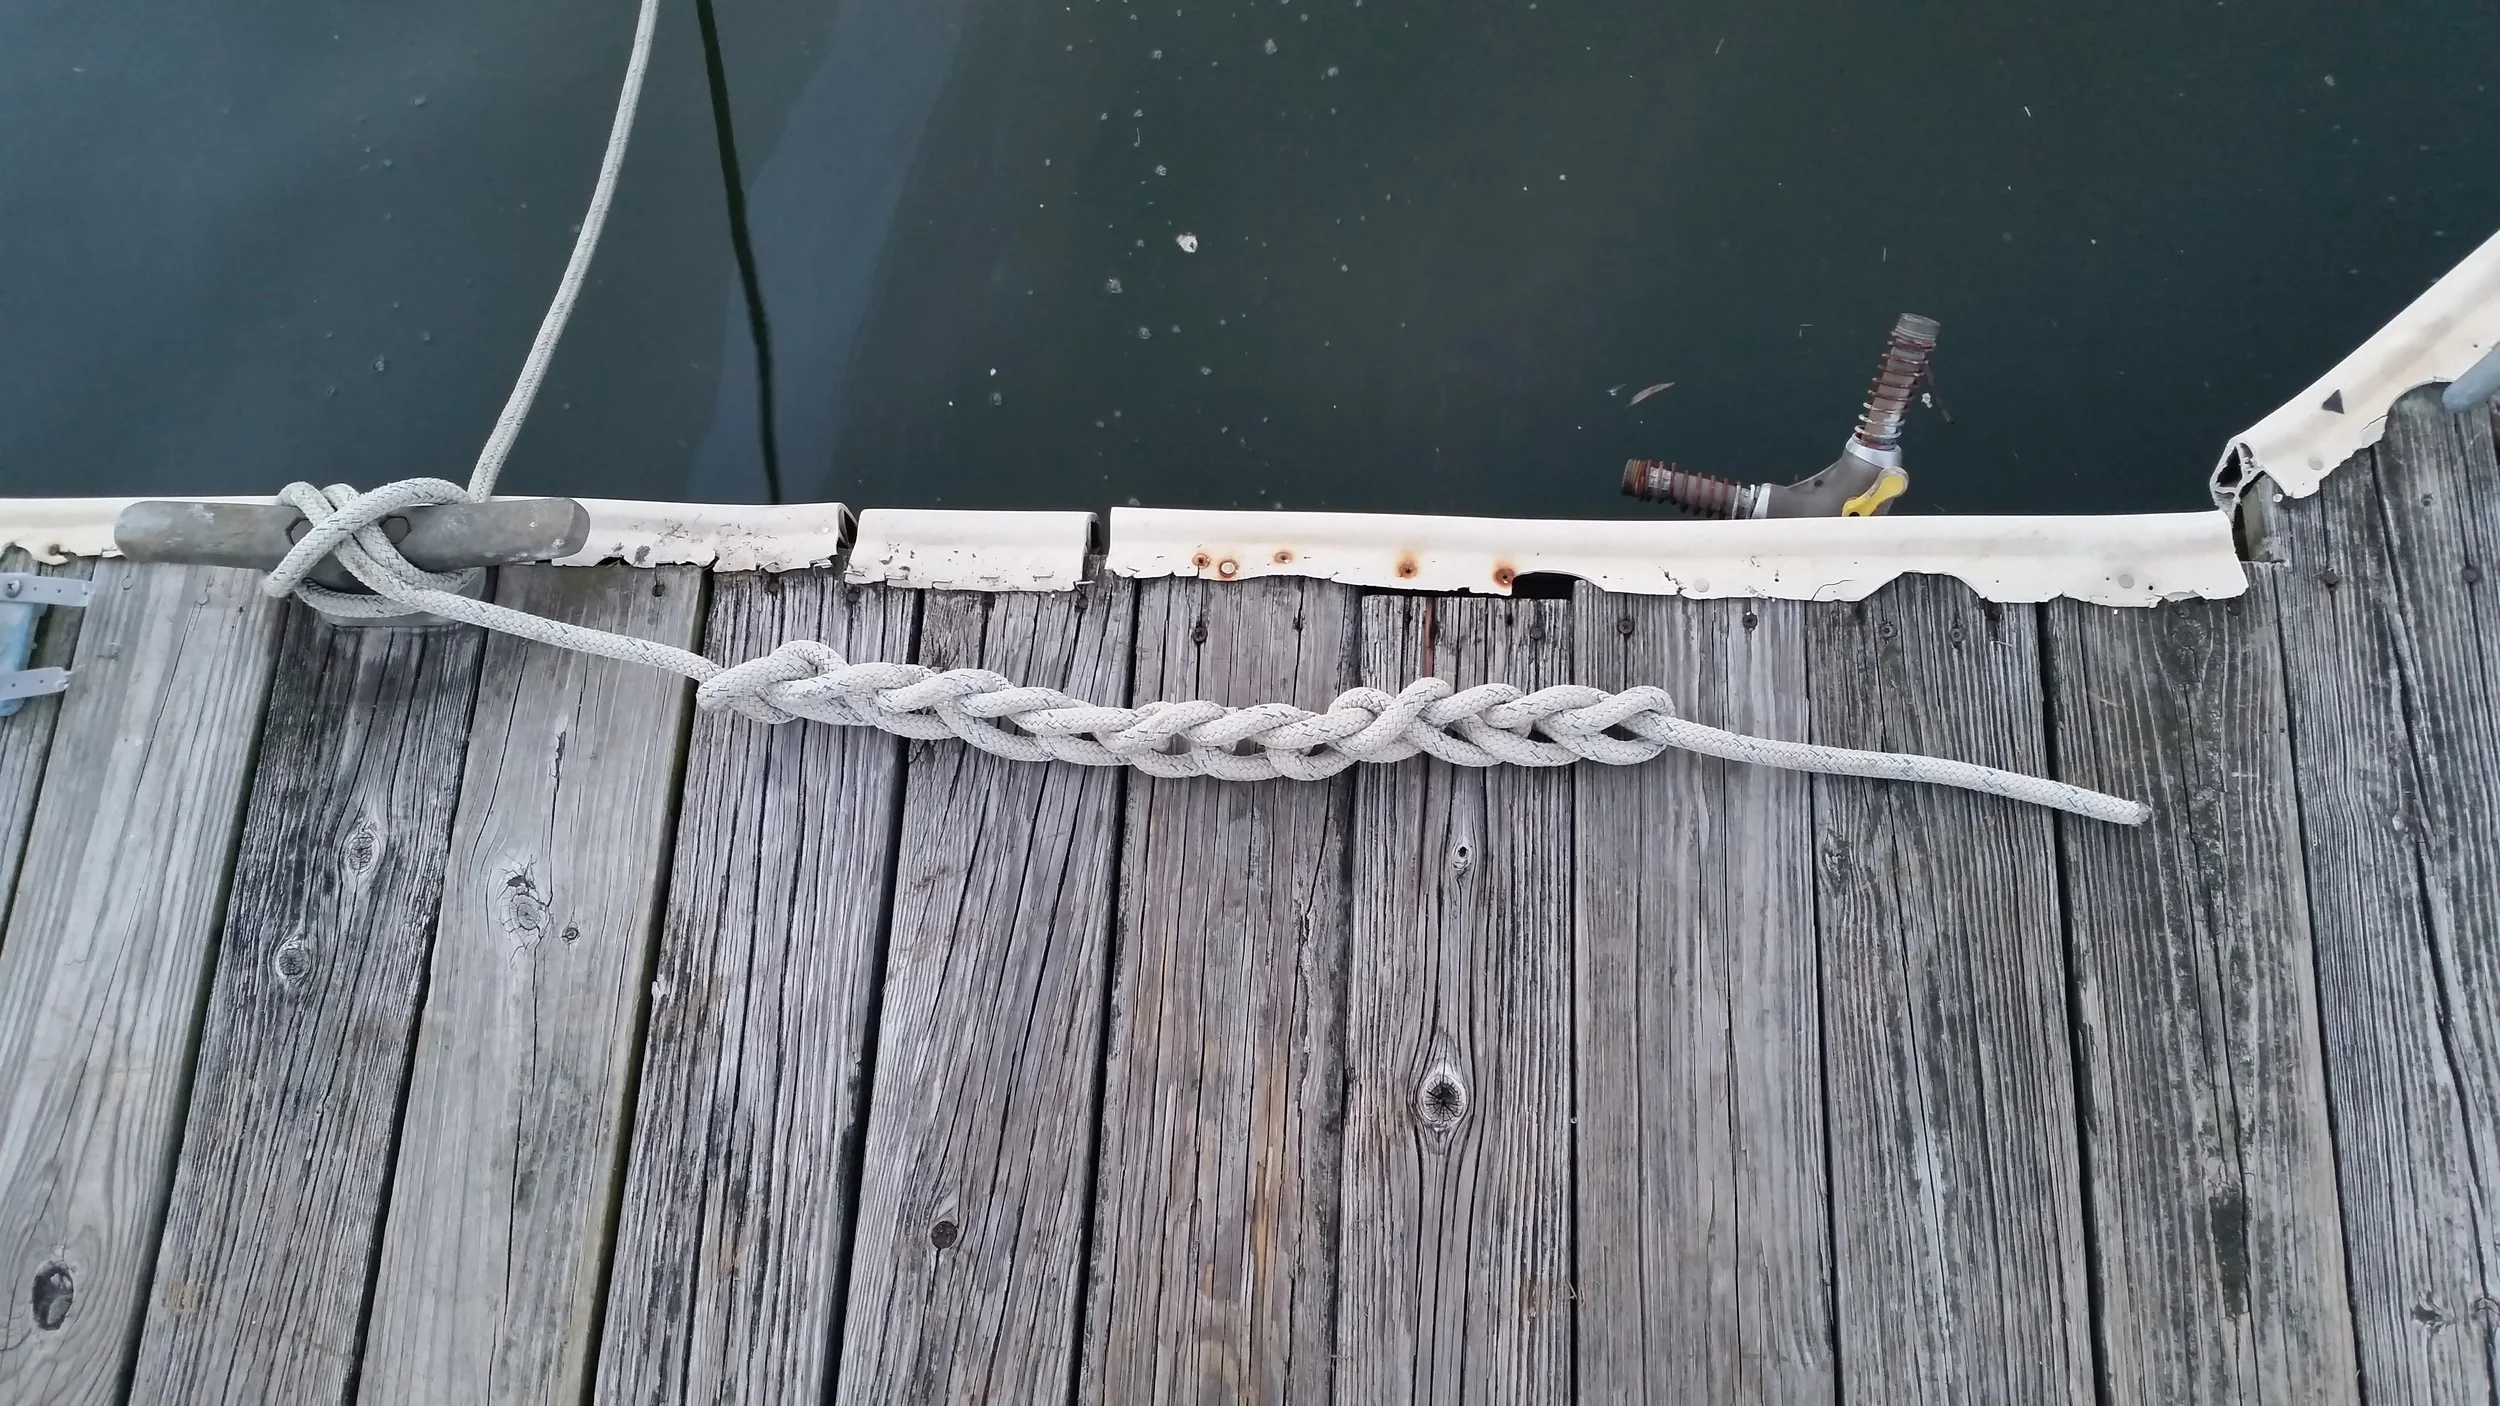
Chain
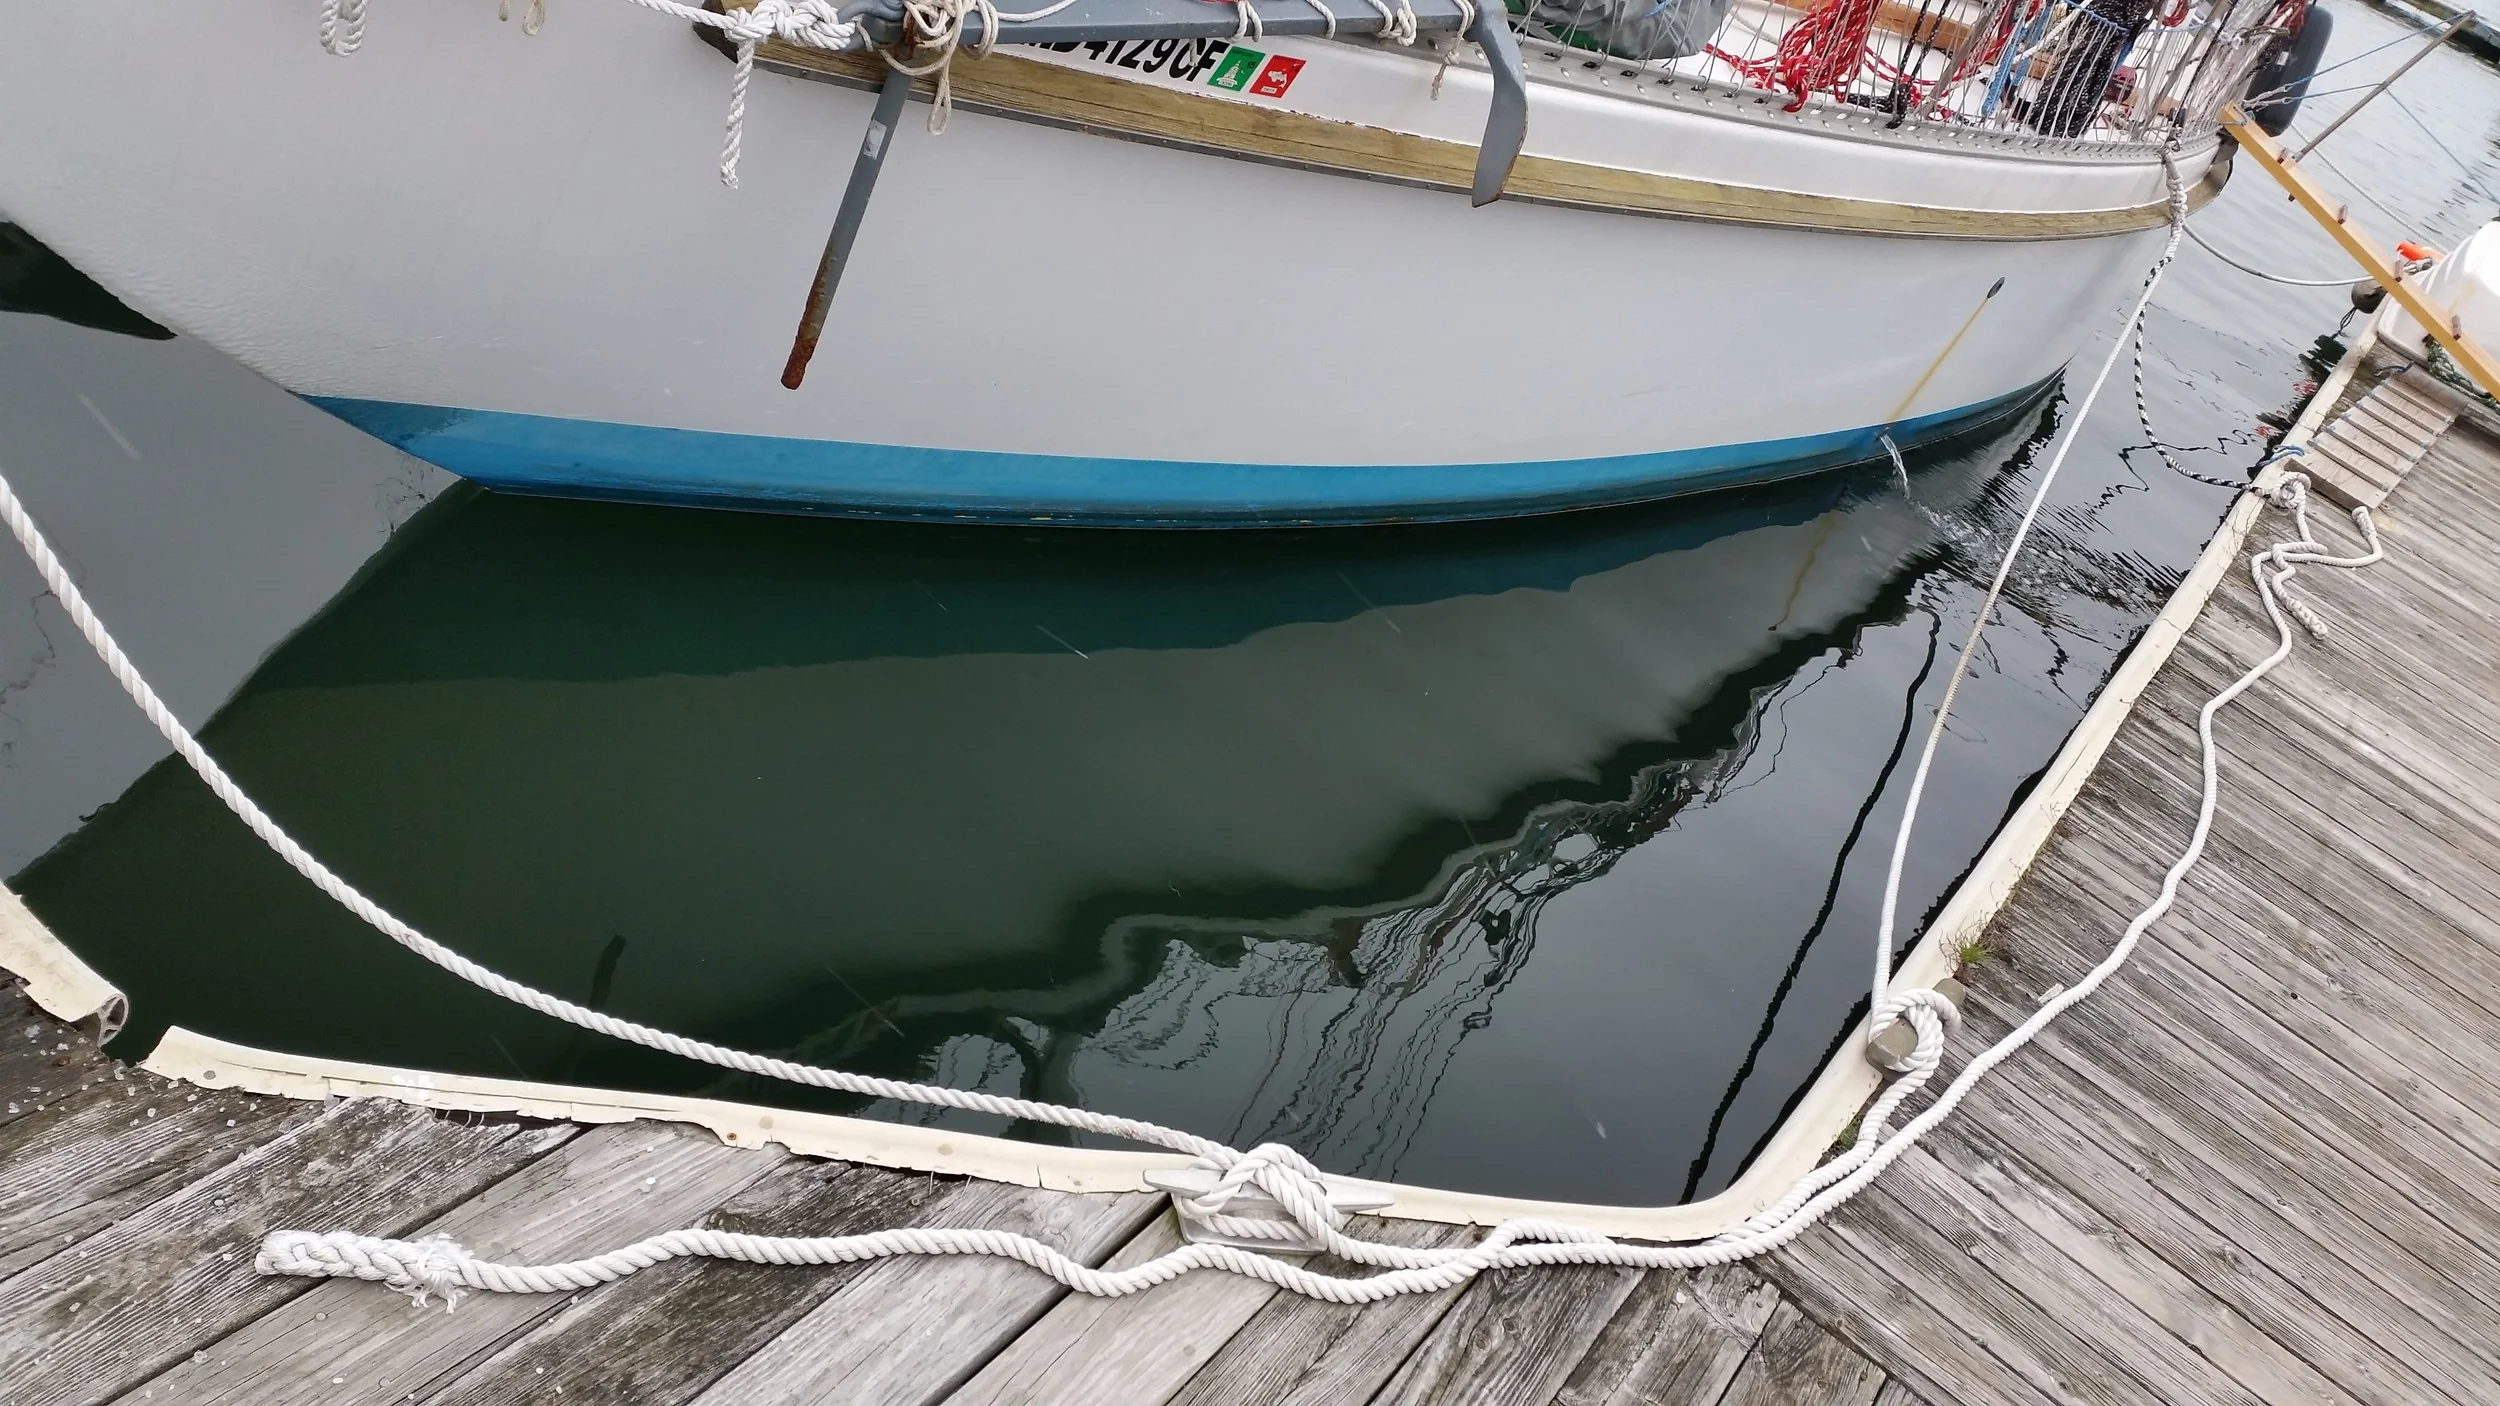
Stretch out
Send it back to the boat

One of the most common ways people deal with tails is they leave them as a jumbled mess. Neighboring boaters will not appreciate this method and these tangles can easily become a tripping hazard and the knots they form can become a nuisance when you need to extend the dockline in a hurry.

Coils are flat and elegant. One very common coil is called the Flemish Flake which is quick and easy to make. Passer byes will appreciate these coils because they look neat and tidy and show that you take the time to make sure your boat and all of its parts are kept in order. It's these little details that other boaters will pick up on as they make their quick judgments on your boating credibility. The problem I have found with coils is drunk boaters tend to grab the center and stretch it out. They are just doing harmless pranks on other boats, but after a few incidents, my patience grows thin for this prank.

Chains are another alternative to coils. Chains also keep the excess line in a neat and tidy package that is not as enticing to pull apart. Chains are bulky instead of flat, but can be easily tucked up to the cleat or edge of the pier. This way they are out of the way of foot traffic, yet neatly organized. Chains are easy to release in a hurry by pulling on the end, and also help with neighbors split second judgment about your boating skills. The problem with chains is if they are left in place for a long time (longer than one month), they will become stiff and are hard to pull apart. This leads us to our next option!

Stretch the lines out. By stretching the lines out along the edge of the pier, they are out of the way of foot traffic, and still relatively neatly organized. The lines are prone to falling into the water, which is why frequent inspection is crucial. If the line lives in the water, a reef will begin to live on the line. The amount of life that can form on a floating line may seem appealing to the observer, until you have to grab that part of the line. For long term docking, I personally prefer to stretch the lines out, that way when we take our dock lines with us for long trips, they don't have odd twists and kinks in them.

The last option is to send the tail back to the boat. This resolves all the problems of what to do with the docklines on the pier, but I don't see this practice done much. This only works if the dockline is excessively long, as the line needs to run the path from the boat cleat to the pier cleat and then back to the boat with enough to secure the line on deck and avoid it from falling into the water. If the line isn't long enough to reach the pier and back, this is not a viable option.

How do you manage the excess tails of your dock lines? 

Fender Whips

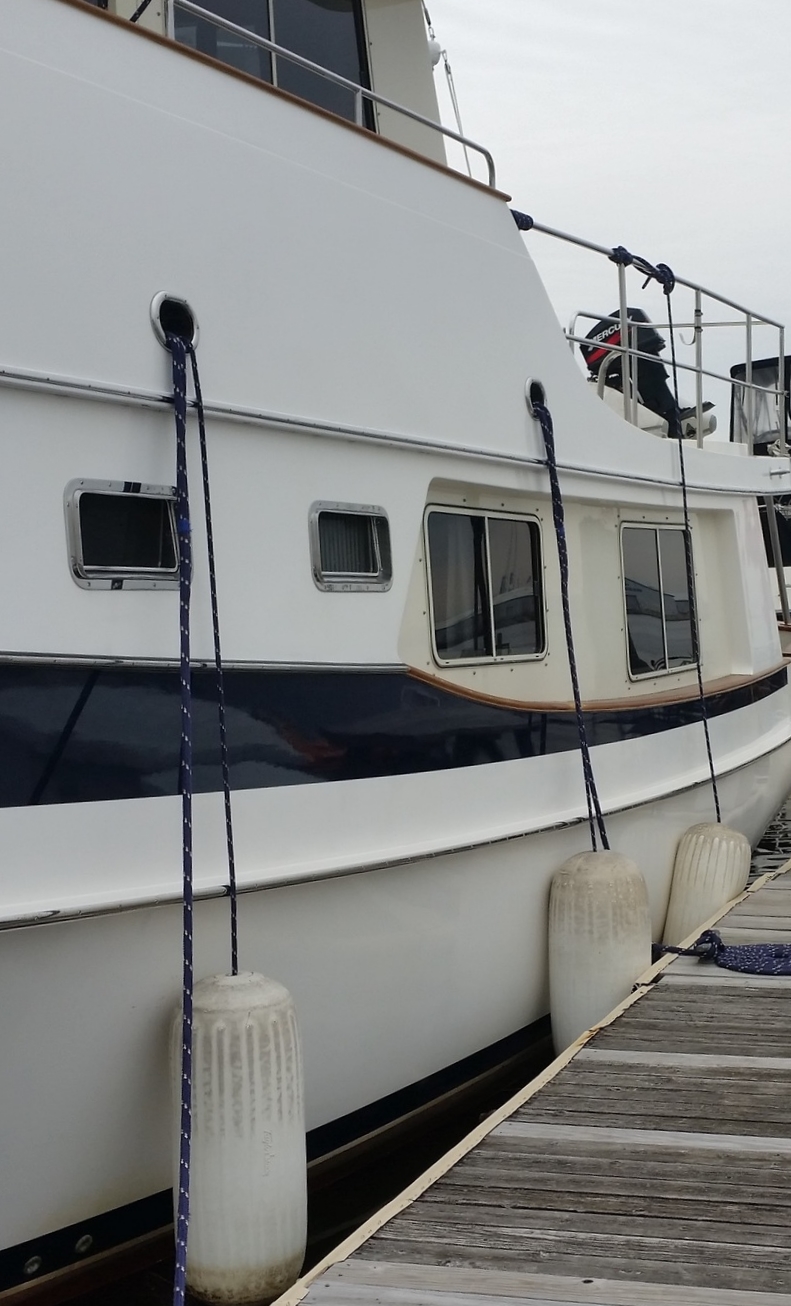
Fender whips are the ropes that hold a fender in position. They attach to the ends of fenders and allow them to lay against the hull at the appropriate position.

The questions that circulate around fender whips tend to involve length and material.

Length is a rather simple you need enough line to lower the fender into position and tie it to the boat. This may sound like an over simplification, but that is the goal of the length. Each boat is different and therefore needs a different length. Keeping this simple target in mind will take all the guesswork out of selecting your fender whips.

The lowest position you will tie a fender is sea level, so the whip needs to be long enough to lower the fender into the water. The other end of the whip needs to tie to the boat. If you have a toe rail that can serve as an attachment point, this will be your upper mark. If you have a smooth rail or teak rail, you will probably need to attach to the railing or lifelines. Now that we know how far the whip must travel to connect the rail to the waterline, we need to add in enough line for the knot. I personally prefer to have 2 feet for the knot, allowing me flexibility and ease of tying. If the line is too short, the knot can be hard to tighten.

In conclusion, the length of the fender whip should be the distance from the rail to the waterline plus two feet. 

If you have a low freeboard sailboat, this distance might only be 1 or 2 feet; making the whip length 3 to 4 feet respectively. If you have a high freeboard boat, such as a Kadey Krogen 58, you will need a much longer whip for the midship fenders.

Sadly, there is no hard and fast rule for fender whip lengths. They need to be made in accordance to what is needed. A whip that is too short is worthless, and a whip that is too long is cumbersome to deal with. The ideal would be the distance from the attachment point to the waterline plus 2 feet.


The next decision to make involves fender whip material. Once again, the choices are plentiful and ambiguous. Any rope can serve as a fender whip, even spare line you have lying around. 

The common choices are Three Strand Nylon and Double Braid Polyester. Both of these choices are easy to purchase and widely available in any length. Some "dedicated fender whips" come with eyes spliced into one end, allowing you to easily connect it to the fender. These are nice, but a bowline works just as well if you don't have a spliced line and don't feel confident performing the splice yourself.

Both of these choices are easy to come by, but can be rather bulky when you tie them. This is where another alternative material comes into play. You can remove the core from double braid polyester lines and make your fender whip out of the cover. These whips will be plenty strong to hold a fender in place and will not form bulky knots, allowing you to tie them up through small holes in the toe rail with ease. These whips are easy to splice if you wish to make eyes for the fender end.

Now you know how to select the proper length and material for your fender whips.

Transoms in a Following Sea

While some might think the only importance of a transoms shape is to properly display the yachts name and hailing port, the truth is the transoms shape can decide your fate in a following sea.

Imagine running in breaking seas, crests so tall you can't see over them. When you are in the trough, you are surrounded by walls of water with no glimmer of the horizon. The wave behind you begins to approach your stern and is going to hit you, sending your yacht into a broach. The stern of the boat is pushed to the side by the wave as you lay beam to the sea, awaiting a breaker on the beam that will send you into a capsizing roll! 

The larger the area presented to the wave, the more force the wave will be able to exert onto your vessels transom. A large flat transom will present a large surface to be pushed by the wave. The polar opposite exists in the form of a Double-Ender. These boats have a stern that comes to a point just like the bow comes to a point. If a wave were to hit their transom, the stern would cut through the wave the same way the bow cuts through every wave it encounters while sailing.

The modern trend of Sugar Scoop transoms is very convenient, people can easily climb aboard or jump into the water from the cockpit. The back of the cockpit is missing and everything simply flows right into the water. When a large wave hits from the stern, this wave will just as easily board the boat through the large open stern scoop, swamping the aft part of the sailboat. Boarding waves can become a very wet ordeal in a hurry.

The other option is the long overhanging stern common on older CCA boats. This will help pick the stern up as the wave approaches while the small area on the transom (which serves to hold the name) will offer little push from the wave as it gets hit.

Which stern would you rather have as you get hit by a following sea? 
Large Flat Stern
Sugar Scoop Stern
Double ender Stern
CCA Stern