Fender Whips

Fender whips are the ropes that hold a fender in position. They attach to the ends of fenders and allow them to lay against the hull at the appropriate position.

The questions that circulate around fender whips tend to involve length and material.

Length is a rather simple you need enough line to lower the fender into position and tie it to the boat. This may sound like an over simplification, but that is the goal of the length. Each boat is different and therefore needs a different length. Keeping this simple target in mind will take all the guesswork out of selecting your fender whips.

The lowest position you will tie a fender is sea level, so the whip needs to be long enough to lower the fender into the water. The other end of the whip needs to tie to the boat. If you have a toe rail that can serve as an attachment point, this will be your upper mark. If you have a smooth rail or teak rail, you will probably need to attach to the railing or lifelines. Now that we know how far the whip must travel to connect the rail to the waterline, we need to add in enough line for the knot. I personally prefer to have 2 feet for the knot, allowing me flexibility and ease of tying. If the line is too short, the knot can be hard to tighten.

In conclusion, the length of the fender whip should be the distance from the rail to the waterline plus two feet. 

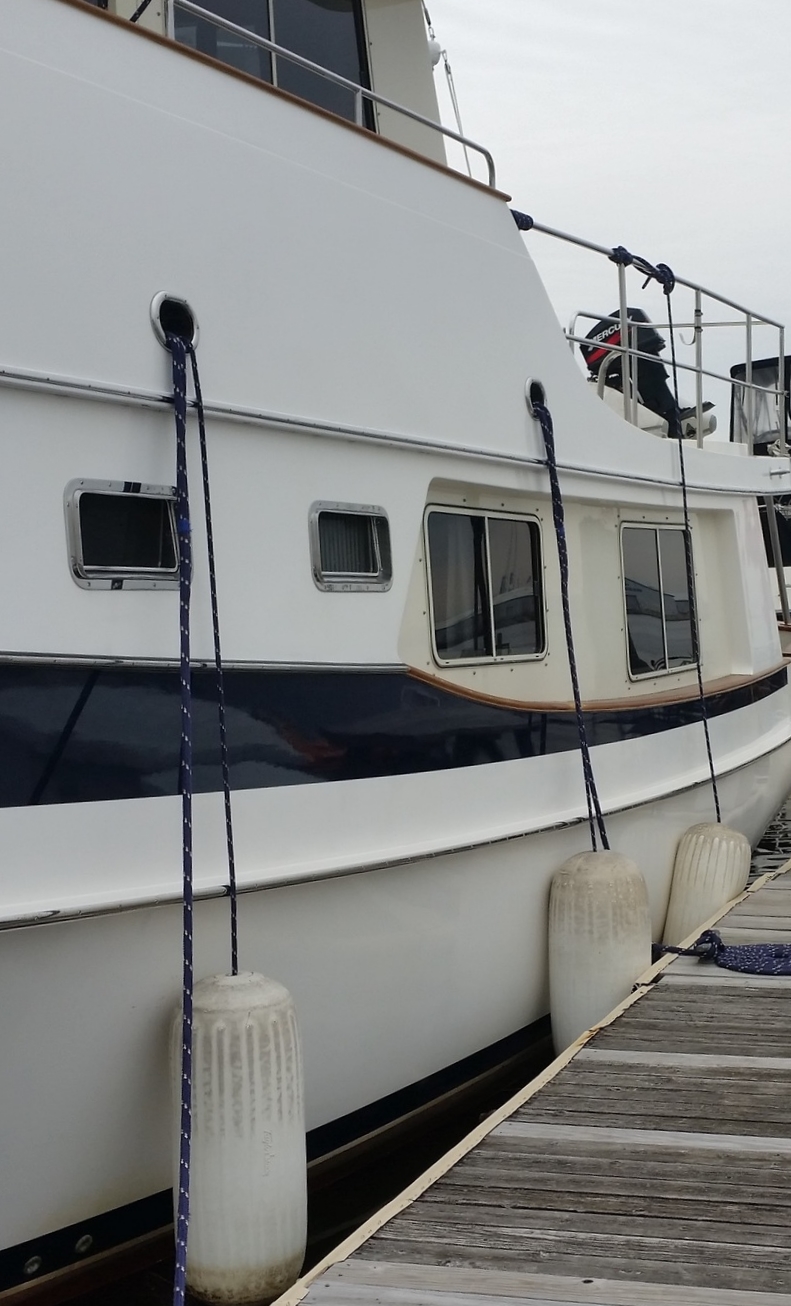
If you have a low freeboard sailboat, this distance might only be 1 or 2 feet; making the whip length 3 to 4 feet respectively. If you have a high freeboard boat, such as a Kadey Krogen 58, you will need a much longer whip for the midship fenders.

Sadly, there is no hard and fast rule for fender whip lengths. They need to be made in accordance to what is needed. A whip that is too short is worthless, and a whip that is too long is cumbersome to deal with. The ideal would be the distance from the attachment point to the waterline plus 2 feet.


The next decision to make involves fender whip material. Once again, the choices are plentiful and ambiguous. Any rope can serve as a fender whip, even spare line you have lying around. 

The common choices are Three Strand Nylon and Double Braid Polyester. Both of these choices are easy to purchase and widely available in any length. Some "dedicated fender whips" come with eyes spliced into one end, allowing you to easily connect it to the fender. These are nice, but a bowline works just as well if you don't have a spliced line and don't feel confident performing the splice yourself.

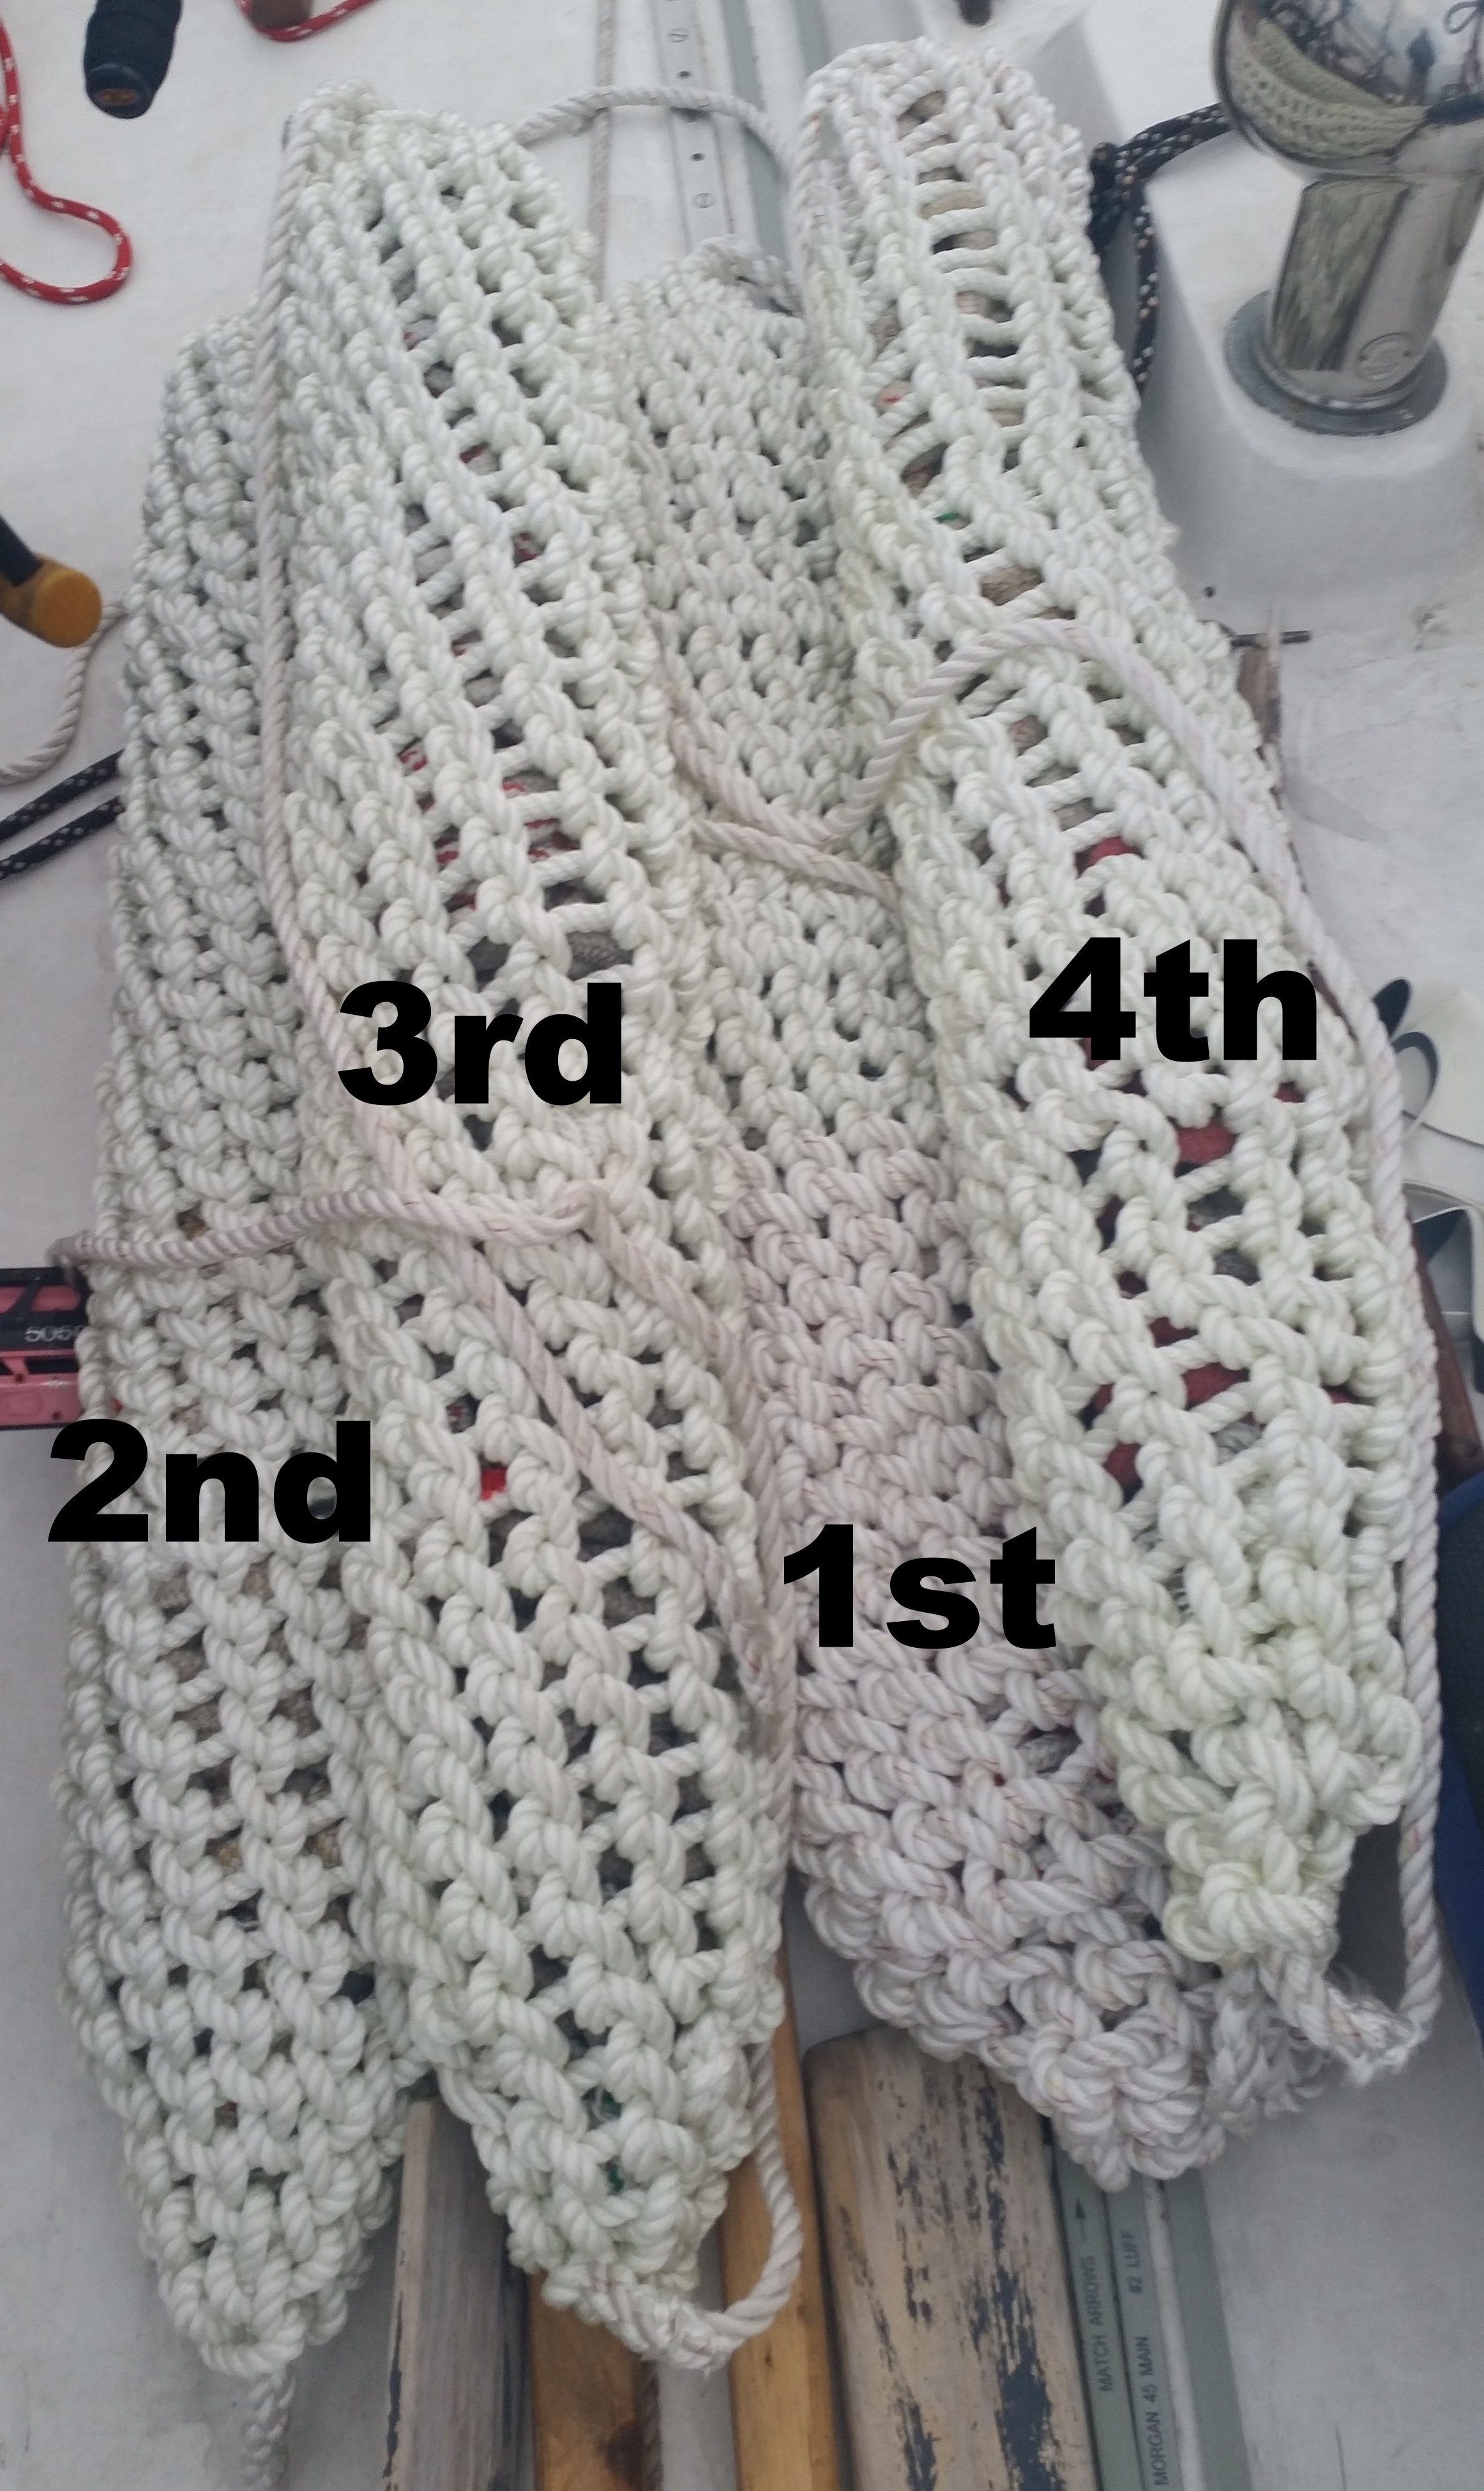
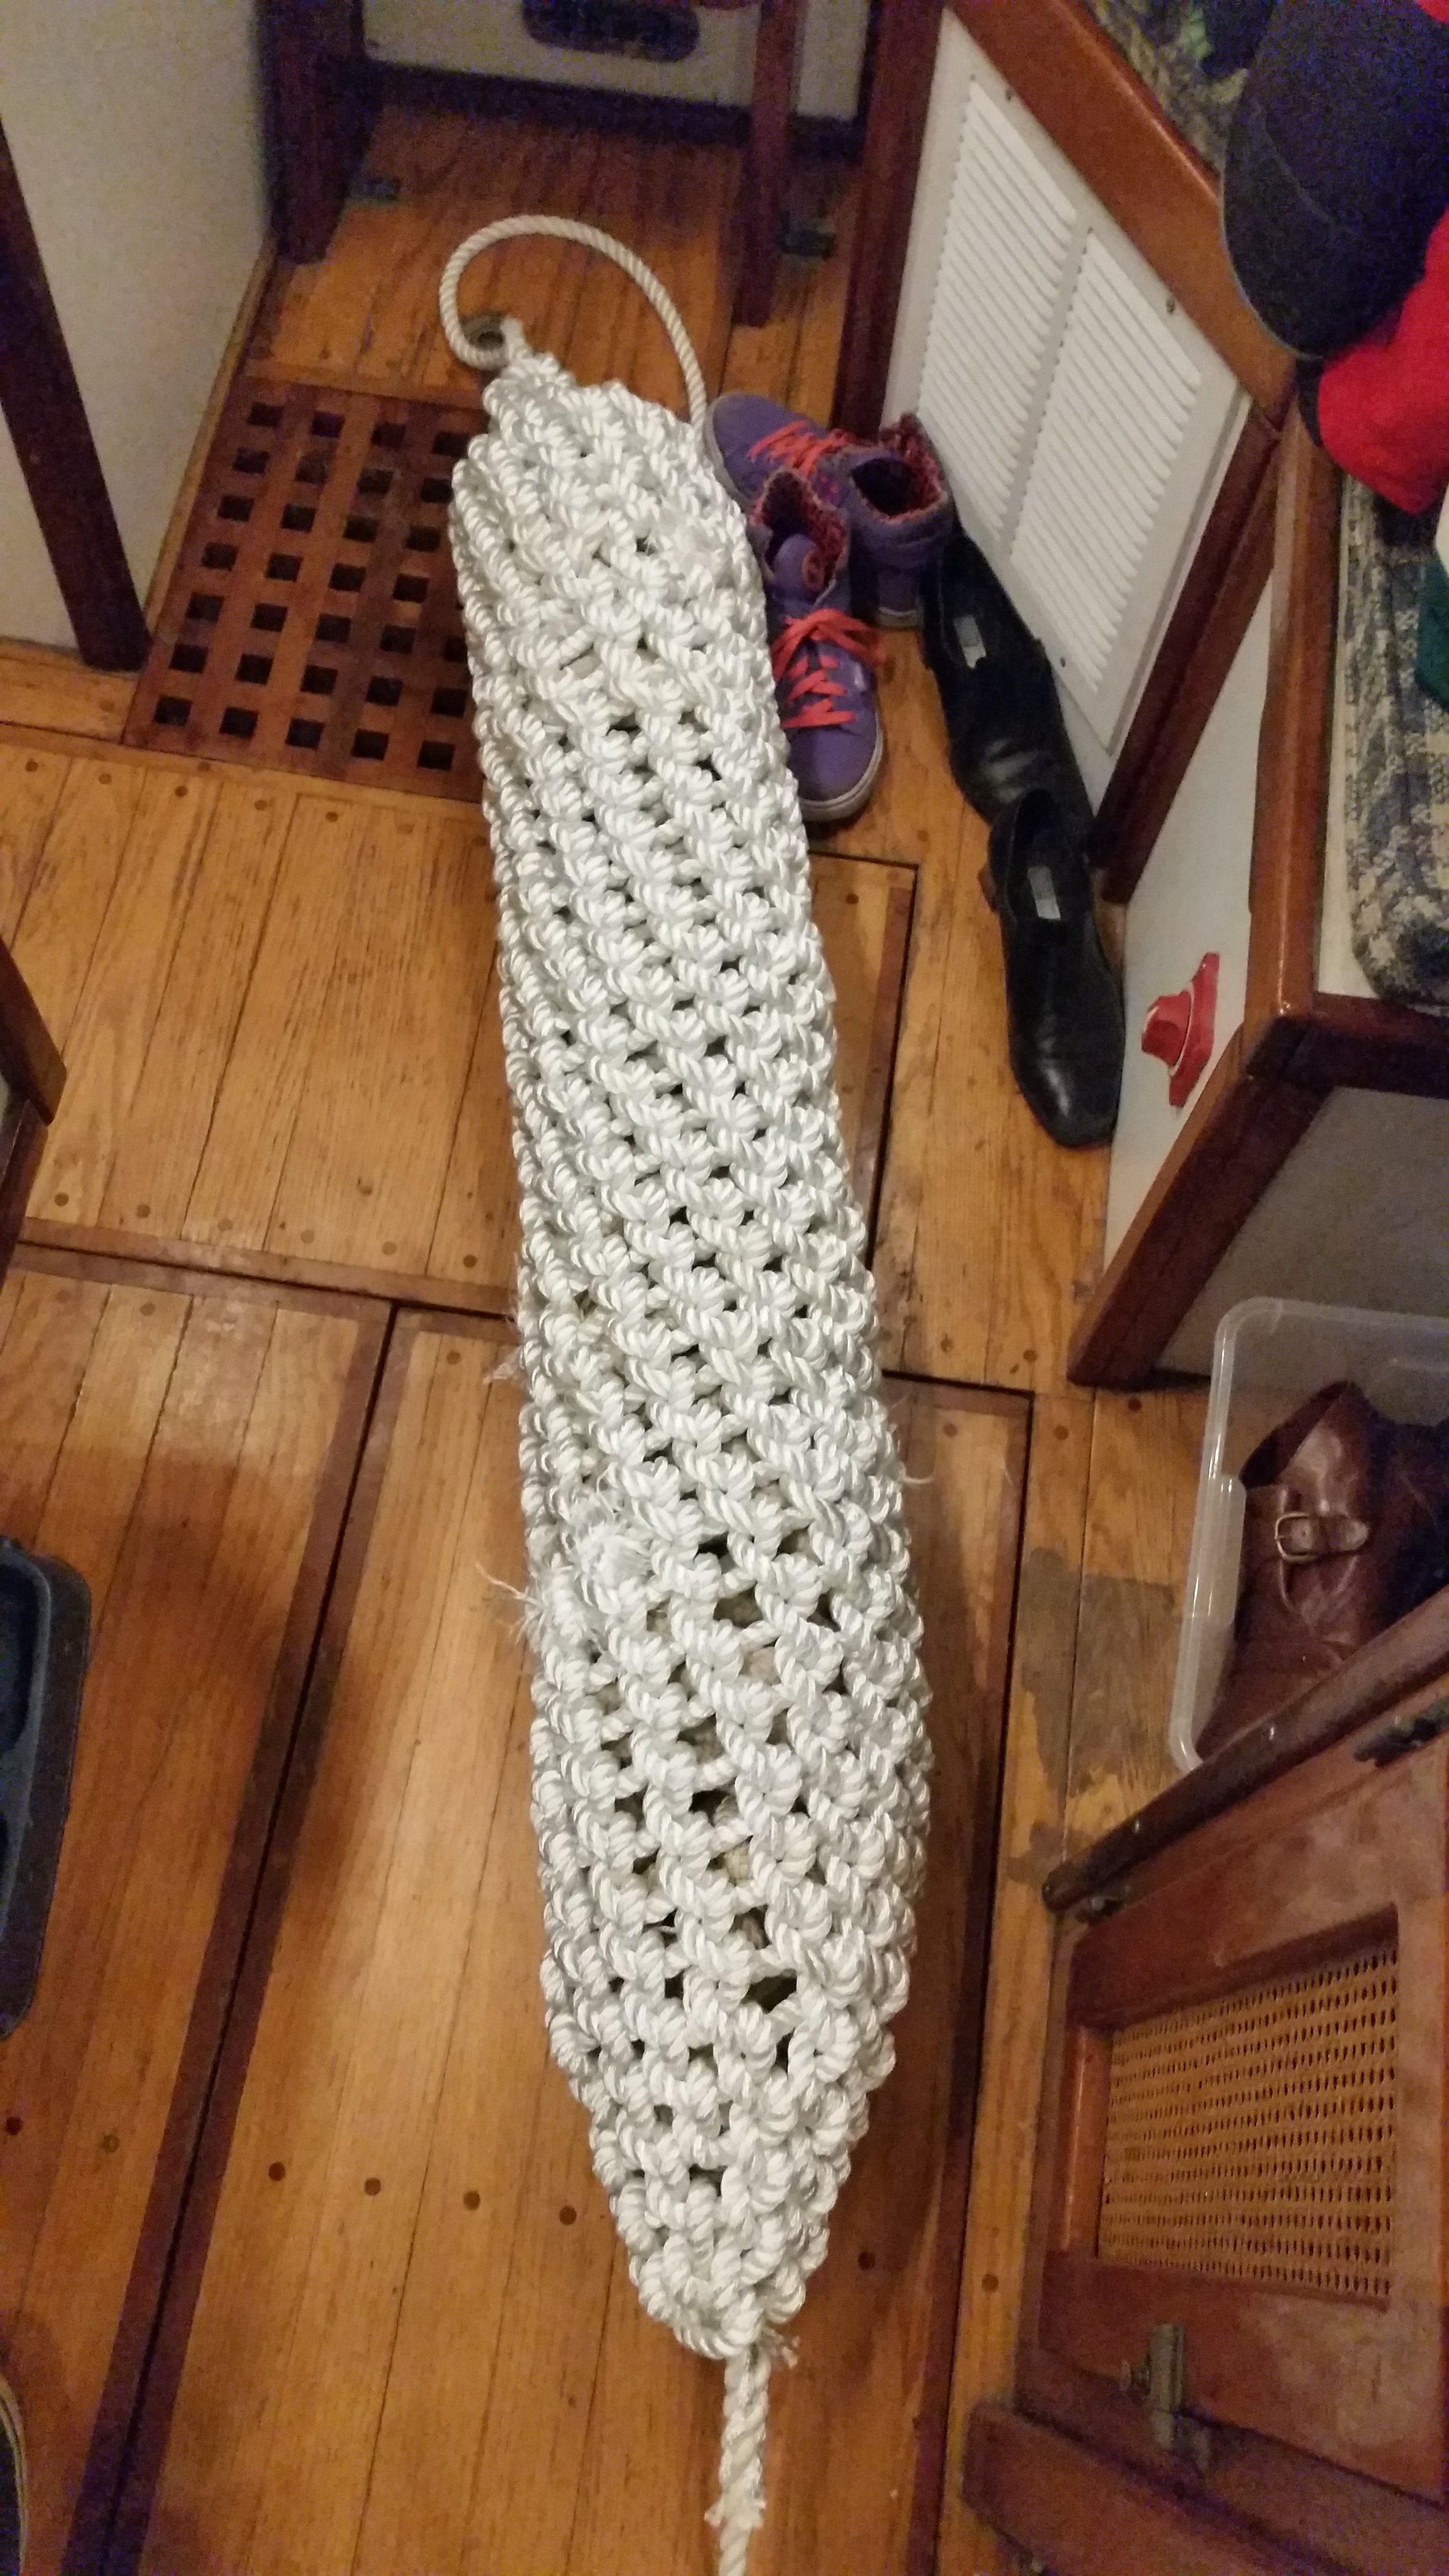
Both of these choices are easy to come by, but can be rather bulky when you tie them. This is where another alternative material comes into play. You can remove the core from double braid polyester lines and make your fender whip out of the cover. These whips will be plenty strong to hold a fender in place and will not form bulky knots, allowing you to tie them up through small holes in the toe rail with ease. These whips are easy to splice if you wish to make eyes for the fender end.

Now you know how to select the proper length and material for your fender whips.

Transoms in a Following Sea

While some might think the only importance of a transoms shape is to properly display the yachts name and hailing port, the truth is the transoms shape can decide your fate in a following sea.

Imagine running in breaking seas, crests so tall you can't see over them. When you are in the trough, you are surrounded by walls of water with no glimmer of the horizon. The wave behind you begins to approach your stern and is going to hit you, sending your yacht into a broach. The stern of the boat is pushed to the side by the wave as you lay beam to the sea, awaiting a breaker on the beam that will send you into a capsizing roll! 

The larger the area presented to the wave, the more force the wave will be able to exert onto your vessels transom. A large flat transom will present a large surface to be pushed by the wave. The polar opposite exists in the form of a Double-Ender. These boats have a stern that comes to a point just like the bow comes to a point. If a wave were to hit their transom, the stern would cut through the wave the same way the bow cuts through every wave it encounters while sailing.

The modern trend of Sugar Scoop transoms is very convenient, people can easily climb aboard or jump into the water from the cockpit. The back of the cockpit is missing and everything simply flows right into the water. When a large wave hits from the stern, this wave will just as easily board the boat through the large open stern scoop, swamping the aft part of the sailboat. Boarding waves can become a very wet ordeal in a hurry.

The other option is the long overhanging stern common on older CCA boats. This will help pick the stern up as the wave approaches while the small area on the transom (which serves to hold the name) will offer little push from the wave as it gets hit.

Which stern would you rather have as you get hit by a following sea? 
Large Flat Stern
Sugar Scoop Stern
Double ender Stern
CCA Stern

Unpredictable March

The weather throughout the year for the North East can be simplified as this:

January: Cold
February: Icy
March: Unpredictable
April: Beginning to warm up
May: Warming up
June: Warm
July: Hot
August: Hot and Humid
September: Cooling down
October: Wonderful
November: Cooler
December: Cold

March is certainly unpredictable! Some days are warm and sunny, followed by snow storms. It's a great time to look at the sky to get an inclining as to what is coming. Wispy clouds will begin to fill the sky to warn of the changing weather that is coming. It seems that every few days, a different front will roll through, bringing a drastic weather change with it. Some days will begin with temperatures (Fahrenheit) in the 50s, go up to the 80s, and then back down to the 20s. Strong winds also accompany these strong temperature fluctuations, making it critical to be prepared and well versed in storm sailing before heading out. 

What might start out as a windless morning with small isolated puffs of wind can easily turn into a full gale in a matter of hours. If you are trying to ease someone into the joys of sailing, a day like that may scar a beginner, making them fear that storms will come out of no where! On the flip side, the strong wind will rocket you towards your destination if you feel comfortable sailing during those conditions. 

While March may seem crazy and unpredictable, it is a sign that warmer weather is around the corner and the beginning of a much more comfortable sailing season!

Reading the Wind

Sailing uses the energy from the wind to propel the yacht through the water. In order to navigate towards our destinations, we need to know which direction the wind is coming from so we can plot our appropriate course.

There are various different ways to tell wind direction, some use fancy gadgets, others do not. The most common gadgets to detect wind directions are:

Electronic Masthead Wind Sensors
Windex

The other end of the spectrum does not involved fancy gadgets or instruments:

A wet finger
Wind on your face
Tuft of yarn or line
Reading the sails
Reading the waves

Lets begin with the fancy gadgets, as they are usually marketed as "Must Haves". Electronic Masthead Wind Sensors are simply a wind vane connected to a potentiometer. As the wind vane turns to point into the wind, its position is converted into an electrical signal which is then displayed on a gauge in the cockpit. These gauges can be as simple as a needle pointing the wind direction over an illustration of the vessel, or a digital screen that calculates true wind and apparent wind direction. These instruments will take all the guess work out of sailing, telling you exactly where the wind is coming from in relation to your boat. Sailing to windward is a matter of looking at the screen to see where the wind is coming from and setting your course to the appropriate wind angle for your boat.

The alternative to an electronic instrument is a device known as a Windex. This highly sensitive device works via the same principle as the wind point, but without the added complexity of electronics. Many boats actually use both, the wind point mounted on the front of the mast, and the Windex mounted on the back of the mast. This provides a wonderful mechanical backup in the event that your electronic unit were to fail. Windex has a wind vane with high visibility paint on the boxes and the wind vane. This allows you to see where the wind is coming from without any guesswork. 

Both of these instruments work wonderfully, but they have their pitfalls. Electronic sensors will be exposed to the elements and will eventually fail. This is why the combination of wind point and Windex is so popular. Windex has the pitfall that you have to look at the masthead to read it. If you have a stiff neck, looking up can be quite the chore; if you have a bimini, you will need a window cut in it to allow visualization of the masthead from the helm.

Worst case scenario, you are in a storm and the masthead sensors get blown off. Now there is nothing to tell you where the wind is blowing from! Truth be told, sailing is much older than masthead sensors. This brings us to the "other ways" to figure out the wind direction.

One of the easiest ways to tell wind direction is to wet your finger and hold it up! The side of your finger that faces the wind will dry faster and feel cold compared to the rest of your finger. The cold side faces the wind.

The next way to figure out which way the wind is coming from is to stand up and turn around. As you turn around, you will be able to feel the wind hitting your face and you will know when you are face into the wind. When you find the wind hitting your face head on, you will have a rough idea of where the wind is blowing from. To fine tune your wind reading, you will need to rely on your ears. If the wind is hitting you more from the left side, your left ear will hear more wind noise than your right ear. Turning your head to the left a bit until the wind noise between your ears evens out will fine tune the wind detection. When you hear the same amount of wind noise in your left and right ears, you know for certain that you are facing directly into the wind. While this sounds simple enough, it doesn't work if you are behind a dodger or a lee cloth. If you find yourself behind a wind block, you will have to move to a clear area where you can feel unobstructed wind on your face.

While the first two options listed involve using your body as the sensor, this next one does not. It involves tying a small strand of yarn to various places on the boat. Common places are the shrouds, lifelines, and the backstay. The yarn will stream in the wind and point out the winds direction. This option is very inexpensive, which is why some people will place them everywhere! Instead of yarn, I use bits of line tied to the lifelines. I tie them with a larkshead knot in places where I typically need a bit of line to tie up random things on deck. They are very small and don't stand out as much as a brightly colored bit of yarn, making them less noticeable from passing yachts; but I know where to look for them so I can read the wind from them.

The first three methods will help you figure out where the wind is coming from so you can start moving, the next method will help while you are already sailing along (without looking at the tell tales). The sails use the wind and also reveal how the wind is blowing. When pinching too hard, the luff will curl towards the boat. This will create a large area on the luff which is bulging in rather than out. If you are sheeted in all the way, that would mean that you are aiming as far upwind as possible (and honestly should fall off the wind a bit).

Lastly, (and my favorite way) is to read the waves. Waves are (usually) created by the wind and roll in a form perpendicular to the winds direction. This means that the waves will come at the boat 90* to the wind. 

When the waves come at you from the side (beam on) this means you are on a beam reach and the wind is coming from the beam.

When beating, the waves will be coming from the front quarter, and this would indicate the wind is coming from that same direction. I don't typically read the waves when beating because the sail will begin to luff if I point too high.

Safe sailing

Safe sailing

Sailing by the lee

Sailing by the lee

When running, this will work wonderfully and I rely on this trick more than I do my wind instruments! The waves will be coming at your stern with a slight angle. If they are perpendicular to your sides, you are on a dead run. If they are coming at your boat on the same side as your boom, you are sailing by the lee (and should rectify this immediately). If they are coming in from the side opposite to the boom, you are on a broad reach. 

When sailing Wing on Wing, I make sure that the waves are perfectly perpendicular to the boat. If they change their angle slightly, I will alter course to keep the wind directly on the stern. The waves will give instant and accurate information, other methods may have a slight delay in the information delivery. 

Lastly, the final reason I prefer to read the waves is it also gives you an indication of wind strength and direction off in the distance. Boat mounted wind sensors will only give you information about the wind that your boat is currently experiencing and no information about the surrounding wind. On windy days, this is not such a big deal, as there is plenty of wind to go around and keep you moving. On calm days though, reading the waves will tell you where there is wind and which way it is blowing.

On a calm day, the water will look like glass with isolated areas of ripples. These areas are where wind is present and the ripples run perpendicular to the wind. You can sail through calm areas by using these wind puffs. When you reach one, it will propel your vessel ahead. Once you leave this wind puff, you will be coasting along until you run out of momentum. By aiming to the next closest wind puff, you can actually "jump" from windy spot to windy spot. 

On the opposite end of the spectrum, the waves will alert you to approaching storms. When whitecaps appear in the distance, they indicate strong wind approaching (and the need to reef your sails now). Strong storm fronts will also bring a change in wind direction and keeping an eye on the waves will tell you how to position your sails for the blast of wind that will be coming.

While none of these systems work perfectly, when used in conjunction they can help you figure out how the wind is blowing and aid your navigational decisions in plotting your desired course. Taking all the information you have available will help you sail better and safer in any wind condition.

Rope Fenders are Finished!

The rope fenders are finally finished! 

1st: I had plenty of rope!2nd: Still had plenty of rope, but made the gaps a bit larger to consume less rope. Greatly improved the tapers at the ends.3rd: Had plenty of rope. Perfected the tapers on ends of the fenders.4th: Running out of rope, so I…

1st: I had plenty of rope!
2nd: Still had plenty of rope, but made the gaps a bit larger to consume less rope. Greatly improved the tapers at the ends.
3rd: Had plenty of rope. Perfected the tapers on ends of the fenders.
4th: Running out of rope, so I made the gaps much larger to stretch out the available rope. 

Each fender took about 48 hours to make, most of the time was consumed in making the core. The outer cover only took about 4 hours to wrap! This may seem like it goes by quickly, but when you sit on a bench pulling hundreds of feet of rope through the knots for hours on end, it becomes quite the task.

Maddie went to New York to visit some cousins and I stayed in the boat with no distractions to bang out the fenders and it was a success! By the time she returned, I had finished all the fenders and had them out of the cabin space. 

Each fender consumed approximately 500 feet of rope for the core and 280 feet for the cover. I made 4 large fenders and the lot of them consumed 2000 feet of old running rigging for the core, and 1200 feet of rope for the cover.

If you want to make your own or want me to make a fender for you, the amount of rope will vary based on the size of the fender desired and the thickness of the line used.

This project took me 11 weeks to complete! Towards the end, it felt like I would never finish and would forever be tying the knots for the fender's core and cover, this made it all the more satisfying when it came to a conclusion.

The ends of the fenders taper much more gradually, giving a much better appearance to the end of the fender.

The ends of the fenders taper much more gradually, giving a much better appearance to the end of the fender.

The project progressed quickly at first, and then started to drag out. Making the central line for the core was entertaining, making the first few layers to the core progressed at a satisfying pace, then all progressed seemed to halt. Each layer of rope seemed less impressive and the cover seemed to never end!

Maddie was a trooper, living with these behemoths in the small cabin during their constructions. While she preferred time spent with me, she was tired of them taking up so much space and therefore granted me the time I needed to finish the fenders.