Synthetic Backstay

While the best material for synthetic standing rigging is Heat Set SK78 Dyneema, the backstay plays by its own rules.

Backstays come in two flavors, static and adjustable.

Static backstays are just that, static. They are set up just like any other stay on the boat and adjusted infrequently. 

Adjustable backstays are a superb addition to synthetic rigging system. They allow "on the fly" tension control of the headstay. If you are beating to windward and notice that your headsail's luff is sagging, simply tighten the adjustable backstay to increase tension on the headstay. The opposite applies when running, as more belly can be induced into the headsail by easing the backstay to slacken the headstay.

Since the backstay will be adjusted frequently, additional creep is not as detrimental. For reasons of reduced cost and additional chafe resistance, normal SK78 dyneema works wonderfully. I used a combination of New England Ropes STS-HSR and Samson Amsteel-Blue SK78 on my own adjustable backstay. The top part is STS-HSR, and the bottom half (where the adjustments take place) is in regular dyneema.

There are several ways to set up an adjustable backstay ranging from a hydraulic system, to a block and tackle system. The choice for synthetic backstay material greatly depends on the type of backstay adjuster. 

Single backstays, especially on larger craft, tend to do better with a hydraulic system. Smaller crafts with lighter rigging loads can benefit from a simple but sturdy block and tackle setup.

When a single backstay is used with an adjuster, be it block and tackle or hydraulic, Heat Set Dyneema will shine supreme. The minimal creep can be absorbed by tightening the hydraulic ram. I would caution away from using regular dyneema with a hydraulic backstay adjuster because the hydraulic system has a fixed amount of distance it can travel. The creep of regular dyneema may consume most of the travel available by the hydraulic system. This can be rectified by moving the splice further up the backstay to absorb the creep experienced. Heat set dyneema will still creep during Phase I of its life cycle, but it will still be much less then regular dyneema would exhibit. 

If it is a small craft with light rigging loads, a block and tackle will suffice with regular dyneema. The additional creep can be easily absorbed by an "initially long" block and tackle system. As the dyneema creeps and settles into Phase II of its life cycle, the block and tackle system will begin to look more reasonable in length while still having wonderful adjust-ability available to work with.

Split backstays have more options available to them. It is best to set the backstay up as a V and either set a block and tackle on one leg of the backstay or create a slide system that will squeeze the backstays together to provide the tension. Smaller craft with lighter rigging loads can get away with the simple to install and adjust "block and tackle" system, where larger craft will benefit from the slide system.

Either system will work wonderfully, but I prefer the peace of mind of a slide system as compared to a block and tackle. My fear with a block and tackle is if the blocks were to break or the pulley line come free, the whole backstay would go slack and could lead to damaging consequences. The slide system is safer because if the slides were to break, the backstay is still secured and tensioned. 

Backstay.png

The slide system is very easy to manage and adjust, even in high winds with large sails exerting tremendous loads onto the rigging. The slides pinch the backstays together which then increases the tension on them. To tighten the backstay (and in turn the headstay), simply slide the system down. To loosen the backstay (and in turn the headstay), slide the system up.

Due to the slides passing over the backstays which will attribute a negligible amount of chafe, the use of a more chafe resistant rope is preferred. For this reason, the lower half of the backstay is Samson Amsteel-Blue which is much more abrasion resistant then Heat Set Dyneema. 

How much creep can be expected when using regular dyneema instead of heat set dyneema? A lot! The headstay on Wisdom (45 foot Morgan) is around 60 feet long and made of New England Ropes STS-HSR Heat Set SK78 Dyneema and creeped around 2 inches. The backstay is composed of 20 feet of STS-HSR and nearly 60 feet of Samson Amsteel-Blue SK78 Dyneema and creeped nearly 36 inches! This is not a comparison of New England Ropes to Samson, but instead a comparison of Heat Set vs Regular Dyneema. While Heat Set Dyneema is less resistant to abrasion and sharp turns, it is very resistant to creep, making it wonderful for static backstays and single backstays. The sharp turn for a split backstay should be performed by regular dyneema and simply calculate in tremendous amounts of creep. 

In conclusion, the best material for a synthetic backstay greatly depends on the type of backstay in question. 

Heat set dyneema is best for single adjustable backstays and static backstays.
Regular dyneema is best for split backstays with an adjuster.

First of Four Fenders Finished!

upload.jpeg

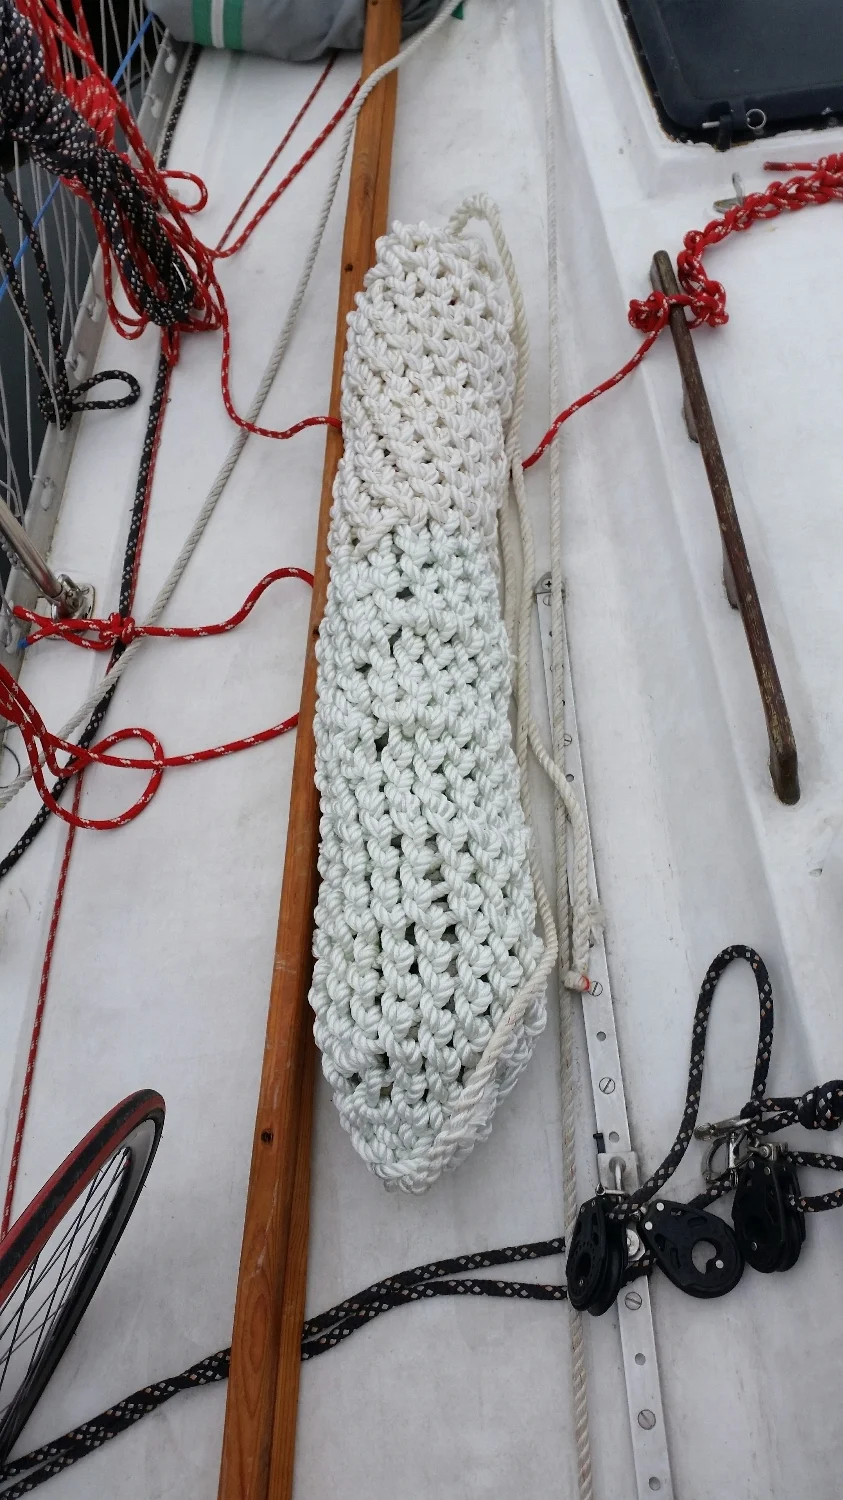
​I've been working on these fenders for some time now. I have sufficiently bulked up all the cores using the old running rigging and began the very slow and tedious process of wrapping them with half hitches. I spent nearly 2 full days (broken up over 4 days) tying the continuous weave that encompasses this fender. 

upload.jpeg

The knot is slow progressing, but when the line gets chafed and breaks, it makes it easier to mend the fender and restore it to "like new"condition. Simply tie up the whole and bury the tails of all the lines involved.  

This fender is completed, now I just have to do it three more times to finish building our armamentarium of fenders on board Wisdom.  

Dock Cart Dog!

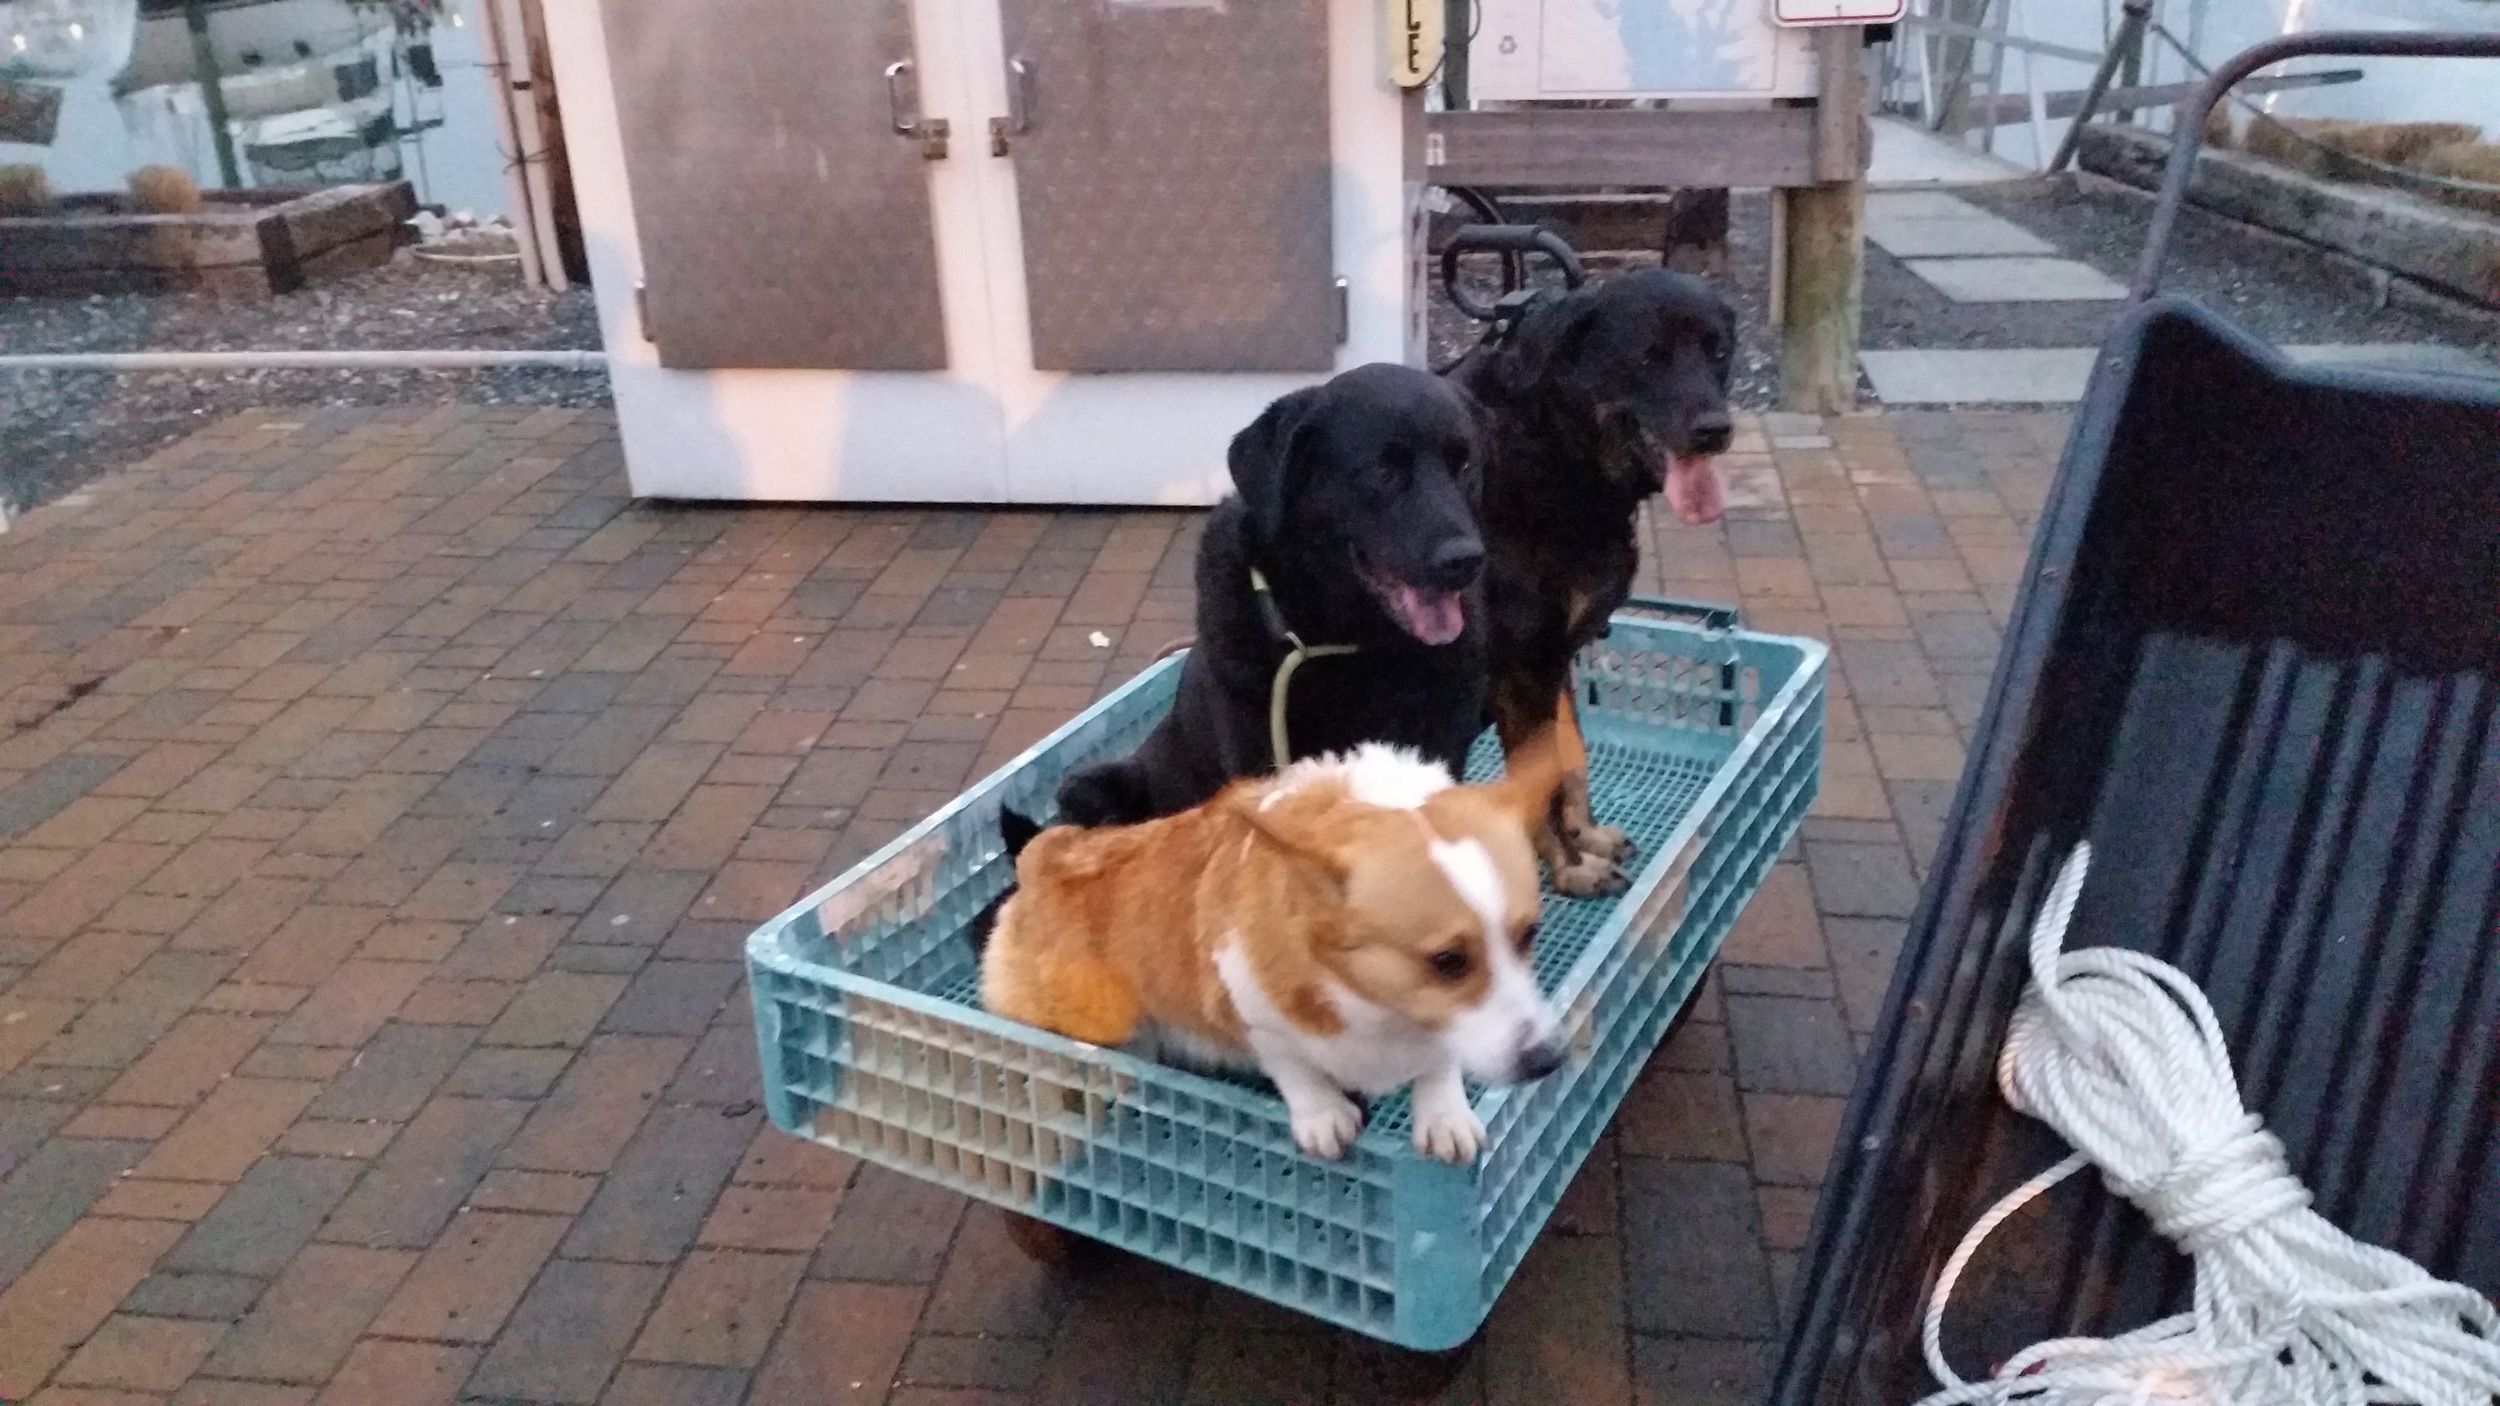
Morty grew up on the boat, so walking down the pier is an everyday thing for him. Walking down the pier next to a dock cart is not such a common occurrence. Morty would usually try to herd the cart by barking at it and jumping all around. 

All of this jumping around and not paying attention makes me concerned that he is going to fall off the pier and into the harbor (it has happened before). My solution to this problem is: Morty rides in the dock cart! 

Hes been doing this since he was a puppy, so every time I get a dock cart, he gets ready to hop in. He rides along looking forward, enjoying the scenery from his higher vantage point.

When Morty hopped in the cart, Dutch and Kani wanted to get into the other empty cart. Then Morty wanted to get in their cart (because they are friends). The problem with Morty's plan is he was the counterweight to the battery in the cart. When Morty shifted his weight, the cart became unbalanced and the battery weight turned the cart into a catapult!

Morty landed and quickly ran over to the cart with Dutch and Kani to join them. The three of them sat in the cart as they posed for pictures. 

The pictures were kind of blurry, the lighting was bad and my battery was too low to use the flash, but they were still adorable.

Storing Rice

Rice is a wonderful food to carry aboard. It is filling, easy to cook, and adds substance to any meal. In Puerto Rico, where I grew up, rice was a staple food at meals. Everything seemed to be based around rice and beans (beans are also easy to store). 

Rice is works very well on a sailboat because it stores well and is compact. A few handfuls can make a meal once cooked. It can be bought in large bags which can be tucked away in cabinets for a long time and it doesn't go bad. This means that rice can be used as an emergency food supply. You can plan the provisions needed for the whole trip, and then throw in a 10 pounds bag of rice for insurance against starvation. 

These large bags of rice can be difficult to dispense small amounts of rice from and they are difficult to reseal. This does lead to the problem of rice spilling from the bag and getting all over the locker. To avoid this, when I open a bag of rice, I will dispense it into separate resealable storage containers. 

I like to use the small cereal containers from IKEA. They are small, easy to store in the galley cabinets, and easy to dispense and seal the rice. Being made of plastic, they are also less likely to break while in storage. A 5 pound bag of rice can be evenly distributed between 3 small IKEA containers. 

To dispense the rice, simply flip up the lid and pour out what you need. When you are finished, the lid snaps back into place, avoiding accidental openings in the cabinet. The silicone seal will also help prevent pest infestations in the container. If something did find its way inside, it will only affect one of the multiple containers, rather than affecting the whole store of rice (the same principle of not keeping "all your eggs in one basket").

Give rice a try, it makes great meals and is easy to keep aboard for extended periods of time!

Rope Fender: Outer Cover

The cores are completed and now begins the very slow and tedious task of weaving the outer cover.

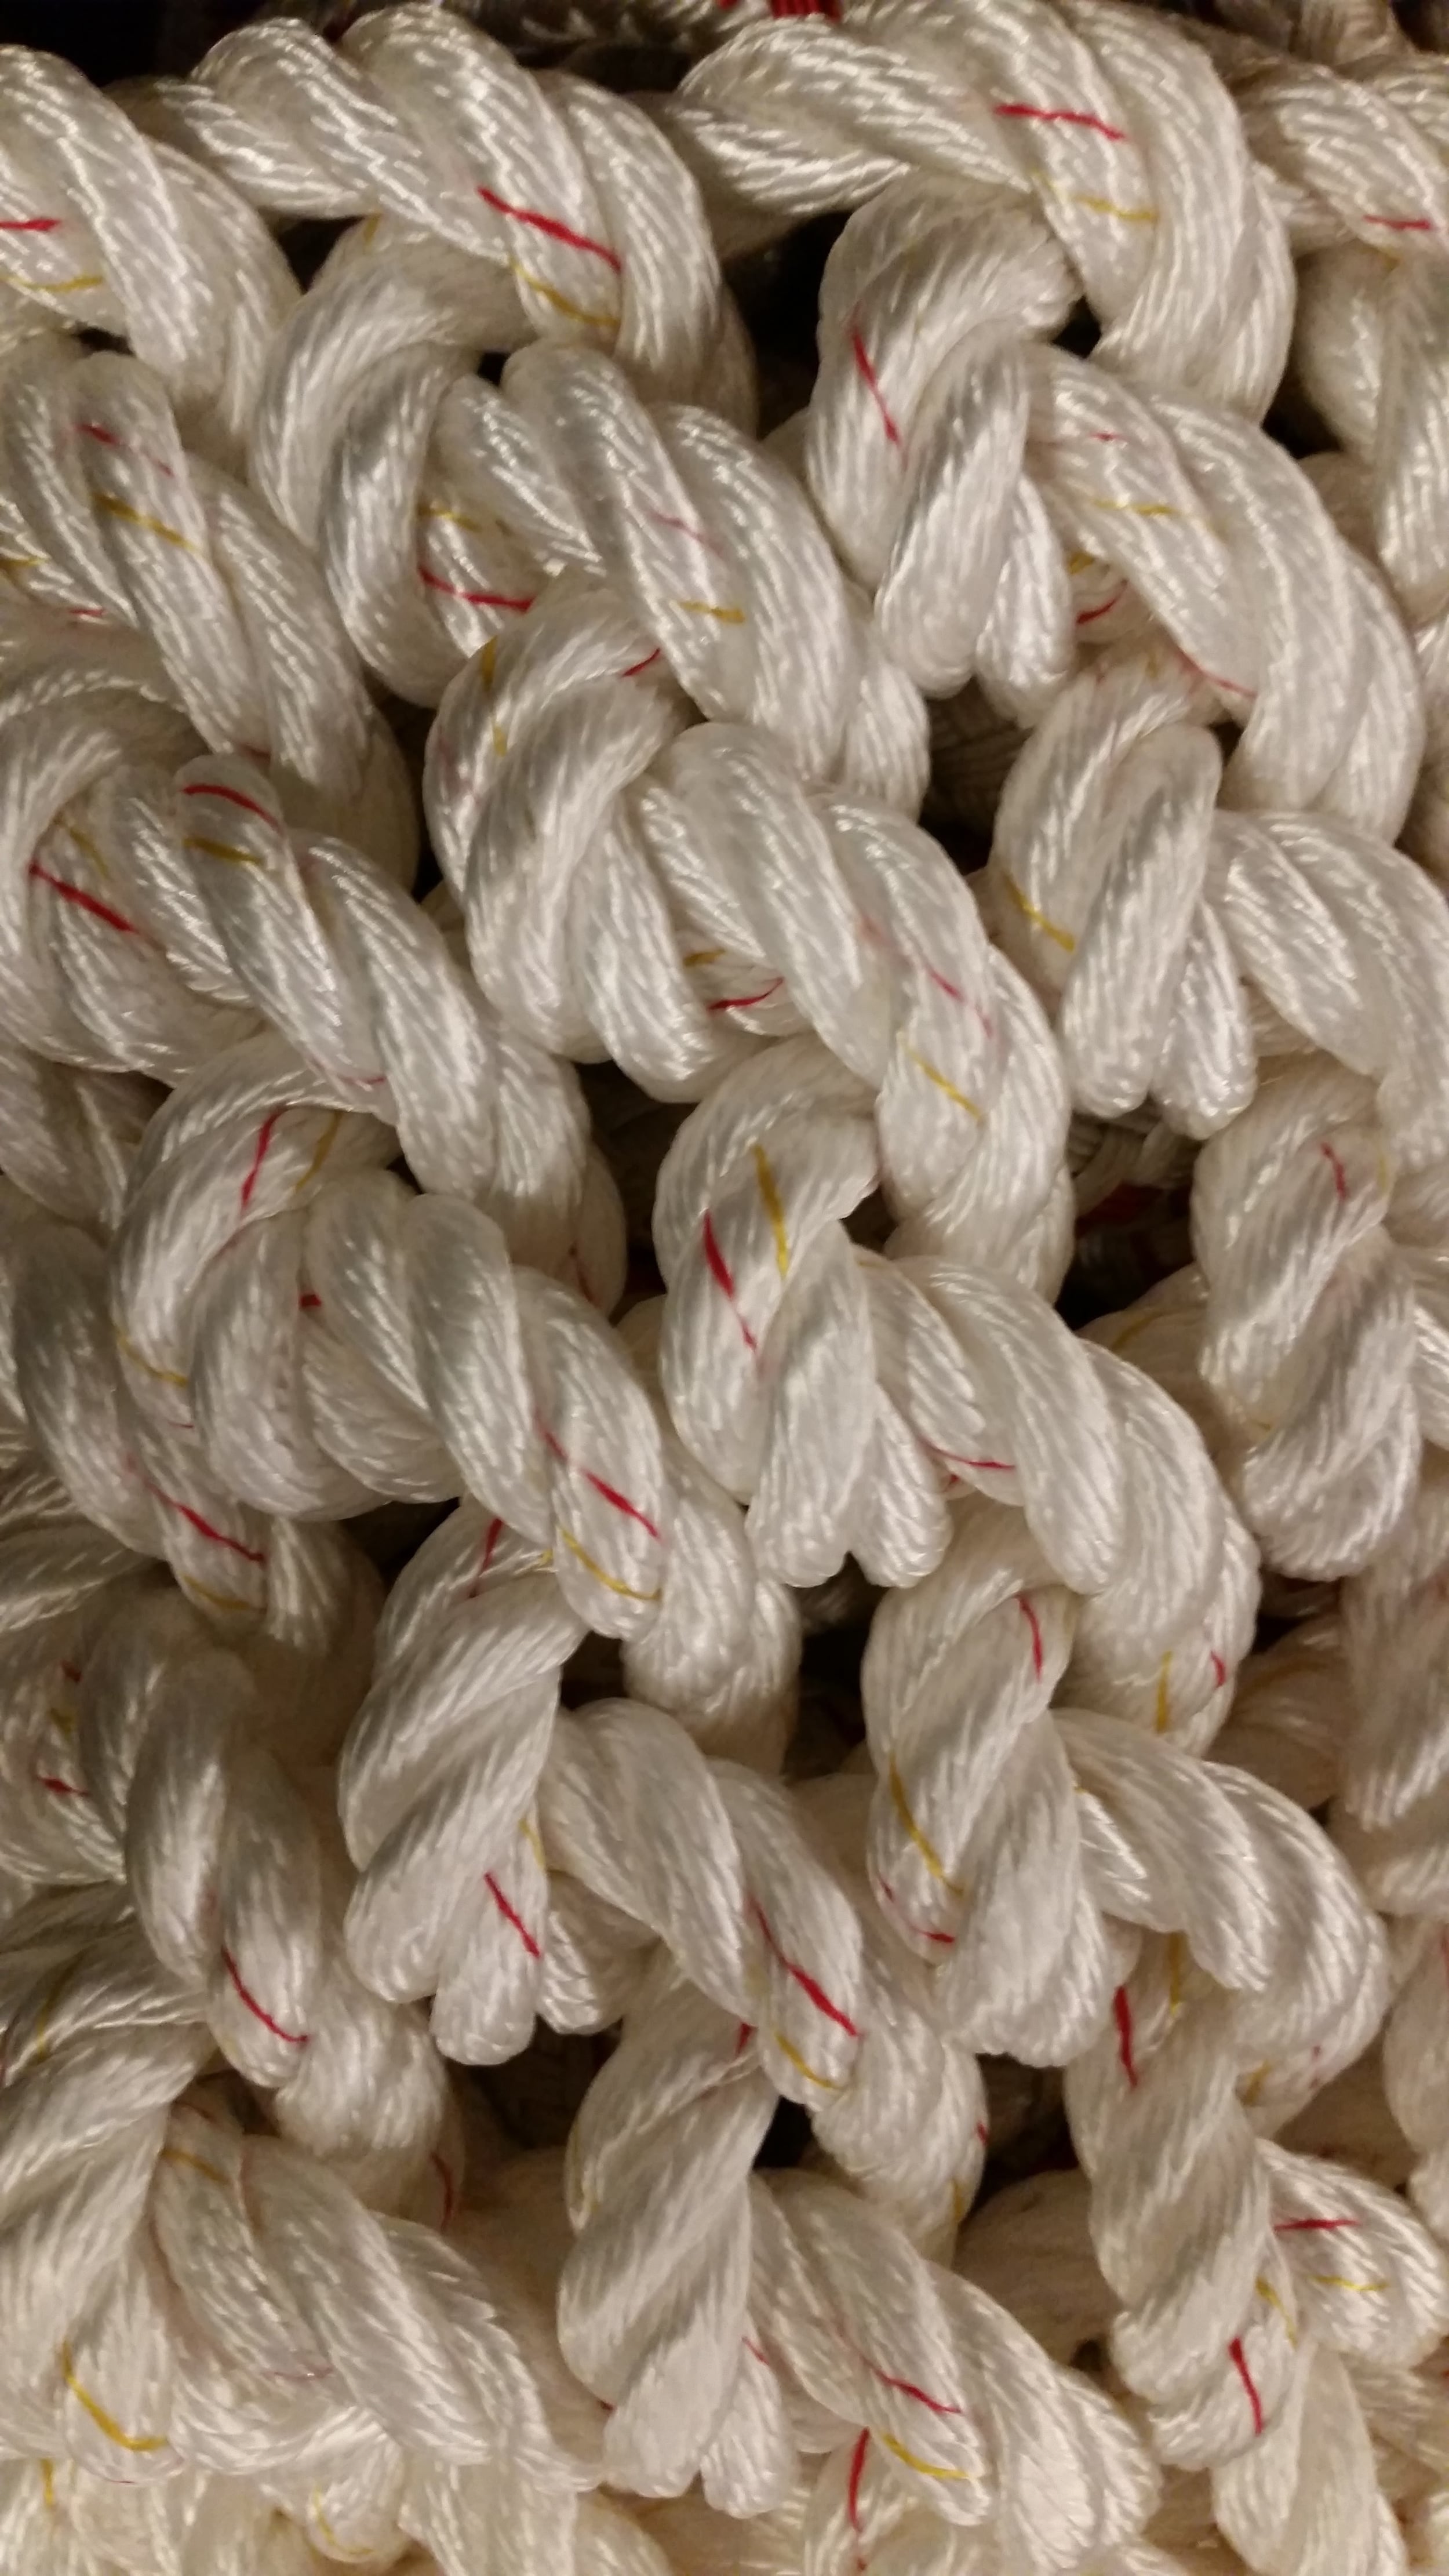
A chain stitch would finish the job delightfully fast, but if one strand broke, the whole thing would unravel. Being how these fenders are designed to take a beating, wrapping them in an easily unraveled stitch seems ridiculous. For this reason, the much slower, but also much more secure stitch of half hitches was decided upon.

Each loop needs to be passed through the holes and pulled through. For this reason, I cut sections of line off the spool of rope, rather than passing 600 feet of rope through each turn.

The number of half hitches per loop can be tailored depending on the size of the fender. If it is getting a bit tight, simply do two half hitches on the same loop. If it is looking a bit loose, skip one of the loops and bring tighten it up. If you need to add or subtract a significant number of half hitches, it is best to evenly space out the differences. This way the fender will appear more uniform rather than looking like a chunk got cut out of it.

Progress has been slow, but the results make it worthwhile. It has roughly taken me around 1 hour per foot with this stitch. I hope I will pick up speed as the project progresses!