Heat During the Winter

When patients find out I live on a sailboat, one of the first questions I get is: "How do you stay warm in the winter?" Once again, I feel they think I live in this:

So how do we keep warm in the winter? We turn on the heat!

On board Wisdom, we have four different heat sources.

Heat Pump (through the reverse cycle air conditioner)
Hydronic Baseboards
Electric Space Heaters
Diesel Fireplace

The heat pump is the easiest to use, it runs all the time as long as the water temperature is warm enough. It cools the raw water that the boat floats in to heat the air in the boat. This works for a while, but when the water gets too cold (like it is right now), we switch it off and rely on our other heat sources.

The hydronic baseboards provide a surprising amount of heat. They are plumbed to a circulation pump that flows water from the water heater in a circuit. This draws water from the water heater through the baseboards and then returns it to the water heater to be warmed once more. I have the water heater set to 180F to provide enough heat for the baseboards. The baseboards location is critical, as it greatly affects their efficiency. One is located in the salon, the other by the V Berth in the bow. These provide safe heat that we can leave on when we leave the boat for the day, keeping the boat above freezing while we are away. These provide heat, but only while we are plugged into shore power. 

Our next line of defense against the cold is our electric space heaters. We carry two on board Wisdom, since electronics tend to fail when you need them most. One is from Walmart and cranks out some serious heat, the other is "The Cube" from West Marine and will make your skin burn if you are too close to it! These electric space heaters can help heat a small space, but they struggle to heat the whole boat, especially on windy days.


Our last, and most effective source of heat is our Dickinson diesel heater. We have the Newport, bulkhead mounted model. It has a 3 inch chimney running right through the deck to vent out its exhaust. When it is burning properly, there is little to no soot and it provides plenty of heat. It is fed via gravity tank which will keep it fed and burning for over a day. 

We usually keep the air conditioner set to 70F during the winter, which keeps the boat nice and comfortable. The diesel is not as easy to regulate temperature since its settings correspond to how much fuel flows through it. When it's burning, the whole boat will stay in the temperature range of 80F to 90F, even on the coldest of days.

There is nothing better than being cozy and warm in a boat during the coldest of days.

Walking on Ice

Part of living aboard in the winter is walking on a frozen pier. The planks on the pier will usually have frost on them in the evening and into the early morning. This layer of frost will make walking rather tricky! 

As with everything, there are tricks to make your passage easier! 

Walk in the middle of the pier
Walk on the nail heads of the planks
Wear shoes with lots of sipes

Walking in the middle of the pier may seem logical, but you would be surprised where you see foot prints in the snow! If you slip on ice and fall, being in the middle provides the best insurance against falling into the freezing water.

Walking on the nail heads is another trick to finding traction on a slippery surface. When you step on the plank, it will usually sink just a bit. This translates into the nail head protruding just a bit. It's not much, but the nail head will sink into the treads of your shoes and provide a tiny bit of traction on a frosty pier.

Lastly, wear shoes with lots of sipes. Sipes are the little lines on treads. The large tread blocks are rather worthless on ice, as edges are what provide the minuscule amount of traction on ice. Sipes provide many edges and add some form of traction while traversing icy terrains. 

It may seem daunting at first to walk 1000 feet over an icy pier in strong winds, but you get used to it! It also makes arrival home to a warm boat even more special. 

Dyneema in the Cold

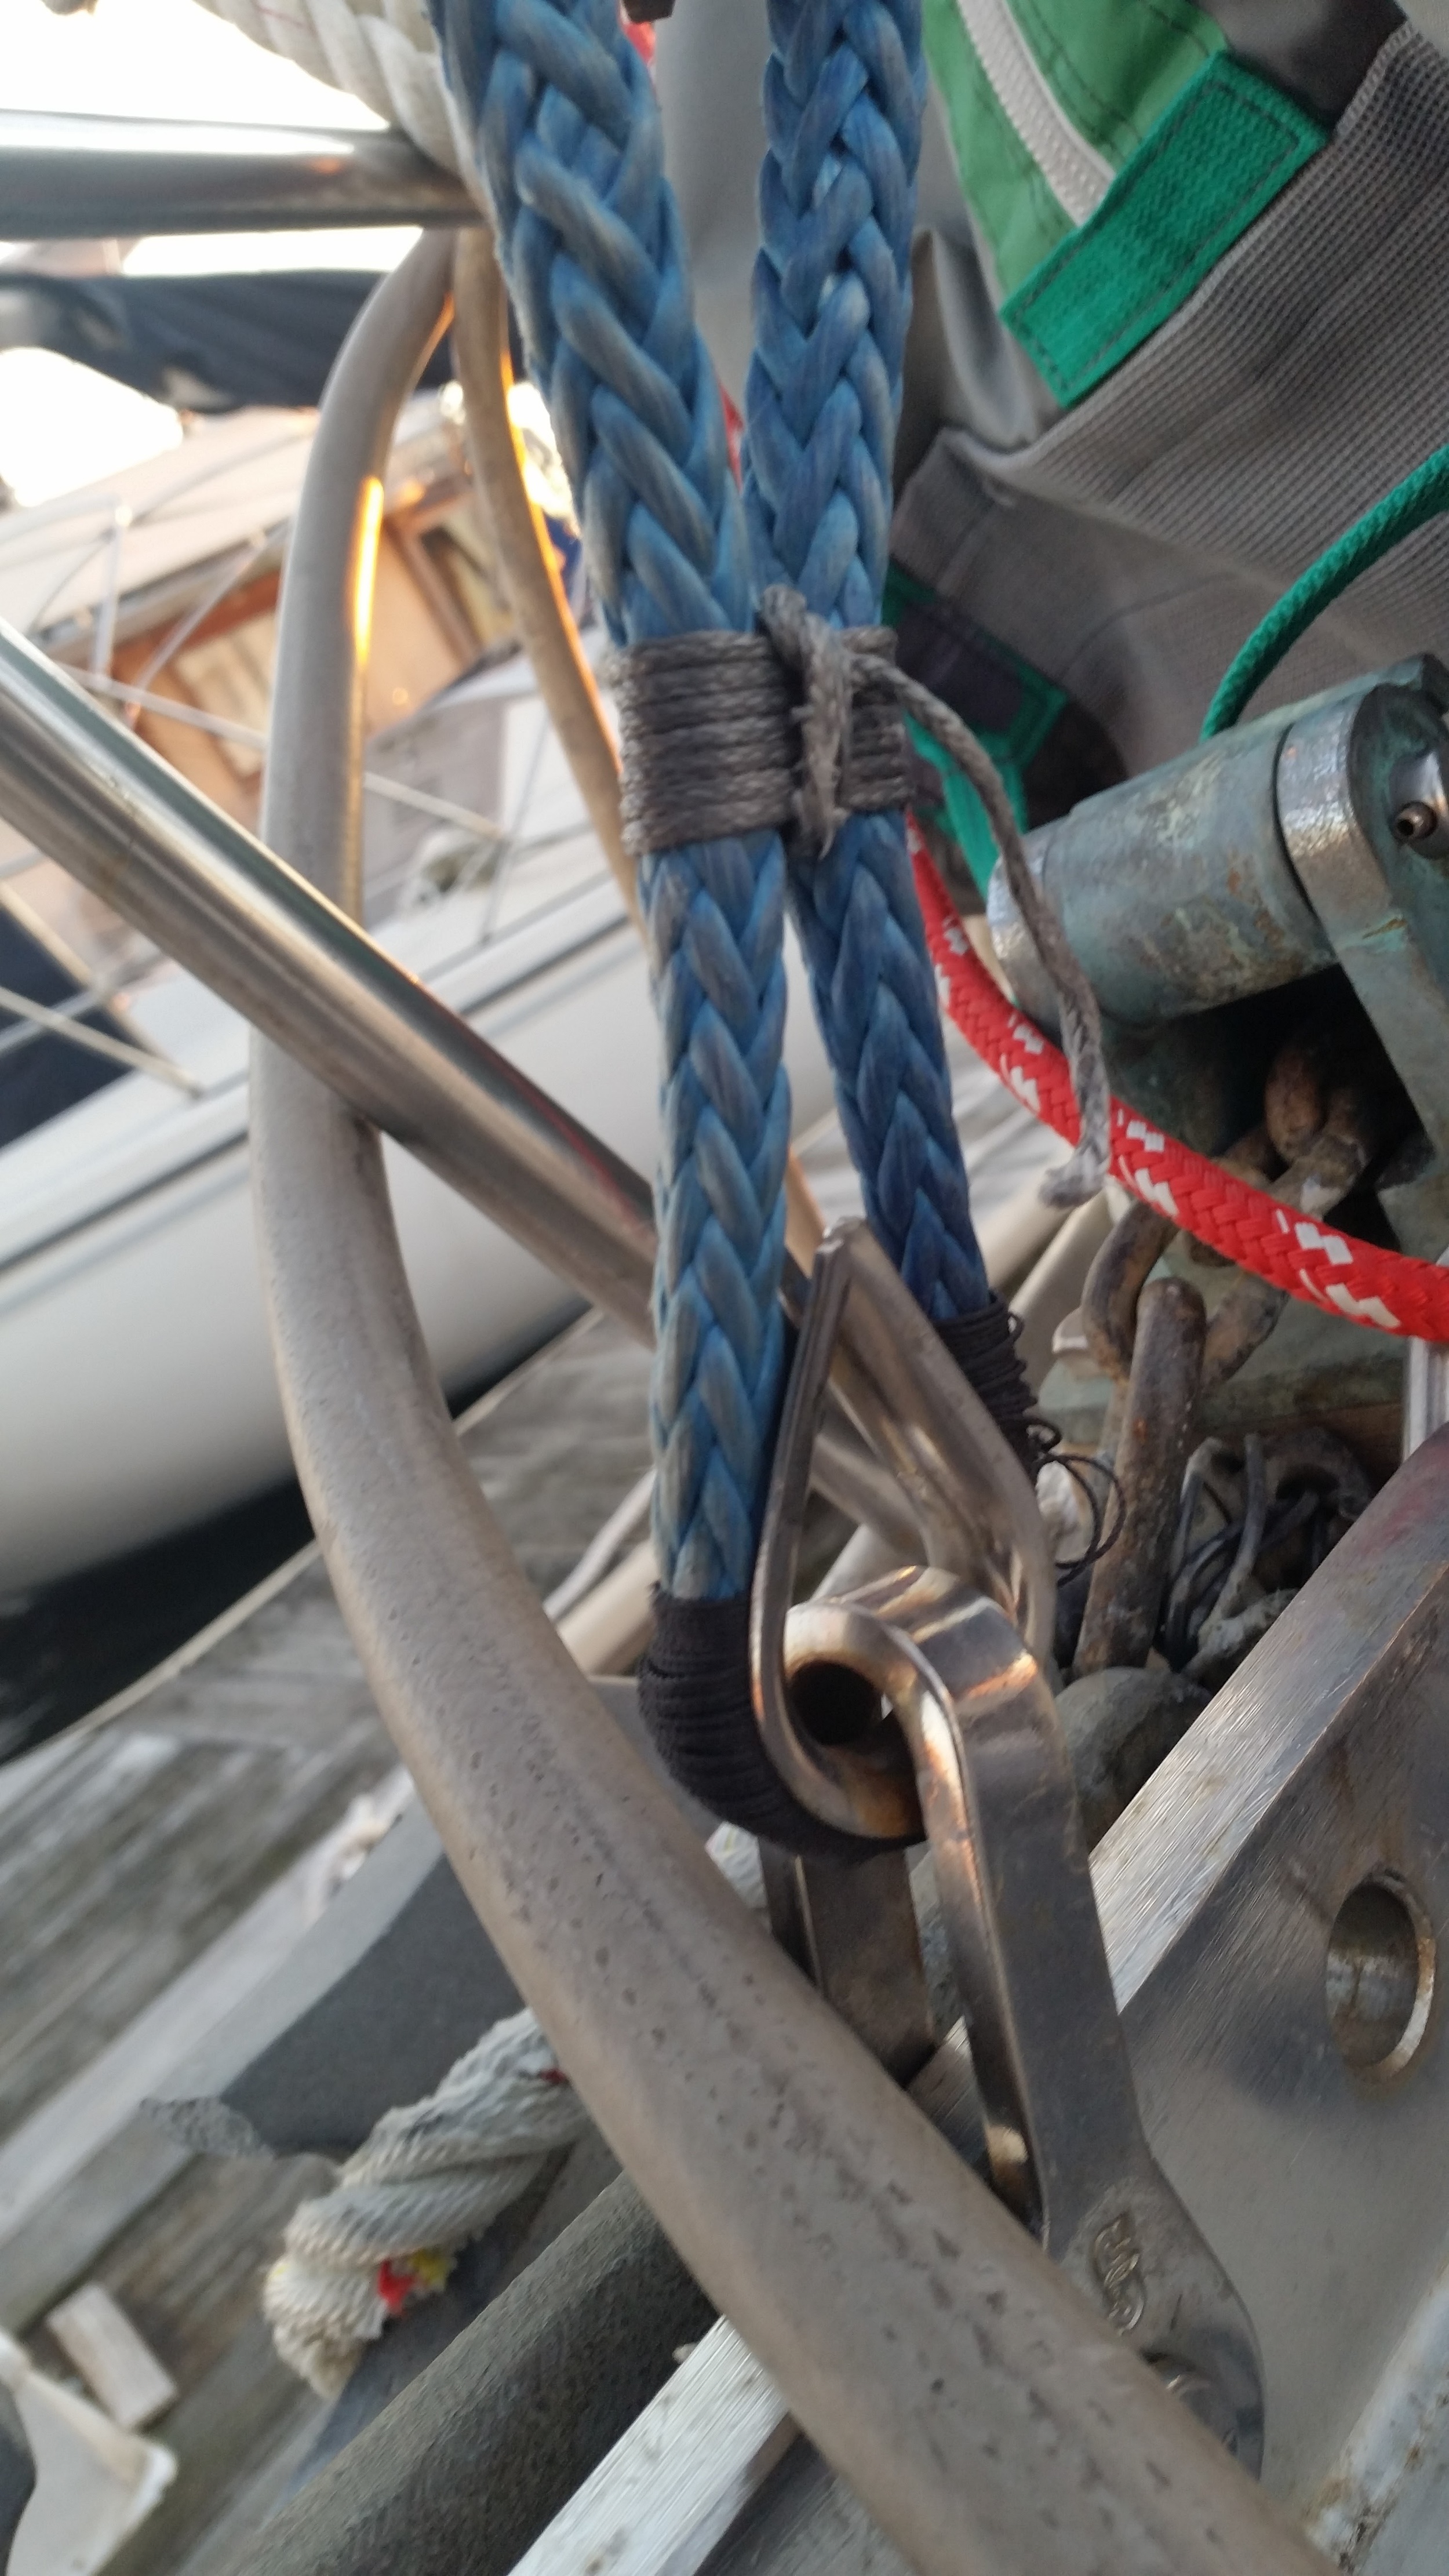
Dyneema experiences a negative linear thermal expansion coefficient in the direction of the fiber. What this means is that it stretches as it cools. Minor differences in temperature will not create an appreciable difference in length, leading to loss of tension, but more drastic differences will.

What this means is that your rigging will go slack during the winter which is of little consequence since the sailing season ends before it gets cold enough to notice the difference. I tensioned my rigging when it was between 60F and 80F. Now that the temperature has dropped down to below 20F, we are seeing an appreciable slackness in the standing rigging. 

The headstay which is usually bar tight in the spring, summer, and fall, is now loose. I can easily pull down on the headstay's deadeye and create this much gap (nearly 6mm or 1/4") with one of my arms and little effort. I needed an incredible pulley system to achieve the necessary tightness when the rigging was installed in warmer weather. 

If I were inclined to sail on these freezing days, I would need to tension the rigging again. By waiting for the warmth to return before I set sail again, I don't need to do such adjustments. When the air warms again, rigging will once again regain its pre-established tension without being touched.

The other option I have available on these frigid days is to tighten the rigging by hand, when the warmth returns, the rigging will be tighter than I could have ever dreamed of achieving. This is nice from the standpoint of "achieving sufficient tension" but this unnecessary tension can lead to greatly increased forces exerted on the rigging which can lead to premature failures of the fittings.

Rigging tensions, as everything else on the yacht, is a double edged sword. More tension equates to more forces which leads to greater loads and stresses, which leads to premature gear failures. Always be mindful of how tight your stays are and remember that the mast fittings and chainplates have to distribute these great loads.

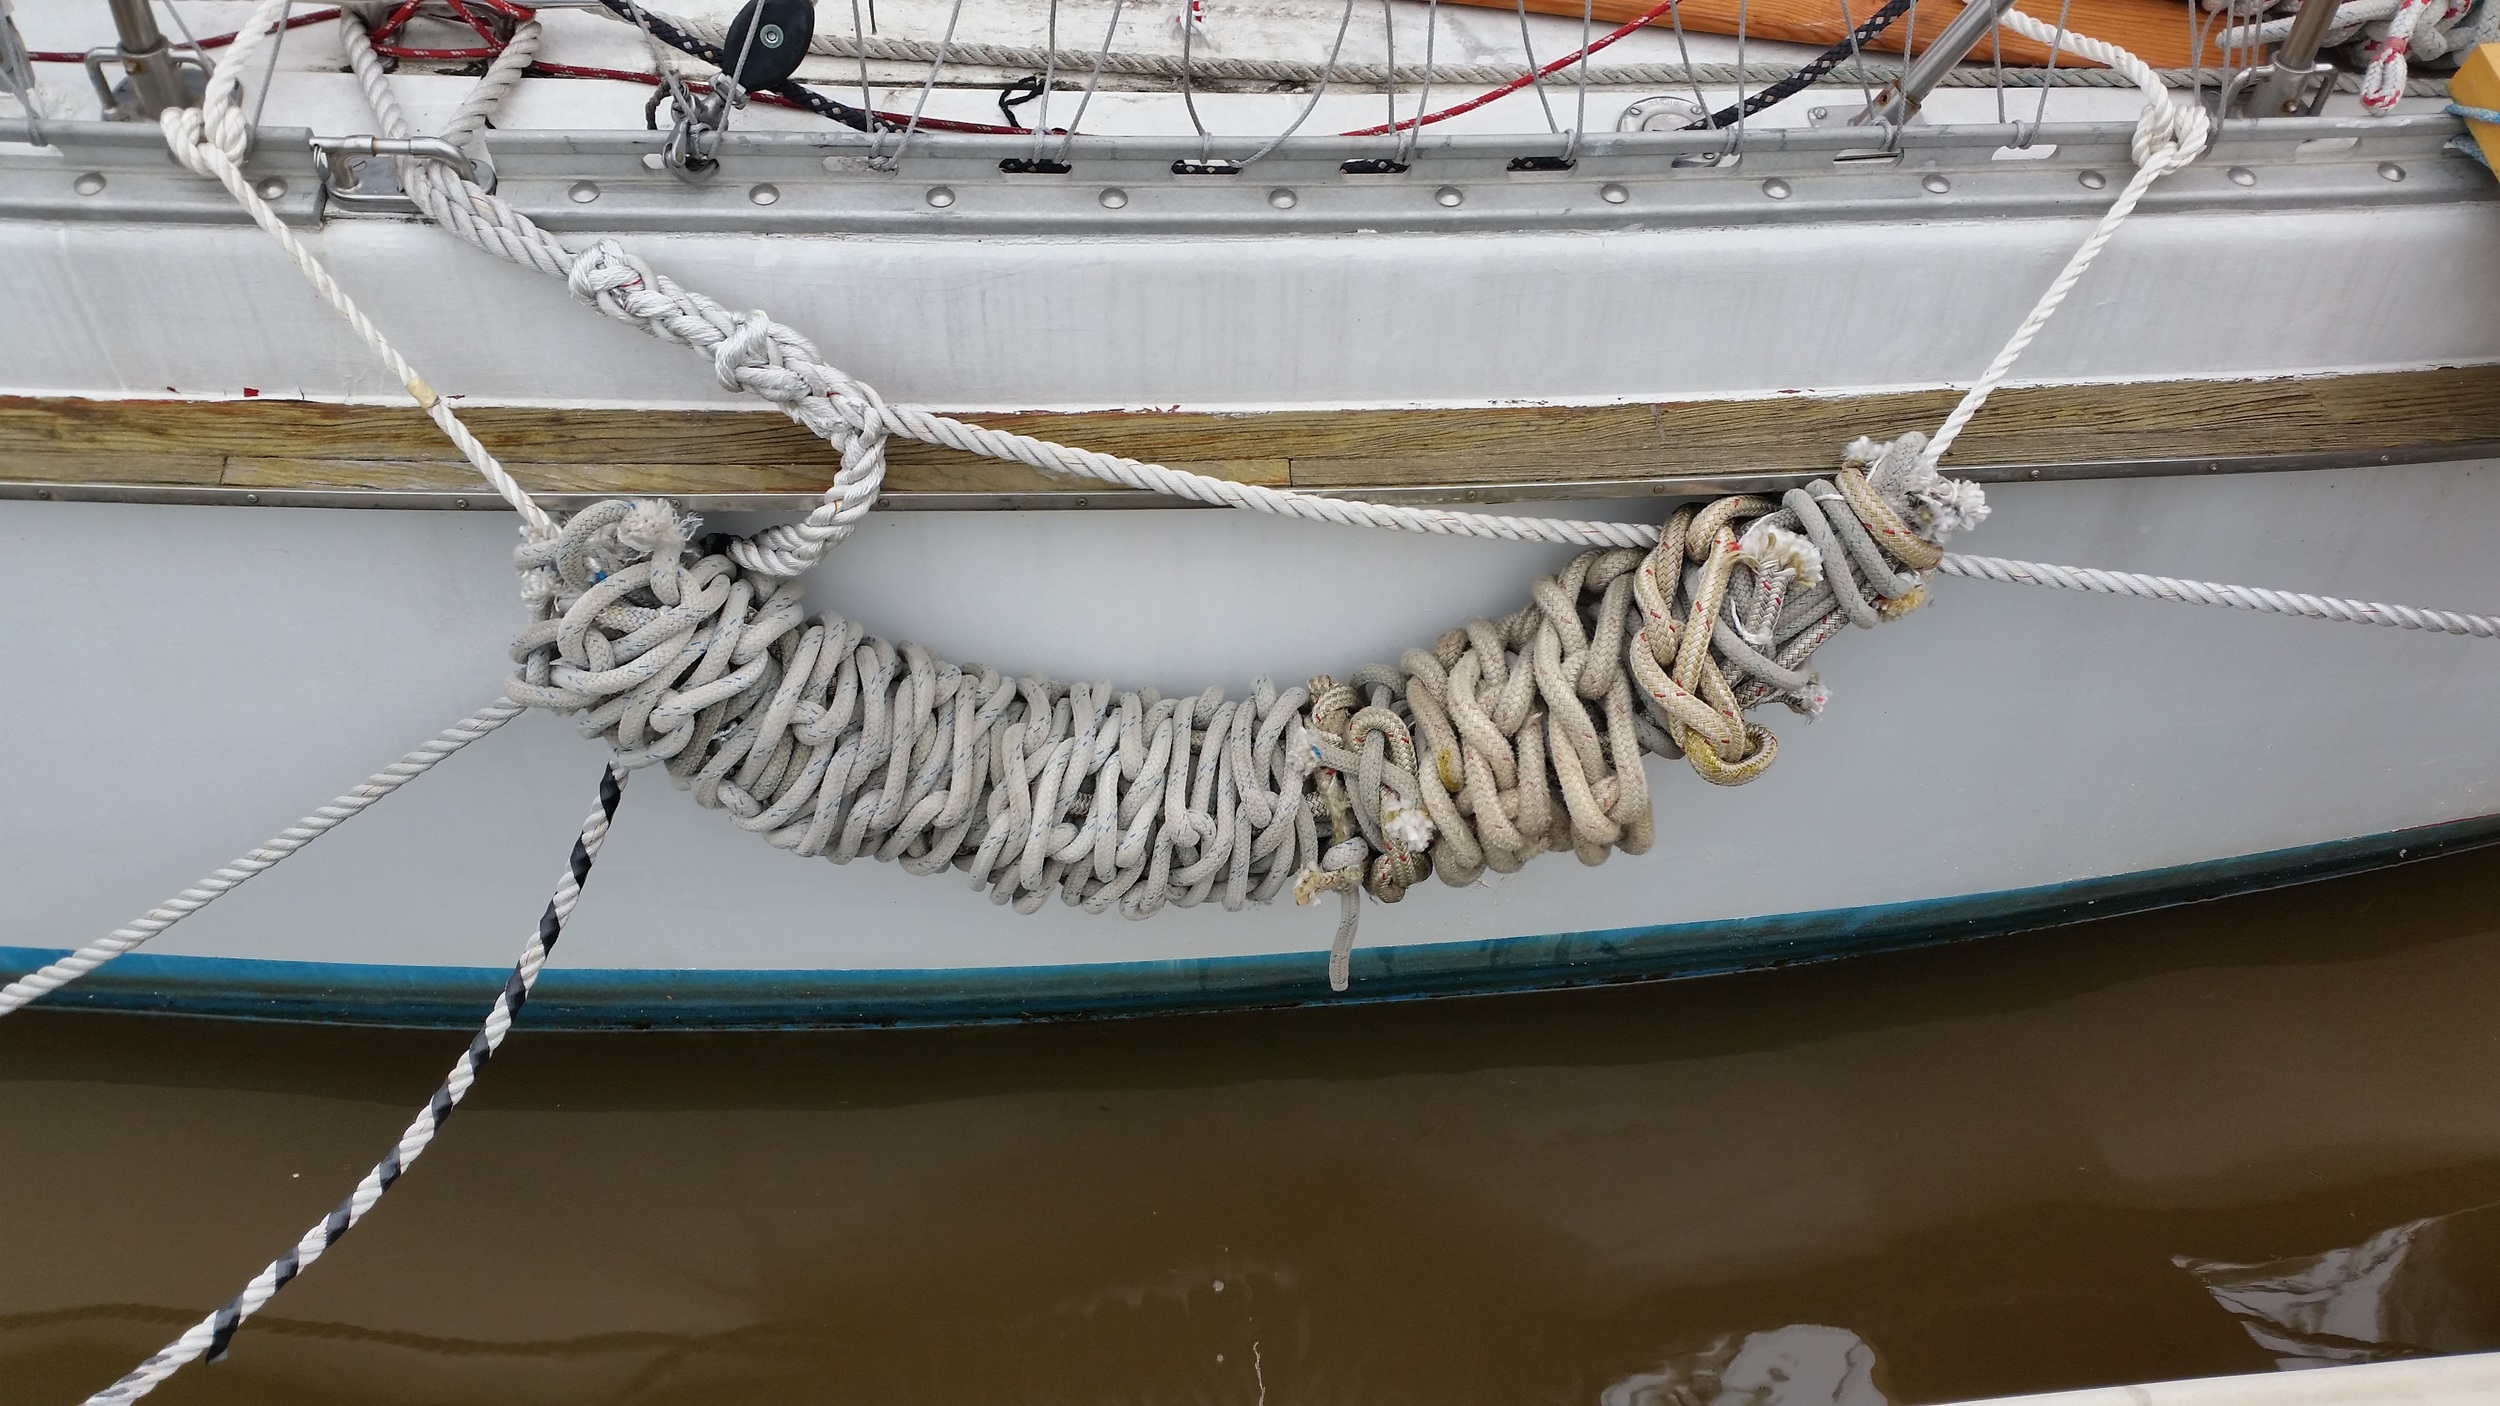
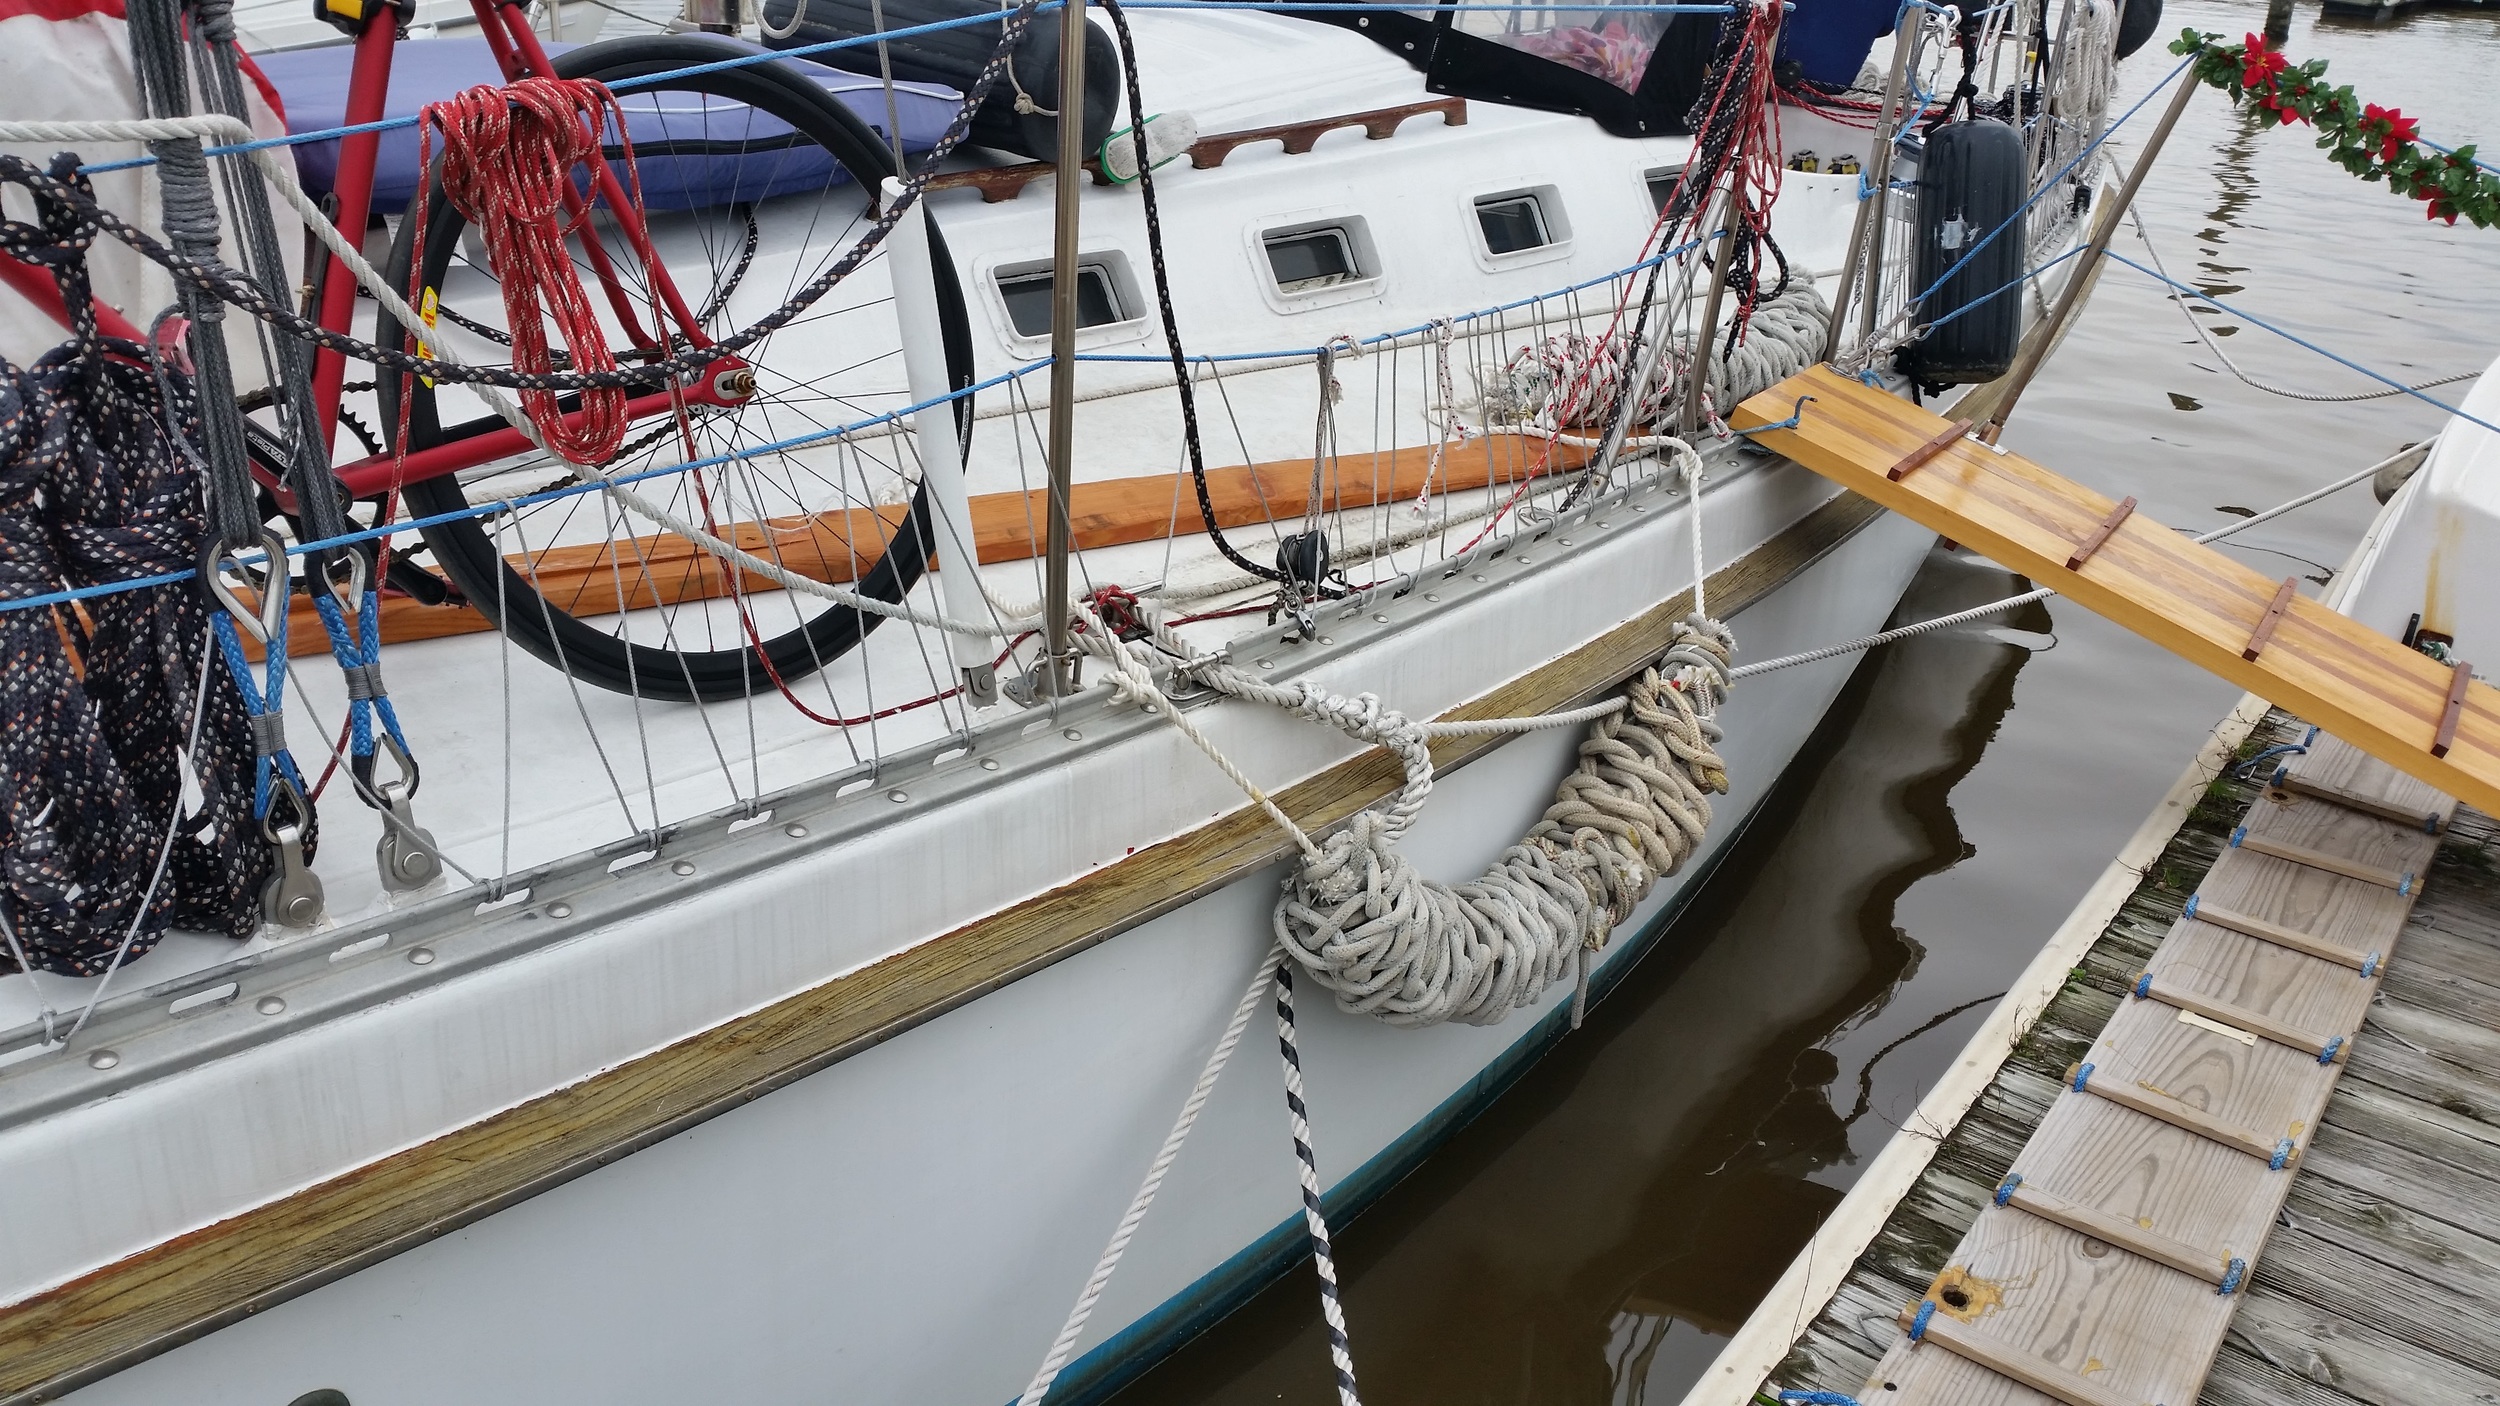
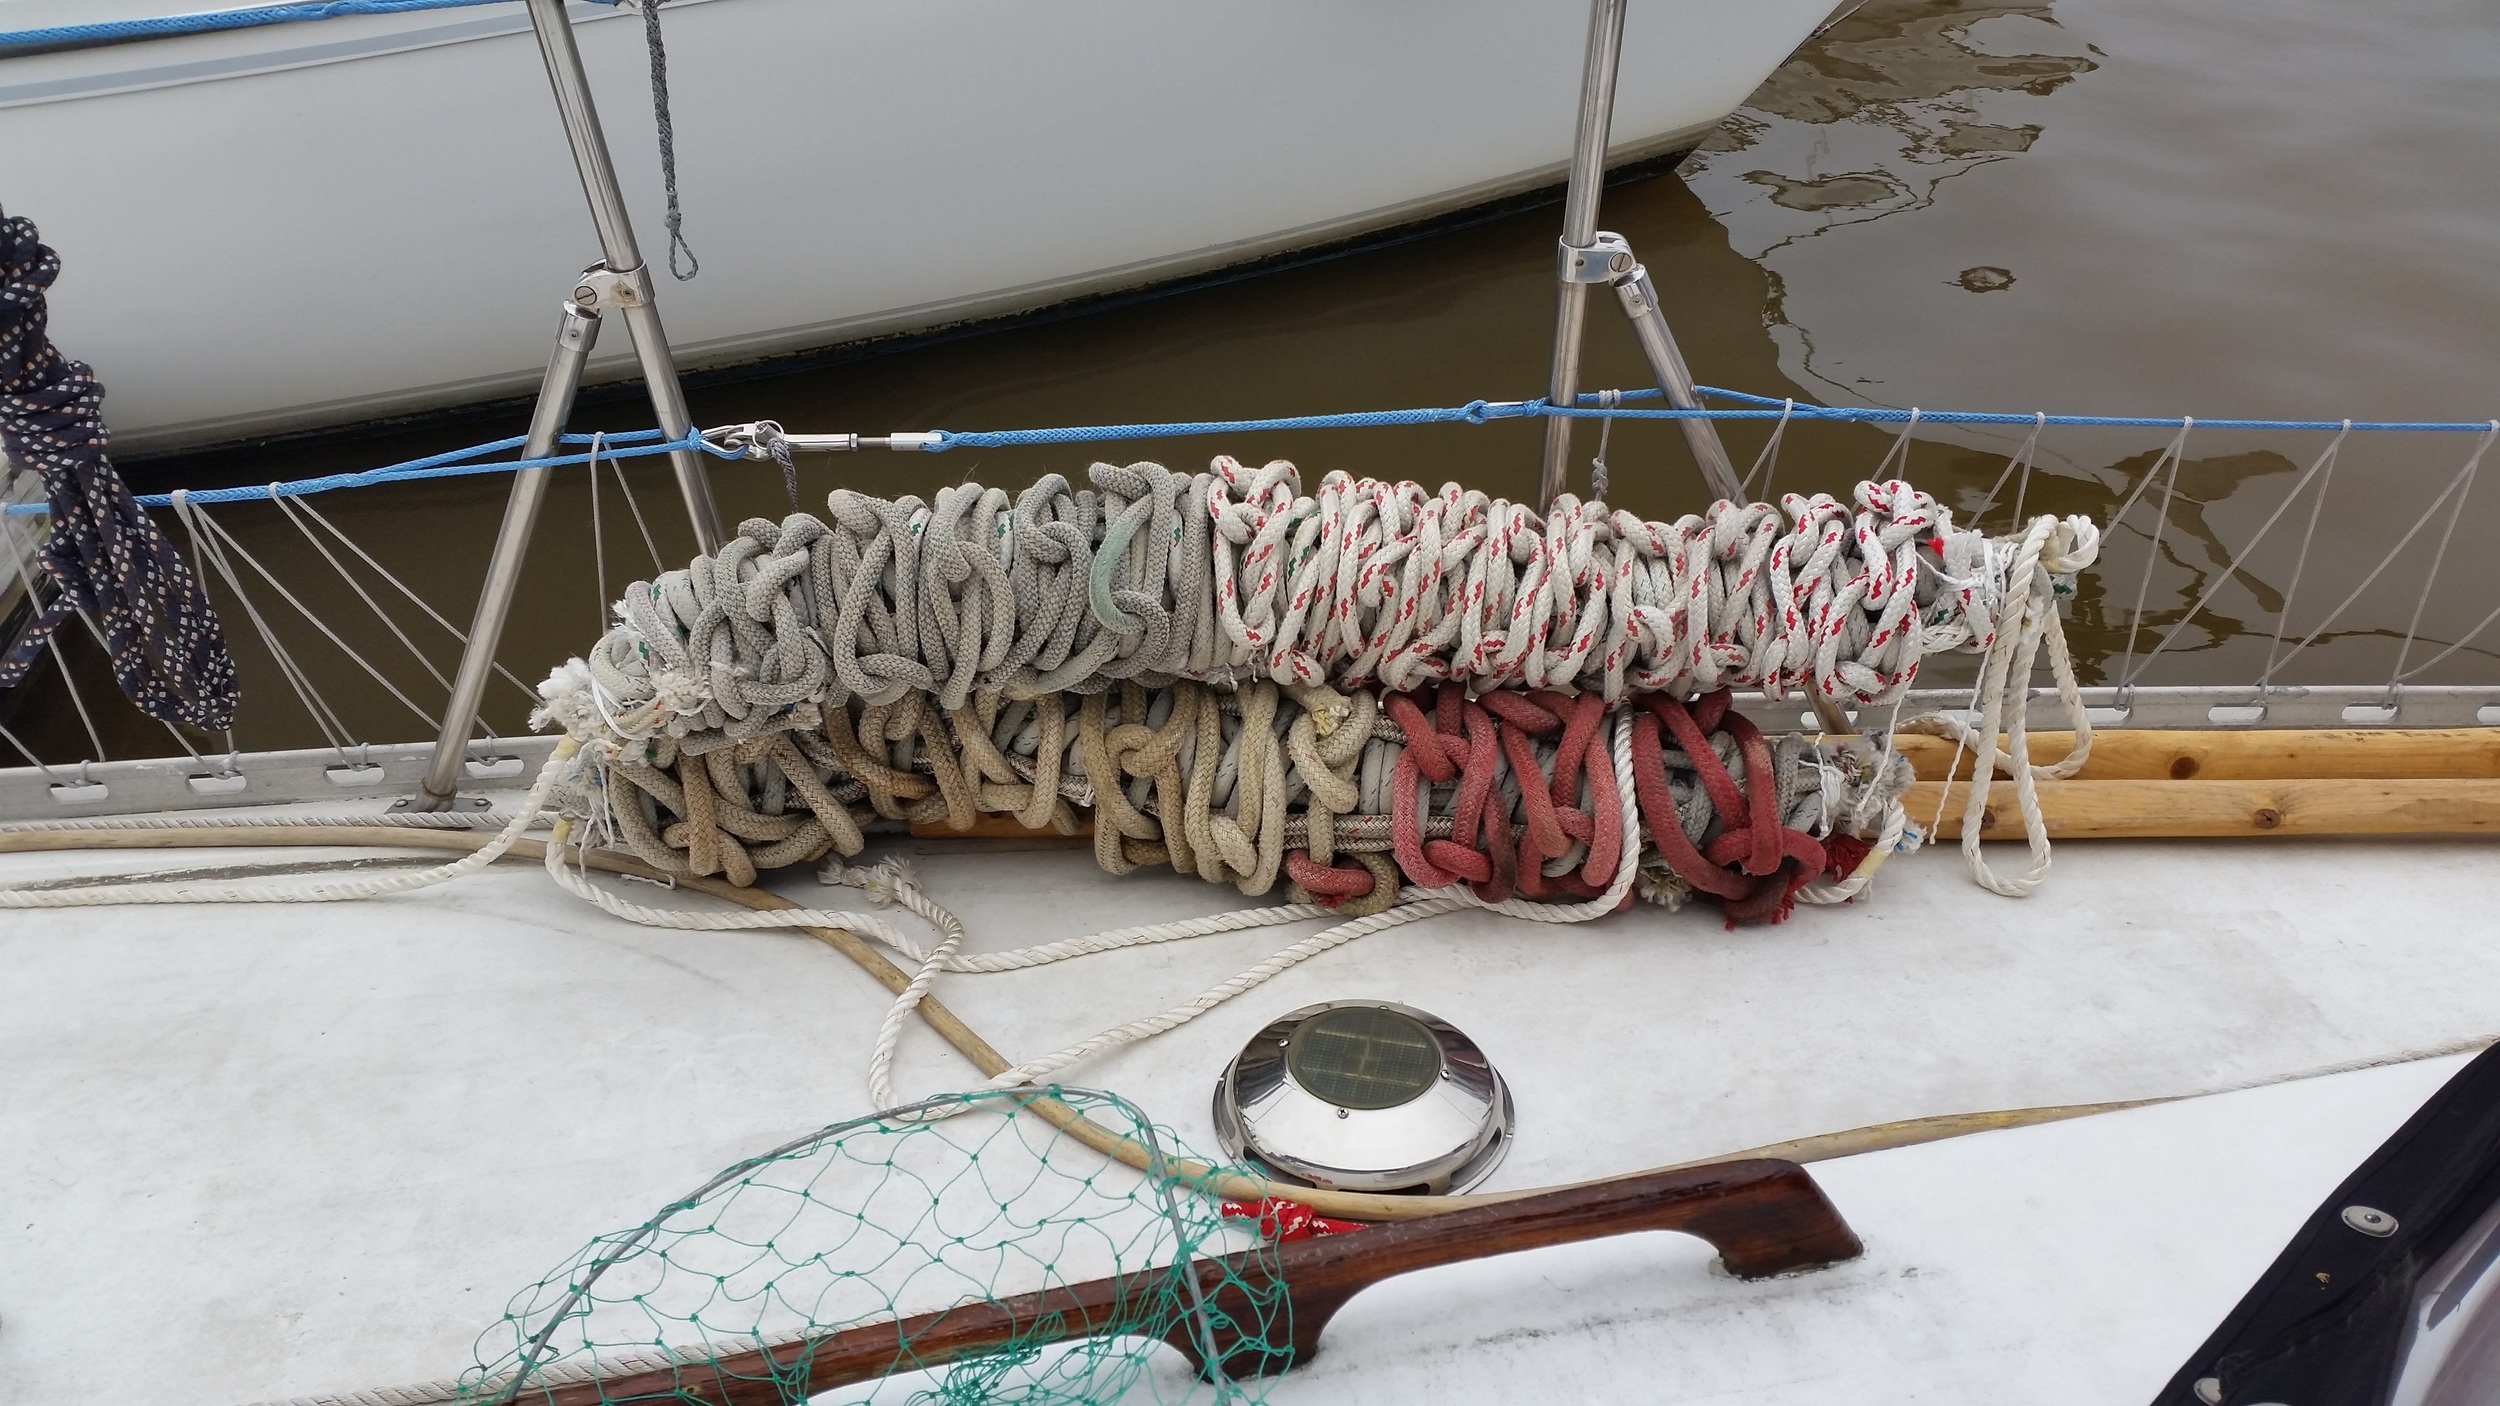
Rope Fenders: Completed Core

The rope fenders are finally bulked up and ready for test fitting. Rope fenders of this size are very time consuming to make but they offer many serious advantages over inflatable fenders. 

They will not pop
They serve the purpose of fender and fender board
They will not fly away in the breeze
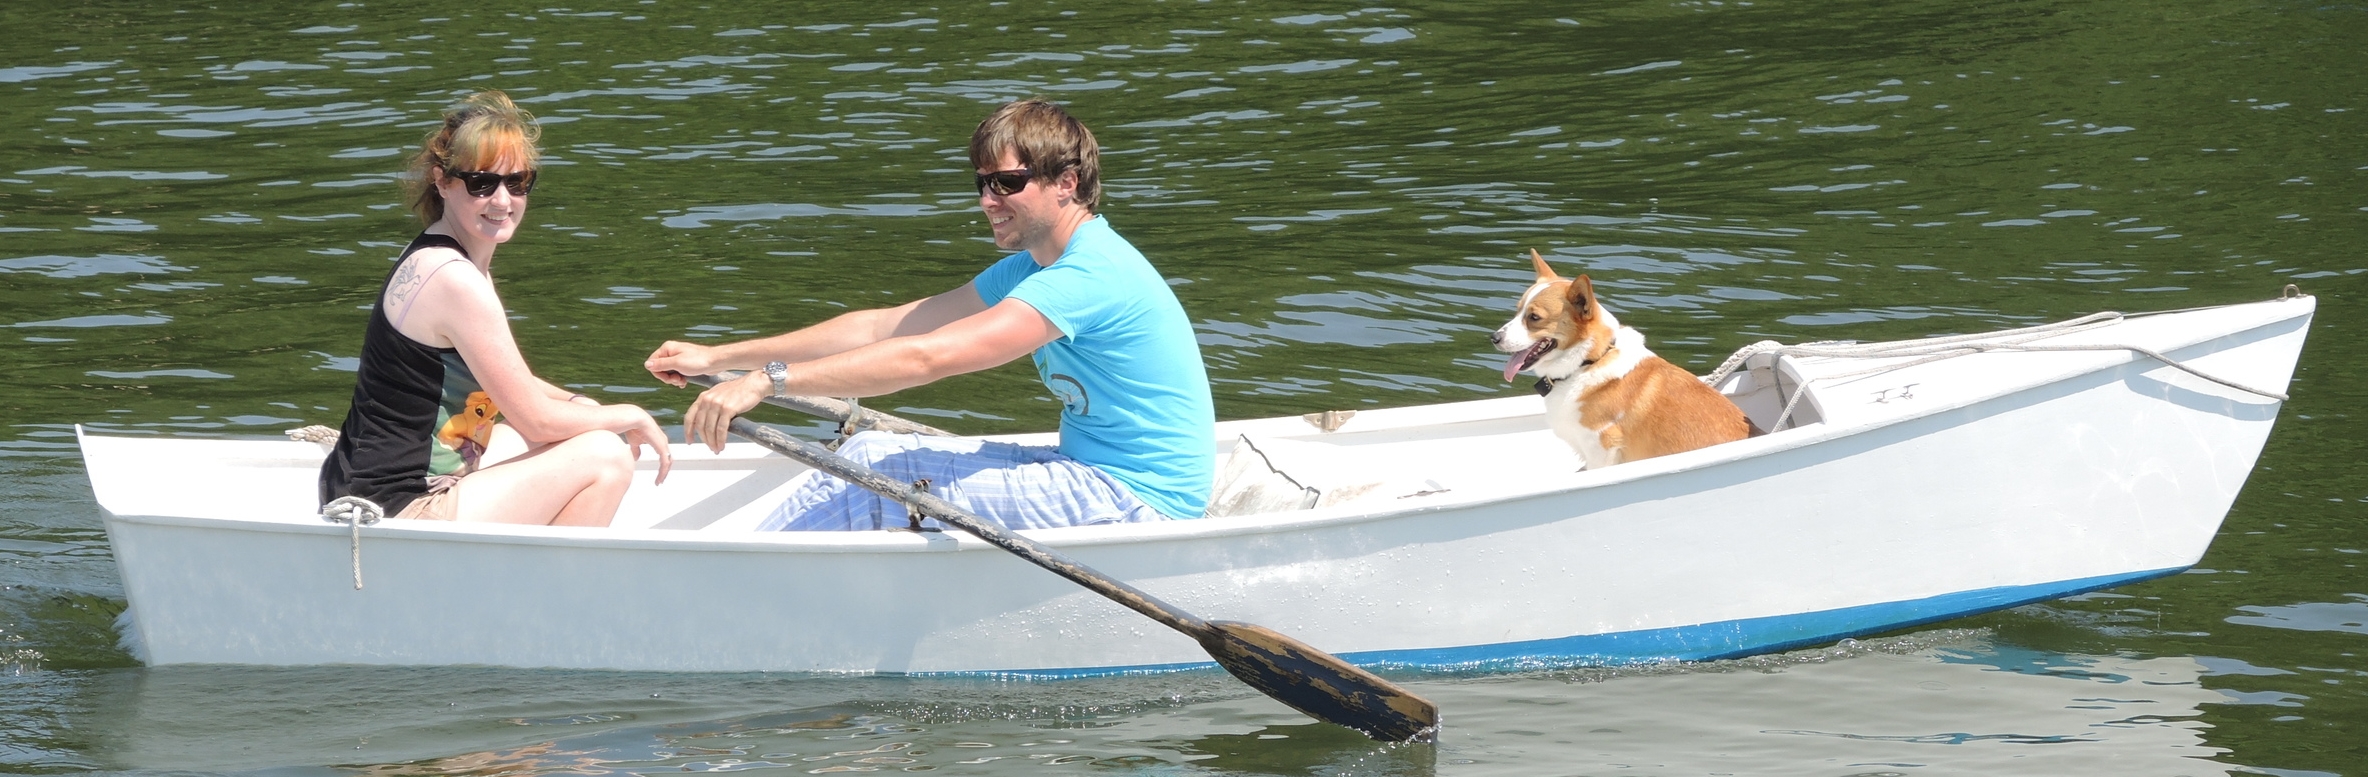
They will close the hole in the gate to keep Morty (our boat dog) from sliding out

The core is completed, but the outside covering needs to be tied. The process of tying the cover over the core will continue to bulk up the fender even further. It is easiest to hang the fender from a halyard and work on it standing, but it has been rather cold these past few days; delaying the completion.


Composting Toilet

Most boats have a holding tank system which keeps your poo in a smelly soup. We keep our poo in dirt!

When I bought Wisdom, it had the standard marine head with septic hoses running everywhere. The hoses were old and reeked of toilet wastes. It seemed that no matter how much I cleaned them, they always smelled. The head was rather old and after rebuilding it a few times, I decided to ditch the traditional method and convert over to a composting toilet.

The way it works is the solids and the liquids are kept in separate areas. The liquid tank fills up rather quickly and needs to be dumped weekly. The solids tank actually lasts a very long time. With two people using it, we choose to dump it every 6 months. It is not full, nor in need of being dumped at 6 months; we simply feel that it has been long enough. When we dump the solids tank, it doesn't look like a pile of poo. Instead, it looks like dark dirt (though I wouldn't put this on the vegetable garden)!

The composting toilet we chose is very comfortable to sit on and use, and it fits well in the boat. I did drill a weep hole in the section that holds the pee bucket so that shower water would drain out. 

Installation was also very straight forward. Remove the old head and all associated plumbing, then attach the compost toilet to the sole. The kit includes fans and hoses and all sorts of attachments to the toilet, but we decided to try it out as it is first, then install the rest of it if we felt the need.

Two years later, we still haven't felt the need to install the other parts. The head sits in our head/shower and quietly serves its purpose without much intervention. 

But what about bugs and flies? Well, that is where the dirt comes into play. We found that using pure peat moss and poo was a wonderful breeding ground for gnats and flies. By mixing in a fair amount of diatomaceous earth with the peat moss, nothing would spawn. We mix the diatomaceous earth in until the lot of it takes on a grey color, that seems to do the trick!

If the pee bin ever begins to smell, we simply pour in a cap full of white vinegar. That will neutralize any smells instantly, once again restoring peace to our floating home. 

The boat began to smell much better once the heads were switched. Removing the old smelly poo hoses and replacing them with the compost made a huge impact on the quality of life below deck!

Since these composting toilets work as standalone devices, they would also work great in cabins, RVs, and other boats.