Crown Knot

upload.jpeg

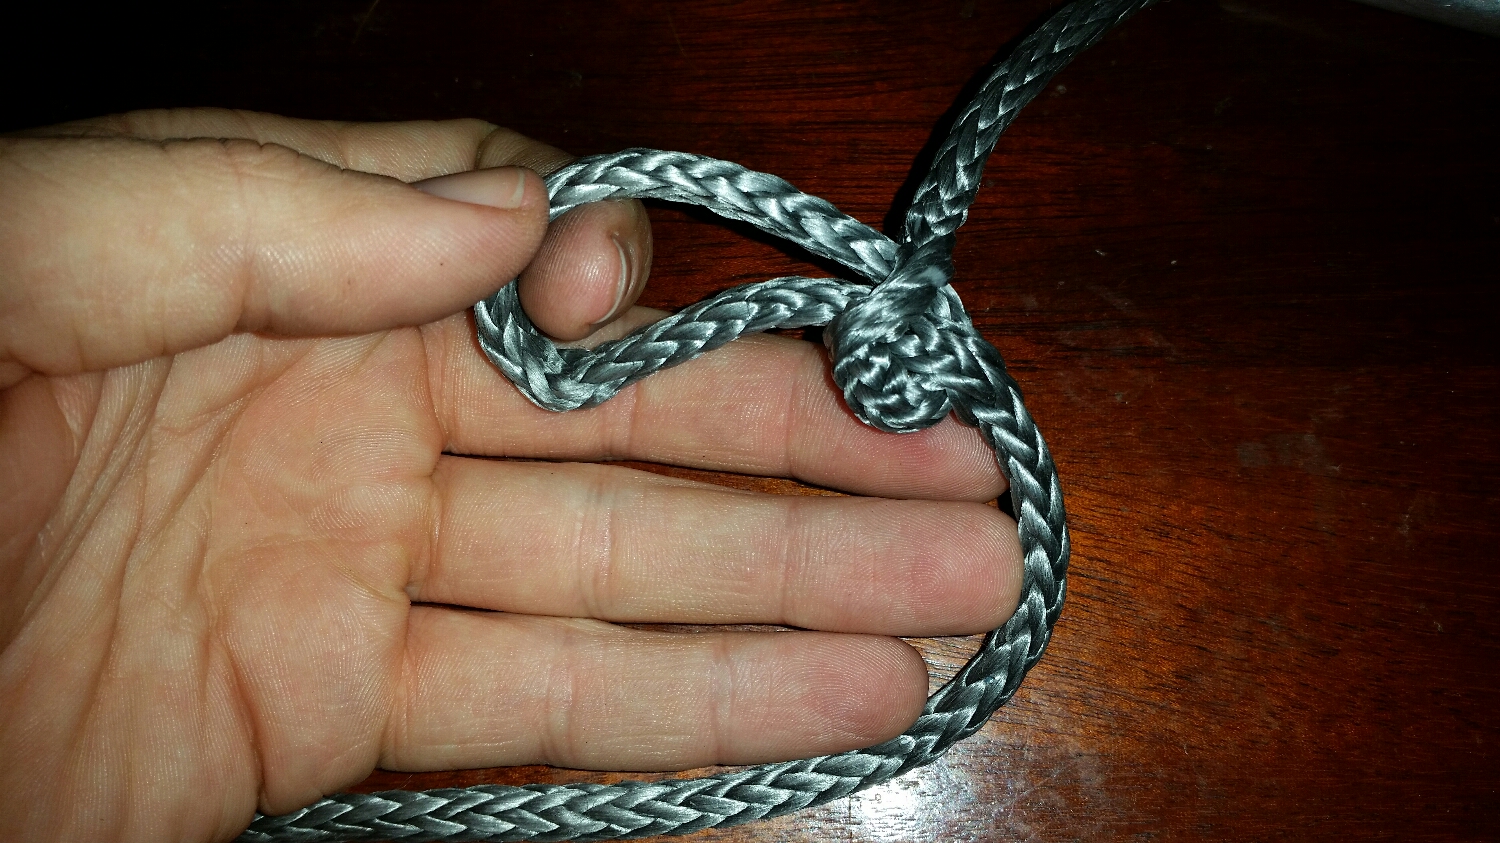
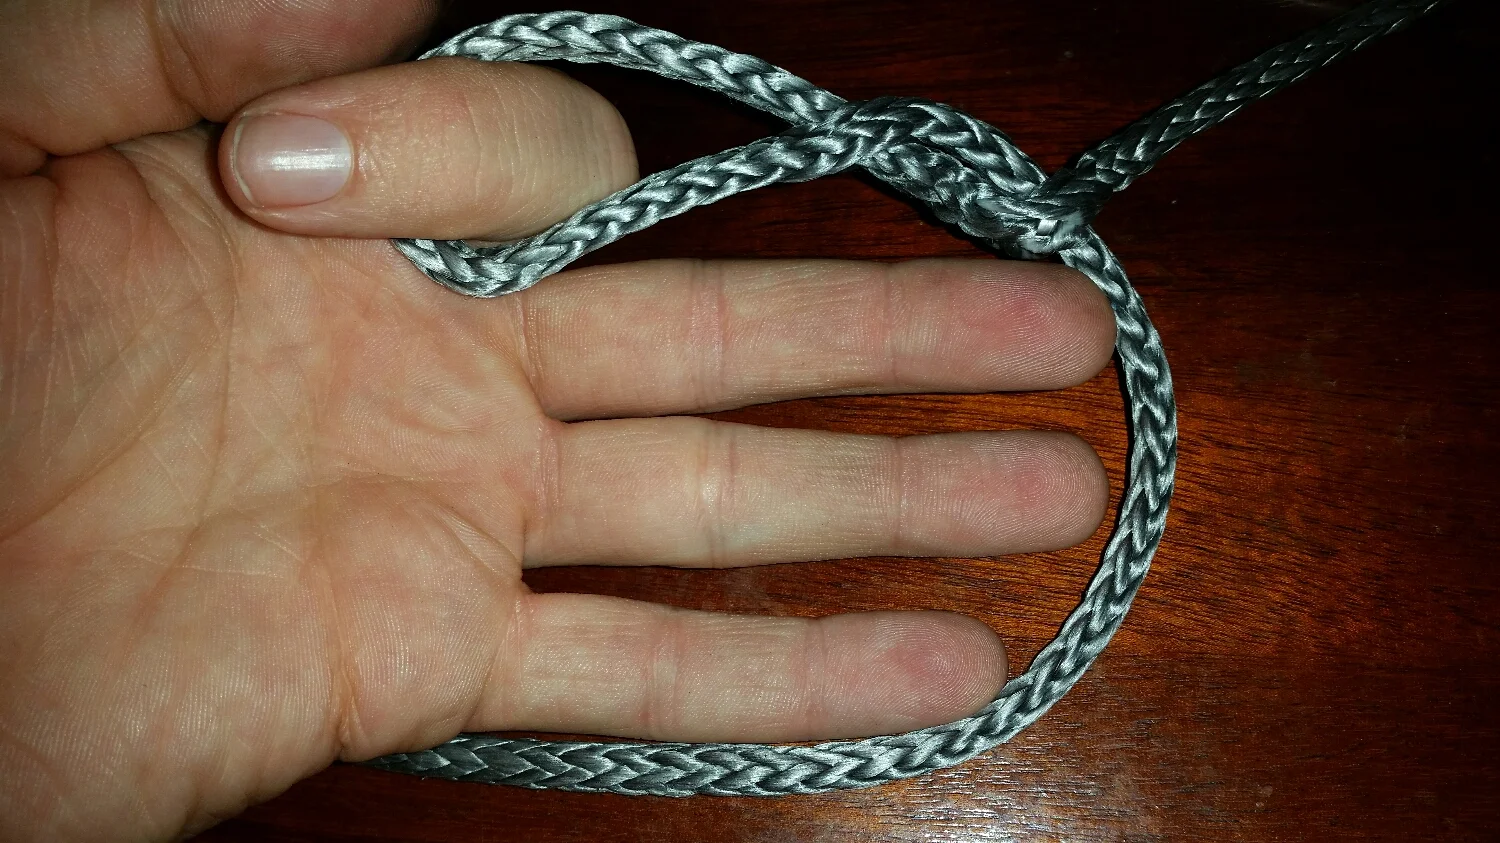
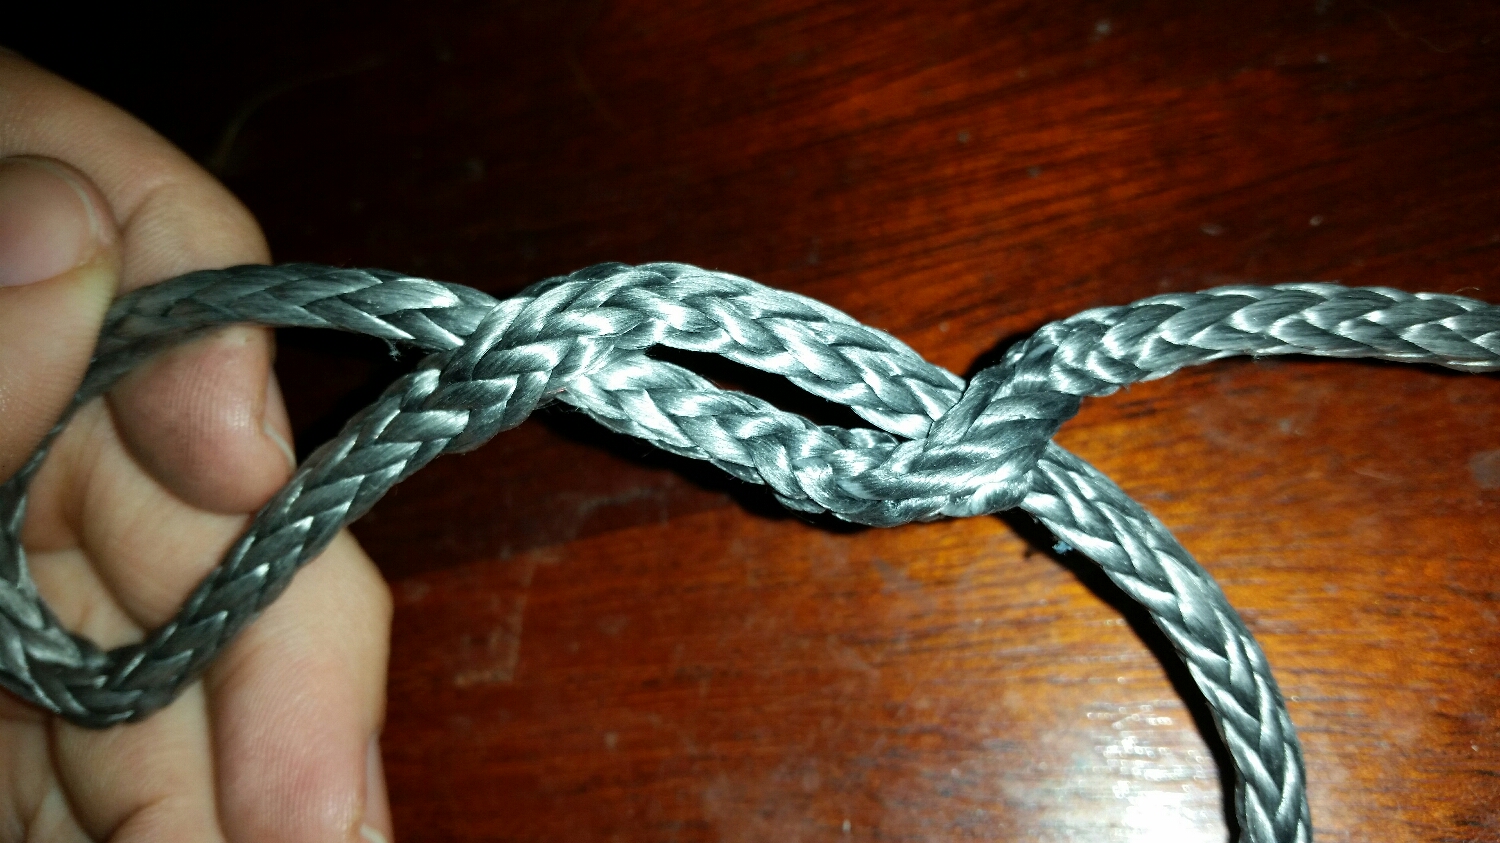
The crown knot is a very useful knot to keep the end of three stand rope from fraying. This knot is actually very easy to tie. 

It is best to look down at the knot while tying it. I always orient the knot in an anti-clockwise direction so that it will tighten the lay of the line as it holds.  

The crown knot finishes with the tails aiming back into the rope, where as the wall knot finishes with the tails aiming away from the rope. The tails are then poised to be tucked back into the line to complete the backsplice.

The crown knot will untie if the tails are not seized into a splice or other knot, making this knot rather weak when used alone to hold the end from fraying; but when used in combination with a splice, it will hold the line securely and can be used as the permanent termination to the line.

Pet Hair

We all love having our companions on board with us, they offer us companionship since they are always by your side.

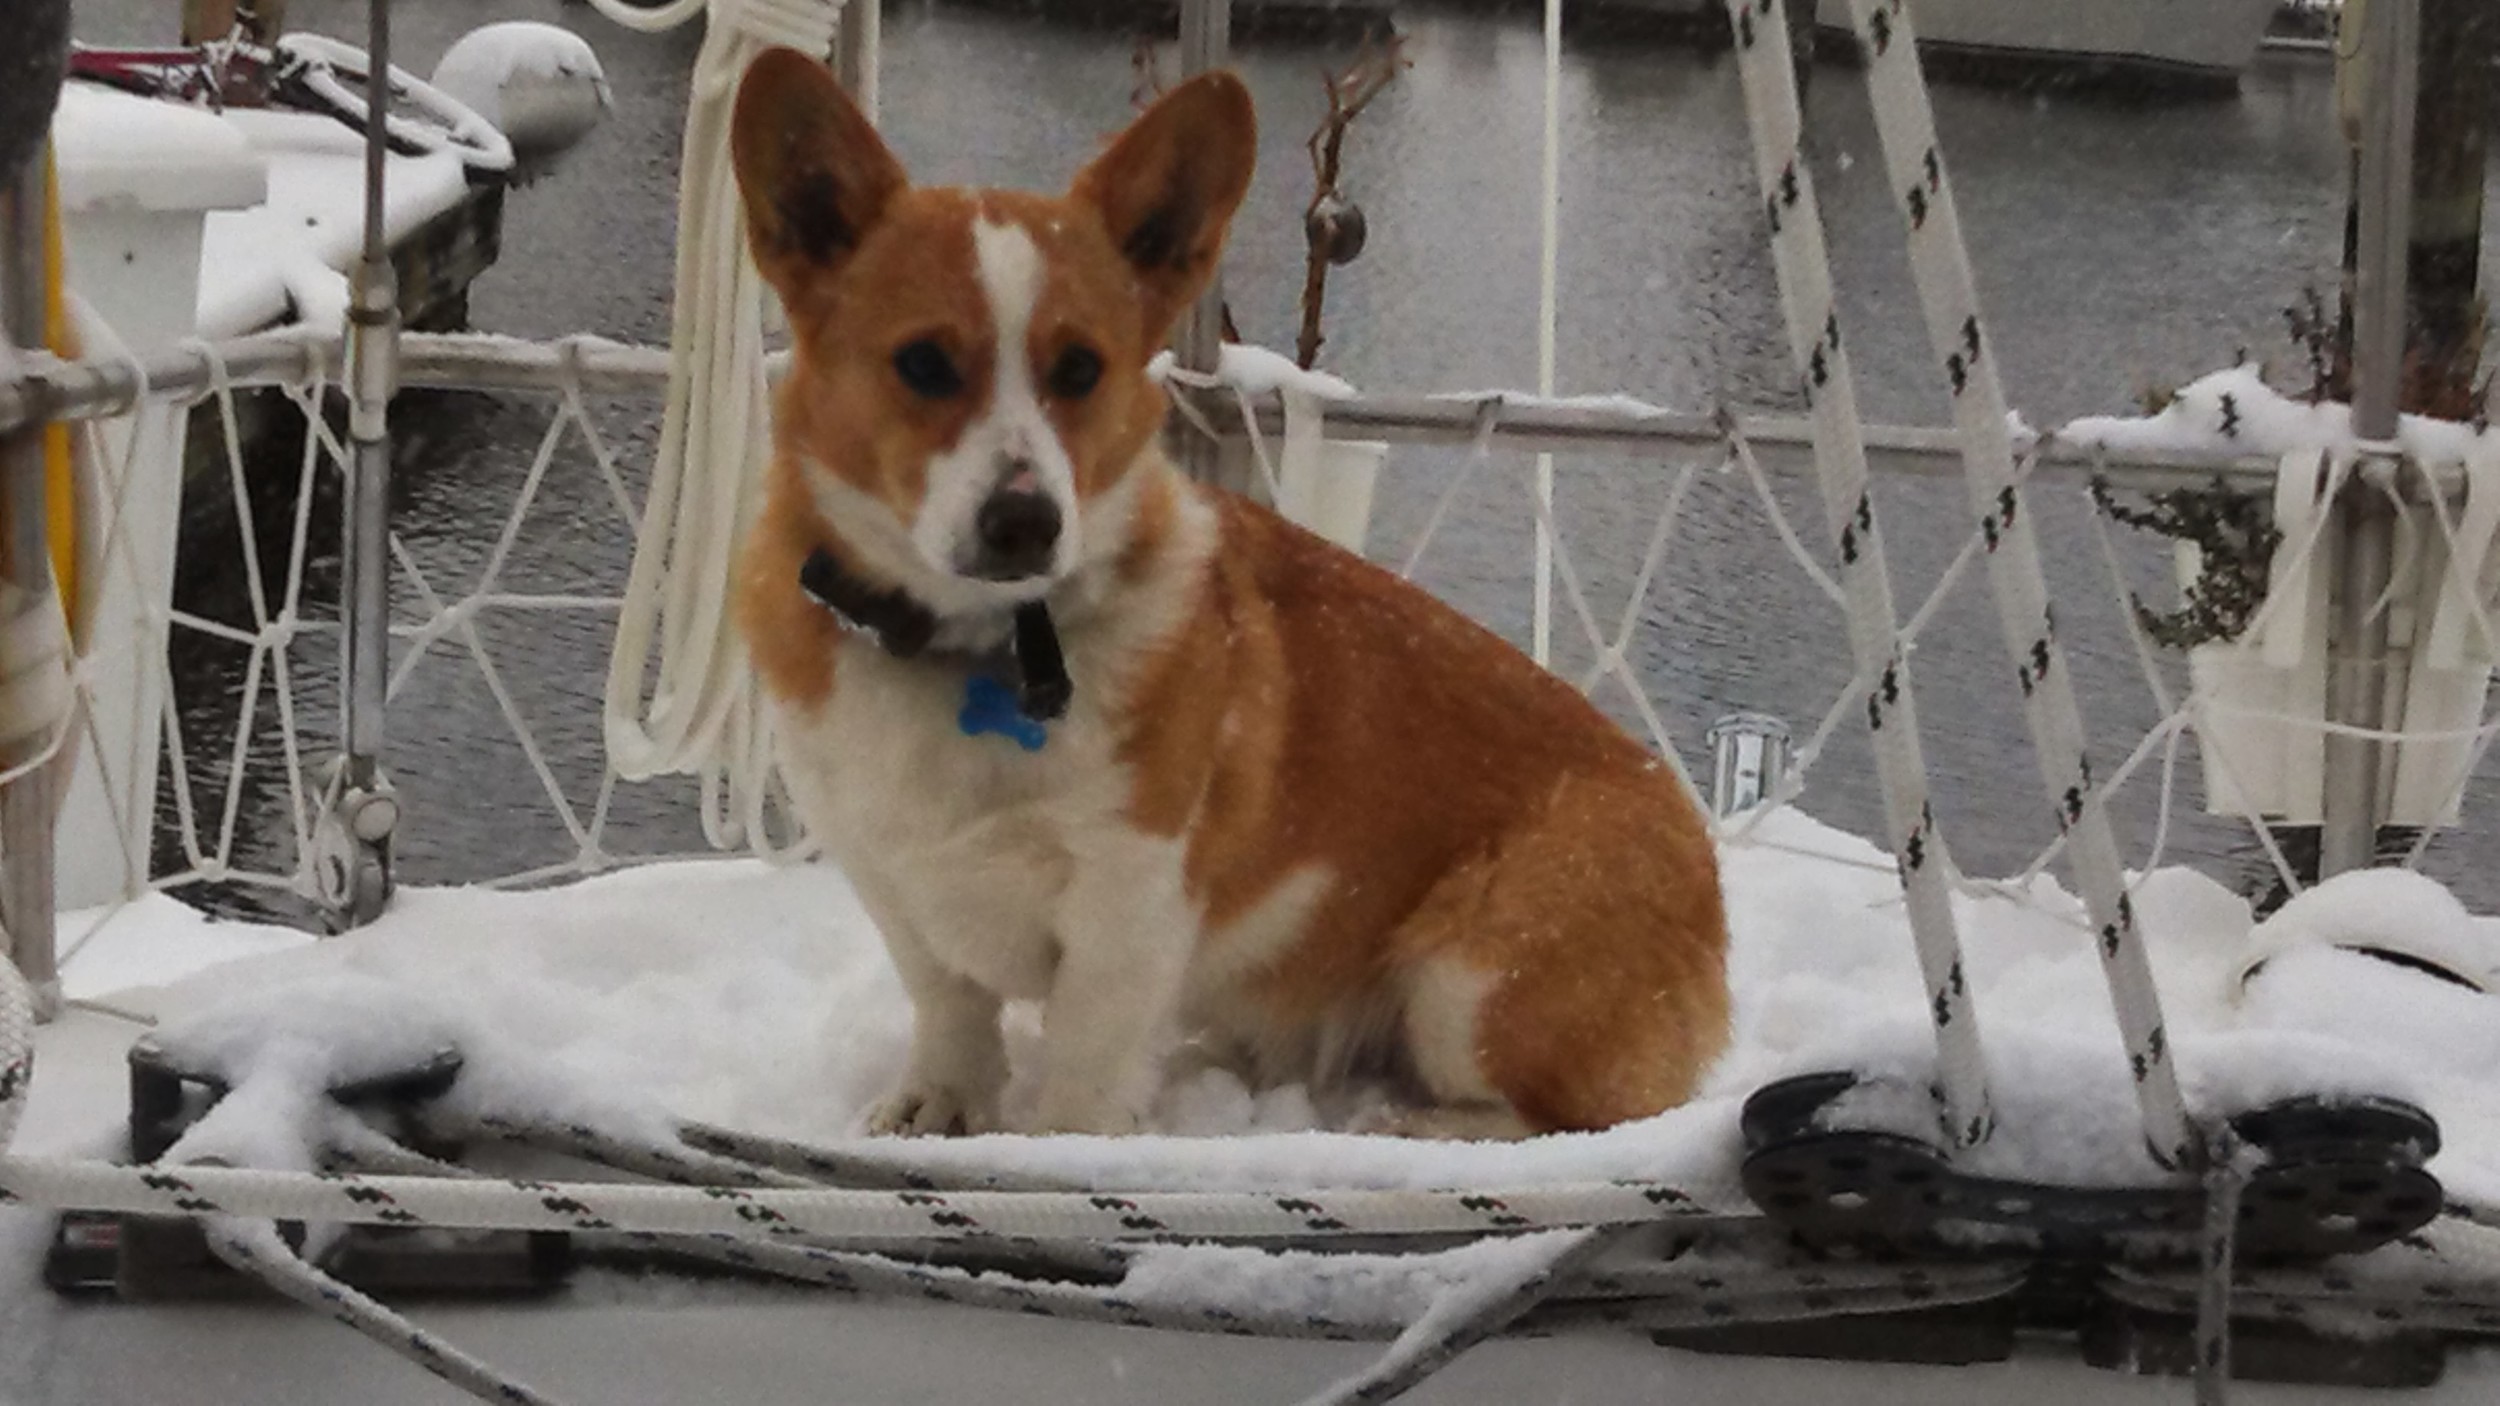
Morty is a Welsh Corgi, which means he has a double coat. This is great for him because it keeps him warm on the coldest of winter days, but that also means he has plenty of extra hair to shed.

Immediately after cleaning the boat, clumps of dog hair will appear. It is really discouraging when you spend all of 10 minutes vacuuming up his dog hair in the whole boat, to turn around and it look like nothing happened. This is because Morty sheds like it's his job! When you pet him, dog hair flies up and fills the air; when he lays on your pillow, he creates a carpet of dog hair. 

 His hair does tend to collect in corners, and whenever I see a clump (we call them Mini-Mortys) I simply pick it up and put it in the trash. Despite our best efforts to keep it under control, they tend to return in under a day.

We don't mind the hair that much, it's part of the deal when you have a dog on board. The problem comes when his hair begins to cause mechanical problems. The hair that lays on the floor can find its way between the edges of the floor boards and the sole. 

They build up into "Morty Gaskets", which are a sign of greater problems. The hair that makes it past the Morty Gaskets continues its journey down into the bilge where it can clog the bilge pump strainer.

I can proudly say that Wisdom has no leaks, so the bilge pump never runs. This dry bilge acted as a catch all for Morty hair. When I was cleaning the bilge recently, I noticed that the water level wasn't going down. It took me an entire day to find all the problem areas which shared a commonality: Morty Hair.

The bilge strainer was full of hair, the impeller was seized by hair, and a random filter housing installed inline was clogged with hair as well. 

Despite our best efforts to keep the hair under control, the hair can still creep into everything and cause serious equipment failures.  

Mobius Brummel Eye Splice

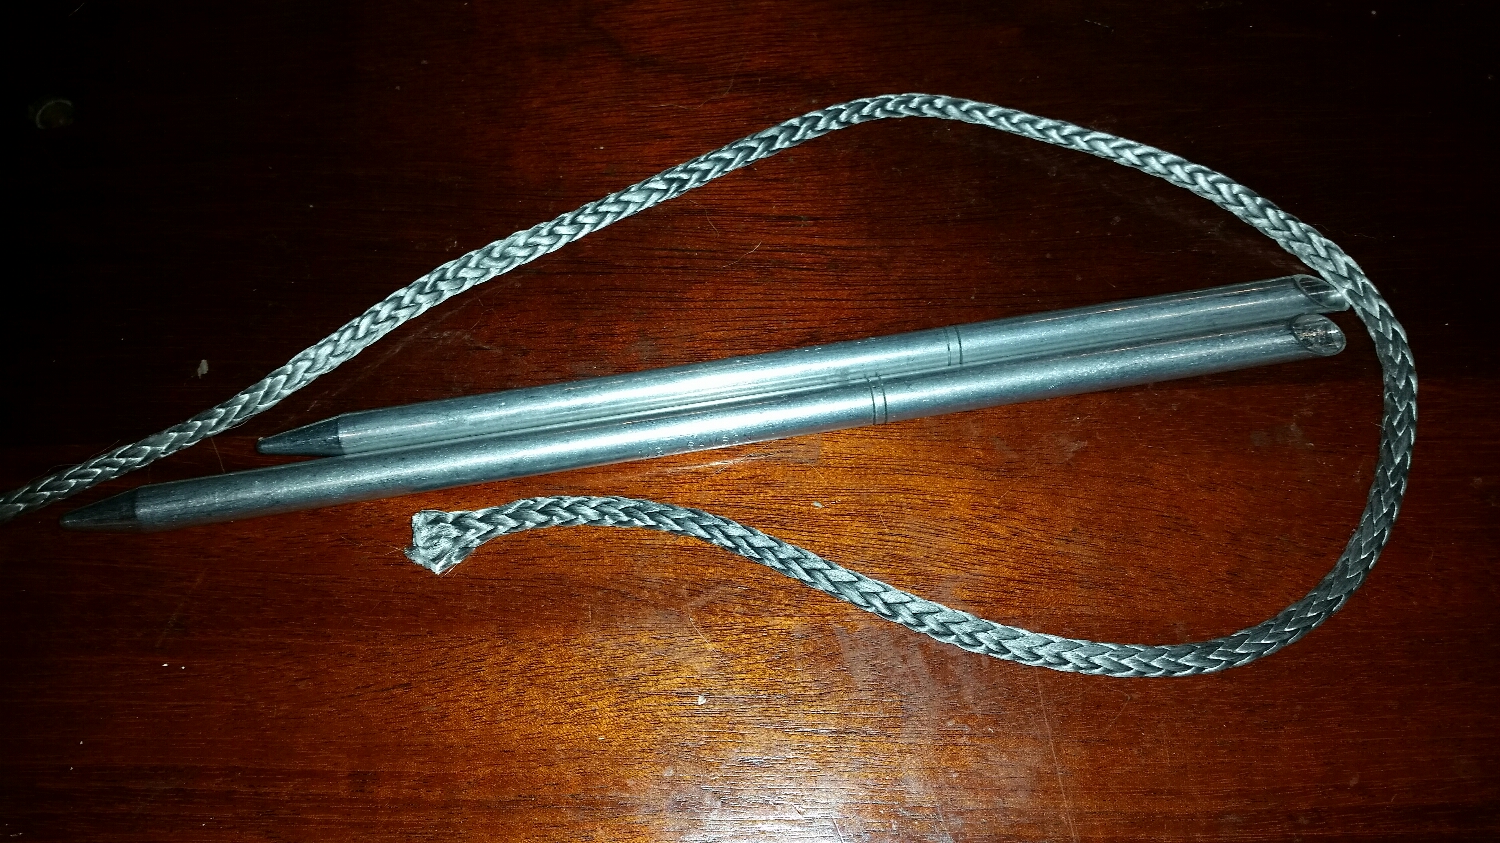
The easiest way to make a Mobius Brummel is to have both tails free, pass the first tail through the second tail, then the second tail through the first tail. The end result is a solid splice which can't slide apart because they lock each other. 

upload.jpeg

When you are splicing a stay, it is either not convenient or not possible to pass the second tail through and that is when this technique will shine. Following these steps, you can achieve the same Mobius Brummel Eye Splice with only one free tail.  

upload.jpeg

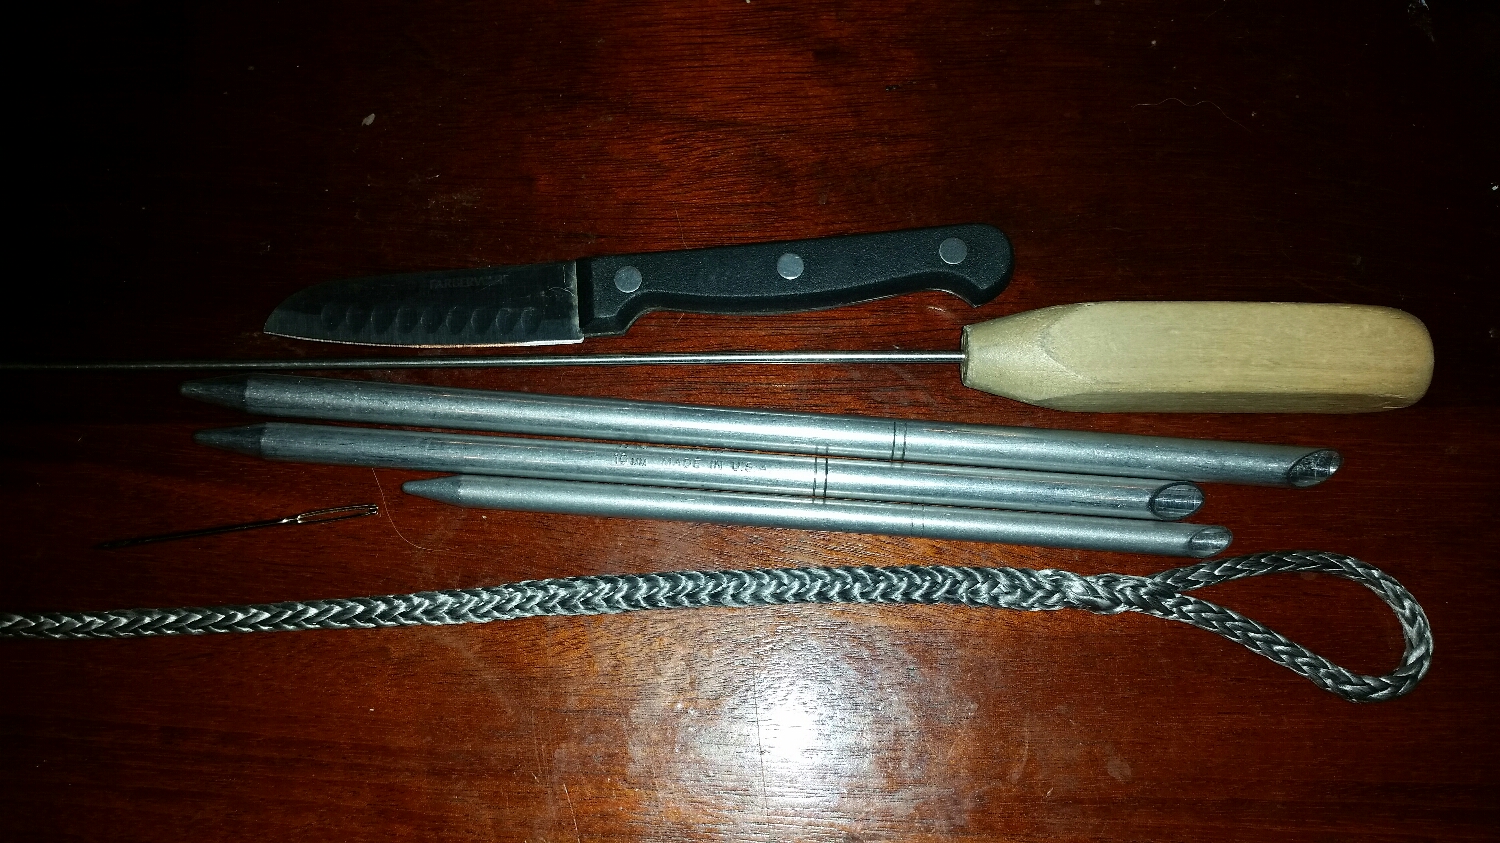
To complete the splice, you will need 2 large fids, 1 small fid, a pusher, sharp knife, and a large needle. 

upload.jpeg

To begin, you must know your measurements. The important parts in this situation are the length of the tail that will be buried as well as the size of the eye. 

The tail that is to be buried needs to be 72 times the diameter of the line. For this example, the line used is 6mm, therefore, 6mm x 72 = 432mm, or 17 inches. For this example, I did not use a long enough tail because this eye splice will never be subjected to loads and it's hard to capture the long tail in these pictures.. 

If you want a 3in eye in 6mm dyneema, your measurements would be: 6 inches for the eye, and 17 inches for the tail. This means that you would begin the splice at least 23 inches away from the end of the line. Having a longer than necessary tail will not cause any harm, whereas a short tail can lead to a weak splice. If you are unsure how much tail to give yourself, always error on the "too long" side.

upload.jpeg
upload.jpeg

The first step is to simply pass the fid and line through itself. Be sure to pass the fid through the line at or further inward than the measured distance needed. Like I said before, it is better to have too long a tail (which can be trimmed shorter if needed) than to have to undo the whole splice to gain a longer tail. So far, it is straight forward; but now we move to the trick to working with only one tail.

upload.jpeg
upload.jpeg
upload.jpeg
upload.jpeg

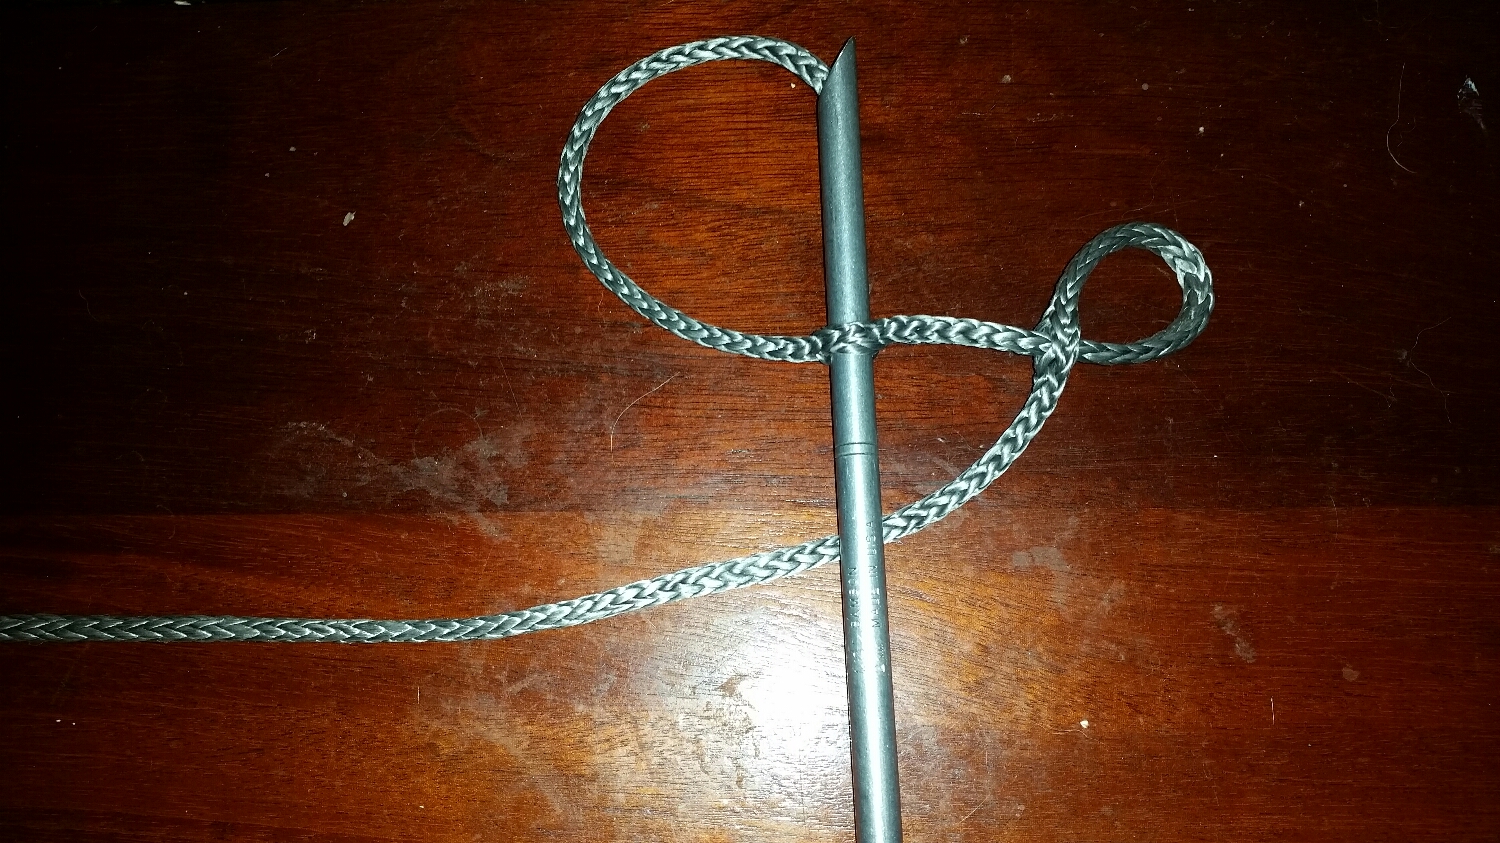
You will pass the fid through the tail at the location of the end of the eye, or beginning of the tail, depending how you want to think about that point. You will then pull the tail through itself and invert hole. This will introduce a twist in the hole which will be relieved later.

The tail should pass through in the same direction that the eye loop will pass through. If it is set the other way, you will introduce twice as many twists to the line which can cause undue stress on the fibers.

upload.jpeg

Push the fid through the twisted hole in preparation to pass the eye through the hole next.

upload.jpeg
upload.jpeg
upload.jpeg
upload.jpeg

I use the back of the other large fid to push the loop through the hole following the largest fid I have. 

Once I have it to this stage, I work the rest of it by hand. You simply pass the eye through the twisted hole in the tail.

upload.jpeg
upload.jpeg
upload.jpeg
upload.jpeg

Work the line so that the twist undoes itself as the line is passed over the eye and down the line. You will now have the classic Mobius Brummel Eye Splice. You can see how the splice can slide to shrink the eye, but once the two sections meet, they will lock onto each other and make it impossible for the eye to open and the splice to fail (as long as the tail is properly buried).

upload.jpeg
upload.jpeg

Here we can see a closer look at how the splice should look. If it doesn't look like this, it would be wise to take it apart and try again. This splice is extremely strong, but certain variations that look very similar are very weak.

upload.jpeg
upload.jpeg
upload.jpeg
upload.jpeg

Work the small fid through the hollow portion of the line, making sure not to snag any of the woven fibers along the way. Push the tail through and pull it out the other end. On yours, the tail would be much longer, so you will have to bury more of it into the line.

upload.jpeg

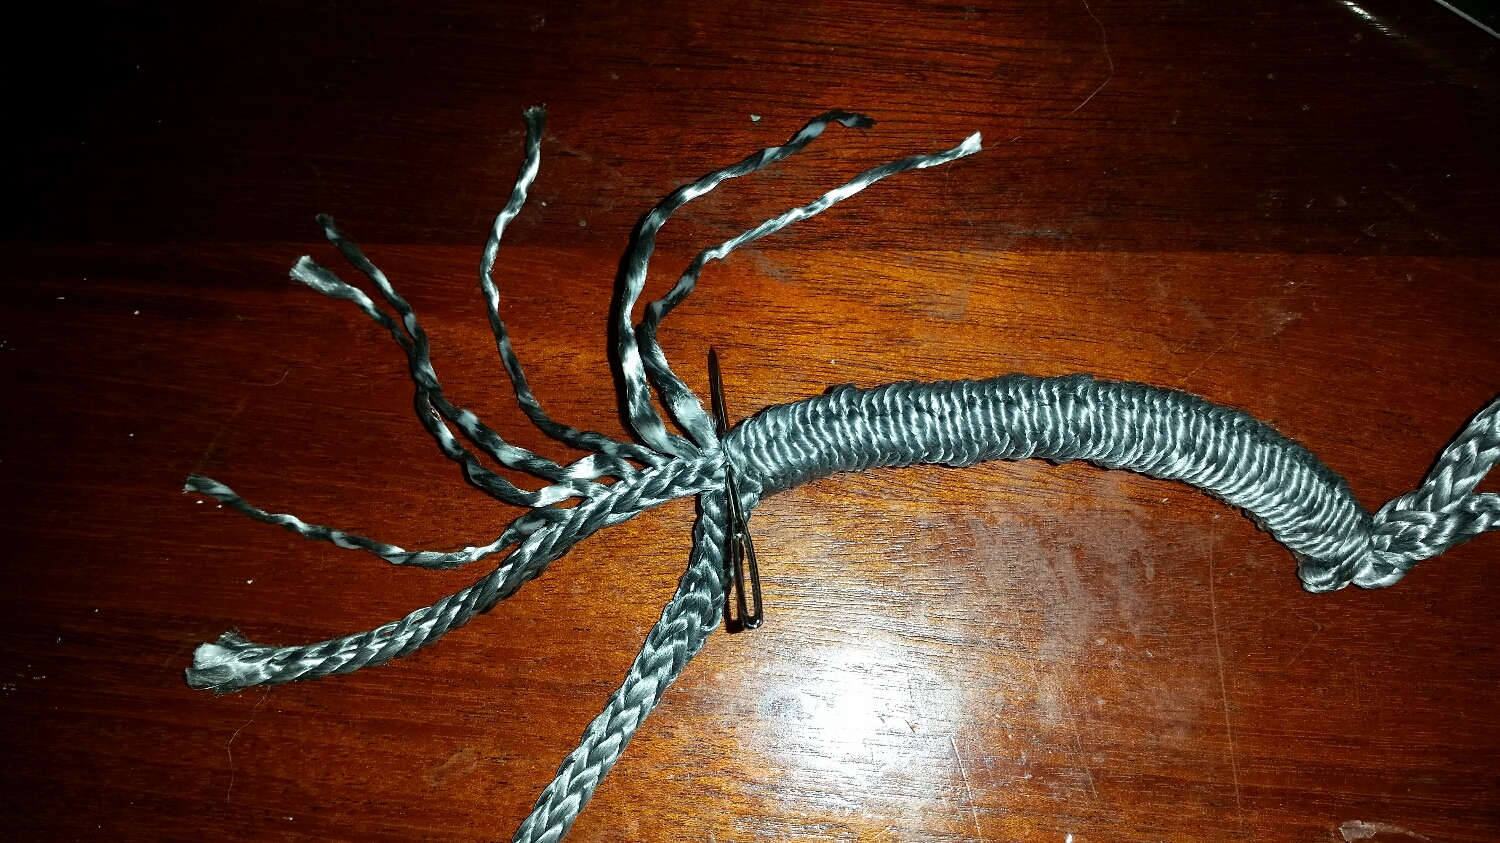
Pull the tail out as far as you can and stick a large needle through the tail. This will keep it from sneaking back into the line while you work on your taper. 

upload.jpeg

Taper is all math at this point. Dyneema is made of 12 strands, so count how many fibers are sticking out from the needle to the end of the tail. I then divide the number by 12 and ignore any decimals. In this example where there is too short of a tail, there were 15 fibers present. 15/12 = 1.25, so 1. This means that each fiber gets pulled out and then cut off. This will give a uniform reduction for the first 6 fibers. If there were 37 fibers, it would be 37/12 = 3.08, so 3. Then it would be every 3rd fiber gets pulled out for the taper.

When I was building my standing rigging (9mm dynemma), I was pulling out every 4th fiber. This gave a long gradual taper over the 25 inch tail to the splice which reduces any sharp bends that will stress and damage the dyneema line which could reduce its strength and lifespan. 

upload.jpeg
upload.jpeg
upload.jpeg

Be sure to evenly cut the last 6 fibers and make some attempt at re-braiding or at the least, twisting the strands back together.

upload.jpeg
upload.jpeg
upload.jpeg

Now remove the needle and slide the outer layer over the tail to bury it. Work the line so that the weave looks like it did originally. 

upload.jpeg

When you first load the line, it will stretch considerably at first. This is not creep, it is constructional stretch caused by bunching up the fibers in the 12 strand. Once under load, they will straighten out again allowing the line to stretch in the process. 

Once this stretch has been satisfied, the line will then begin Phase I of its lifecycle, characterized by rapid elongation caused by creep. Once it reaches Phase II, the creep will slow down and the dyneema will deliver as promised!

Sculling Oar: Testing

While Baltimore was under a temperature inversion, the airs were completely still and created the perfect conditions to test out the sculling oar.

Photo courtesy of Siobhan Fahrmeier

Photo courtesy of Siobhan Fahrmeier

We quietly walked Wisdom out of the slip and motored out of the marina. Just outside the marina, I brought the boat to a full stop and deployed the oar.

This was my very first time sculling ever, so it took me a few minutes to figure out how it all works. At first, the oar was splashing water around and we weren't moving forward.

Once I got the knack of it, I was able to propel us at speeds of 0.2 to 0.3 knots. This is by far not an appreciable speed, so I tried a different rowing position.

I moved the oar from its stern mounted oarlock to the genoa sheet winch and lashed it to the winch drum. The 16 foot oar protruding straight out was able to move us at speeds of 0.2 to 0.5 knots. Slightly better, but still not that fast. 

I once again returned the oar to the stern mounted oar lock but this time I tied the oar into its place. One lashing over the oarlock to keep it from popping out of place, and another lanyard to keep the neck from rising. This allowed me to put all of my force into the sculling motion.

By grabbing the lanyard, I was able to control the pitch of the oar without any force on my wrists. This was a significant help in efficiency, though the speed did not increase much.

I feel that the low speed was a direct result of three factors.

1. My lack of experience sculling
2. Not having the oar properly secured
3. Very dirty bottom and a large fixed three blade propeller

I feel that more practice is necessary to refine my skills, as well as finalizing the installation. The large propeller can be replaced with a feathering prop, but I do like the ability to recharge my motors battery bank. The dirty bottom is the easiest problem to correct, and I think it will have a huge benefit on our speed through the water.

While I didn't think it was very much work while I was sculling, I was incredibly sore the next day. I certainly need to practice more to build up the strength needed to move the boat any considerable distance. 

Morty certainly did enjoy the afternoon stroll!

Projects While Living Aboard

Maddie and I both love to do projects, so we need to manage our space efficiently to allow us to work in a small space.

The most important thing to keep in mind is that space is multipurpose. We do have spaces that are dedicated "junk piles" but for the most part, we keep everywhere available to use.

upload.jpeg

On a Wednesday night,  Maddie was creating a painting​ on the salon table and needed space to organize her paints, meanwhile I'm working on the rope fenders and need space to organize the lines and tie the knots. 

This is where space management pays dividends. The salon table has folding leaves, which allow the table to grow and shrink on demand. ​

upload.jpeg
upload.jpeg

I was able to keep the fenders tucked under the galley sink, with the old lines coiled in the galley, and me working in the hallway and the other leaf of the table. 

The quarters are tight, and we have to work around each other, but we are able to complete our projects in the space available. It's just a mindset of being creative with what space is available.

In the past, I have made all of the dock lines, standing rigging, and running rigging inside the cabin in this limited space.  

Things that we have found to help organizing the space is good communication. When Maddie needs space for a project, she tells me and I get my stuff out of the way for her; the same when I need space as well.  We also try to complete the project as quickly as possible to clear the area again. I have been working on these rope fenders for about a week now. As soon as I'm done working, I clear the area for Maddie. The coiled lines go into the cockpit, the fenders slide under the galley sink, and the floors are once again clear for walking.