Pollution

Baltimore Inner Harbor, Chesapeake Bay

We have been living in the waters of the Baltimore Inner Harbor for 3 years now. There is a plan in place to make the waters swimmable and fishable by 2020, but at the moment we are a long ways away from achieving that level of cleanliness, they currently have an F for water quality.

http://baltimorewaterfront.com/healthy-harbor/report-card/

The Maryland Department of the Environment blames the boaters for causing all of the pollution and will quickly come by to hand out fines to offending boaters. While it is very unsanitary to empty ones holding tank into the harbor, the boaters are not the big offender, it is actually the city!

The problem is the aging sewer system in the city. After the great fire in 1904, the city was rebuilt with separate storm drain and sewer drain systems. The separate systems are laid out in close proximity to each other and after more than 100 years, they are broken and leak into one another. When it rains, storm water runs out of its piping and into the sewer system. This overtaxes the sewer system and the excess pressure is released into the bay. At the same time, the sewer system perpetually leaks into the storm drain system which empties directly into the Inner Harbor. 

Back in the 1980s, this was deemed a concern as the Baltimore Harbor water contained unsafe levels of fecal bacteria. Chemical and metal plants built along the shoreline used to dump their waste directly into the water, adding heavy metal and petrochemical pollution to the mix. This problem has continued to grow unchecked for many years, only now we are aware of the problem. 

The city has done some initiative to help clean up the bay. One of the most productive methods to tame the trash pollution has been a solar powered trash collector called "Mr. Trashwheel". 

http://baltimorewaterfront.com/healthy-harbor/water-wheel/

While reducing the amount of actual trash that flows into the Chesapeake Bay is wonderful, it still doesn't help with the amount of fecal bacteria that is being dumped into the harbor everyday.

I think most people are oblivious to the problem, and therefore do not worry about the consequences of their actions. To them, spilling a little oil, throwing a plastic bottle out of their window as they drive, or tossing their cigarette butt onto the ground doesn't make much of a difference. They think oil will soak into the ground, and their trash will disappear. The truth is it all gets flushed out into the water with the next rainfall.

After every rain, the Baltimore Inner Harbor has a particular odor, something along the line of a good whiff of your holding tank vent. Gorgeous rainbows glimmer on the waters surface as oil slicks radiate away from the storm drain pipes. 

Usually, the prevailing winds will clear the air rather quickly and all is forgotten. Then the EPA can continue to blame boaters for polluting the harbor waters.

upload.jpeg

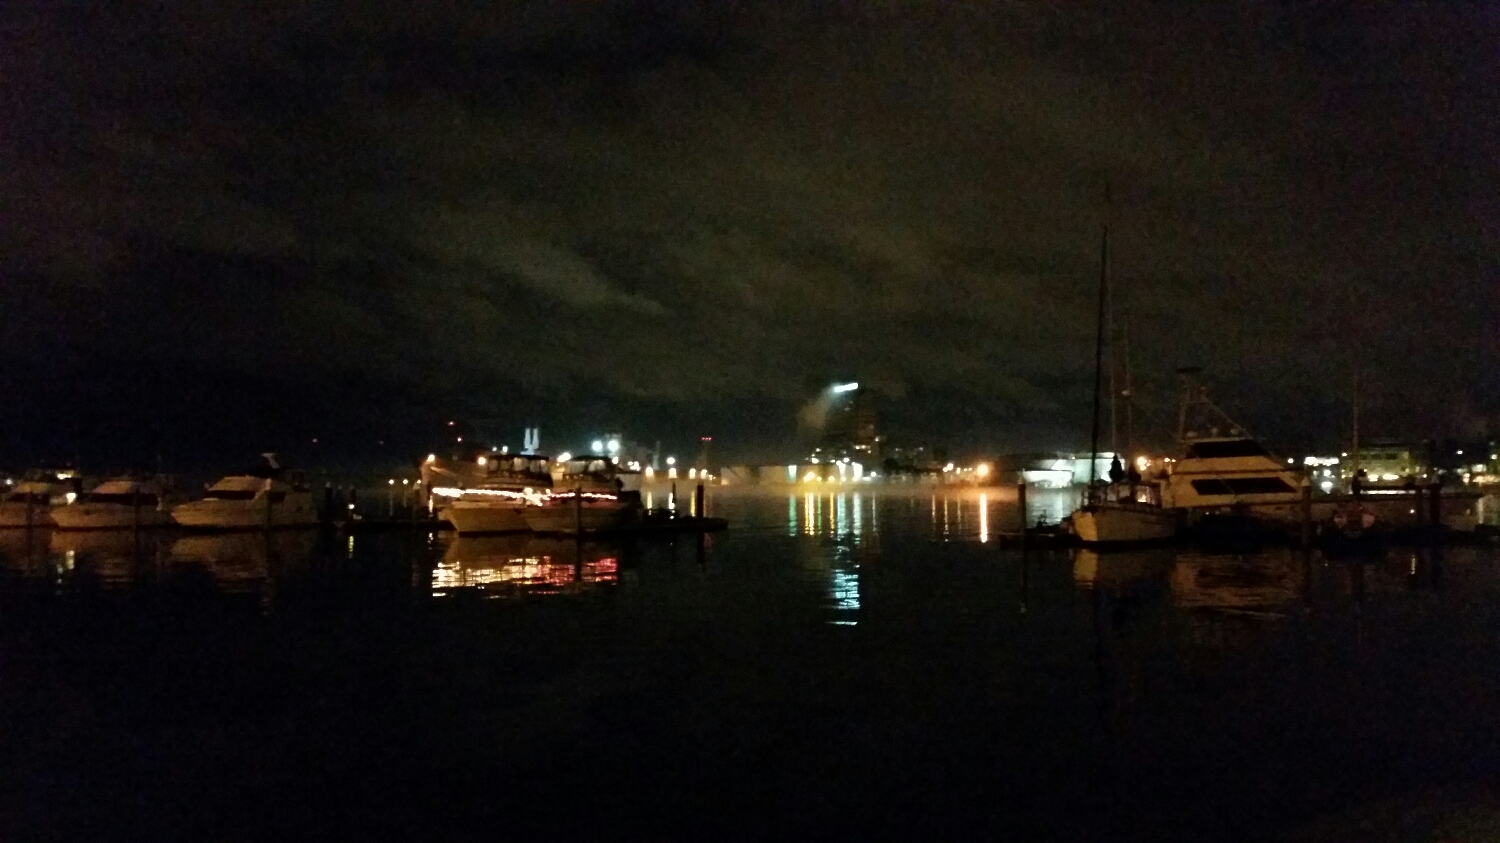
The weekend of December 12 and 13 made it particularly clear how bad the pollution is. A temperature inversion occurred and the whole area was completely calm. There was no wind for days, and the water only moved with the tide. Everything was completely still as unseasonably warm air loomed over the city and its waters. 

upload.jpeg

The entire area reeked of rotting cabbage and the water became especially "thick" as the locals call it. Water clarity was non-existent, everything disappeared from sight as soon as it entered the foul soup. We noticed that all the ducks had flown away and the entire area seemed devoid of life. Trash began to accumulate as there was no wind to carry it out into the bay and in a few short days the harbor became so ostentatious that we contemplated moving to cleaner waters. I can only imagine how the waterfront property owners felt since they do not have the luxury of easily moving to another waterfront area. 

I feel that land dwellers would be more sympathetic to the environmental impacts of their actions if they saw more immediate reactions. If you spill oil in your yard, it "disappears" into the grass, do the same on a boat and an enormous oil slick will extend from your hull off into the distance. Throw your trash out the window of your car, and it "disappears", on a boat it will continue to float alongside you, reminding you that nothing "disappears".

Living aboard also makes you measurably more aware of your consumption and wastes. If you take a long shower in a house, you pay a higher water bill; but when you have to fill those tanks more often, soon you will begin to take quicker showers. I also feel that trashcans and dumpsters make people underestimate their level of waste since it is out of sight. They simply haul it out to the curb once a week and away it goes. When I was a kid, we (a family of four) produced so much trash that we had three 55 gallon drums on a cart that we would wheel out to the curb weekly. As a kid, I would push the cart out to the street without ever thinking about how much trash we generated. 

Now I use grocery bags hanging from the galley as the trash bags. I have no trashcan to hide my trash and see the bag grow as I generate more waste. My fiancee and I are very aware of how much trash we generate as we carry it down the dock to the marina dumpster. We now produce 1 to 2 grocery bags of trash per week, simply because we are more careful about how much trash we make.

I am not alone in our limited waste production. Most other boaters I know also produce a very limited amount of waste by comparison to land dwellers. We are all more conscientious of our impact on the environment because we see the direct effect of our actions.

If the EPA and Maryland Department of the Environment would turn their attention away from the boaters floating in this polluted waterway and towards the actual problem, they may stand a better chance at cleaning up the harbor and making it swimmable and fishable by 2020.
upload.jpeg

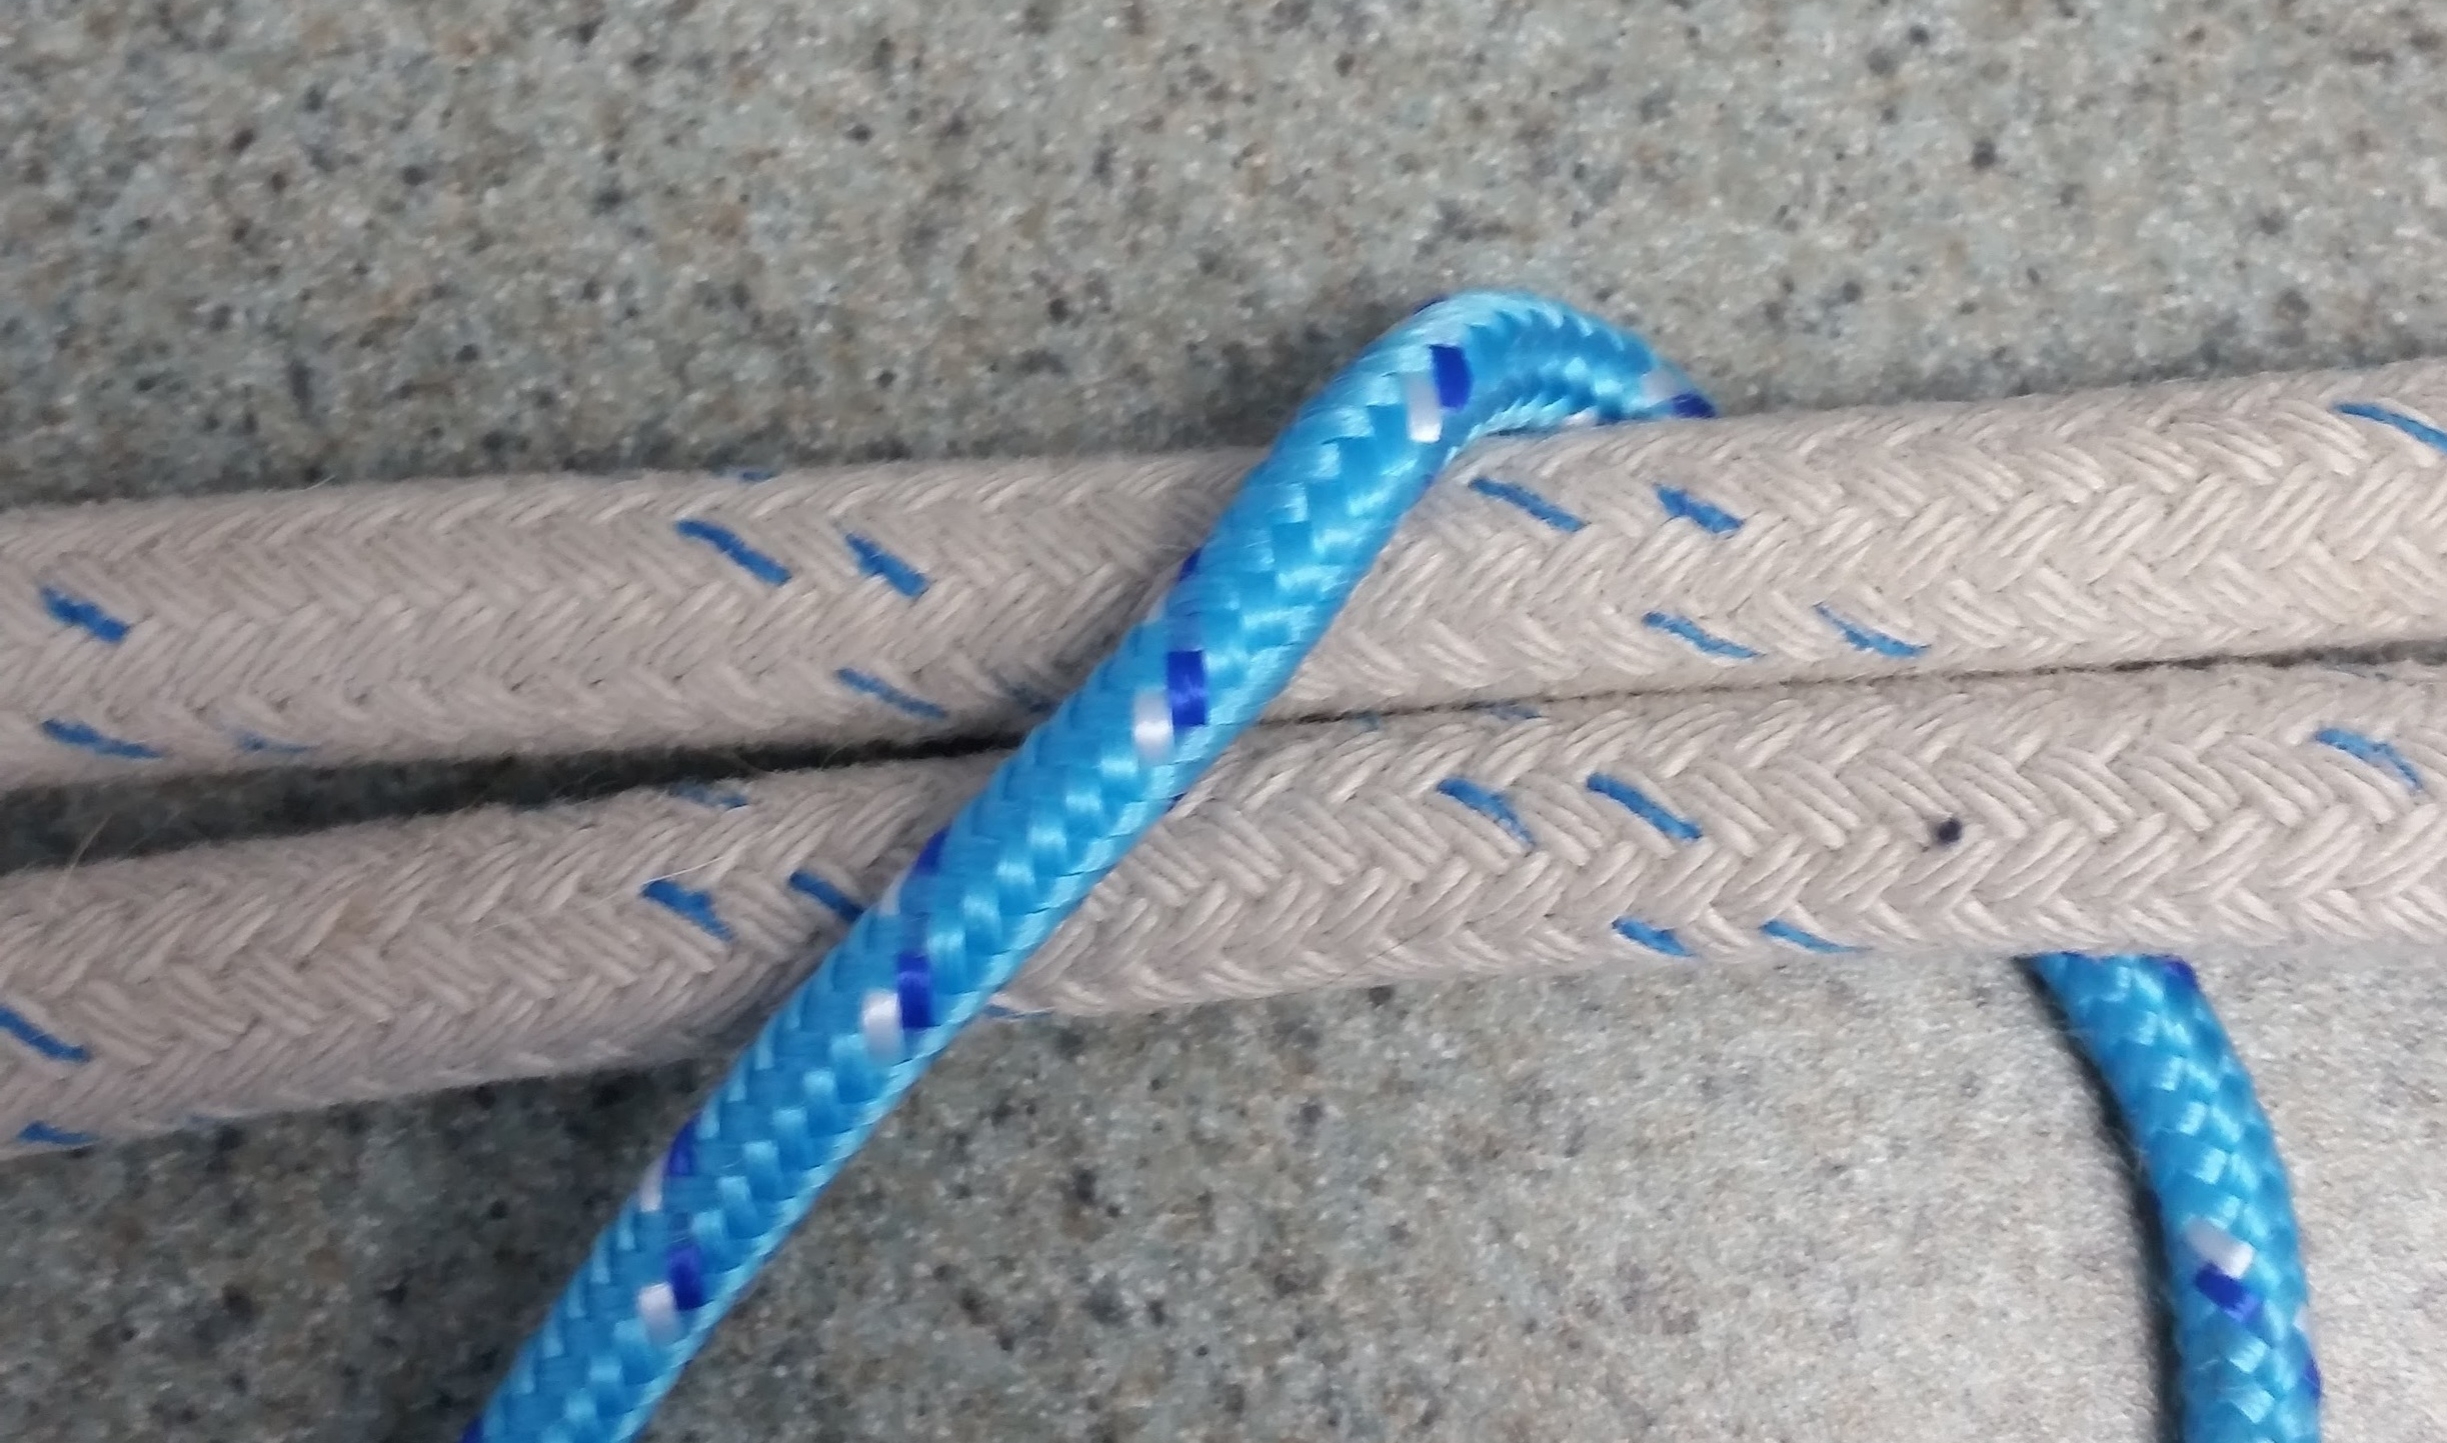
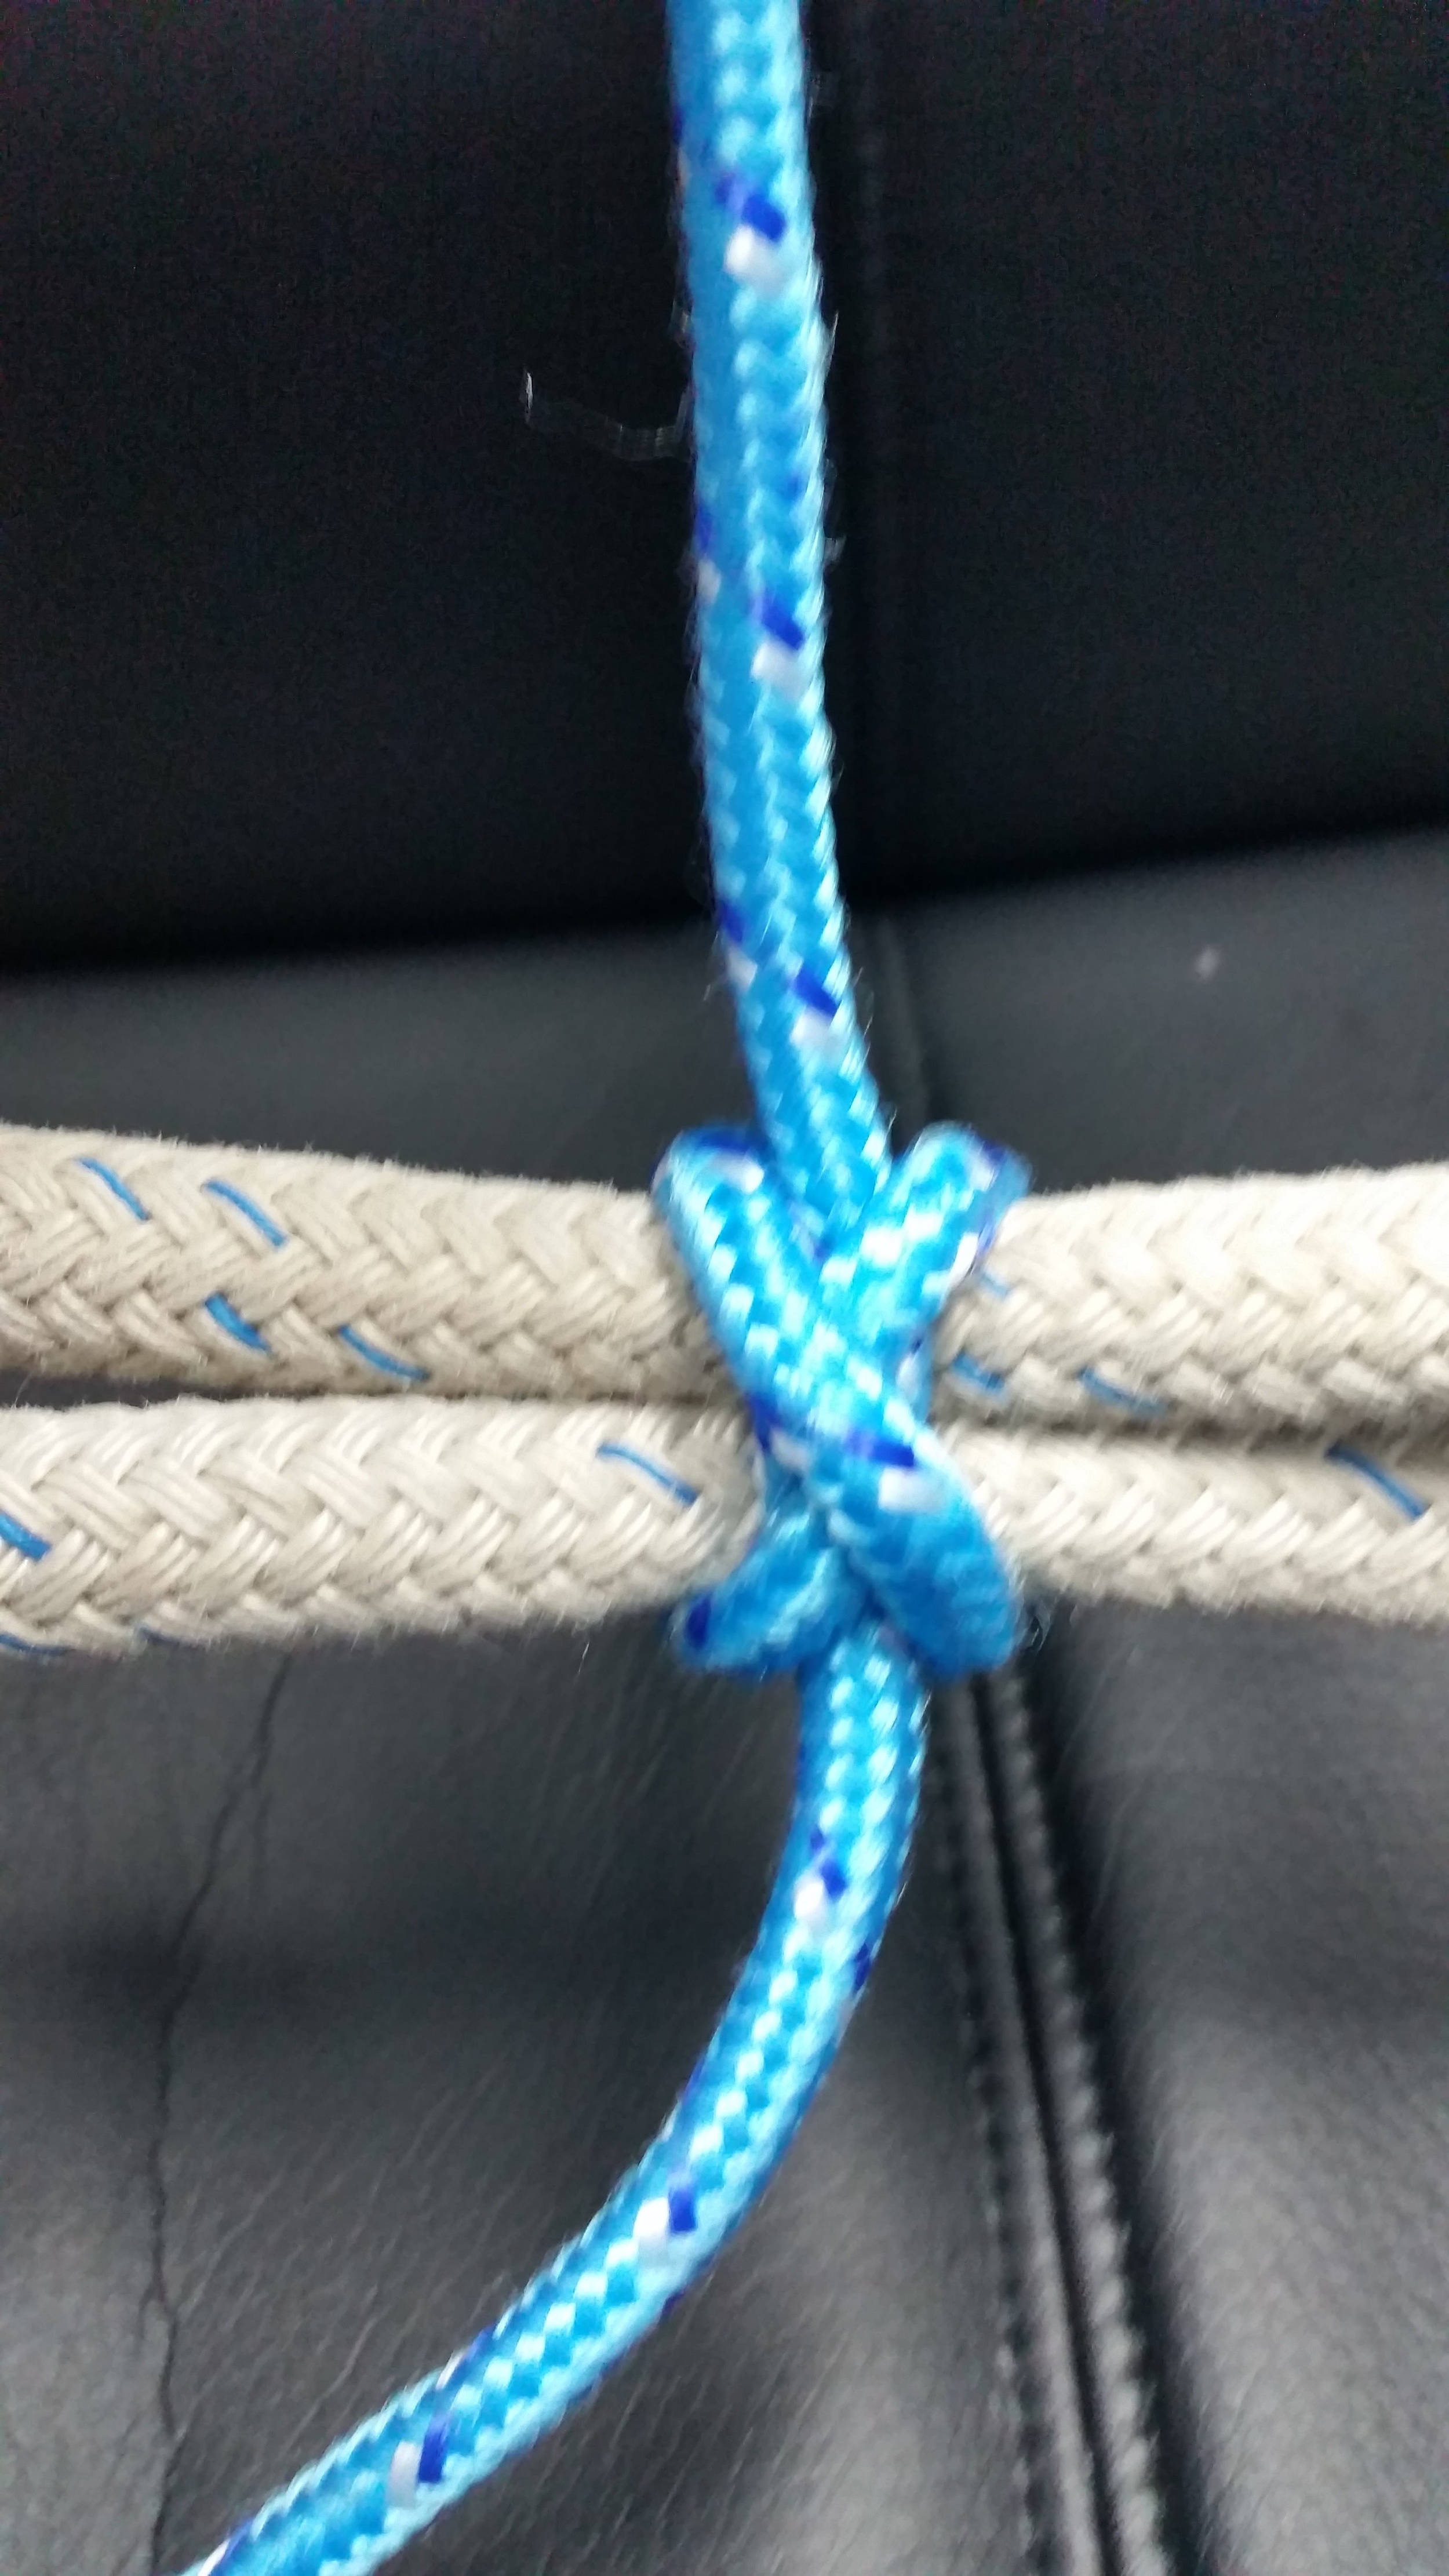
Double Constrictor Knot

The Double Constrictor Knot is almost the same as the Constrictor Knot to tie but it has very different properties.

The Double Constrictor Knot is permanent, and can bind things together so tightly that it can cause damage.

upload.jpeg

For academic reasons, I used two double constrictor knots tied with nylon cord instead of hose clamps when I installed a check valve in Wisdom, back in August 2013. The  check valve is on the shore water inlet and is subjected to city pressure when a shore hose is connected. I thought this would be a good place to try it out, as the high pressure would expedite any failure. I tied the double constrictor knots where hose clamps would go and then pressurized the system, expecting the hose to slip off the check valve, or at least drip a little; but nothing happened! It was completely dry!

I left it on for the rest of the day to see when the dripping would begin but it was still dry, so I decided to leave it on for the rest of the week, then rest of the month, and now 2 years later, it is still on there and no leaks!

This knot can be used to hold a broken tiller, a splitting boat hook, or as a "temporary" hose clamp. I say temporary because it will hold just as well as a steel one. This knot truly lives up to its name, it will constrict and then hold forever. 

Like all knots, there are advantages and disadvantages. The Double Constrictor Knot is considered permanent once it is tightened down. It really is permanent because it is almost impossible to untie. I have always been forced to cut them off because they will not loosen once tightened.

Tying the double constrictor is almost identical to tying a constrictor knot, the only difference is one extra wrap going from Lower Right to Upper Left when making the X. Then tighten it down and it will hold permanently.

I didn't tighten this knot all the way because I wanted to have the line back for other knots. 

By using marlin spike hitches, you can tighten the double constrictor knot fully and count on it as a permanent knot. 

The marlin spike hitches allow you to tie the tails to sticks or rods that you can then pull on like handles.  

To really tighten the knot as much as humanly possible, you must sit on your butt and balance yourself. You will pull up on the stick in your hands while simultaneously pushing away on the other stick with your feet. This action will involve your strong leg muscles into the tightening process, securely tightening the line to permanent levels. 

Once finished, you can simply cut the tails off the knot and rest assured that it will hold forever.  

Constrictor Knot

When you need to bind something together, there is no better knot to use than the constrictor knot.

This knot lives up to its name! It will tighten down and bind items together like no other!

This knot is very simple to tie, as well as easy to release. Its ease of release does limit its range of use as it can not be used as a permanent knot (but a variation of this knot is permanent). 

I use this knot frequently when I'm splicing lines and don't have tape handy, or when I'm tying things up for a short period of time. I even used this knot to put pressure on a wound when I cut my finger while making rope fenders. 

To tie this knot, you begin by laying the line on the left and crossing up to the top right. 

From there, straight down, passing on the outside of the starting line

Then straight down behind the bundle


And around coming from the bottom right to the top left across the front.

Then wrapping around the first line and exiting out the middle between the top part of the X.


It looks a lot like a clove hitch, but it makes an extra pass under the starting line, which creates a twisted section bound down by an X. This makes the knot very easy to tighten when both ends are pulled, and hold itself tight when tension is released from the lines.


To really tighten it, tie marlinspike hitches in the tails and pull hard on the spikes, this will tighten it down to insane levels.

20151214_163647.jpg
20151214_163654.jpg

I use this knot all the time, it holds securely and can be easily released. I find it works best in situations where you would usually tie a square knot, but need it to hold tighter. 

In the picture to the left, I'm using the constrictor knot in lieu of tape to hold the line from fraying while doing a tree surgeons back splice. The knot above it is a Crown Knot (which we will go over in a later post). 

Rope Fenders: Inner Core

The inner core is the working part of the fender. This is where the bulk exists to protect the hull from damage. It needs to be soft to absorb impacts, yet firm to retain its shape. 

Rope Fenders typically use a plastic fender covered in a rope mesh (which is cheating) or tightly wrapped rope. Plastic cores have all the drawbacks of plastic fenders, they simply look nautical. Tightly wrapped cores are much too heavy for Maddie to manage, making them difficult for us to use regularly, so I had to come up with other options.

I came up with an open structure which will provide bulk while still having a lot of dead air space (which has no weight to it), allows the fender to still be soft and flexible, and bulky enough to provide protection to the hull and topsides.

The whole process began by preparing the main line of the fender. The ends of the lines were backspliced using the Tree Surgeons Back Splice with fuzzy ends. This backsplice will hold the line together well while being used and abused. There is no risk of the ends unraveling as the line is pulled through the toe rail or stepped on, and the fuzzy ends pose no threat to anything on board since they are soft and fuzzy.

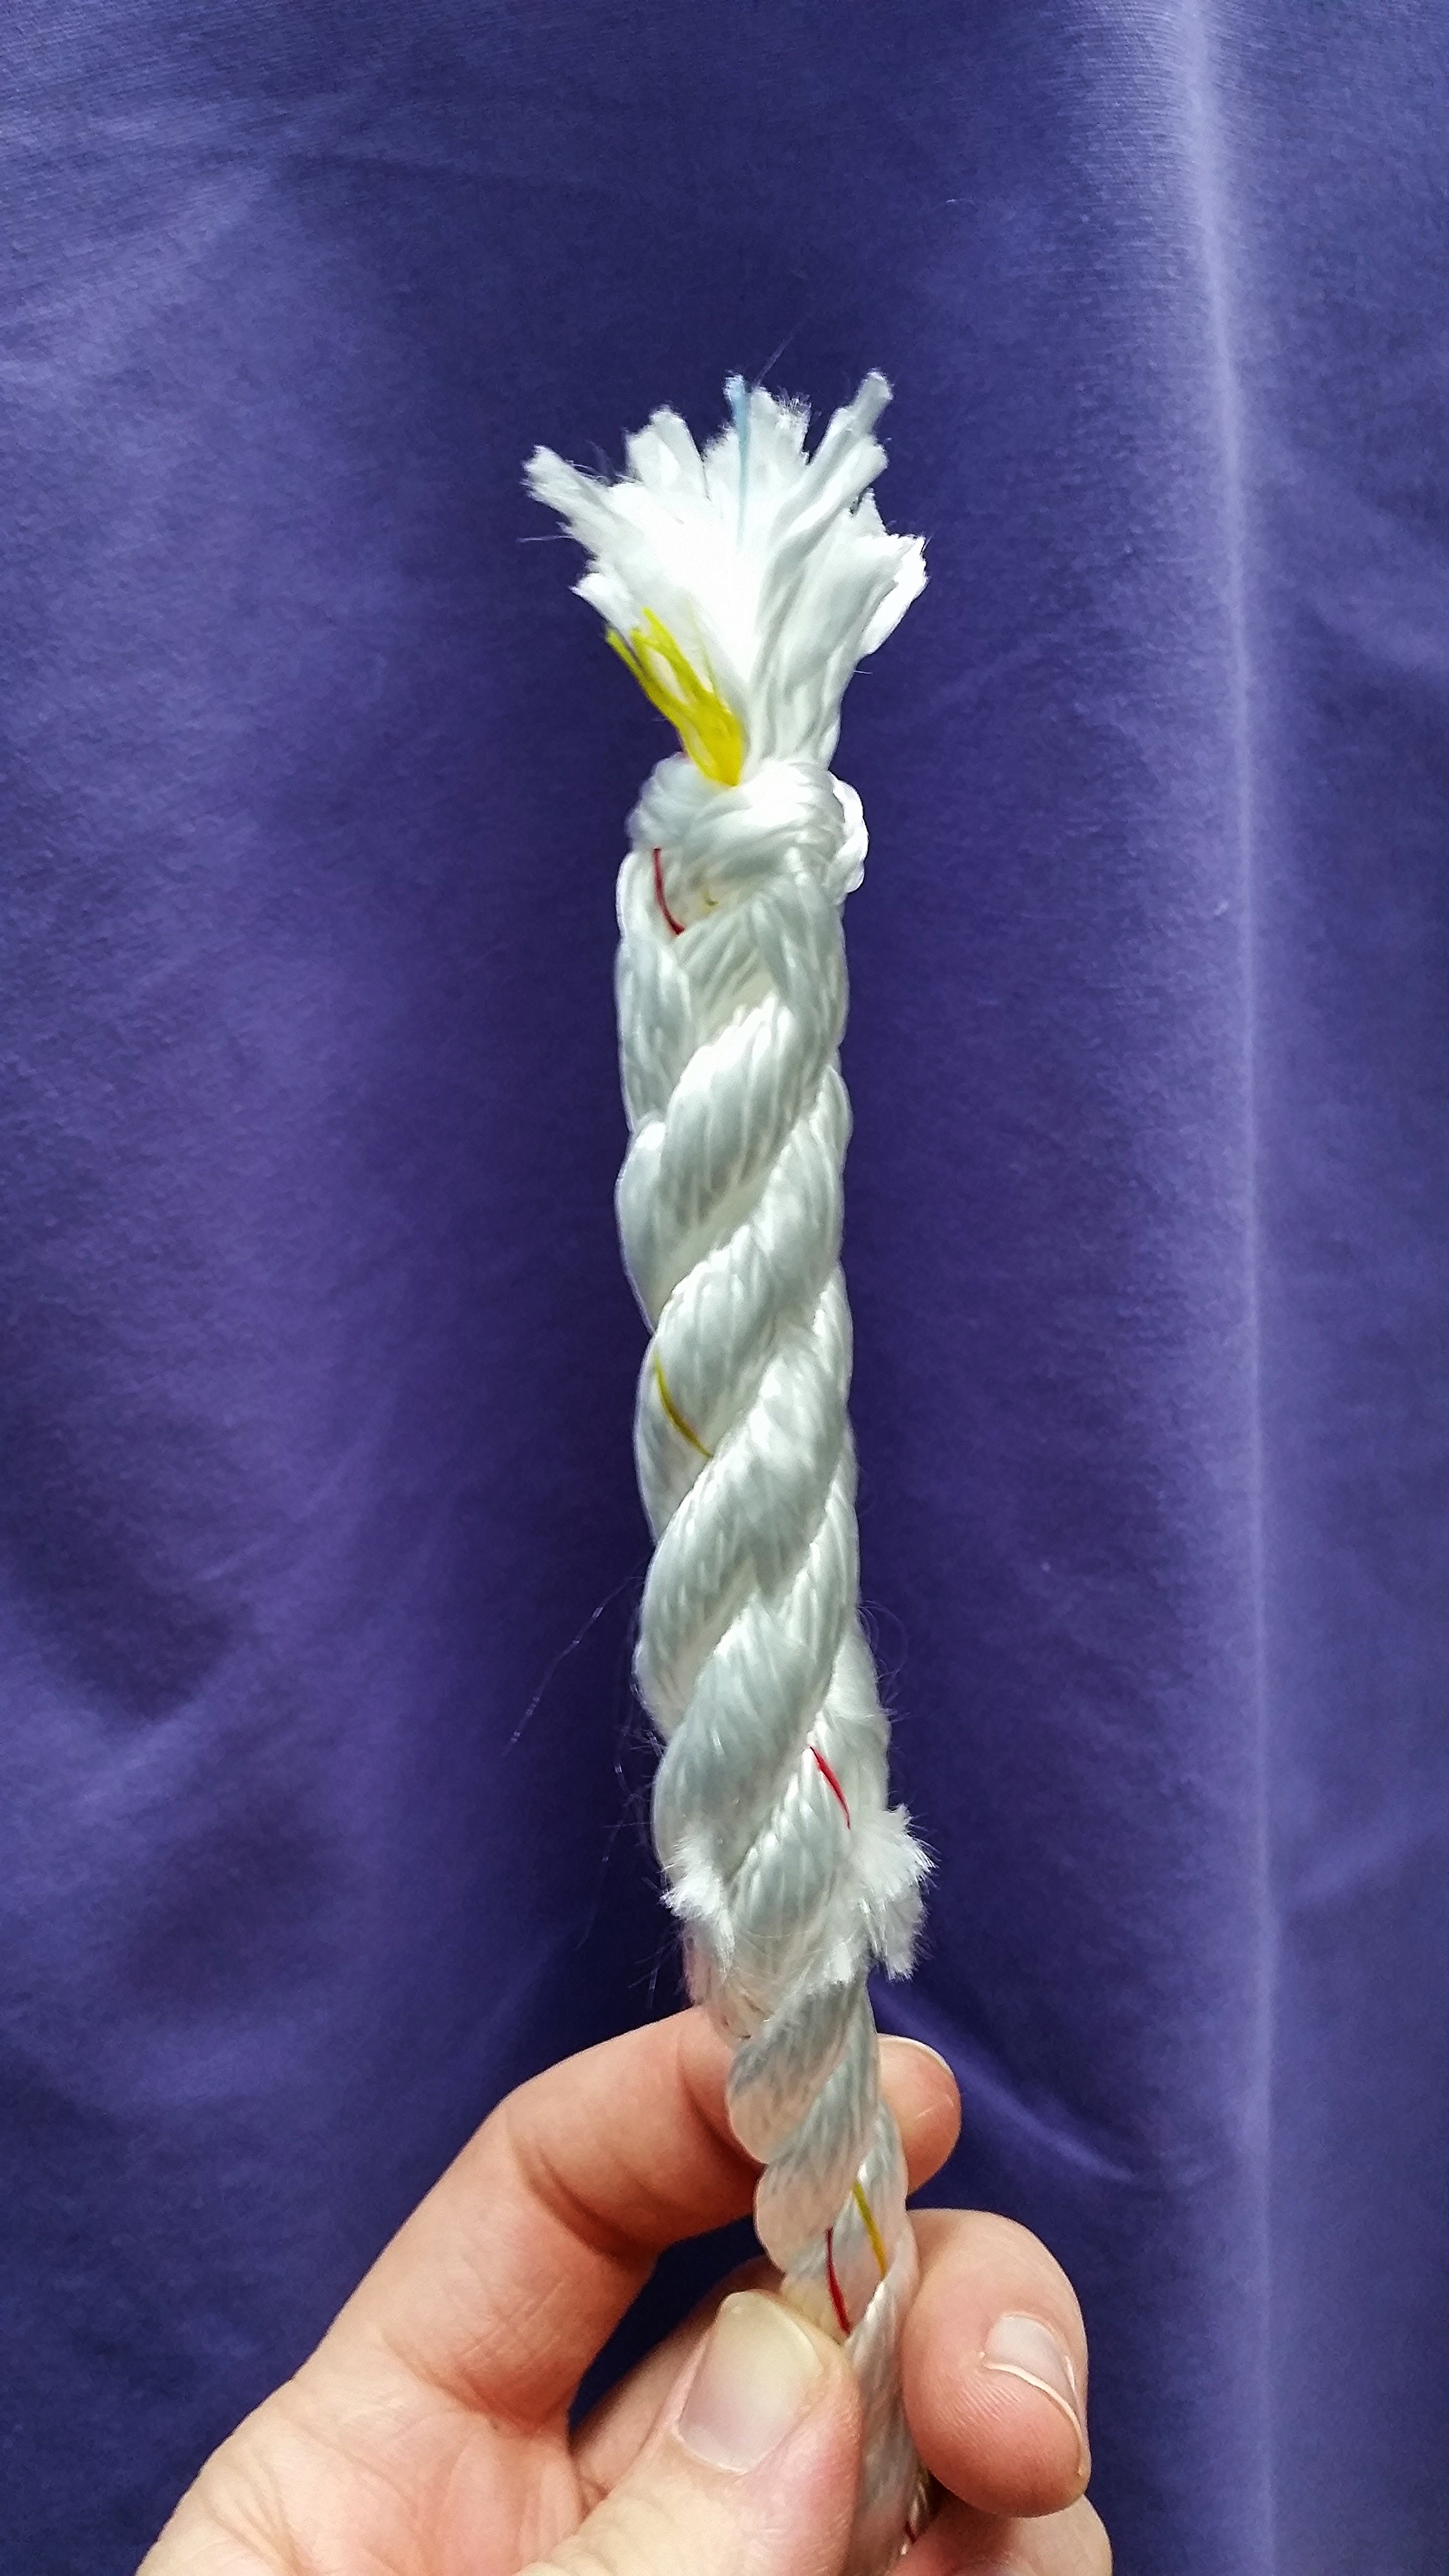
The line selected is 1/2" Three Strand Nylon from New England Ropes. This line will have the fender seized to it, and then run out into the whips that will be used to tie the fender to the boat. I chose Three Strand Nylon because it can be repaired over the years. If a strand or two gets damaged, I can splice in a new strand rather than trying to replace the line that the fender is seized onto.

In 2013, I replaced the running rigging and kept the old lines coiled up in a locker for 2 years. I think this is a wonderful way to put the old sheets and halyards to use again. They will make up the bulk of the fenders in the non load bearing areas. The old line was cut into even lengths and then seized to the fender line.

I used double constrictor knots to seize the old lines to the new fender line. This knot will bind them all together so tightly that there is no risk of them slipping out.

I repeated this on all four fenders before proceeding to the next step.

The next layer added to the fenders is a coiled line that wraps over the first four lines. This coiled layer will provide a lot of bulk while riding over the underlying lines and provide the dead airspace needed to increase the bulk while keeping weight down to a minimum. This once again was repeated on all four fenders.

I did this part of the project while I was between patients at my dental office. I then continued the project once I was back home on board Wisdom.

The first layer was completed, and so it was time to apply the second layer of bulk. Once again, lengthwise lines were run and seized at the ends using Double Constrictor Knots. This bulks up the fender and provides the framework for the next coiled line.

To keep the lengthwise lines in place, I tied them together the way I suture long cuts of tissue, using the "Continuous Locking Technique". It's begins by tying a knot at one end, and then looping the line around the bundle, back through the loop and then onward. This technique provides a tight bind to the bundle without pulling it in any direction.

Once the bundle is tied together, the next layer of coiled line can be installed. 

You can see how just one additional wrapping will greatly increase the bulk of the fender and all the dead air space will keep weight down. I do not suggest wrapping the layers in tape as that will only trap water inside and never allow the fender to properly dry out. They will get wet, and the open internal structure will help them dry out.

Be sure that the coils wrap in opposite directions, this will avoid the possibility of the coils falling into each others grooves, instead they will always intersect and ride over one another, keeping a greater volume with the same mass.

It is impressive the amount of volume that it gained by simply adding one more layer of lengthwise lines and a coil. The fender on the left only has 1 layer, the fender on the right has 2 layers.

This was repeated on all four fenders. As you can see Morty in the corner, it was late and I went to sleep at this point. 

Rope Fenders: The Design Process

I began a new project! I'm building rope fenders that will replace by plastic inflatable ones and also serve the purpose of a fender board. If you would like me to make rope fenders for you as well, let me know what size you want and I can give you an estimate.

I currently have two 10"x26" Taylor Made fenders, and they are not enough for when we tie up to a pier or raft up with friends. My options are add more fenders to my vessel (and figure out where to store them) or make myself rope fenders to meet my needs.

The fenders need to accomplish the following:

Be light enough for Maddie to deploy them
Be soft to protect from impacts
Cover the opening in the gate so that Morty can't fall out
Be long enough to serve as fender boards

I was going to make 2 very large and long fenders, but quickly decided that their weight would make them difficult to manage which would result in us never using them. I then switched ideas to making 4 large and long fenders that are easier to store and deploy.

The fenders are also going to double as a way to close the bottom of the gate while we are under sail. Morty loves to sit on the leeward side, right next to the gate with his head hanging out over the toe rail (this is why we keep him tied to the jacklines to make recovery easier if he were to slip off the side). This is the only place on the boat where the netting to keep him on board is missing, and it is his favorite place to sit.

By being long enough to serve as both fenders and fender boards, we will be protected in any docking and rafting situation while only needing to carry four rope fenders on board.