Depending on the size of your vessel, there are certain legal requirements for equipment that you carry on board. As you may assume, as the length increases, so do the required items to be carried.
Yachts are separated into four categories depending on their length:
Class A: Boats less than 16 feet long
Class 1: Boats 16 feet long but less than 26 feet long
Class 2: Boats 26 feet long but less than 40 feet long
Class 3: Boats 40 feet long but less than 65 feet long
Each class builds upon the next in complexity of the items that must be carried on board.
Class A
Class A Boats are less than 16 feet long and must carry:
Certificate of Boating Safety Education (for the captain) (Unless you were born before July 1, 1972)
Certificate of Vessel Numbers
Registration Decal Displayed
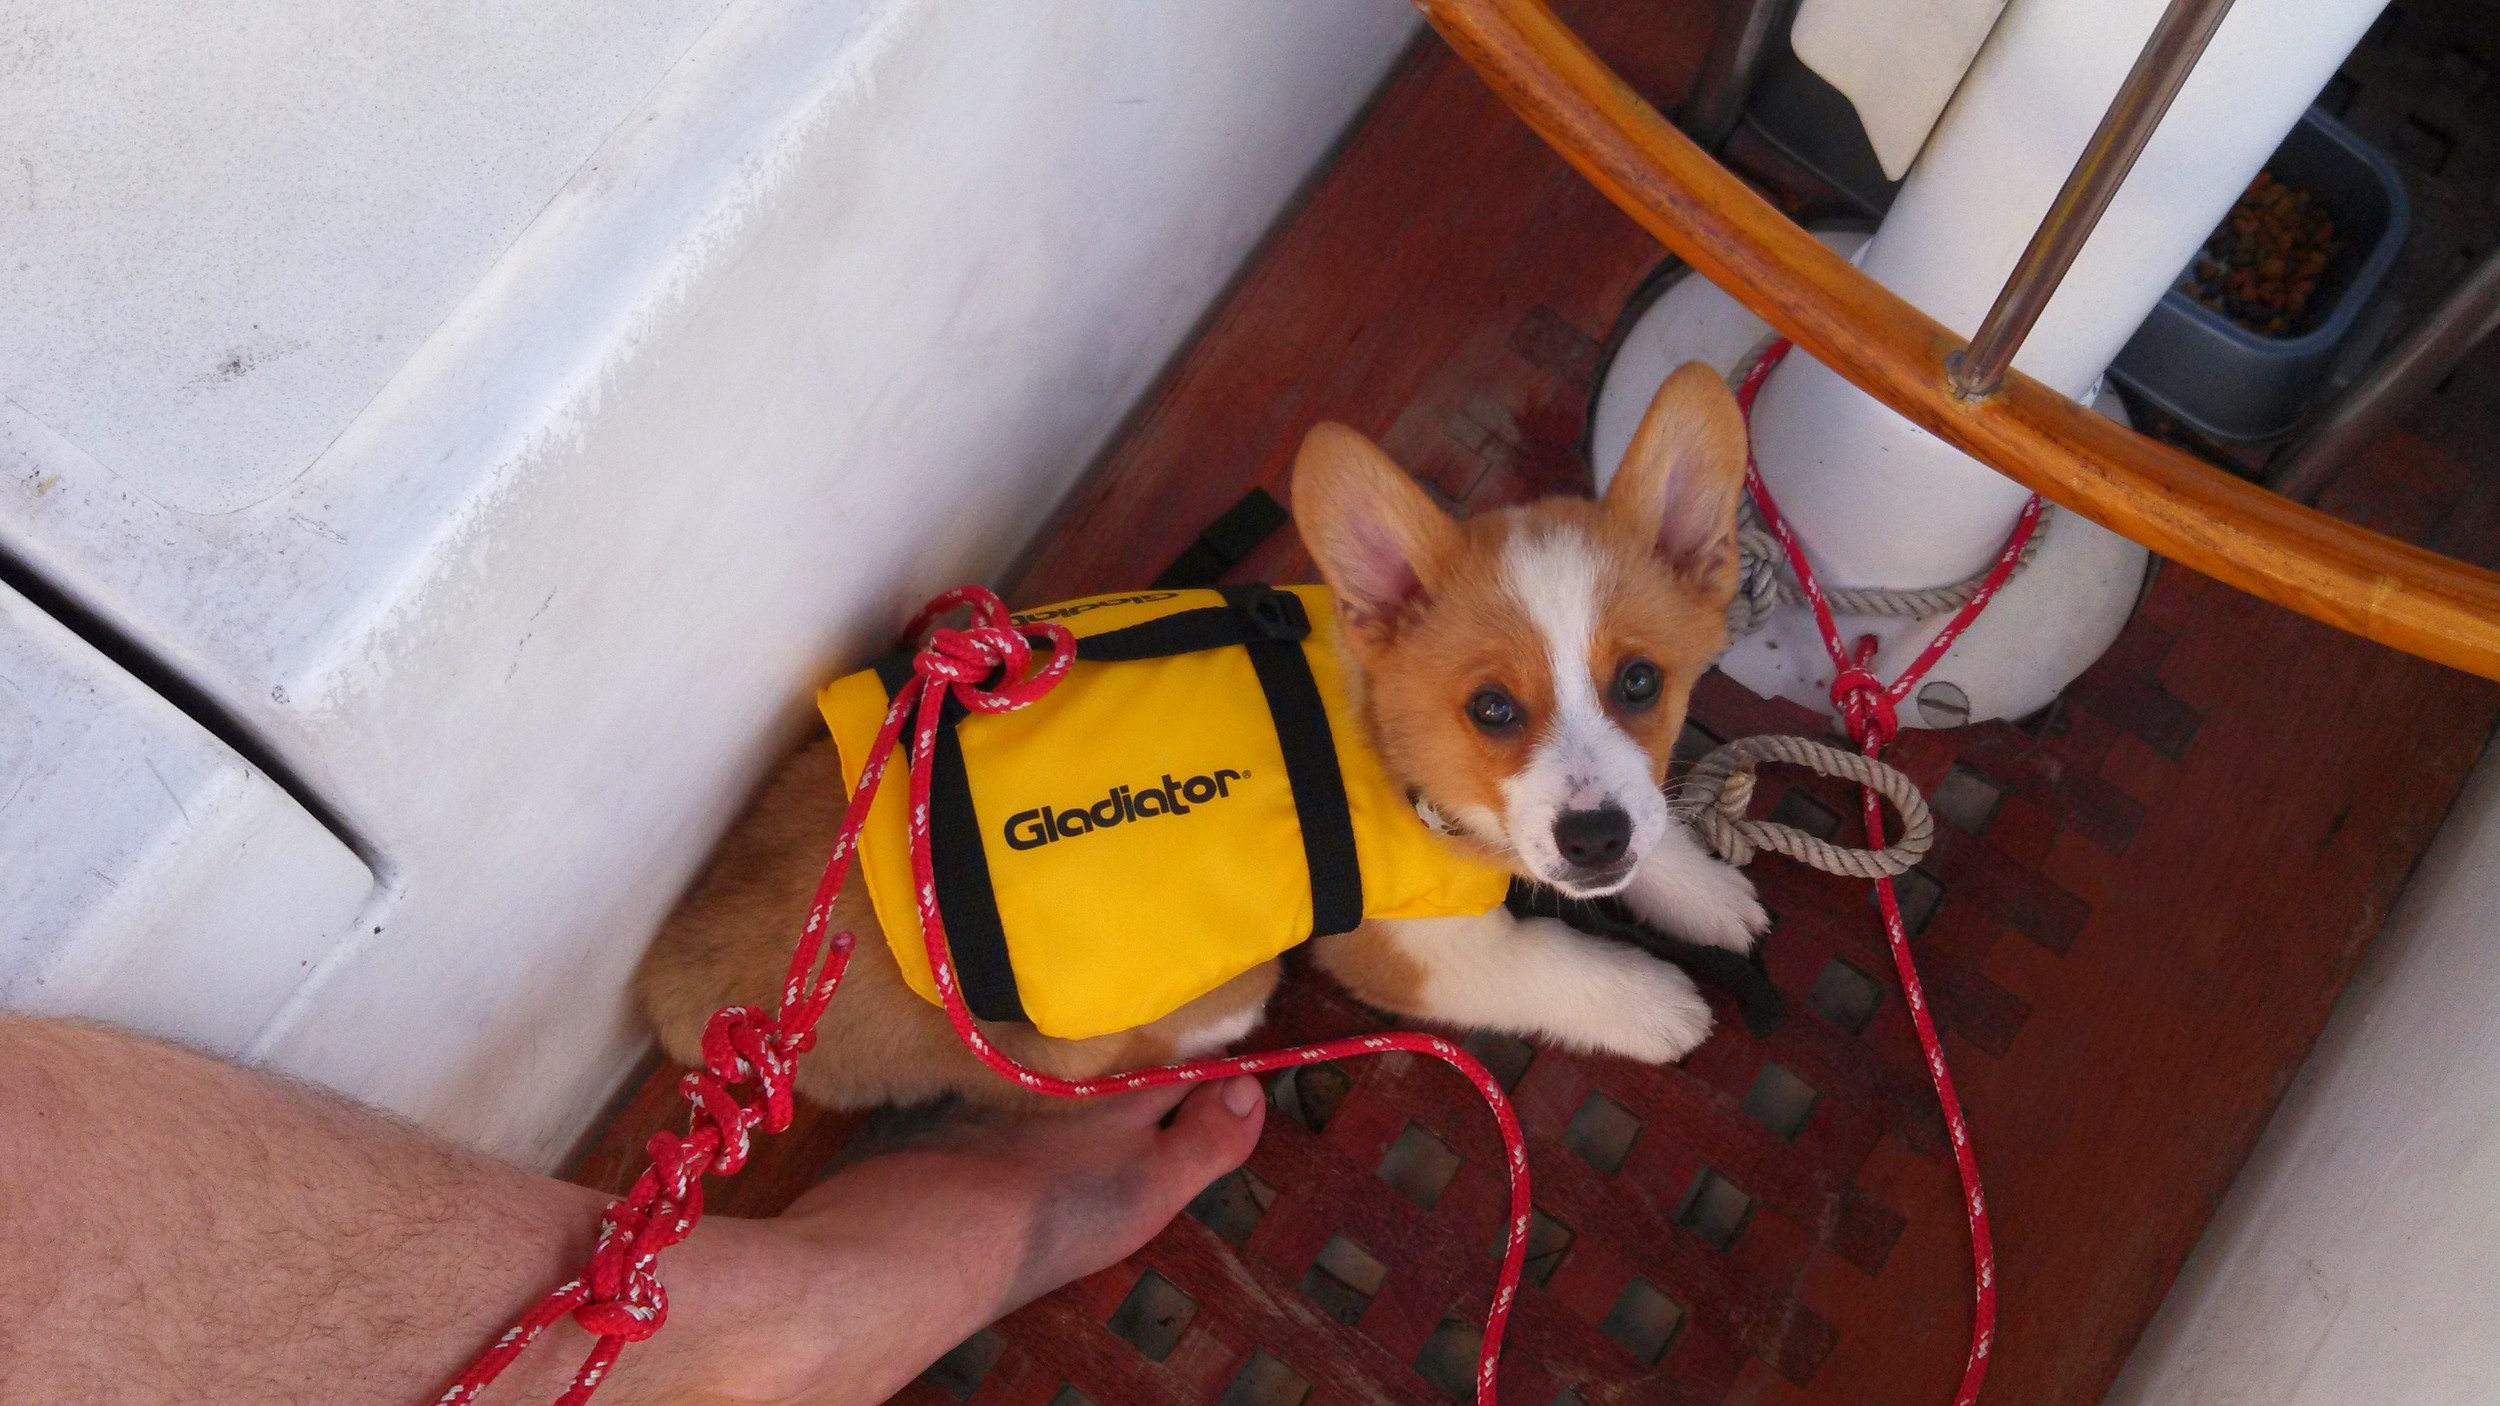
PFD (Life jacket) for each person on board the vessel. (Children under 13 must wear their PFD at all times.)
One B-I Fire Extinguisher
Backfire Flame Arrestor mounted on each gasoline motor
Ventilation system (1 blower per motor) (should be run for 4 min prior to starting motors)
Muffler
Horn, Whistle, or Bell
Visual Distress Signals (any of the below combinations)
3 Handheld red flares
1 Handheld red flare and 2 parachute red flares
1 Handheld orange smoke and 2 floating orange smoke for day, and 1 electric distress light for night
Navigation lights
Red and Green bow light, White stern light, White steaming light 1m higher than red and green bow lights
As always, there are exceptions to the rules:
Non-motorized vessels with no cabins or closed compartments that can store combustibles do not need to carry fire extinguishers and the captain does not need to have a Certificate of Boating Safety Education.
If you are under 7m (22.9ft) in length and are strictly oar or sail powered, a flashlight is all you need to carry to count as your navigation lights.
If you are operating your vessel in inland waters, such as rivers or bays, where the distance from shore to shore does not exceed 2 miles, you do not need to carry visual distress signals by day.
Class I
Class I boats are longer than 16 feet but less than 26 feet in length and must carry:
Certificate of Boating Safety Education (for the captain) (Unless you were born before July 1, 1972)
Certificate of Vessel Numbers
Registration Decal Displayed
PFD (Life jacket) for each person on board the vessel. (Children under 13 must wear their PFD at all times if the boat is under 21 feet in length)
Throwable Type IV PFD
One B-I Fire Extinguisher
Backfire Flame Arrestor mounted on each gasoline motor
Ventilation system (1 blower per motor) (should be run for 4 min prior to starting motors)
Muffler
Horn, Whistle, or Bell
Visual Distress Signals (any of the below combinations)
3 Handheld red flares
1 Handheld red flare and 2 parachute red flares
1 Handheld orange smoke and 2 floating orange smoke for day, and 1 electric distress light for night
Navigation lights
Red and Green bow light, White stern light, White steaming light 1m higher than red and green bow lights
As always, there are exceptions to the rules:
Non-motorized vessels with no cabins or closed compartments that can store combustibles do not need to carry fire extinguishers and the captain does not need to have a Certificate of Boating Safety Education.
CLASS II
Class II boats are longer than 26 feet but less than 40 feet in length and must carry:
Certificate of Boating Safety Education (for the captain) (Unless you were born before July 1, 1972)
Certificate of Vessel Numbers
Registration Decal Displayed
PFD (Life jacket) for each person on board the vessel.
Throwable Type IV PFD
Fire Extinguishers (any of the below combinations)
Two B-I Fire Extinguishers
One B-II Fire Extinguisher
One B-I Fire Extinguisher and one fixed mounted fire extinguisher system
Backfire Flame Arrestor mounted on each gasoline motor
Ventilation system (1 blower per motor) (should be run for 4 min prior to starting motors)
Muffler
Horn, Whistle, or Bell
Visual Distress Signals (any of the below combinations)
3 Handheld red flares
1 Handheld red flare and 2 parachute red flares
1 Handheld orange smoke and 2 floating orange smoke for day, and 1 electric distress light for night
Navigation lights
Red and Green bow light, White stern light, White steaming light 1m higher than red and green bow lights
As always, there are exceptions to the rules:
Non-motorized vessels with no cabins or closed compartments (open boats) that can store combustibles do not need to carry fire extinguishers and the captain does not need to have a Certificate of Boating Safety Education.
Diesel motors do not require a blower, but passive ventilation is needed.
CLASS III
Class III boats are longer than 40 feet but less than 65 feet in length and must carry:
Certificate of Boating Safety Education (for the captain) (Unless you were born before July 1, 1972)
Certificate of Vessel Numbers
Registration Decal Displayed
PFD (Life jacket) for each person on board the vessel.
Throwable Type IV PFD
Fire Extinguishers (any of the below combinations)
Three B-I Fire Extinguishers
One B-II and one B-I Fire Extinguisher
Two B-I Fire Extinguishers and one fixed mounted fire extinguisher system
One B-II Fire Extinguisher and one fixed mounted fire extinguisher system
Backfire Flame Arrestor mounted on each gasoline motor
Ventilation system (1 blower per motor) (should be run for 4 min prior to starting motors)
Muffler
Horn, Whistle, or Bell
Visual Distress Signals (any of the below combinations)
3 Handheld red flares
1 Handheld red flare and 2 parachute red flares
1 Handheld orange smoke and 2 floating orange smoke for day, and 1 electric distress light for night
Navigation lights
Red and Green bow light, White stern light, White steaming light 1m higher than red and green bow lights
As always, there are exceptions to the rules:
On non-motorized vessels with no cabins, the captain does not need to have a Certificate of Boating Safety Education.
Diesel Motors do not require a blower, but passive ventilation is needed.