Running Rigging

Ropes on a Boat

They say that there are no ropes on a sailboat. Ropes exist in spools at a chandlery and magically transformed into line the moment it comes onto the sailboat.

The truth is, not all ropes turn into lines! There are actually four ropes that exist on a sailboat:

  1. Bolt Rope
  2. Foot Rope
  3. Tiller Rope
  4. Bell Rope

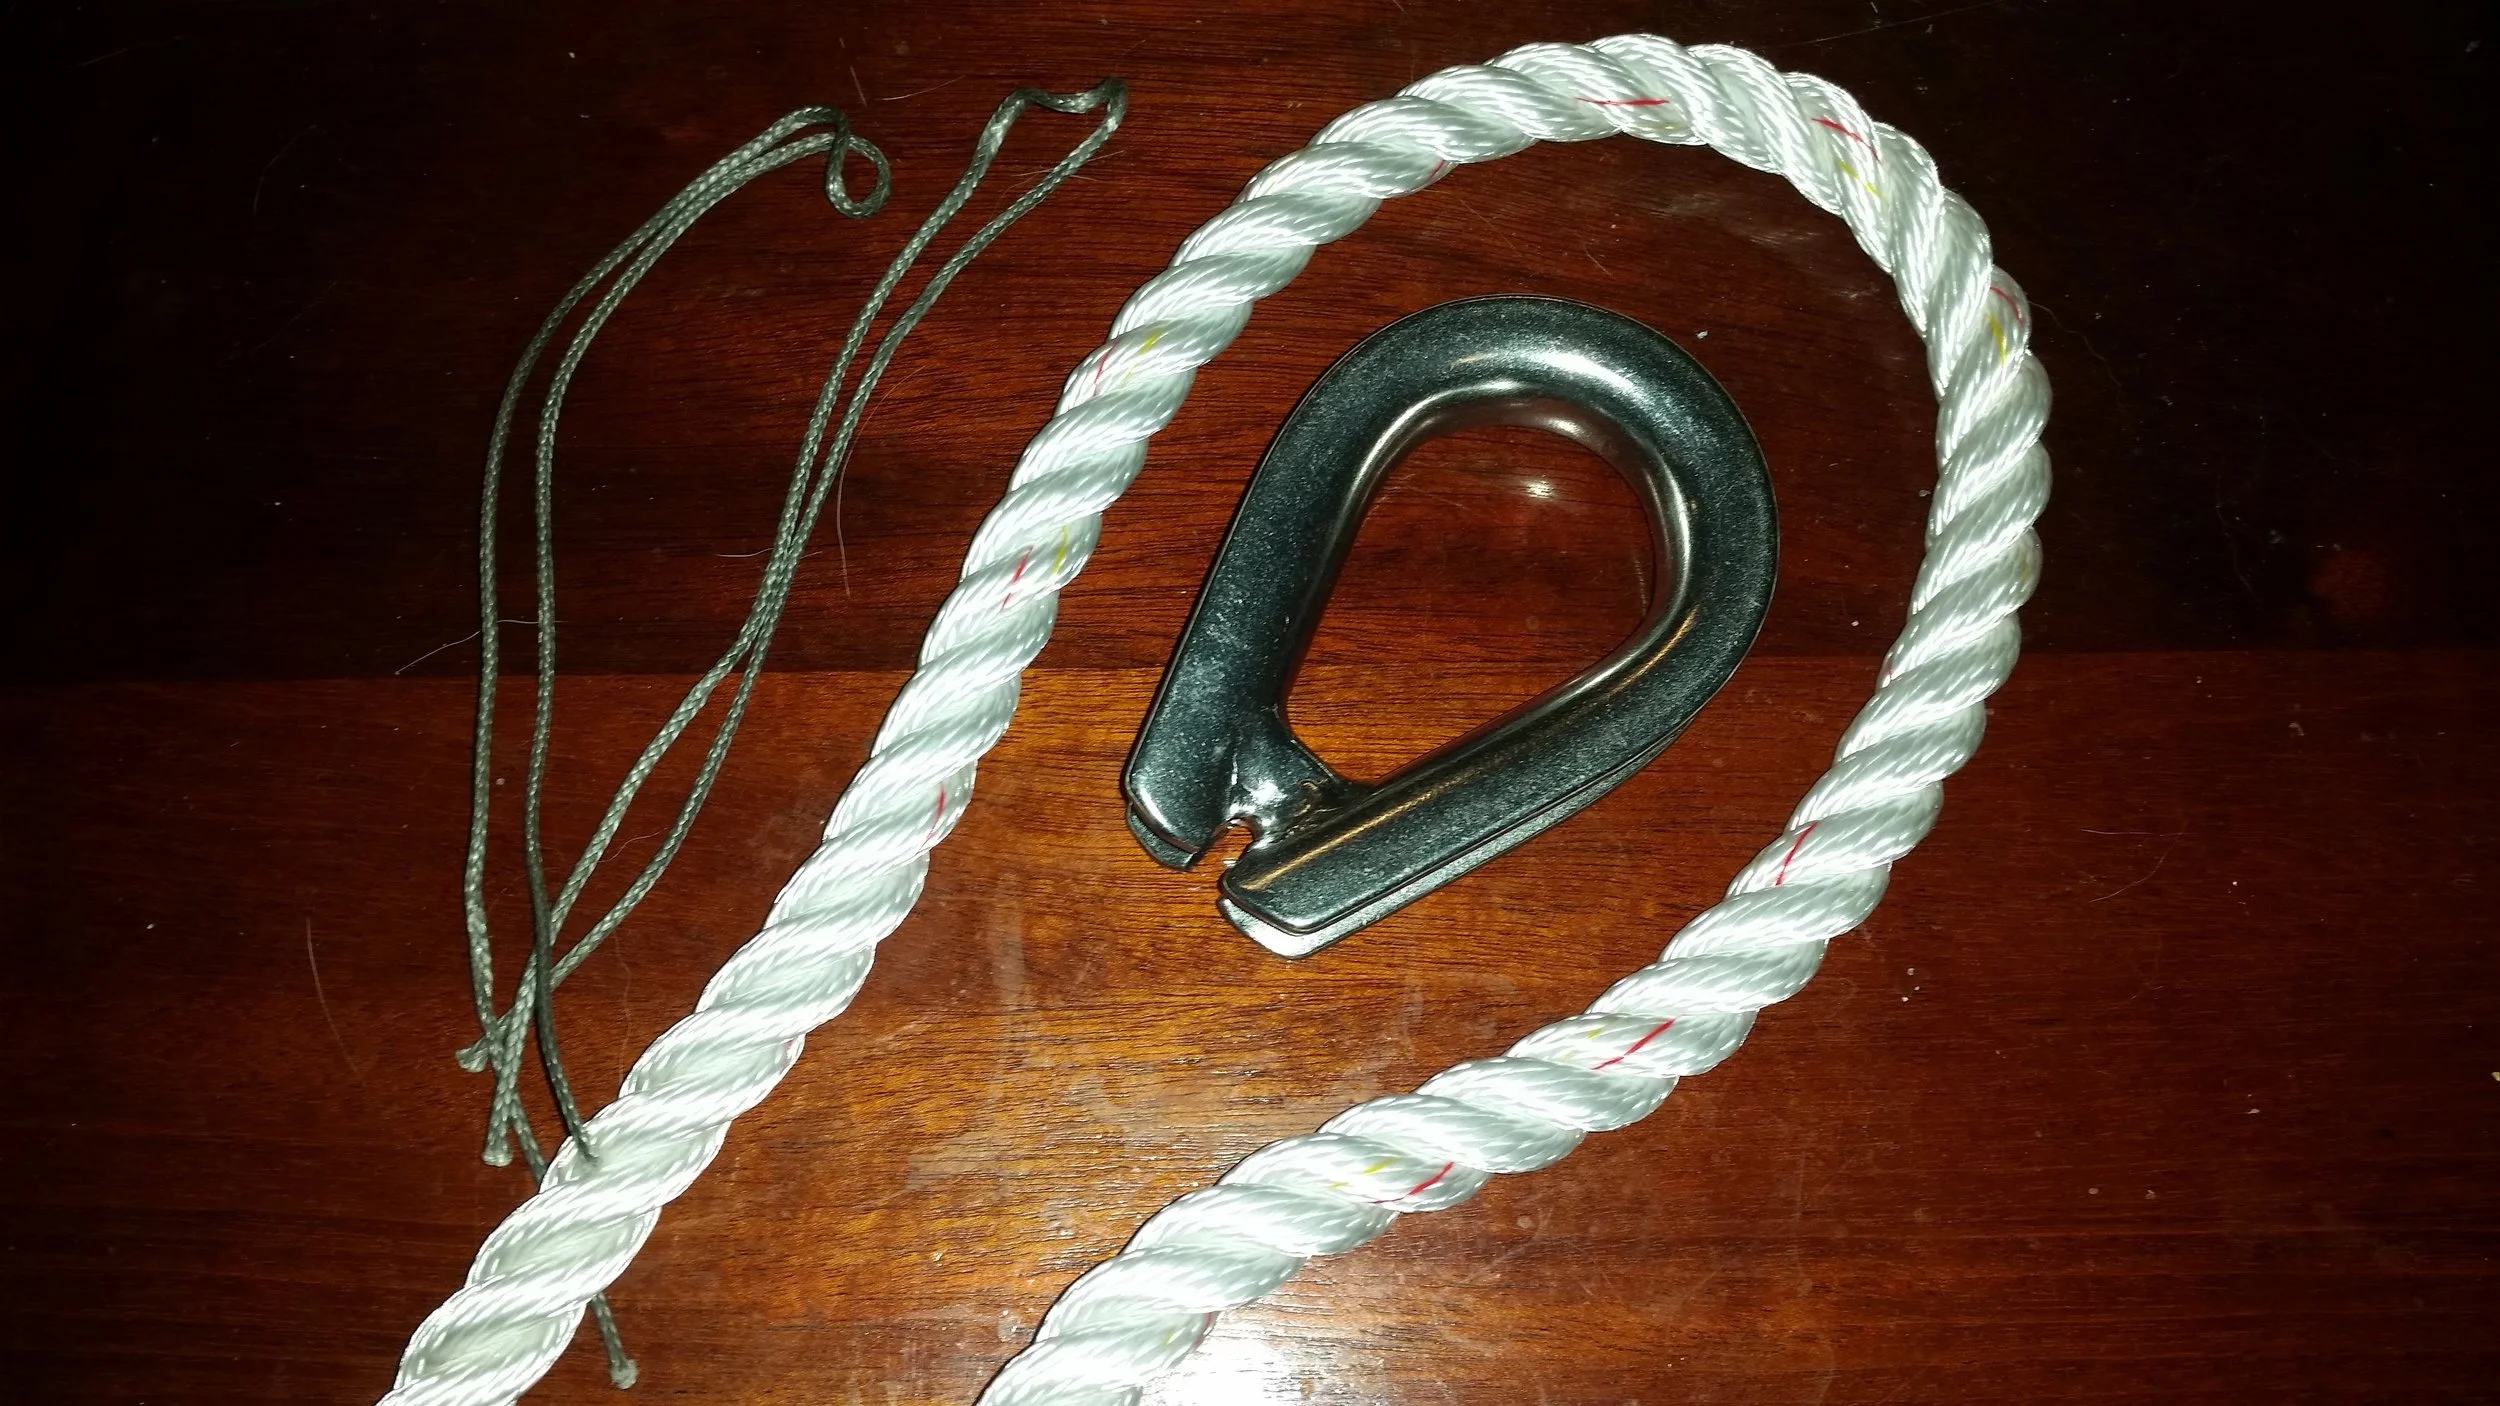
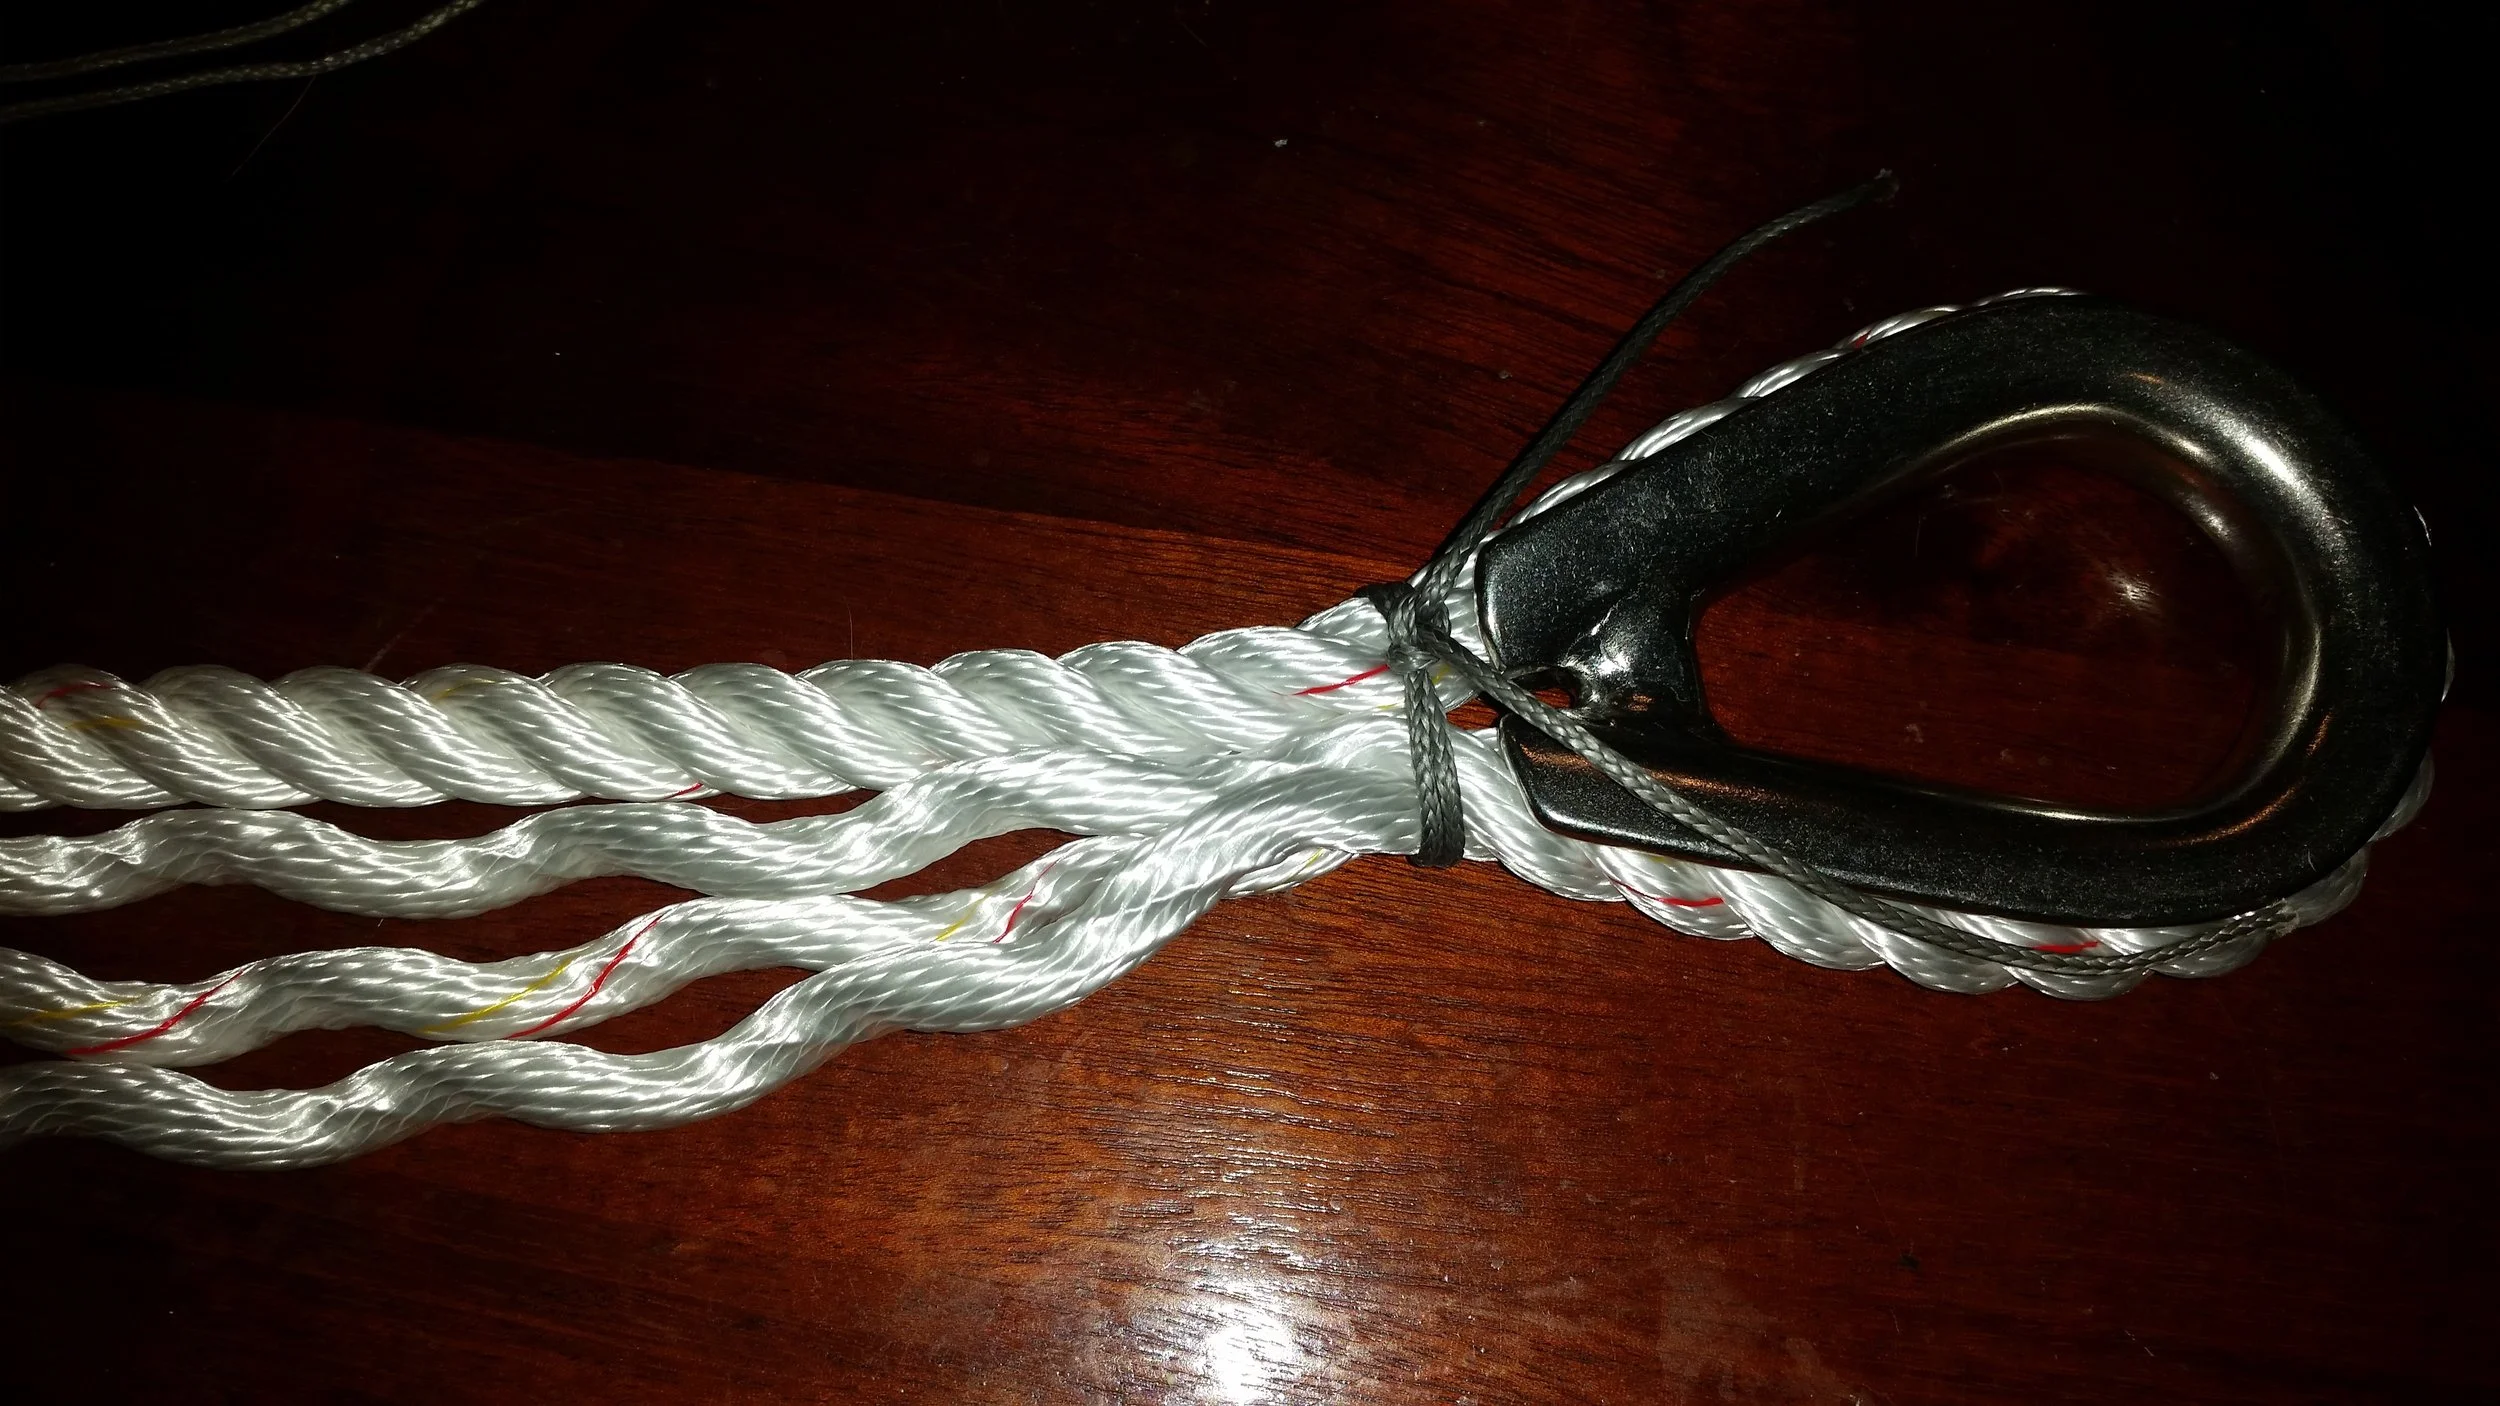
A bolt rope is a rope sewn into the luff and foot of the sail to aid in securing the sail to the spars. Bolt ropes help reinforce and strengthen the sail, giving it a very firm attachment to the spar that will help it set much better.

A foot rope is a rope that runs the length of a yard (those horizontal spars on square riggers) that sailors stand on while they raise, reef, or lower the sails. These ropes are very important because the crew will be standing on these ropes while they work high up in the rigging.

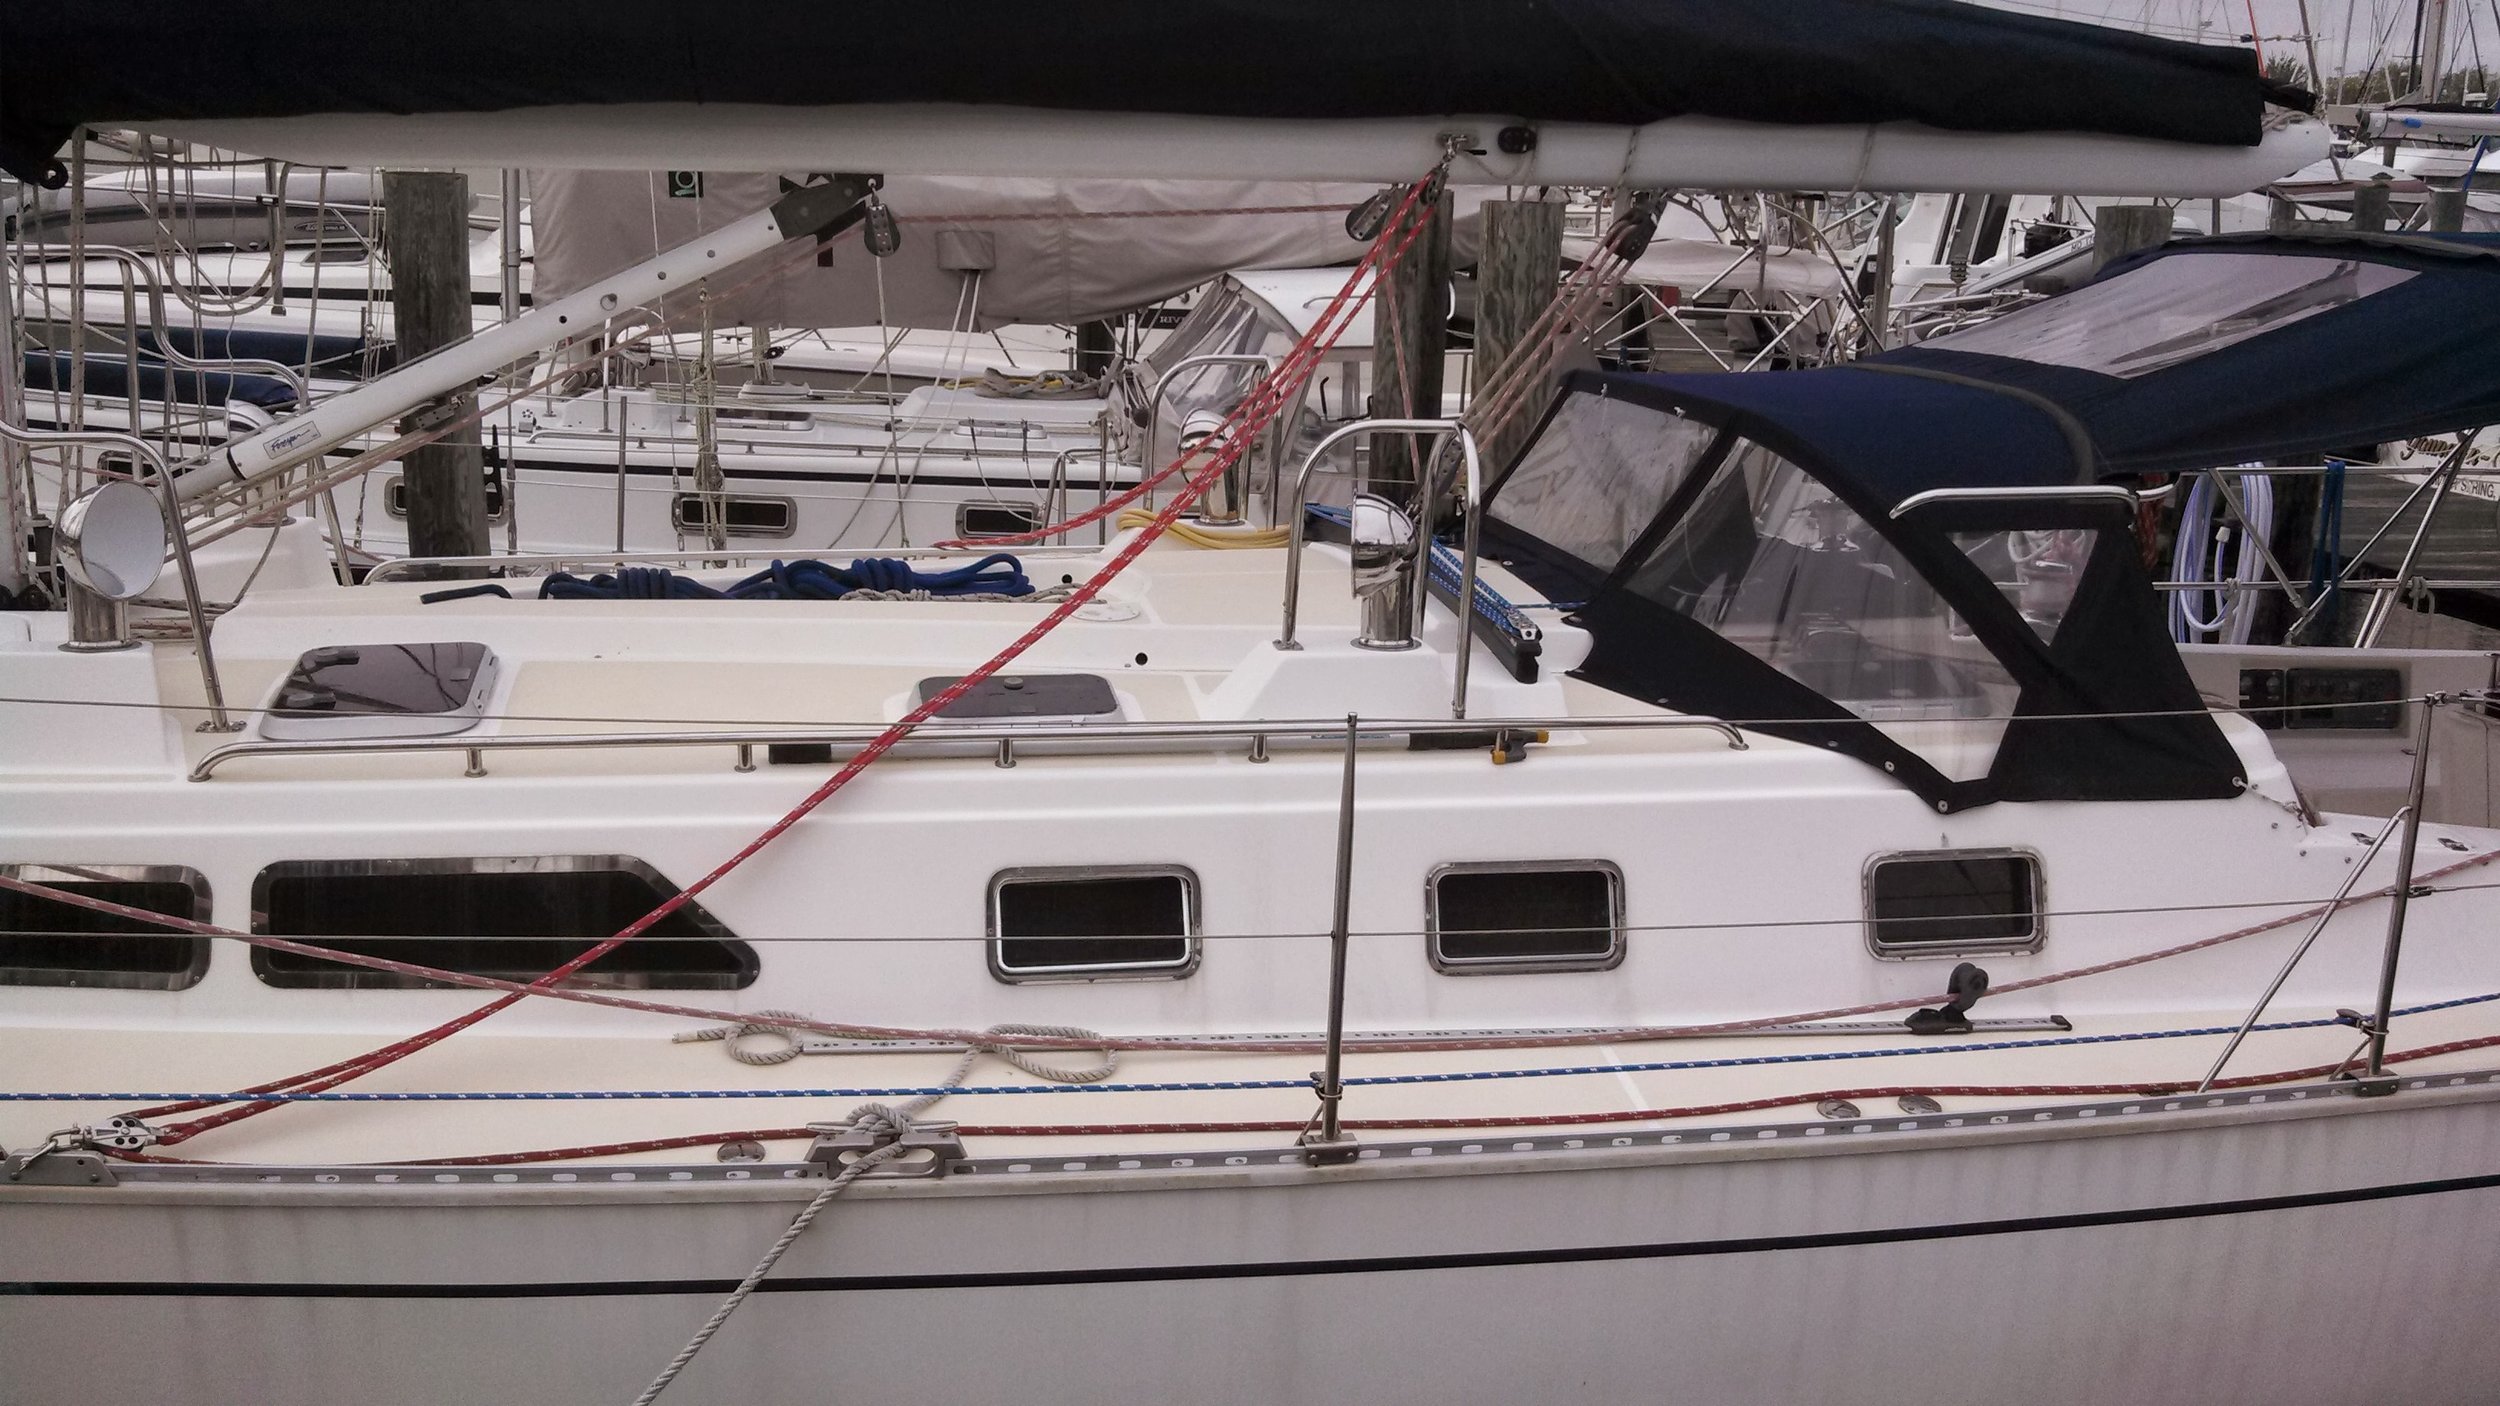
A tiller rope is a rope used to tie off the tiller. This is used when the sails are balanced and the tiller can be left in one position. Rather than stand at the tiller to keep it in the same position, all you need to do is tie the tiller off. A tiller rope is run arthwartship from one side of the cockpit to the other. As the tiller rope goes by the tiller, it will be wrapped around the tiller a few times and then over to a cleat on the other side of the cockpit. The wraps on the tiller should be set close to the end of the tiller, that way if you need to take the helm in a hurry, all you need to do is slide the loops off the tip of the tiller, giving you the helm in a hurry.

A bell rope is a lanyard that is attached to the bell's clapper. The bell rope is used to sound the bell by pulling on the rope repeatedly. 

When you look at the list, you can see why many sailors feel confident is saying that there are no ropes on a boat. With the decay of square riggers and tall ships, yards have been replaced by booms with no foot ropes. This has led to the mental decay of the existence of foot ropes in the rigging.

Sailors don't work on their own sails anymore, so they probably don't realize that their roller furling sails have a bolt rope that slides into the luff groove of the aluminum extrusion. If they did notice the bolt rope, they would probably forget about its existence in a few years since most sailors never lower their furling sails until something breaks. The forgotten bolt rope has made its way onto the most modern and luxurious yachts since roller furling is the wave of the luxurious future.

Tiller ropes are a thing of the forgotten past since pretty much all cruising yachts come equipped with wheel steering. Tillers used to be found on all vessels of any size. The larger the vessel, the longer the tiller to provide the leverage needed to control the rudder. Vasa, a Swedish warship build in the 1620's was 226 feet long and steered with a tiller! In the early 1900's, the New York 40, a 65 foot yacht was steered with a tiller. Yet, by modern standards, a tiller should only be used on yachts under 30 feet in length.

The reason cited for the switch to wheels on all yachts over 30 feet in length is that weather helm will tire the crew that needs to hold the tiller and that the force to control the rudder is too great. Using a wheel will remove a lot of the strain on the crew thanks to the mechanical advantage of the wheel mechanism. Tiredness from weather helm should not be a reason to move away from tillers, tiredness from weather helm should be used as a reason to properly balance the sails!

Regardless of size or sail balance, the move to wheels makes it easier to sell a yacht. When a land lubber first steps onto a yacht with a tiller, they may wonder how you steer this thing? Conversely, a wheel will make the yacht controls appear more apparent since they can relate to a wheel. Tillers also cause a lot of confusion since the tiller is moved in the opposite direction you want to turn the bow because a tiller/rudder system is a Class I lever. Wheels, on the other hand, are steered just like a car where you turn the wheel in the direction you want to move. 

The move away from tillers has also left the tiller rope behind in the past. Wheels are standard equipment on yachts and older yachts with tillers are converting over to the wheels, all the while the tiller rope is being lost to the past.

The last forgotten rope is the bell rope. Bells are a traditional sound producing device that used to be fitted on all cruising boats as a way to signal their presence. The horn and whistle replaced the bell on small yachts, but was still required on all yachts of 40 feet and larger.  This was the begging of the end for the bell rope in the realm of common knowledge. In the first half of the 20th century, most cruising yachts were well under 40 feet in length. These small yachts were made out of wood and production of a larger yacht would require much more material and associated cost to build and maintain. The transition to fiberglass allowed an explosion in length. As time moved on, the size of these yachts continued to grow. In 1961, Hatteras Yachts produced a 34 foot model and a 41 foot model. In 2017, the smallest Hatteras produced is 45 feet in length and extends up to 102 feet in length.

As the size of yachts has increased, you would think that the bell and its bell rope would become more commonplace. The thing is, as yacht size increased, the United States Coast Guard has actually become more relaxed about their bell requirement. Around 2010, the USCG revised their requirements and decided that vessels between 40 and 65 feet no longer need to carry a bell. As the size of yachts increased, the rules surrounding them became more relaxed which has cast the bell rope has fallen into disuse. Yes, larger vessels are being produced and they need to carry a bell with a bell rope, but these massive yachts make up a small percentage of the boating population. Most boats in the United States are under 18 feet long and powered by an outboard motor. This means that most boat owners do not need a bell and therefore do not know about a bell rope.

Ropes typically transform into lines when they come on board, but now you know the four ropes that stay as a rope on a boat: bolt rope, foot rope, tiller rope, bell rope.

Class II Double Braid Eye Splice

Eye splices are a great way to connect a shackle to the end of a line. In this example we will be attaching a halyard shackle to the end of the line using an eye splice. The line we are working with is VPC which is a technora/polyester blend. Since some of the fibers in it are technora, the rope counts as a high tech line and requires the use of a Class II Double Braid Eye Splice.

In the begging, everything is simple. You have your shackle and your VPC line. 

Then it all gets really complicated! But don't worry, it's not as wild and confusing as it might first seem. 

Your first step will be to put a pin through the entire line about 12 feet into the line that way the shifting core and cover won't affect the rest of the line. This will make your life easier later on in the splicing process.

Your second step will be to remove the core from the cover for the portion of the splice that will be buried. Since this is a Class II splice, you need to bury 2.5 fid lengths. The reason for this long tail is Class II cores are slippery. The longer the buried tail, the more friction can be passed to the tail to hold the splice in place. If you want to err on the safe side, simply make the buried tail even longer as this will increase the strength of the splice.

At 2.5 fid lengths (or more if you want to be safe) you will bend the rope and extract the core from the cover. When you bend it over, the cover fibers will stretch a bit and you can work them apart with a blunt pin or a small fid. Once the cover fibers are separated, you can insert a small fid and lift the core out of the cover.  

Once enough core is out of the cover for you to grab, you can simply pull the core completely out without the aid of any tools.

With the core removed from the cover, you might feel like proceeding with the splice! If you do, you will regret your life choices towards the end of the splice when the last bit of core doesn't want to go back into the cover and you are stuck with an unsightly bleb of core herniating out of the cover.

What you need to do now is equalize the core and cover. During the manufacturing process, the core and cover are woven at alarmingly fast rates. The result is a very tight core and cover that you might not be able to fit the fatter core after the splice into the cover. By equalizing the core and cover, the cover will be looser and it will help you later on to milk the core back into the cover. 

To equalize the core and cover, you will pull the core out of the cover and then milk the cover back over the core. This is why the pin through the rope is necessary, as it gives you a stopping point during the equalization. You will push the cover back as you pull the core out, then milk the cover back over the core. Repeat this three times and you will be done with this step. When you finish equalizing the core and cover, you will find that the core protrudes out a significant amount of core extending past the cover.

With the core and cover equalized, now is a great time to slip the shackle on for the halyard. The most annoying thing that could happen during the splice is beginning to bury the splice and realizing that you forgot to put the shackle on! If you put the shackle on now, you won't have to worry about remembering to put it on later.

With the shackle on, you can tie a slip knot in the exposed core to avoid it from sliding back into the cover.

With the shackle in place, you can measure the desired size of the eye by wrapping the line around the shackle. I prefer a small eye as this keeps the eye splice out of the shiv if your halyard ends up at the masthead. If you like a larger eye, simply give yourself more line to wrap around the shackle. On the other side of the shackle, you will bend the rope and pull the core out the same way you did for the tail. The slip knot in the tail will prevent you from accidentally pulling "tail core" into the loop instead of "core core."

20170319_094040.jpg

At this point, you have everything exposed to carry out the splice. The tail is tied off, the loop is tied off, and the shackle (remember to put the shackle on!) is in its place. It is time to start burying everything and wrapping the splice up.

Pass a fid through the tail core and bury the tail cover inside the tail core. This makes the entire splice look much neater and helps to taper the splice inside the line.

To make sure everything is tapered properly, you want to taper the cover inside the core that way the transition from cover over core to core over cover in the splice. This will keep stress on the individual fibers low and increase the strength of the splice.

The tail is now passed through the loop on the other side of the shackle with the fid. A portion of the loop is consumed by the slip knot, so you will have to end short of the full loop. This is not a problem as you will simply exit the loop shy of the slip knot and then stretch out the loop over the buried tail.

With the tail in the loop, and the loop stretched out, you can see that there is still a portion of tail that is not buried. This would be a problem, since Class II cores are slippery and you need all the friction from length that you can get. 

This last bit is easily buried by simply inserting the fid back through the exit hole and passing it through the remaining loop once the slip knot has been removed. Now, the entire tail is buried, all that is left to do is to taper the tail and then bury it again.

The tail was tapered systematically, creating a very gradual decline in thickness that will produce a very subtle taper that will reduce any stress on the individual strands and produce a very strong splice.

With the tail buried, you can see the gradual taper in the line as it goes back into the cover. All that is left to do now is to milk the loop back into the cover and whip the splice. Since the pin is still in the rope, securing the position of cover and core, this process is relatively simple. The cover will slip over the spliced core easily at first, then it will become more difficult. The last bit will be a bear to bury, and if you didn't equalize the core and cover at the beginning, it might not actually bury. Having equalized, you should know that with enough force, it will bury. 

To do the last bit, you need to tie the rope to a sturdy point, such as a cleat, and yank really hard on the end. The snapping force will bury the core into the cover in very small increments, but it will eventually complete the task.

Whipping helps to secure the splice and make everything look pretty. You can see the tight eye splice wrapping around the shackle as it turns back to bury in the line. You shouldn't worry about the tight radius turn over the shackle because making the eye larger will not change the radius of the shackle that the line turns over.

The final test is to feel the halyard and see if you can feel a step inside the cover where the splice ends. If you did a proper taper, the line will gradually get smaller until you reach the end of the splice and are unable to positively locate the end of the buried tail. This very gradual change in size reduces the stress on the strands and that will maintain the strength and integrity of the splice.

Sea Anchor Rode

When laying hove to in severe weather, we find our rate of drift can be a bit fast and we fore-reach a smidge. This led us to decide on the purchase of a sea anchor which will reduce our rate of drift and stop our fore-reaching.

A sea anchor is basically a parachute in the water. As the boat pulls on the parachute rode, the parachute opens up and holds onto the water. The larger the parachute, the more water it can hold and the more it grips the sea. Ours is a 12 foot parachute that will be connected to an all nylon rode.

As you can imagine, the sea anchor can only be used in deep water. The parachute can be damaged by contact with the sea bed, so it should only be used in deep water where the risk of bottom contact is non-existent.

The main difference between a regular anchor rode and the sea anchor rode is the thimble at the end. The sea anchor utilizes a much heavier stainless steel thimble with a bar welded near the throat to prevent the ends from flexing or twisting. This will protect the eye splice from additional chafe damage while under load. The swivel on the parachute helps reduce twist in the rode and keep everything in place while deployed and under load.

The throat was tied with a small piece of dyneema using a Double Larks Head Knot. I used a Double Larks Head because it was faster to tie than a Constrictor Knot, though the Double Larks Head doesn't hold as well in dyneema.

The three strand rode was passed over the thimble and tied at the throat, then the tail was unraveled and spliced back into the standing rode. To reduce the stresses on the splice, the end of the eye splice was tapered. 

Tapering a splice is very easy to do, so don't feel discouraged. The first five tucks are performed with no tapering because they are under the most load and strain. After these five tucks, the tapering begins.

Tapering is very simple and straight forward, four yarns are trimmed off every third tuck. This means that you will trim four yarns off and carry out three tucks. All you need to do is repeat this process until the yarns have been trimmed and tucked away.

If you want to take tapering to the next level, read on! Tapering can either be done on all three strands at the same stage or it will be staggered. Performing it on all three at the same time will result in a stepped taper. Alternatively, you can stagger the tapers which will result in a more even taper.

Stepped tapers are performed by trimming 4 yarns off all three strands, then carrying out three tucks. This will make the bulk of the splice reduce every third tuck.

Staggering the tapers is just as easy and results in a more uniform taper. To do this, only one of the three strands will be trimmed each tuck. This will result in all the tufts lining up on the splice as all the trimming will occur on the same part of the rope, but each line will be trimmed every third tuck.

Both result in an even taper that will reduce the stresses on the rode at the splice, resulting in a stronger splice overall. If you are doing a tapered splice, it will be stronger than a non-tapered splice. Deciding on stepped vs. staggered is simply choosing between minute details. 

Preventing Preventer Castastrophe

When sailing downwind, a preventer is usually run from the boom forward to the boat to avoid having the boom swing across the boat during an accidental jibe. The theory is sound, but the practicality is often overlooked. 

The setup is simple, the boom is held out in place via four sheets: Mainsheet, Preventer, Topping Lift, and Vang.

The Mainsheet keeps the spar from moving forward.
The Preventer keeps the spar from moving aft.
The Topping Lift keeps the spar from moving down.
The Vang keeps the spar from moving up.

While it may seem very simplistic, specific details must not be overlooked to ensure proper function and prevent catastrophic damages.

First, the preventer and the mainsheet should connect to the same point on the boom, and this point should be nearest the end of the boom. If you mainsheet attaches as various points to the boom, place the preventer on the most aft attachment of the mainsheet.

Second, the preventer should be of equal strength to the mainsheet. If the mainsheet is setup with a block and tackle system, the preventer should be setup with an equally sized block and tackle system.

The purpose of the preventer is to avoid the boom from swinging across the yacht during an accidental jibe. Should the wind get ahead of the boom, the preventer will act as the working sheet and will be placed under incredible loads. If these two simple rules are not followed, the boom could break, or the preventer could snap and an accidental jibe would ensue.

If the Preventer is attached to the Vang attachment on the boom, the boom could snap when the Preventer is loaded. The force exerted on the boom is incredible, and the mainsheet attachment area is reinforced to handle these loads. The Vang area is not set up to handle these forces as it's job is only to hold the boom down and resist the opening of the sails leech.

If you attach the preventer to the vang area and subject the yacht to an accidental jibe situation, the force on the clew is going to push the boom aft, and the preventer is going to pull on the spar near the mast forward. This will cause the boom to bend and snap as the clew is pushed aft and the vanged portion of the boom is held forward.

Another common issue is to attach the vang to the toe rail to act as a vang and a preventer. The vang is more efficient when attached to the toe rail, as its pull would be directly downward, but it will not double as a preventer. If an accidental jibe were to occur, the boom could bend and snap at the vang attachment point and cause a catastrophic disaster. 

If you decide to run the vang to the toe rail, you need to also have a dedicated preventer run forward that is attached to the mainsheet and appropriately sized for the task at hand.

This yacht owner has setup a permanently and properly installed preventer. The preventer is attached with padeyes between the two mainsheet blocks and the line is appropriately sized for the task at hand. To avoid issues with chafe, the preventers are not led forward of the spreaders, allowing the system to work with minimal chafe on the rigging on any point of sail.

The lines are setup with appropriately sized blocks and have fair leads leading the lines back to the cockpit. This allows the captain to set and release the preventers from the cockpit without the need to go forward. This would let you manage all the sheets from the helm in quick order, allowing you to execute your maneuvers quickly and easily.

Preventers are another part of the running rigging that needs to be setup properly and managed the same way as the rest of your running rigging. If you are going to rely on it to save your rigging from an accidental jibe, you need to make sure that it can withstand the forces and loads that it will be subjected to.

Single Vs Double Reef Line

On yachts where the running rigging is led aft to the cockpit, you will want all the lines led aft to the cockpit. The worst setup is one where the halyard is led aft and the reef lines are left at the mast. Reefing a setup like this would require working the halyard in the cockpit, then run up to the mast to set the reef lines, then run back to the cockpit to tighten the halyard again. In a perfect world, this setup works just as described. In the real world, this setup leads to many trips between the mast and cockpit to carry out a reef. These problems could all be avoided by simply leaving all the lines at the mast or running all the lines back to the cockpit.

In the case of leading lines back to the cockpit, you have two choices with the reefing lines: Single or Double. 

Single or Double refers to how many reef lines are required to reef the sail properly. When reefing a sail, there are two places that need tension: the tack and the clew. With Double Reef Lines, the tack and clew are controlled by separate lines. With Single Reef Lines, the tack and clew are both controlled by a single line.

To properly decide which setup to go with, you need to weigh out the problems with each and find which system you feel more comfortable with. If you enjoy the benefits and don't mind the draw backs, then you have found your ideal setup!

Double Reef Line Setup

Double Reef Line Setup

Double Reef Line Setup Reefed

Double Reef Line Setup Reefed

Double Reef Line Setups allow you to tension the tack and clew from the cockpit, where you also have access to the main halyard when all the lines are led aft. The advantage of a double reef line setup is there is reduced friction, less resistance, and more control of tack and clew tension. 

The reduced friction directly leads to the reduced resistance in working the sail. Each turn a line makes adds friction to the system. If you want to shake a reef out of a sail, you will need to raise the sail by cranking in on the halyard. In a double reef line setup, the reef lines will twist and turn as they make their way from the cockpit to the mast, but then they will only have 2 major twists after that. A turning block on the boom will send the reef line up, and the cringle in the sail will send the reef line back down. Since the reef line only needs to work its way through one cringle, less line is needed to pass through the cringle to raise the sail and equates to less resistance.

Since the reef lines are separate, you are able to properly control the tension in the tack and clew independently. If you feel that the sail is a bit full, you can simply crank harder on the clew reef line to act as an outhaul and pull the sail flatter. 

While less resistance and more control over the sail does sound rather wonderful, double reef line setups do have their draw backs. For starters, you have an extra line to manage. If you are trying to reef in a hurry, you need to:

  1. Lower the main halyard
  2. Crank in on the reef tack line
  3. Crank in on the clew tack line
  4. Crank in on the main halyard

This might not sound that horrible, but most of the times, this is done with a single winch and a clutch bank. This means that you have to wind and unwind the winch drum in a hurry as you switch between lines. If you find that you need a bit more tension on a line, you will have to repeat these steps as you switch between them all.

The other problem with double reef lines is they are double the amount of lines led to the cockpit. If you have a single reef point, you will have 2 reef lines in the cockpit. If you have 3 reef points, you will have 6 reef lines in the cockpit! The cockpit spaghetti can quickly become overwhelming if you do not keep your lines organized and in a situation of panic, the spaghetti confusion can lead to the sail not getting reefed as quickly as it might be desired to have been reefed.

Single Reef Line Setup

Single Reef Line Setup

Single Reef Line Setup Reefed

Single Reef Line Setup Reefed

The alternative to double reef line setups is a single reef line setup. As you can imagine, it's most appealing feature is that it only requires one line to operate. This makes reefing a sail with multiple reef points less confusing. If you have 3 reef points, you will only have 3 reef lines leading to the cockpit! The lack of cockpit spaghetti will make this setup seem more enticing until you start to look at the problems that come with simplicity.

The procedure to reef is simple:

  1. Lower the main halyard
  2. Crank in on the reefing line
  3. Crank in on the main halyard

The first issue is the shared tension on the line. The tack and clew share the reef line, as it makes its journey from the boom to the clew cringle to the clew turning block to the tack turning block to the mast and then through all the twists and turns to get back to the cockpit. The setup can also be run in reverse where the fixed point is near the tack and the line returns to the mast from the end of the boom. Either way, the line runs a very long path with lots of turns resulting in a setup where the same line is supporting the loads of the clew and the tack.

If you feel that the sail is a bit full and you wish to flatten the sail out, you will need to tension the heck out of the line so that it can pull on the clew enough to produce the desired effect. The clew and the tack share the force. Any effort you put in to the reef line, only half the force reaches the clew as the tack is taking the other half.

Since the reef line is running to both points on the sail, the load on the reef line is also significantly increased. With a double reef line setup, your effort is only affecting one part of the sail. With a single reef line setup, any effort you do is going to affect the entire foot of the sail. 

All the twists and turns carried out by the sail will also greatly increase the amount of resistance involved in shaking out a reef. To raise the sail, the reef line will need to make its way through both cringles and that will add a lot of resistance and effort onto the arms of the person grinding the winch.

The last issue involved with single reef line setups is the length of line needed to rig the reefing system. Purchasing the length of line is no the big issues, the real problem is dealing with the line while you sail. Imagine a yacht with a really high reef point, say for a third reef, that is located 20 feet up the luff. The reef line will need to travel from the cockpit to the mast, up the mast, then up the sail to the cringle and back to the boom, and then again at the second cringle. This reef line is going to have to cross a 20 foot span four times!

Aside from all the length of line to get to the mast and to travel the boom, you will have 80 feet of line that needs to be worked to manage that sail. This means that when you go to shake out a reef, 80 feet of line will have to travel through the first cringle and 20 feet through the second cringle. When you go to reef, you will have to pull in 80 feet of line and then store it somewhere in the cockpit! While 80 feet may sound like a lot of line, but it gets worse. If that was the third reef, you will also need to haul in the reef line for the first and second reef line. If you don't the reef lines will lay slack and can fall into the water or get snagged on your deck. Not only will you have to deal with 80 feet for the 3rd reef, but the long length of line of the 1st and 2nd reef. This is how the cockpit spaghetti forms and gets really confusing when the lines are not properly color coded.

While it may sound like both of these systems are flawed in dumping all this line in the cockpit and adding a lot of extra resistance to the system, the truth is they do a great job of bringing the lines back to the cockpit. If you do not feel comfortable when you leave your cockpit, then this type of setup would be ideal for you as you would be able to raise, lower, and reef your mainsail all from the cockpit without setting foot on the deck.

Single and double reef line setups are a favorite among coastal cruisers and racers. Coastal cruisers love them because no one needs to leave the cockpit if the weather turns for the worse. Racers love them because it allows the crew to work the entire boat from a central location where they can easily hear commands. Blue water cruisers don't seem to favor either of these systems as the added resistance, effort, and spaghetti all lead to more points of failure and instead opt for the lines to be left at the mast where resistance is minimized as are failure points.

The final decision comes down to those who are sailing the yacht. All systems have their pros and cons, and finding a system that you enjoy the pros and don't mind the cons is the goal!