Running Rigging

Sea Anchor Rode

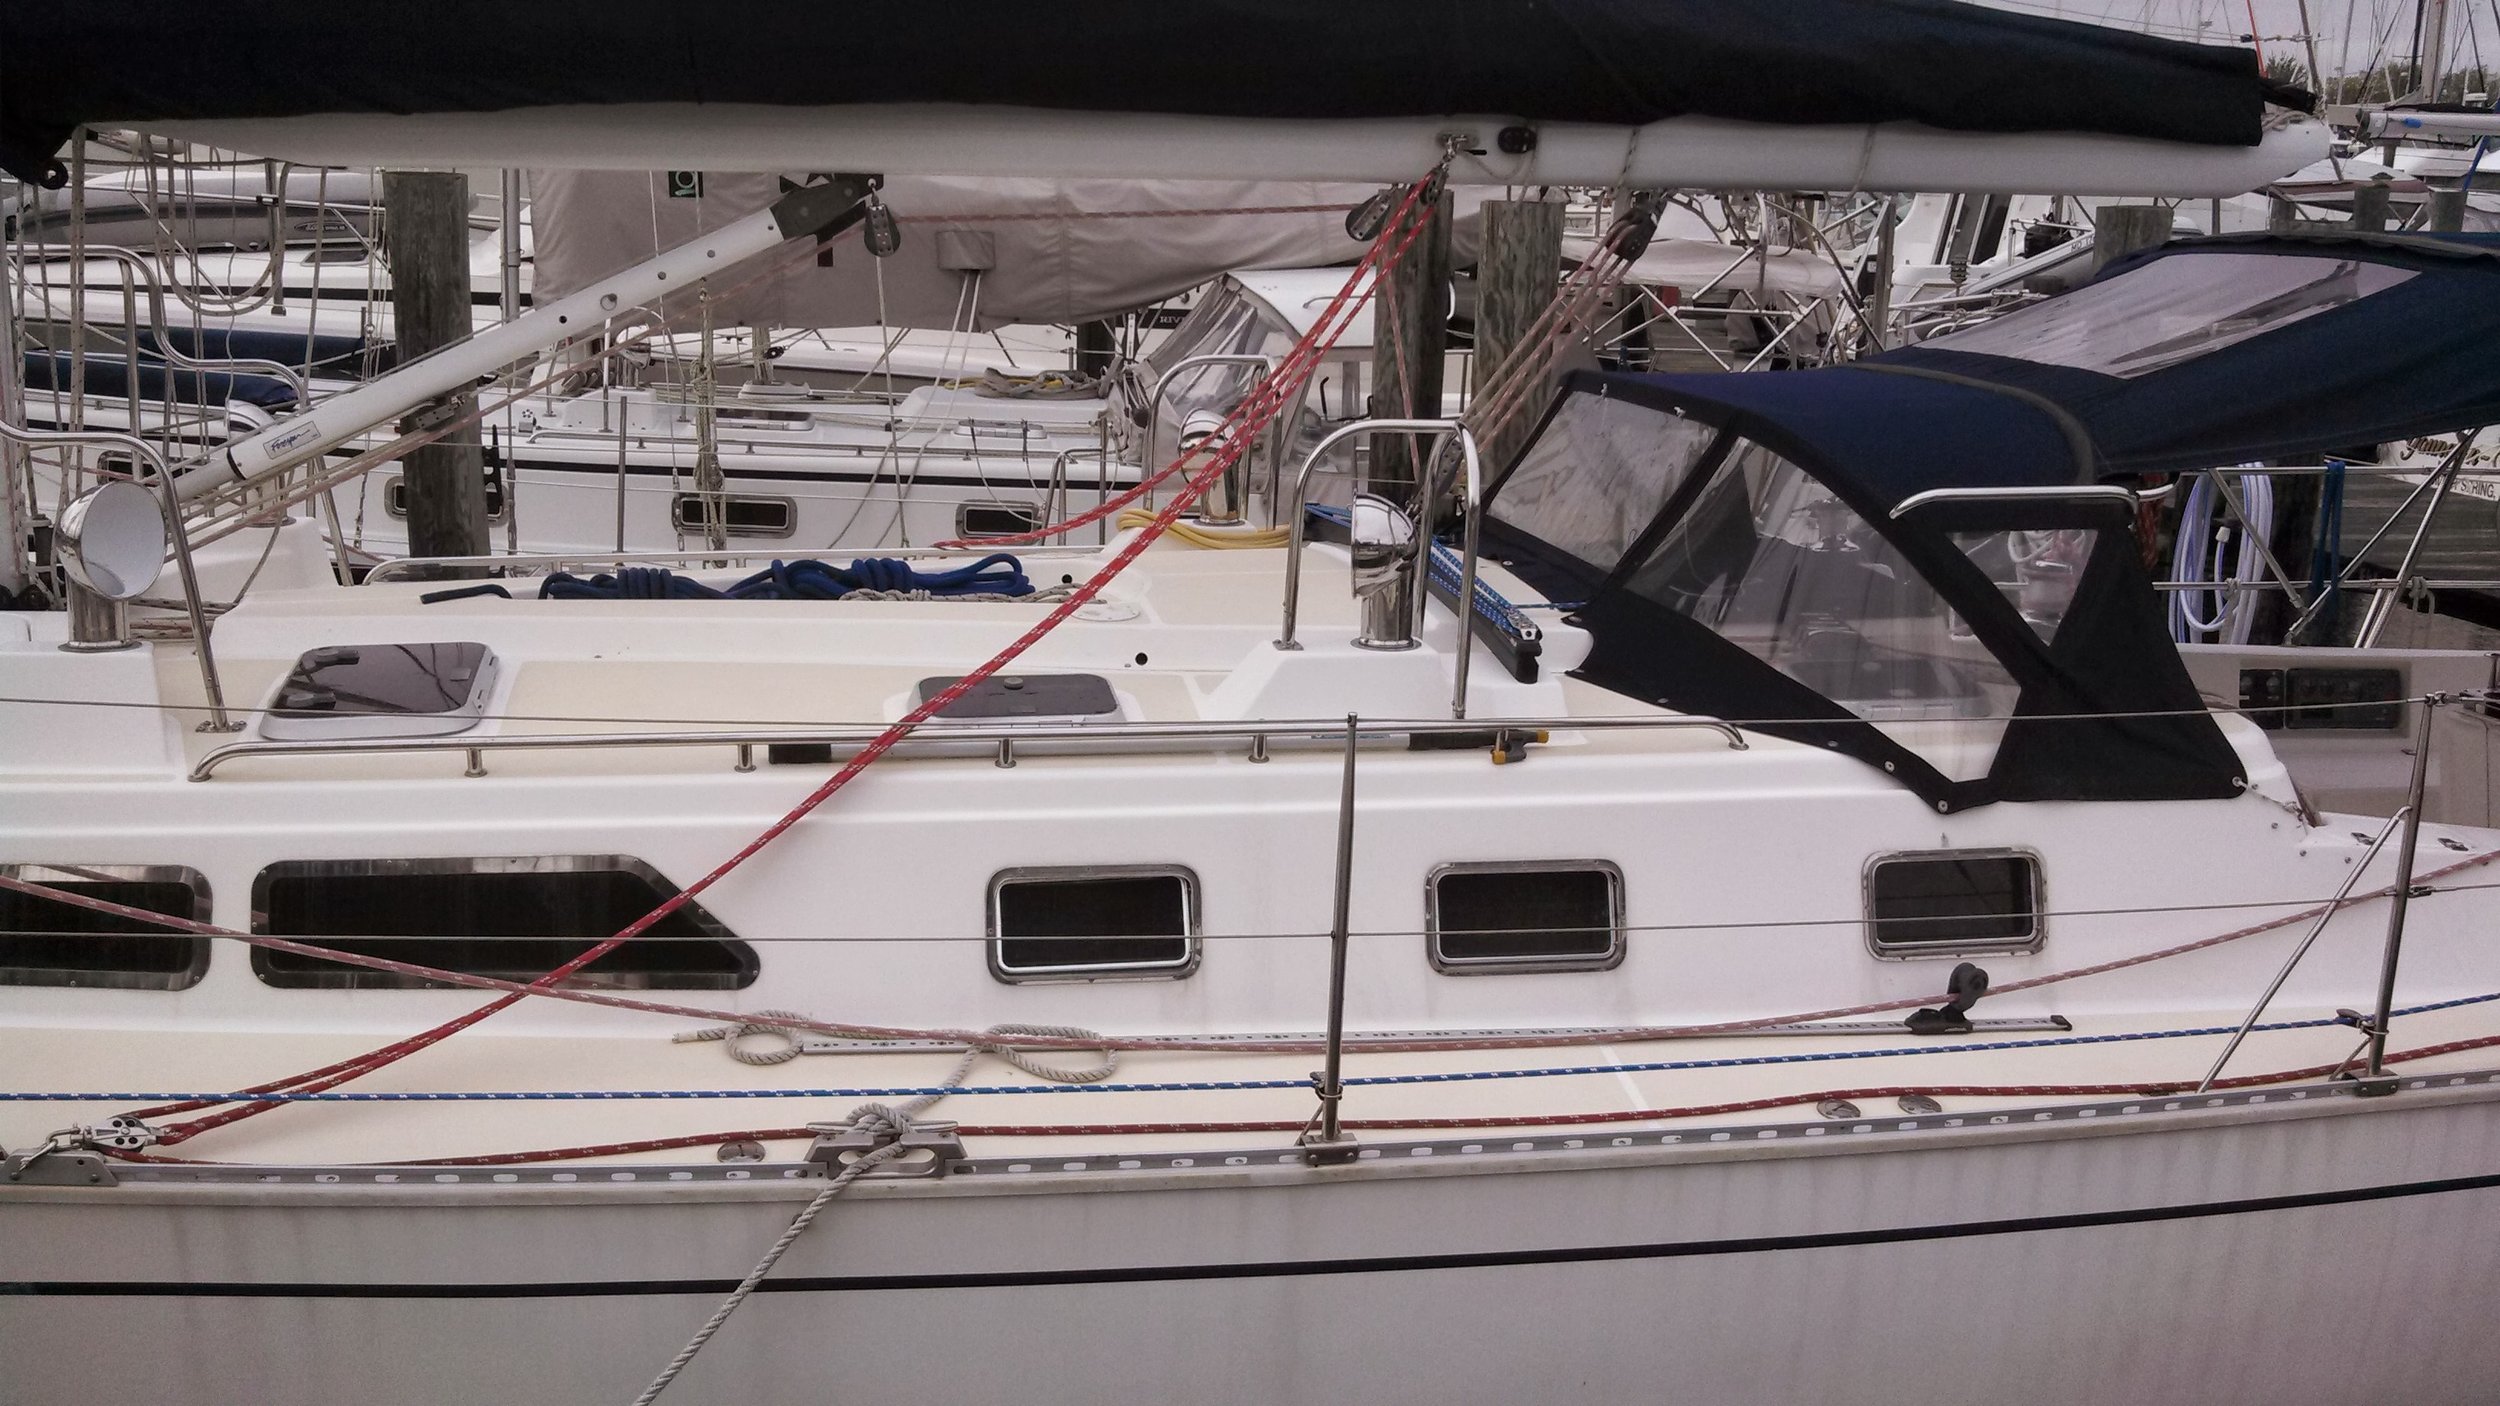
When laying hove to in severe weather, we find our rate of drift can be a bit fast and we fore-reach a smidge. This led us to decide on the purchase of a sea anchor which will reduce our rate of drift and stop our fore-reaching.

A sea anchor is basically a parachute in the water. As the boat pulls on the parachute rode, the parachute opens up and holds onto the water. The larger the parachute, the more water it can hold and the more it grips the sea. Ours is a 12 foot parachute that will be connected to an all nylon rode.

As you can imagine, the sea anchor can only be used in deep water. The parachute can be damaged by contact with the sea bed, so it should only be used in deep water where the risk of bottom contact is non-existent.

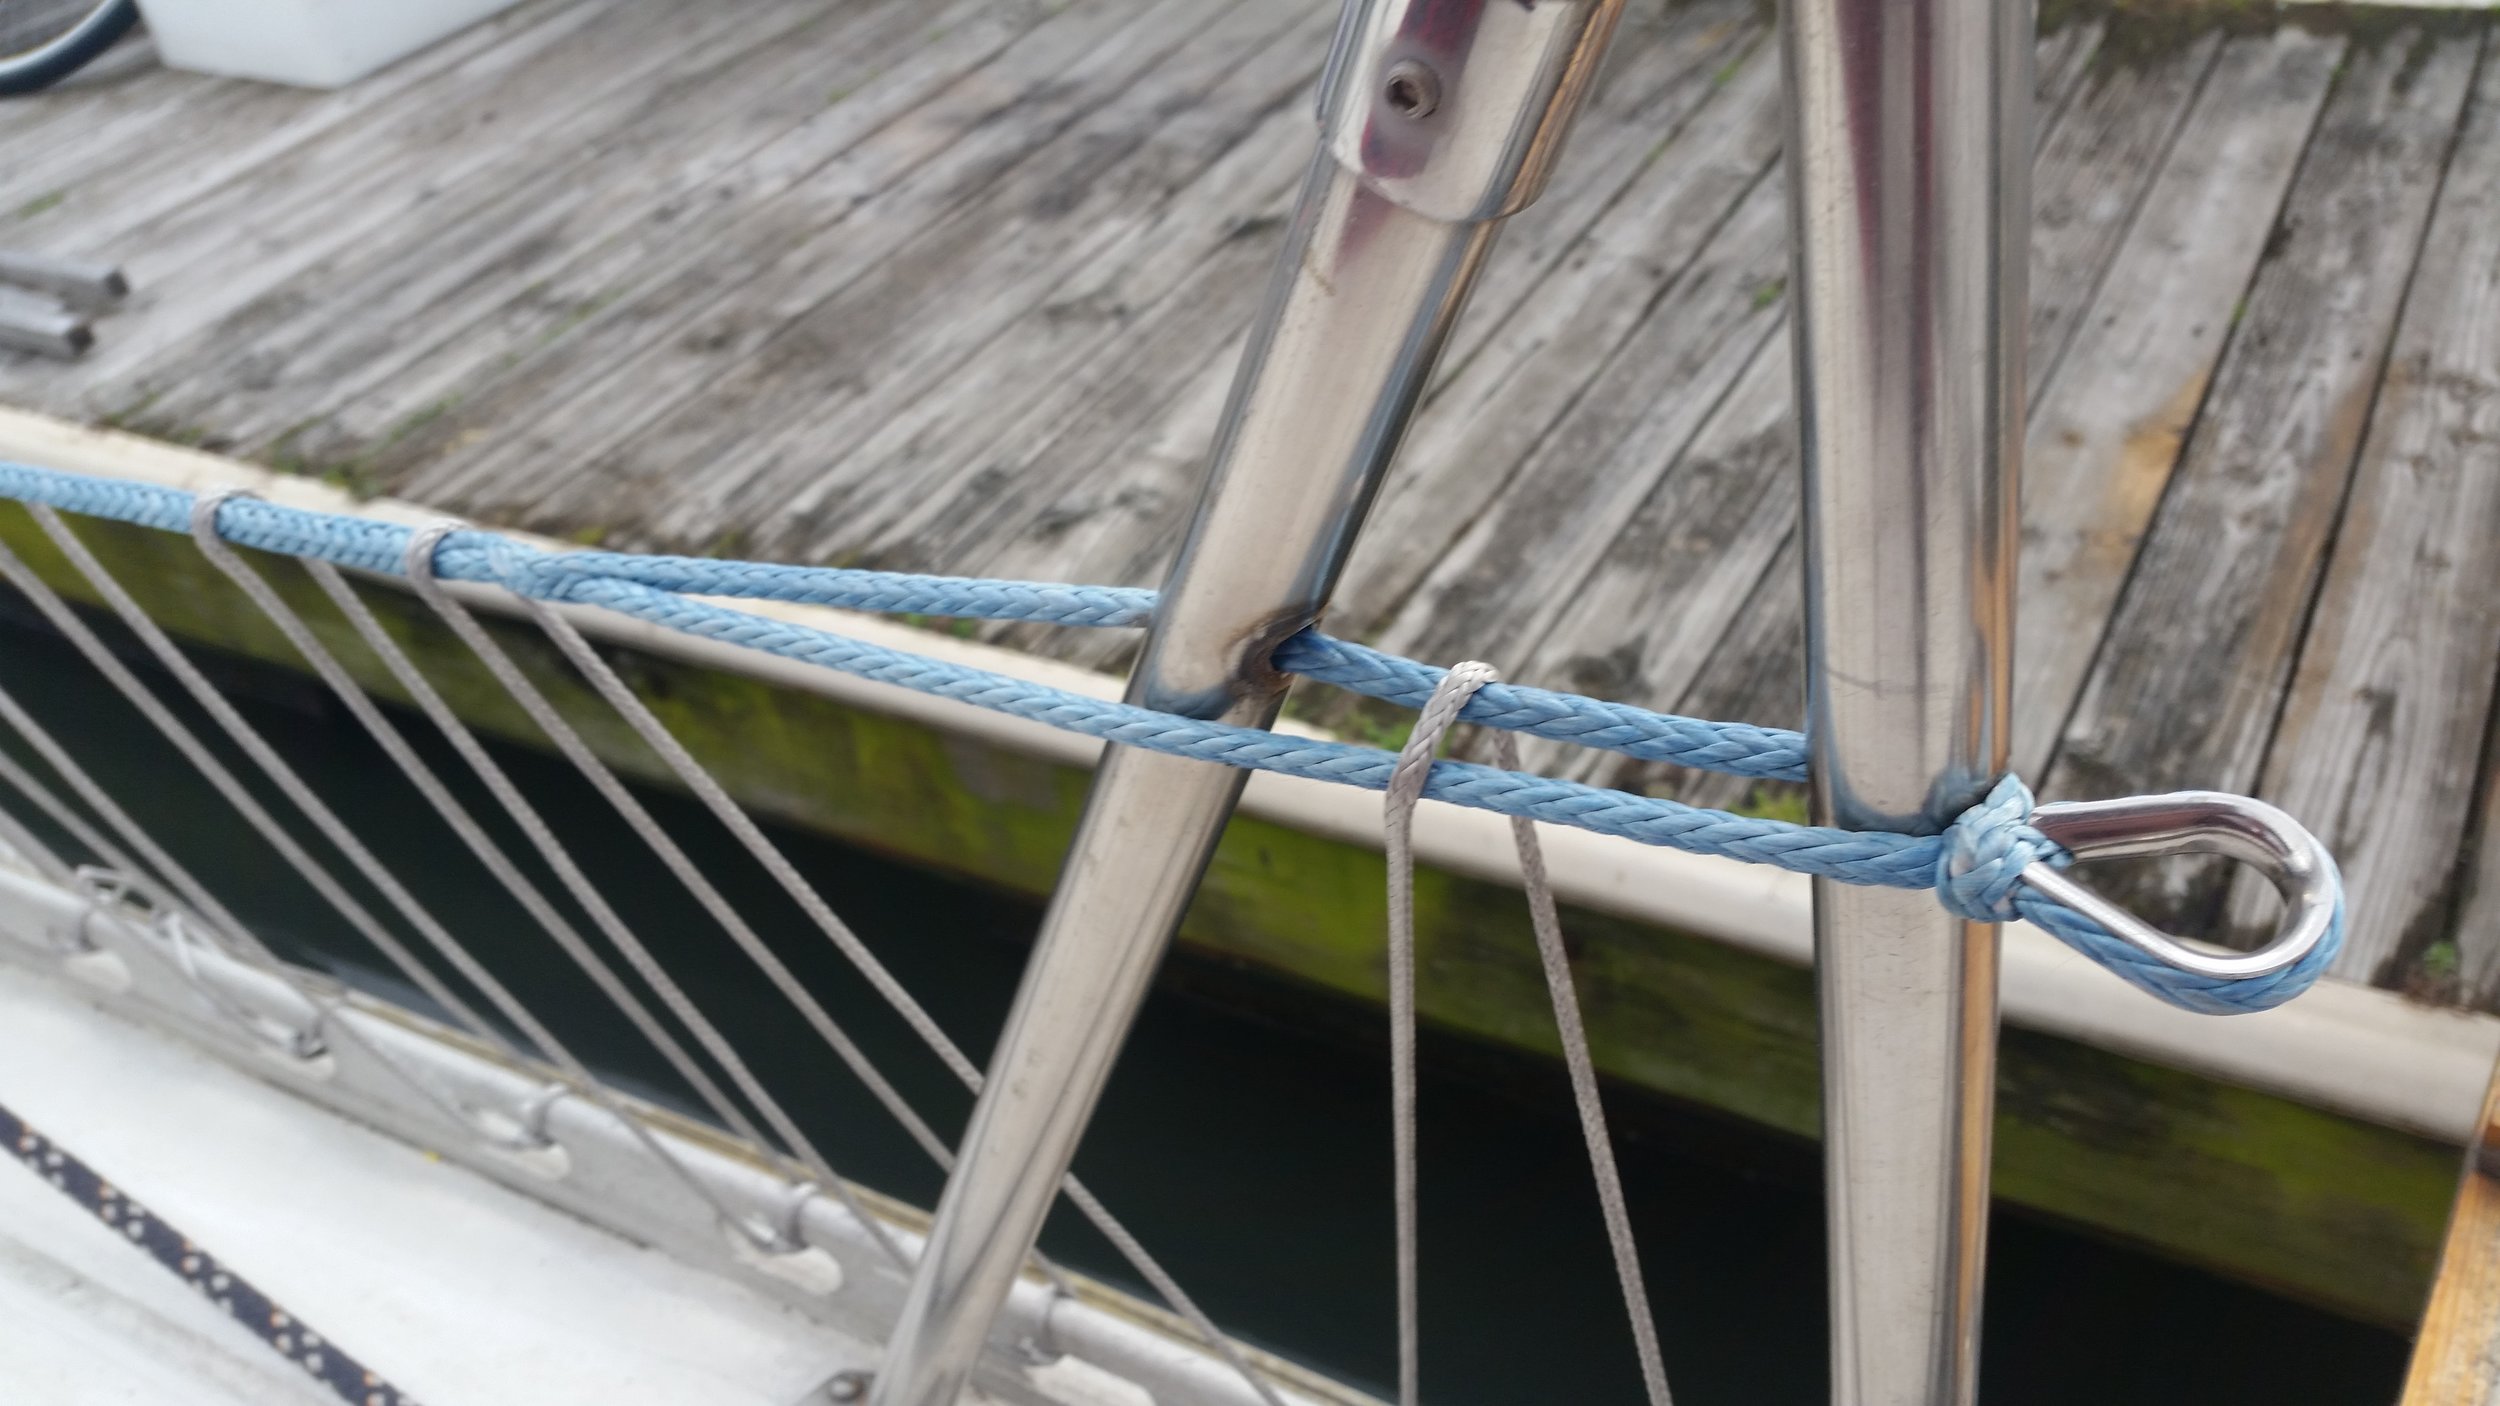
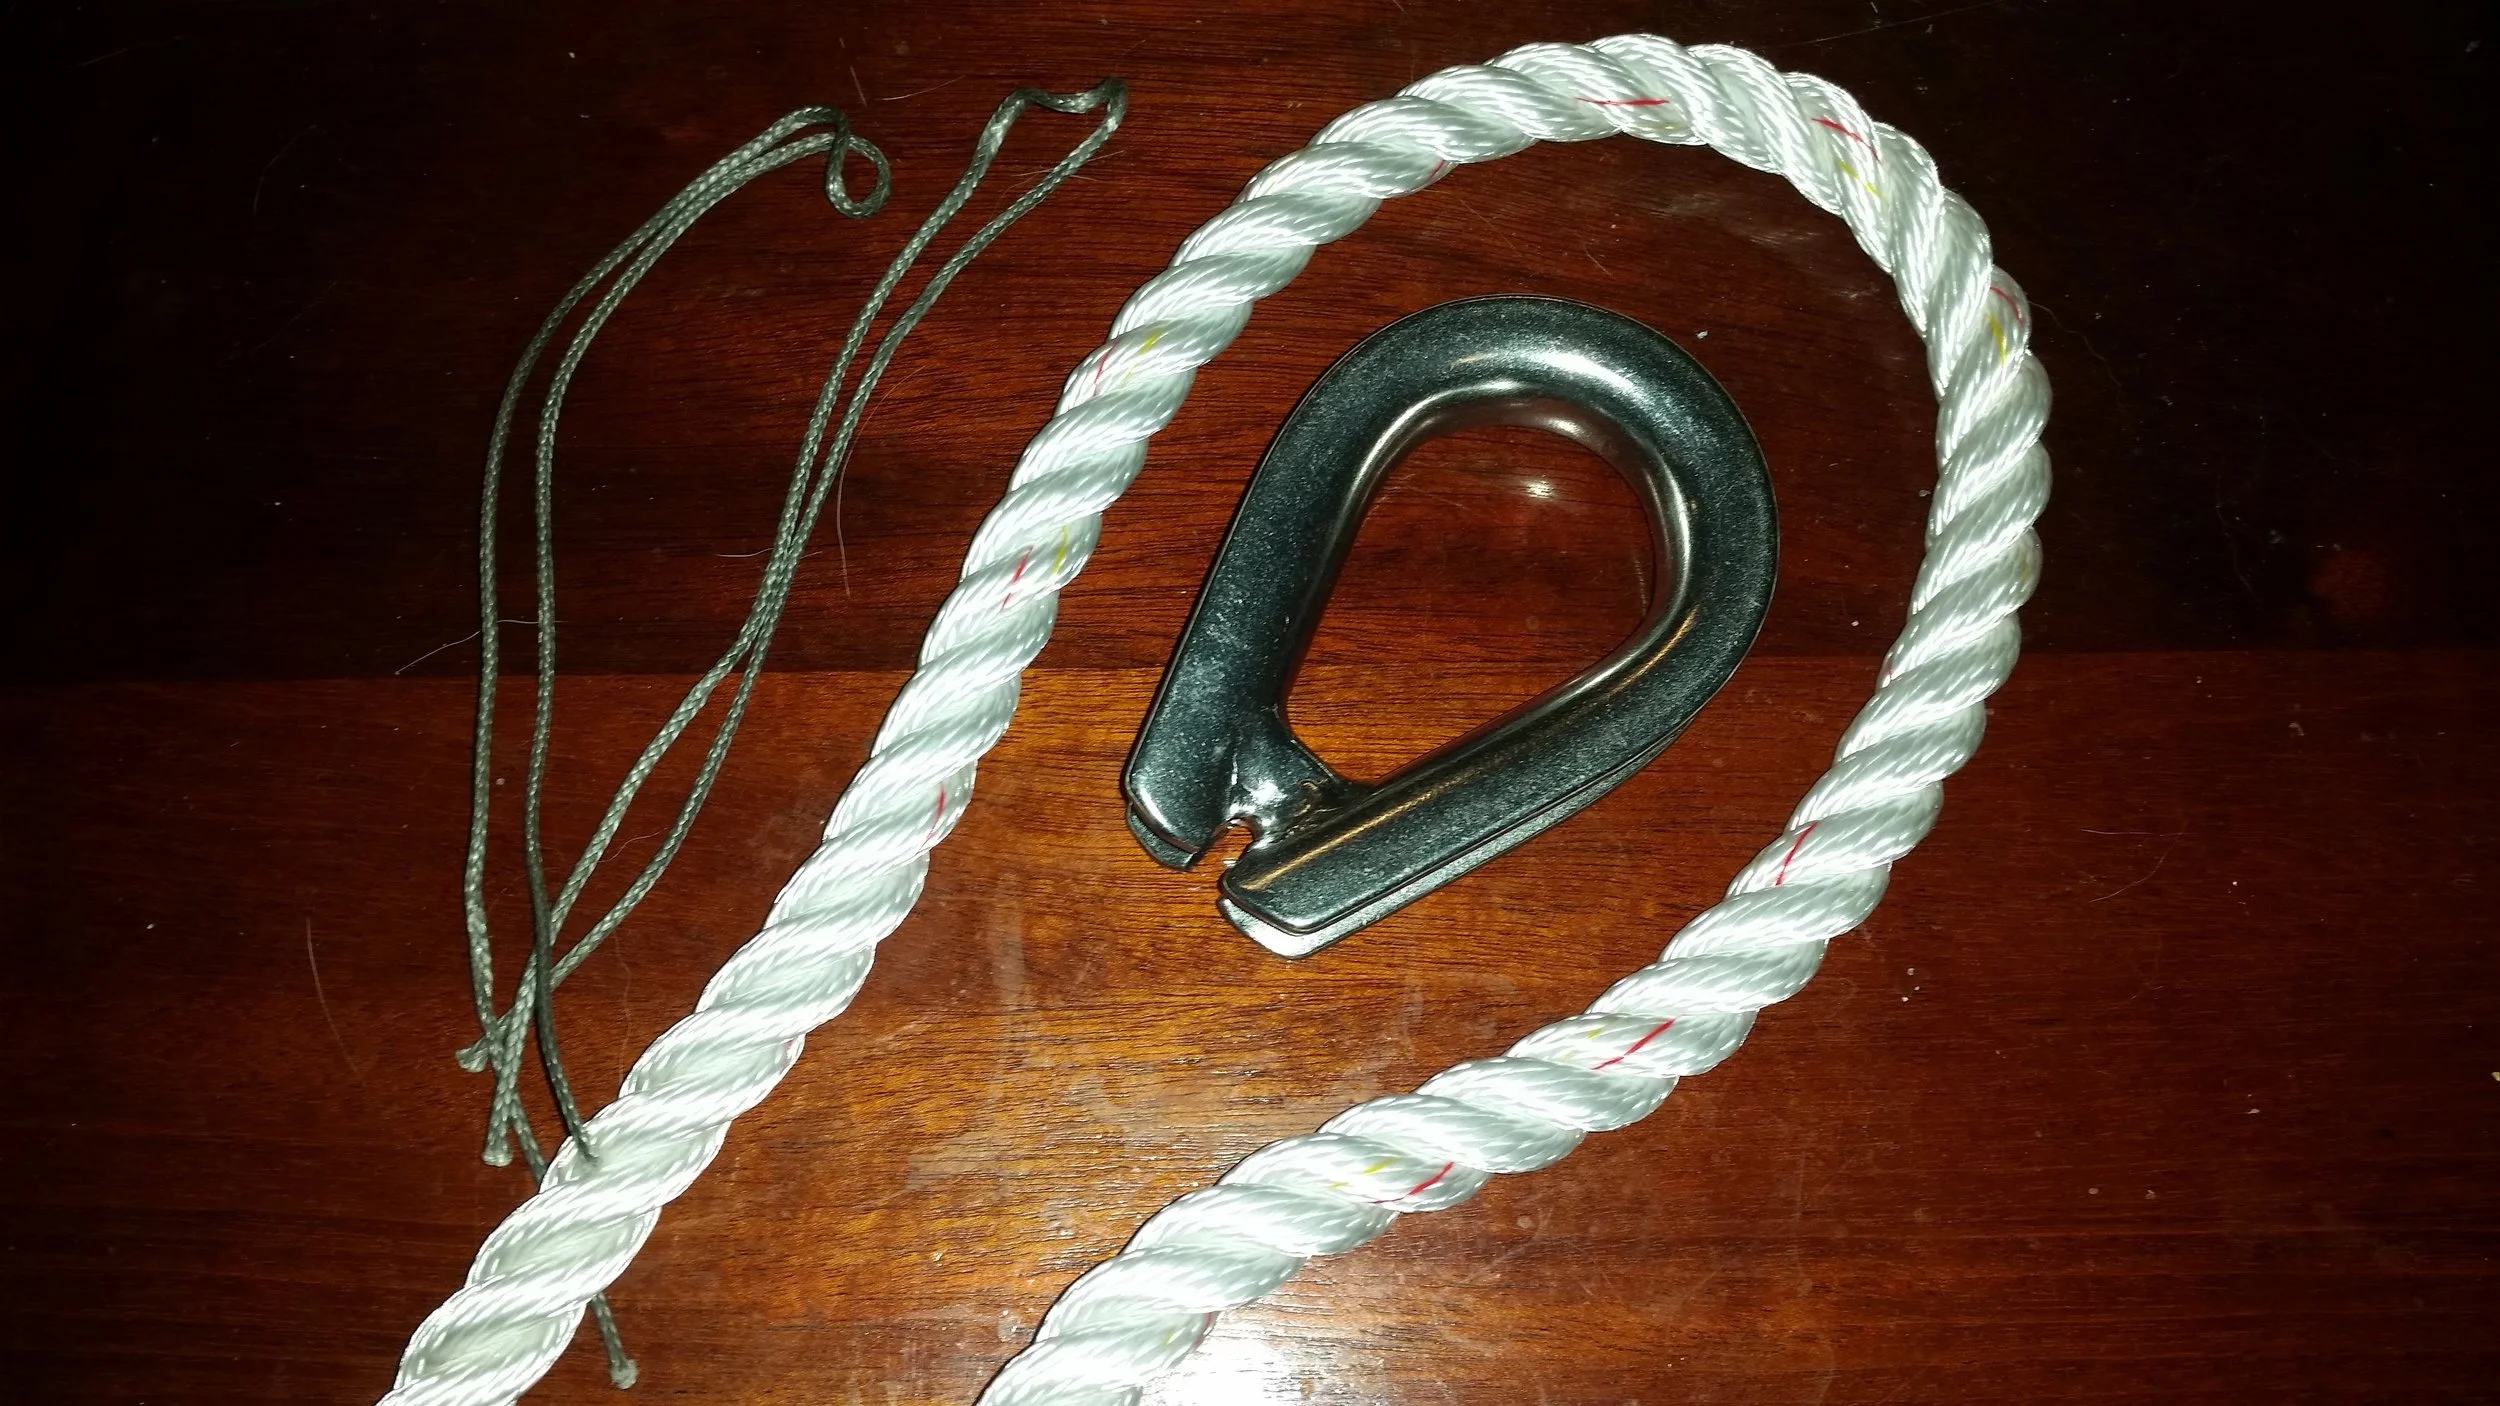
The main difference between a regular anchor rode and the sea anchor rode is the thimble at the end. The sea anchor utilizes a much heavier stainless steel thimble with a bar welded near the throat to prevent the ends from flexing or twisting. This will protect the eye splice from additional chafe damage while under load. The swivel on the parachute helps reduce twist in the rode and keep everything in place while deployed and under load.

The throat was tied with a small piece of dyneema using a Double Larks Head Knot. I used a Double Larks Head because it was faster to tie than a Constrictor Knot, though the Double Larks Head doesn't hold as well in dyneema.

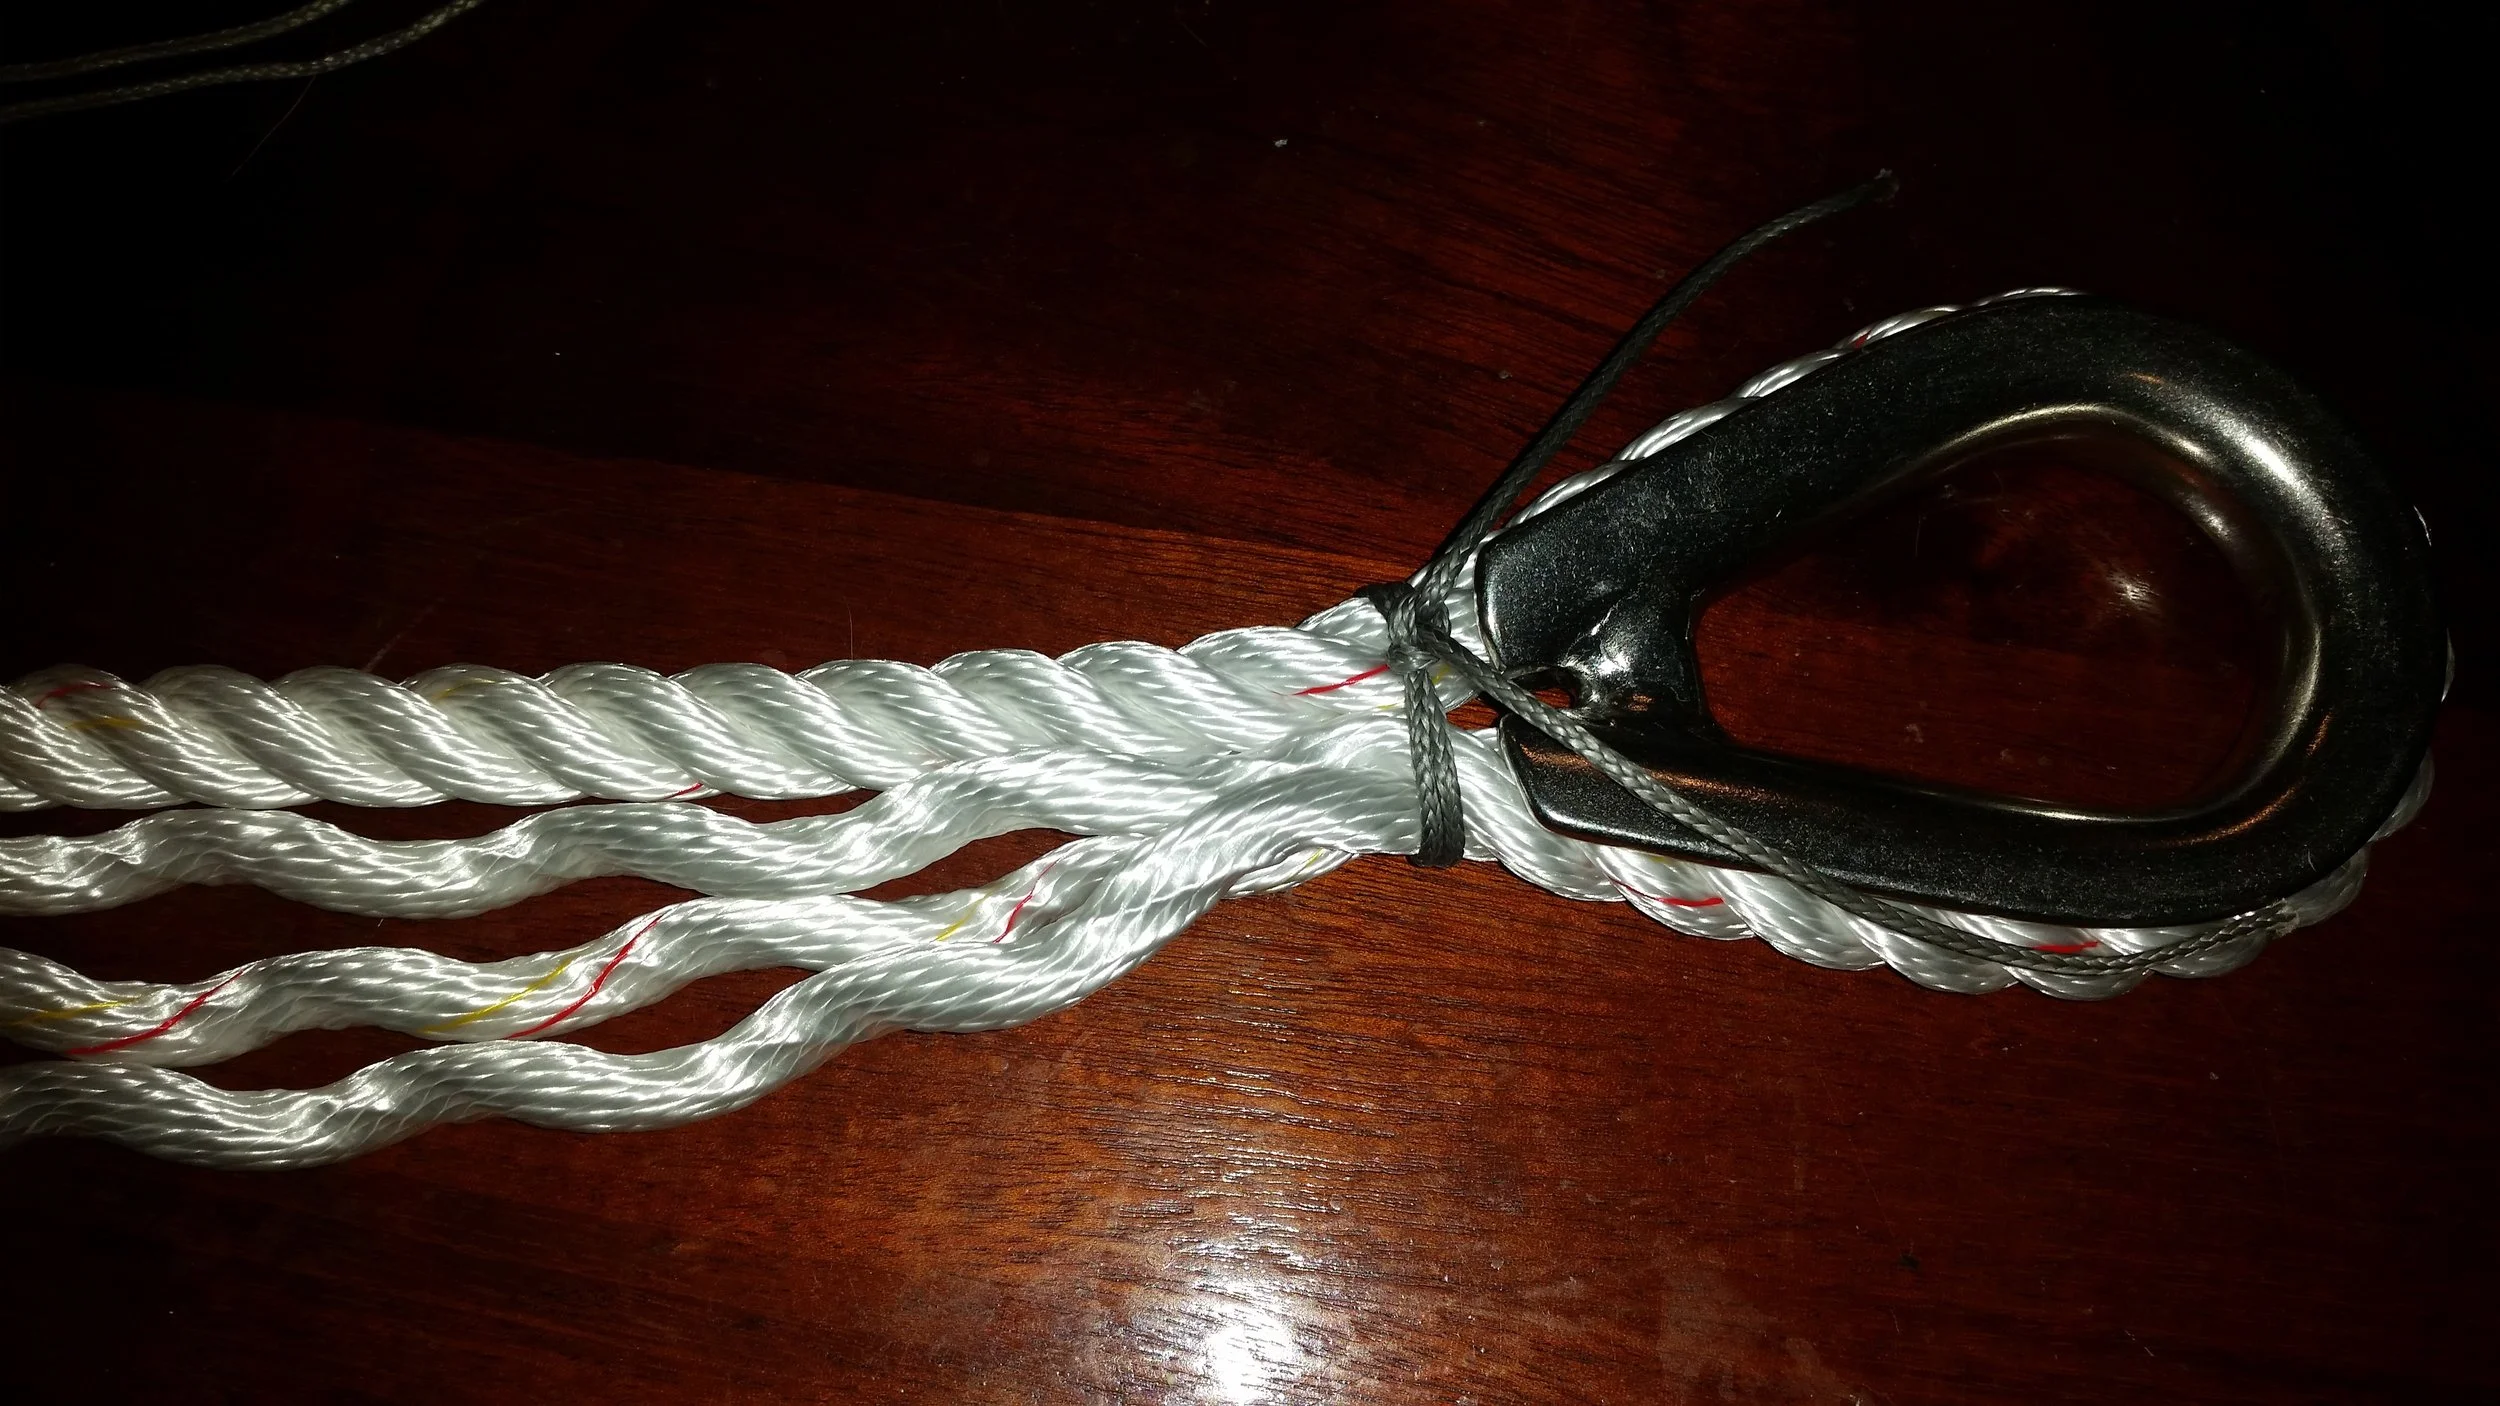
The three strand rode was passed over the thimble and tied at the throat, then the tail was unraveled and spliced back into the standing rode. To reduce the stresses on the splice, the end of the eye splice was tapered. 

Tapering a splice is very easy to do, so don't feel discouraged. The first five tucks are performed with no tapering because they are under the most load and strain. After these five tucks, the tapering begins.

Tapering is very simple and straight forward, four yarns are trimmed off every third tuck. This means that you will trim four yarns off and carry out three tucks. All you need to do is repeat this process until the yarns have been trimmed and tucked away.

If you want to take tapering to the next level, read on! Tapering can either be done on all three strands at the same stage or it will be staggered. Performing it on all three at the same time will result in a stepped taper. Alternatively, you can stagger the tapers which will result in a more even taper.

Stepped tapers are performed by trimming 4 yarns off all three strands, then carrying out three tucks. This will make the bulk of the splice reduce every third tuck.

Staggering the tapers is just as easy and results in a more uniform taper. To do this, only one of the three strands will be trimmed each tuck. This will result in all the tufts lining up on the splice as all the trimming will occur on the same part of the rope, but each line will be trimmed every third tuck.

Both result in an even taper that will reduce the stresses on the rode at the splice, resulting in a stronger splice overall. If you are doing a tapered splice, it will be stronger than a non-tapered splice. Deciding on stepped vs. staggered is simply choosing between minute details. 

Preventing Preventer Castastrophe

When sailing downwind, a preventer is usually run from the boom forward to the boat to avoid having the boom swing across the boat during an accidental jibe. The theory is sound, but the practicality is often overlooked. 

The setup is simple, the boom is held out in place via four sheets: Mainsheet, Preventer, Topping Lift, and Vang.

The Mainsheet keeps the spar from moving forward.
The Preventer keeps the spar from moving aft.
The Topping Lift keeps the spar from moving down.
The Vang keeps the spar from moving up.

While it may seem very simplistic, specific details must not be overlooked to ensure proper function and prevent catastrophic damages.

First, the preventer and the mainsheet should connect to the same point on the boom, and this point should be nearest the end of the boom. If you mainsheet attaches as various points to the boom, place the preventer on the most aft attachment of the mainsheet.

Second, the preventer should be of equal strength to the mainsheet. If the mainsheet is setup with a block and tackle system, the preventer should be setup with an equally sized block and tackle system.

The purpose of the preventer is to avoid the boom from swinging across the yacht during an accidental jibe. Should the wind get ahead of the boom, the preventer will act as the working sheet and will be placed under incredible loads. If these two simple rules are not followed, the boom could break, or the preventer could snap and an accidental jibe would ensue.

If the Preventer is attached to the Vang attachment on the boom, the boom could snap when the Preventer is loaded. The force exerted on the boom is incredible, and the mainsheet attachment area is reinforced to handle these loads. The Vang area is not set up to handle these forces as it's job is only to hold the boom down and resist the opening of the sails leech.

If you attach the preventer to the vang area and subject the yacht to an accidental jibe situation, the force on the clew is going to push the boom aft, and the preventer is going to pull on the spar near the mast forward. This will cause the boom to bend and snap as the clew is pushed aft and the vanged portion of the boom is held forward.

Another common issue is to attach the vang to the toe rail to act as a vang and a preventer. The vang is more efficient when attached to the toe rail, as its pull would be directly downward, but it will not double as a preventer. If an accidental jibe were to occur, the boom could bend and snap at the vang attachment point and cause a catastrophic disaster. 

If you decide to run the vang to the toe rail, you need to also have a dedicated preventer run forward that is attached to the mainsheet and appropriately sized for the task at hand.

This yacht owner has setup a permanently and properly installed preventer. The preventer is attached with padeyes between the two mainsheet blocks and the line is appropriately sized for the task at hand. To avoid issues with chafe, the preventers are not led forward of the spreaders, allowing the system to work with minimal chafe on the rigging on any point of sail.

The lines are setup with appropriately sized blocks and have fair leads leading the lines back to the cockpit. This allows the captain to set and release the preventers from the cockpit without the need to go forward. This would let you manage all the sheets from the helm in quick order, allowing you to execute your maneuvers quickly and easily.

Preventers are another part of the running rigging that needs to be setup properly and managed the same way as the rest of your running rigging. If you are going to rely on it to save your rigging from an accidental jibe, you need to make sure that it can withstand the forces and loads that it will be subjected to.

Single Vs Double Reef Line

On yachts where the running rigging is led aft to the cockpit, you will want all the lines led aft to the cockpit. The worst setup is one where the halyard is led aft and the reef lines are left at the mast. Reefing a setup like this would require working the halyard in the cockpit, then run up to the mast to set the reef lines, then run back to the cockpit to tighten the halyard again. In a perfect world, this setup works just as described. In the real world, this setup leads to many trips between the mast and cockpit to carry out a reef. These problems could all be avoided by simply leaving all the lines at the mast or running all the lines back to the cockpit.

In the case of leading lines back to the cockpit, you have two choices with the reefing lines: Single or Double. 

Single or Double refers to how many reef lines are required to reef the sail properly. When reefing a sail, there are two places that need tension: the tack and the clew. With Double Reef Lines, the tack and clew are controlled by separate lines. With Single Reef Lines, the tack and clew are both controlled by a single line.

To properly decide which setup to go with, you need to weigh out the problems with each and find which system you feel more comfortable with. If you enjoy the benefits and don't mind the draw backs, then you have found your ideal setup!

Double Reef Line Setup

Double Reef Line Setup

Double Reef Line Setup Reefed

Double Reef Line Setup Reefed

Double Reef Line Setups allow you to tension the tack and clew from the cockpit, where you also have access to the main halyard when all the lines are led aft. The advantage of a double reef line setup is there is reduced friction, less resistance, and more control of tack and clew tension. 

The reduced friction directly leads to the reduced resistance in working the sail. Each turn a line makes adds friction to the system. If you want to shake a reef out of a sail, you will need to raise the sail by cranking in on the halyard. In a double reef line setup, the reef lines will twist and turn as they make their way from the cockpit to the mast, but then they will only have 2 major twists after that. A turning block on the boom will send the reef line up, and the cringle in the sail will send the reef line back down. Since the reef line only needs to work its way through one cringle, less line is needed to pass through the cringle to raise the sail and equates to less resistance.

Since the reef lines are separate, you are able to properly control the tension in the tack and clew independently. If you feel that the sail is a bit full, you can simply crank harder on the clew reef line to act as an outhaul and pull the sail flatter. 

While less resistance and more control over the sail does sound rather wonderful, double reef line setups do have their draw backs. For starters, you have an extra line to manage. If you are trying to reef in a hurry, you need to:

  1. Lower the main halyard
  2. Crank in on the reef tack line
  3. Crank in on the clew tack line
  4. Crank in on the main halyard

This might not sound that horrible, but most of the times, this is done with a single winch and a clutch bank. This means that you have to wind and unwind the winch drum in a hurry as you switch between lines. If you find that you need a bit more tension on a line, you will have to repeat these steps as you switch between them all.

The other problem with double reef lines is they are double the amount of lines led to the cockpit. If you have a single reef point, you will have 2 reef lines in the cockpit. If you have 3 reef points, you will have 6 reef lines in the cockpit! The cockpit spaghetti can quickly become overwhelming if you do not keep your lines organized and in a situation of panic, the spaghetti confusion can lead to the sail not getting reefed as quickly as it might be desired to have been reefed.

Single Reef Line Setup

Single Reef Line Setup

Single Reef Line Setup Reefed

Single Reef Line Setup Reefed

The alternative to double reef line setups is a single reef line setup. As you can imagine, it's most appealing feature is that it only requires one line to operate. This makes reefing a sail with multiple reef points less confusing. If you have 3 reef points, you will only have 3 reef lines leading to the cockpit! The lack of cockpit spaghetti will make this setup seem more enticing until you start to look at the problems that come with simplicity.

The procedure to reef is simple:

  1. Lower the main halyard
  2. Crank in on the reefing line
  3. Crank in on the main halyard

The first issue is the shared tension on the line. The tack and clew share the reef line, as it makes its journey from the boom to the clew cringle to the clew turning block to the tack turning block to the mast and then through all the twists and turns to get back to the cockpit. The setup can also be run in reverse where the fixed point is near the tack and the line returns to the mast from the end of the boom. Either way, the line runs a very long path with lots of turns resulting in a setup where the same line is supporting the loads of the clew and the tack.

If you feel that the sail is a bit full and you wish to flatten the sail out, you will need to tension the heck out of the line so that it can pull on the clew enough to produce the desired effect. The clew and the tack share the force. Any effort you put in to the reef line, only half the force reaches the clew as the tack is taking the other half.

Since the reef line is running to both points on the sail, the load on the reef line is also significantly increased. With a double reef line setup, your effort is only affecting one part of the sail. With a single reef line setup, any effort you do is going to affect the entire foot of the sail. 

All the twists and turns carried out by the sail will also greatly increase the amount of resistance involved in shaking out a reef. To raise the sail, the reef line will need to make its way through both cringles and that will add a lot of resistance and effort onto the arms of the person grinding the winch.

The last issue involved with single reef line setups is the length of line needed to rig the reefing system. Purchasing the length of line is no the big issues, the real problem is dealing with the line while you sail. Imagine a yacht with a really high reef point, say for a third reef, that is located 20 feet up the luff. The reef line will need to travel from the cockpit to the mast, up the mast, then up the sail to the cringle and back to the boom, and then again at the second cringle. This reef line is going to have to cross a 20 foot span four times!

Aside from all the length of line to get to the mast and to travel the boom, you will have 80 feet of line that needs to be worked to manage that sail. This means that when you go to shake out a reef, 80 feet of line will have to travel through the first cringle and 20 feet through the second cringle. When you go to reef, you will have to pull in 80 feet of line and then store it somewhere in the cockpit! While 80 feet may sound like a lot of line, but it gets worse. If that was the third reef, you will also need to haul in the reef line for the first and second reef line. If you don't the reef lines will lay slack and can fall into the water or get snagged on your deck. Not only will you have to deal with 80 feet for the 3rd reef, but the long length of line of the 1st and 2nd reef. This is how the cockpit spaghetti forms and gets really confusing when the lines are not properly color coded.

While it may sound like both of these systems are flawed in dumping all this line in the cockpit and adding a lot of extra resistance to the system, the truth is they do a great job of bringing the lines back to the cockpit. If you do not feel comfortable when you leave your cockpit, then this type of setup would be ideal for you as you would be able to raise, lower, and reef your mainsail all from the cockpit without setting foot on the deck.

Single and double reef line setups are a favorite among coastal cruisers and racers. Coastal cruisers love them because no one needs to leave the cockpit if the weather turns for the worse. Racers love them because it allows the crew to work the entire boat from a central location where they can easily hear commands. Blue water cruisers don't seem to favor either of these systems as the added resistance, effort, and spaghetti all lead to more points of failure and instead opt for the lines to be left at the mast where resistance is minimized as are failure points.

The final decision comes down to those who are sailing the yacht. All systems have their pros and cons, and finding a system that you enjoy the pros and don't mind the cons is the goal!  

Dyneema Lifelines

Back in February 2015, I installed dyneema lifelines. It has been two years with them in place, and it is time to see how they have been holding up.

The lengths of the lifelines are subject to chafe from sheets rubbing on them while sailing, but with proper block placement, chafe can be reduced if not removed all together. This gives us great peace of mind since we don't have to worry about corrosion nor chafe. But how have the splices been holding up?

Very well! The ends of the lifelines are finished with a mobius brummel splice, forming a nice locking eye splice that will hold true and strong! This section of the lifeline looks great and the netting wrapped over the lifelines has shown no signs of chafe.

The gate stanchions were spliced rather differently. The spliced lifeline was too large to fit through hole in the stanchion, so the splice was routed along the outside of the stanchion. To allow inspection, the long bury splice was performed a considerable distance from the stanchion. This allows me to loosen the end lashings and pull the lifeline out of the stanchion to inspect. The extra distance is to allow me space to service the lifeline should the need arise. 

By polishing the stanchion's holes previously, there were no sharp points or burs to chafe on the lifelines. This has granted us the joy of no serious chafe after all these years!

With the gate closed, the tension on the lifelines pulls the thimble off the stanchion and straightens everything out. 

The lifelines have served their purpose very well for the past two years. There has been negligible chafe, and no corrosion. The only issue they have demonstrated is more of cosmetic concern: fading. When the lifelines were new, they had a strong electric blue color to them. Over the years, the color has slowly faded to a much more muted blue. 

2015

2015

2017

2017

While the vividness of the blue has subsided through the years, the strength and peace of mind have not. Careful planning to reduce chafe on the lifelines will make strong, durable, and worry free lifelines possible that will last you many years.

Reusing a Shackle, Halyard Eye Splice

Your current halyard shackle may be working just fine when your halyard needs to be retired. Reusing your current shackle will save on the cost of replacing your halyard.

While this shackle may look rather old and worn, the owner of this yacht trusted it and wanted to reuse it on his new halyard.

The most important thing to remember when splicing your shackle to the new halyard is to remember to slide the shackle onto the line before you make the eye splice in the halyard!

In this example, we are going to use 10mm VPC from New England Ropes. The first step is to pull the core out of the cover. Be sure to insert a needle through the rope just next to the area where you pulled the core out to avoid the line from scooting around.

At this point, the simple straight forward-ness of a Double Braid Class II eye splice ends.

The cover is fed into the core and then tapered gradually to reduce any hard steps that could result in stress points on the halyard when under load. At this point, the core and cover trade places and the cover is fed into the core and the core becomes the cover.

With the cover inside the core and tapered gradually, it is time to complete the splice. Further down the line, you want to pull the core out of the line. You want to pull out plenty of core to allow easier work while splicing. Also, be sure the slide the shackle onto the tail, all the way up to the loop that you pulled out.

The splice will be as big as the span between the cover entering the core and the beginning of the loop. The use of needles through the line will prevent the line from scrunching up in the area of the eye.

Instead of tape, I simply whipped the end of the core and inserted it into the back of the fid and fed it through the loop.

The eye splice is now formed and all that is left to do is taper the tail and feed the loop back into the cover.

Tapering is performed the same way it would be carried out on single braid dyneema. The only difference in tapering the core and tapering single braid dyneema is the VPC core is much softer in your hands compared to dyneema.

With the bury section tapered, be sure to pull the section all the way through the core, ensuring that the area where the cover enters the core now enters the loop as well. With the tail buried all the way in, pull on the scrunched loop to bury the entire tail completely. 

Once the tail is buried into the loop, you need to milk the loop back into the cover. I like to tie the line to a winch or mooring cleat and pull hard on the eye splice and let the cover swallow the core back up. At the very end, you will have triple thickness (Cover, Core, and Core) line entering the cover designed for single thickness. This basically means that you need to pull really hard in forceful snaps to get the last bit of loop to be swallowed up by the cover. 

Once the eye splice is complete, you need to whip the splice to lock it in place. You must use a needle and whipping thread driven through the cover and core to lock the splice in place. The whipping does help to make the splice look prettier, but it also serves as a structural lock to hold everything in place.