Running Rigging

Un-cluttering the Deck

We currently have 5 sails on the deck: Drifter, Jib, Staysail, Mainsail, Trysail; and we can't take them off the deck of the boat. We keep the sails flaked and/ or bagged on the deck to keep them out of the way, but we can't escape the fact that all of these sails are always on the deck.

Maddie has told me that we can't have any more sails on the boat if they are all going to live on the deck. While the sails are put away, they still take up our limited deck space, and she wants as much space as possible for living and relaxing.

The solution is simple: The working sails can stay on the deck but the light air sails need to be stored in a locker. The storm trysail will remain on the mast, as it needs to be ready to hoist at a moments notice should a squall develop quickly.

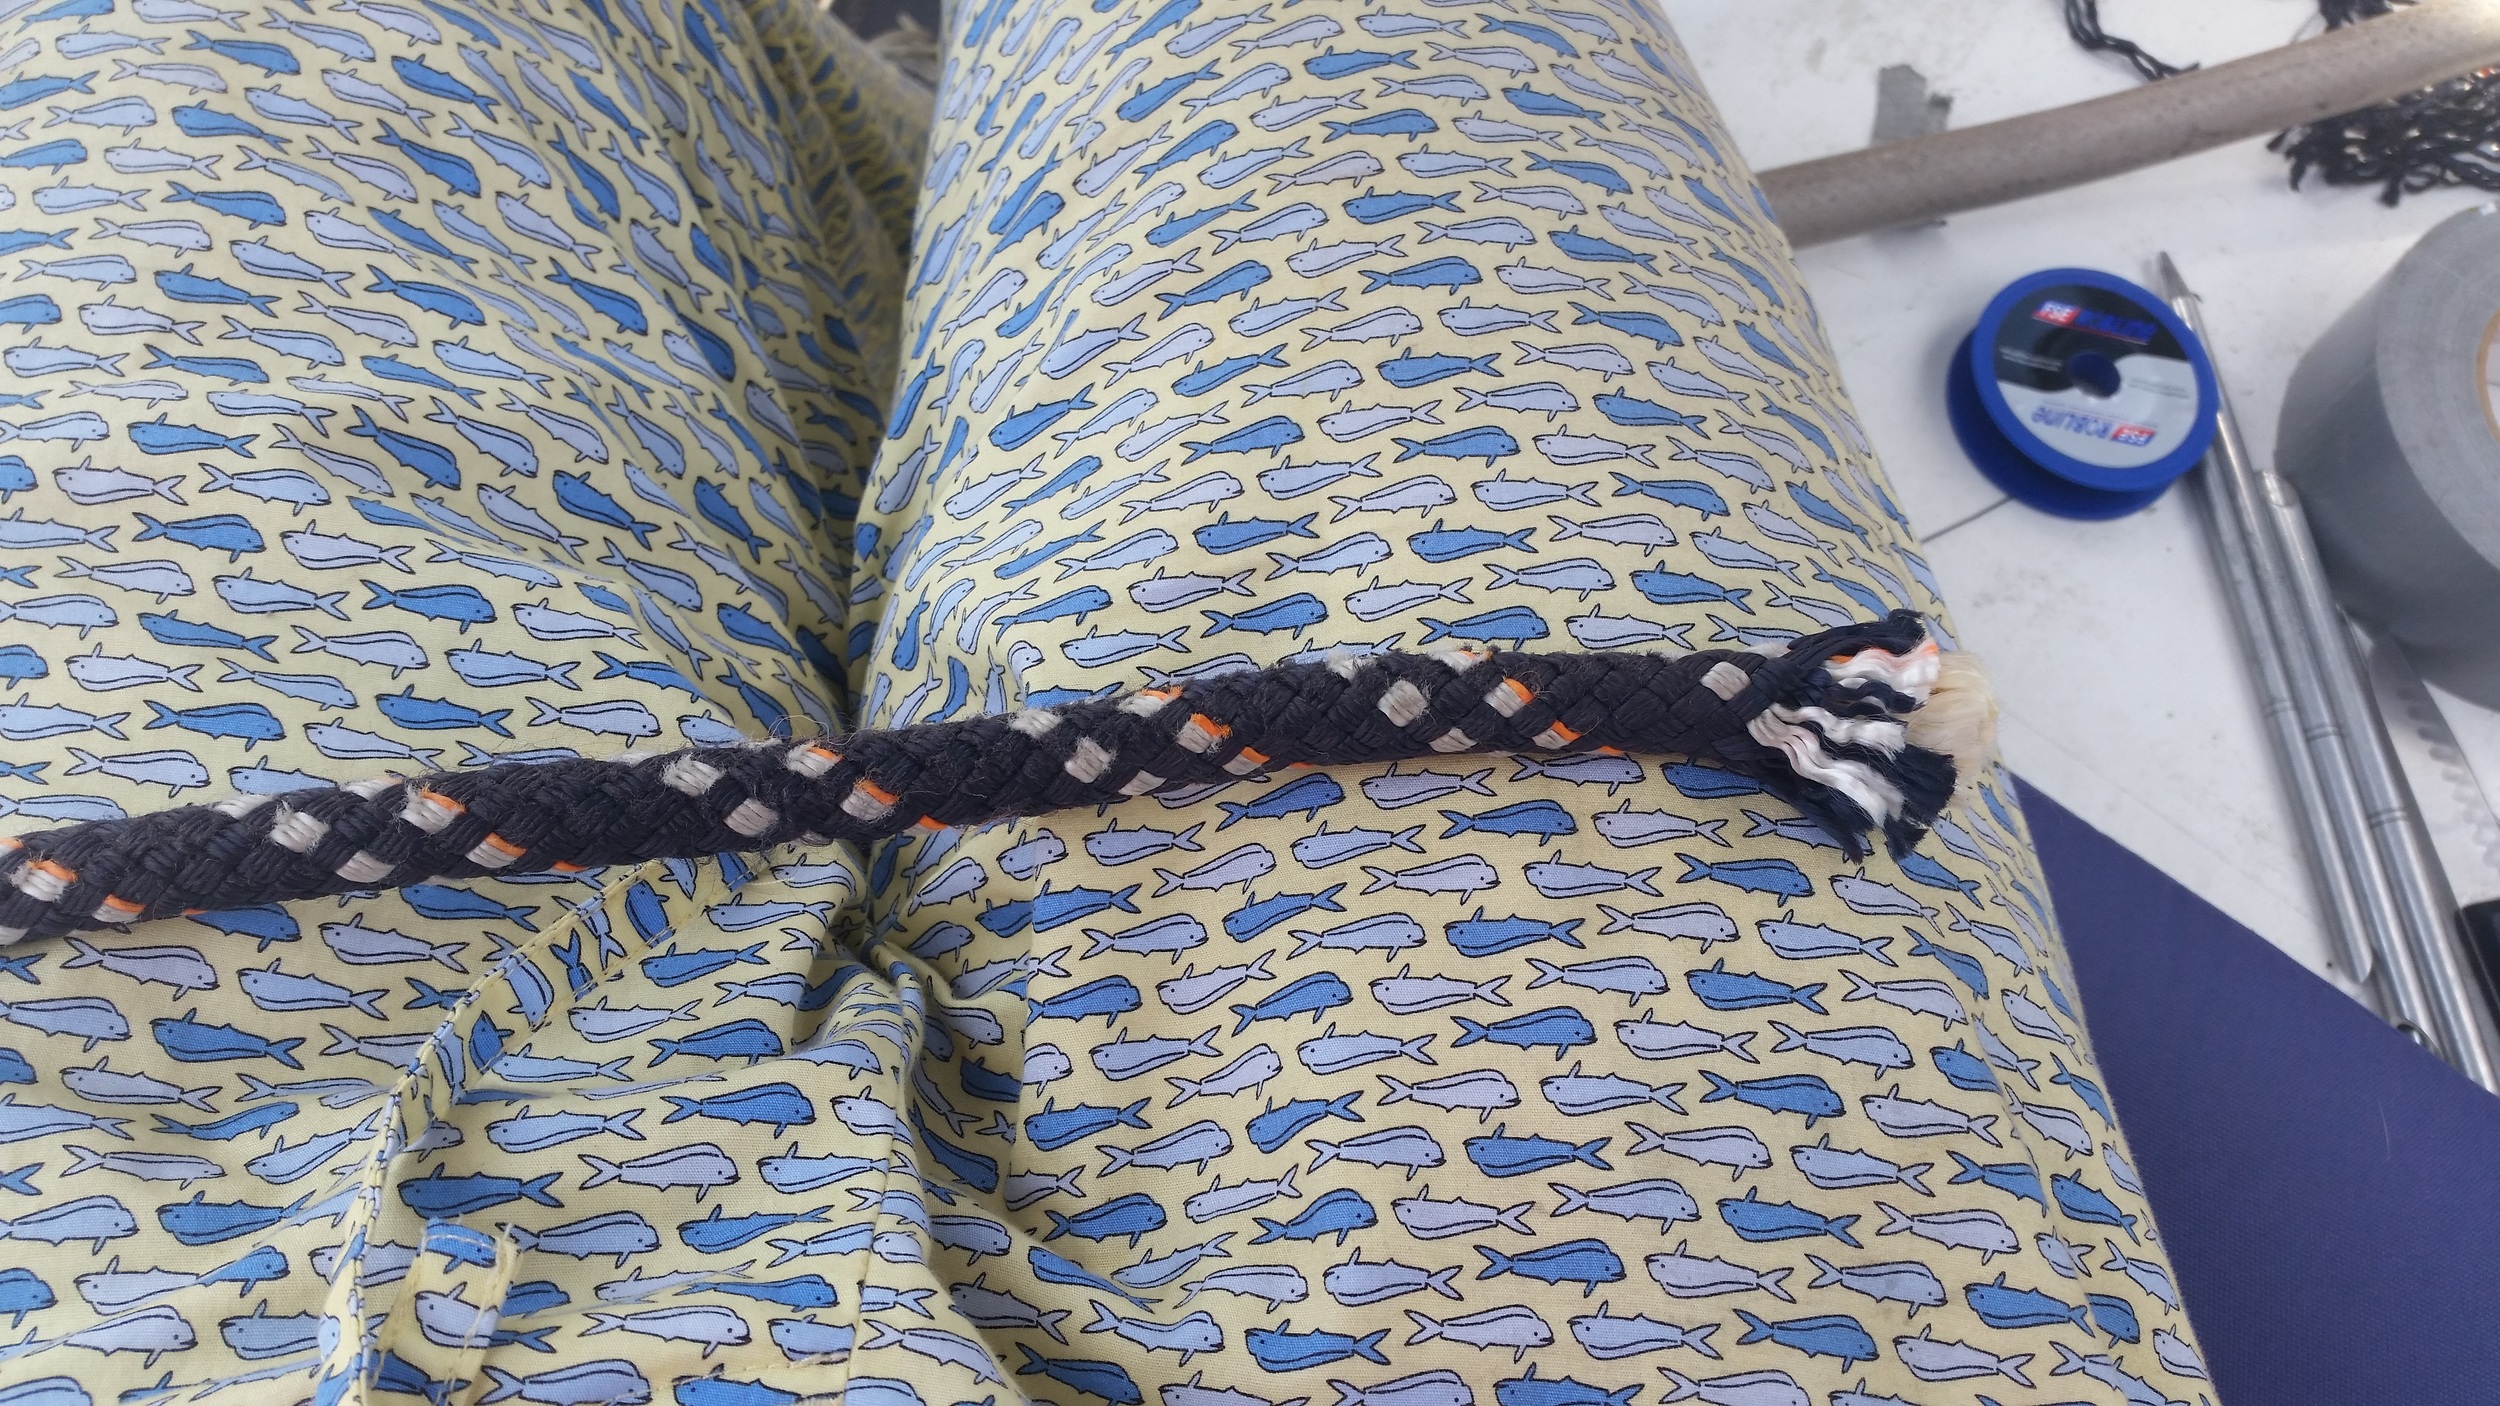
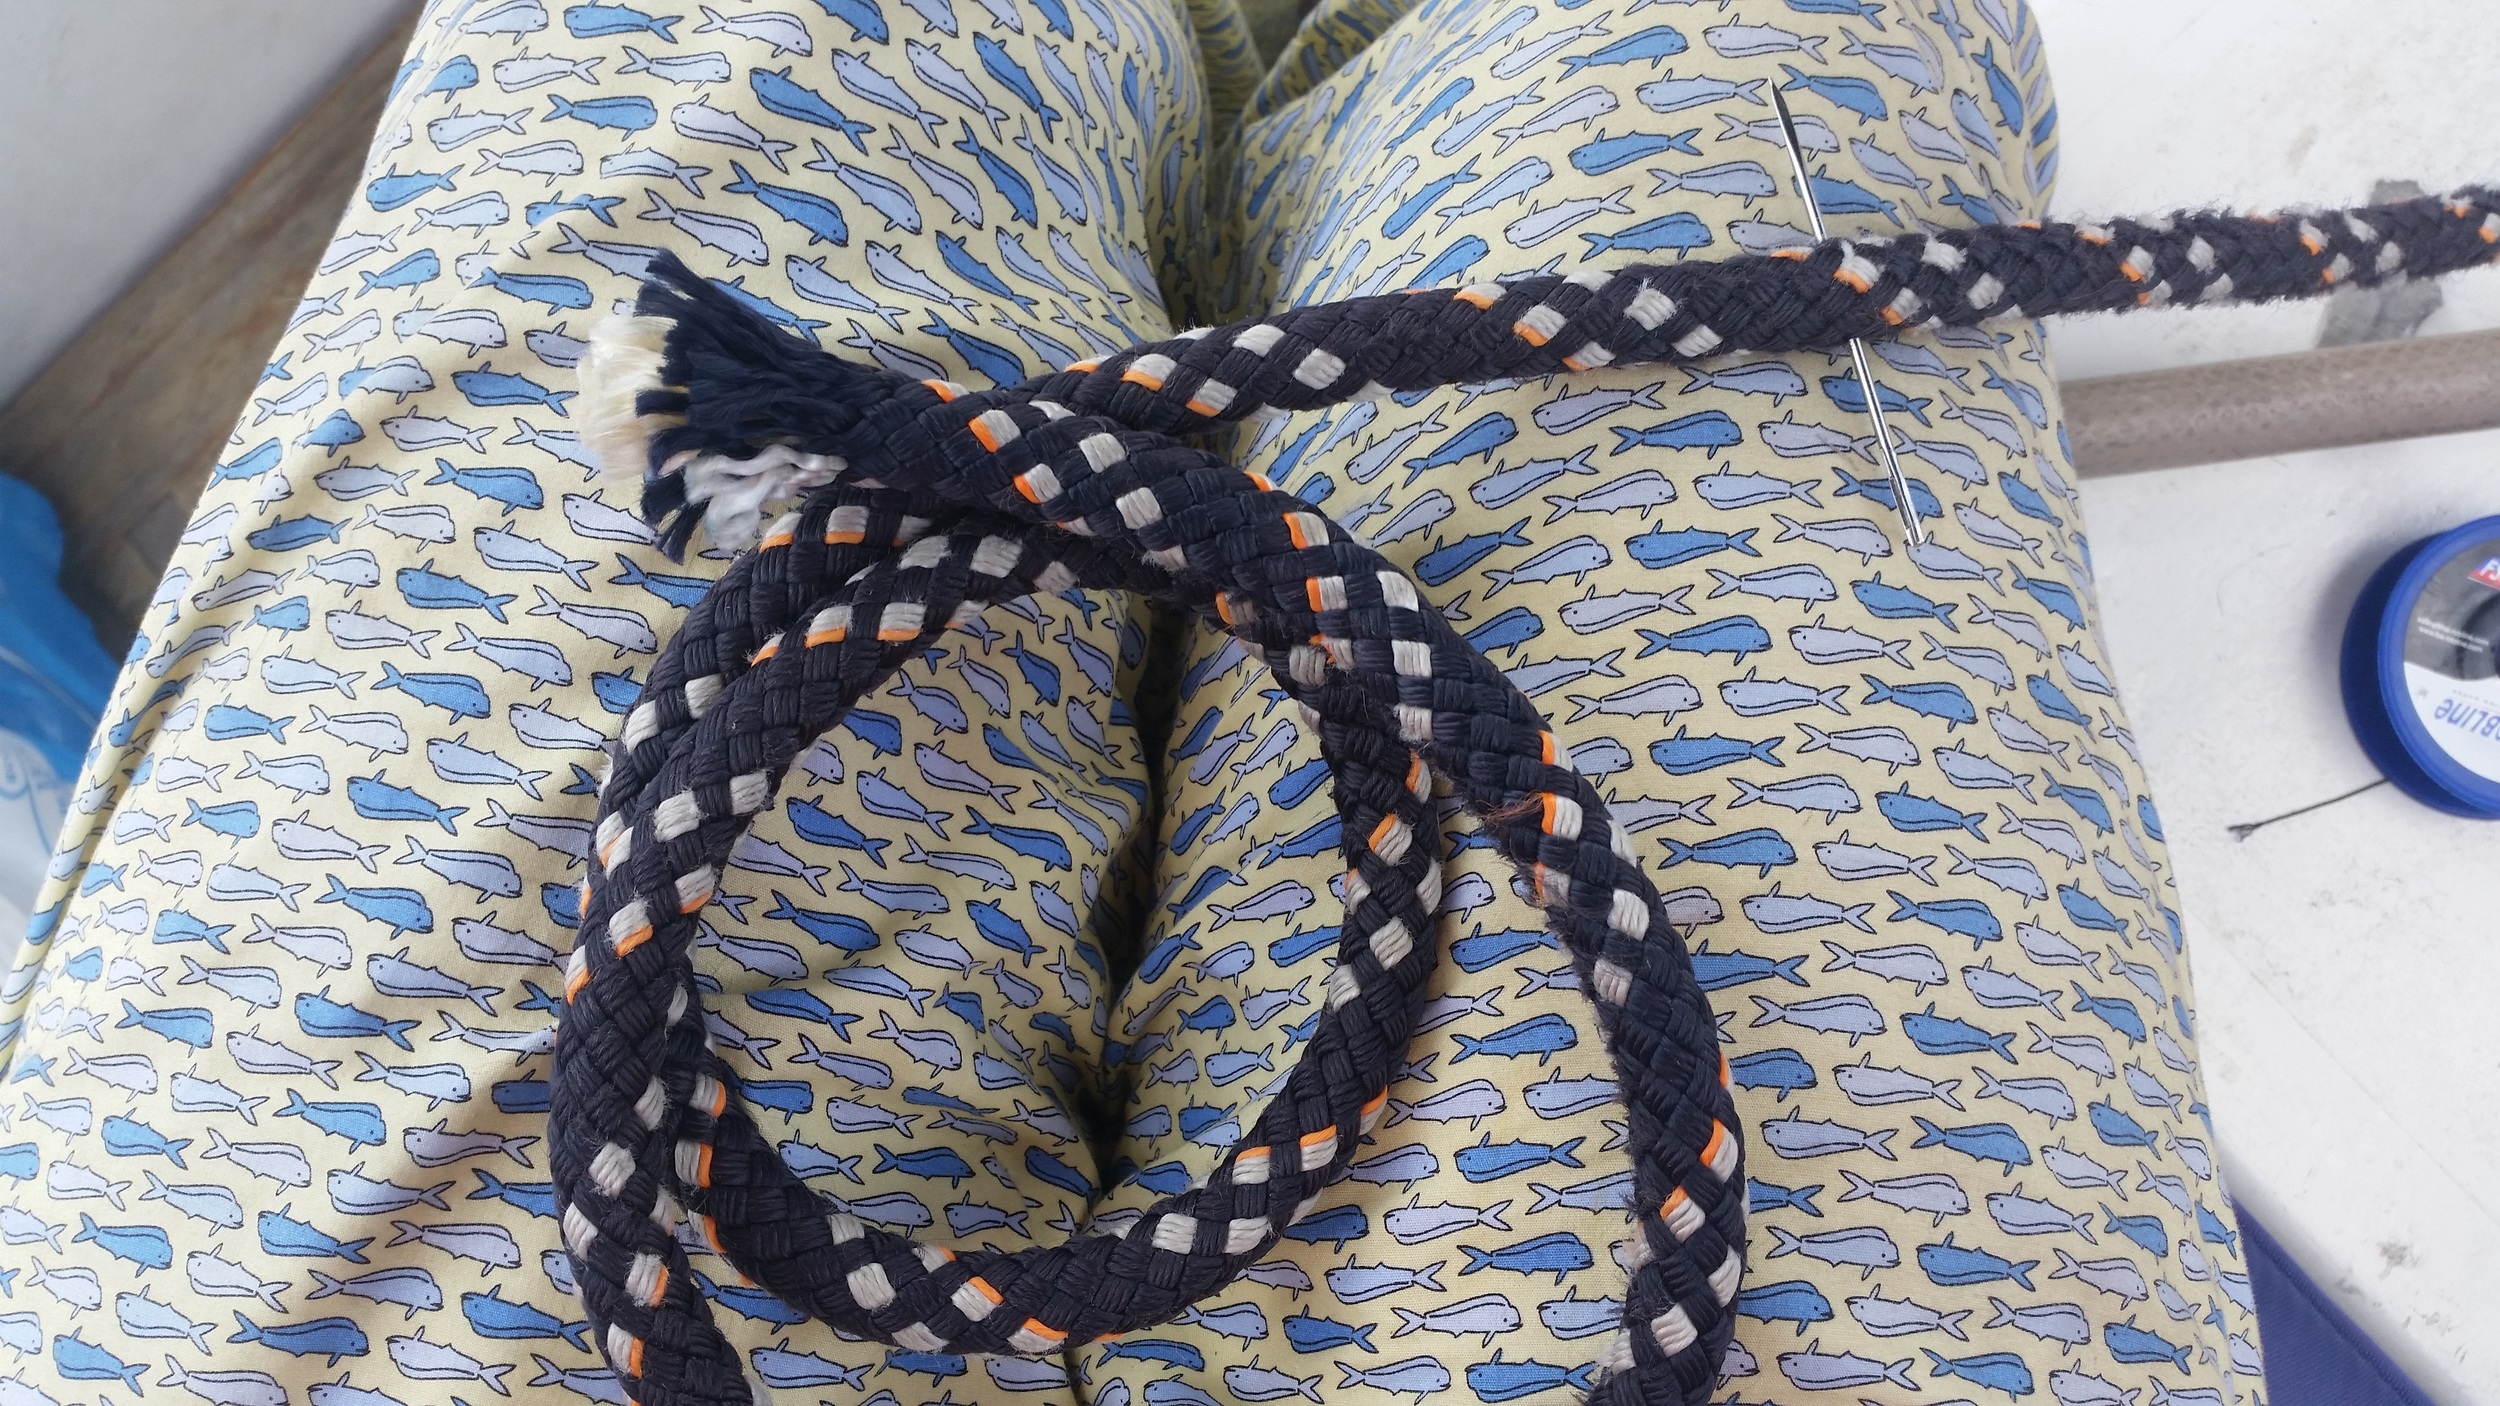
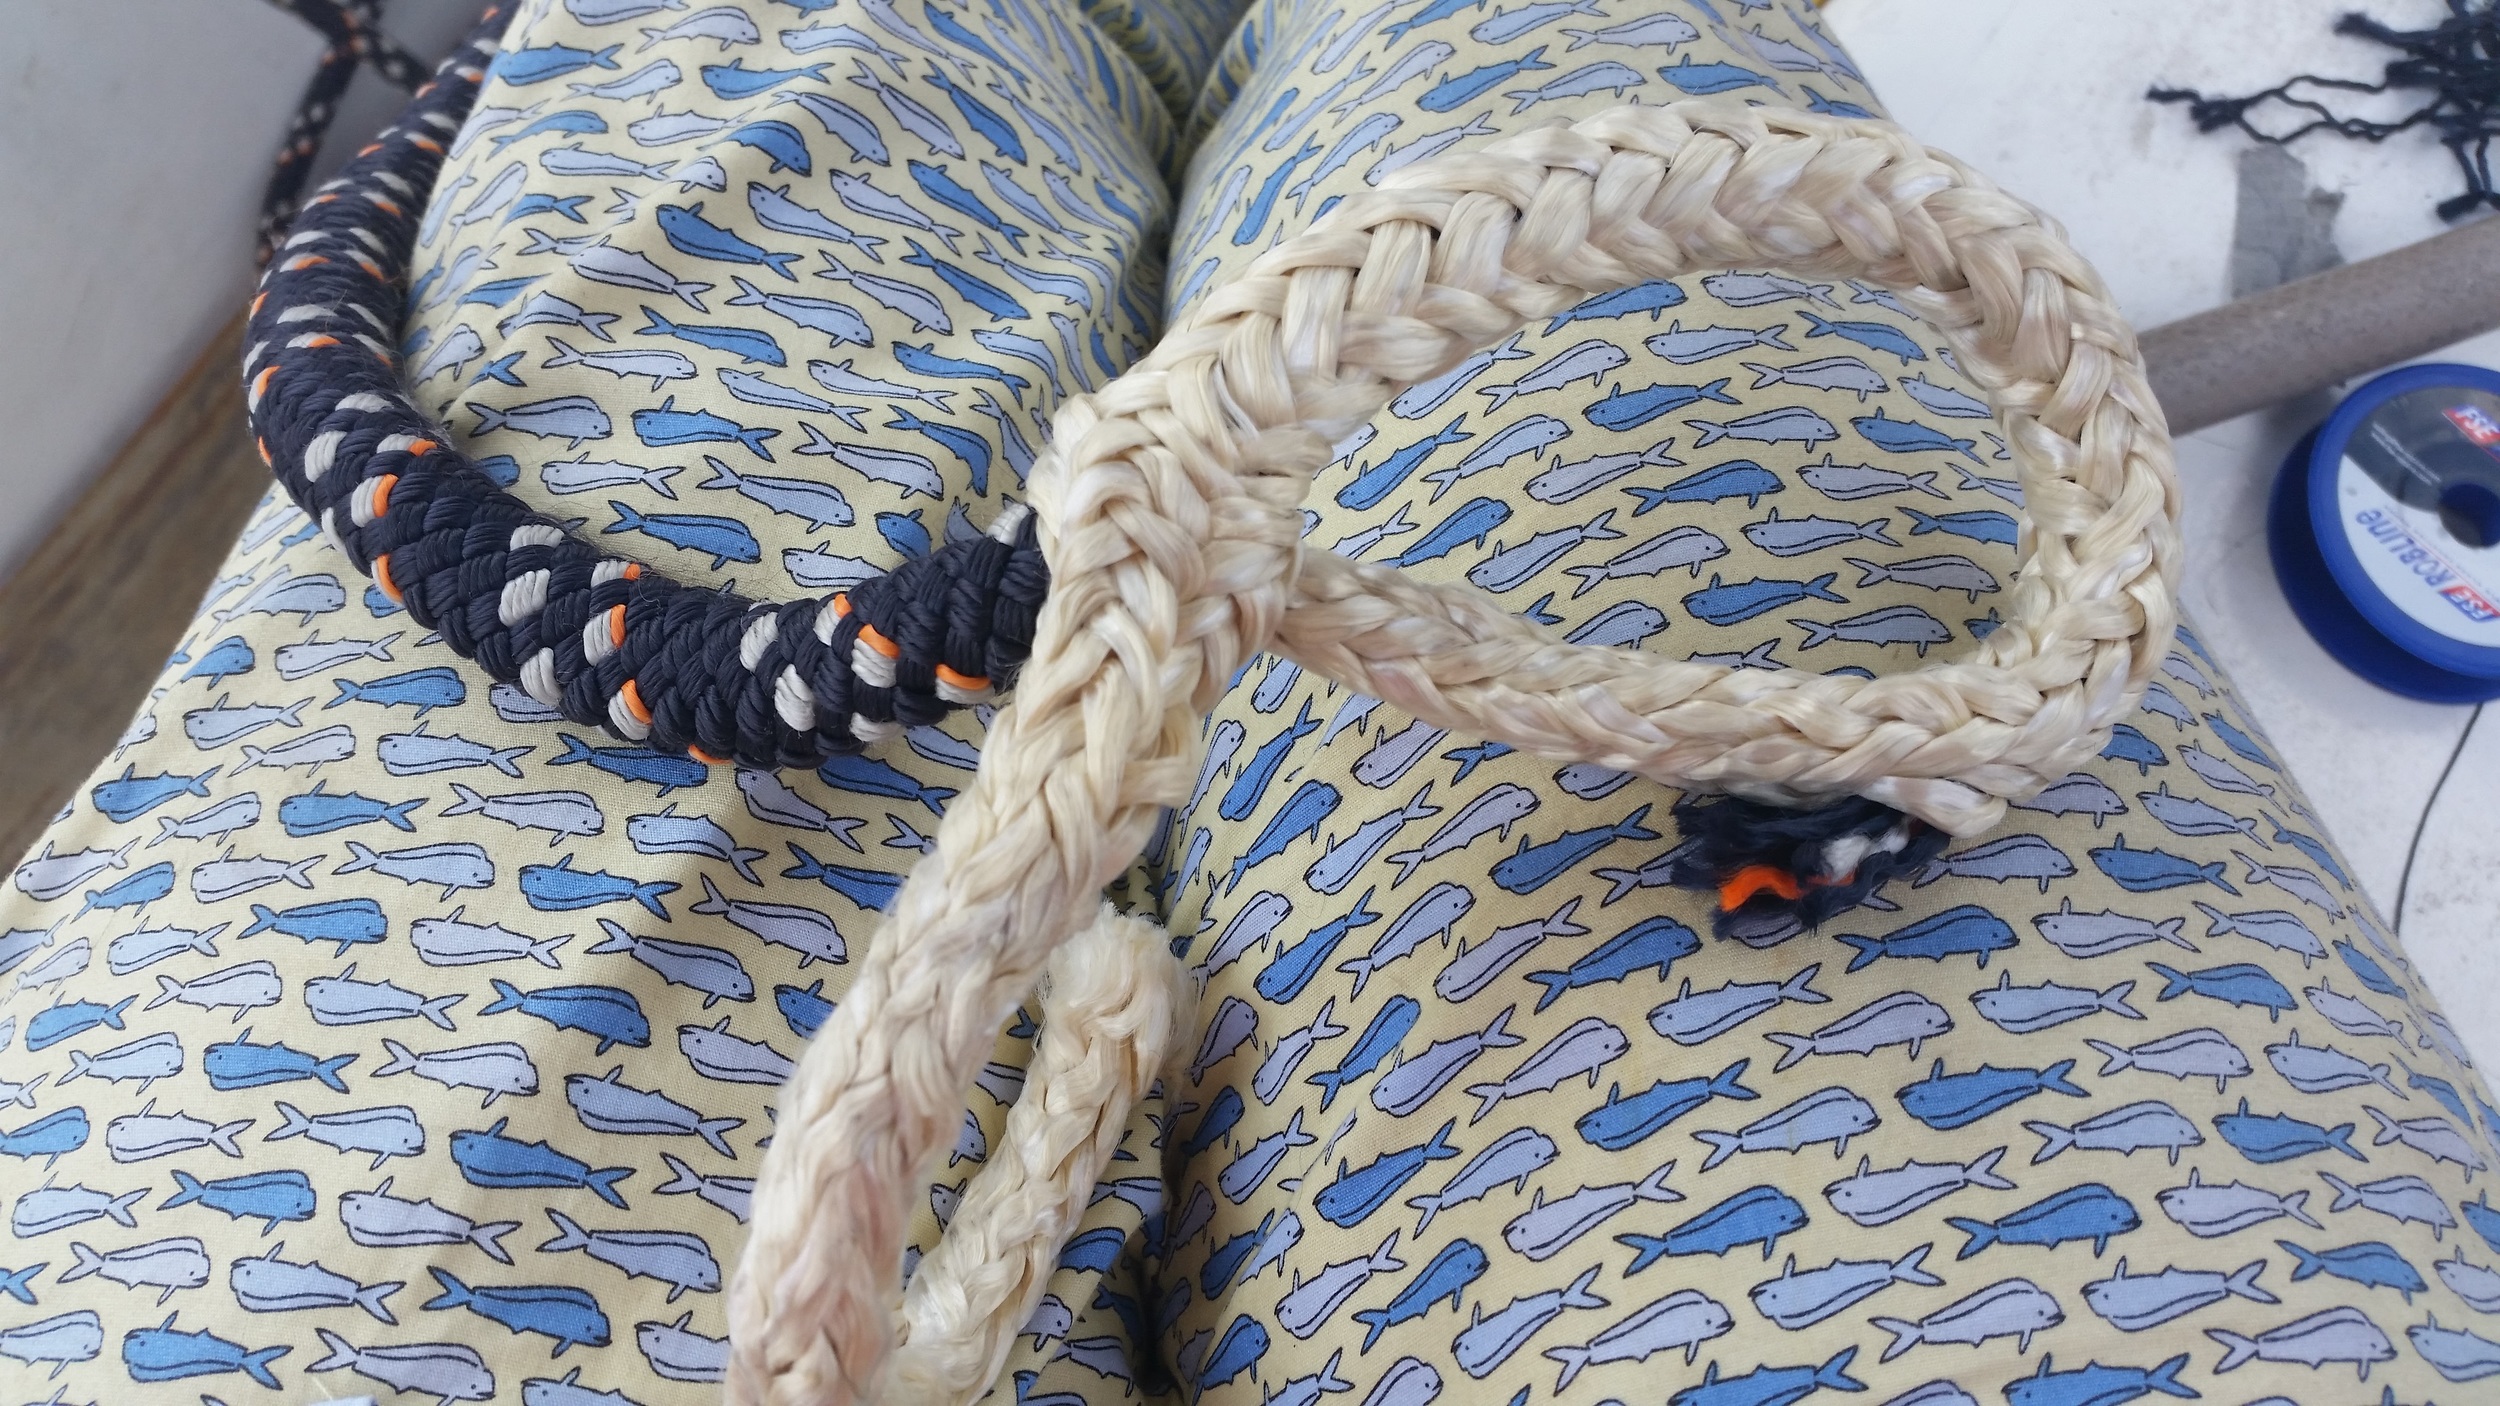
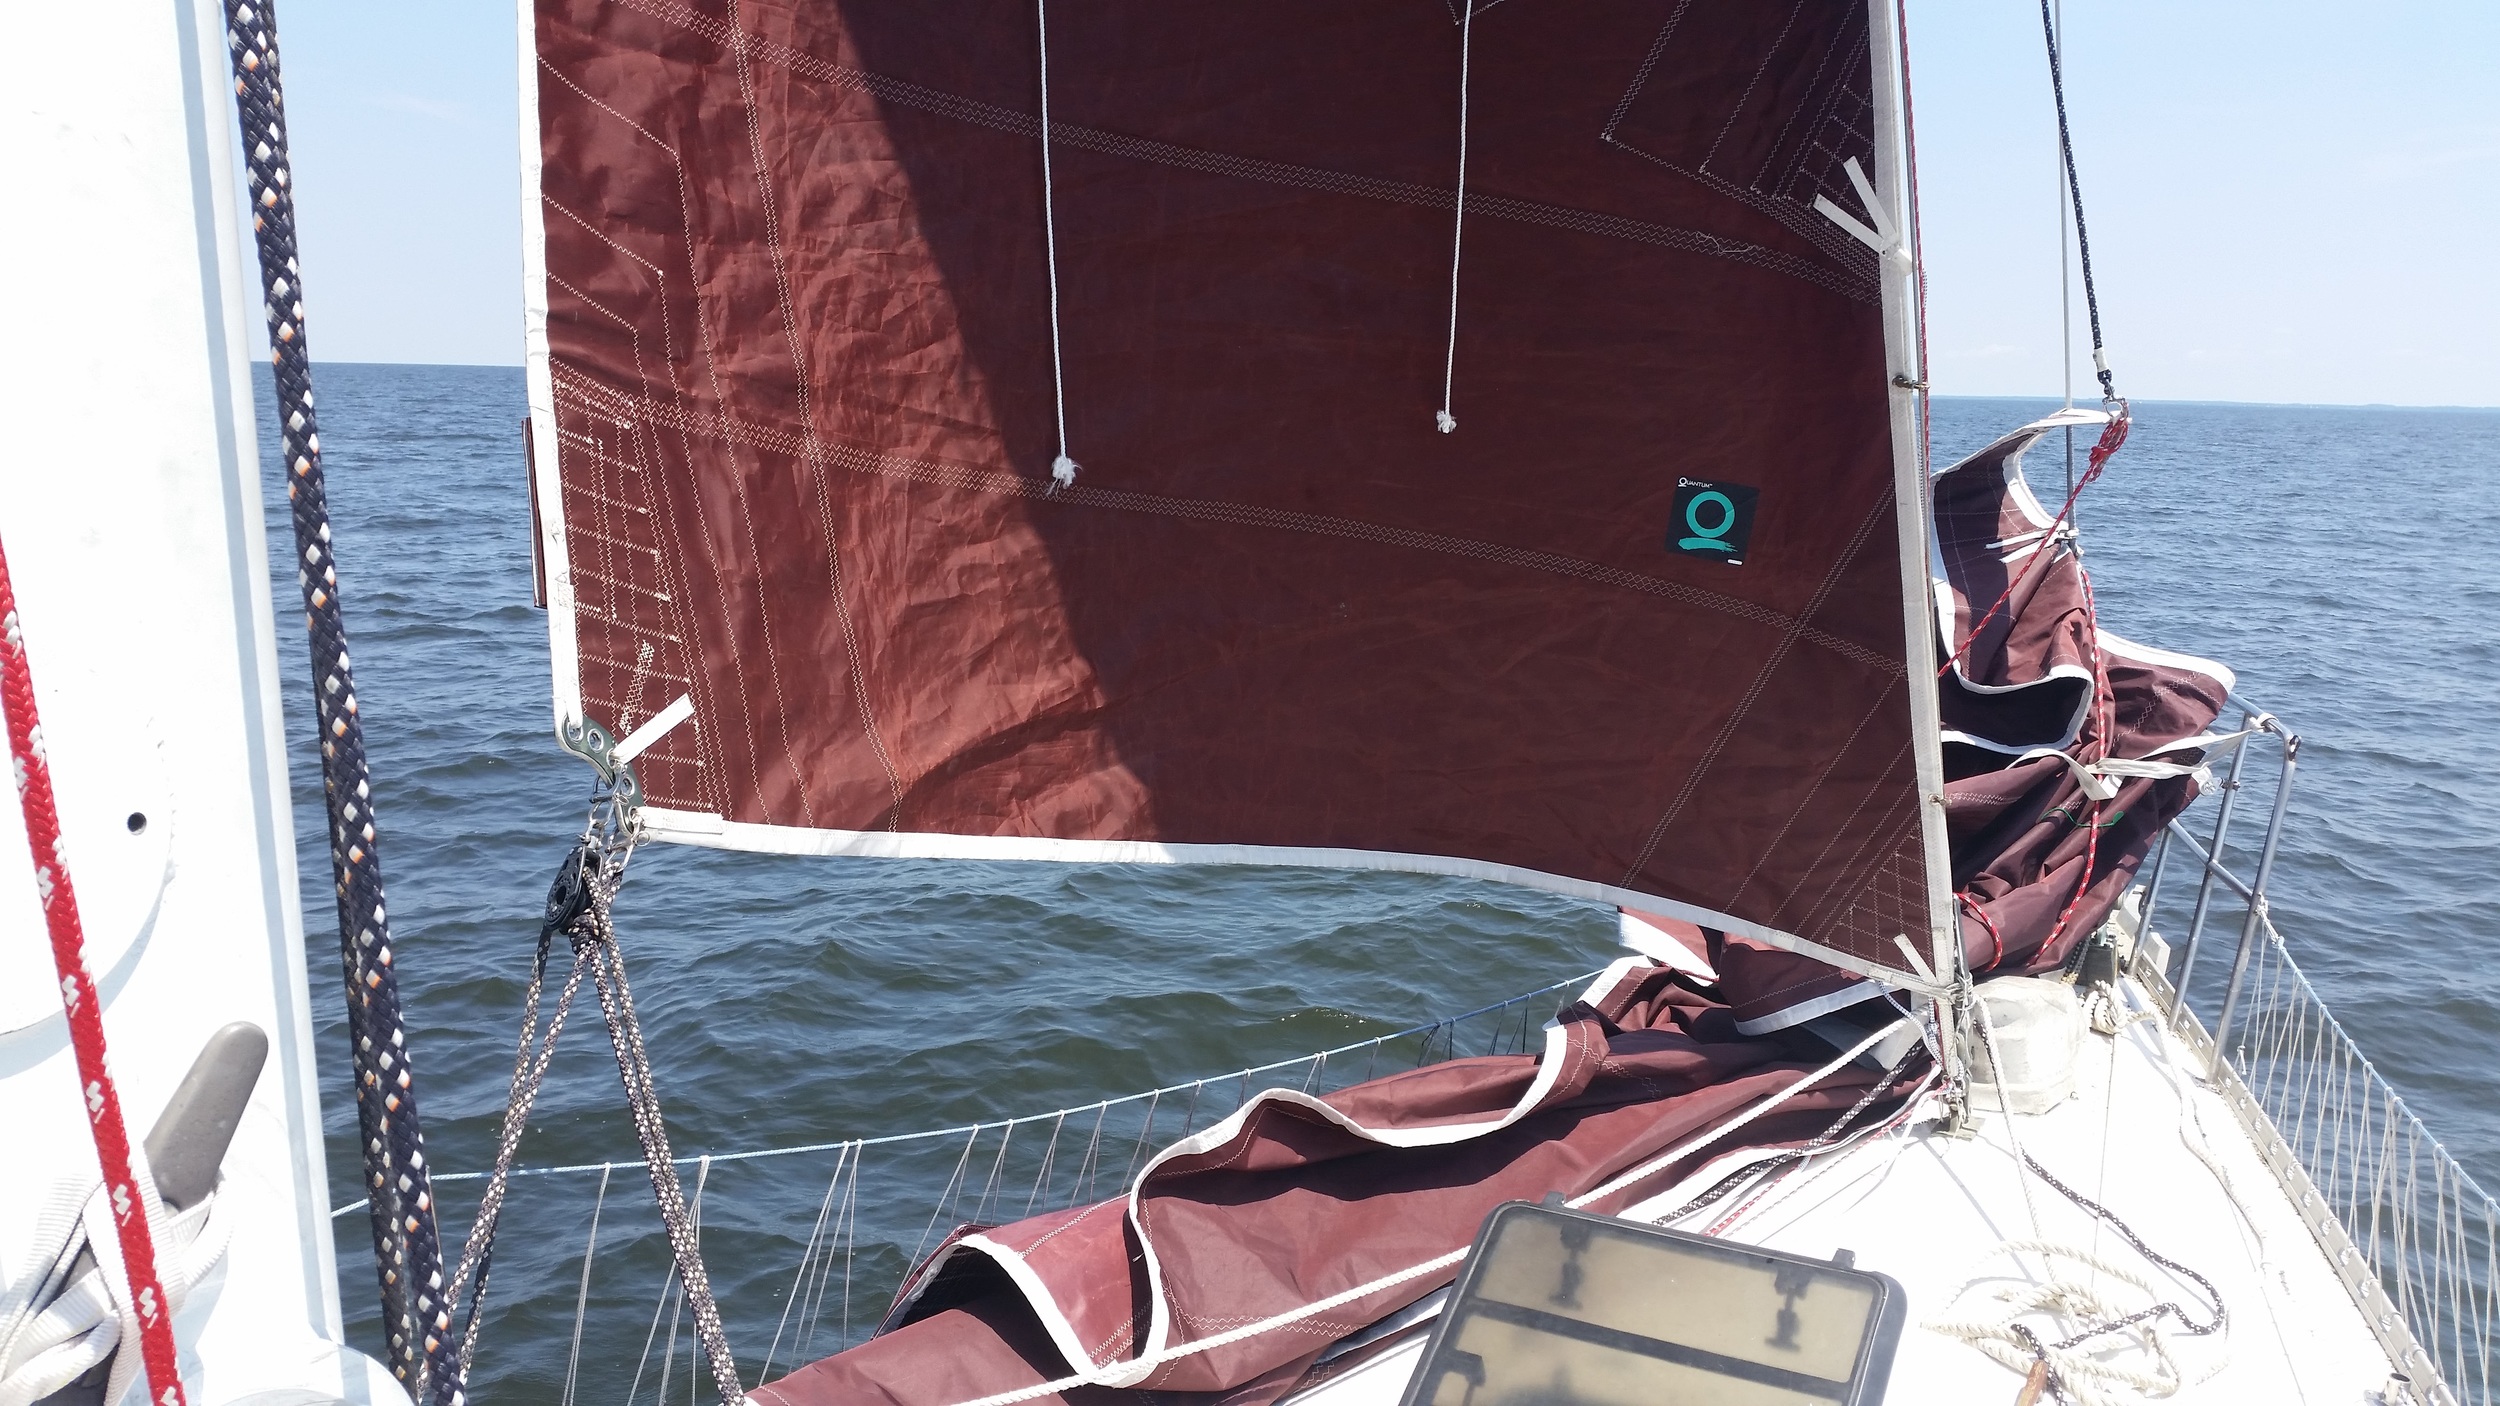
The reason all of these sails needed to remain on the deck is the way the sheets are tied to the clew. I used a larks head knot, which offers a very secure attachment to the clew while keeping bulk to a minimum. This means the sheets won't foul on the rigging as we tack and the sails have to slide through the forward stays slot. The problem is a larks head knot can not be untied without removing the sheets from the deck. I would have to pull the sheets out of their leads and coil them up to store the sail off the deck. To set the sail up, I would also have to run the sheets through all their leads and back to the cockpit. This seems like a lot of effort in my opinion, so the drifter lives in a bag with the sheets permanently run to it. 

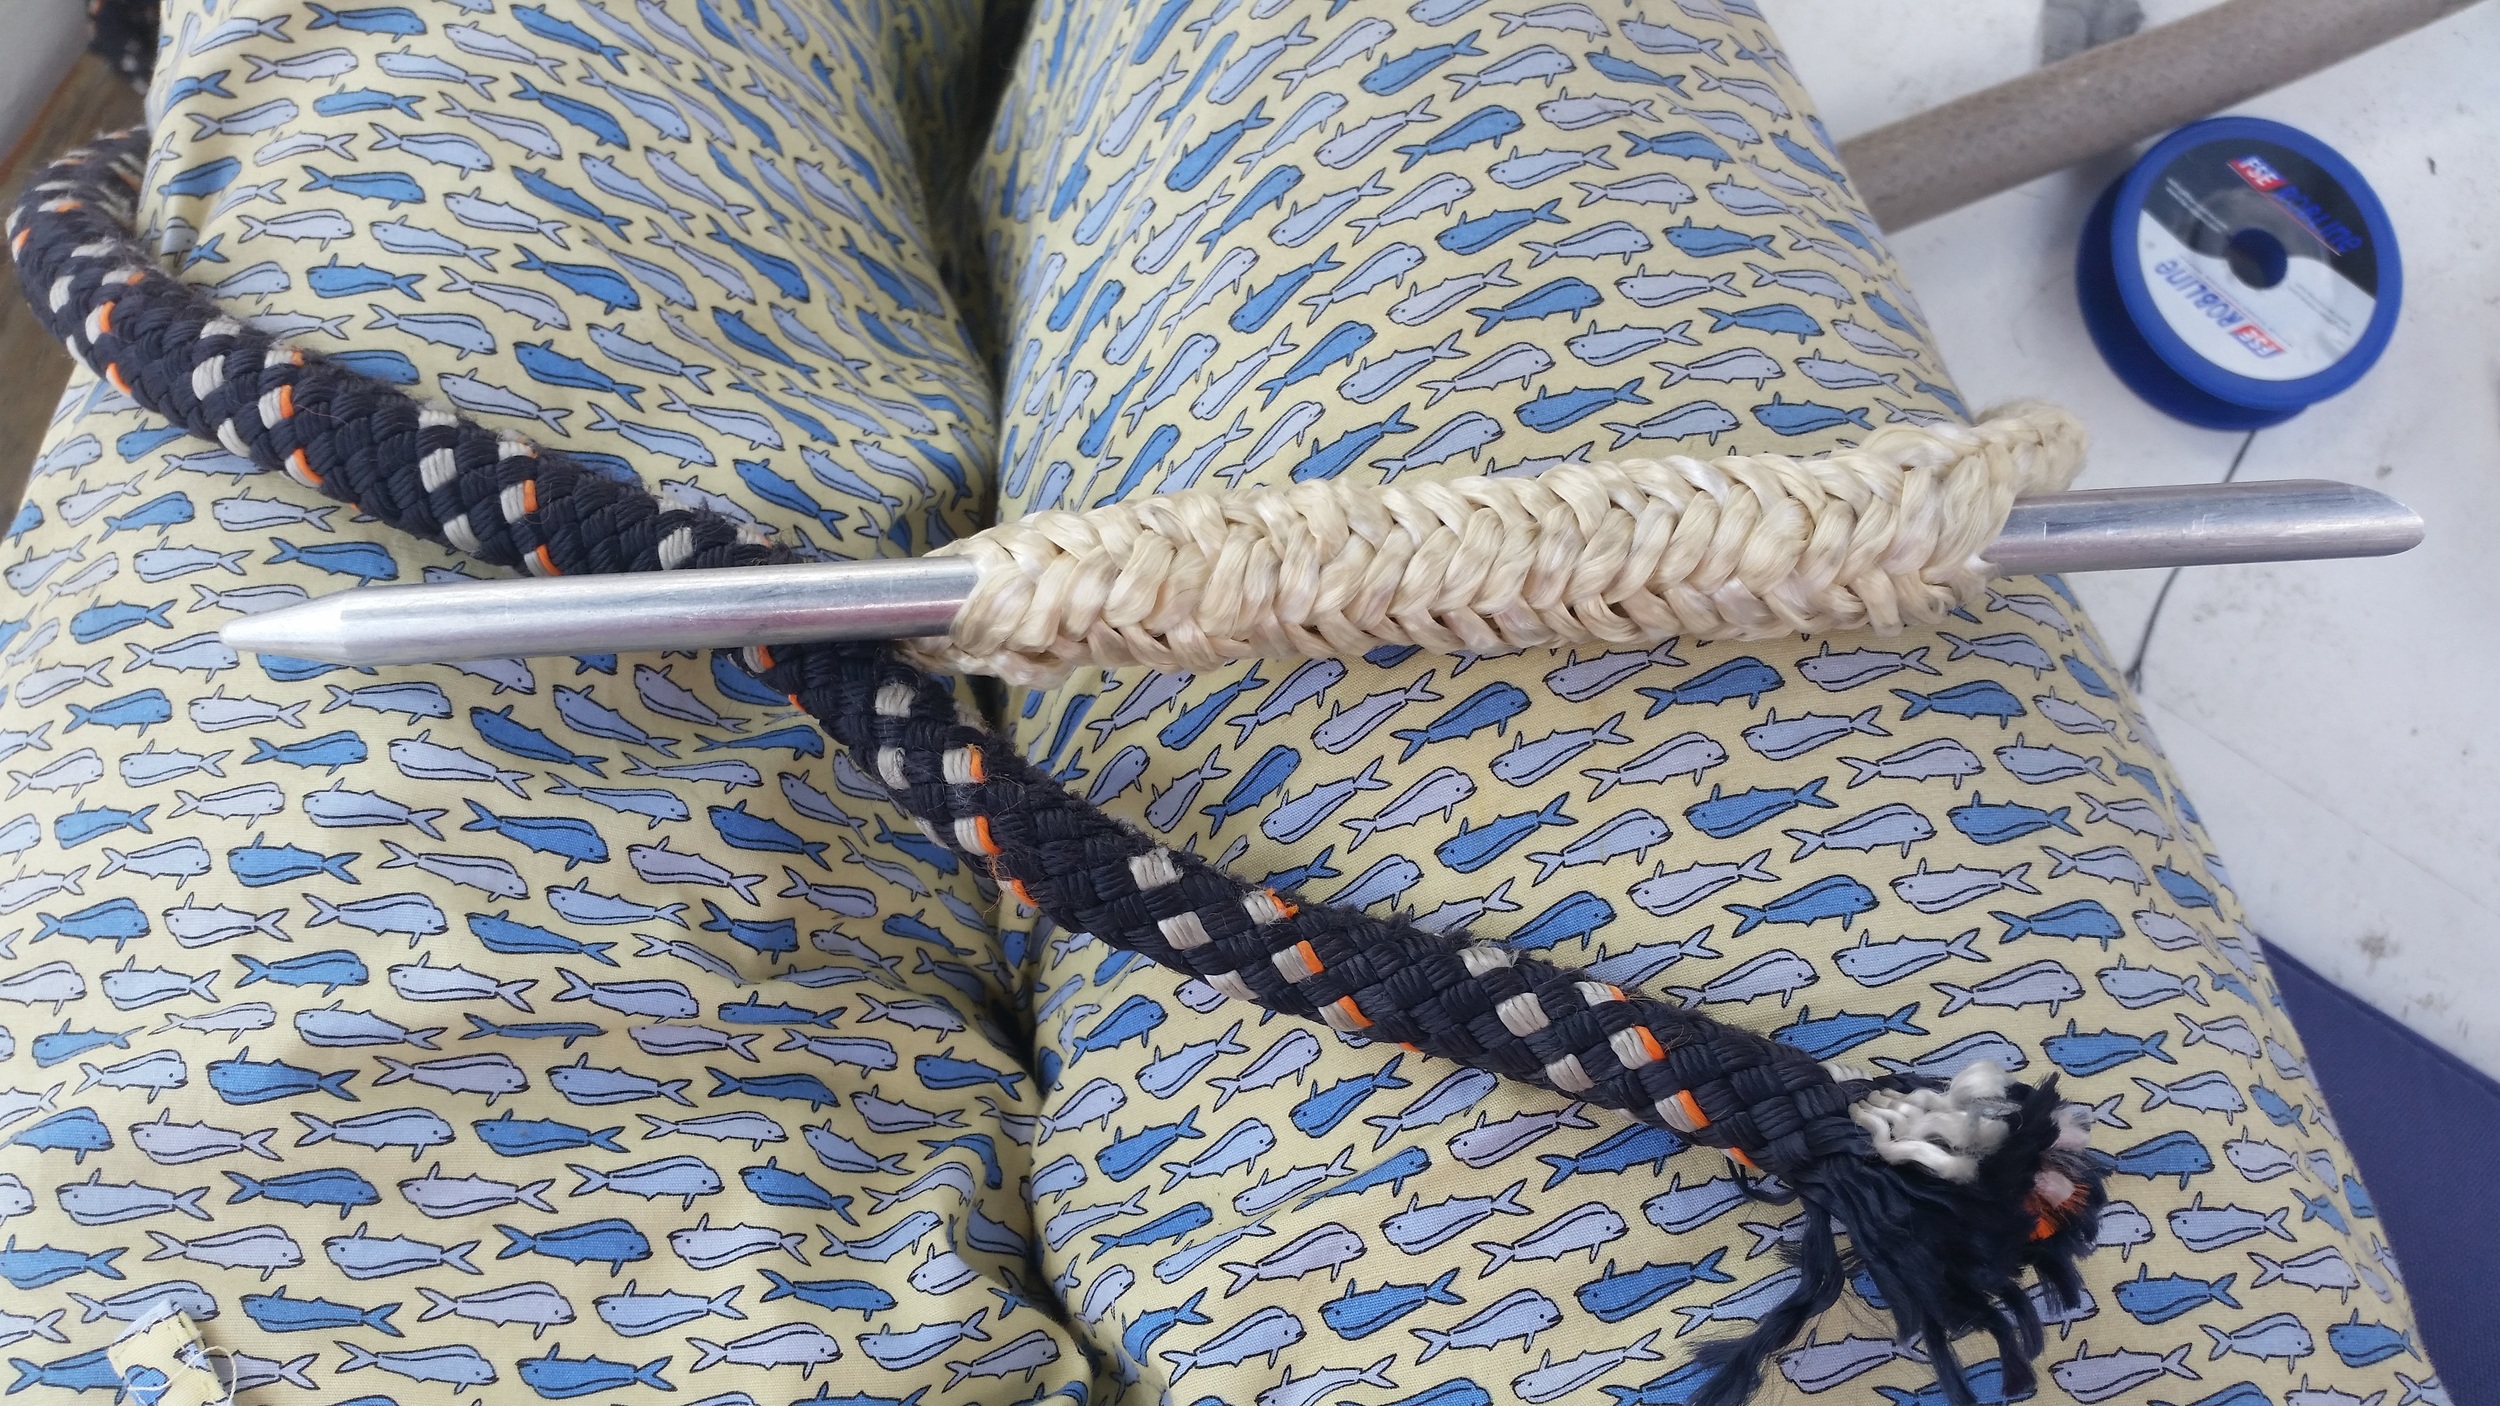
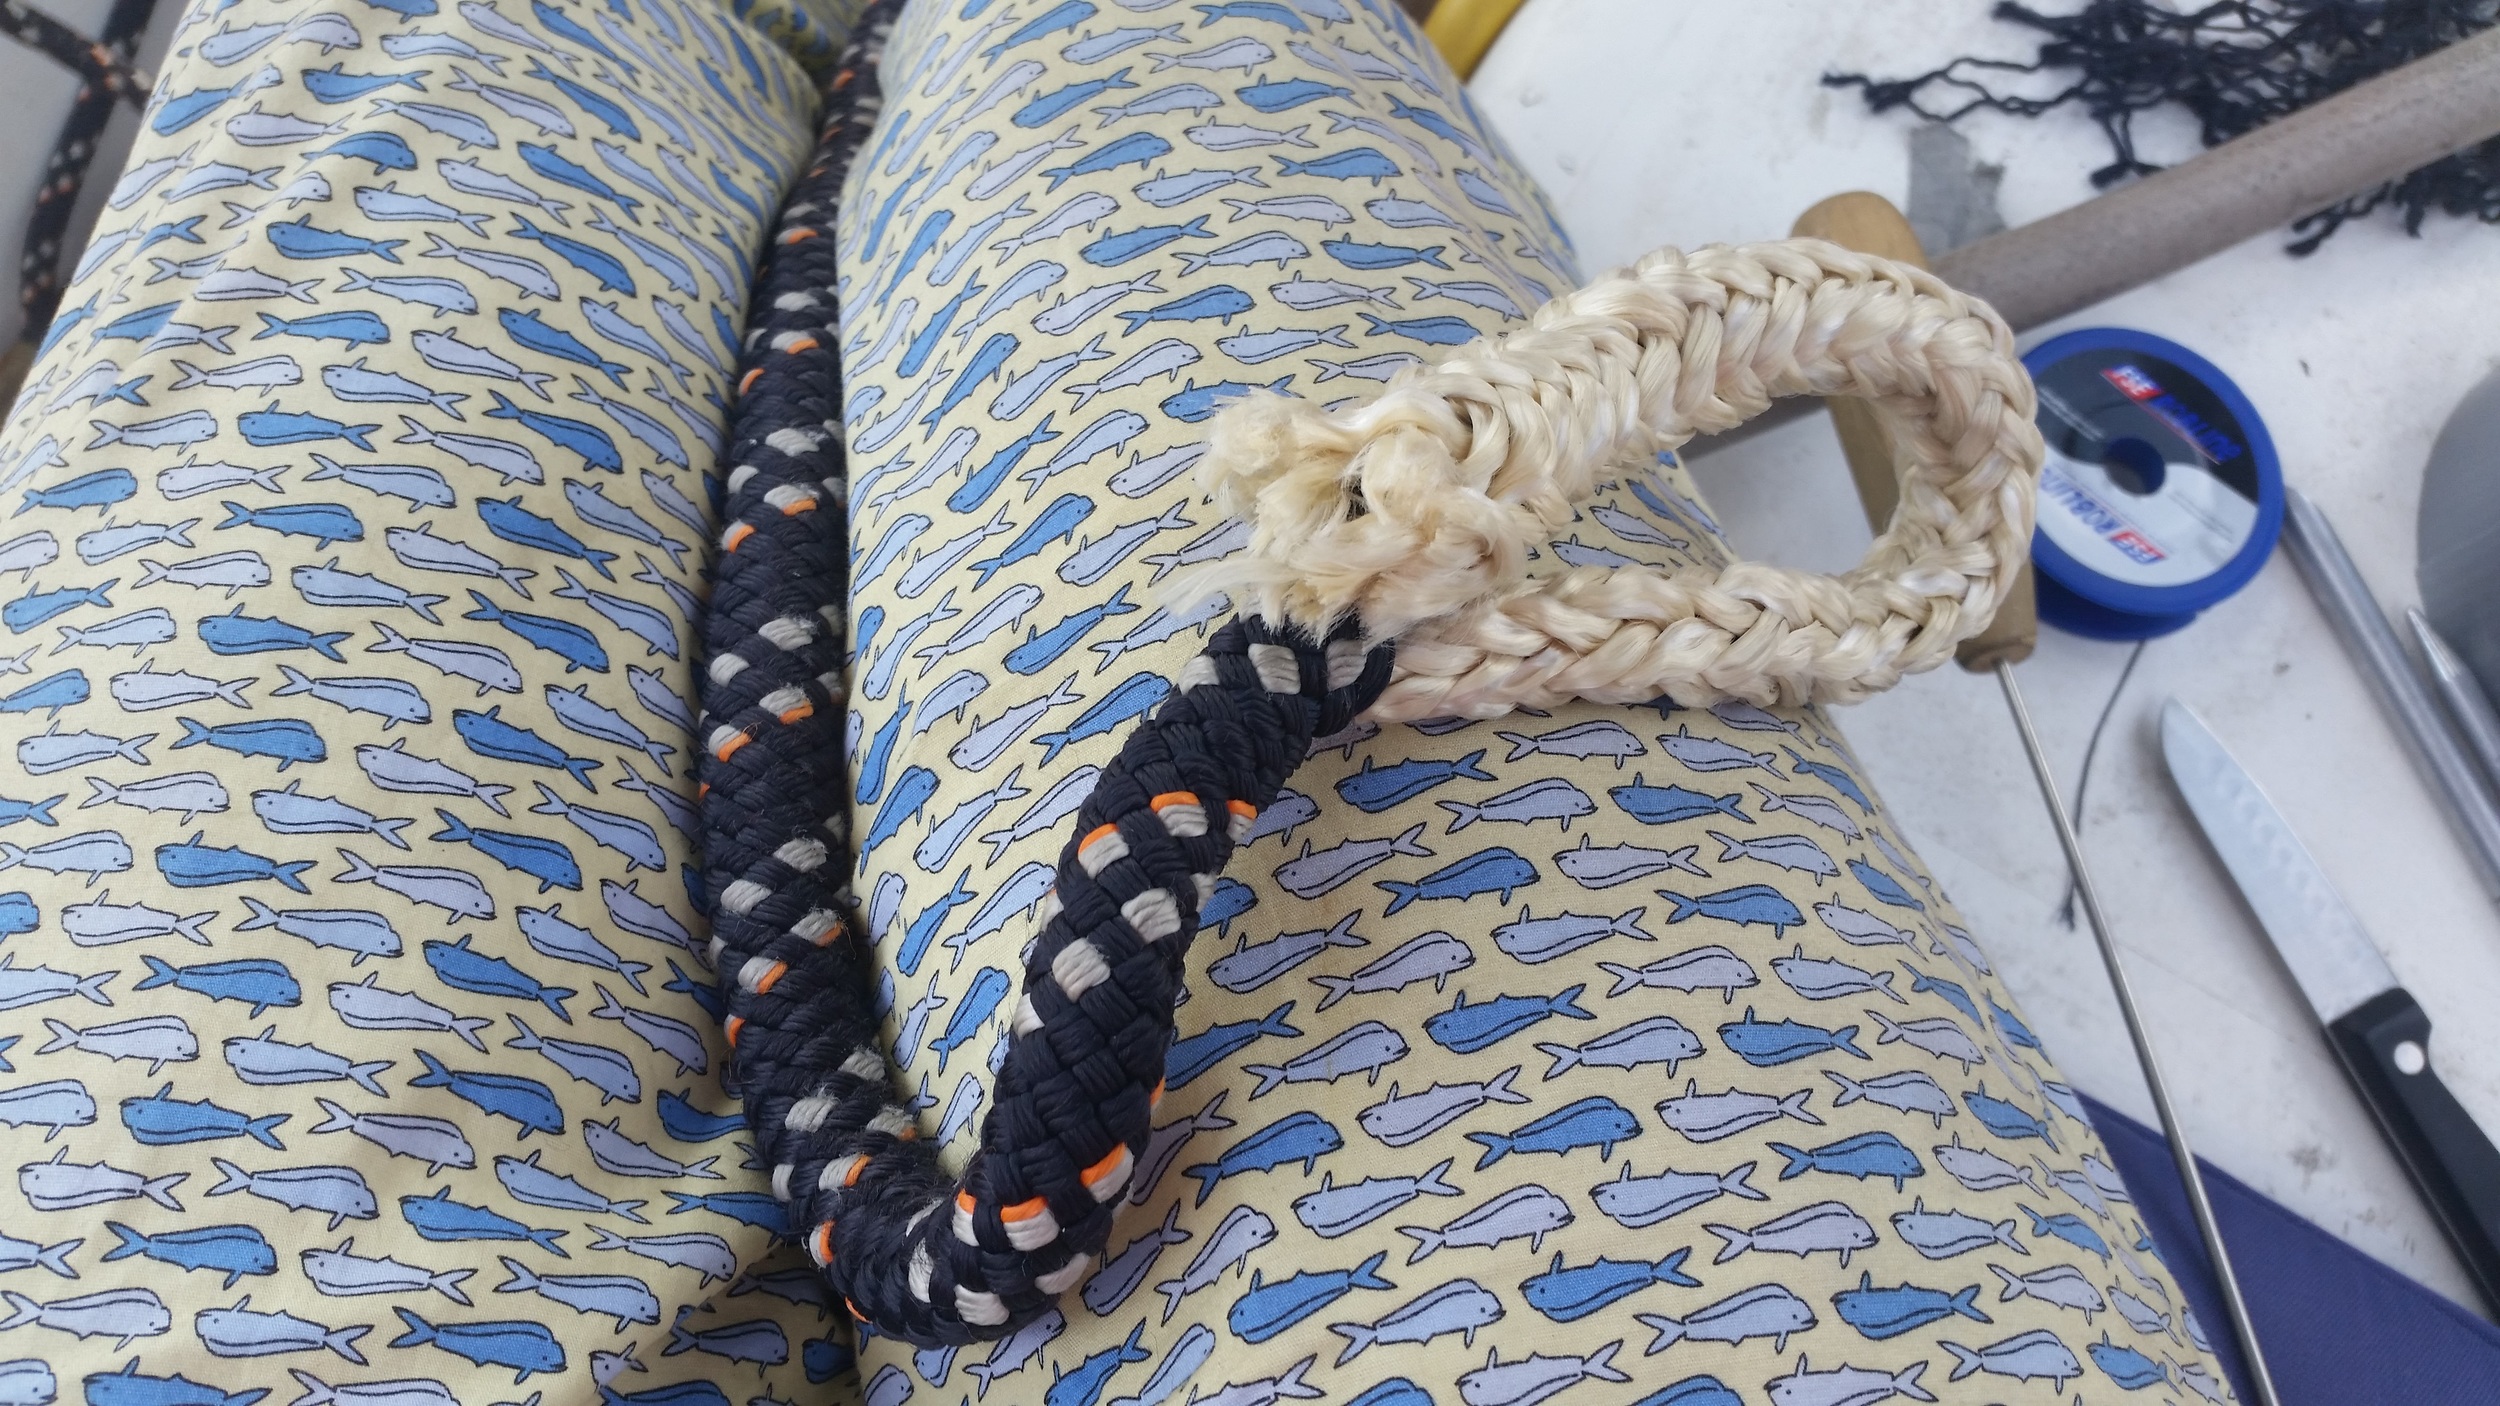
The solution to our clutter problem is simple, change the knot we use to attach the sheets from a larks head to a bowline. A bowline is a very strong and secure knot which is a standard for sheet attachment with a little bulk that can get caught on the rigging. Being how we have synthetic standing rigging, we won't let a fouled sheet stay fouled for long because it could saw into the rigging as the sail flogs around in a blow. 

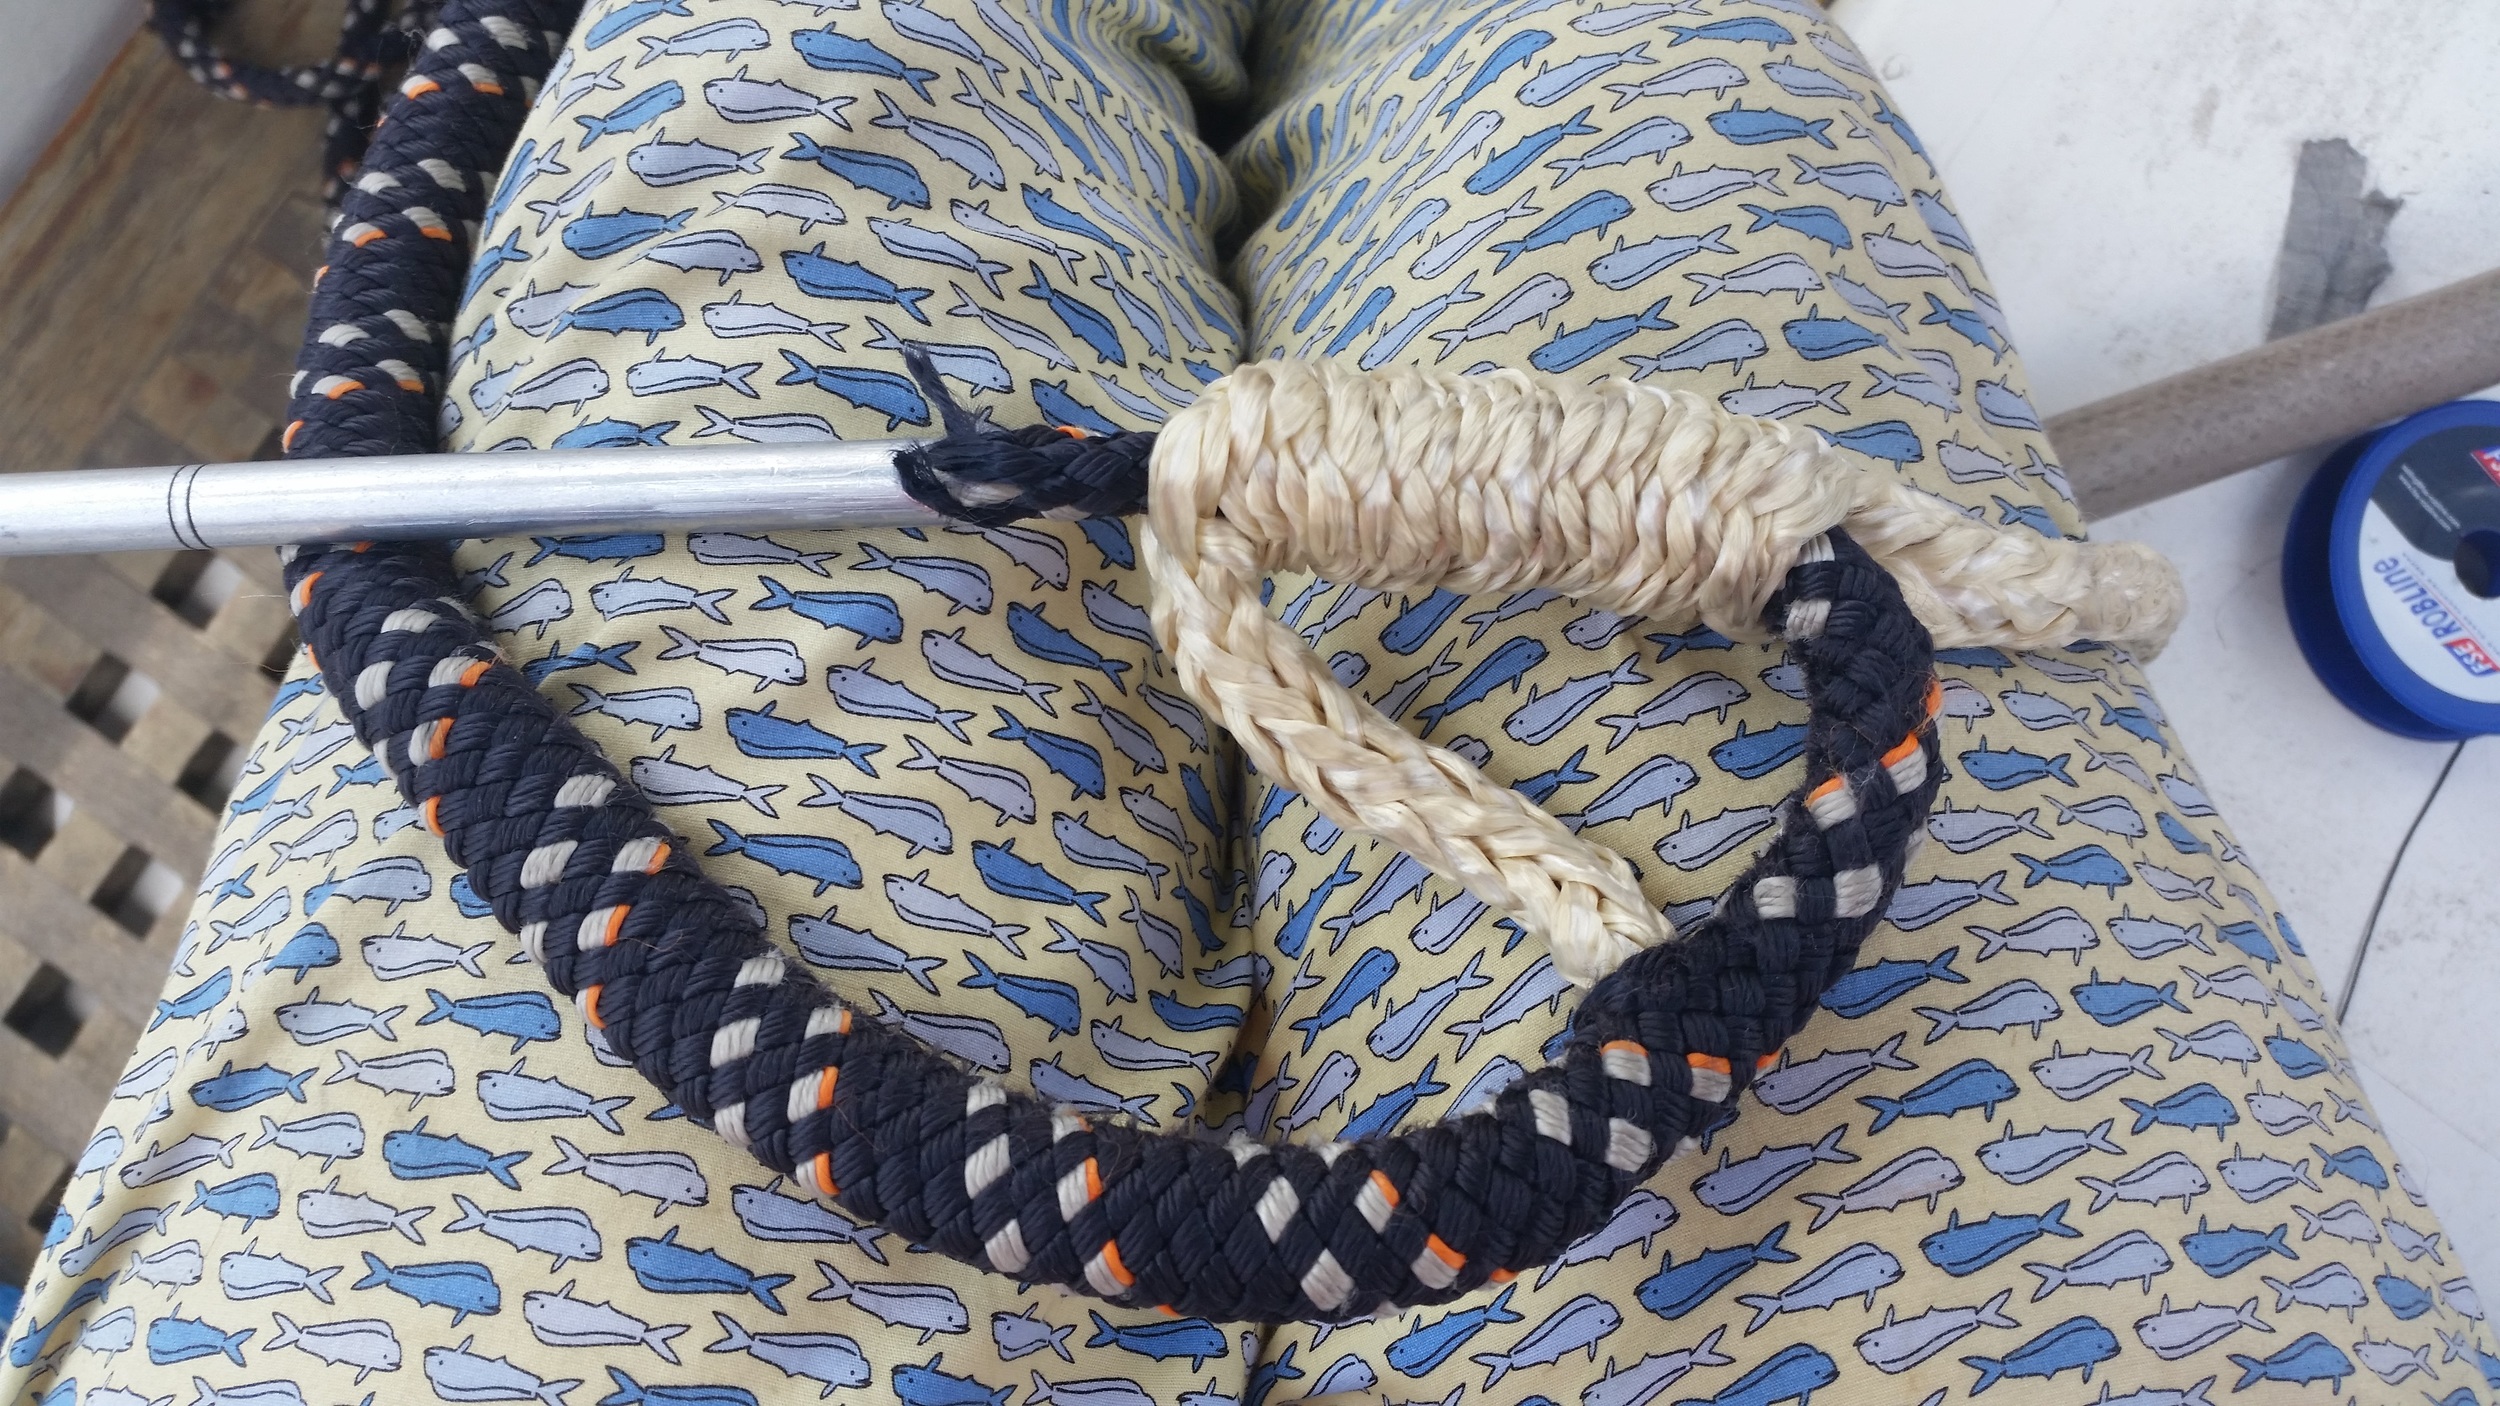
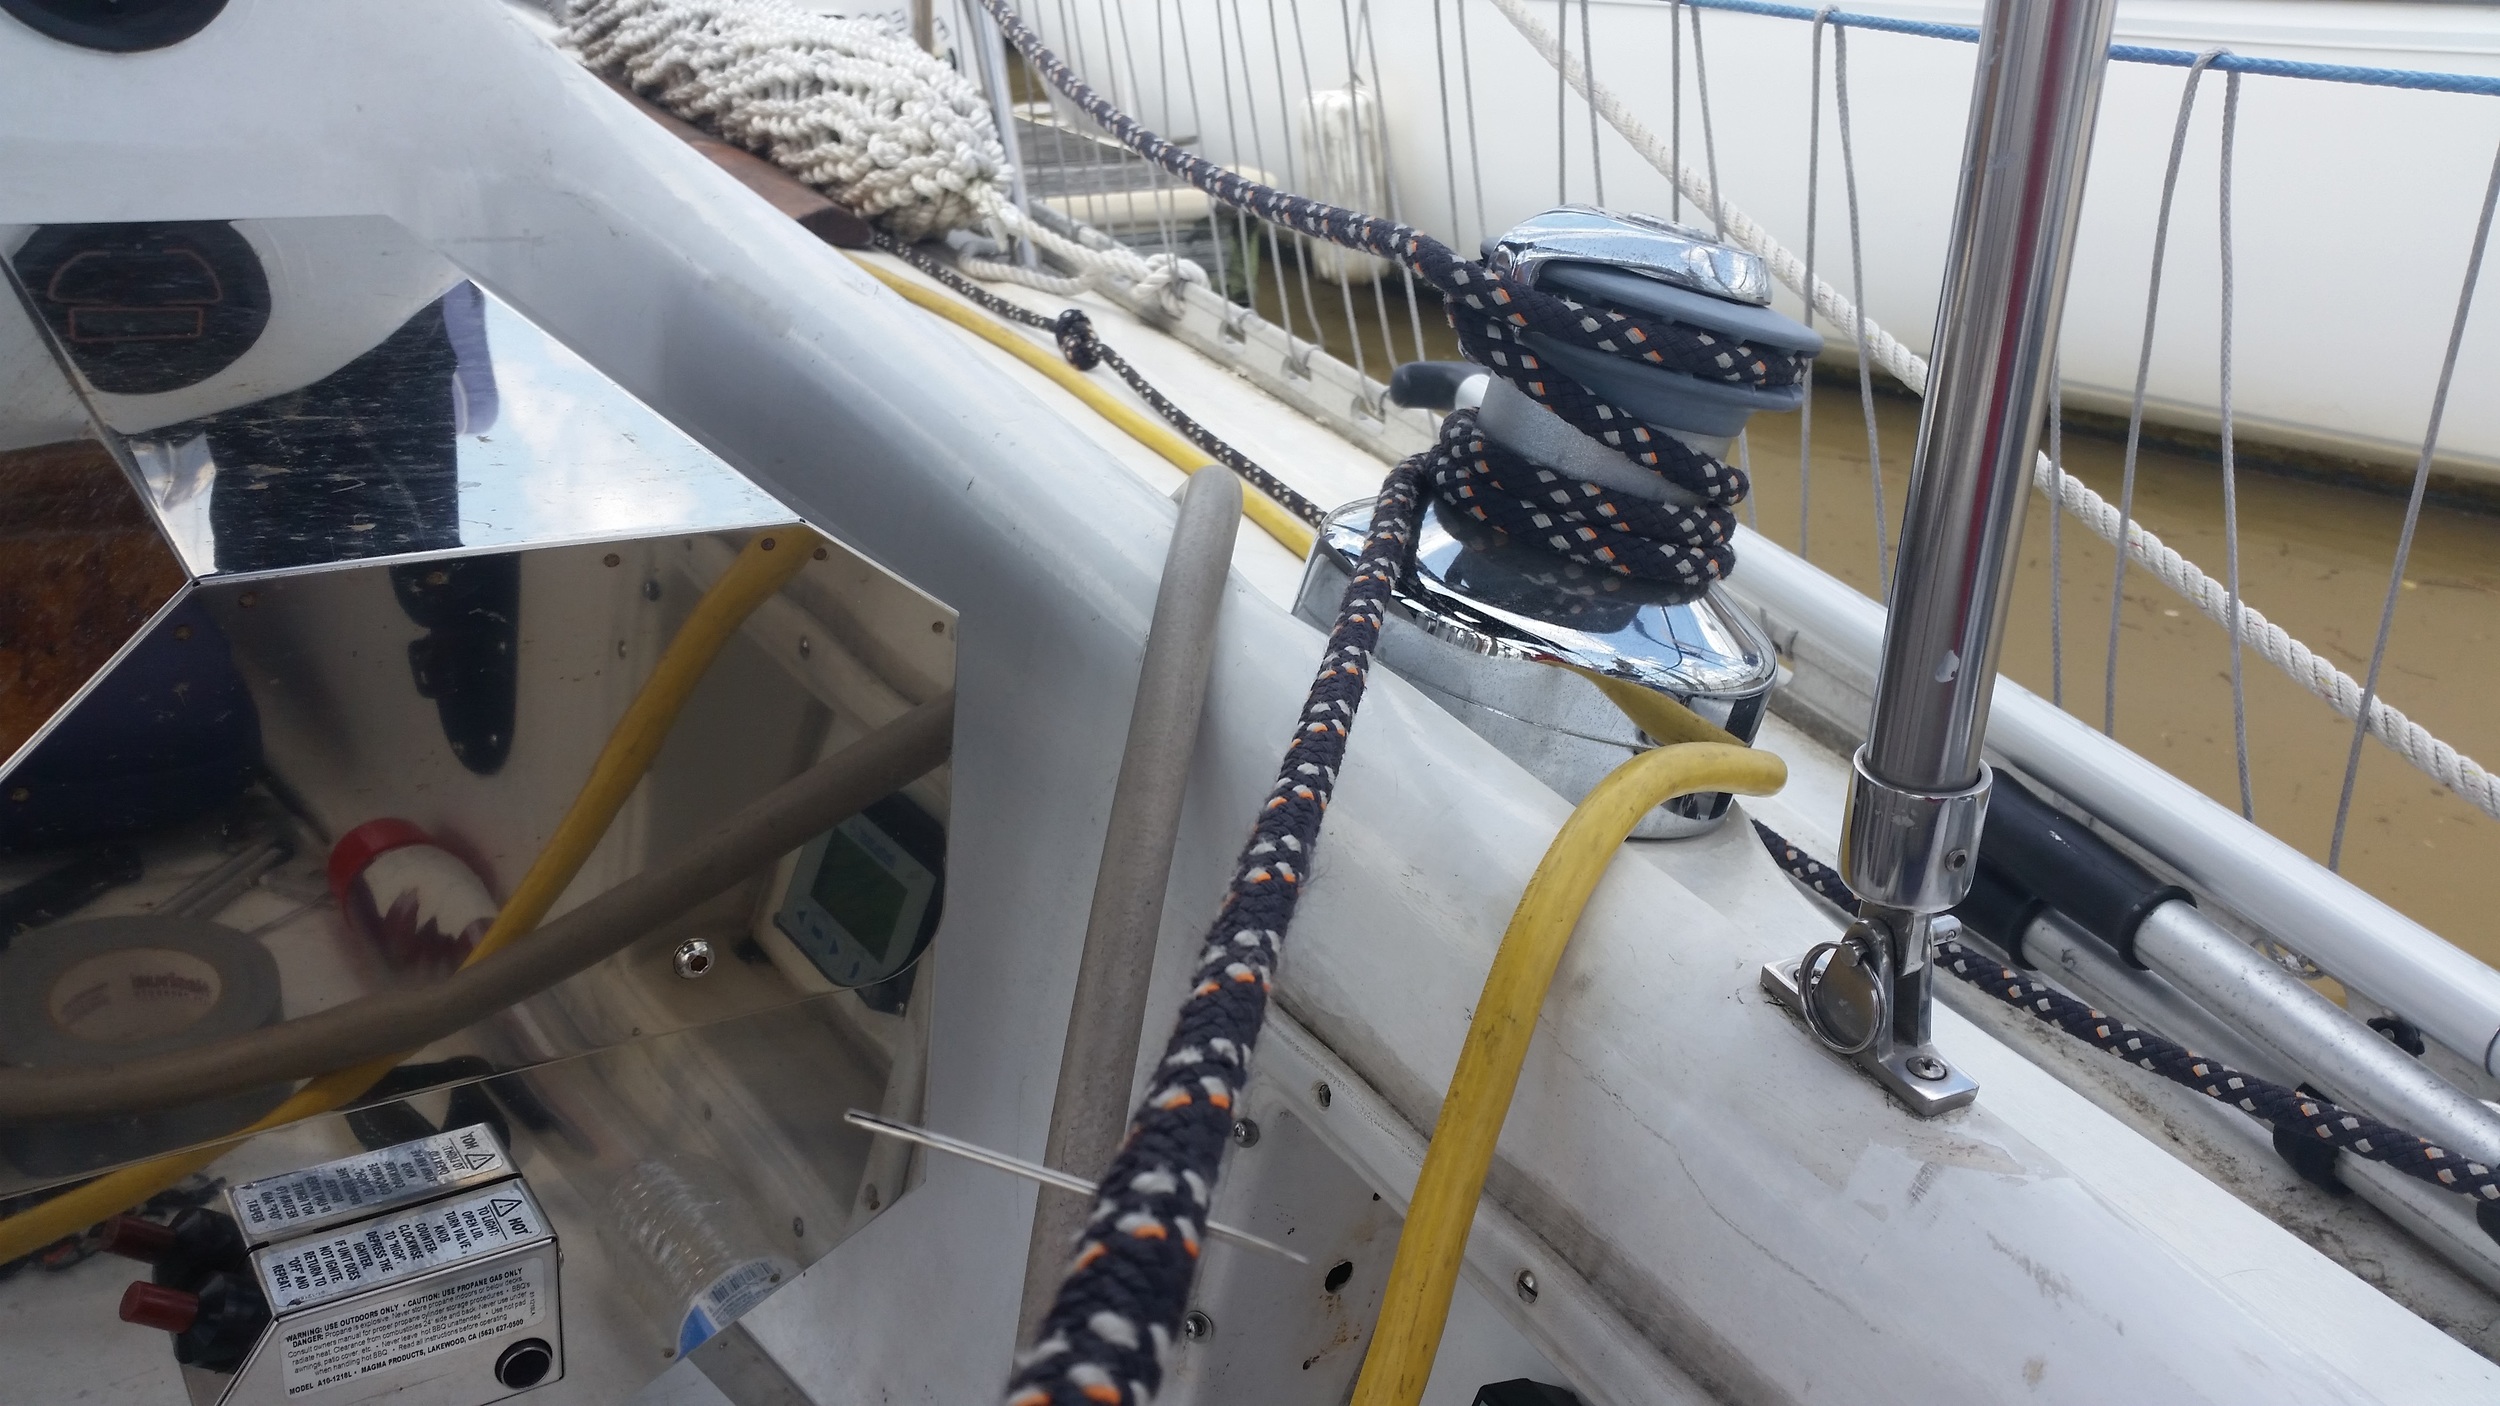
With bowlines, we can easily untie the sheets from the clew and store the sails that are not in use in a locker. The sheets can be left tied to the lifelines forward of the shrouds and ready to attach to the clew of the sail we want to raise. This also helps make it easier to reef the jib, as we just need to lower the sail, tie the sheets to the new clew, and re-hoist the sail.

The sheets are out of the way attached to the lifelines with the excess coiled up on the lifelines by the cockpit.

Double Braid Backsplice

Back splices work exceptionally well at preventing the end of a rope from unraveling. It secures the end of the rope into itself and makes sure that none of the strands can work their way loose and fray. A back splice is simply a splice where the end of the line is doubled back on the line itself, tucking its ends back into the line.

An alternative way to finish the end of the line is to whip it, but whipping is not as strong as a back splice. If the end of the line will be subjected to a lot of abuse, whippings can become chafed and break, leaving the tail free and able to unravel. In these situations, a back splice is much more secure and will hold up over the years, even with the frequent abuse.

For this example, I will be putting back splices in the ends of our jib sheets. We will be working with New England Ropes VPC, but the methods are the same with any double braid line.

The first step is to place a pin through the cover and core several feet back into the line. This will prevent the core from sliding too far out of the cover and will make your life easier later on in the process.

Next, open the threads of the cover to expose the core further back and pull the core out of the cover.

Pass a fid through the core in the opposite direction of the line. The fid should enter the core a few inches back from the end of the line and exit just before the core re-enters the cover.

Feed the end of the cover back through the core. This will create a loop where the cover turns back on the core and runs in the opposite direction to the rest of the line.

Pull the cover through the core and well out the other side, allowing the core to bunch up over the cover. Then taper the cover by selectively cutting the threads. VPC is covered in groups of four threads that are woven together. By selecting and removing three of the four threads of each grouping, the cover can be neatly reduced in a systematic and organized manner. This allows you to reduce the bulk of the cover and produce a consistent taper that will still maintain itself neatly woven.

With the cover tapered, milk it back into the core. As you work it back into the core, the cover will disappear into the core and the transition from cover entering the core to pure core should be seamless.

Cover follows the blue arrows. Core follows the orange arrows. They move in opposite directions forming a loop with one another.

Cover follows the blue arrows. Core follows the orange arrows. They move in opposite directions forming a loop with one another.

The core splits out of the cover and goes to the left, doubling back and exiting to the right. The cover splits off the core and goes to the right entering the core as it passes by. The core and cover are going in opposite directions and form a loop with a tail. The tail should be longer than the amount of cover buried in the core, otherwise the back splice won't work out in the end.

The excess core is removed, leaving what looks like an eye splice. The cover will be very loose over the core leading all the way back up to the pin that is holding the two in a static position relative to each other.

Secure the line to a strong anchor. I use one of the secondary winches in the cockpit, winding the line around the drum so that I can pull against it with a great amount of force to milk the cover over the core and complete the back splice.

Pulling hard on the cover and milking the cover over the core will allow the core to slip back into the line. The cover that is now inside the line will be pulled by the core back into the line, making the end of the rope double back on itself.

Whipping the end will ensure that nothing works itself loose. It was stated earlier that back splicing is better than whipping, yet back splicing uses whipping! The whipping in a back splice is not as critical to hold the line together. If the whipping chafed away and fell out, the splice would still hold and keep the end of the line together until a new whipping could be installed. A line that was only whipped would begin to unravel as soon as the whipping had come out.

Topping Lift

To most people the Topping Lift is the rope on the side of the mast that hasn't been touched the entire time they have owned the boat and is currently covered over with algae growth! That mossy green line actually serves many purposes and should be adjusted frequently.

The main purpose of the Topping Lift is to hold the boom up when the sail is not raised. Most people set this line once when the boat is new and never adjust it again. This is why the topping lift is often forgotten for the life of the boat, allowing the line to rot away on the cleat. 

The problem with "setting and forgetting" the topping lift is as the sail is raised, the topping lift will become slack and begin to bow out. The topping lift can even wrap around the backstay which can sometimes foul on a backstay adjuster. When the sail is raised, the topping lift should be adjusted to take out any slack in it while taking care to not over-tighten it.

When the mainsail is reefed, the boom will rise to meet the new clew, this will also induce a lot of slack into the topping lift. Once again, it should be adjusted, taking out the slack line.

Lastly, the topping lift can be used to delay reefing by tensioning it a bit to raise the boom. This will induce a twist into the sail, causing the top of the sail to spill air and reduce its efficiency. Releasing the mainsheet will also induce a twist in the main, spilling air, but only when the boom is eased out. Using the topping lift to induce a twist will allow you to spill air while close hauled with the main sheeted in tight.

One last reason the topping lift shouldn't be ignored is this line can serve as a spare halyard for the main. The topping lift doesn't really undergo much stress, and could be rigged with a very small and weak line. If something were to happen to the main halyard, it would be awfully nice to simply hook the topping lift to the head of the mainsail and raise the sail up to continue sailing onward. For this reason, the topping lift should be greatly oversized and made to the same specifications of the main halyard.

Next time you look at your rigging, dust off the topping lift and inspect it with the same scrutiny that you give your other halyards. 

Trysail Setup

The trysail is a very small sail set in place of the main for storm conditions. It is considered one of the two sails that are never used on a sailboat, the other being the spinnaker. This is probably because people like to turn into powerboats during a storm by dropping all the sails and cranking up the engine.

The problem with this is the extreme motion of the boat during a storm is sediment in the fuel tank can become suspended in the fuel and clog the fuel filter. This is why you always hear of sailors complaining that their engine died at the worst time possible during a storm. If you were relying on your engine, then now you are adrift! Laying a hull under bare poles has been proven a horrible storm tactic, leading the boat to lay beam to the seas and usually capsizing or rolling over completely. When your engine dies in the peak of the storm is not the ideal time to raise your trysail, but at that point, you might be willing to "try" anything, even that "sail".

Being how we don't have the luxury of motoring during a storm (our electric motor doesn't have enough charge to power us through a long storm), we rely on our sails and have actually used the trysail a few times! As soon as we see a severe storm on the horizon heading our way, we rig our trysail. This lets us get everything ready and rigged in calm weather so we are ready for the storm as soon as it hits. 

The trysail runs up its own mast track next to the mains track. This allows the trysail to be raised without removing the mainsail. 

The sheets of the trysail are run to a turning block aft, and then forward to a large sheet winch. A simple bowline tied to the clew will hold very well during the harshest of blows. 

It is important to make sure the lazy sheet is run over the boom and not under it. When it is led over the boom, the sail is able to switch to the other side without issue. If the sheet is led under the boom, the boom will interfere with the sails ability to be on the opposite tack.

The trysail has fallen out of favor by most sailors who state that they could more easily tuck in a third or fourth reef into their mainsail than to rig up a trysail. This is a true statement, trysails take some time to rig in fair weather (before the storm) and could be nearly impossible to rig during a strong blow! 

Trysails do have their place though, as they are made out of much heavier sail cloth and are purpose built to weather out a storm. This means that your mainsail is not subjected to all the wear and tear of a storm. If your deeply reefed main were to tear or rip during the storm, you would have no mainsail once the storm has passed. If you tear or rip your trysail during a storm, your main is still untouched and ready to hoist once conditions improve!

The other advantage of a trysail in a heavy blow is it takes the boom out of the equation. Jibing the main can be an eventful occurrence in heavy wind. The boat will heel over greatly and the boom will slam to the other side as it falls past the midship point! Accidental jibes due to wind shifts or purely accident are risky and dangerous during high wind situations. The trysail takes the boom out of the equation and lets you jibe it as easily as you jibe your jib! Simply turn the boat, loosen the windward sheet and tension the leeward sheet; it takes all the fear and noise out of storm sailing. 

On a final note, the storm trysail has less going on than a reefed main, which translated into less to break during the storm. The sheet is tied to the clew, run to a turning block and set on a strong winch. Any snags or problems are easy to identify and straightforward to correct. 


Barber Hauler Setup

The process of setting up a barber haul is very simple, all you need is a snatch block!

On a beam to broad reach, the headsail is eased, causing it to twist and loose efficiency. 

The first step is to ease the headsail until there is slack in the line but not so much that the sail begins to flog. This will reduce the tension on the sheet, allowing you to place it into the snapshackle by hand. Then sheet the sail back in and trim to the apparent wind.

Now the headsail is able to hold a better sail shape, resulting in higher efficiency and more speed through the water. 

With the better sail shape, you can reach your downwind mark in less time and more comfort!