Running Rigging

Reefing Tack Line

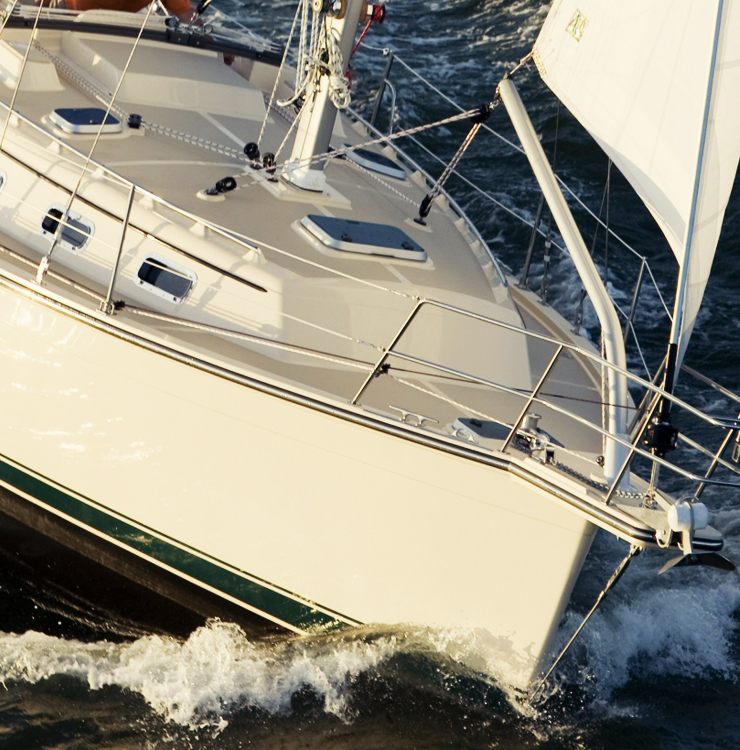
​Most mainsail reefing involves a tack hook and clew line to secure the reefed foot of the sail. Reef hooks are very secure and strong and offer little risk of allowing the sail to slip off.

The way they work is you slip the tack cringle over the hook and then haul in on the halyard to secure it. This works well on small light sails, but heavy sail cloth and/or high winds can make it nearly impossible to reach the hook. For this reason, tack straps have become a wonderful solution, aiding the sailor in securing the tack. A webbing strap with a ring hangs down and can easily be hooked onto the rams horn. Once secured, the halyard is hauled in and the sail is raised. This secures the tack in its reefed position.

While tack hooks are a standard, they do have a significant problem: they are hooks!

A flaked mainsail can easily lie under the tack hook, and if raised quickly, it can be pierced by the hook. This will create a puncture in the luff if you stop instantly, or a large tear if you raise the sail before you realize what is going on.

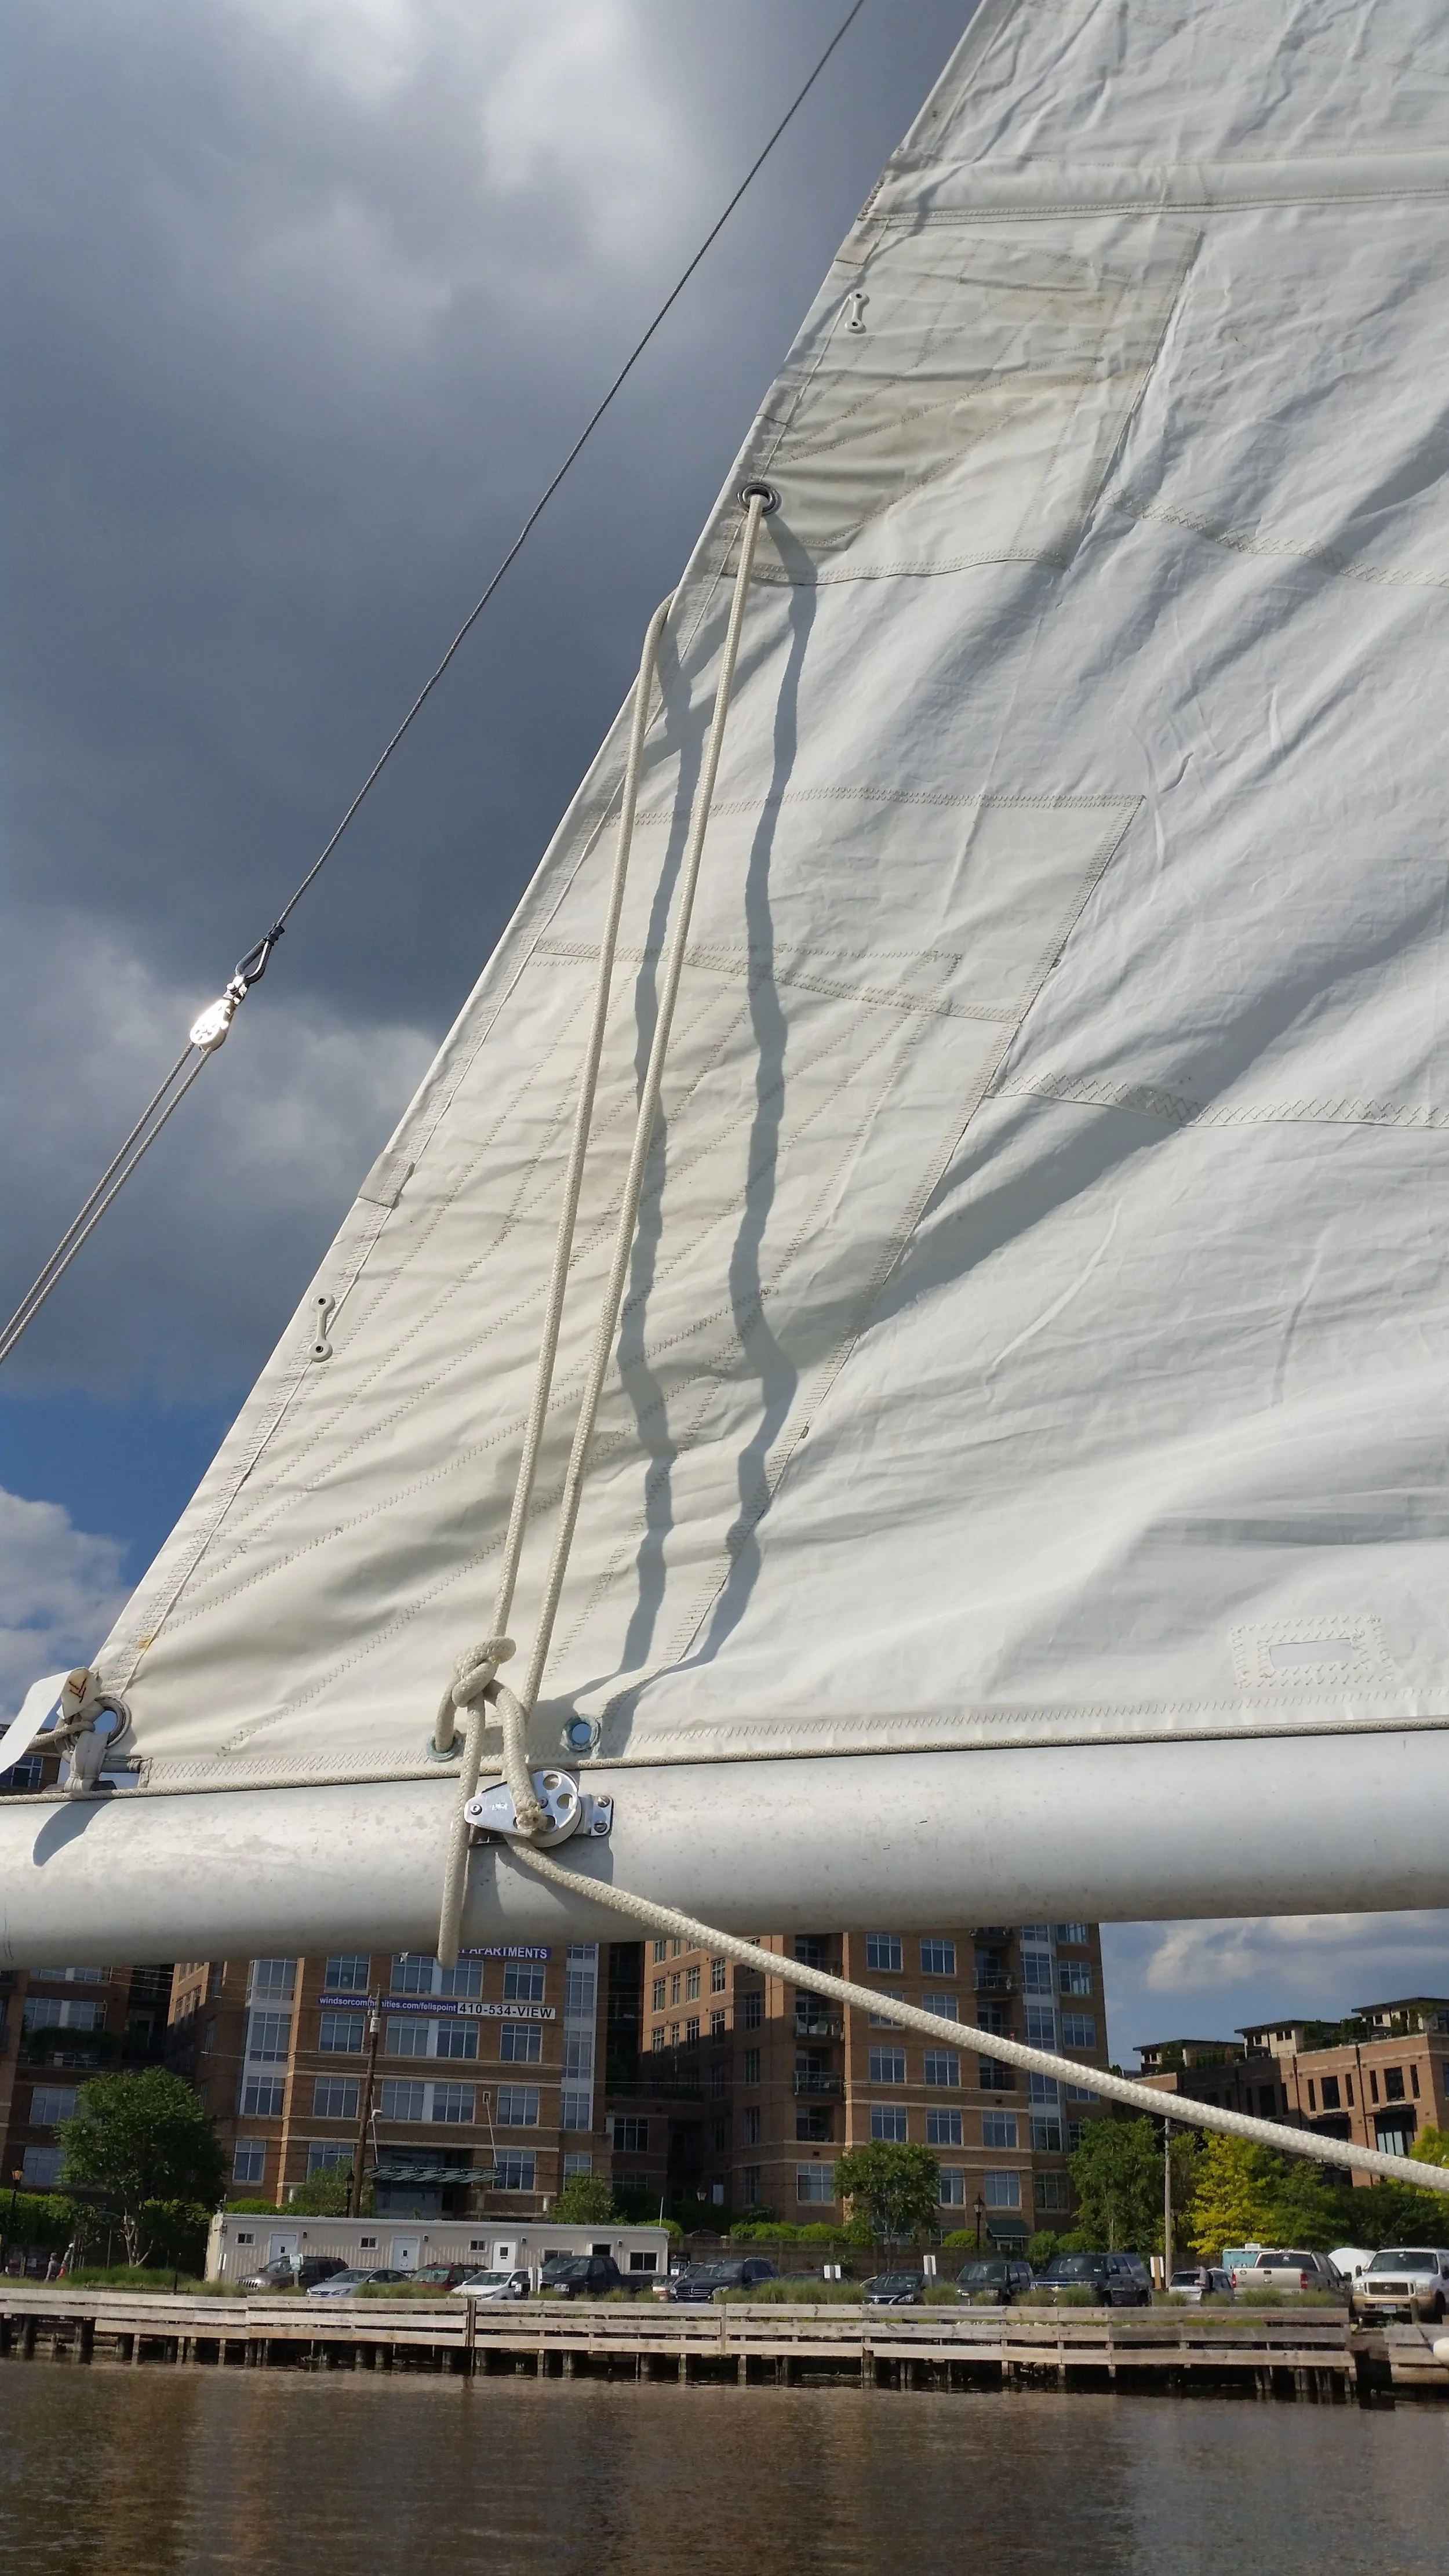
I personally pierced my old sail three times on my old tack hook. The last thing I wanted in my new laminate mainsail were luff punctures, so the hook had to go! This led to my current and very sail friendly tack setup, a tack line.

upload.jpg

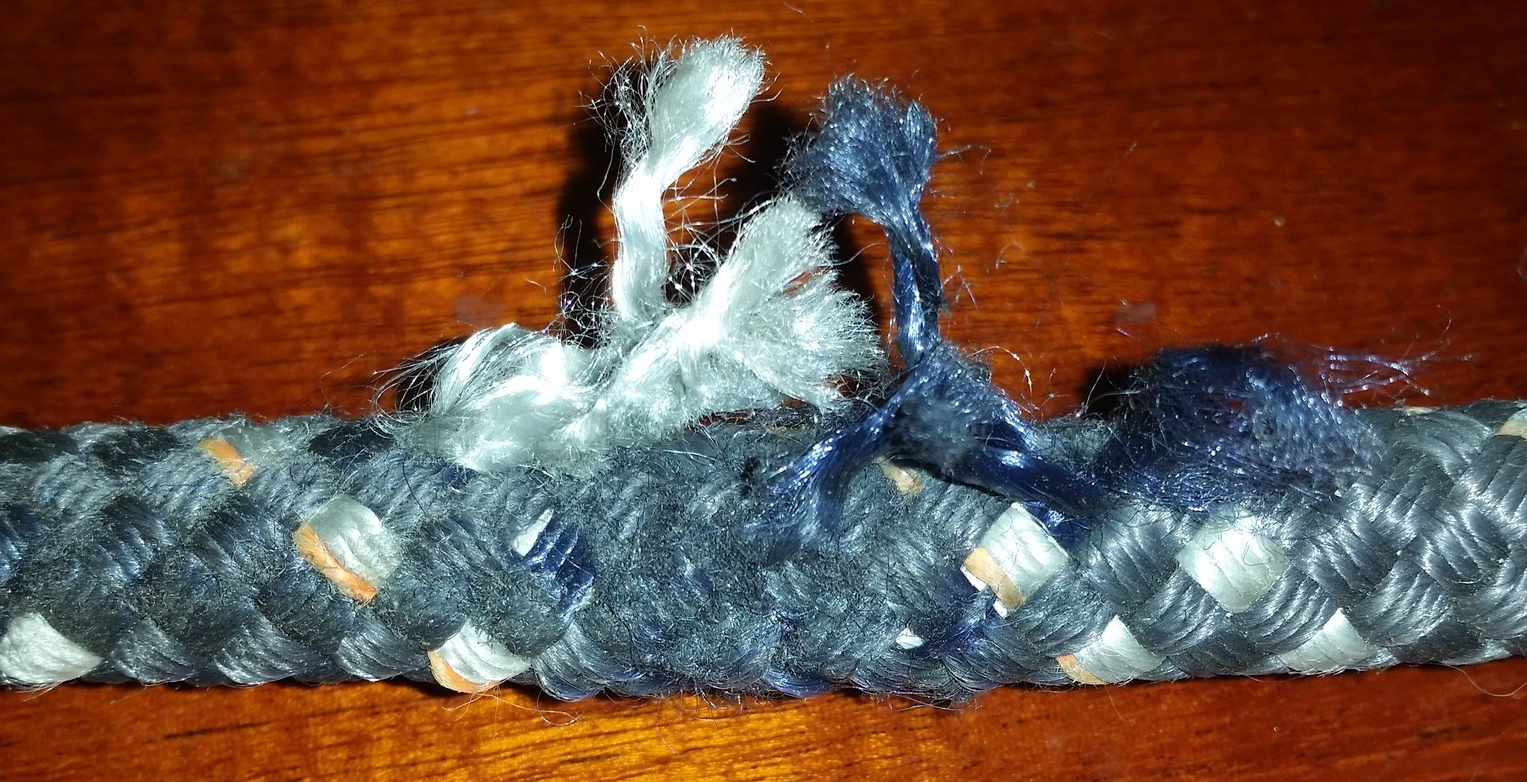
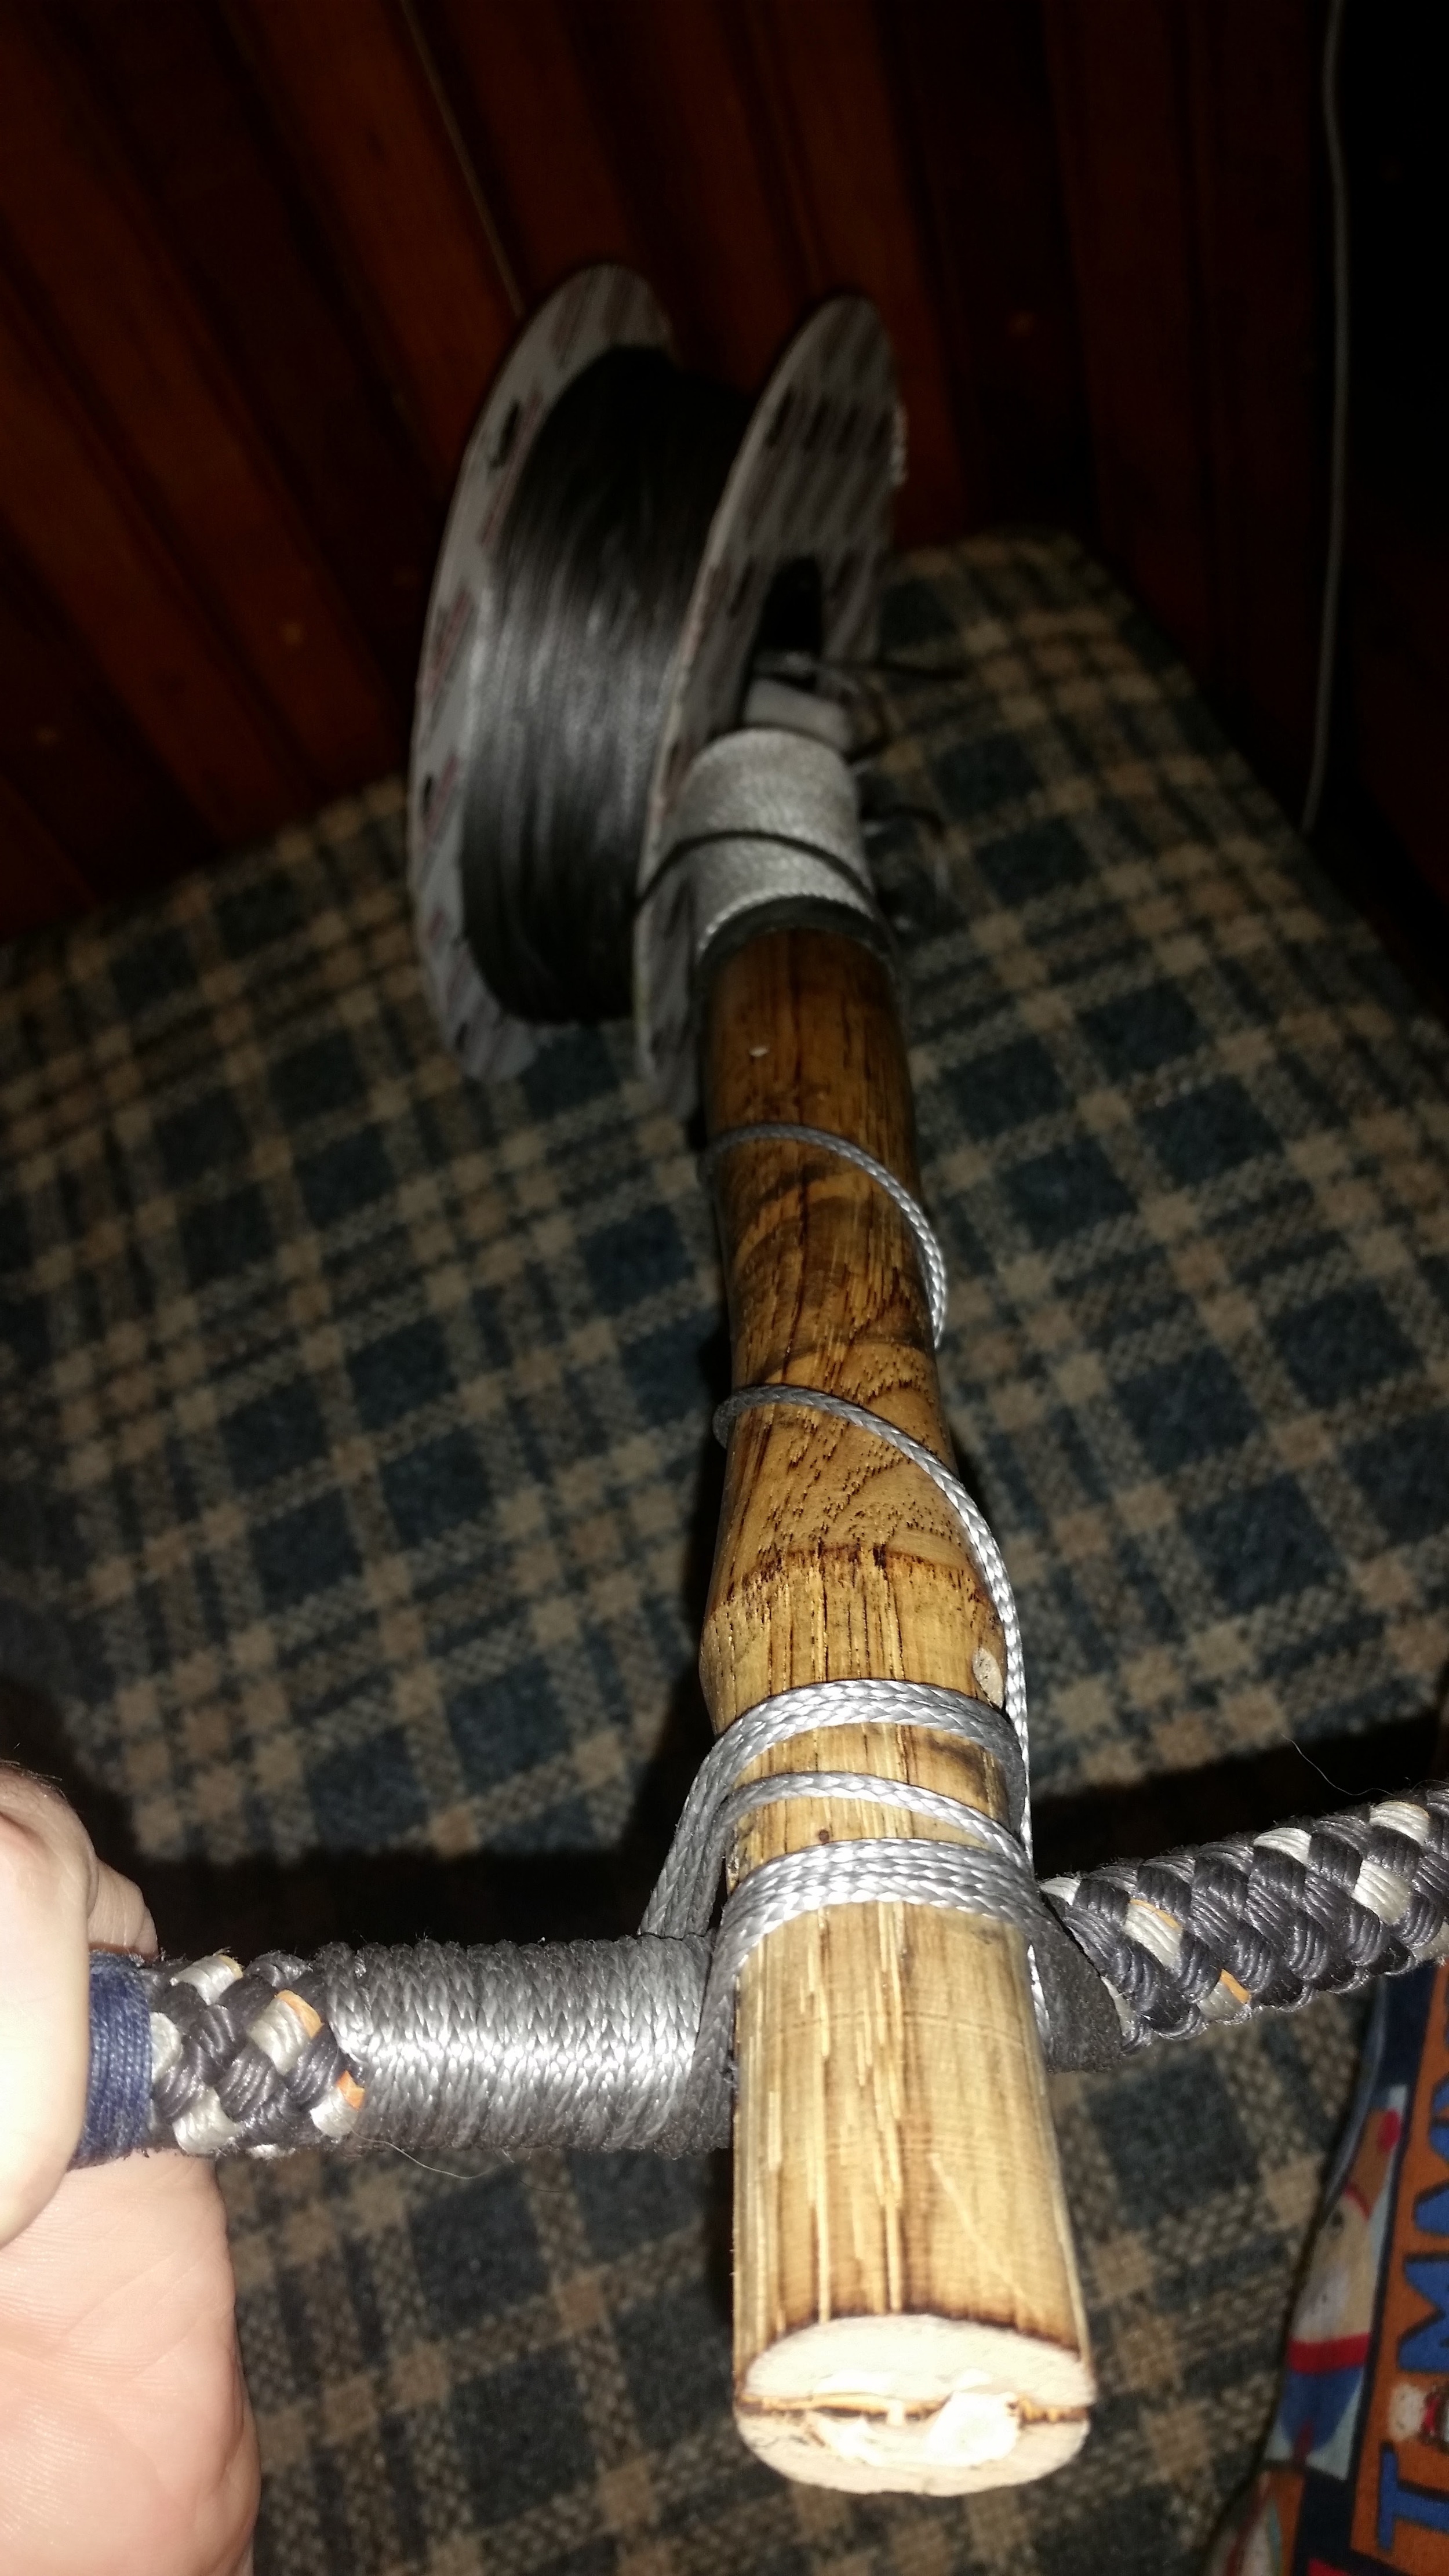
I used a length of dyneema (regular, not heat set SK75) for my tack line, and another length tied to the reefing tack points on the sail. The length of dyneema is tied to the goose neck on a strong attachment point with a bowline ready to connect to the sail.

On the sail, I tied a very fancy series of knots to the reefing tack points. The first set of knots is an interlocking double fishermans knot. This keeps loops from coming apart when the tack is loaded. The tails are then further knotted into the loops to ensure that these knots will never come undone!

I did not make grommets for these locations because grommets bulk up the loop considerably and I was concerned that they would be overly stressed passing through the tack ring and decided to simply tie a strong knot and keep the bulk of line passing through the ring reduced.

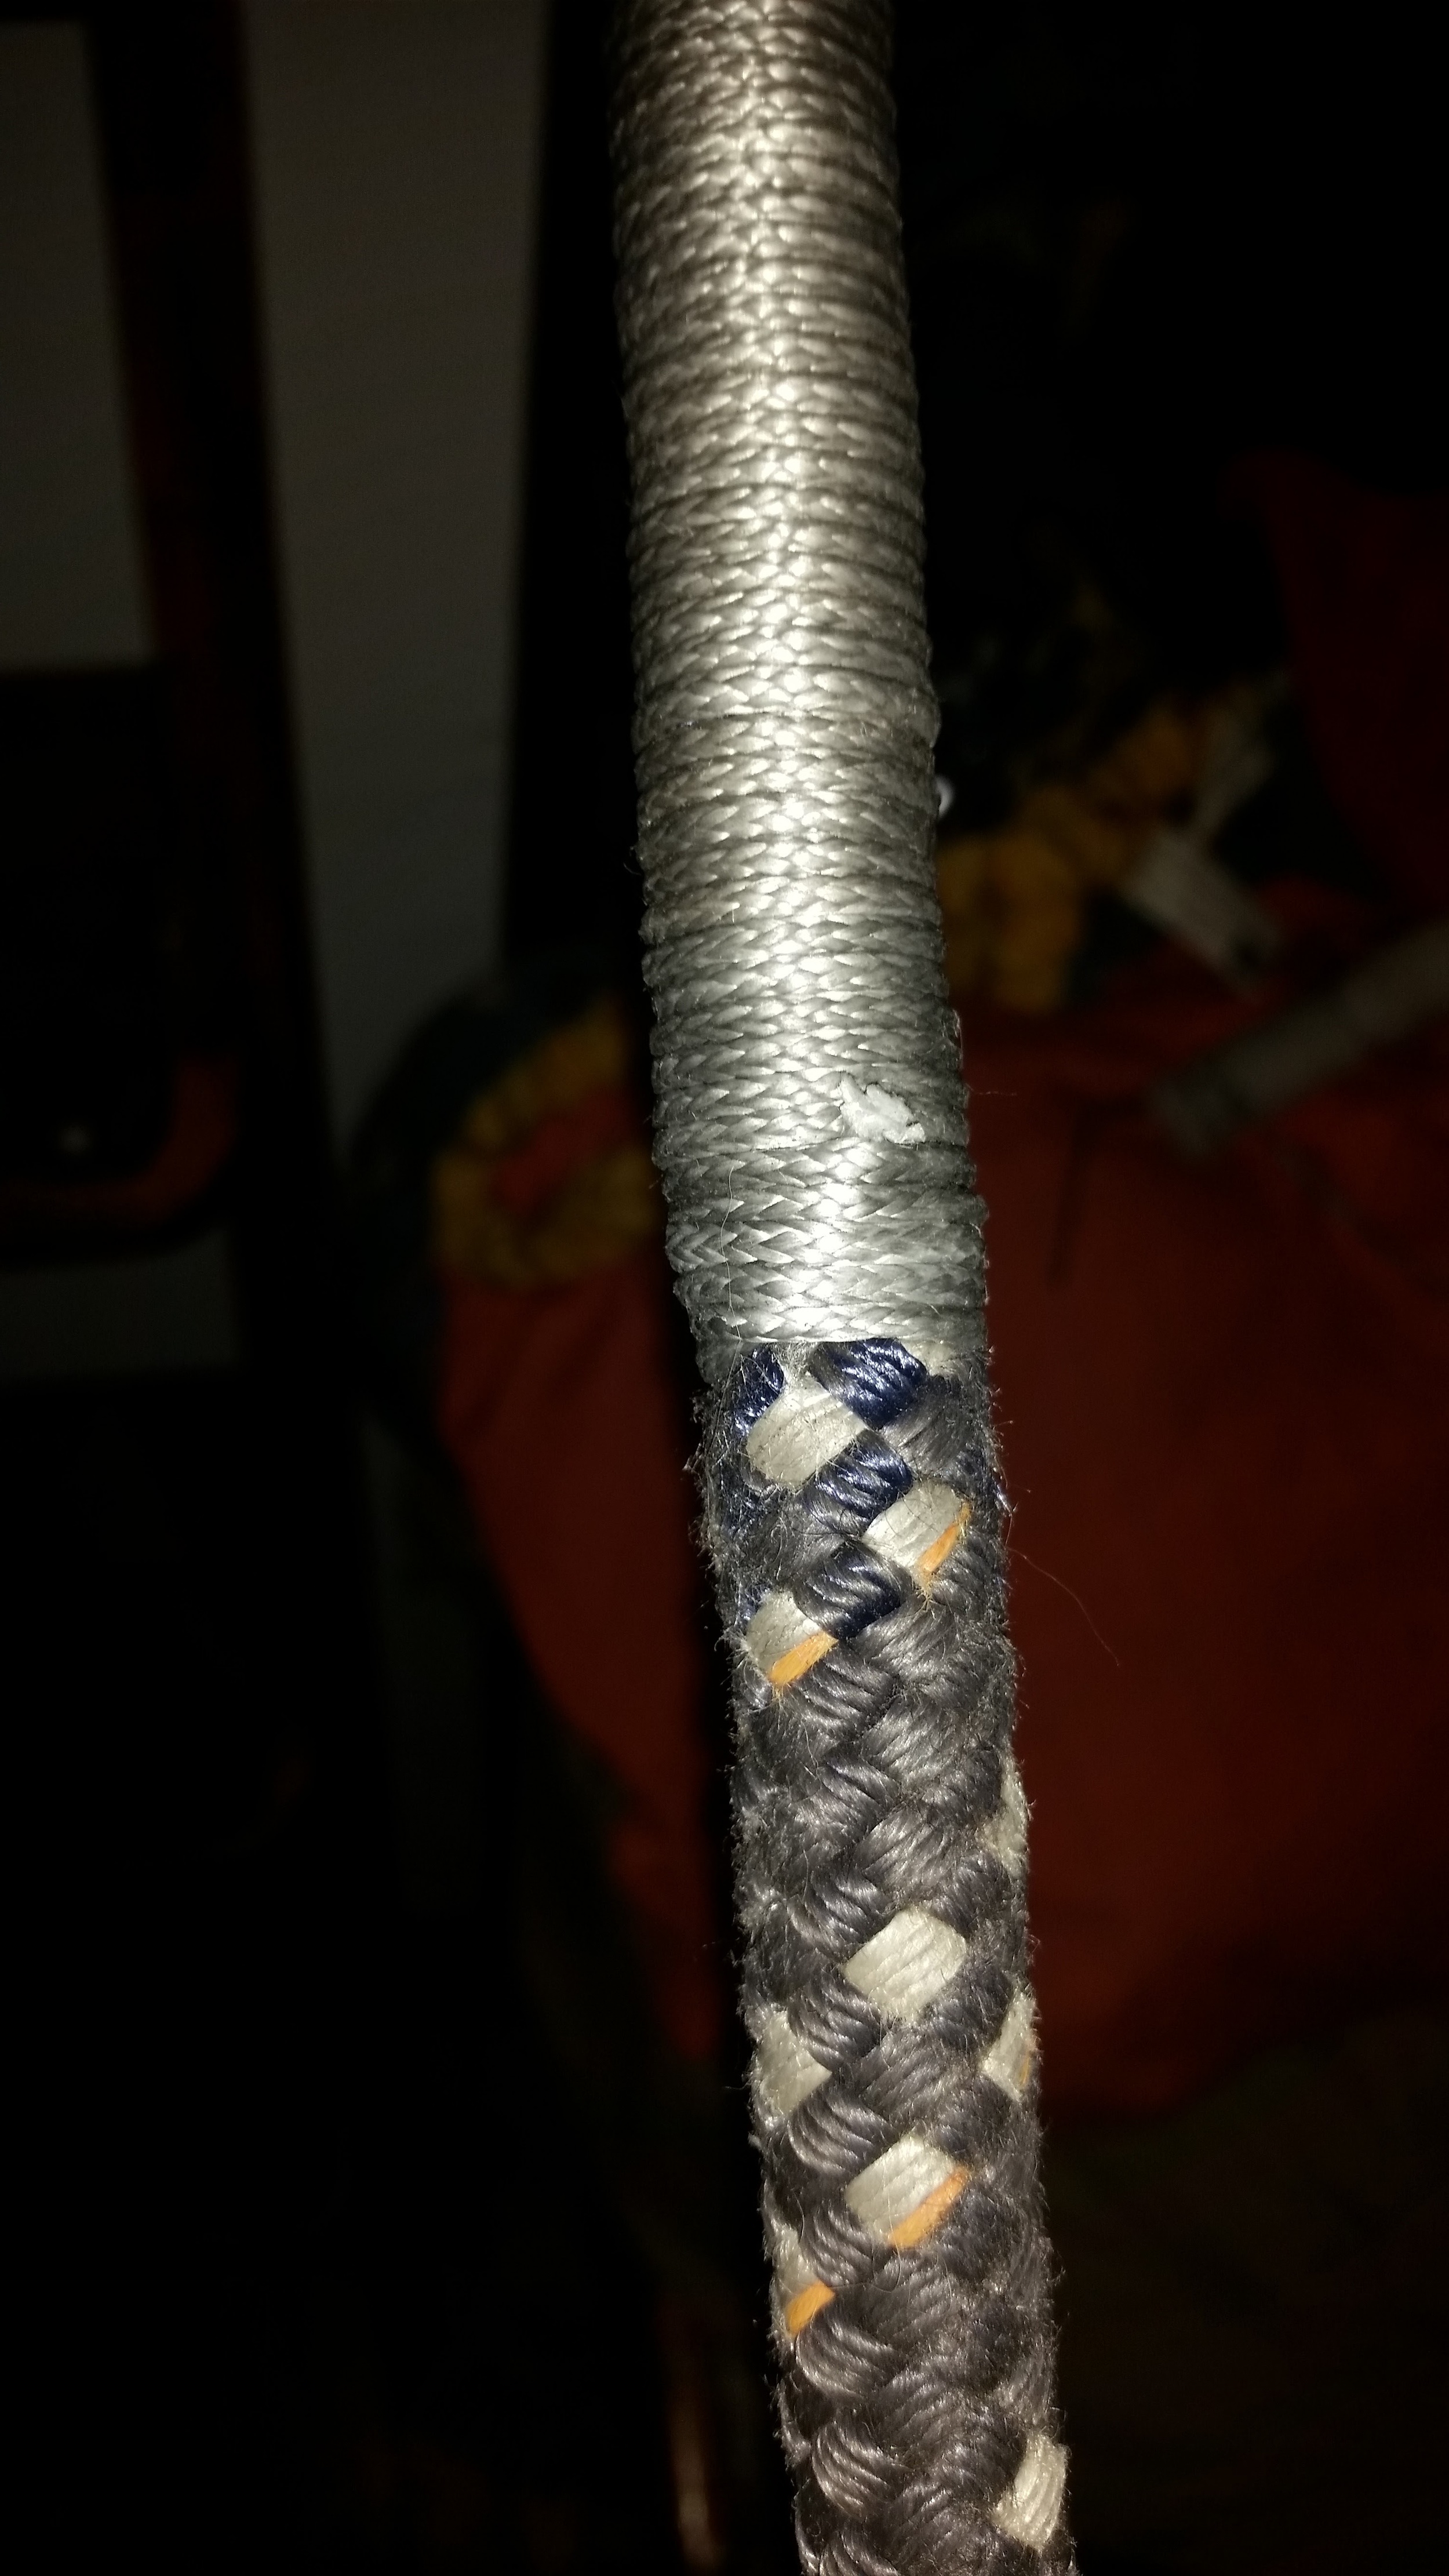
I tie the tack line tail to the loop via a sheet bend with a slip. If you do not include a slip, you will be hard pressed to untie the bend knot after a stormy sail. The slip gives you the ability to pull the knot apart if you are unable to untie it in a timely manner.

The sheet bend has a tendency to slip out, which is why considerable care should be taken to make sure that it becomes fully tightened as the sail is raised. If you see the knot slipping, simply tighten it a bit more and continue raising the sail. It will become incredibly tight as the winch pulls the sail into position and will not come untied under any situation!

Shaking the reef out literally becomes a matter of shaking the knot out, and raising the sail all the way.

This method makes reefing hardware very safe for your sails and provides a very secure method to attach your reefed tack point.

Barber Hauler

When sailing downwind, you will ease your headsail sheets to let them catch more wind. The sail will tend to twist when eased too far, losing efficiency and costing you speed through the water. This is where the Barber Hauler comes into play, controling twist while keeping the headsail eased.

Barber haulers are simply sheet leads that are set closer to the beam of the hull than your regular jib sheet tracks. This allows you to sheet the sail to the toe rail rather than far inboard.

If you are sailing downwind in light to moderate airs, attaching a snatch block to the toe rail close to where the clew of the sail is will do wonders. This gives the sail a strong downward pull which will eliminate twist from the sail while putting less tension on the foot of the sail. The end result is a very full sail with minimal twist that will fill with air and send you rocketing downwind.

The reason snatch blocks are ideal for this set up is they can easily be removed from the sheet should you change to an upwind course. Removing the barber hauler is as simple as opening the snatch block and removing the sheet. If winds are very light, this can be done with the sheet under load (as long as you can safely hold the sheet under tension). If the winds are stronger, it is idea to jibe onto the opposite tack and remove the barber hauler now that the sheet has become the lazy sheet.

Next time you are sailing downwind, consider using a barber hauler to control headsail twist and enjoy the added speed through the water while on your run.

Halyard Service

Our main halyard takes a lot of abuse! Since we sail everywhere, it lives its life with the mainsail raised all the way to the sheave.

The sheave rubs on the halyard covering in one of three locations:

  1. Next to the shackle (full sail)
  2. Midway on the halyard (1st reef)
  3. Further on the halyard (2nd reef)

I don't spend that much time in the first or second reef, so most of the wear occurs near the shackle. Over the past 2 years, the polyester fibers have chafed and parted where they rest on the edges of the sheave. My choices are: 

  1. Let it continue to chafe until the halyard breaks and I have the pleasure of running a new halyard inside the mast.
  2. Replace the whole halyard
  3. Cut off the worn section and re-splice the end
  4. Repair the cover
  5. Service the cover

Obviously, I am opposed to ignoring the chafe, so option 1 is lunacy to me.

Replacing the whole halyard is a pricey endeavor, being nearly 180 feet in length, a new halyard would cost around $380! That's a lot of money for a single halyard that is only 2 years old and a little worn in one spot.

Cutting off the worn section and re-splicing the shackle onto the end is a valid alternative, but over time, I will end up with a short halyard. A splice consumes a lot of rope and I like having this length of halyard so that the line can reach into the water for emergency recovery. This would work in a pinch, but not over the long term.

Repairing the cover is a valid option, this would fix the chafed cover and continue to protect the core. The problem with repairing the cover is that this area of halyard is exposed to a lot of chafe and it will wear out again in roughly the same amount of time.

The last option is to service the halyard in a very strong cordage which will repair the chafed area and protect it from further chafe in the future. When the service becomes severely chafed, I can easily remove it and re-service the area with no adverse effects to the underlying core. Best of all, serviced line is very resistant to chafe, making this repair even stronger than it originally was.

The first step is to asses the extent of the chafe. If the chafe is only affecting the cover, repairing is acceptable; if the chafe is affecting the core, consider replacing that section of line (cut off and re-splice). 

My chafe occurred where the sides of the cover rubbed on the sides of the sheave and where the halyard exits the mast. 

The parted strands in the cover are pulled away from the affected area and cut off further back. This reduces the risk of further chafe from these ends on the core. The core is visible through some gaps in the cover.

For service, I chose to use 2.7mm dyneema applied directly over the remaining cover and core. Service was started by hand until enough was in place to start using the serving mallet.

The ends of service are the weakest portions of the covering, so it is a good idea to place the beginning far away from the location of chafe. This way, the stronger service applied with the serving mallet is in the harshest location of wear and chafe. 

Once the service has been started, I lash the shackle to a strong point that will not rotate and continue to apply service from there.

The service applied with the serving mallet is much stronger, harder, and more uniform than the service applied by hand. After several turns of the serving mallet, the halyard will be covered and protected. 

To finish the service, you need to bury the tail in the service. I service the line to the very end and then unwind the last 5 wraps and re-wrap them around my finger over the line. 

I pass the tail through the space between my finger and the halyard and pull the end tight using a marlin spike hitch. The end is then cut off where it exits the service and the tail edge is fuzzed to avoid chafing anything else.

Now the halyard can be set back up with new protection against chafe!

Living aboard made this project much easier. I was able to feed the halyard through the salon hatch and secure it to the companionway grab rail. When I was finished, I simply pulled the halyard back out through the hatch and re-attached it to the mainsail. If I had to take the halyard off, I would have needed to run a messenger line up to hold the place of the halyard and then replace the halyard after the service was completed. This is not incredibly difficult to do (it's how I replace halyards all the time) but it does add an extra step to the project which was avoidable by having a long halyard and living aboard!

Reef Clew Line, a closer look

An alternate method to rig the reef clew line discusses leading the reef clew line over the leech of the sail and back onto the same side. This will ensure that the sail is pushed out like a window blind during reefing rather than getting bunched up under the clew line.

You can see how the clew line is led through the sail and up to the clew reef cringle, back over the leech and through the reef block on the boom. This will ensure that the sail is kicked to port as the sail is reefed and the vertical sections of reef line will shield the sail cloth from getting pinched in the reefing system.

The downside to protecting the sail in this manner is the leech will suffer from chafe as the clew line will constantly rub this area. This is easily maintained with a chafe patch (a sacrificial piece of sailcloth placed in an area of wear that can easily be replaced while protecting the underlying sail).

Self tacking Staysail

Staysails are the smaller jib on a cutter. They are mounted to the inner forestay, which is the stay inboard of the headstay and attaches only partway up the mast. When tacking a cutter, you have the jib and staysail to sheet on each tack. This can become quite a chore when short tacking through narrow waterways.

To reduce the number of sheets that need to be adjusted, I have made the staysail self tacking. This lets me short tack up a narrow waterway, while only having to adjust the sheets of the jib (if I'm flying it). If it is a very narrow waterway, I will lower the jib and fly just the main and staysail, allowing me to short tack without having to adjust a single sheet. This lets me direct all of my focus to avoiding obstacles and other boat traffic while working to windward.

The reduced sail area does lower my speed, which is a good idea when sailing in crowded and cramped waters. If we were to collide with an obstacle, our slower speed will give us more time to react while lessening the damage of the collision. 

Self tacking staysails are nothing new, but most require very complicated systems and hardware to work properly. There are a few requirements that must be met for a headsail to self tack:

The sail can not overlap the mast
The sheets must be free and clear of any deck hardware
The sail needs a clew block to allow for trimming twist from the sail (optional but very helpful)

If the sail overlaps the mast, any self tacking hardware would hit the mast on each tack. It simply would not work.

The sheets need to be free and clear of any deck hardware to avoid them getting hung up on said hardware. Also, laying on hardware can cause stress points that will lead to chafe on the line.

Source: http://ipy.com/wp-content/themes/ipy/yacht-gallery/estero/estero-overview.jpg

Source: http://ipy.com/wp-content/themes/ipy/yacht-gallery/estero/estero-overview.jpg

Some common self tacking systems include the Hoyt Boom which is used on Island Packets to make their staysail self tacking.

Source: http://www.harken.com/uploadedImages/Tech_Corner/Systems/jib2.gif?n=4850

Source: http://www.harken.com/uploadedImages/Tech_Corner/Systems/jib2.gif?n=4850

Booms are wonderful for sail control, which is why your mainsail has a boom under it. The problem with booms on the foredeck is they hurt when they smash into your shins! If your headsail is flogging around, so will the boom under it! The alternative is to negate the boom and instead mount a traveler on the foredeck ahead of the mast. 

All these extra parts, in the form of booms or traveler tracks cost a fair amount to have made and installed on your yacht. There must be an easier way?

There is! Simply installing a block on the clew will convert your staysail into a self tacking staysail. The block runs on a bridle which allows the sail to slip from side to side as you change your tacks. If you get hit by the block while the sail is flogging, it doesn't hurt that bad (as long as you use a light weight block). 

While this self tacking system is inexpensive, it is also less than perfect. The sail will have less than ideal sail shape while sailing to windward and significant twist when sailing off the wind. This is because the sail is sheeted onto a bridle. To help counteract the twist, I attach the block higher up on the clew block. This is effectively the same as moving the sheet blocks forward to apply more tension to the leech. 

The first version of this system involved my old staysail which had a clew cringle and a very heavy block. The bridle was sheeted to the toe rail, fixed at one point with the other end running back to the cockpit. The principle concept was there, but it needed a lot of tweaking to get to its current state.

The theory was: "As the sheet is eased, the bridle will loosen and the clew can rise and fall off the wind towards the leeward side. As the sheet is brought in, the bridle will tighten and the clew will stay more midship. As you tack, the block would slide along the bridle to fall onto the other tack. Sheet control was simply bridle tension, the sail would always fall towards the leeward side." This worked, but the lead angles were so wide that I was never able to point very high with it; I simply was unable to sheet it in all the way.  It was also a tripping hazard when walking forward on the deck. This led to the second version of the system.

The second version involved the new staysail which had a clew bock installed on it. The clew block allows for adjusting the lead angle on the sail instead of moving the lead blocks fore and aft. I also moved the bridle leads inboard to the staysail track. This version worked better to windward and I was able to remove some of the twist by attaching the block further up on the clew board. As you can see, the sail still cups at the clew and doesn't have the best of sail shape. For short tacking, this isn't such a big deal, but when on a long tack, this is lost efficiency.

This led to the third and current version of the self tacking staysail. The self tacking block is left attached to a higher hole on the clew block. On a lower hole, a standard sheet is attached to the staysail, allowing excellent sail trim and shape to be achieved on long tacks. The self tacker is also a very lightweight Carbo Harken block, further reducing the agony from getting hit by the block when the sail is flogging.

Development of the self tacker has finished, because I am pleased with where it has come to. While short tacking into or out of a harbor, I can set the self tacking sheet on the winch and work my way to windward. Once out of the harbor and into larger water ways, I can set the non-self tacking sheet on the winch and work my way towards my destination with perfect sail shape. 

While the self tacker is not perfect, it only cost me a few blocks (three to be exact) to rig and is easy to convert back to a regular sheeting system if I were to require it. This was very important to me since I heave to during storm conditions and a self tacker will not allow the sail to be backed. The simple act of switching the sheet on the winch is all that is required to convert from self tacking to regular sheeting.

I use this on my staysail, but if you have a sloop rig, you can use this on your non-overlapping headsail to convert your regular jib into a self tacking jib for short handed tacks.