Life Aboard

Head Refit: Solebearers Part 1

The new shower floor was going to be lower into the bilge for one major reason: I am tall and could never stand up in the head! Lowering the sole will give me more headroom and allow me to stand up straight in my own shower for the first time in 7 years!

To do this, we need to install solebearers on the bottom of the bilge so that everything can be properly supported.

FullSizeRender.jpg

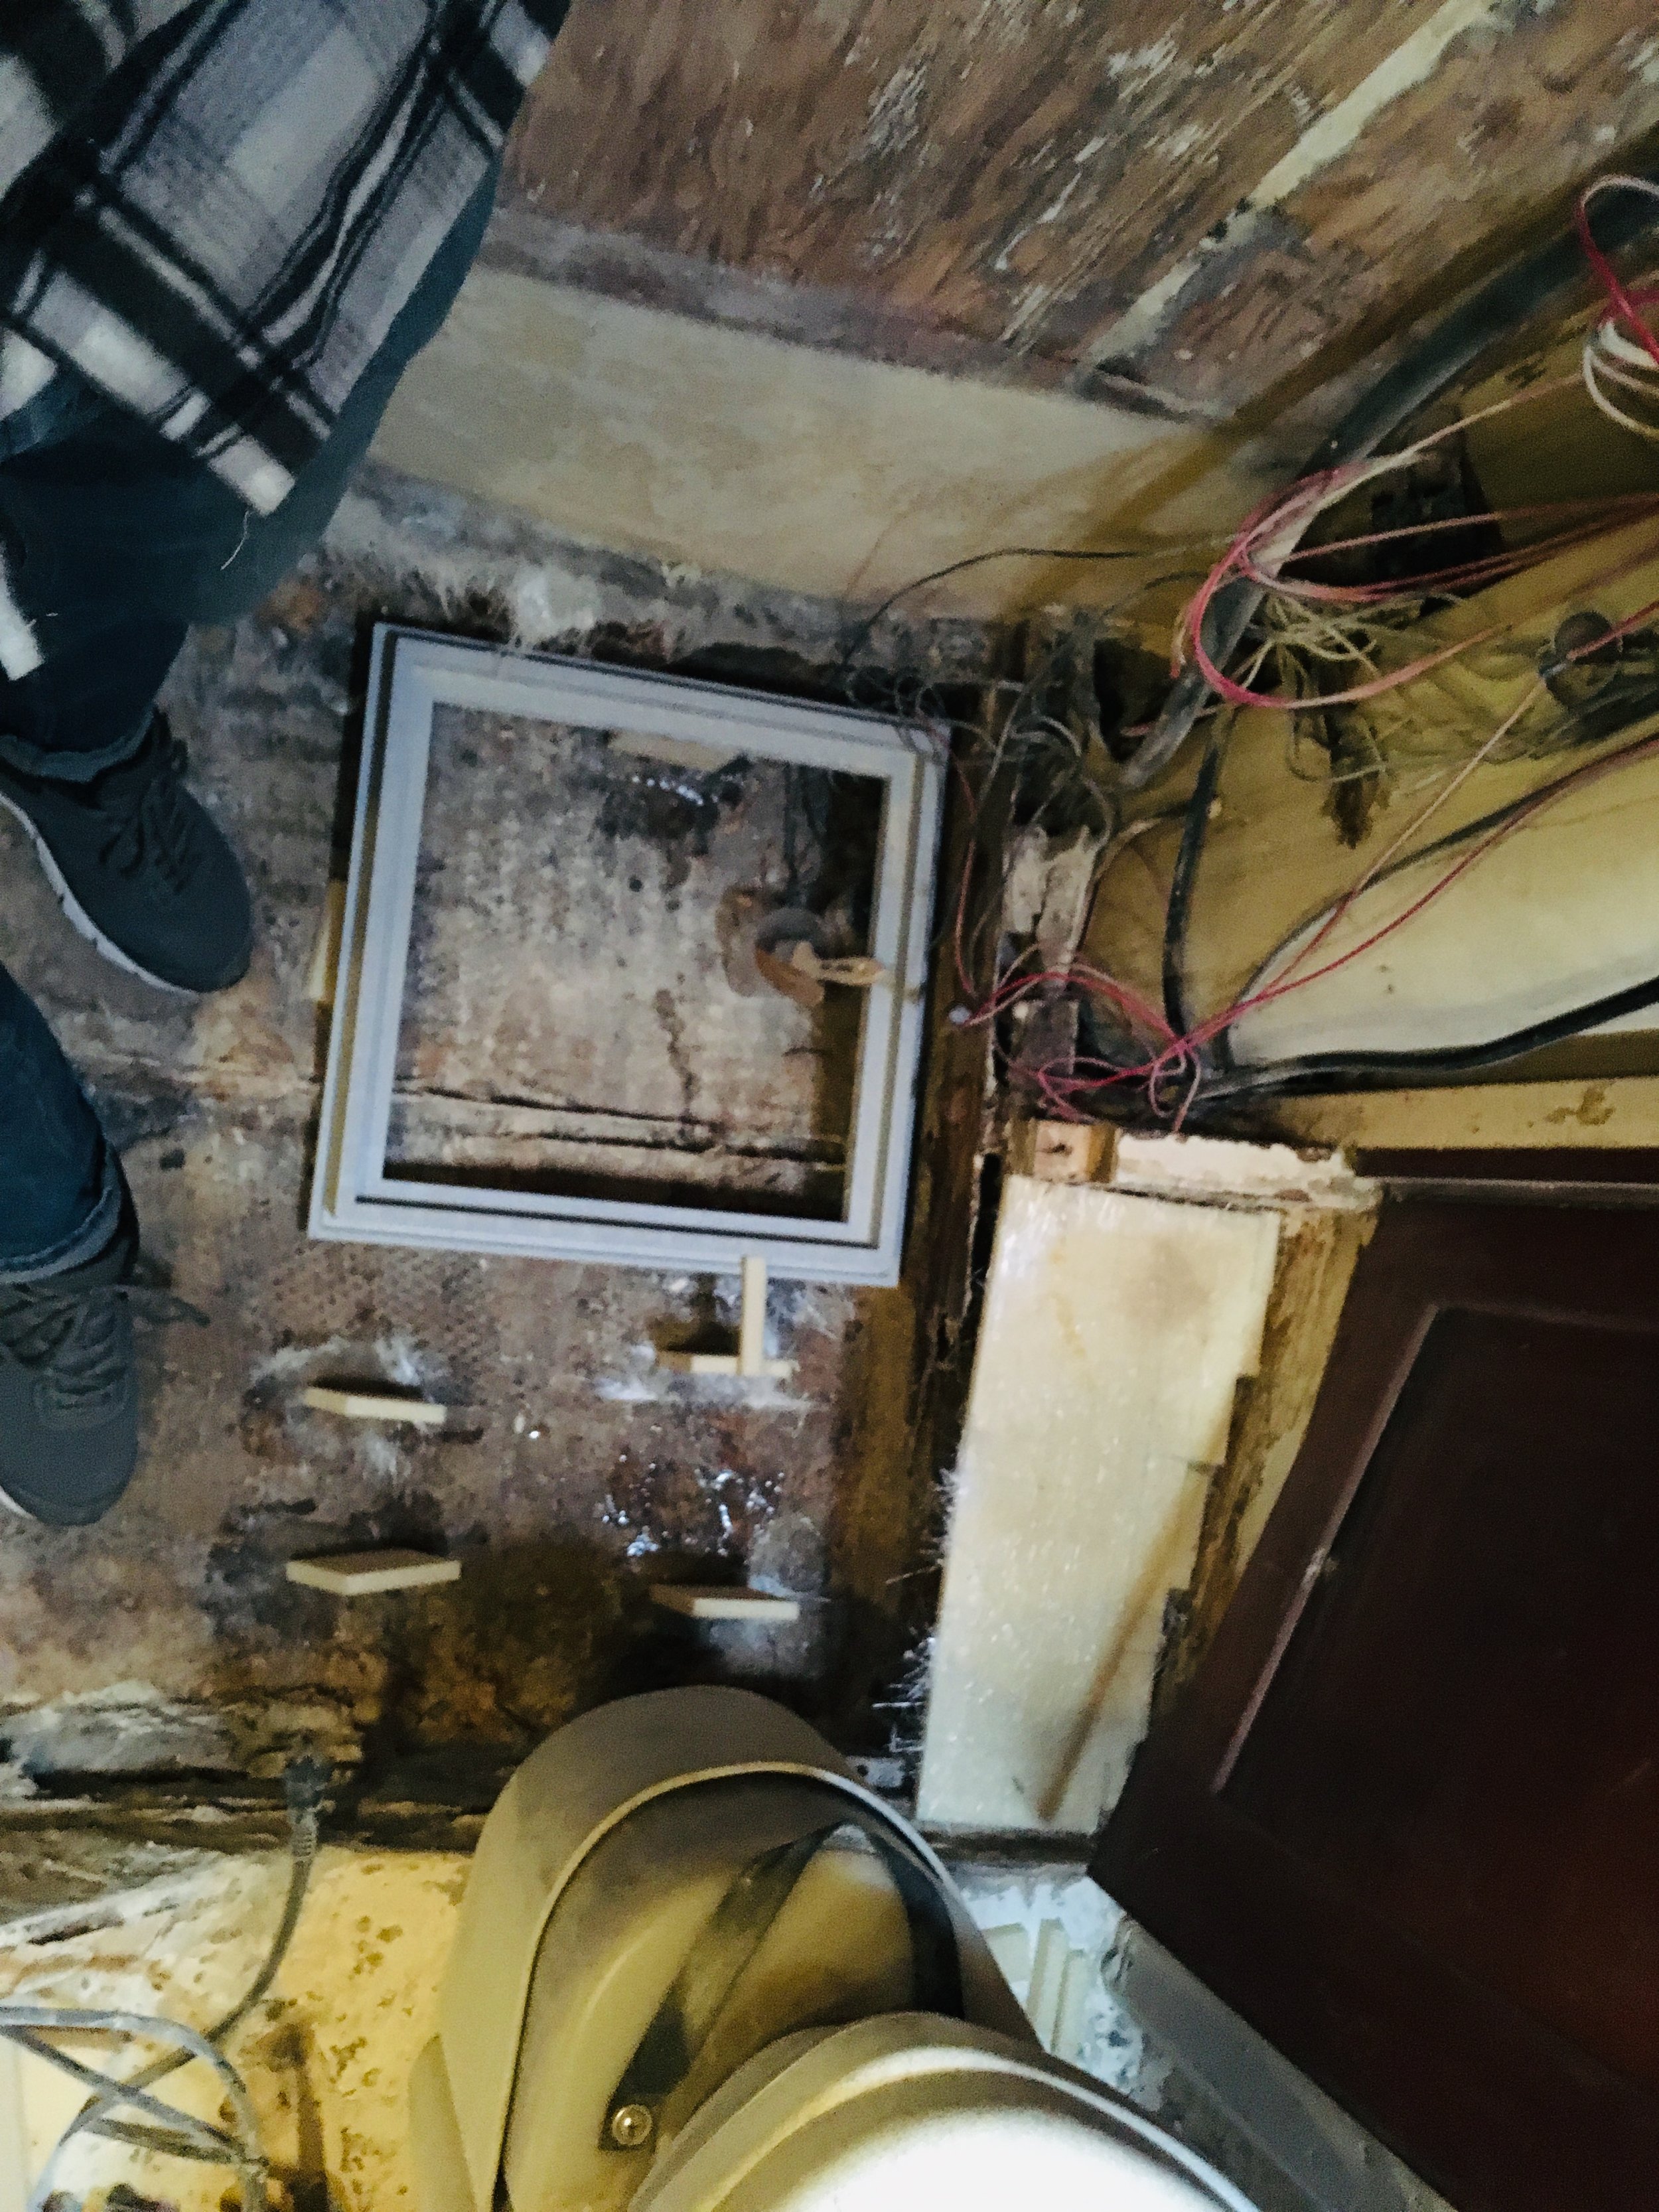
To prevent rot and other issues in the future, I am using closed cell foam as the solebearer. The force these little guys will be under will be purely vertical in nature. The sole will reach all four sides of the room, so there will be no lateral sheer forces subjected to them. Therefore, they do not need to be strong in a lateral dimension, merely in a vertical dimension.

FullSizeRender.jpg

They do need to be at the appropriate height though! I want the shower floor to drain into the grate where the sump pump will live. By making the solebearers incrementally taller, they will induce a slope in the shower floor which will promote proper drainage.

To keep them in place, I simply stuck them to the bilge floor with some epoxy and chop strand mat, then allowed them to cure overnight.

Beauty in the Boatyard

Maddie is an artist, adn she can see things most mere mortals overlook.

FullSizeRender.jpg

We have just been painted and the workers in the yard came and sanded off a few layers of our old bottom paint. Then it rained and the blue dust washed away a little bit . After the rain, we were simply walking from the boat to the town to grab some lunch when Maddie asked for my camera. I saw nothing in the area that merited a photograph, but I did not question her.

She instantly snapped this picture and we continued on.

She saw the blue bottom paint in the puddle mixing with the reflection of the blue sky and our bow, in a puddle of filthy antifouling paint dust. She found beauty in the light that was reflected off of rubbish. She has an artist’s eye!

New Topsides

The grey primer coat on Wisdom is now a thing of the past. The topsides have finally been painted and she is very white and very shiny!

IMG_4680.JPG

When I bought Wisdom, her topsides were heavily oxidized and shiny was the last descriptor on the list of things she was not. I gave her a paint job using Roll and Tip to make her look better, but she was never this pretty! The paint job I did made her look good from a distance, but when you got close, there was no shine, no pizzazz, nothing. She was just flat white paint covering her hull.

In the Azores, we had a professional spray job done and now she looks new! This is one way to take 50 years off the clock!

Bulkhead Repair

The plywood that butted up towards the shower got wet frequently and finally rotted away. The bulkhead is made of two layers of 3/4 inch plywood. Having two layers actually makes repairing this much easier. Instead of worrying about getting a perfect fit and junction on a butt margin, I can step the repairs and grant myself a lot of surface area to glue the repairs to.

IMG_4616.JPG

Instead of repairing the problem with a future problem, I chose to use 3/4 inch closed cell foam core boards. These are unable to rot but offer incredible amounts of strength. Being the same size as the old plywood, they fit perfectly in place. All I need to do is cut back the rotten wood with the larger side of the hole facing me in the head. This means that the first piece is cut out the largest, larger than the second piece which lays deep to it.

With all the rotten wood removed and cut back to clean and solid margins, I simply glued the foam core into place and glassed it all together. The result is a repaired bulkhead that won’t rot again as the shower will remain there.

Battleship Gray

We are being painted outside and without a tent. This means that the painting schedule is weather dependent, and not very dependable. 

IMG_4543.JPG

Work in the Azores happens very slowly. This project began in August 2018, early August to be exact! The painter said it would take a few weeks and told me of the rush he was in to beat the rainy season with the project.  

IMG_4544.JPG

Come late October and the painter finally gets around to starting the project. The frequent excuse for the slow progress is the rain.  

IMG_4546.JPG

Yeah, rain in the rainy season. Well, the painter managed to get the primer on with a few dry days and now she sits in her gray glory, waiting.  

IMG_4548.JPG

Just as the rain streaks down her topsides, our hopes of seeing her white also trickle away.  

Thankfully, the longer the painter takes, the more tube I have to earn money while working back in the states. The total bill to repaint the topsides (sanding, preping, fairing, priming, and painting) was a grand total of €2,000! 

At that price, he can take his time and I’ll take mine. Soon or later, it will be finished.