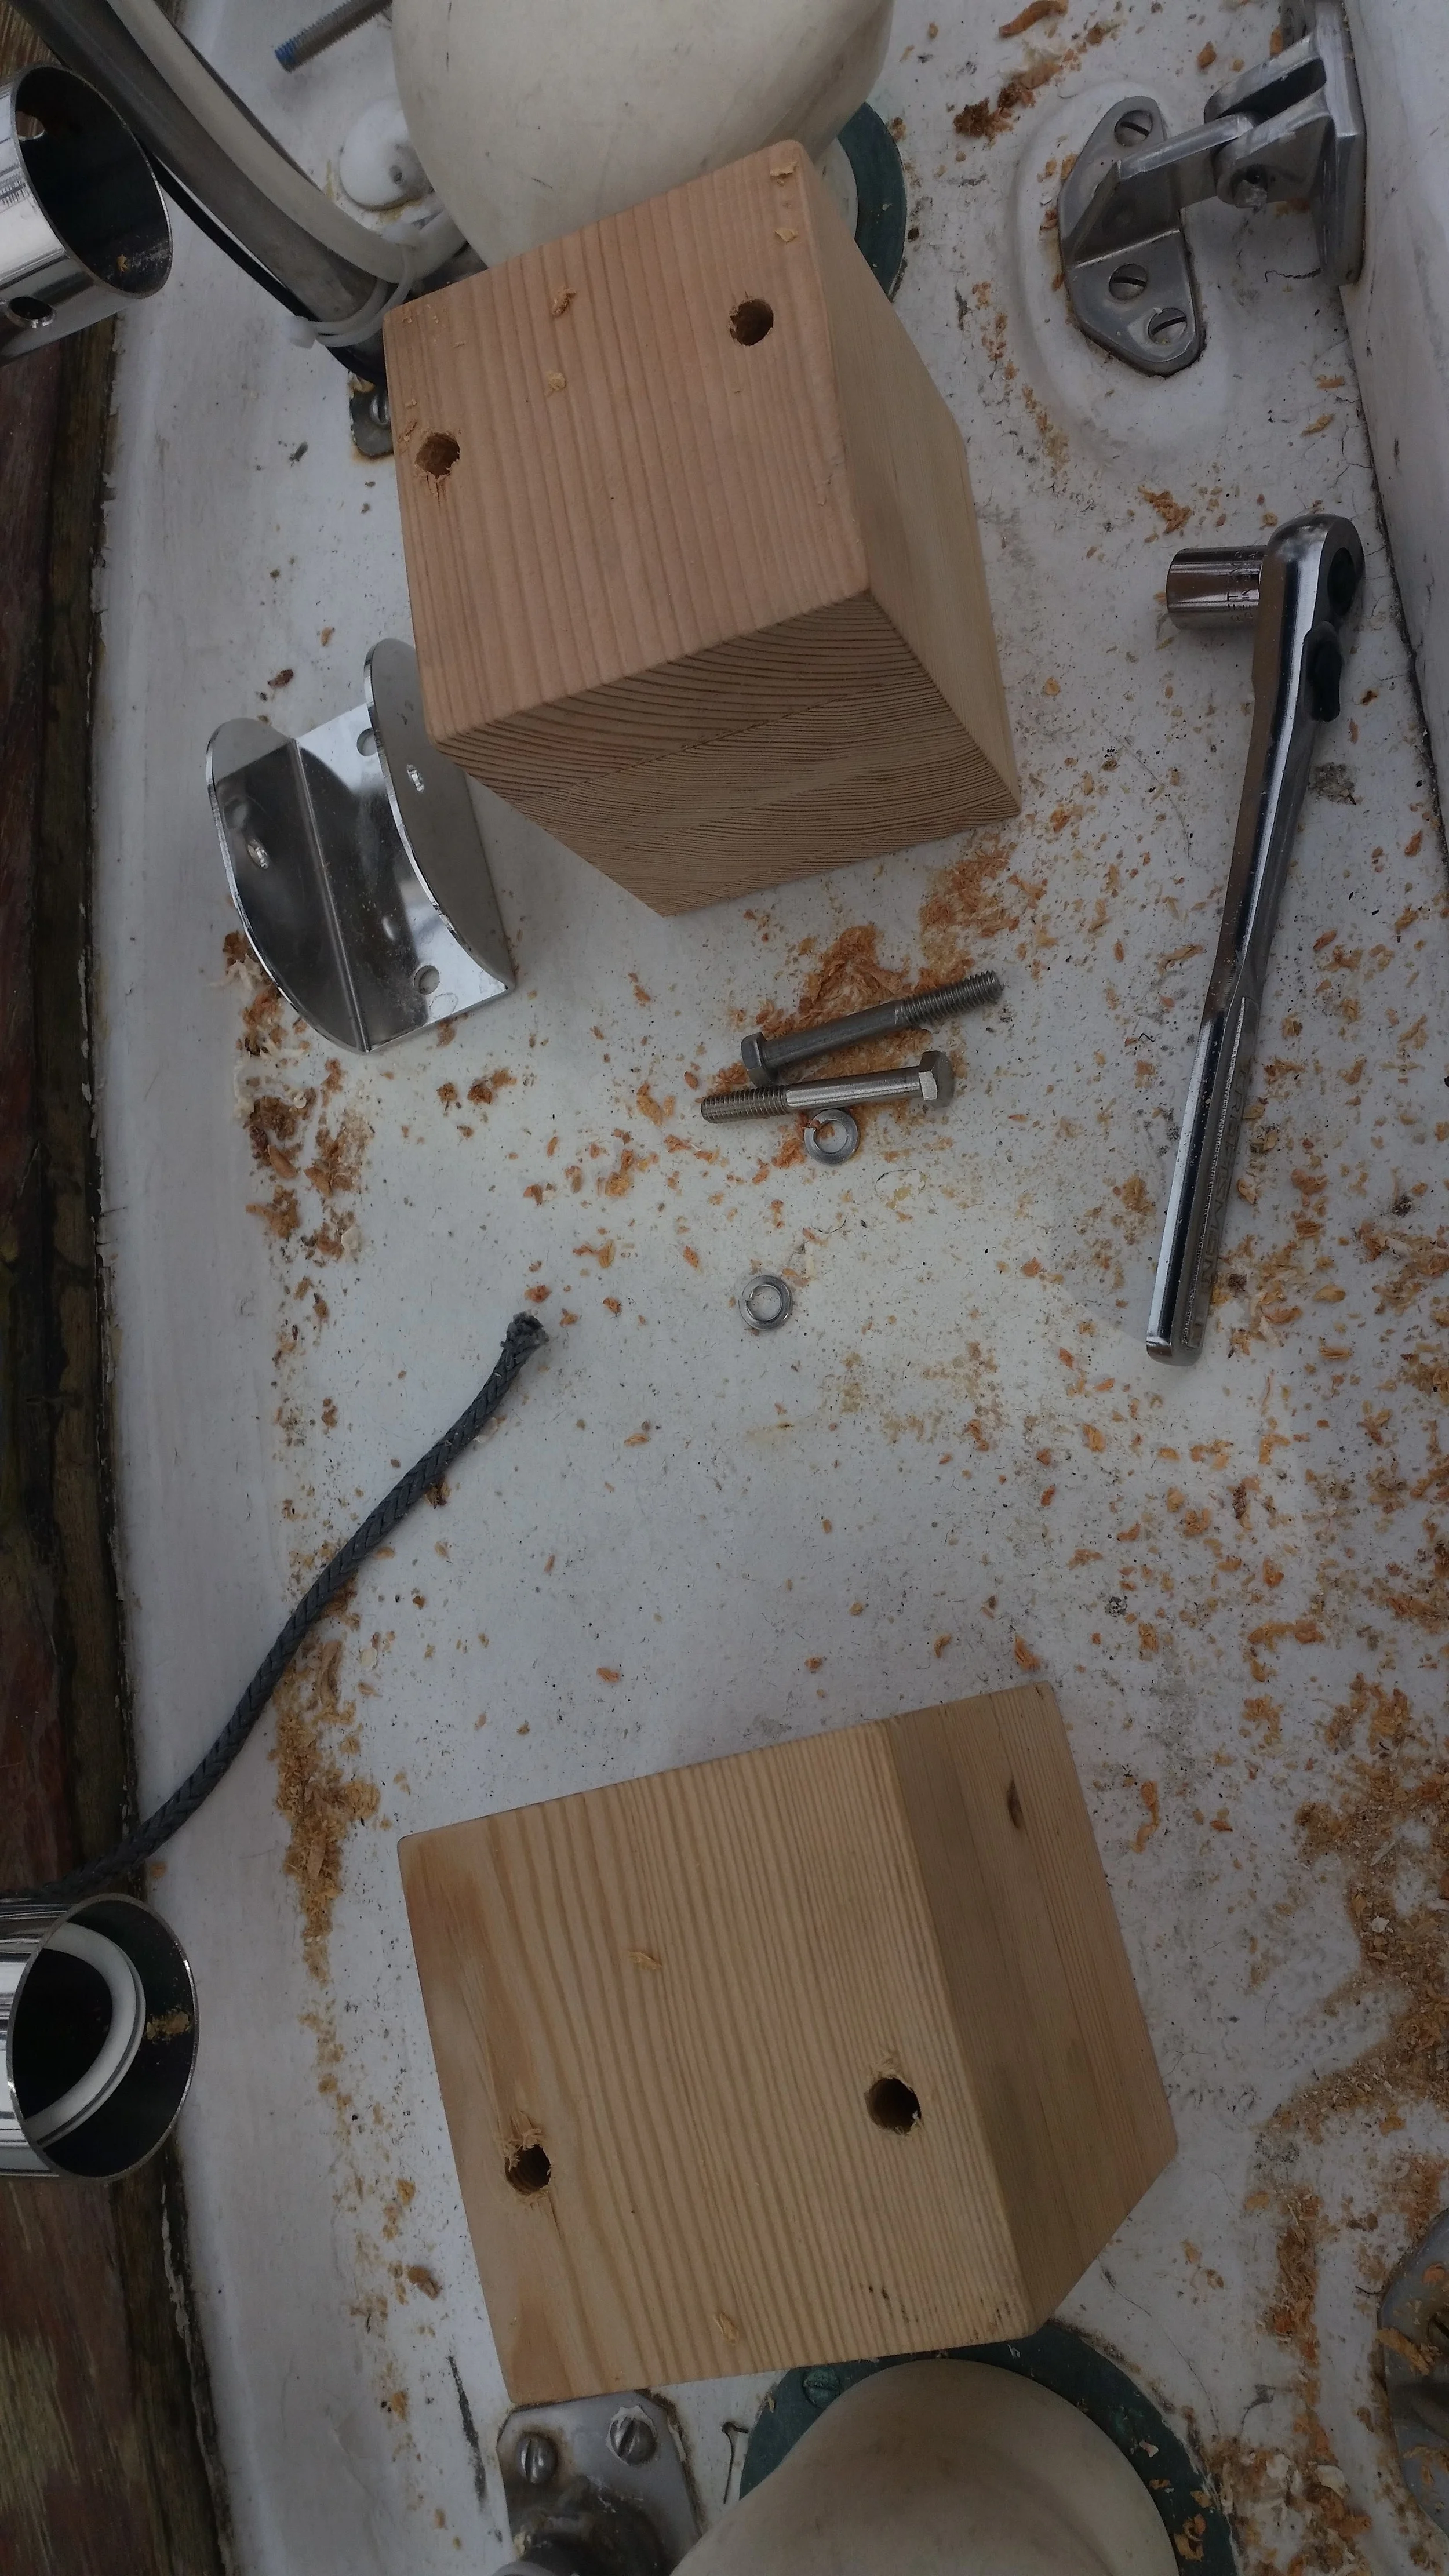
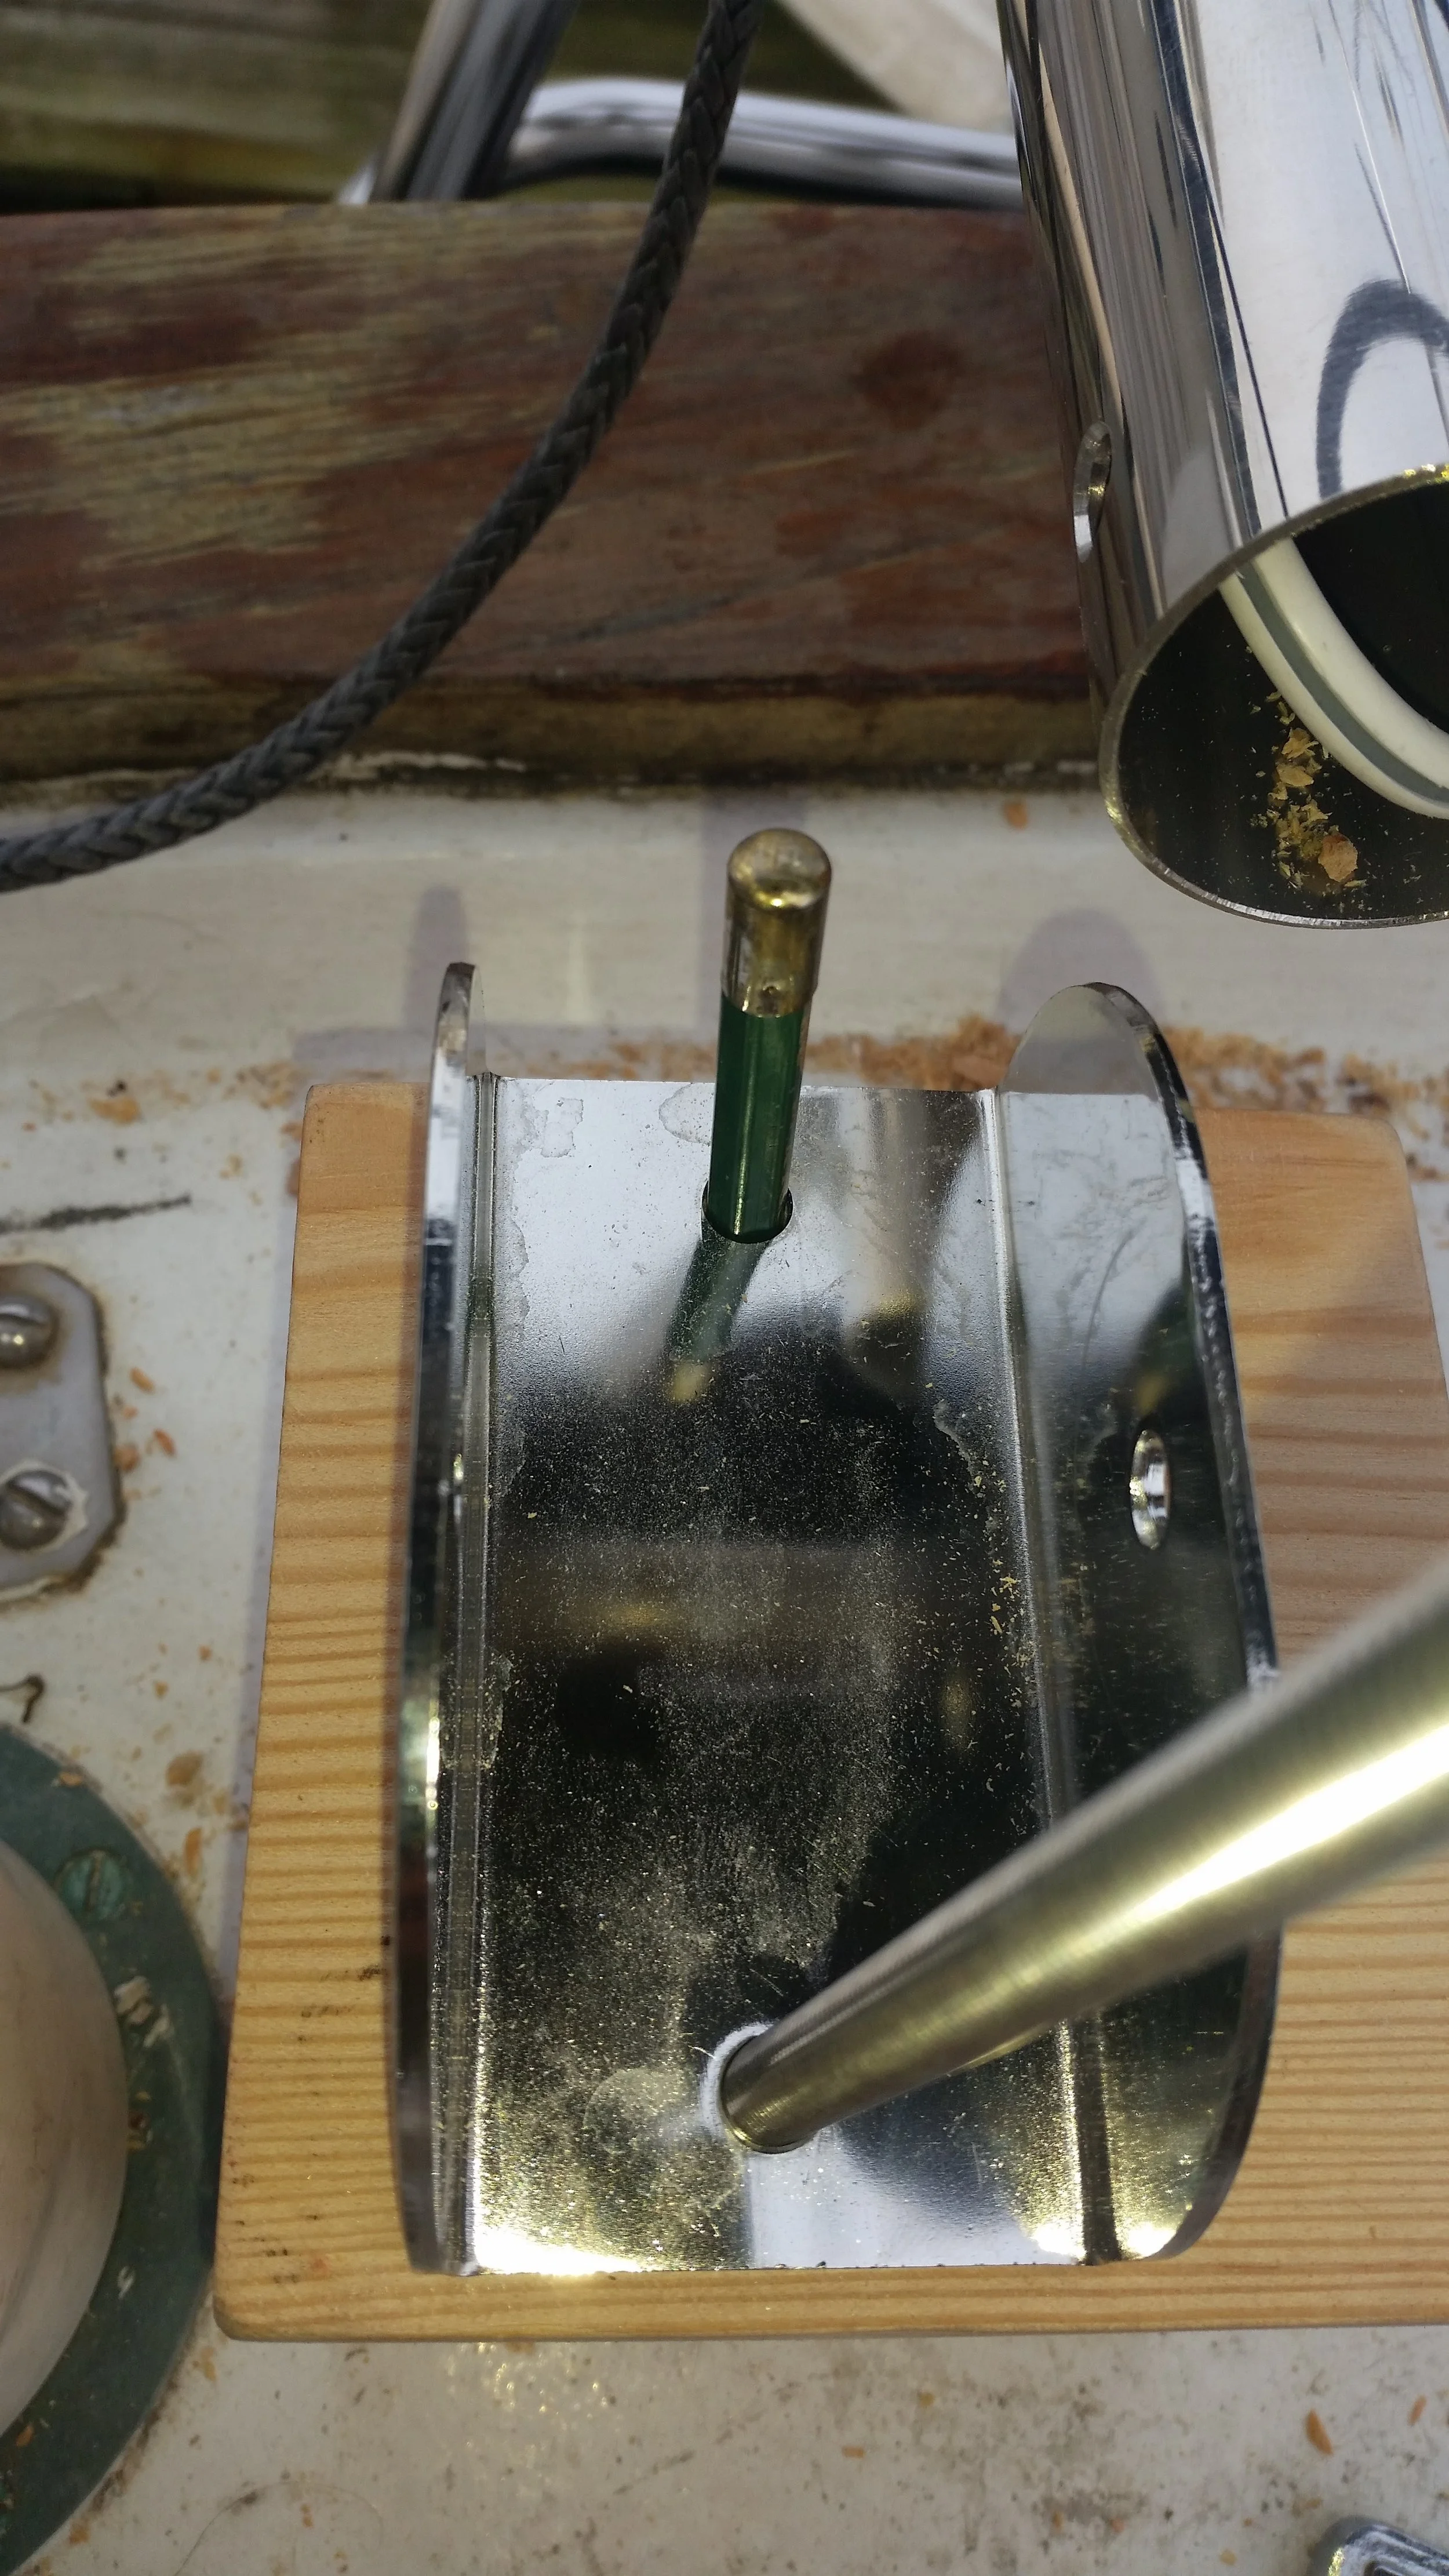
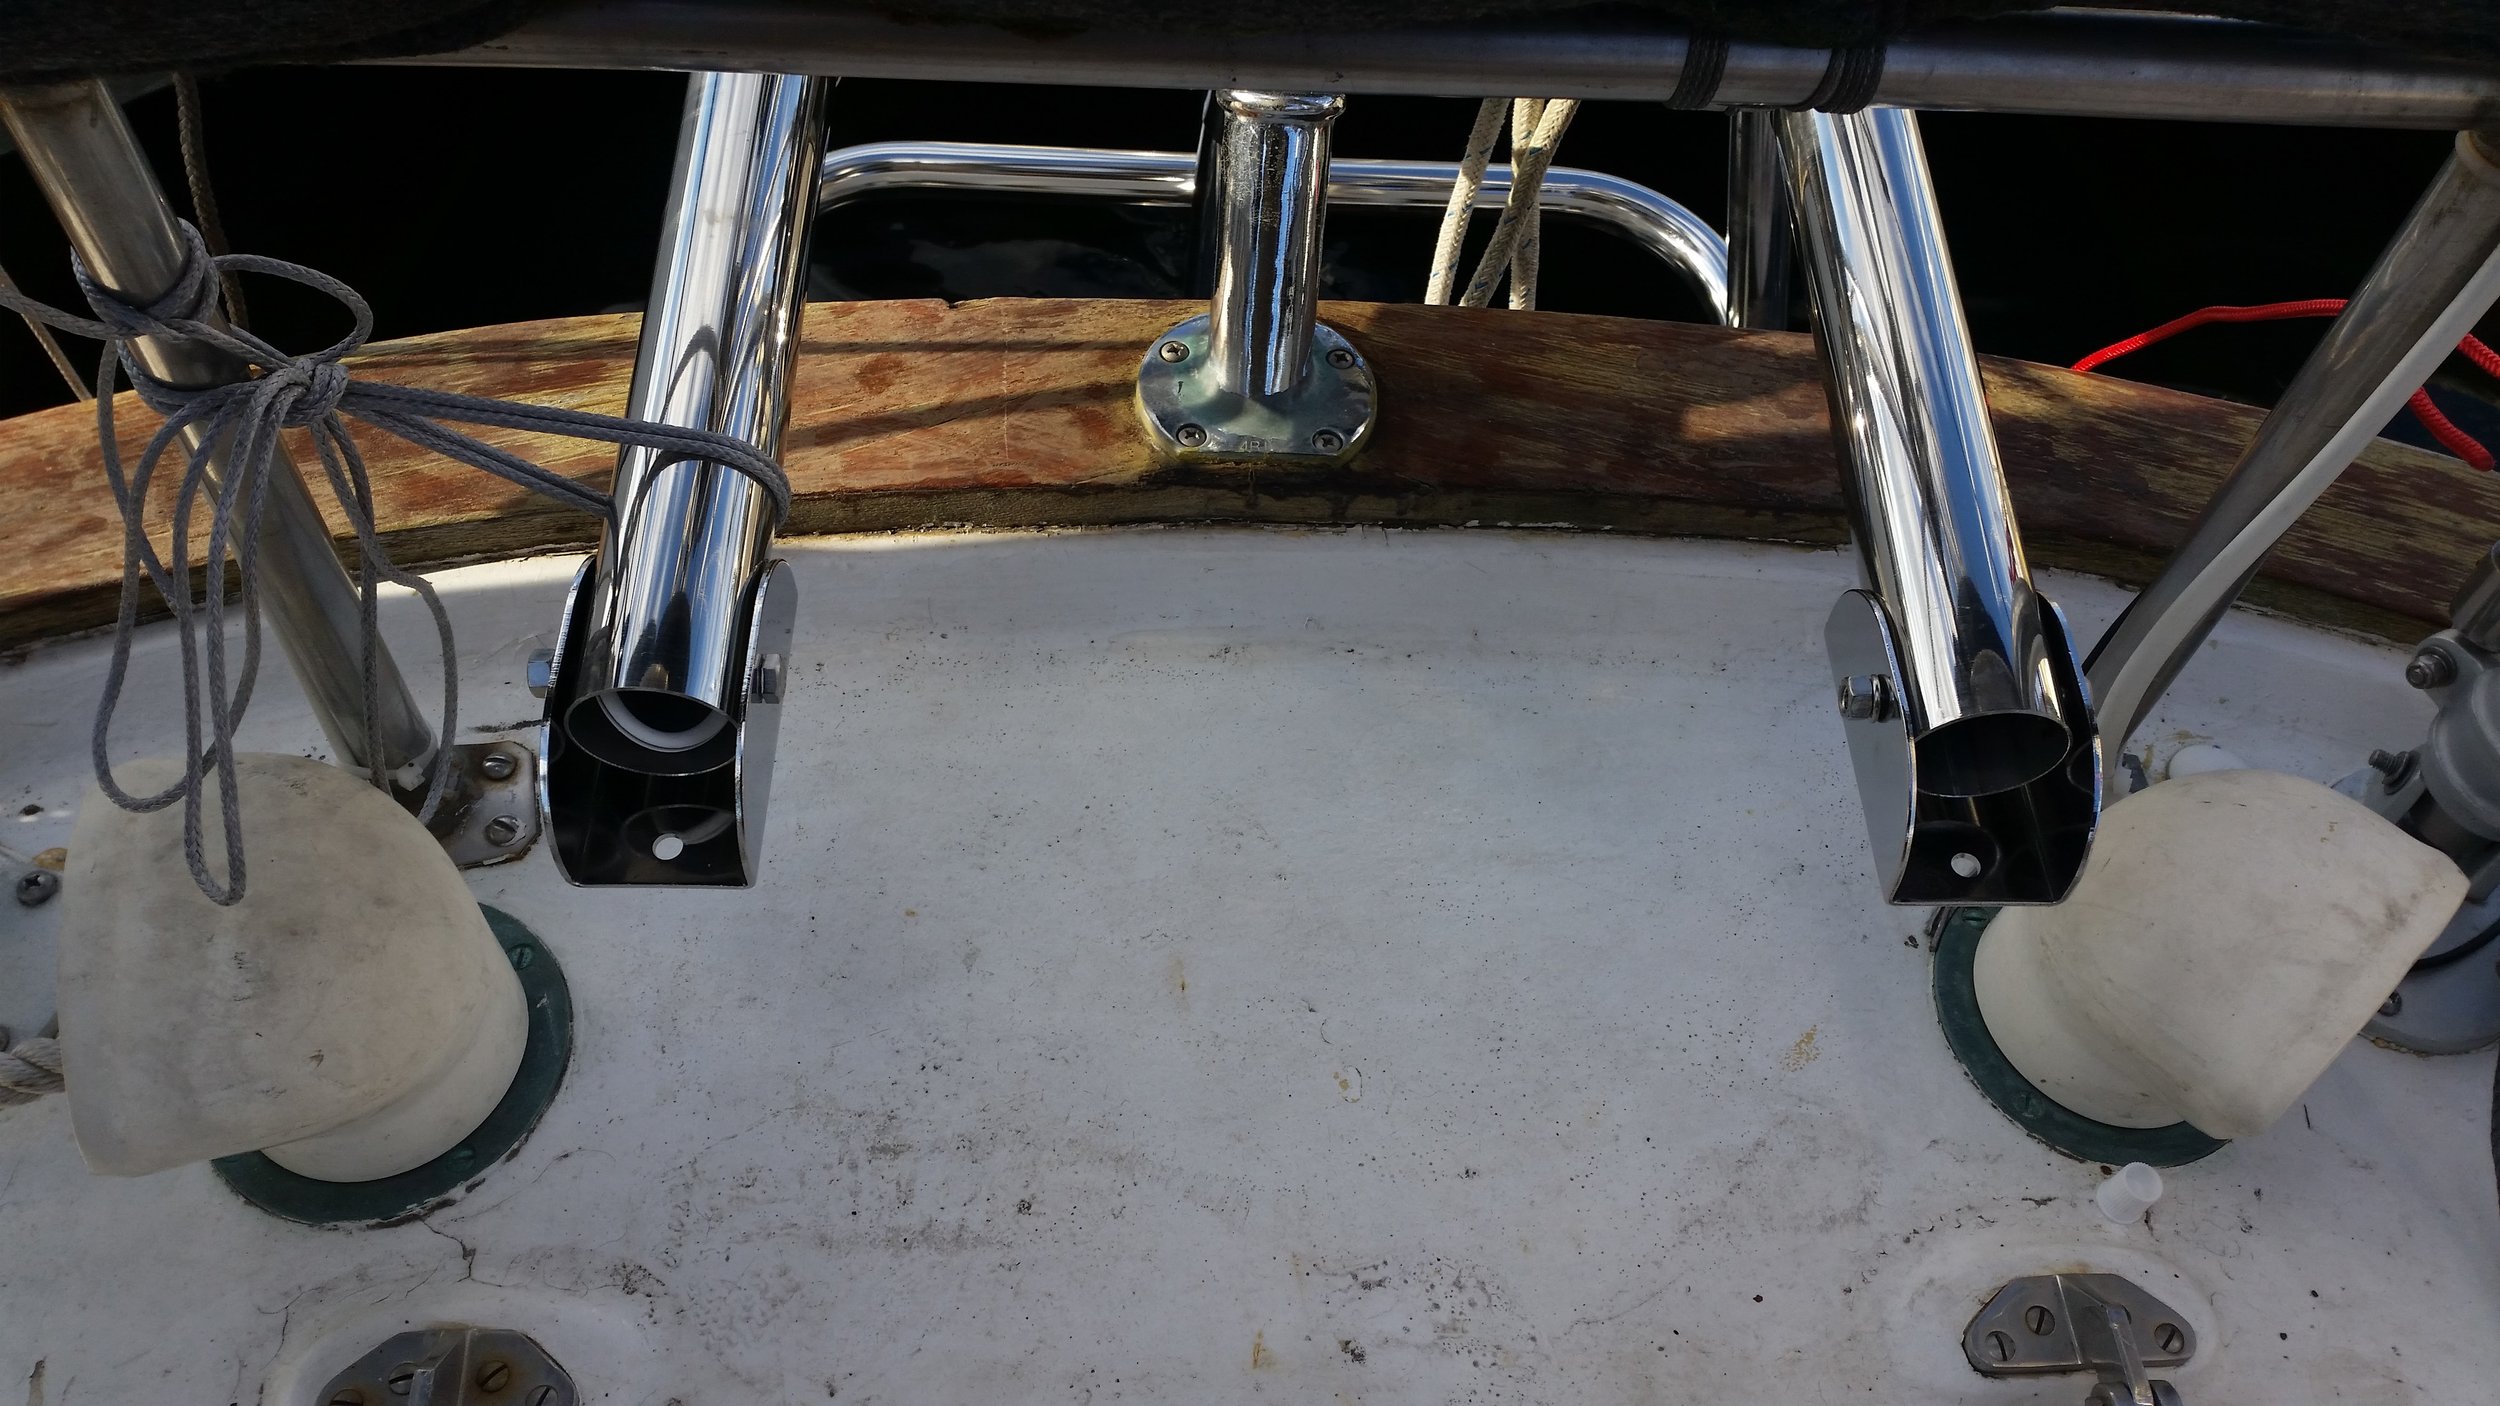
The Monitor was never moved from its perfect position on the transom, instead, the pillow blocks were merely slid under the brackets to test fit and mark everything on the deck.
With both pillow blocks in position, I drilled a small pilot hole for the front bolt with a 12 inch long 1/4 inch drill bit. This very long yet narrow drill bit allowed me to drill through the clamp, pillow block, and deck in one throw. With holes in each part of the project, it was safe to remove and relocate everything, as the holes would allow for re-orientation at a later point.
Sadly, I do not have extra long drill bits in every size, I only have 1/4 inch drill bits from when I was drilling the knees on the dinghy. The through bolts are 5/16 inch, so I need to enlarge the holes in everything. Luckily, with the holes marking the ideal locations, I can safely disassemble everything and drill from various angles with a larger drill bit.
Drilling these holes is similar to doing a root canal: you don't want to drill too large too fast, and you don't want to deviate your canal.
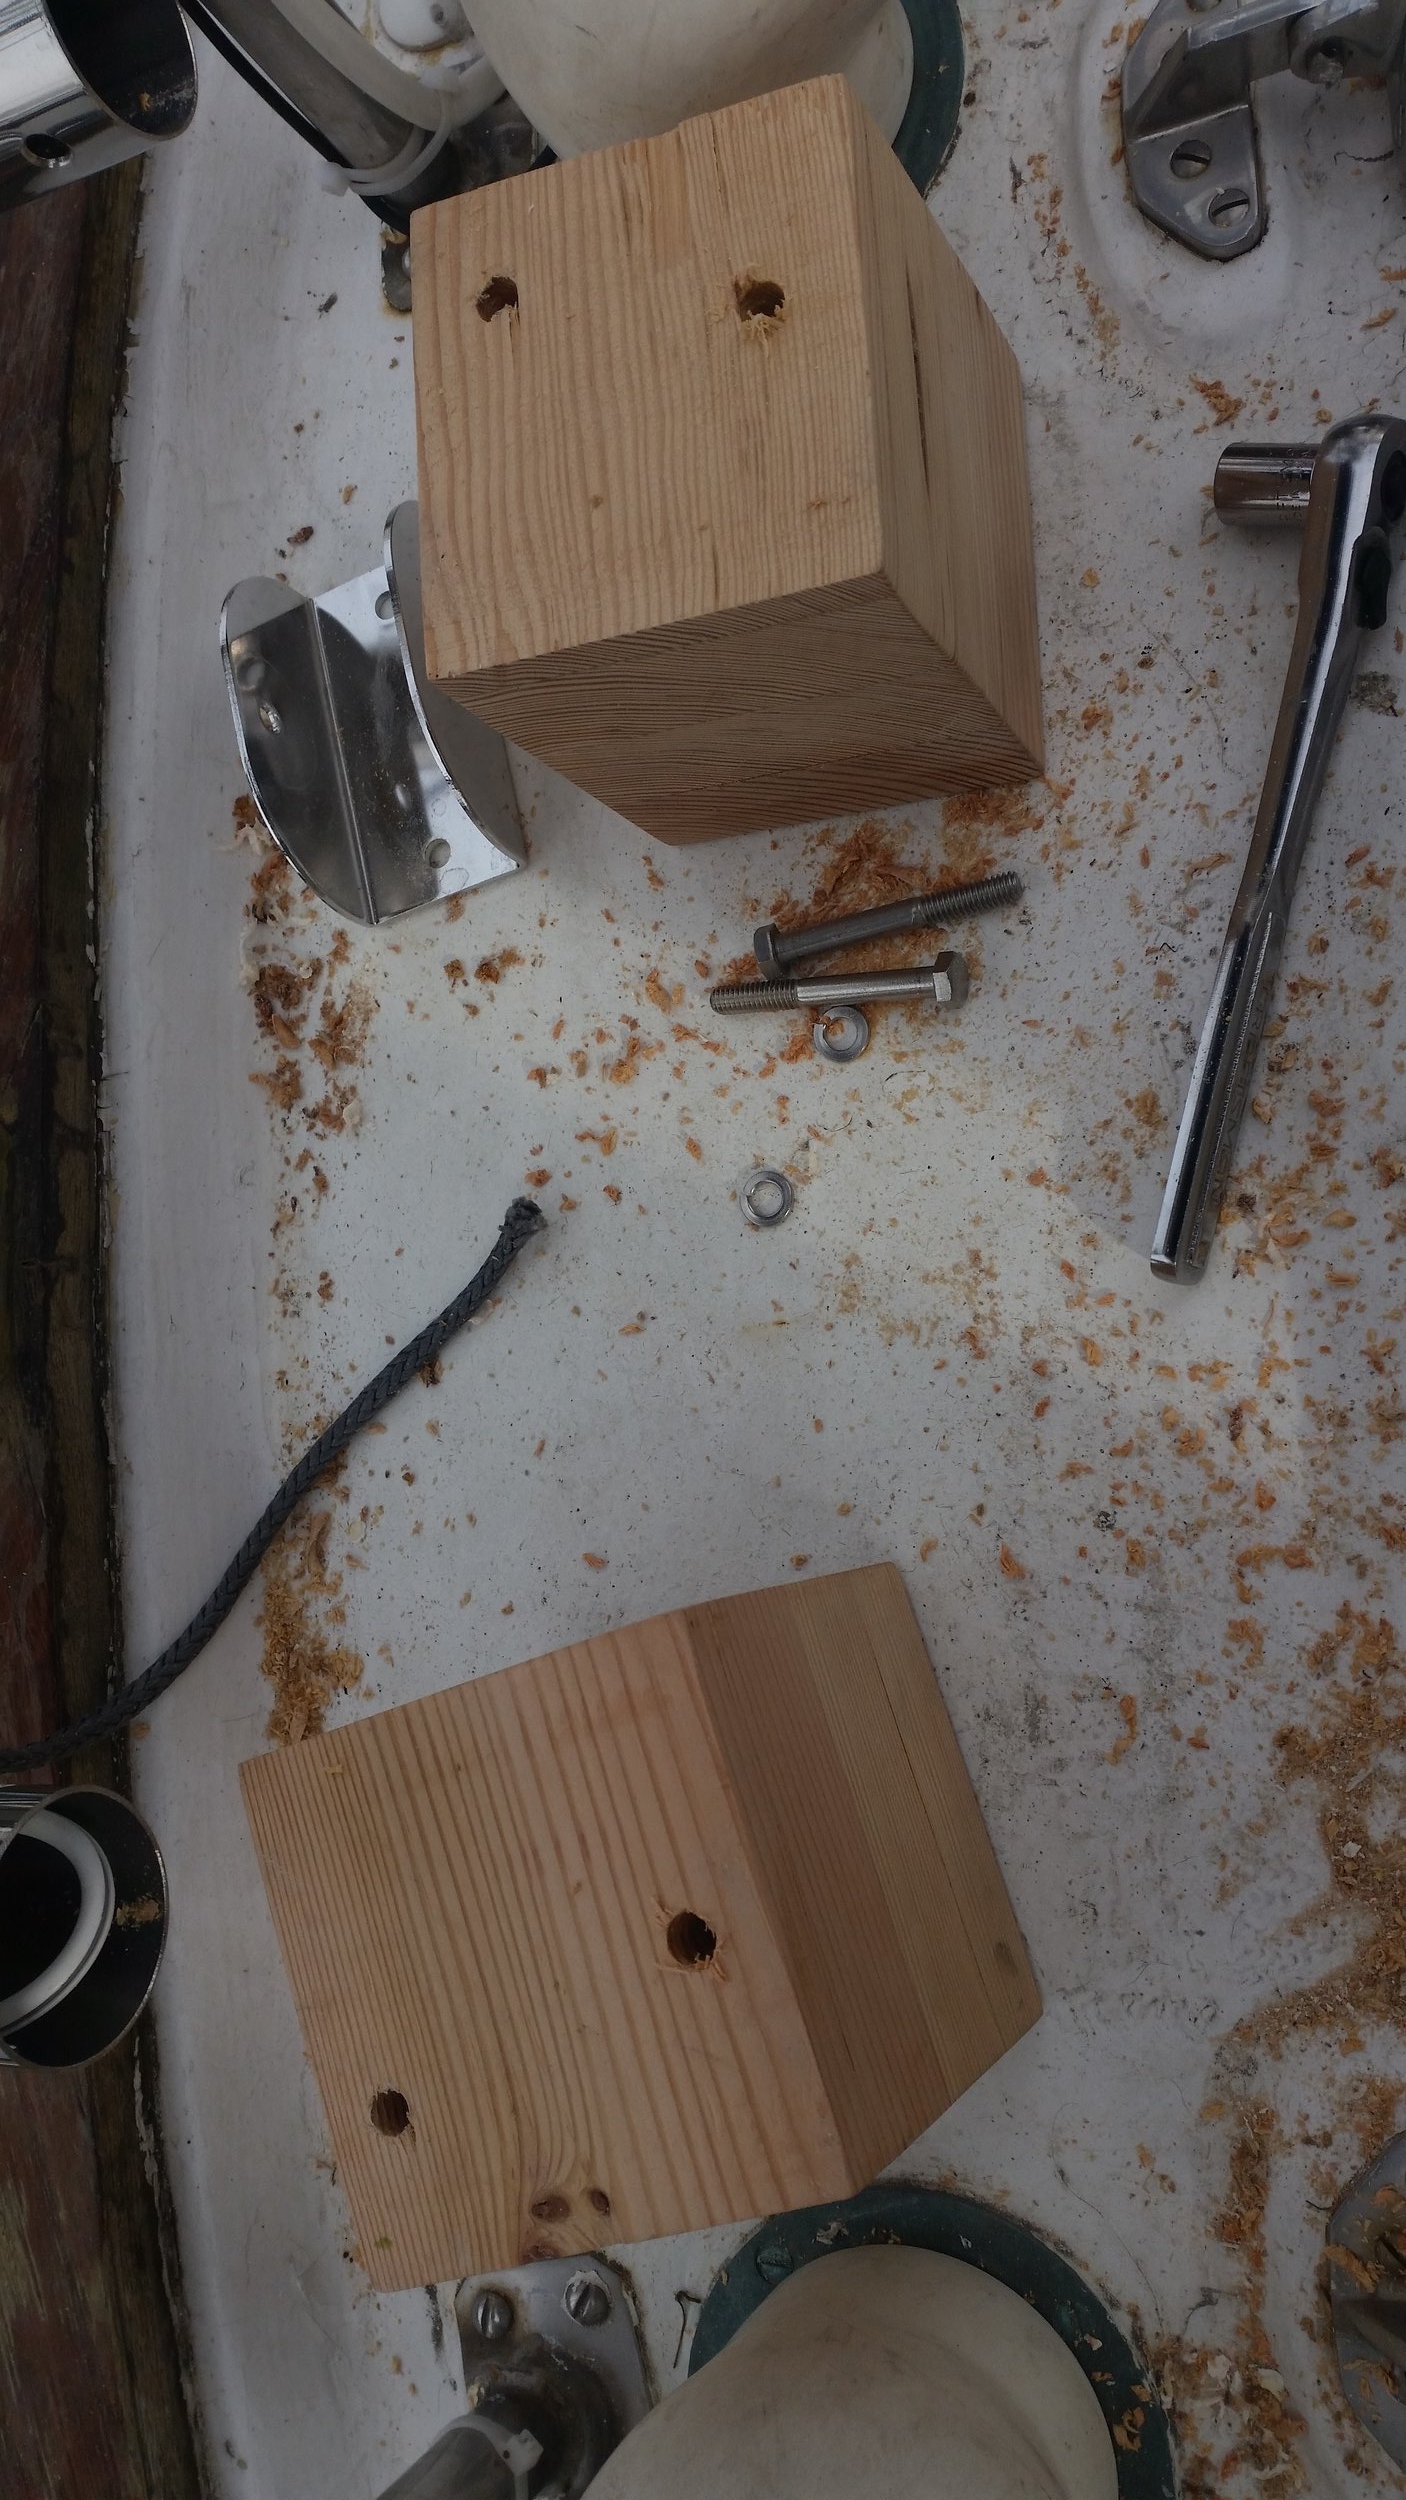
The final hole needs to be 3/8" to easily fit the 5/16" bolt. This will give us 1/32" leeway around the bolt inside the hole. If I just grab a 3/8" drill bit and bore out the 1/4" pilot hole, I could run into a few problems.
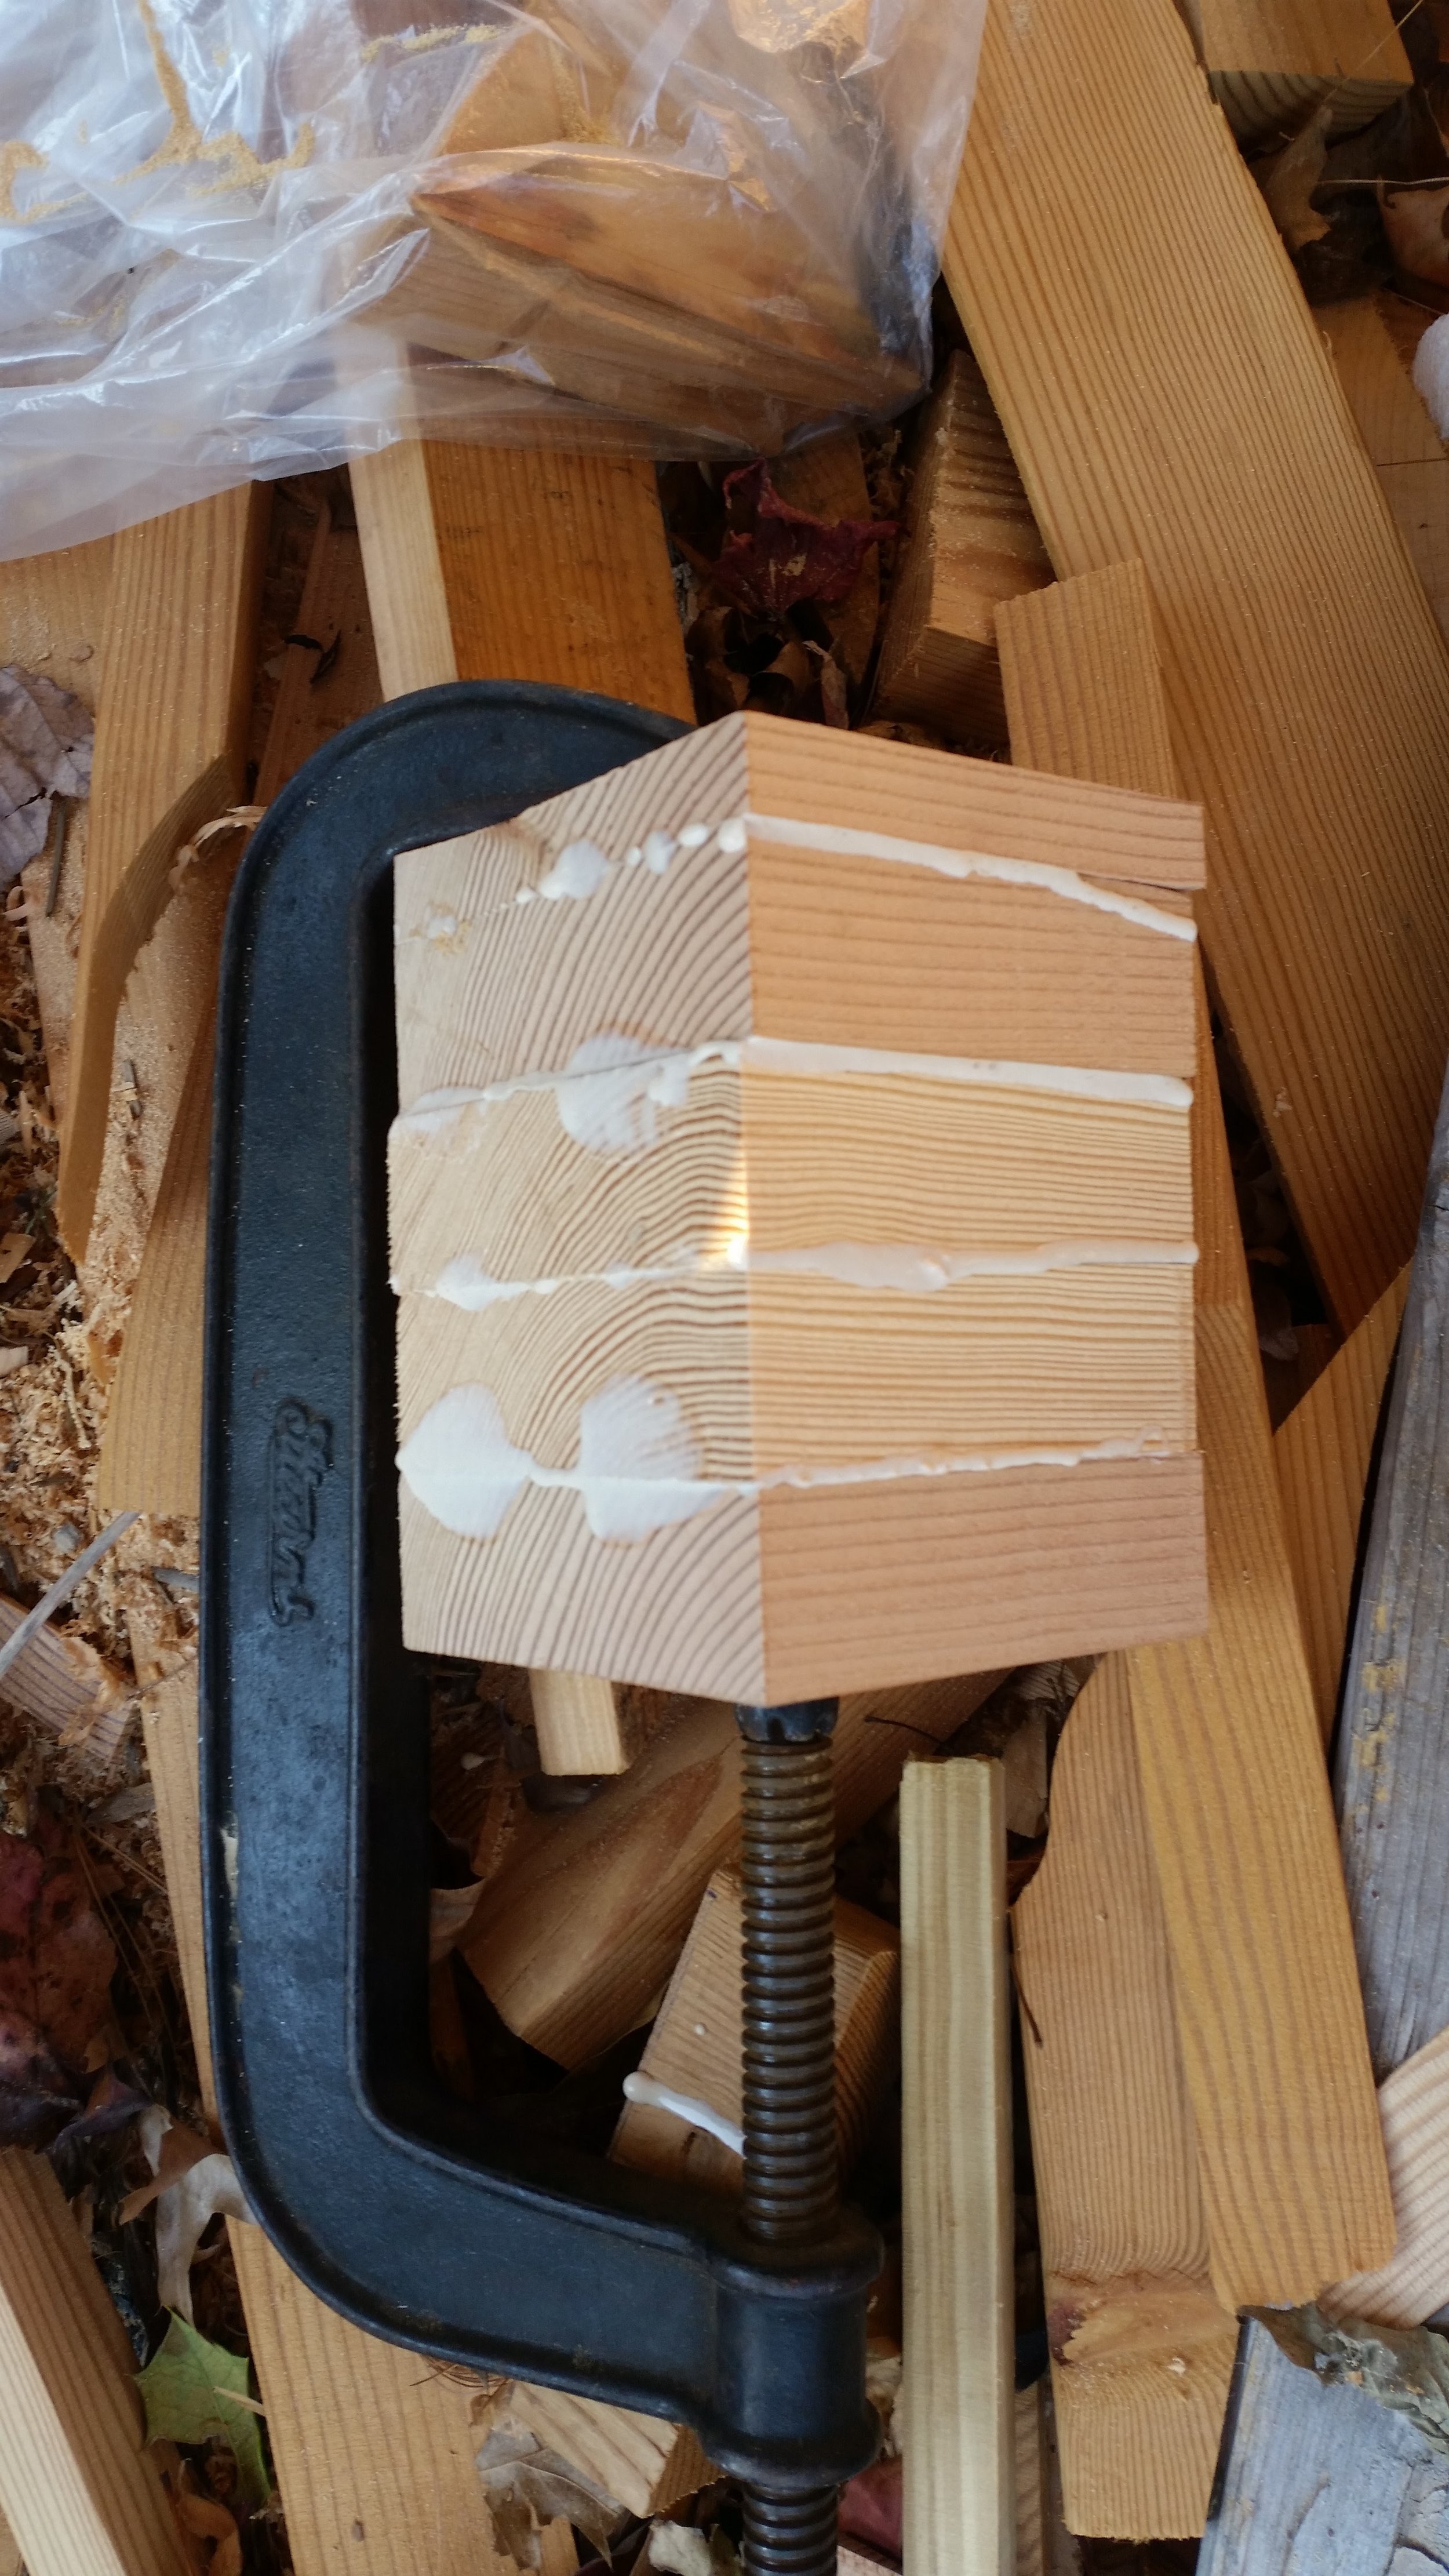
First, the pilot hole offers no resistance to penetration and the 3/8" drill bit would slice through the wood like a screw. Instead of cutting and removing the wood, the drill would slide through it and bind itself up when the resistance becomes too great. This resistance can bog down the drill and result in a stuck drill bit, or worse, cause the drill bit to break! To be safe, the hole was first bored out with a 5/16" drill bit and then followed by a 3/8" drill bit. To avoid the drill from bogging down, the drill bit was only inserted 1/2" at a time, then pulled back. Pulling it in and out allows the flutes of the bur to clear which will allow new wood to fill the flutes on the next insertion. If you jam the drill through in one go, the flutes will become filled with compact wood pulp. If you drill in small sections, the shavings will come out in light and airy fibers that will clear easily.
As a dentist, drilling a long tube through wood makes me think of doing a root canal. Odd as it may seem, the same principles apply to teeth as they do to wood. The main difference is the drills we use on teeth are more delicate than the drill you have in your work shop. If you jam a root canal drill all the way down a canal, it will bind against the side of the root and break off. In dental speak, we call this a "separated file" which sounds so much better than a broken drill bit! The trick to avoiding a "separated file" is to drill in small stages where the forces applied to your tools and instruments are kept to a minimum and work can proceed without issue.
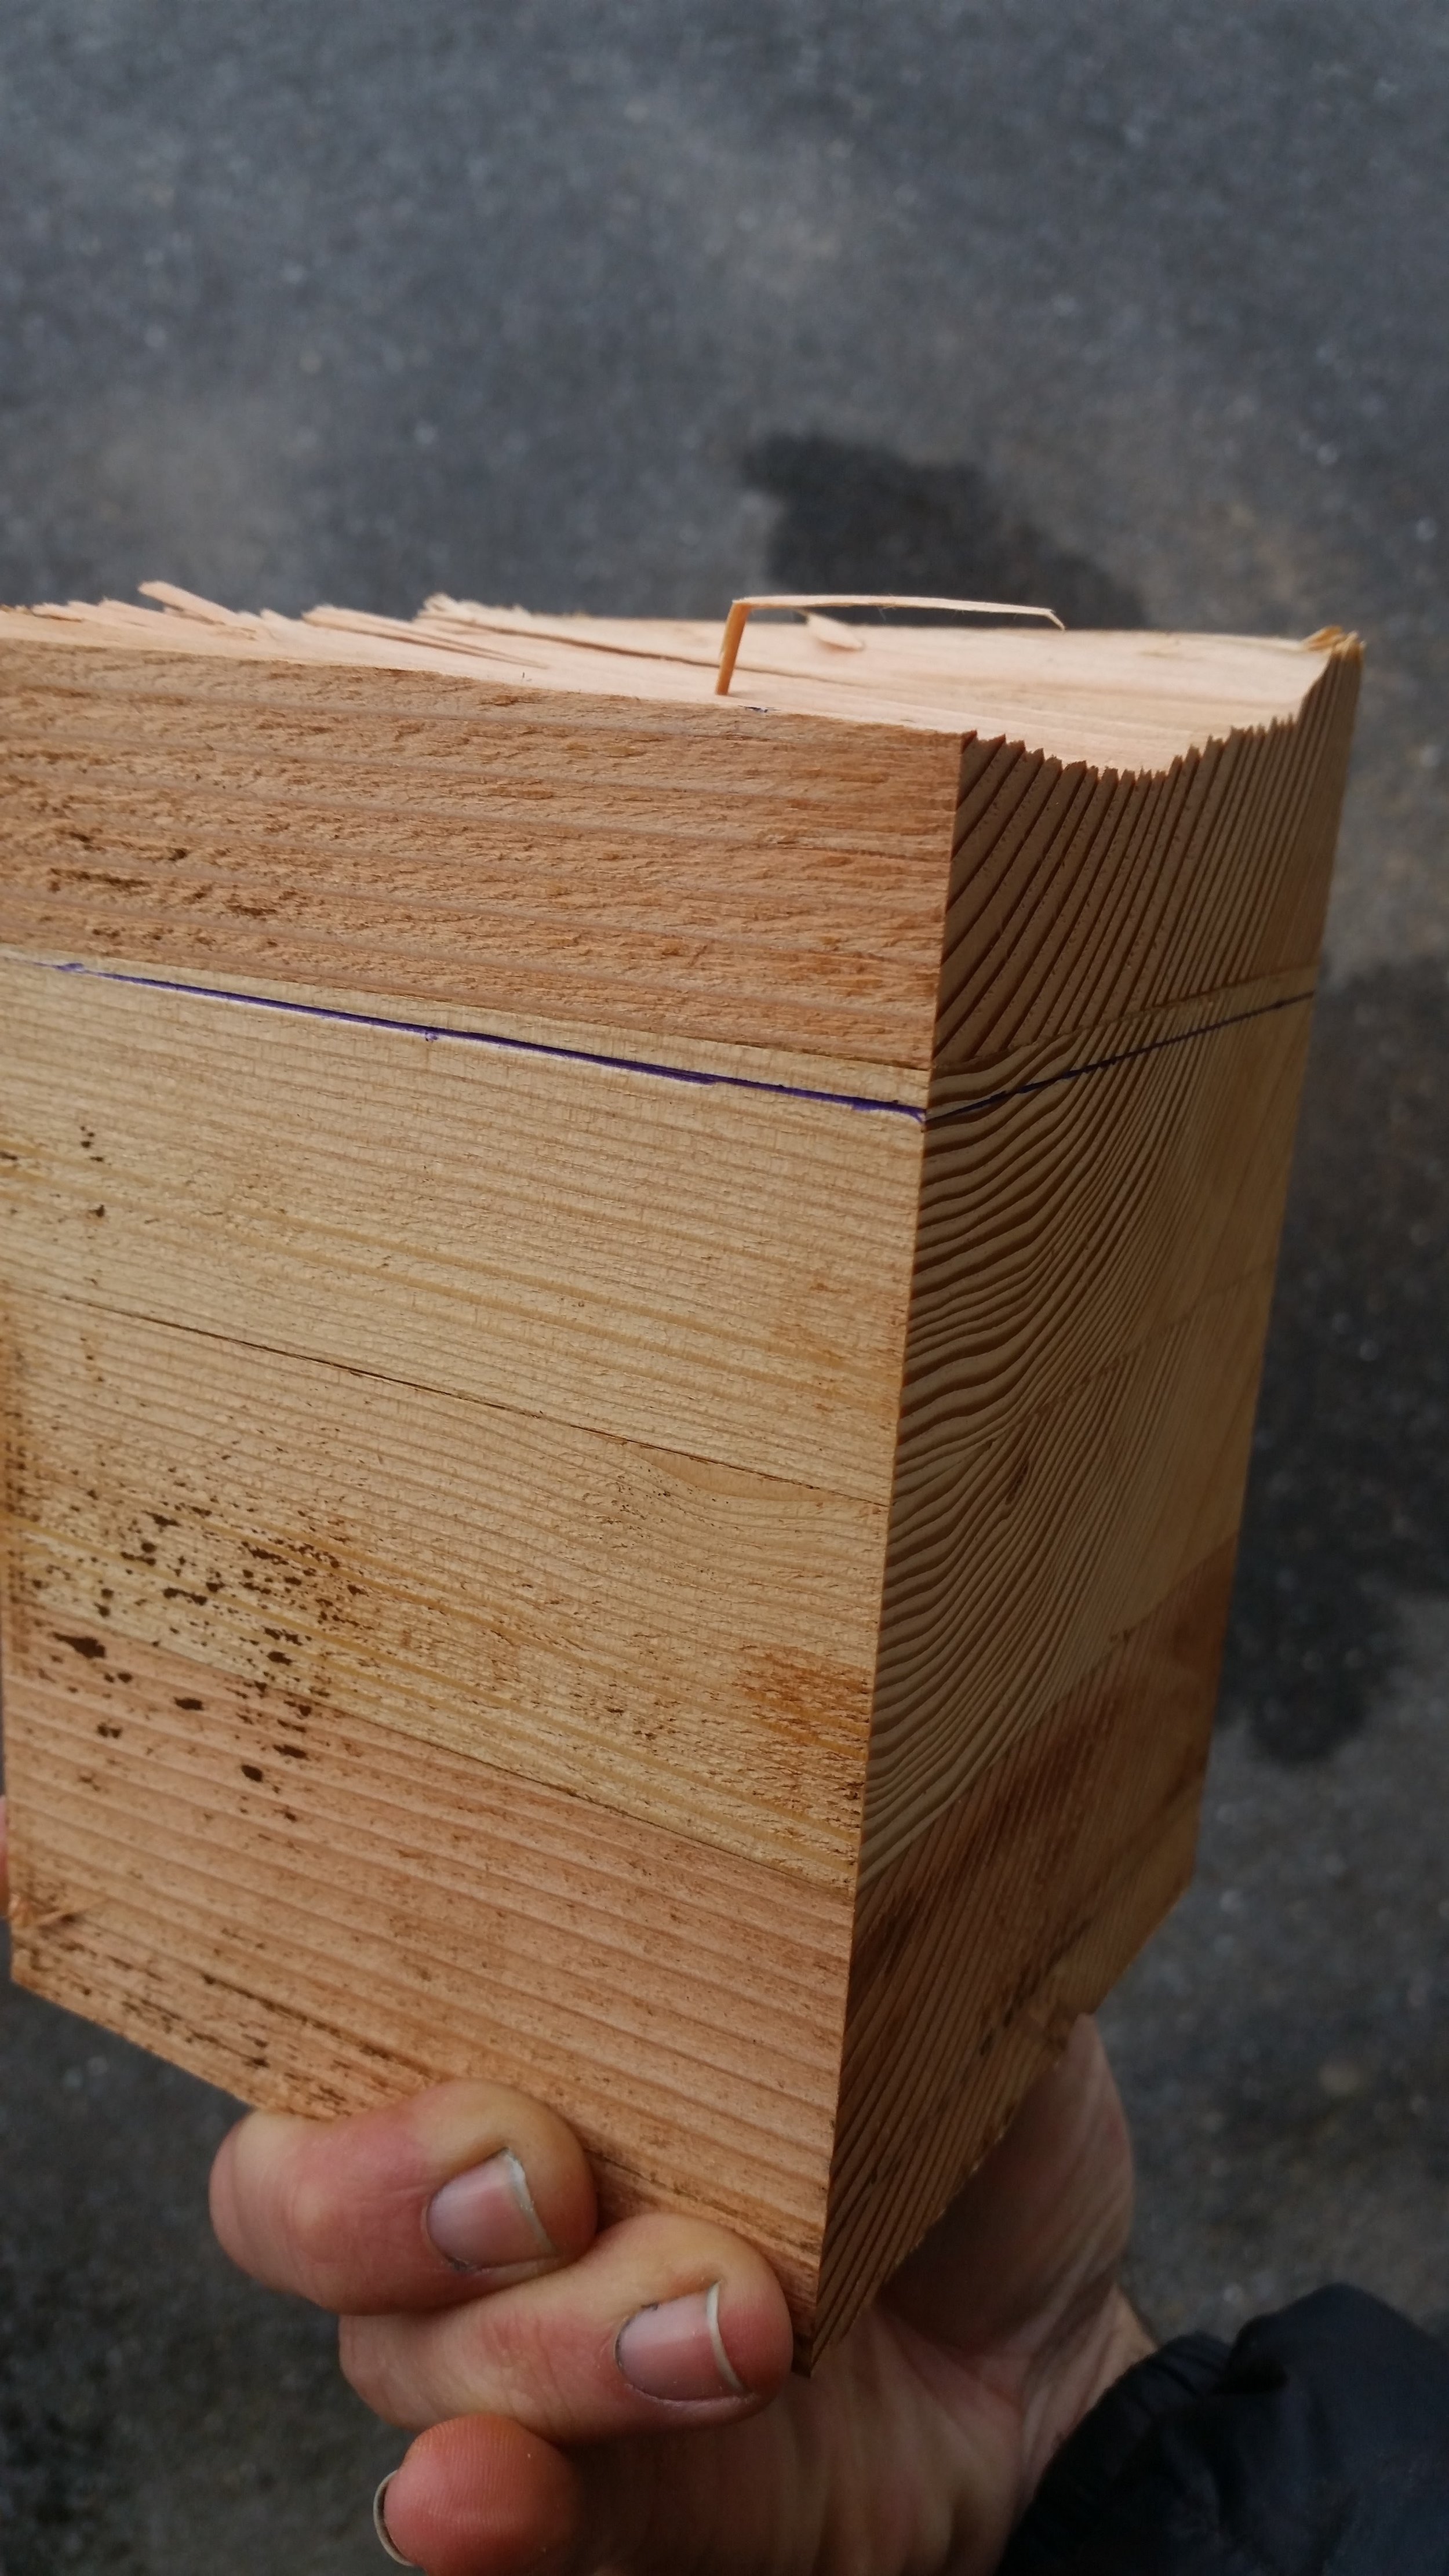
The second point in drilling a long hole is you don't want to move the canal. In dental speak, we call this "transporting the canal". Transporting is simply moving the canal to somewhere it doesn't belong. In a tooth, where you are following the nerve canal, transporting typically refers to getting off track and drilling a hole out the side of the root (not a good time). If I transported the canal on the pillow block, the holes would no longer line up and I would be forced to make a new pillow block and drill a new pilot hole, basically starting over!
To avoid "transporting" you want to keep the pressure on the drill light and let the pilot hole guide you. This is easier to do if you follow the first rule, and drill in small increments where there is little force on the drill from the wood block.