Life Aboard

"Kneasles"

When I was much younger, my dad told me a joke that has stuck with me. Every time I hear the word "Knee", I am reminded of it.

A man rushes into a whore house and asks the madame for a woman and states that he is in a hurry.
The madame fulfills his request with a lovely lady of the night and they head off into their room.

As he takes off his shoes, she remarks: "What is wrong with your feet?"
He answered: "When I was younger I had Toelio."
"You mean Polio" said the woman.
He insisted "No, no, the doctor told me it was Toelio."

She shrugged off his misshaped feet and they continued to undress.
As he took off his pants, she questioned his weird looking knees!
He answered: "I have Kneasles."
She questioned: "You mean Measles?"
He insisted: "No, no, the doctor told me it's Kneasles."

He reminded her that he was in a hurry and took off his underwear.
She looked at him and asked: "Now, are you going to tell me you also have Small Cox?"

Be careful what you say to your kids, you never know what will stick with them!

Back to the dinghy, we are now fitting the knees in the transom. Knees are a structural member of the hull, just as important as the keel, frames, and floors. Knees help resist wracking and keep the hull from flexing as waves and loads try to torque the hull.

In the simplest of forms, a knee is simply a brace that keeps a corner from collapsing. Knees are used everywhere: they can be found under bookshelves, and even fold out table leaves. Once you break a knee down to its basic function, it takes away all the mystery behind it and makes it easier to comprehend.

The transom knee will fit into the corner of the transom between the transom and the sheer. The shelf clamp will also connect to it, adding extra rigidity to the hull. A few simple measurements were taken and the knees were cut from a piece of quartersawn scrap wood that was lying around in the off-cut pile next to the bandsaw. 

The knee fits good enough for what it needs to do and where it will be located. I did not bevel the side that mates to the transom to make the knee rest flush with the gunwale of the dinghy because that is a lot of work with no room for error. Most transom knees are very visible, as they are the top of the back corner of the dinghy. Our transom knee is going to be covered by a lid which will double as a seat for Maddie as I row us to shore. This means that the transom knees are going to be hidden away inside of a storage locker, only visible when the lid is up and we are either storing items or retrieving them later. For these reasons, the knees only need to be functional and their aesthetic aspects can be ignored.

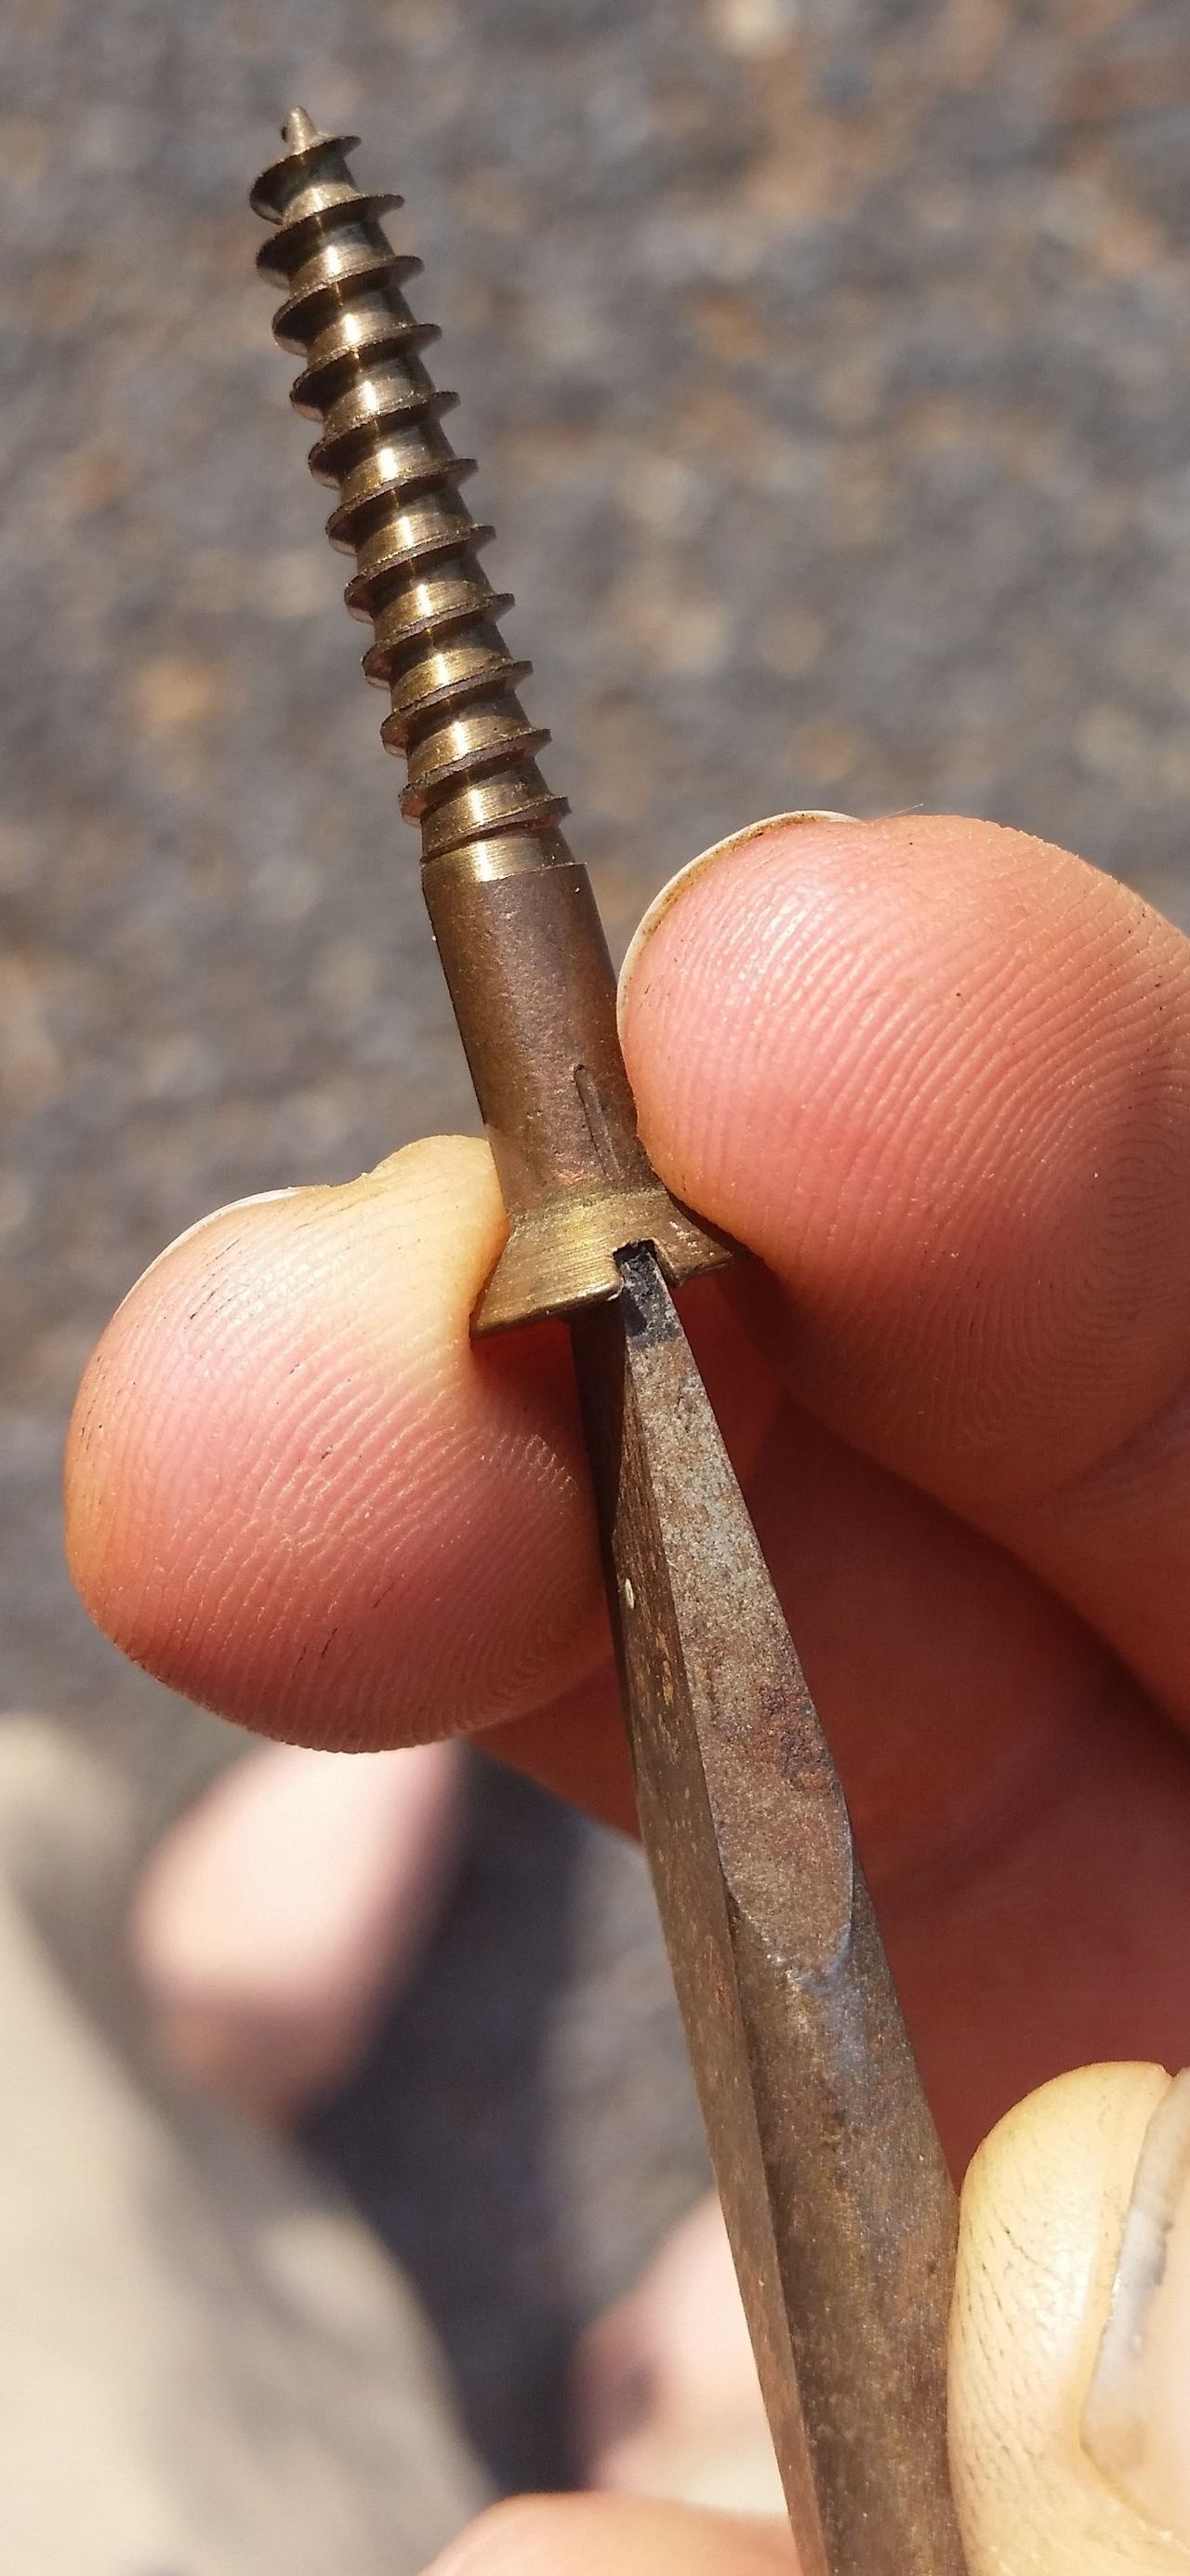
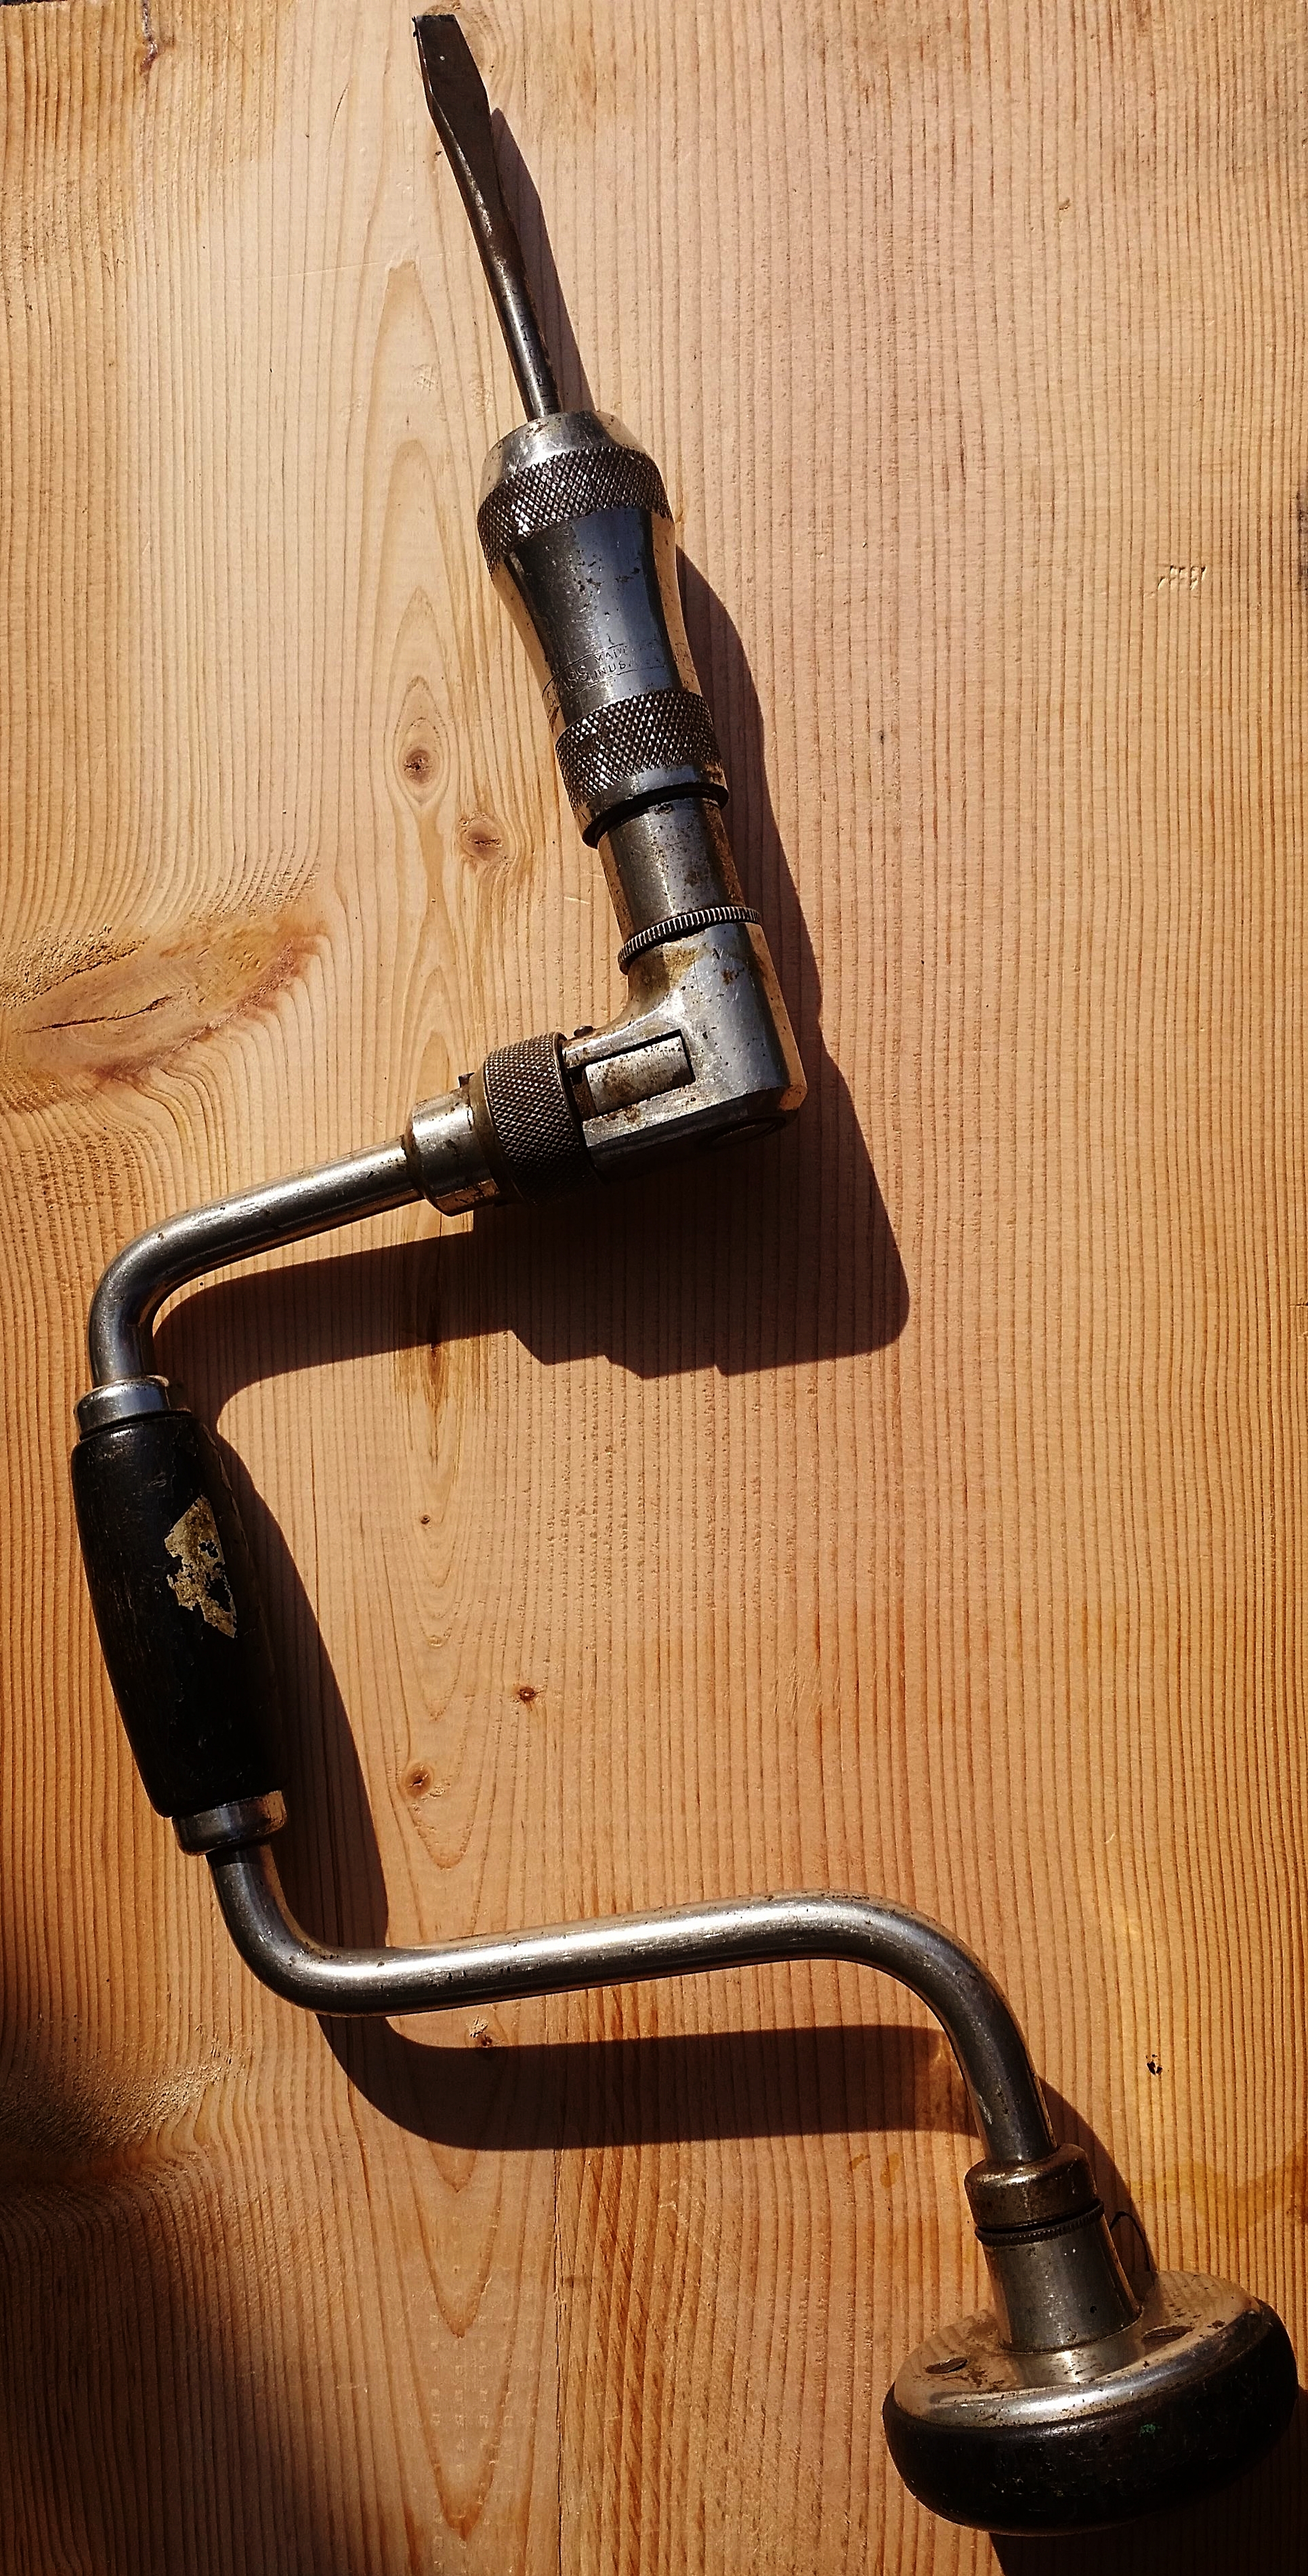
The knees were glued and screwed into place, with two screws through the transom and three screws through the sheer. The shelf clamp was also screwed through the tip of the knee and into the sheer, locking the entire assembly in place. You can see the screws on the sheer are set on an incline that runs perpendicular to the angle of the transom.

The knees were set and left to cure in place as the screws hold them in position for the rest of the life of the dinghy. Now the transom knees are finished and installed and the hull is a lot stiffer when torqued. 

Foggy Mornings

Dense fog will transform the marina into a magical wonderland. The city disappears into the mist with the street lights glowing off in the distance. As soon as the sun comes up, the fog will burn off, but for now, it feels like walking through a completely different world.

Monitor Wind Vane Installation: Part 1

The Monitor Wind Vane is now ready to install!

The first step of the installation involved is spinning the sailboat around in the slip that way I can work from the pier instead of working from the dinghy. We usually pull into the slip bow first because backing into the slip is a nightmare with the full keel! I spun the boat around the night before when it was dead calm because I could easily reverse into the slip under very little throttle (and suffer very minimally from the effects of prop walk). If I had done it during the day with the winds blowing the boat around, I would have been forced to use more throttle and have to negotiate with stronger propeller walk.

The next step is to clean up the transom! I have been using the davit arms as spare line holders. I keep the lines coiled up and organized on the davits. This whole setup will need to be cleared out because the wind vane needs plenty of clear space to swing around in. The davits will eventually go, but for now, they will serve as a great aid in the installation. I am able to hang the Monitor's frame from the davits and position it perfectly. This allows me to test fit everything alone with no additional help!

The monitor was fully assembled and then hung from the davits. Many safety lines were tied to the welded frame so that if anything slipped or fell into the water, it could be recovered.

As nerve raking as it was to suspend thousands of dollars by a few knots, it had to be done. If you install a Monitor on the hard, you have to guess where the waterline will fall on the servo-paddle. Installing it in the water insures that the paddle ends up at the needed depth without any surprises come splash day.

I used duct tape to hold the tubes that are not yet bolted in place. These tubes need some wiggle room when you test fit the unit to the hull, but at the same time, you don't want them to slip and fall into the water. Once everything was fitted and measured, the Monitor was removed and taken away from the water to drill and install the bolts in the attachment tubes.

Bit Brace

When you think of driving a screw into wood, the tools that come to mind are probably a screw driver or a drill with a bit attached to it. These are certainly the modern choices to drive screws home, but there is a reason the old methods hang around.

Bronze screws are softer than galvanized steel and much softer than stainless steel screws. Steel screws can be driven in with an undersized bit with ease and at little risk to galling the head. For this reason, people tend to use whatever size screwdriver fits into the slot.

If you use a smaller than adequate screw driver on a bronze screw, you will quickly slip out of the slot and gall up the threads. If the screw driver is too big and doesn't sit into the bottom of the slot, the same will occur. Once the slot has been galled, the sides of the slot will be rounded and it will be even easier for the driver to slip out again, further galling up the head. To avoid any of these problems, you need to make sure that the screw driver reaches the bottom of the slot and there is no gap or void between the bit and the head. If the bit fills the slot perfectly, it will power the screw all the way home without issue. If there is any discrepancy in the fit, it will slip out and gall up the head.

Stainless steel is starting to sound better and better, isn't it? While stainless steel is a wonderful material, it has its time and place to be used. When stainless steel is in an oxygen deprived environment (such as deep inside a plank) the corrosion inhibiting properties of the stainless steel are compromised and crevice corrosion can wreck havoc on the metal. The screw can literally corrode in half and greatly reduce its holding power. Bronze on the other hand does not suffer this same fate, and is the superior fastener material for use on a boat.

Now that we have explained why we will put up with a softer metal that is more prone to galling while being driven in, it is time to look at how we can drive these screws into place.

Most drill bits that can be inserted into a power drill are much too small for a large bronze screw. The next issue comes from the amount of power that an electric drill can produce. It can spin the bit so fast that it will jump out of the slot and gall up the threads as you begin. If you can manage to run the drill at a slower speed and control the rate at which the screw goes into the wood, you may think you are in the clear! The increasing resistance on the sides of the screw's threads will compound and the screw will stop advancing as the drill continues to spin, slipping out of the slot and galling your head. After a lot of effort, the galled up screw will finally get driven home, but the head looks horrible and you may be rather embarrassed if the screw will remain visible.

The next option is the more labor intensive screw driver. The screw driver is a hand driven tool that provides a bit of leverage to allow you to drive the screw home. A screw driver is actually a lever in disguise! The handle of the screw driver has a larger radius than the head of the screw. The radius of the handle is your lever arm, so a thicker handled screw driver will provide more leverage than a skinny handled screw driver. As you can imagine, the leverage offered by this tool is rather low, but more sizes of the screw driver are readily available allowing you to find one that fits the screw you are working correctly.

A bit brace is a very old style of tool that offers you the fit of a screw driver in combination with incredible torque and control only available in a hand powered tool. The offset lever adds incredible amounts of leverage to spin the screw while you can maintain constant pressure on the pad to keep the bit driven deep into the screw head. A bit brace may not seem as glamorous as a fancy and colorful electric drill, but it does perform with utmost reliability.

The bit can be set to ratchet, allowing it to be used in close quarters; or it can be fixed, allowing you the ease of driving something in and back out without the need to change any settings. The speed of the bit brace is dictated by the speed you move it, and the force on the screw is very apparent to you. Very light finger pressure can drive a screw in, and any changes in force will be quickly registered by the operator. This can alert you to push harder on the pad to keep the bit from slipping out of the head before the slot becomes galled.

If you have little resistance, it can drive a screw home quickly as a fast turns are possible and easy to carry out with this tool. If the resistance on the screw begins to compound, you can start to put more force on the bit brace and force it in or just as easily retrieve the screw and drill a slightly larger pilot hole for it to follow.

The last and most important feature of a bit brace is its ability to function without electricity. Plug in drills are great as long as you have access to an outlet. Cordless drills offer the freedom of mobility without a tether to an outlet, but an invisible tether is still present. As the drill is used, the batteries will run down and need to be recharged. These batteries require access to an outlet, meaning that you can prolong your visits to an electrical distribution point, but you are in no way free from the restraints of electricity. Lastly, the marine environment is a harsh world for electronics, so an on board power drill will eventually succumb to the deteriorating effects of corrosion. A bit brace does not run on electricity, as it is powered by the users hands and arms. If there is no sign of electricity, the bit brace continues on without a worry! Being made of metal, the bit brace is not immune to the marine environment. It can still rust and corrode, but proper care can deflect these deleterious effects and keep a bit brace looking as good as any other tool that is older than your grandfather! There are few moving parts on a bit brace, and these parts can be maintained with proper oiling and cleaning. If the bit brace were to act up, simple disassembly and cleaning can usually resolve any issue. These tools have been around for a long time, and they have survived into the present due to their reliability and usefulness.

The finesse and reliability of the bit brace make it is an invaluable tool to have and use while building a boat or carrying out repairs while living aboard and cruising.

Fitting the Sheer to the Stem

The sheer runs the length of the dinghy, from stem to stern, and provides a lot of rigidity and strength to the hull. At the stern, it attaches to the side of the transom, at the stem, it fits neatly into the rabbet to form a watertight seal. Before any of this perfect fitting begins, the sheer looks more like an oversized board that runs out past the stem and stern, ready to be cut to length.

The shelf clamps will also end a bit short of the stem, as they will end up being cut back even further to fit the breast hook at the heel of the stem. The sheers are pressed tightly up against the stem and the rabbet line is transcribed onto the planks. A very careful cut is made using a fine toothed miter saw that will not wander as it cuts to trim the plank to size. I prefer to saw with the kerf just to the outside of the line drawn as it is easier to shave off a bit of endgrain as compared to trying to add to it. 

A tight fit is preferred as it will form a tighter seal and prevent any water from slipping through the joint and into the hull. While the sheer should hopefully never be submerged (because we would be having bigger problems at that point) it is a good idea to make all the topside planks watertight. 

The sheer on the starboard side is a bit low on the stem as compared to the port sheer, but this will all be trimmed up when the bow is finished. At this point, the sheers are screwed into place with copious amounts of polysulfide bedding compound to completely seal up the connection. 

At this point, the sheer is now connected at the bow and stern, bedded and fastened with polysulfide and bronze screws. The dinghy is starting to take shape and look more "boaty".