Cruising

Halyard Safety

In the event of a Man Over Board emergency, you will want to have as many tools to aid in recovery of the crew member as possible. Once the person is alongside the vessel, it can be a distinct challenge to pull the person back on deck. This is where the halyard comes into play.

You want to have at least one halyard that is long enough to reach the water to allow for crew retrieval. On board Wisdom, all the halyards are long enough to reach into the water alongside of the boat. 

The reason I have all the halyards able to reach the water is simple: What if you are using the retrieval halyard when someone falls over? Freeing the halyard simply adds one more step to the retrieval process. For this reason, all my halyards are long enough to reach the water so that any free halyard will work during the emergency situation.

When purchasing new halyards, be sure to add enough length for them to reach the water.

Jacklines

While there are many methods to recover a person after a "Man Overboard", the best measure is to avoid them!

While having good handholds, nonskid decks, and secure lifelines are all critical measures; I feel that clipping into Jacklines is a wonderful method to keep you attached to the boat at all times.

Jacklines are a line that runs uninterrupted from bow to stern. The idea is you can clip in and walk from bow to stern without having to unclip. This way, if you fall over, you will be attached to the boat. Instead of trying to recover a person in the water, you simply have to pull them back on deck. 

Most recommend using nylon webbing because it lays flat on the deck and won't roll underfoot. This is true, but I have found that they will slide underfoot and cause the same loss of balance. 

They also will suffer from UV degradation at an alarming rate. For this reason, they recommend only setting them up when conditions merit, to limit their sun exposure. When conditions merit is when you want to clip in, not when you want to rig them!

I use 1/2" 3 lay nylon rope for my jacklines. They are attached at the bow and stern cleats and run uninterrupted on the deck. They are the same material as dock lines and anchor rode, so I feel better about leaving them in the sun permanently rigged. The moment we feel the need to use them, we have them!

1/2" 3 lay will roll underfoot, so we simply don't step on it, just like we don't step on sheets or jib tracks or slippery painted parts. You will learn your deck and be able to navigate it in the dark!

Our rule is if we go on deck and we are not tied to a pier or anchored to the bottom, we are clipped in! Even on light air days, it would be really annoying to have to jibe the drifter around to pick someone up. If we are clipped in, then we are never disconnected.

There are occasions when we don't follow our own rules, but we both have to OK the decision. Maddie doesn't like to wear her life jacket and harness because it is hot and heavy. When conditions are very light and she is just going to sit on the deck, she will go without wearing it or being clipped in. The important part is we are all in accord on the decisions to keep each other safe while sailing.

Sculling Oar: Part 8

The oar notch was cut into the block of wood using a circular saw. I made many fine cuts and then obliterated the thin pieces of wood in between the cuts to smooth out the area. 

I first made the notch 1/2" deep, but this was way too shallow. 

I then went back and made the cut a full 2" deep. This looks deep enough to hold the sculling oar in place. The sides were also beveled and flared, to allow the oar to pivot more easily. 

The next step will be to attach the base and give the oar a test run!

Sculling Oar: Part 7

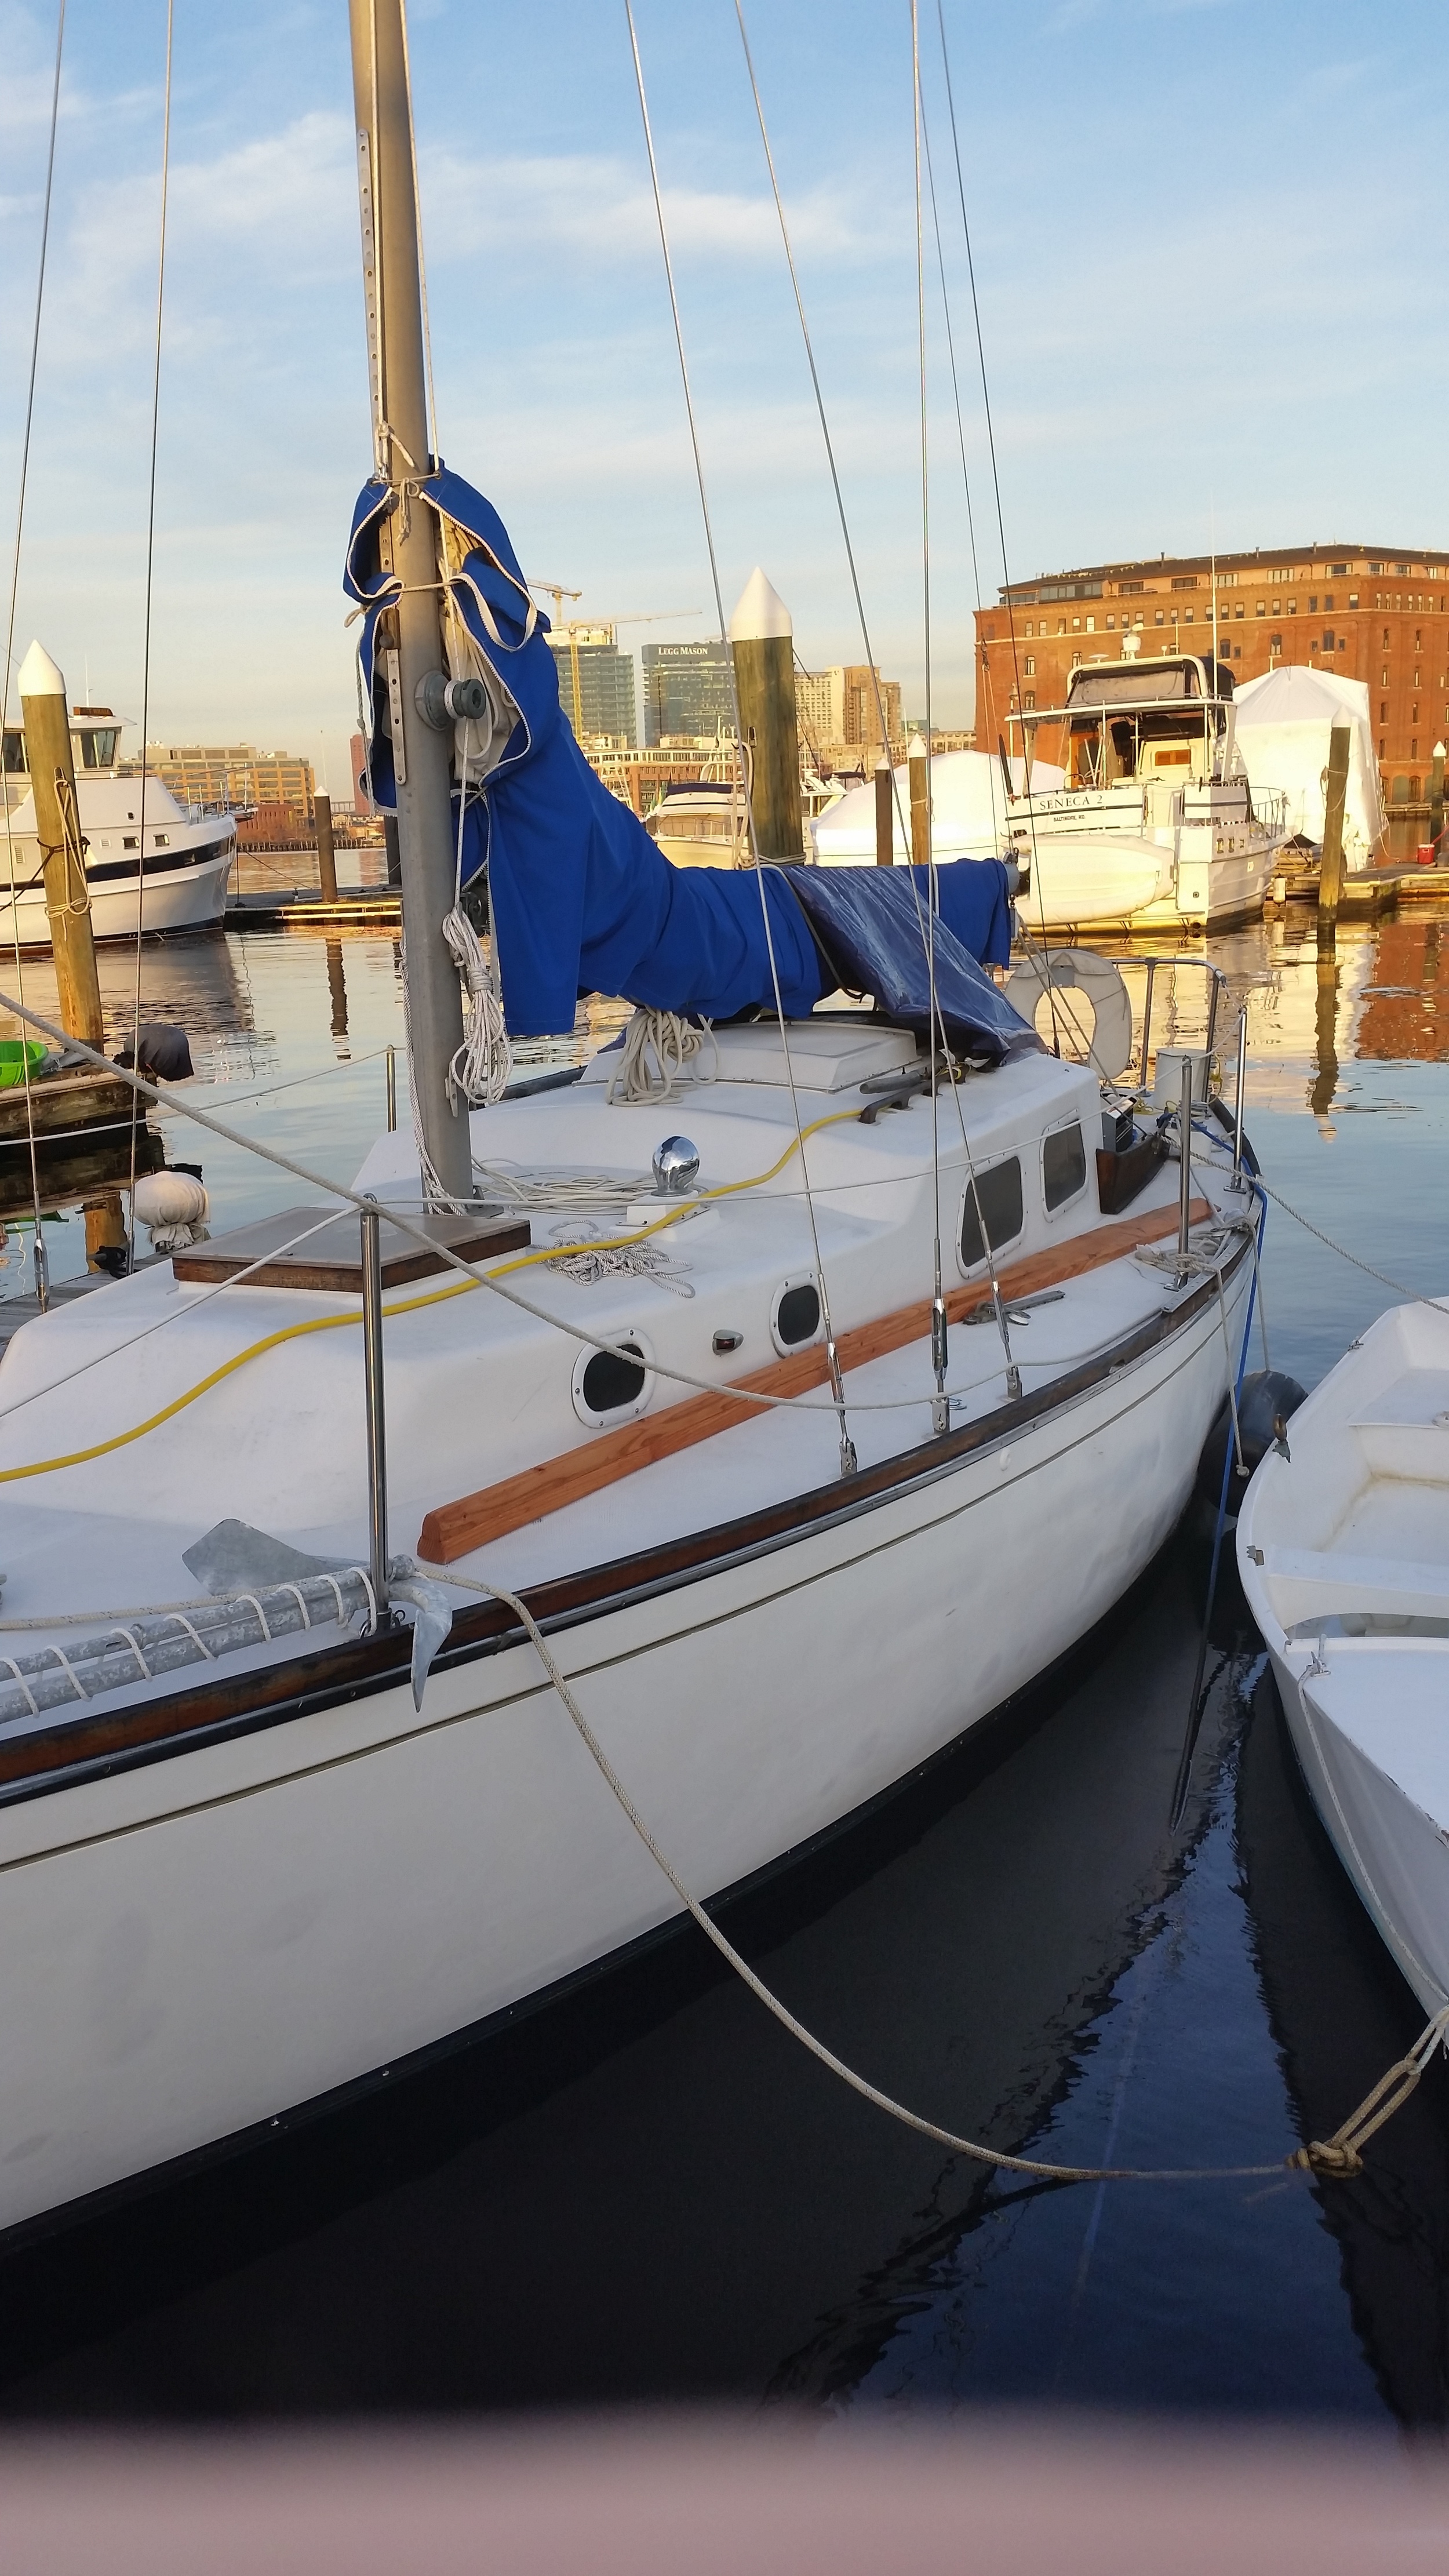
The sculling oars are finished and ready to be fitted to the boats. My dad gave me a large block of wood that he had laying around to use as the oarlock. The oar on Wisdom (1968 Morgan 45) is 16 feet long, while the oar on Windpuff (1966 Alberg 30) is 14 feet long. 

The oarlock needs to accomplish various tasks:

Needs to hold the sculling oar in place
Needs to allow free movement of the sculling oar
Needs to raise the sculling oar enough so that it doesn't hit the traffrail.

Windpuff has no traffrail (a future project) so there is less in the way of the oar. The future traffrail can be made to clear the sculling oar, so it is not a concern for placement right now.

Wisdom on the other hand has a rather wide traffrail, so I need to be certain that the sculling oar will not damage the teak. For this reason, the oarlock will be made much higher on wisdom.

I oriented the grain so that the oar will rest closer to the heartwood and the cleats that will hold the lashings will be placed on the sides where the grain is closer to 45 degrees so the screws would have good holding.

The corners will be bullnosed and the heart section dished out to help restrain the sculling oar. The base will be bedded and lag bolted to the deck from underneath. 

You can see how the oarlock needs to gain enough height to clear all the stern fittings. While the top will be dished a bit, it will still provide enough height to clear the edge of the traffrail.

By looking at the grain of the wood, I believe it is longleaf pine. This wood used to be used to build boats in the early 1900s and has moderate rot resistance. The most important part of keeping this wooden piece healthy will be to maintain the coating and keep it oiled. This will keep moisture out which will prevent rot and mold from setting in. Exposure to salt will also help pickle it and keep the wood hydrated. I plan to design the oarlock so that it will shed water and keep itself dry. Standing water will lead to rot, so keeping up on the maintenance will be crucial to the longevity of the wood on board. 

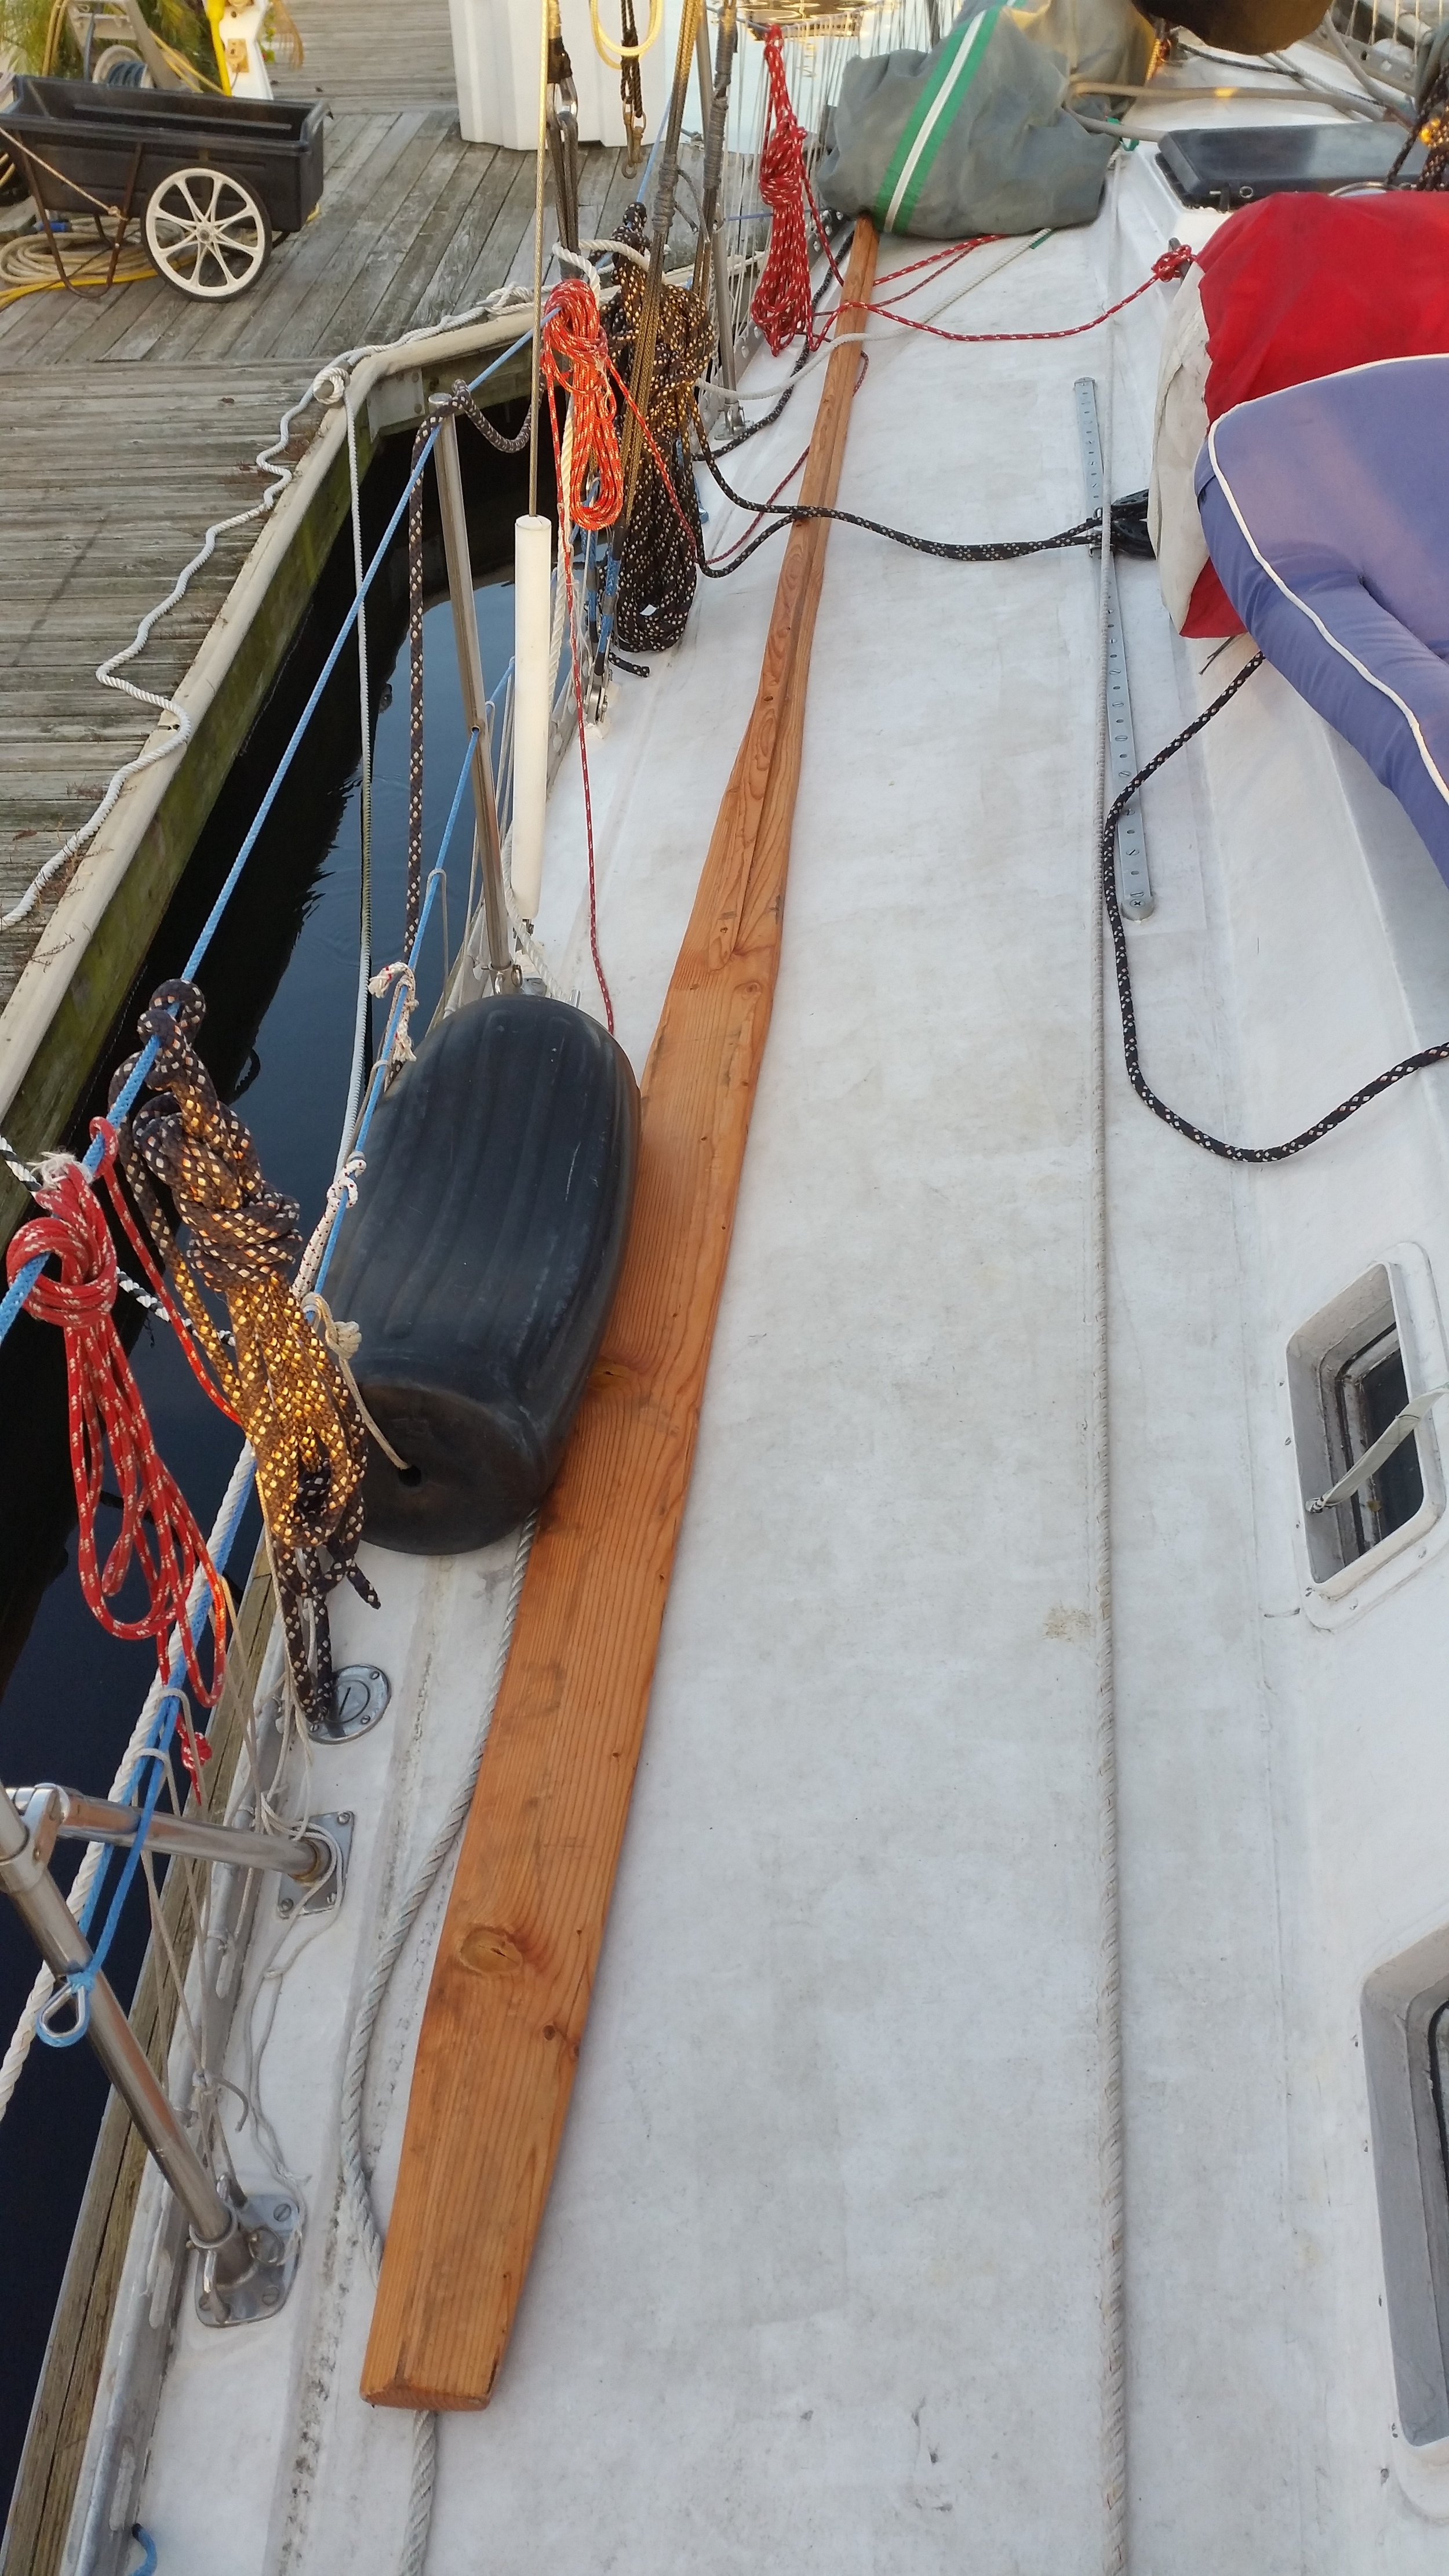
The next issue is storage of the long oars. I plan to keep them tied to the lifelines, away from the sheets and out of the way. For now, they are laying on the decks until their homes can be found

Sculling Oars: Part 6

The oars are finally constructed and fastened together, it's time to apply their protective coatings. I chose to use tung oil instead of varnish or paint. 

As you can see, the tung oil brings out the grain and protects the wood, making it repel water and it oils the wood to keep it from drying out too quickly and checking. The other advantage is that you can see the wood to visually inspect it for signs of decay and rot.

Varnish also protects the wood and offers many of the same qualities as tung oil, but when it comes time to reapply, the old coating can begin to flake off and needs to be removed via sanding or heating. This can be a time consuming process. Tung oil does not need to be sanded off, in fact, with time it will disappear much like teak oil does. The wood will slowly return to its natural uncoated appearance, signalling that it is time to recoat the wood. 

Paint offers the wood protection from the elements, but it does not offer ease of inspection. It covers everything, so overlooked rot will only show up when it is far more advanced. While Tung oil brings out the richness in the grain, it does darken over time; so don't expect a pale wood to stay pale and don't speed the process up by using stain either. The look of old wood will come as the wood becomes old. 

Be sure to give the endgrain extra coats of tung oil because. This oar has 4 coats on the top of the blade and 8 coats on the endgrain.