
Cruising Mindset

Cruising is not just the act of taking long trips on your yacht, it is an entire mindset that becomes you as you cruise. 

Maddie and I have cut the dock lines to society and set off as full time cruisers. We have no schedule, no itinerary, no nothing! We simply pick a place and start heading there. We get there when we get there is a good way to sum it all up. 

When we had taken "extended vacations" before that we called cruising, we had a set amount of time available to us. We had a destination in mind and a return date already set. Everyday that we weren't heading towards our destination was a day lost, because we did have to turn around at some point to return to work. 

While the trips were relaxing, they were still speckled with stress. If the winds were not right, or we didn't get far enough on a day, we felt like we might not actually get to our destination and we would be forced to turn around by our jobs. 

Now, we don't worry about these sorts of things. We wake up when we wake up, raise anchor when we feel like it, and sail until we decide to stop for the day! 

We were anchored in Harness Creek in South River when we decided to visit a little town called Easton. This town is located far up a river and was rather far for us by sail. We didn't care and we set off towards this new destination.  

After three days of sailing, we were nearing this town on the river and were only 0.3 nautical miles from the place we want to anchor for a while when we ran aground. 

Running aground is never a fun time, but the truth is it isn't that bad for us.  Wisdom, our sailboat, has a full keel. Running aground simply means that we are sitting on the bottom of the river with no worry about damage to our undersides. 

We checked the tide table and found that it was nearly low tide, and the tide was going out. We tried to heel over with the sails, kedge off, even be pulled off by the assistance of a passing powerboat. Alas, the tide had gone out too fast and our waterline was about 6 inches higher than normal. Our keel was stuck in the mud and our only hope was to wait for high tide to lift us off. 

The tide would take a few hours to come back up, and instead of stressing our situation, we simply got out some cheese and a game to eat and play in the cockpit while we waited. 

That is the true sense of cruising. Time no longer matters, as you simply take each day as it comes and each moment as it presents itself. There is no worry about deadlines nor schedules, as we are merely sailing along as best we can in the direction of our next destination. 
Blister Repair

Osmotic blisters may be the bane of a fiberglass hull, but it is a small problem that has been blown way out of proportion. The truth is, all hulls suffer form some form of degradation: wood hulls rot and get worms, fiberglass hulls get blisters, steel hulls rust, and aluminum hulls disappear by galvanic corrosion. You simply need to choose a hull material that you feel comfortable repairing yourself.

Blisters are caused by the osmotic pressure of water that passes through the layers of fiberglass and exposes areas of delamination. When the hull is lifted from the water, these areas will bulge out like lumps. When you crack them open, water will pour out with intense pressure. 

Fixing blisters can be a very costly endevour if you pay to have someone else do it, but they are actually very easy to fix yourself. You only need a grinder and an sander. 

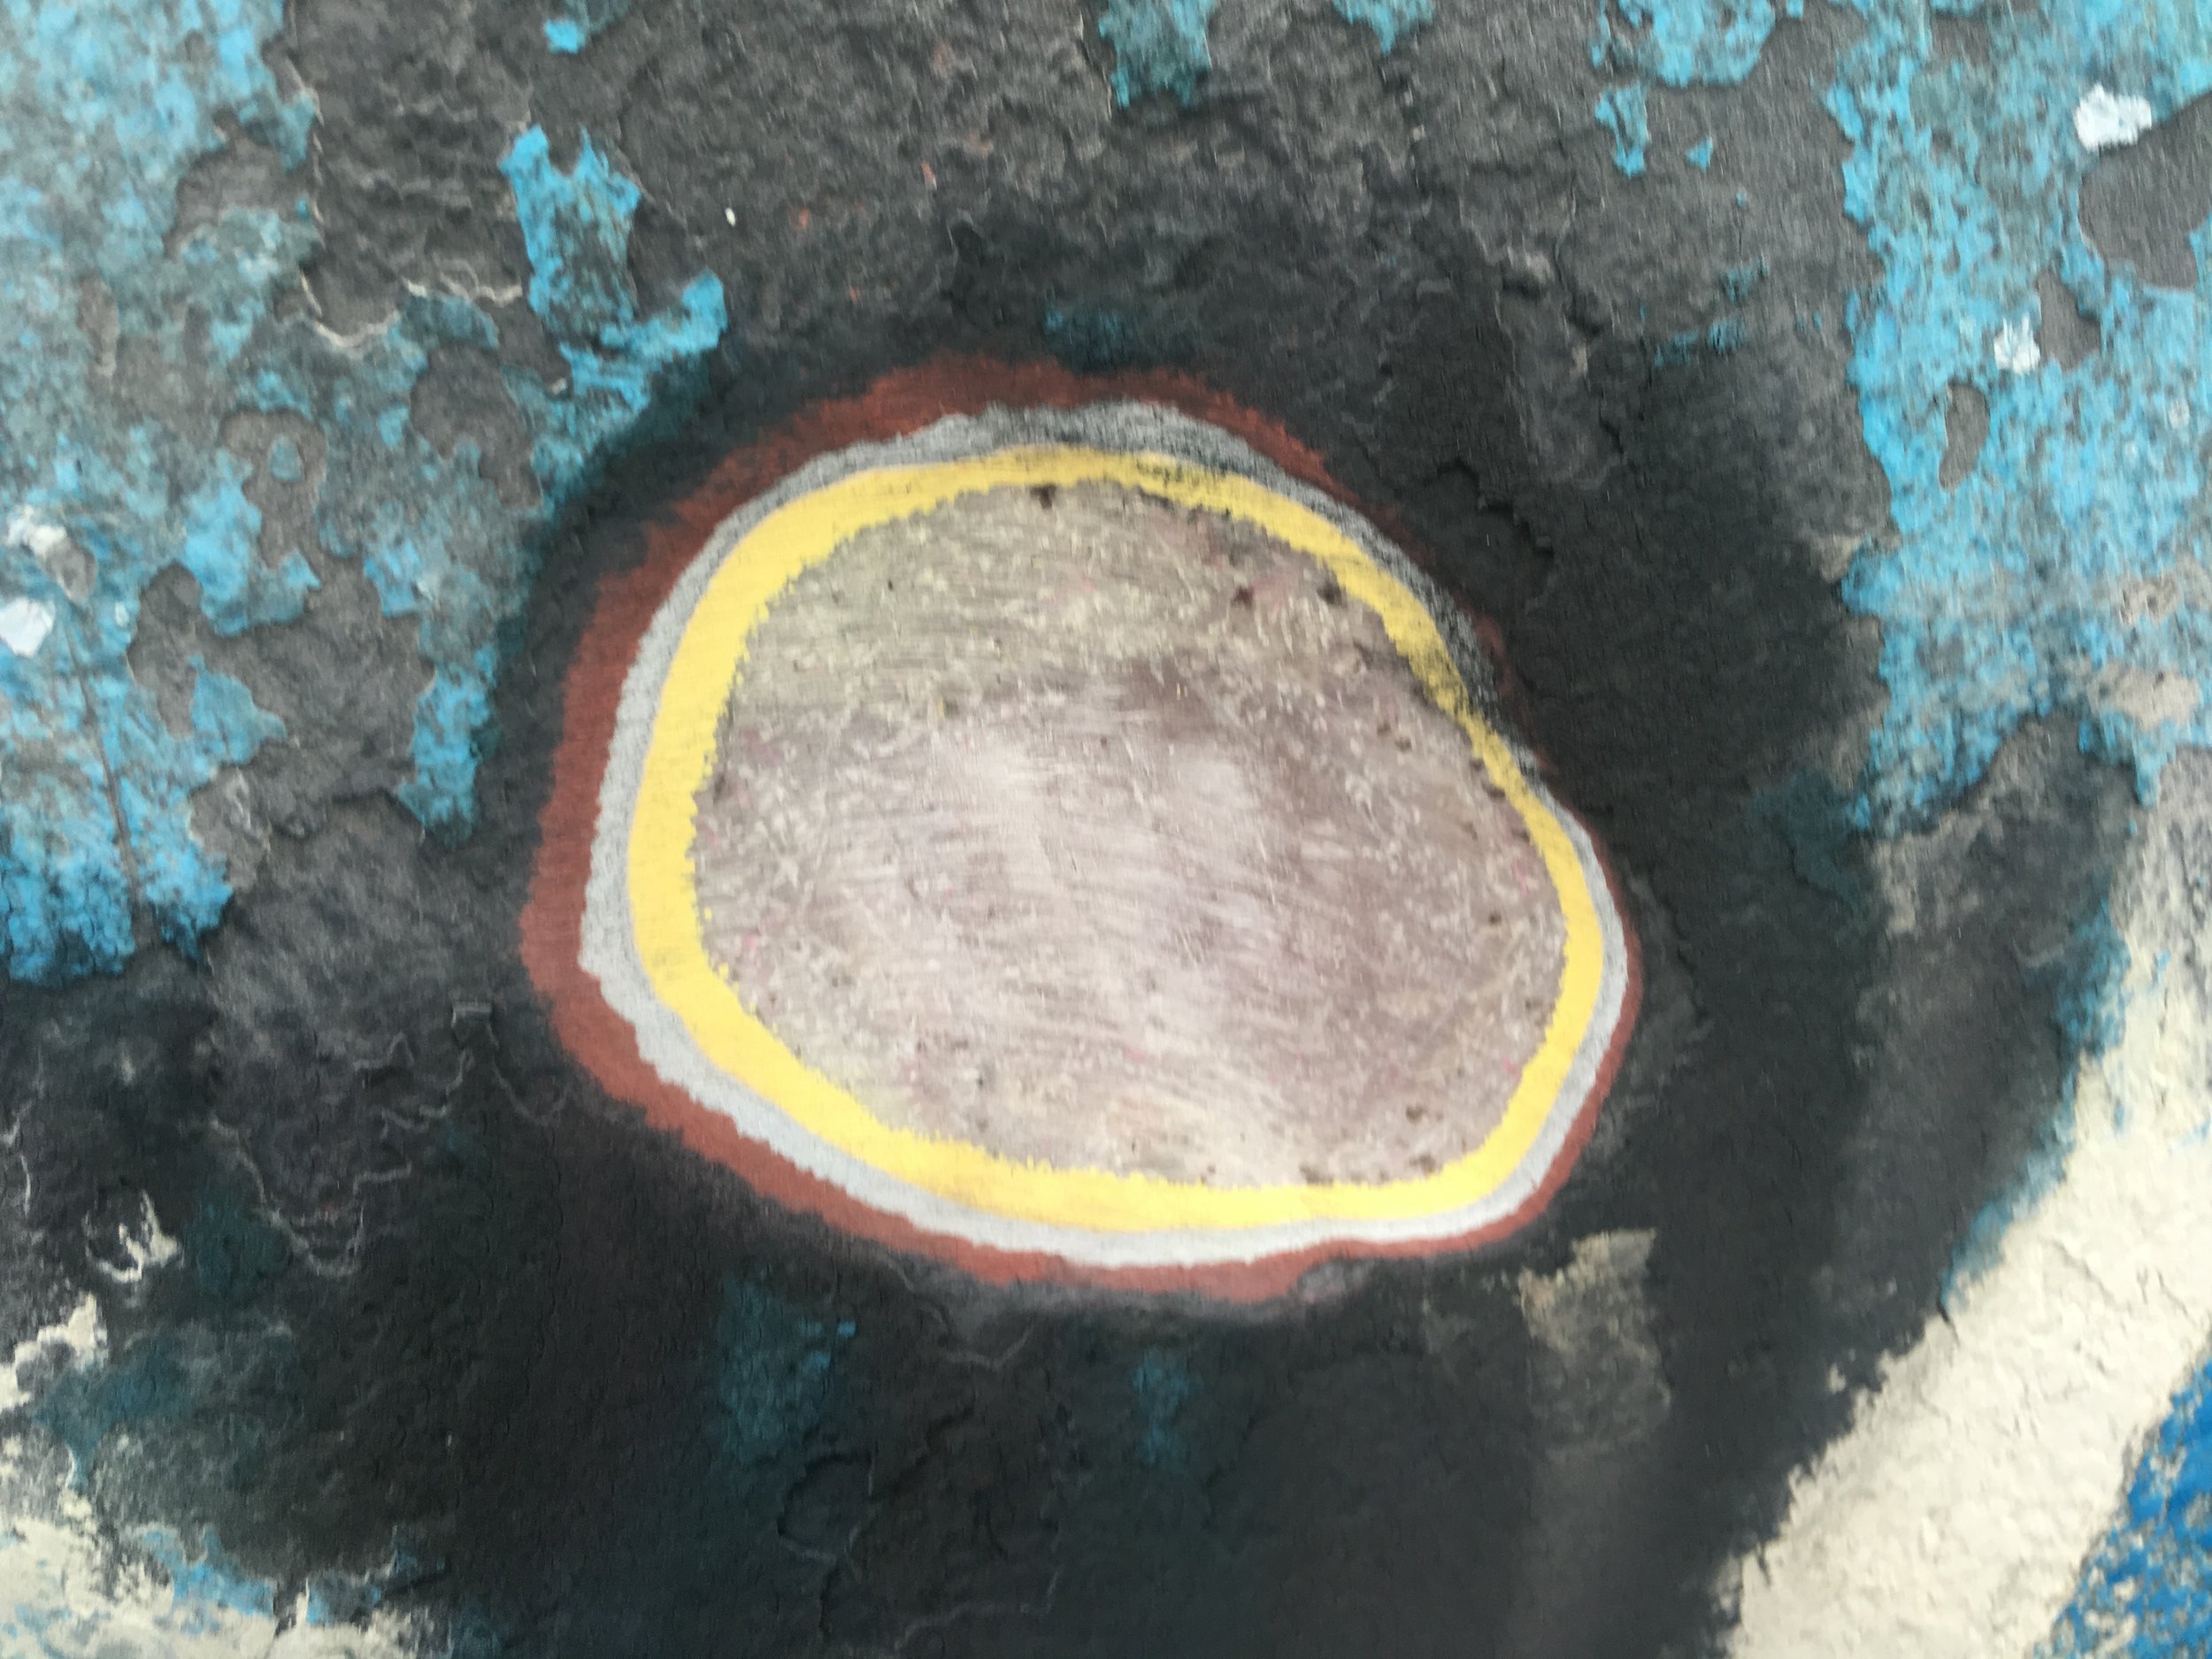
Using a grinder, you can rip through the blister, tearing out all the delaminates fiberglass that is overtop. Then you can begin to tear out laterally, as you follow the damage from the blister. As you work, the affected area will be wet and have a slight brown color to it. You simply want to grind away until you no longer see any brown or wet, and you can't even see where the different layers are of the hull. 

At this point you will have a gaping hole in the side of your boat. This may seem like a major problem, but it is easy to fix. 

IMG_0296.JPG

If the blister is not too deep, the repair is very straight forward. If the blister is rather deep, then you simply need to take a few extra steps to fix it. Neither of these two methods are difficult, and both can be done in a few minutes. 

If the blister is shallow, and not passing through many layers of the hull, you can simply fill the hole with thickened epoxy. How deep is too deep for just epoxy is dependent on the hull itself. If you have a 1/4 inch deep hole on a 1/2 inch thick hull, you have just compromised 50% of the hull in a blister! Yet, if the hull is inches thick, this is a small surface scratch that is inconsequential to the total structural integrity of the hull. 

In my case, the hull in this area is 1.5 inches thick, and the blister was 1.4 inch deep. This comes out to be 1/6th the hull thickness, so I simply repaired it with thickened epoxy. 

Regular West System Epoxy can be mixed well, then 406 thickening agent can be added until the entire mixture looks like thick peanut butter. This thick mass can then be stuffed into the hole and wiped over with a plastic spatula. The spatula will contour the blisters surface to be flush with the hull, taking all the work out of fairing the repair job! It is just that easy, simply smear it in and smooth it off! 

If th blister is deep, you can wet the area with untickened West System Epoxy, and then add some chop strand mat to the hole. This will provide new fibers that will add in the structural integrity of the entire repair. Over this layer, you can then add more unthickened epoxy to fully wet the strands of fiberglass. When they are all wet, you then proceed with the thickens epoxy just like before. Simply smear it in and scrape it smooth! 

Blisters may be an eyesore, but they are more an annoyance than anything else. Small blisters will not sink your boat, only it's resale value! Keeping your boat out of the water through winter allows the hull to dry out well and reduce the incidence of blisters as well. If you live aboard though, your boat will always be int eh water and blisters will become a fact of life when you haul out. 

You can choose to ignore them until they get big, or you can choose to repair each and every one of them as they occur. Which ever way you choose to go with, just keep in mind that blisters are not a death sentence to a fiberglass hull, simply an annoyance you get in response to your relaxed maintenance schedule of haul outs. 

Safety While Working

All projects that you decide to carry out will carry with them an inherent risk. It is therefore your choice to run the risk and do the project yourself or pay someone else to run the risk in your stead.

Rigging is an excellent example of a risky activity where safety is important. There are two main concerns while aloft: falling, and getting hit.

Falling is an obvious one. If you go to the top of the mast and your rope breaks, you will plummet to the deck and probably your death. This obvious safety concern gives me employment as other people pay me to go up their mast to carry out simple tasks high up in the air.

The other safety concern is much less obvious. Getting hit is a major issue that will cause serious harm to a person who is aloft. The biggest cause of these injuries is hitting the mast itself. When working aloft, all movement of the boat is amplified as you go higher up the mast. A simple wake that rolls the boat at deck level will send you swinging far from the mast while aloft. The problem is when you swing back, you will smash into the mast with a lot of force and no protection from the impact.

To mitigate this risk, a safety line is tied to the spar, preventing you from swinging far and minimizing the harm caused by swinging away and back into the spar.

Safety became very apparent to me when I started casting bronze for the dinghy we are building.

My original safety gear was a pair of fire proof gloves and some long tongs to extend my reach into the hot and molten metals. Aside from the gloves, I had no other safety equipment. After much disdain from my parents, wife, and other people on the internet, I decided that it would be wise to cover up and be protected.

I was viewing casting bronze as I view target shooting. If you mess up, it can kill you, so pay attention to what you are doing and don't mess up.

My main concern was burning myself, so I donned fire proof gloves. I know that the bronze is close to 2000*F and would burn through my skin in a heart beat. Instead of donning fire proof clothing as well, my plan was to not put it over myself.

When target shooting, you wear ear protection and aim the gun away from yourself. I have never worn a bullet proof vest while shooting at a range because I never plan on getting shot while there. Likewise, I was not wearing flame retardant clothing because I was not planning on setting myself on fire.

Just like with guns, one slip can have costly consequences, and so I have acquired the appropriate clothing to wear while doing my last attempt at casting.

Safety is important and you never plan to get hurt. I have been very lucky on my first two attempts at casting. Hopefully my luck continues on this third and final attempt at casting while I wear protective clothing.

Keep it Simple

On a sailboat, everything will eventually come to an end. Either it will corrode, break, or fall overboard.

Tools, plates, cups, and trinkets will eventually find their way to the bottom of the sea. Safety lines will prolong the inevitable, but at some point, an accident will happen and it will go over the rail

Gadgets and electronics can fall overboard, but they are at greater risk of corroding and breaking. The marine environment is a wonderful place to watch metals decay as the salt and humidity will eat away at the metals involved. Electronic gizmos are like Olympic athletes who will dash at record speeds to their demise. Salt will destroy the tiny circuits that will make them operate and will instead fail you when you feel you need them most.

If you fill your boat with many electronic devices, you will simply live a life of sadness as they all begin to die on you. You will mourn their loss as you shell out more money to replace them. This costly cycle will continue as your cruising budget turns into an electronic purchasing account.

You will also need more power production as all these devices will pose a considerable electric draw. The more you have the more you need, and you will begin a downward spiral towards a life of obsolete or broken electronic devices. Instead of cruising, you will be funding the lives of electricians around you as you constantly pay them to repair your equipment.

The alternative is to simply keep it simple. Instead of air conditioning powered by a generator while at anchor, why not have enough hatches to allow proper air flow. Instead of a water maker, why not set up a rain collector. Instead of a refrigerator, why not have a well insulated ice box.

We are starting out our trip with very few electronic devices on board. We have the interior lights, but we have flashlights and solar charged lanterns should they fail us one day. We have a GPS, but we also carry and know how to use a sextant and paper charts. We have a refrigerator, which I have made some modifications to make it more of a "fancy icebox" with a chill plate present.

Should our electronic devices fail, we will simply carry on using the simpler backup plan. This will allow us to cruise with less worries and less headaches. Repairing the electronic devices when we want rather than when they break.

The last point to remember is "the less you have, the less you have to break" and this could be no truer than on a sailboat. When I hear other sailors complaining about all these components breaking down on them, I think to myself how glad I am I don't even have that component!

Gantline Setup

Climbing the mast usually involves conning one of your friends to haul your heavy body up the spar so you can take a look at a few things. If you run out of friends who are willing to spend their day grinding on a winch, you will need to find a way up to the top and back to the deck in a safe manner alone.

One of the easiest and safest ways to climb the mast alone is to use a gantline. A gantline is a dedicated line that will raise a human up the mast. It is simple to rig and easy to use.

The gantline is made up of a pulley which is attached to a halyard. This pulley will be a double block. On your chair, you will have another block; double if you want to create a 4:1 system, or single if you want to create a 3:1 system. Between these two pulleys will run the gantline, which you will pull to raise yourself up the mast.

Some things to consider when choosing your system is how strong are you and how much do you weigh.

If you choose a 4:1 system, your weight will be divided by 4, but you will have to pull 4 times the height of your mast in rope to get yourself all the way to the top. If you weigh 200 pounds, and your mast is 50 feet tall, you will have to pull a weight of 50 pounds 200 feet. The weight is slight, but the distance is great and you will need a lot of endurance to make it all the way to the top.

If you choose a 3:1 system, your weight will be divided by 3, but you will only have to pull 3 times the height of your mast in rope to get yourself to the top. If you weight 200 pounds and your mast is 50 feet tall, you will have to pull a weight of 67 pounds 150 feet. The weight is slightly more, but the distance is vastly less. If you are strong enough, I highly recommend going with a smaller system, as you will get to the top faster and you will need less rope to do so.

The gantline is run through the blocks and tied off to the last block after all the pulleys are used. If you are using a 4:1 system, the knot will be on the top block. If you are using a 3:1 system, the knot will be on the bottom block. To go up, all you need to do is pull on the tail and you will slowly begin to ascend.

Coming down is easy too, as you let the line out, you will slowly descend. The friction from the pulleys will also cause you to come down a bit slower as well. If you loose your grip on the tail and begin to freefall, all you need to do is grab the mass of line that runs between the blocks and squeeze. The rope will stop moving and you will come to a stop without hitting the deck.

I like to use 3 strand nylon rope for my gantline because it is easy to grab and also easy to inspect the condition. Double braid rope can have a nice looking cover and a rotten core hiding below, waiting to fail while you are aloft. 3 lay is the entire rope, and what you see is what you have. If you notice severe chafe, you can easily identify it and repair it with a mending splice, or replace the entire rope if you do not feel comfortable with the idea of repairing rope.

Gantlines are a great method to raise yourself up the mast in a controlled and safe manner. They reduce the weigh involved which means that you can pull yourself and your tool bag up to the top of the mast with ease and peace of mind.