Rain Water Collector

Wisdom has its fresh water tanks set up in an ideal way for ocean sailing. While this is the safest way to store your water, it is not to say the easiest way.

There are eight tanks with no plumbing to the outside of the boat. To fill the tanks, a hose needs to be taken to each tank and filled through the inspection port. The vent to the tanks are also inside the hull. Internal vents prevent the risk of saltwater working its way into the tank during heavy seas. Safe fresh water is nice, but if you overfill your water tank, water will begin to pour out of the vent into your storage lockers or out the top of the tank. Either way, the inside of the boat is soaked and you now have a large mess to clean up. 

Safe and secure segmented water storage is nice while ocean cruising, but it makes it rather hard to fill up the tanks when water presents itself. Most people picture water presenting itself in the form of a hose at a fuel dock, but it can also present itself in other forms. My favorite is when it comes in the form of rain which pours down on the deck in bountiful quantities.

Since the deck is the largest area of the boat that is always available to collect rain water, I figured it would be a great place to start our rain collections. I first identified the lowest place on the deck and began working. On our boat, the lowest point is right between the primary winch and mainsheet winch.

This area of the deck pools water after every rain storm, causing the paint to deteriorate faster in the form of a spiderweb of flaking paint. The small chips are the result of us storing hard and heavy items on the side decks such as chains and anchors. Over the years, they have taken their toll on the deck paint in this area as it lived neglected under a layer of city dirt that builds on the boat from the polluted air. The constant standing water and chemicals in the air have quickly damaged the paint in this part of the deck, offering further evidence that this is the lowest point on the deck and the ideal location for the rain water collectors.

There is a slight lip in the deck as it approaches the toe rail, and water collects equally in both of these points. I decided that the best way to make use of the deck topography would be to place the deck fill plate over the ridge of the deck so that water from either area will flow into it and into the rain water tank.

To allow the deck fill plate to collect water from both regions, it would need to be recessed lower than the deck, this way water would flow into it during a rain storm. To get everything lined up properly, the deck fill was placed over the region of interest upside down and used as a guide for the hole saw. Just like when placing a dental implant into the jaw bone, angulation is crucial! The holesaw was drilled down into the thick deck until the shallowest part of the saw was buried to the depth of the deck fill plate.

20170122_114055.jpg

With the perimeter hole cut, there was a constant depth available to the hole that simply needed to be trimmed away. For this, I used a reamer and slowly but surely expanded the central hole to outer perimeter.
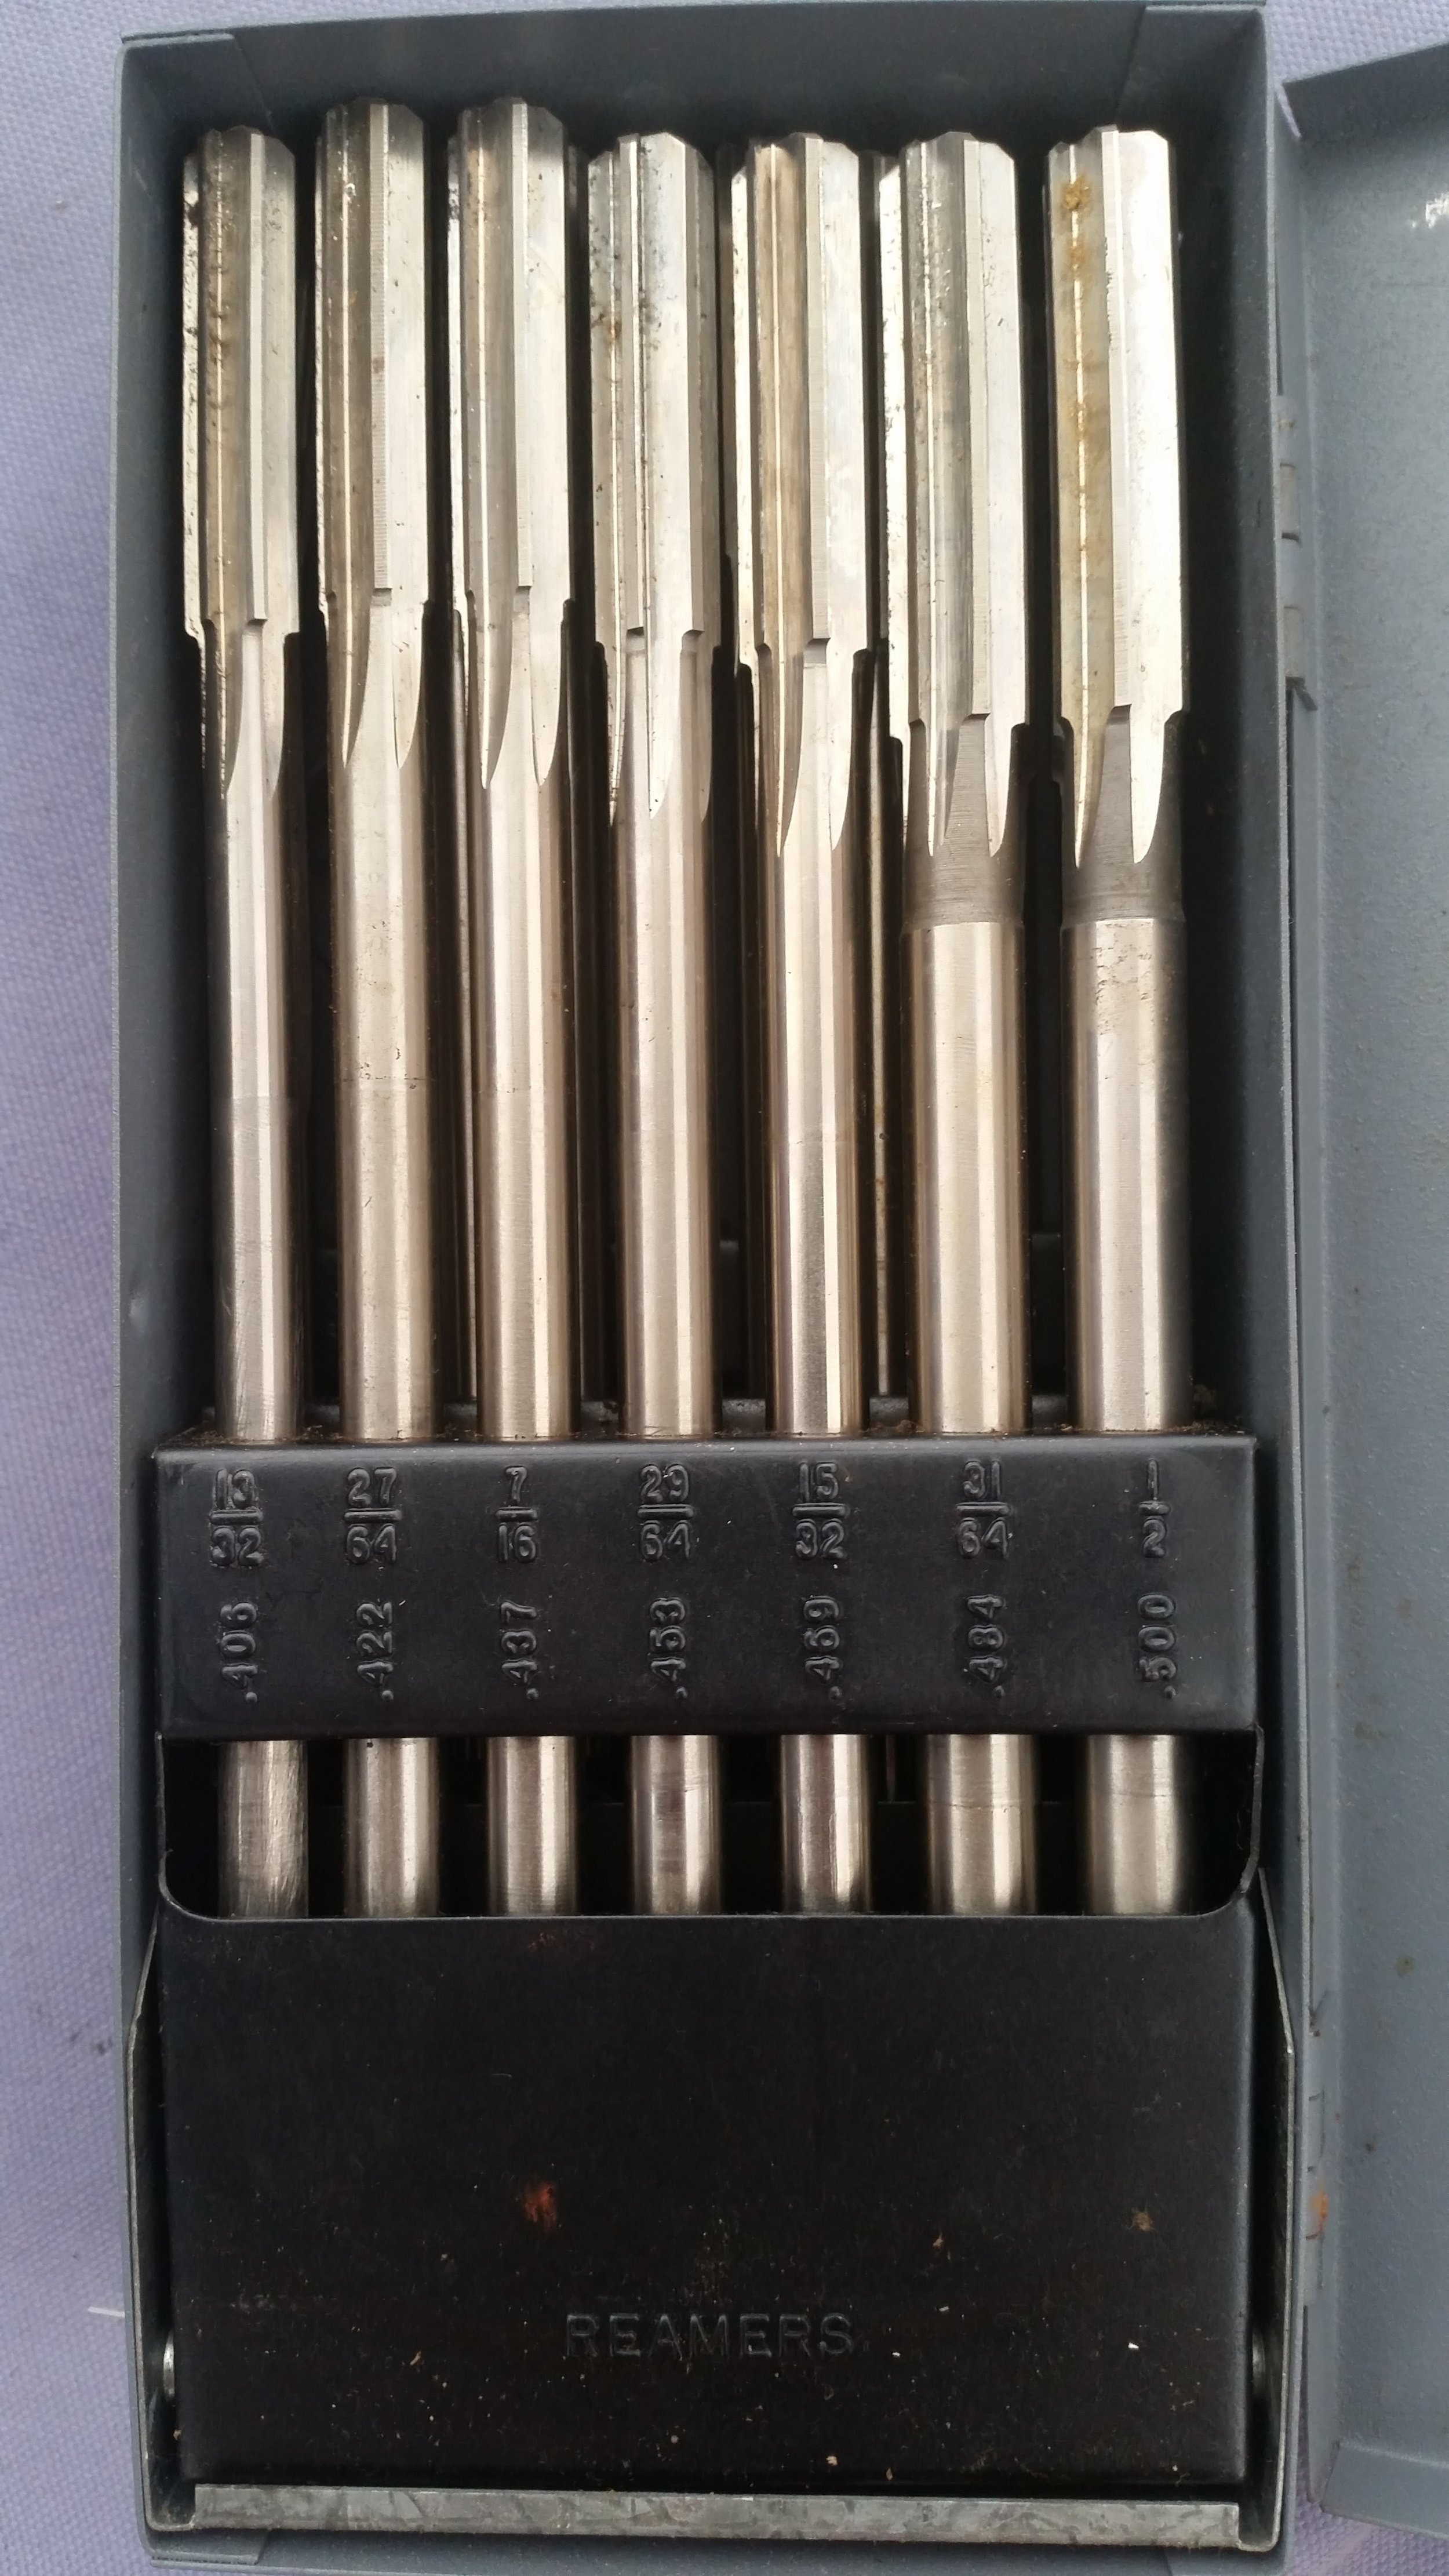
After a while, the perimeter was reamed out to the appropriate depth so that the deck fill plate would lay flat. The central hole was left in place so that all the dust would remain on the deck where I could easily vacuum it up instead of falling down into the underlying locker. After all the reaming was finished, I then took a smaller hole saw and removed the central portion.

At this point, the deck fill plate could be test fitted to make sure that it laid flat and below the level of the deck so that water would flow into it.

Once the fit was established, I sanded all the edges of the hole so that it would be easier on our feet if we ended up standing in there. Copious amounts of 3M 4200 was used as bedding compound and the deck fill plate was screwed into place. The excess bedding compound was wiped off and cleaned up using acetone. 

Yes, there is way too much bedding compound in use on this deck fitting, but this is my boat and it will spend the majority of its working life under a small layer of water and I don't want my deck to leak! I made sure that 4200 oozed out of the screw holes and all around the deck plate flange. I then smoothed the bedding compound to be flush with the surrounding deck so that water will flow better and dirt won't get trapped on it as easily. When I repaint the deck, the exposed fiberglass will be properly covered and protected from UV radiation. In the meantime, these exposed areas of fiberglass live under the protection of the cockpit shrink wrap.

The other side of the deck was much easier to do since I had the hang of it by then and the resulting hole was much smoother and cleaner.

With the deck fill plates on both sides of the deck, we can collect rain water from passing storms. As we see the rain approaching, we can quickly scrub the deck to clean it of any dirt or debris that may be present. Then allow the first few minutes of rain to wash away any residual scuzz that needs to be swept overboard. Then we can open the fill plates and let the rain water rush down the hole and into a bladder tank that will be located down in the keel. 

The plan is simple: collect the rain water in the bladder tank and test if out to make sure we like the quality of the water. If it is good, we can pump it into our water tanks. If we don't like it, we can either pump it out or use it for washing clothes and bathing. If the water is not up to snuff, we don't have to worry about it contaminating the rest of our water supply, and it will only be relocated if it is up to our standards. As we add it to the regular tanks, we will be treating the rain water with chemicals to kill anything that might be present in the water.

Having two deck fills will allow us to favor which side we wish to collect rain water from. If we are sailing, the leeward side is going to be devoid of rain water since it will slide right off the deck and will also be closer to sea level making it riskier to open that deck fill. The windward side of the deck will be relatively flat, so water will be sent to this low spot. As long as the seas are not splashing up on deck, we will be able to collect our water as it falls from the sky!

Spotting the Rotten Egg

If your eggs are older, you run the risk of possessing a rotten egg. The best way to make a disaster in the galley is to crack open a rotten egg! When using older eggs, you want to crack the egg into a small container, and if it's fresh, you then dump it into the big bowl of all the eggs. If the egg is bad, you can easily dump it out without ruining all the other eggs you have cracked open so far.

Cracking open a rotten egg is a horrible thing to do inside the galley, even if it doesn't contaminate the good eggs. The stench will clear out the cabin and make you never want to go below again!

To avoid opening a rotten egg, all you need to do is place it in a cup of water. Good eggs sink, rotten eggs float. If the egg floats, simply throw it out without opening the egg. This will keep all the stench neatly contained within the egg, and will keep life inside the cabin happy and merry.

Bad eggs float because the insides have fermented and this air bubble (which smells horrible) causes the egg to float. If the egg sinks, it is probably good and is safe to open inside the cabin.

This quick and easy test will prevent any olfactory catastrophes in the galley!

Speaking Cloud

The best weather forecast comes from the sky itself. Instead of going online and downloading a grib file, or listening to the WX station on the VHF, simply look up at the sky!

As weather approaches, different cloud formations will appear, telling you exactly what is coming and when. Should the weather patterns change, the clouds will inform you of this and you can relax again.

One of the most vocal clouds is the Cirrus Cloud. Cirrus clouds are wispy, high altitude clouds, usually composed of tiny ice crystals. If you see one or two of these clouds in the sky, they don't really have much to say. If you see the sky filling with these clouds, then you should listen to what they have to say!

Cirrus clouds tend to indicate the approach of deteriorating weather. Cirrus clouds will be blown off the tops of an approaching cold front, or blown off the top of an anvil cloud. Cirrus clouds that are accompanied by alto stratus indicate the approach of a warm front.

When all the cirrus clouds point in the same direction, they are telling you that they are all being blown from an approaching weather pattern. When you see them creep into the sky, they are telling you that in 1 to 2 days, bad weather will approach. If they are alone, it is either a single thunder cloud or a cold front. Either of these cases will cause the wind to shift and begin to blow from the direction the clouds originated. 

In other words, when you see these clouds appear, it is time to make sure your ready to reef or set up your storm sails. As the main weather system approaches, you can quickly set the appropriate sails and wait out the storm. If these clouds are approaching late in the day, it would behoove you to set the storm sails before nightfall. It is always easier to rig the storm sails by day in calm weather, as opposed to waiting for sloppy seas and darkness.

These approaching cirrus clouds are being followed by slightly denser clouds. This usually indicates the approach of a warm front that will probably bring rain and some winds. If we were out at sea, we would ready the rain catching equipment!

By learning to read the clouds, you can prepare your yacht for the weather that you will be experiencing without the need for complicated communication systems or fancy weather forecast subscriptions. This will let you sail farther than your standard communication channels will reach without the fear of coming across foul weather without a proper warning.

Planking the Bottom

Now that the chine is beveled and all the topsides are finished, it is time to plank the bottom of the hull. Just like with the topsides, we are doing double diagonal planking on the bottom. The inner planks will be oriented in the same direction as the topside planks, resulting in outer bottom planks that will be in the same direction as the outer topside planks. This means that the finished hull will look like if the planks were wrapped onto the hull, curving through the chine.

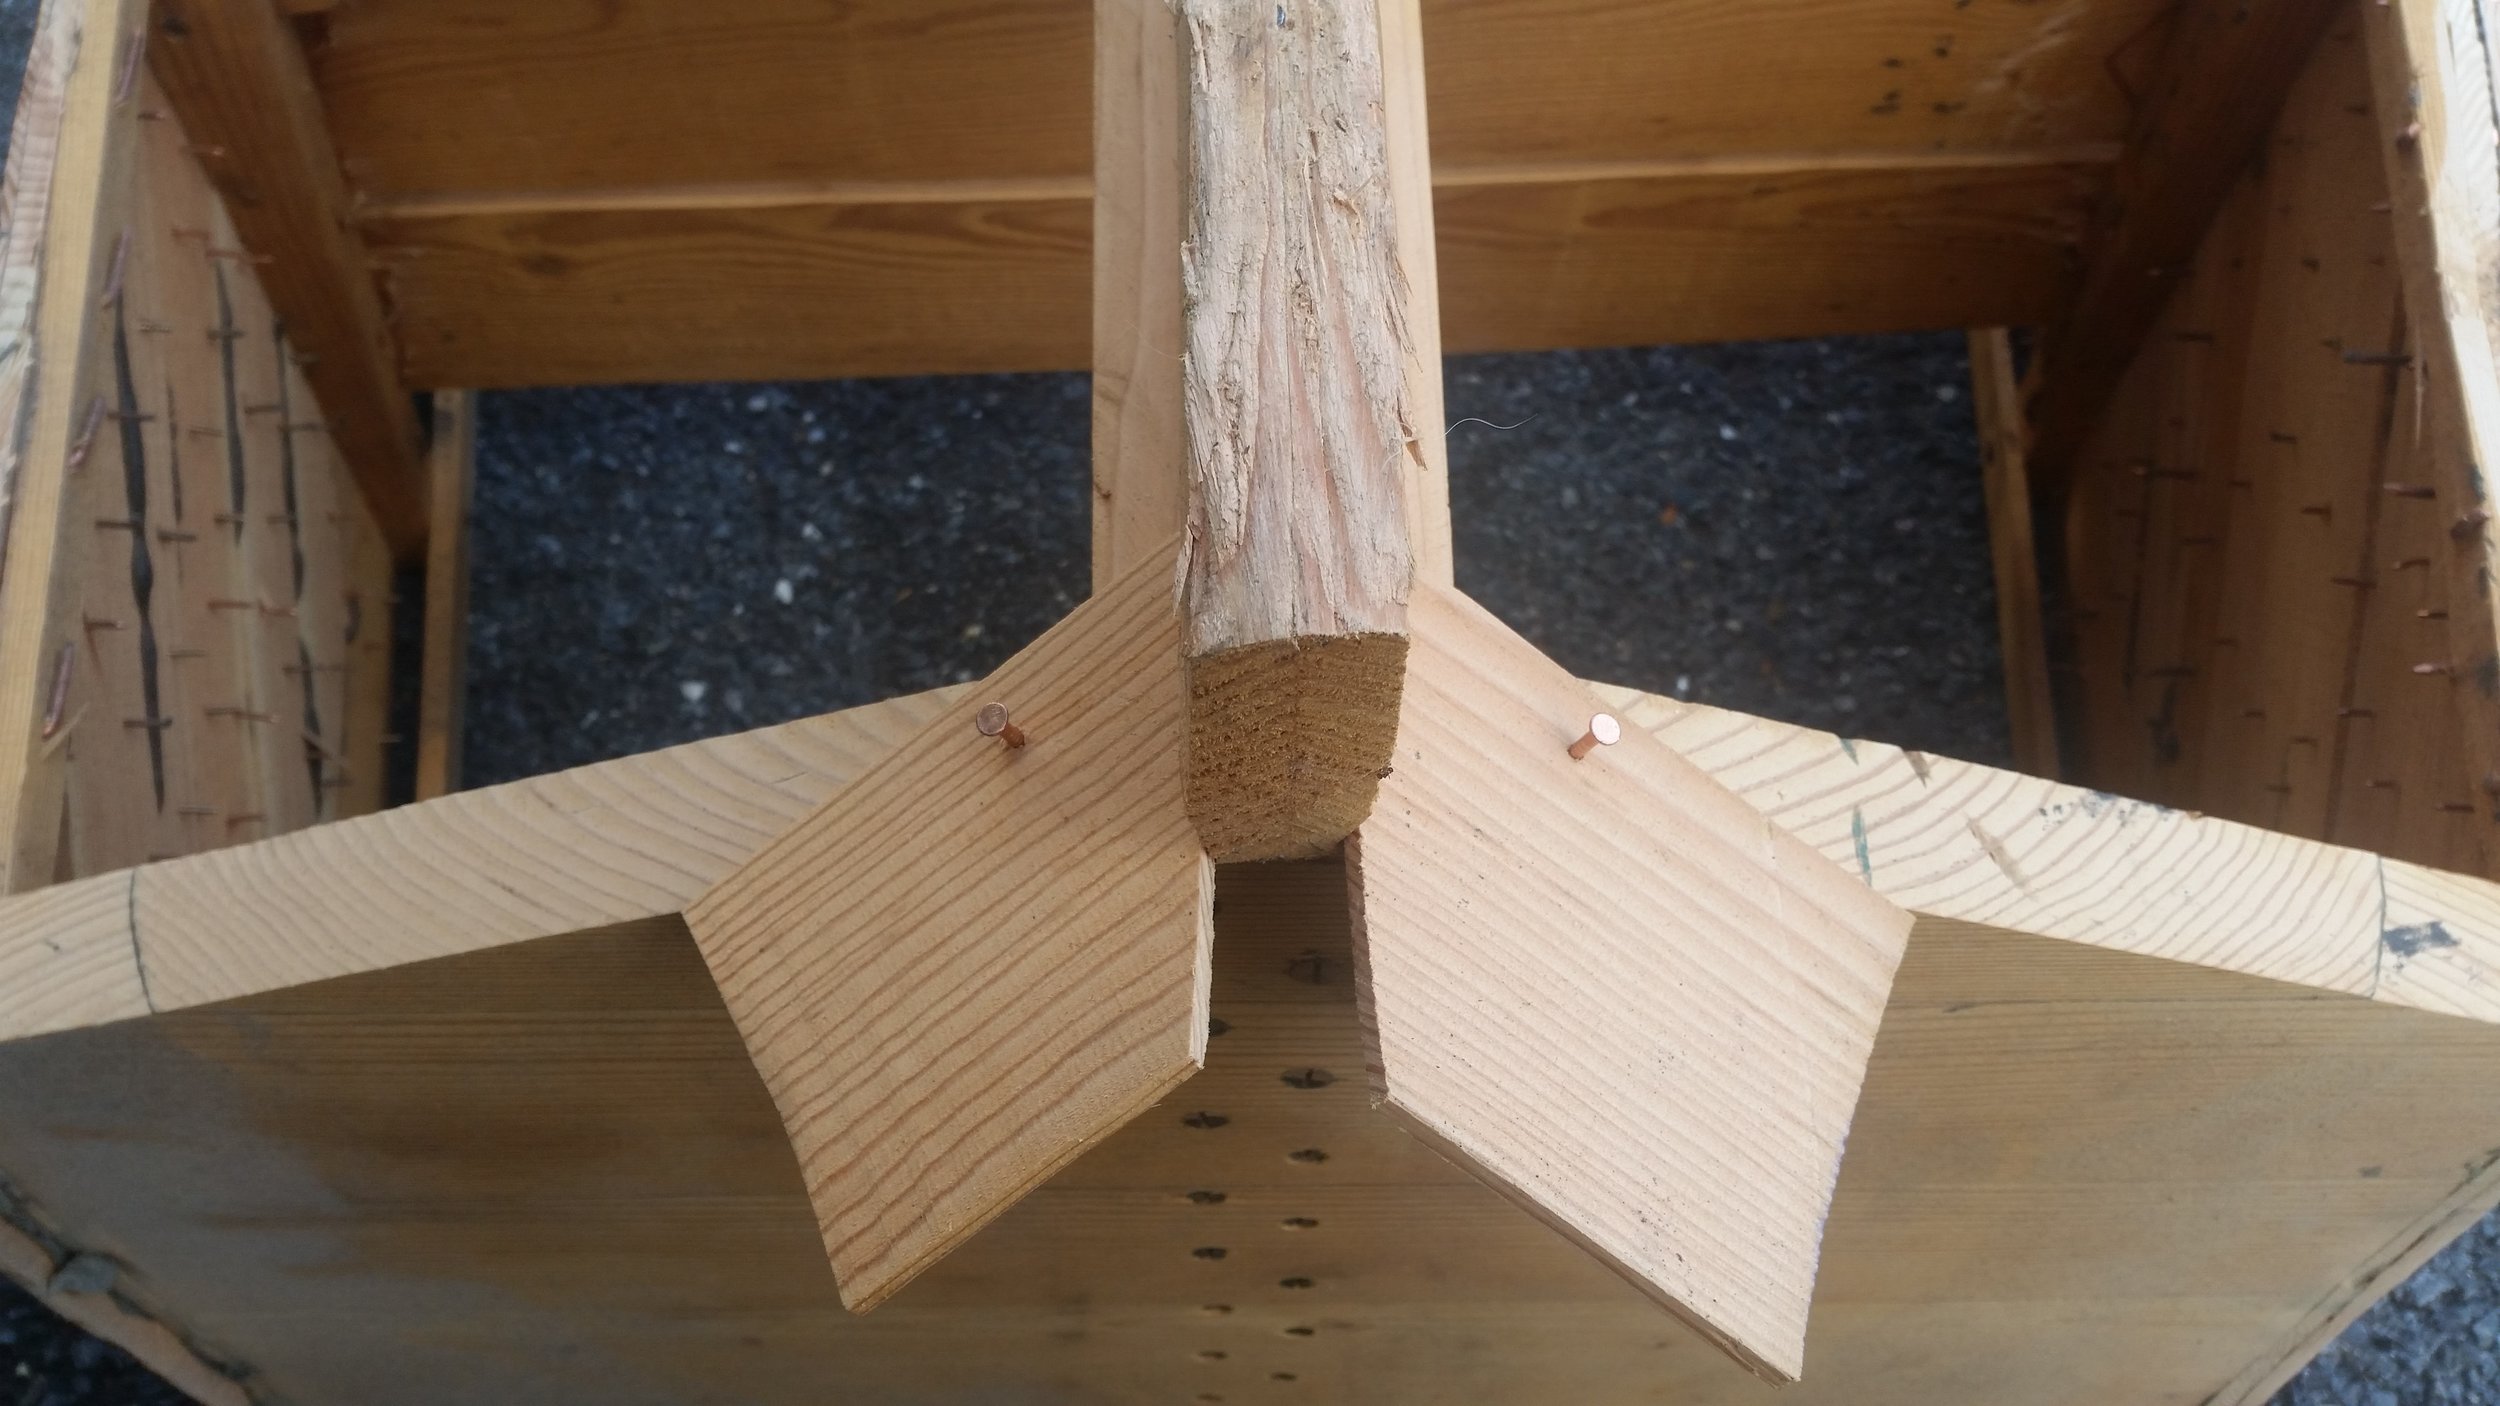
Some scrap off cuts from the topside planks were used to start the bottom planking. These have the correct bevel that will match the inner topside planks, as they are scraps from that planking job. The planks were set onto the back of the keel, with the edges overhanging the transom and held in place with some copper nails. The nails are not hammered all the way home that way I can pull them off easily when we begin fastening the bottom planks with bedding compound and bronze screws.

When the bedding compound is applied to the rabbet and chine, it squeezes out around the edges of the planks. This lets us know that all the seams are sealed and water tight. Bedding compound was also placed on the frames to avoid water from getting in between the frames and the bottom planking as this would expedite the rot process of the dinghy and spell an early end to Tooth II. By sealing these gaps, water can't get in as easily and the wood should last longer, giving this dinghy a longer life.

Once the first few boards were fitted, I got into a groove and work proceeded quickly. The starboard side of the hull was planked in a few hours and I had plenty of daylight left to keep working, so I did!

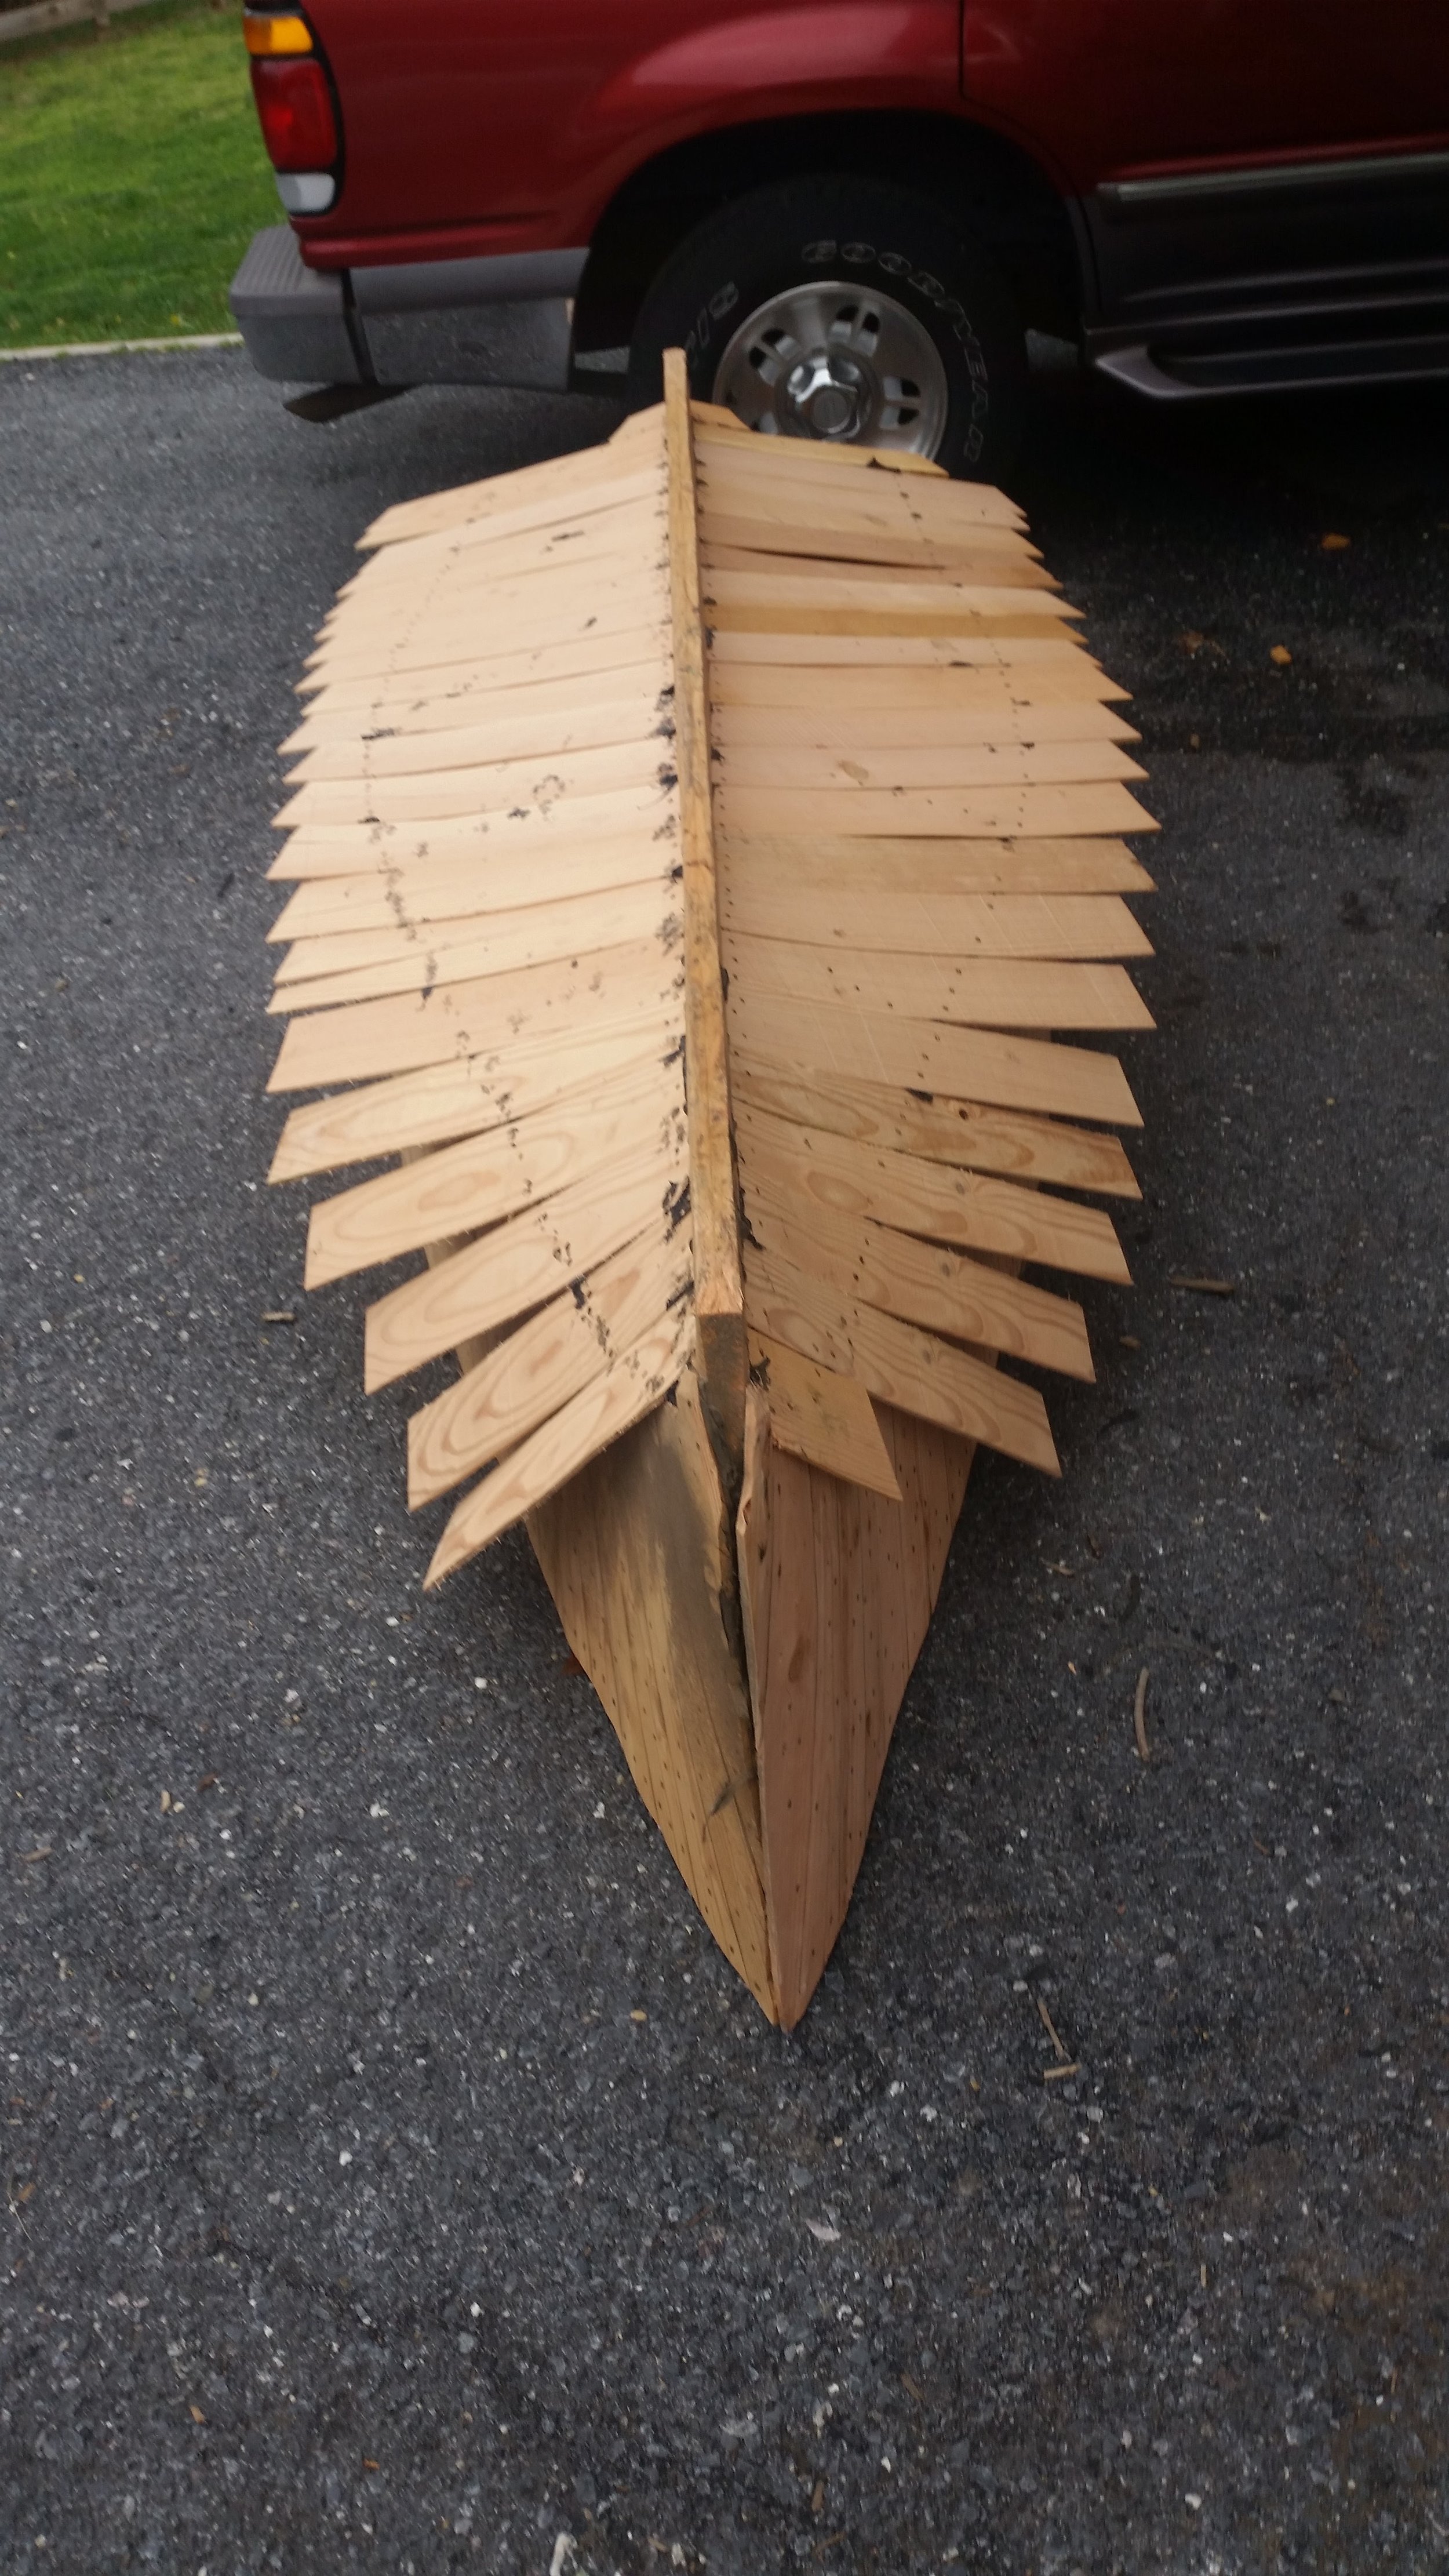
The port side of the hull got planked in a few more hours and in no time flat, I had the entire hull planked with the first layer. The screws at the outboard side clearly demarcate the chine as the hull curves along.

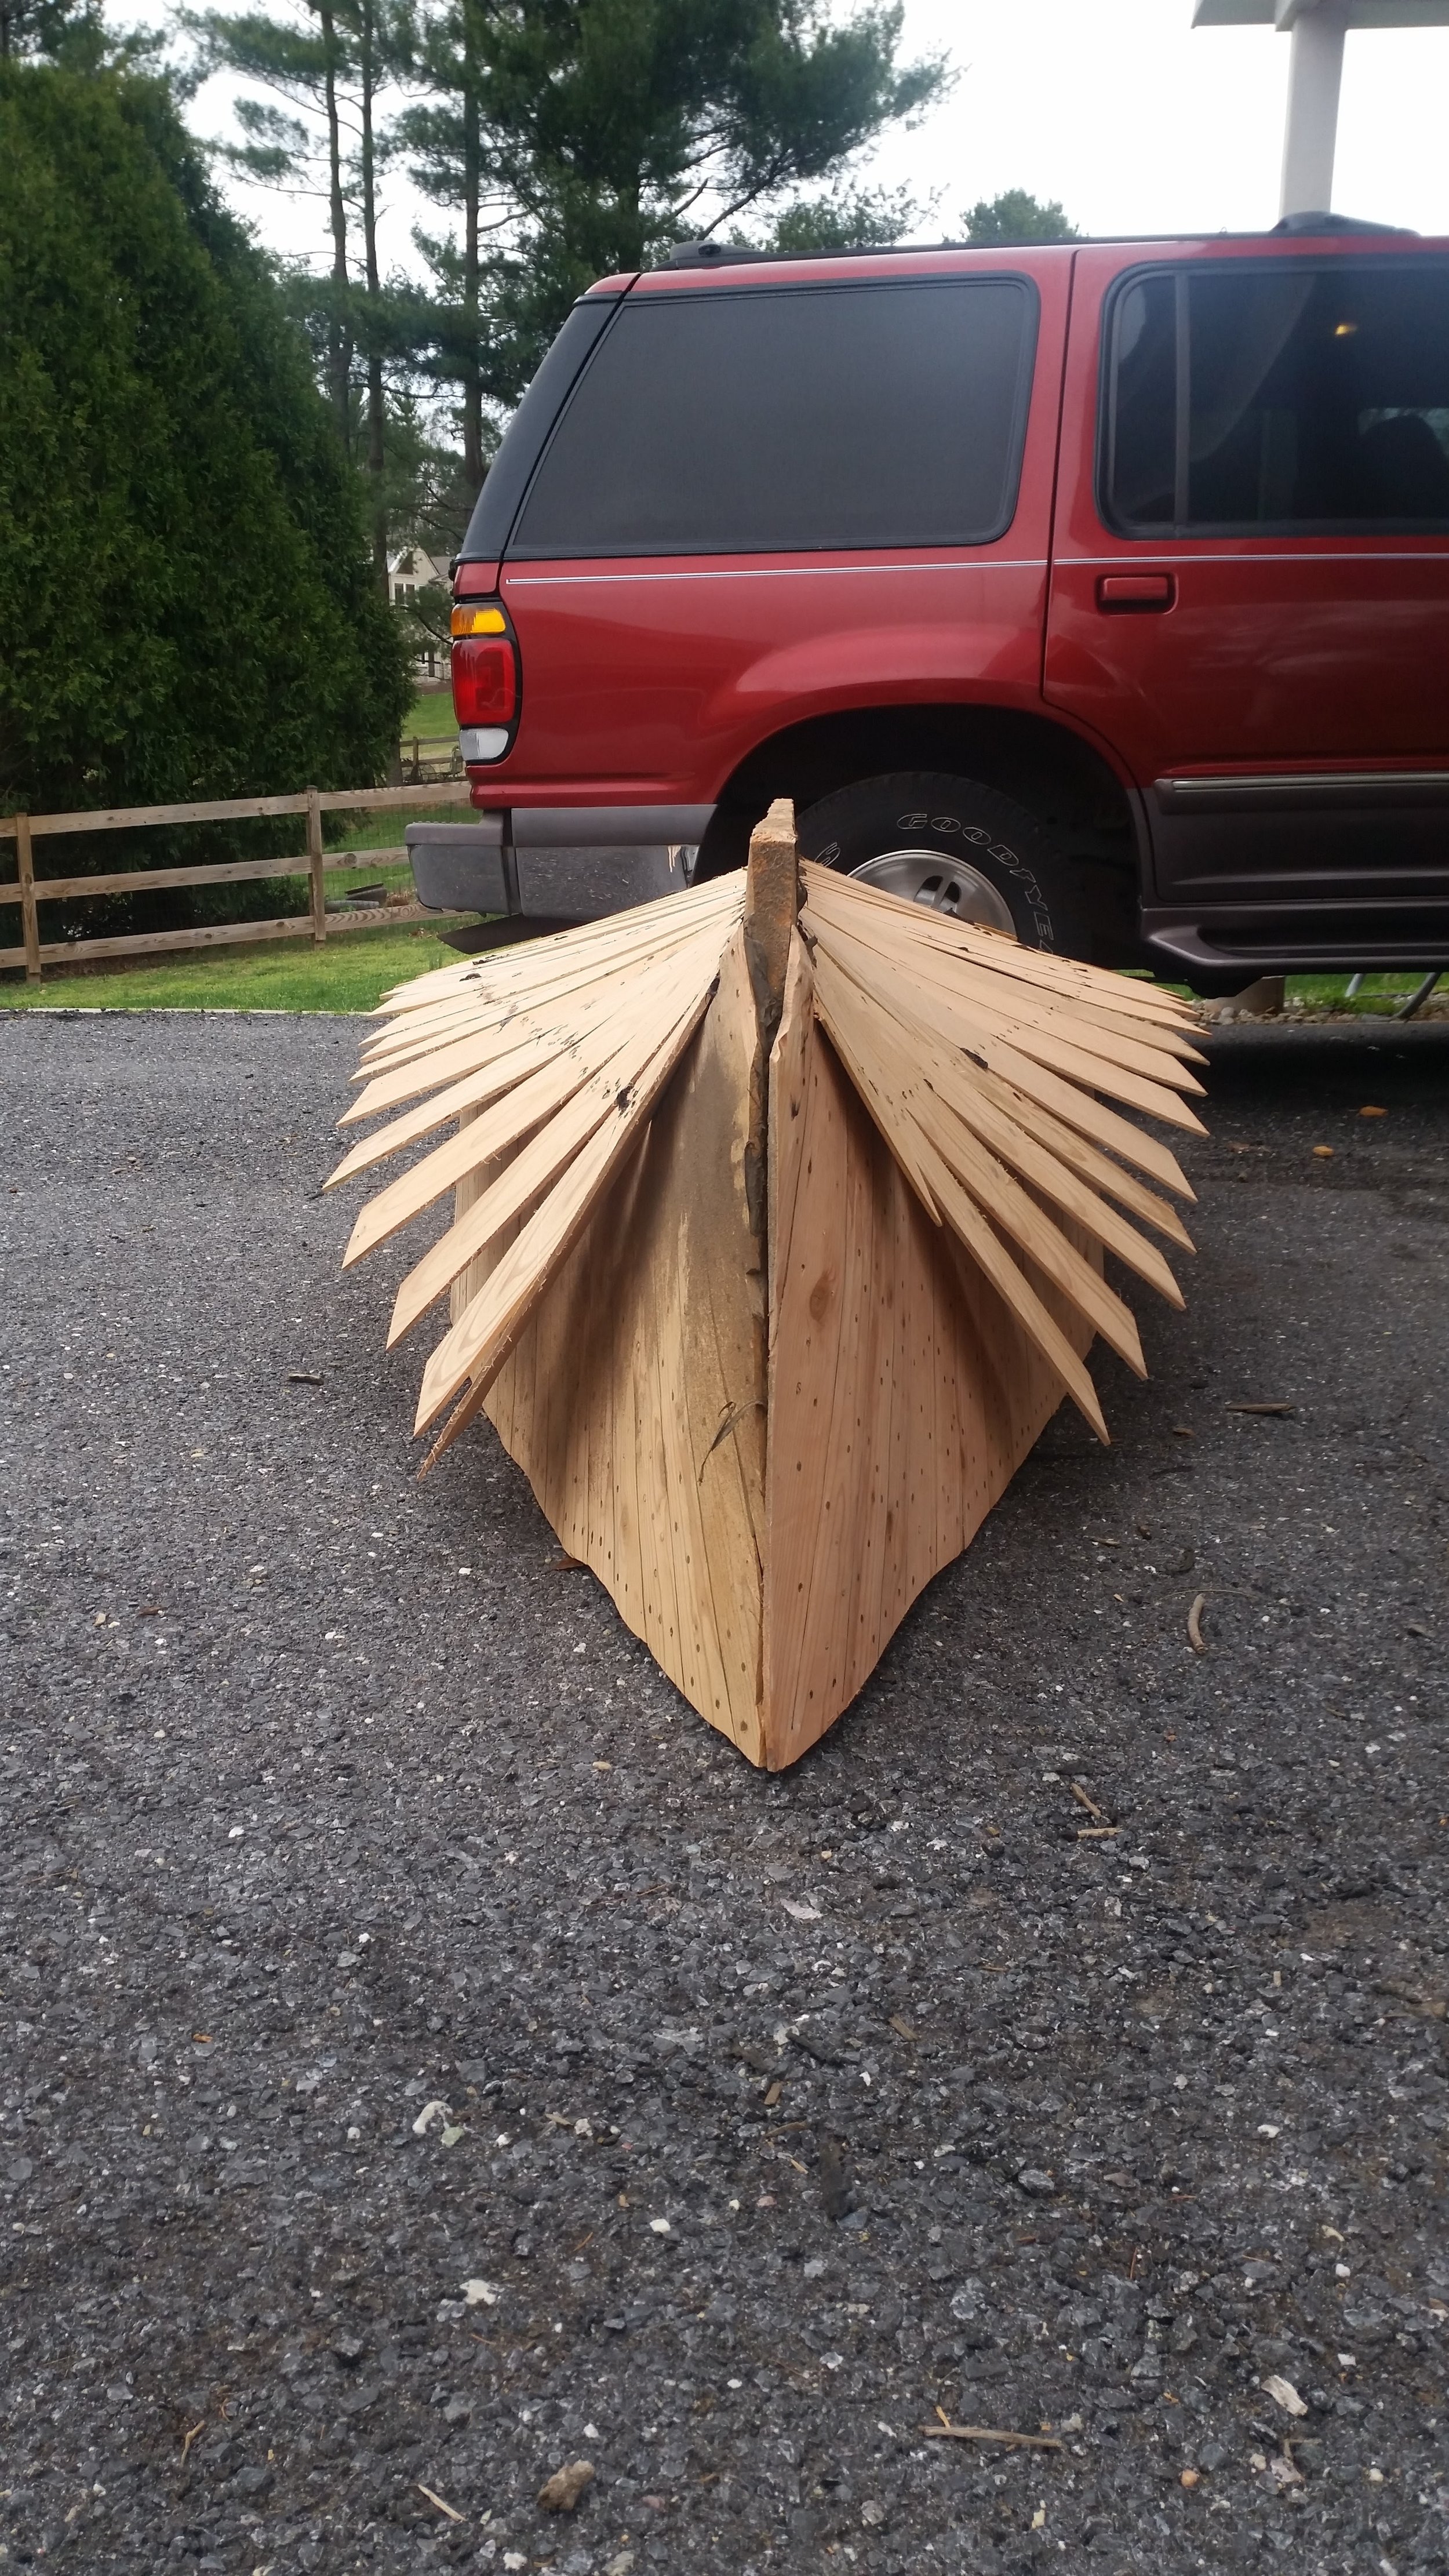
The flare of the bow is also clearly demonstrated by the long overhangs of the boards that need to be cut. Tooth has a flat bottom and the constant slapping and smacking of the bow on the waves is really annoying. Maddie and I both wanted a dinghy that would cut through the waves quietly, so I designed Tooth II to have a very narrow entry angle.

Looking forward, you can see how the majority of the hull is relatively flat. As you move forward, the profile changes and becomes much more pronounced as the bottom curves upwards resulting in a very sharp angle that looks almost vertical. 

The bottom is on and the bedding compound is curing. Until it finishes curing, all we can do is stand around and imagine what the dinghy will look like without the boards flaring out in all directions.

Windpuff is High and Dry

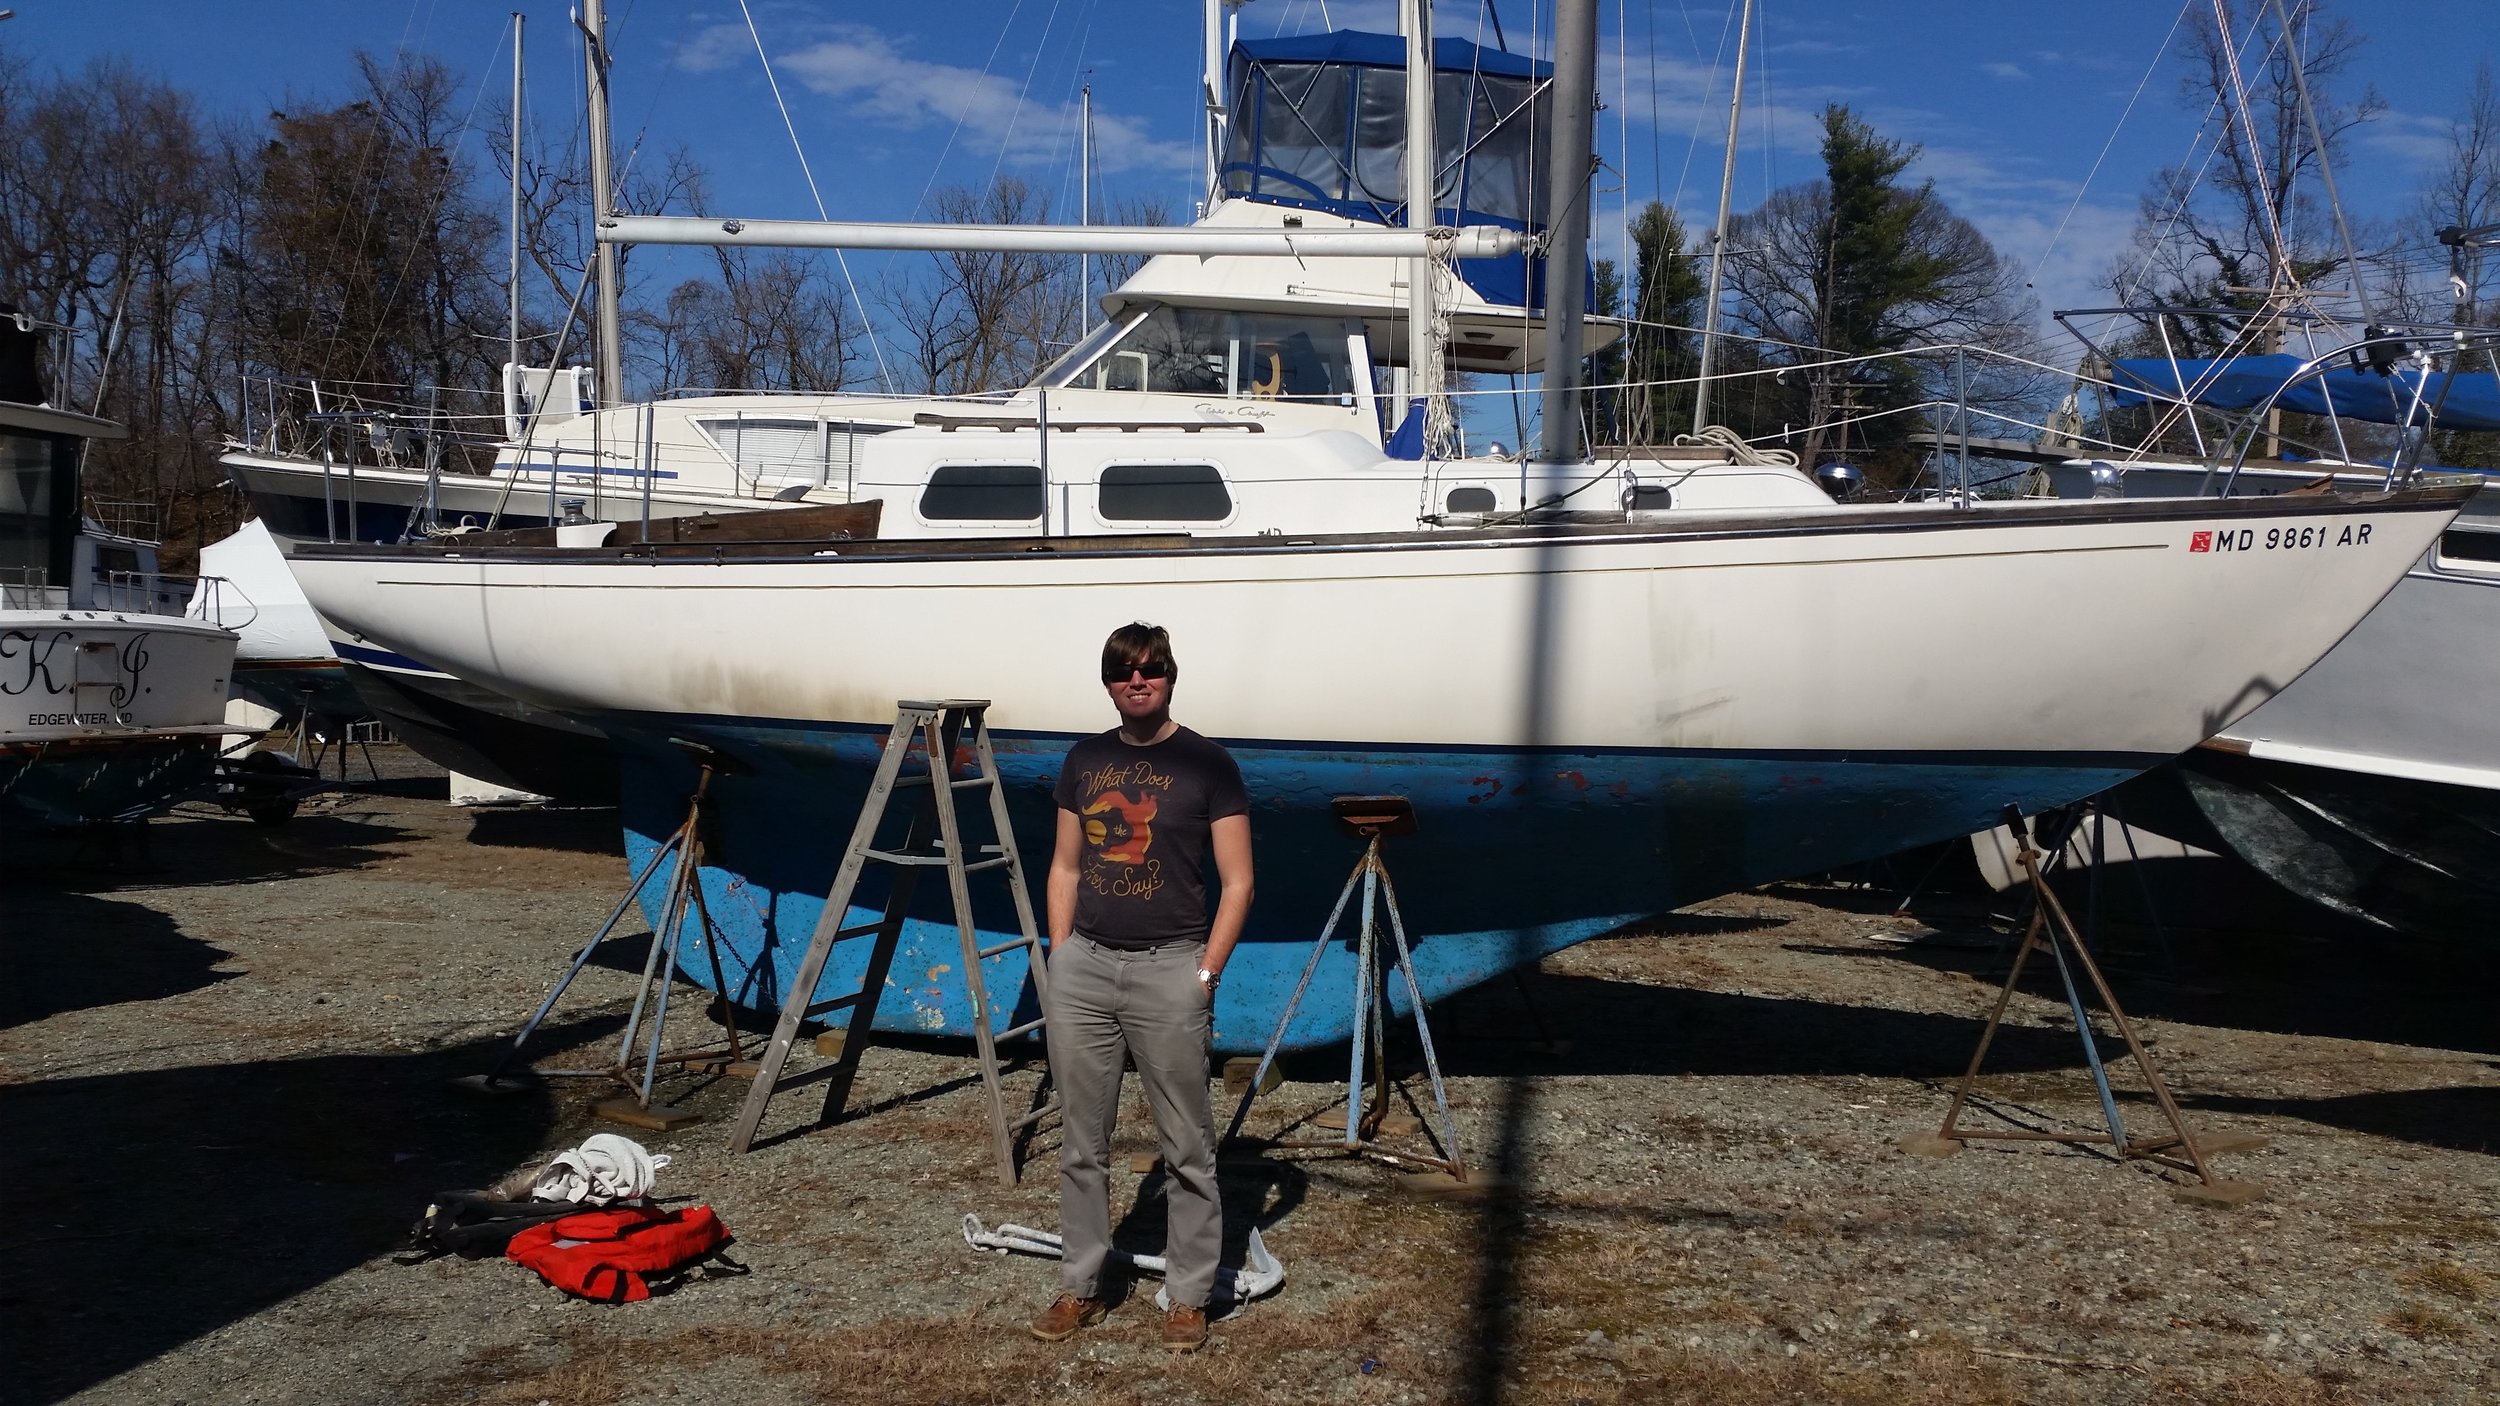
Windpuff was towed down to the Annapolis area where he was hauled out and set on the hard. On a calm day, I went to visit him and take all the sails off, stripping him down for long term storage.

I felt like a looter, going through all the lockers and cabinets inside, looking for anything that could be useful to us while we cruise. Extra life jackets, ground tackle, and spare lines were all taken off Windpuff to be used on Wisdom and Tooth II while we cruise.

Now that Windpuff is all cleaned out, he is ready to be shrink wrapped and await our return when he will get a new paint job and finally get splashed again.