Converting a 2x12 into Planking Stock

Building a boat requires materials, which costs money. The biggest expense in buying lumber is paying someone else to mill it for you. If you can locate good quality lumber at a fair price and do the mill work yourself, you will be able to save a significant amount of money.

The wood for Doug is Douglas Fir from Home Depot. I'm not saying that all the wood they carry is excellent boat building lumber, because it is not! Their lumber is very inexpensive and some of their boards are of good quality. For $27, I can purchase a 2x12 that is 16 feet long, that comes out to $1.69 a foot! A 1x12 from a local lumber yard sells Douglas Fir for $4 a board foot.

While it is time consuming to find the good pieces in the stack, the price savings are amazing! The things to look for are planks that have little to no sap wood, straight grain, few knots, and tight rings. The ring count should be more than 16 rings per inch to count as strong lumber. The boards at Home Depot are all flat sawn, so selecting a board that can be ripped into two quartersawn boards is best. 

If the rings are too far spaced and too flat on the board, the resulting lumber will not be of very good quality. It can take hours to find a good board and then get it out of the stack, but it is worth it! Sadly, I have made trips to Home Depot and not found a single board worth buying. Other times, I have found three or four!

This plank was in the discount bin since a chunk of the center had been ripped out. While the damaged section is not usable, and there is a bit of sapwood, the rest of the plank will offer very good and usable lumber for planking the hull.

The dinghy will be planked with double diagonal planking, allowing me to use shorter boards and with less concern about knots and grain run off. The planking was marked and prepared to rip and cut.
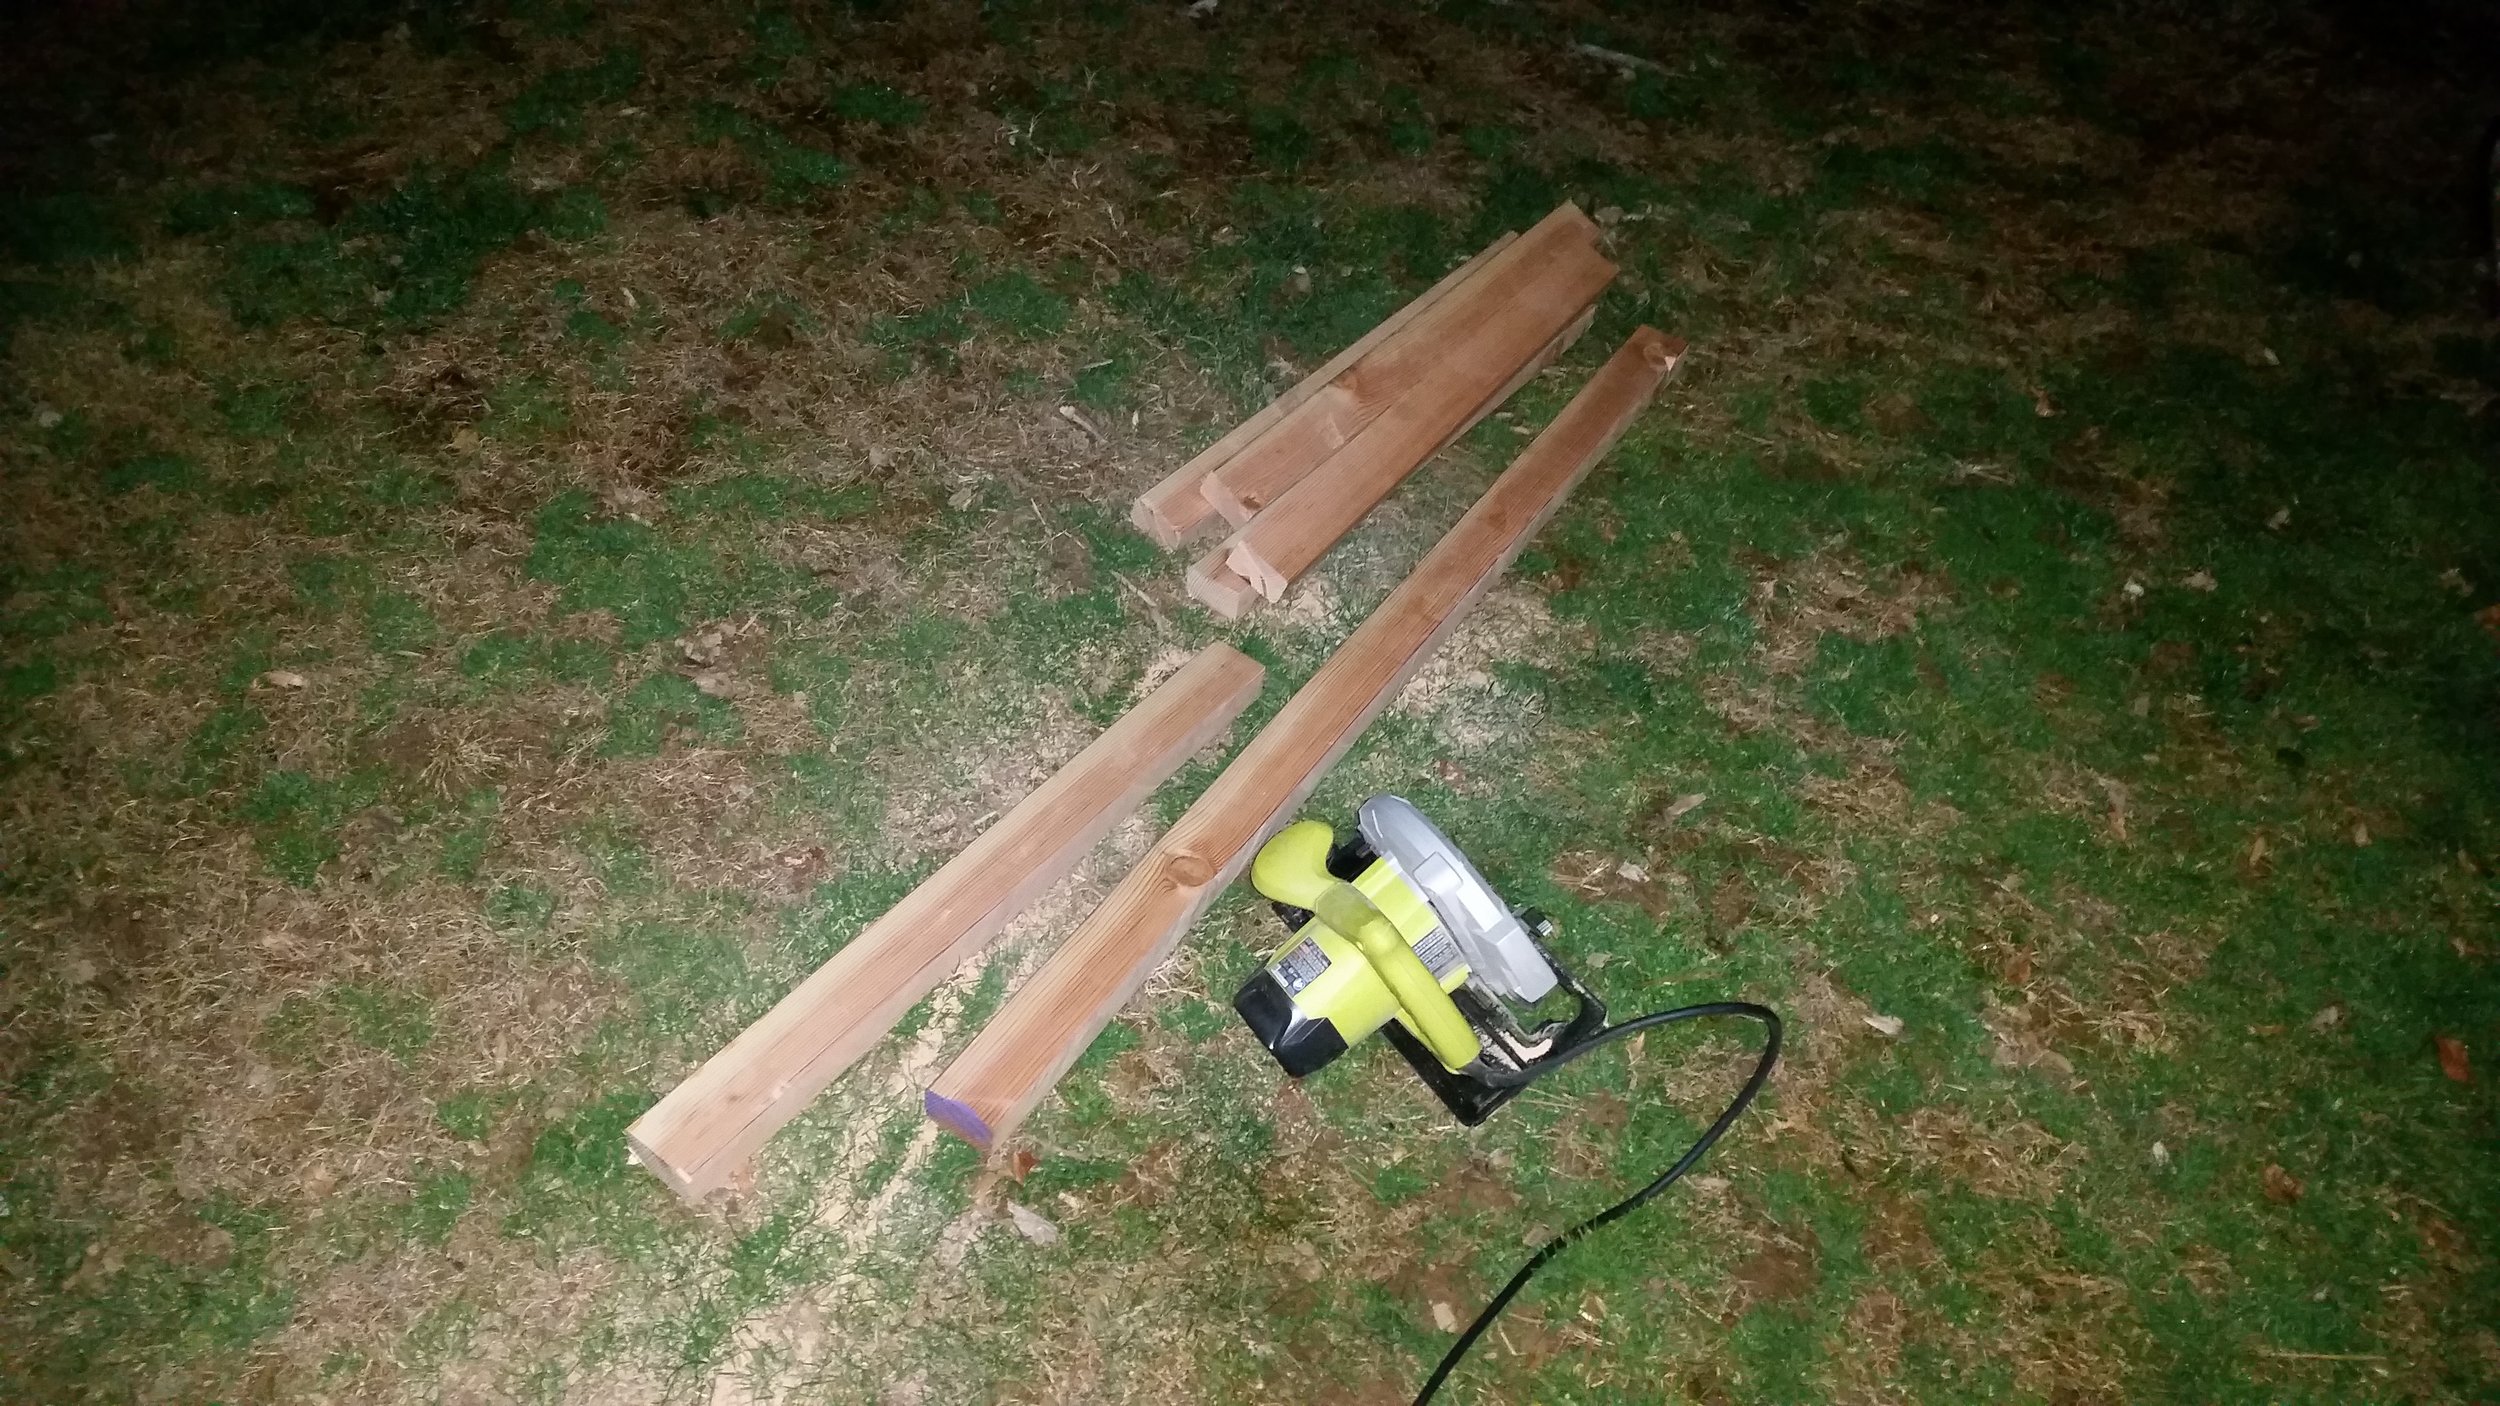
Using the skillsaw, I was able to rip off the strip of wood from the plank and then cut it into the shorter lengths that I need for the planking.

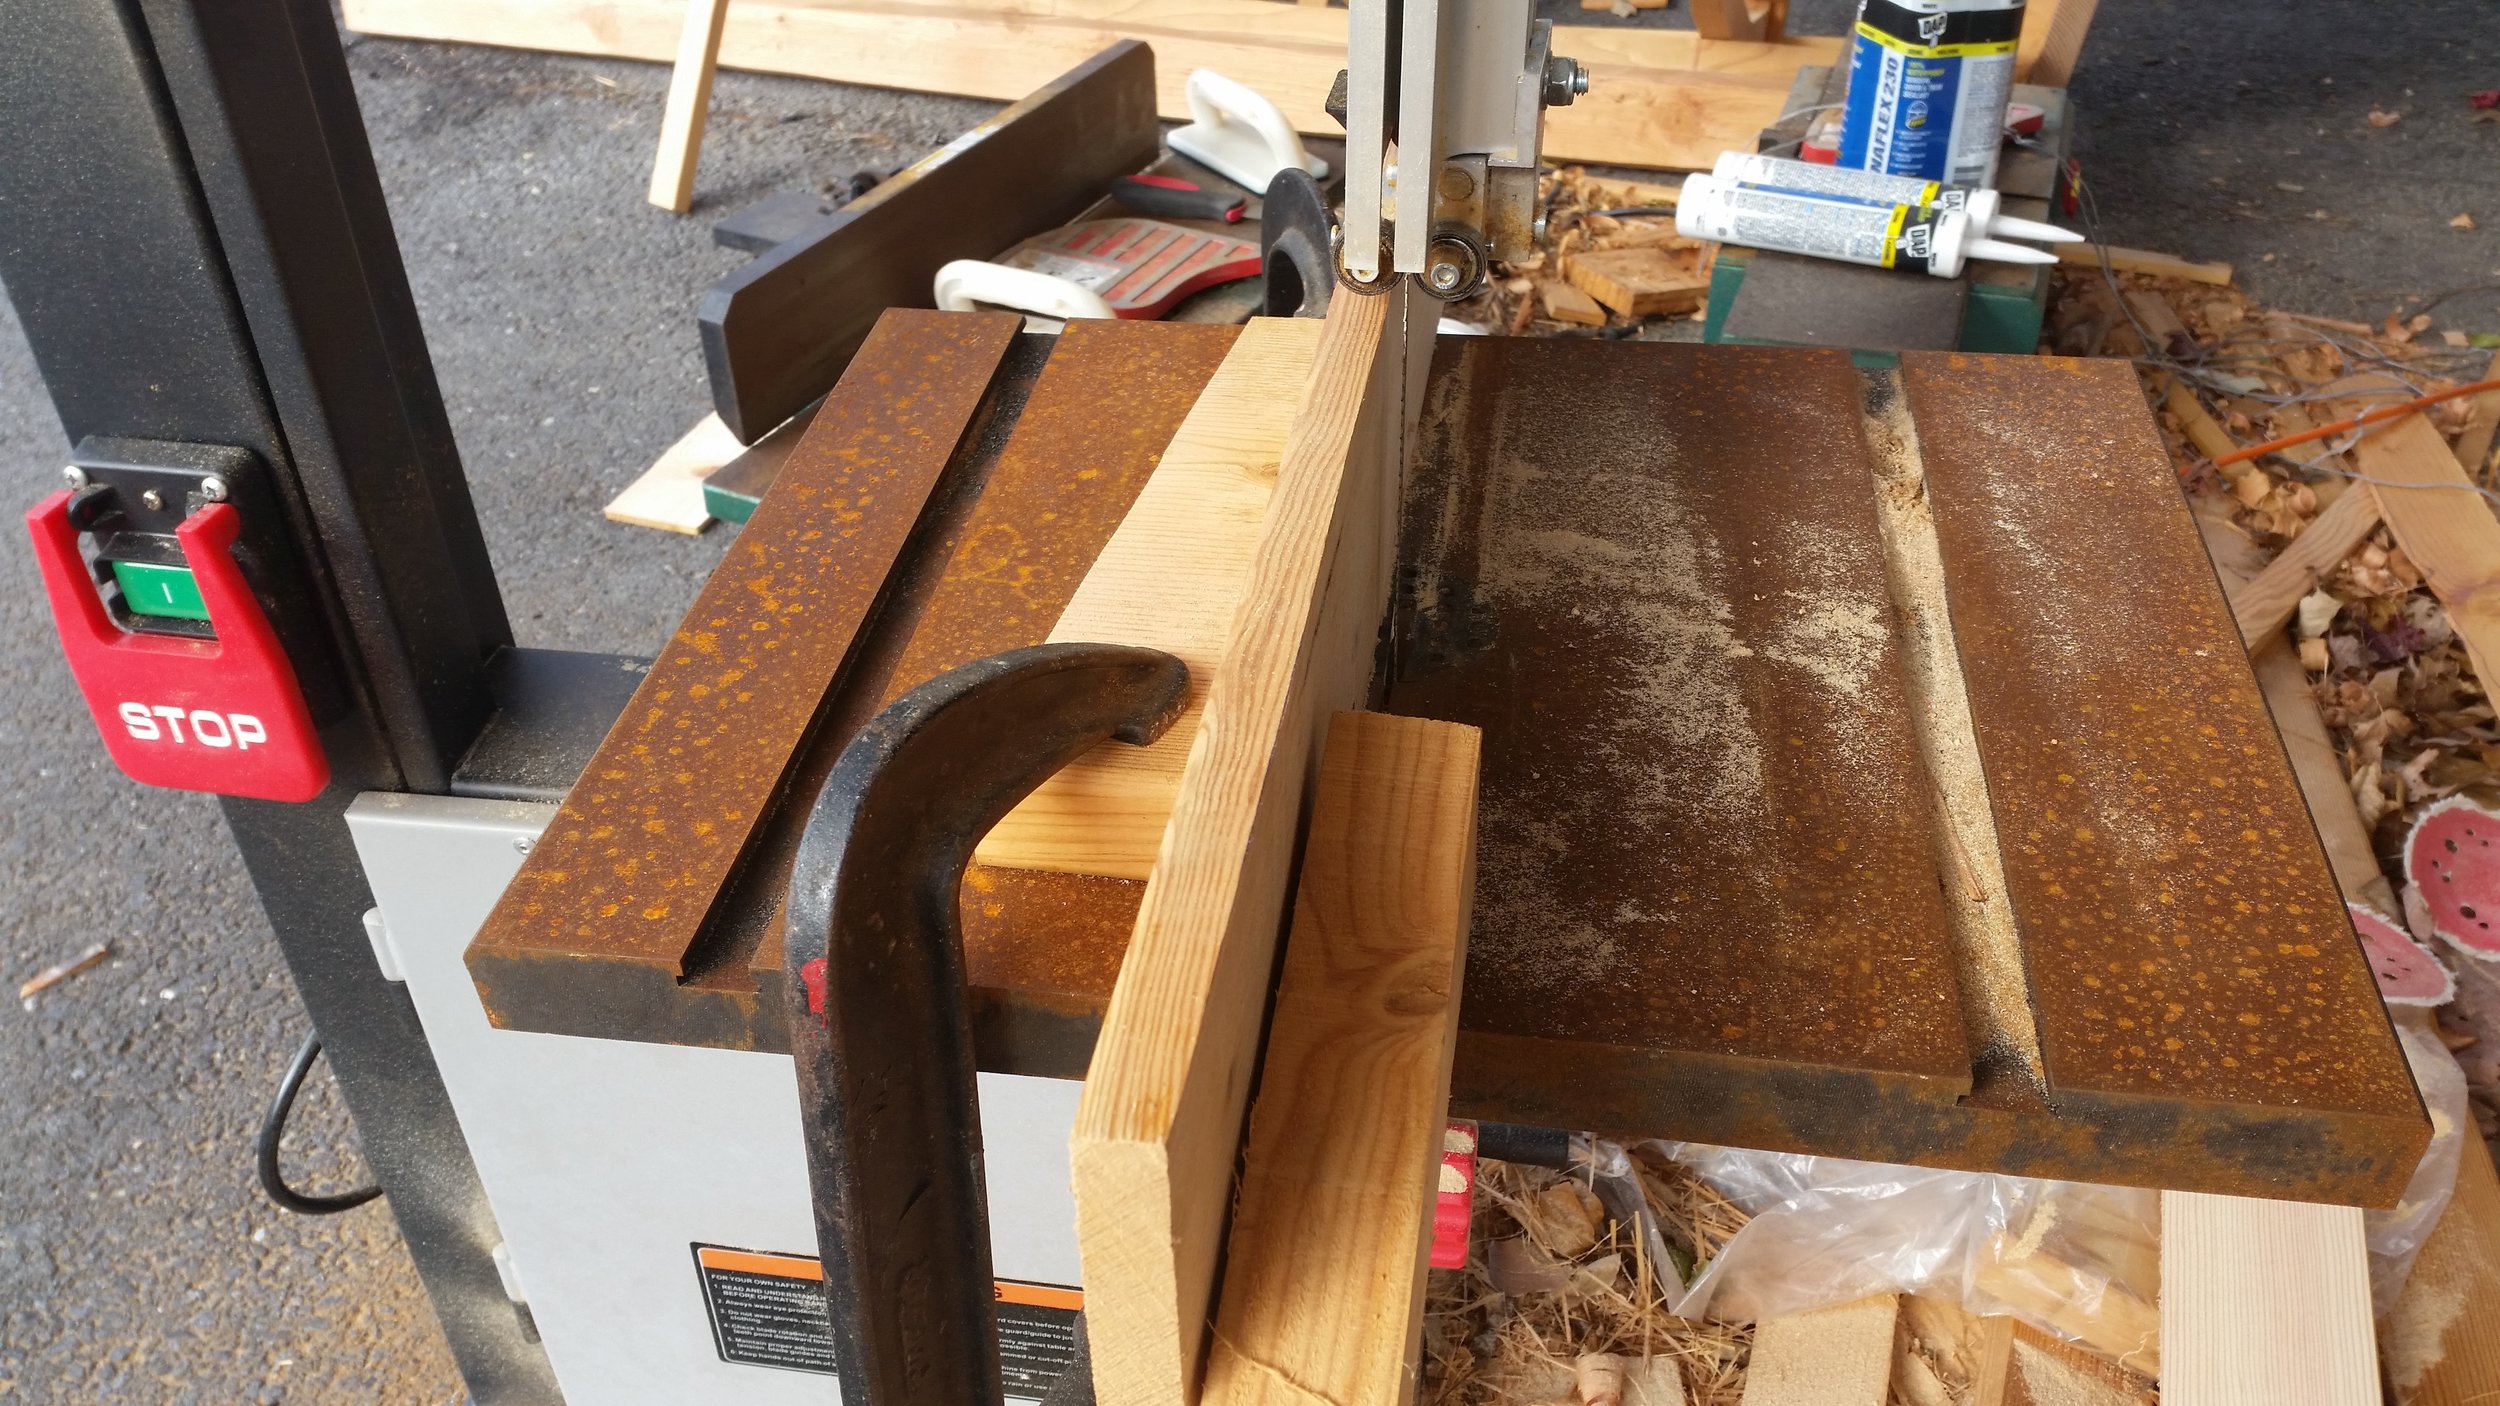
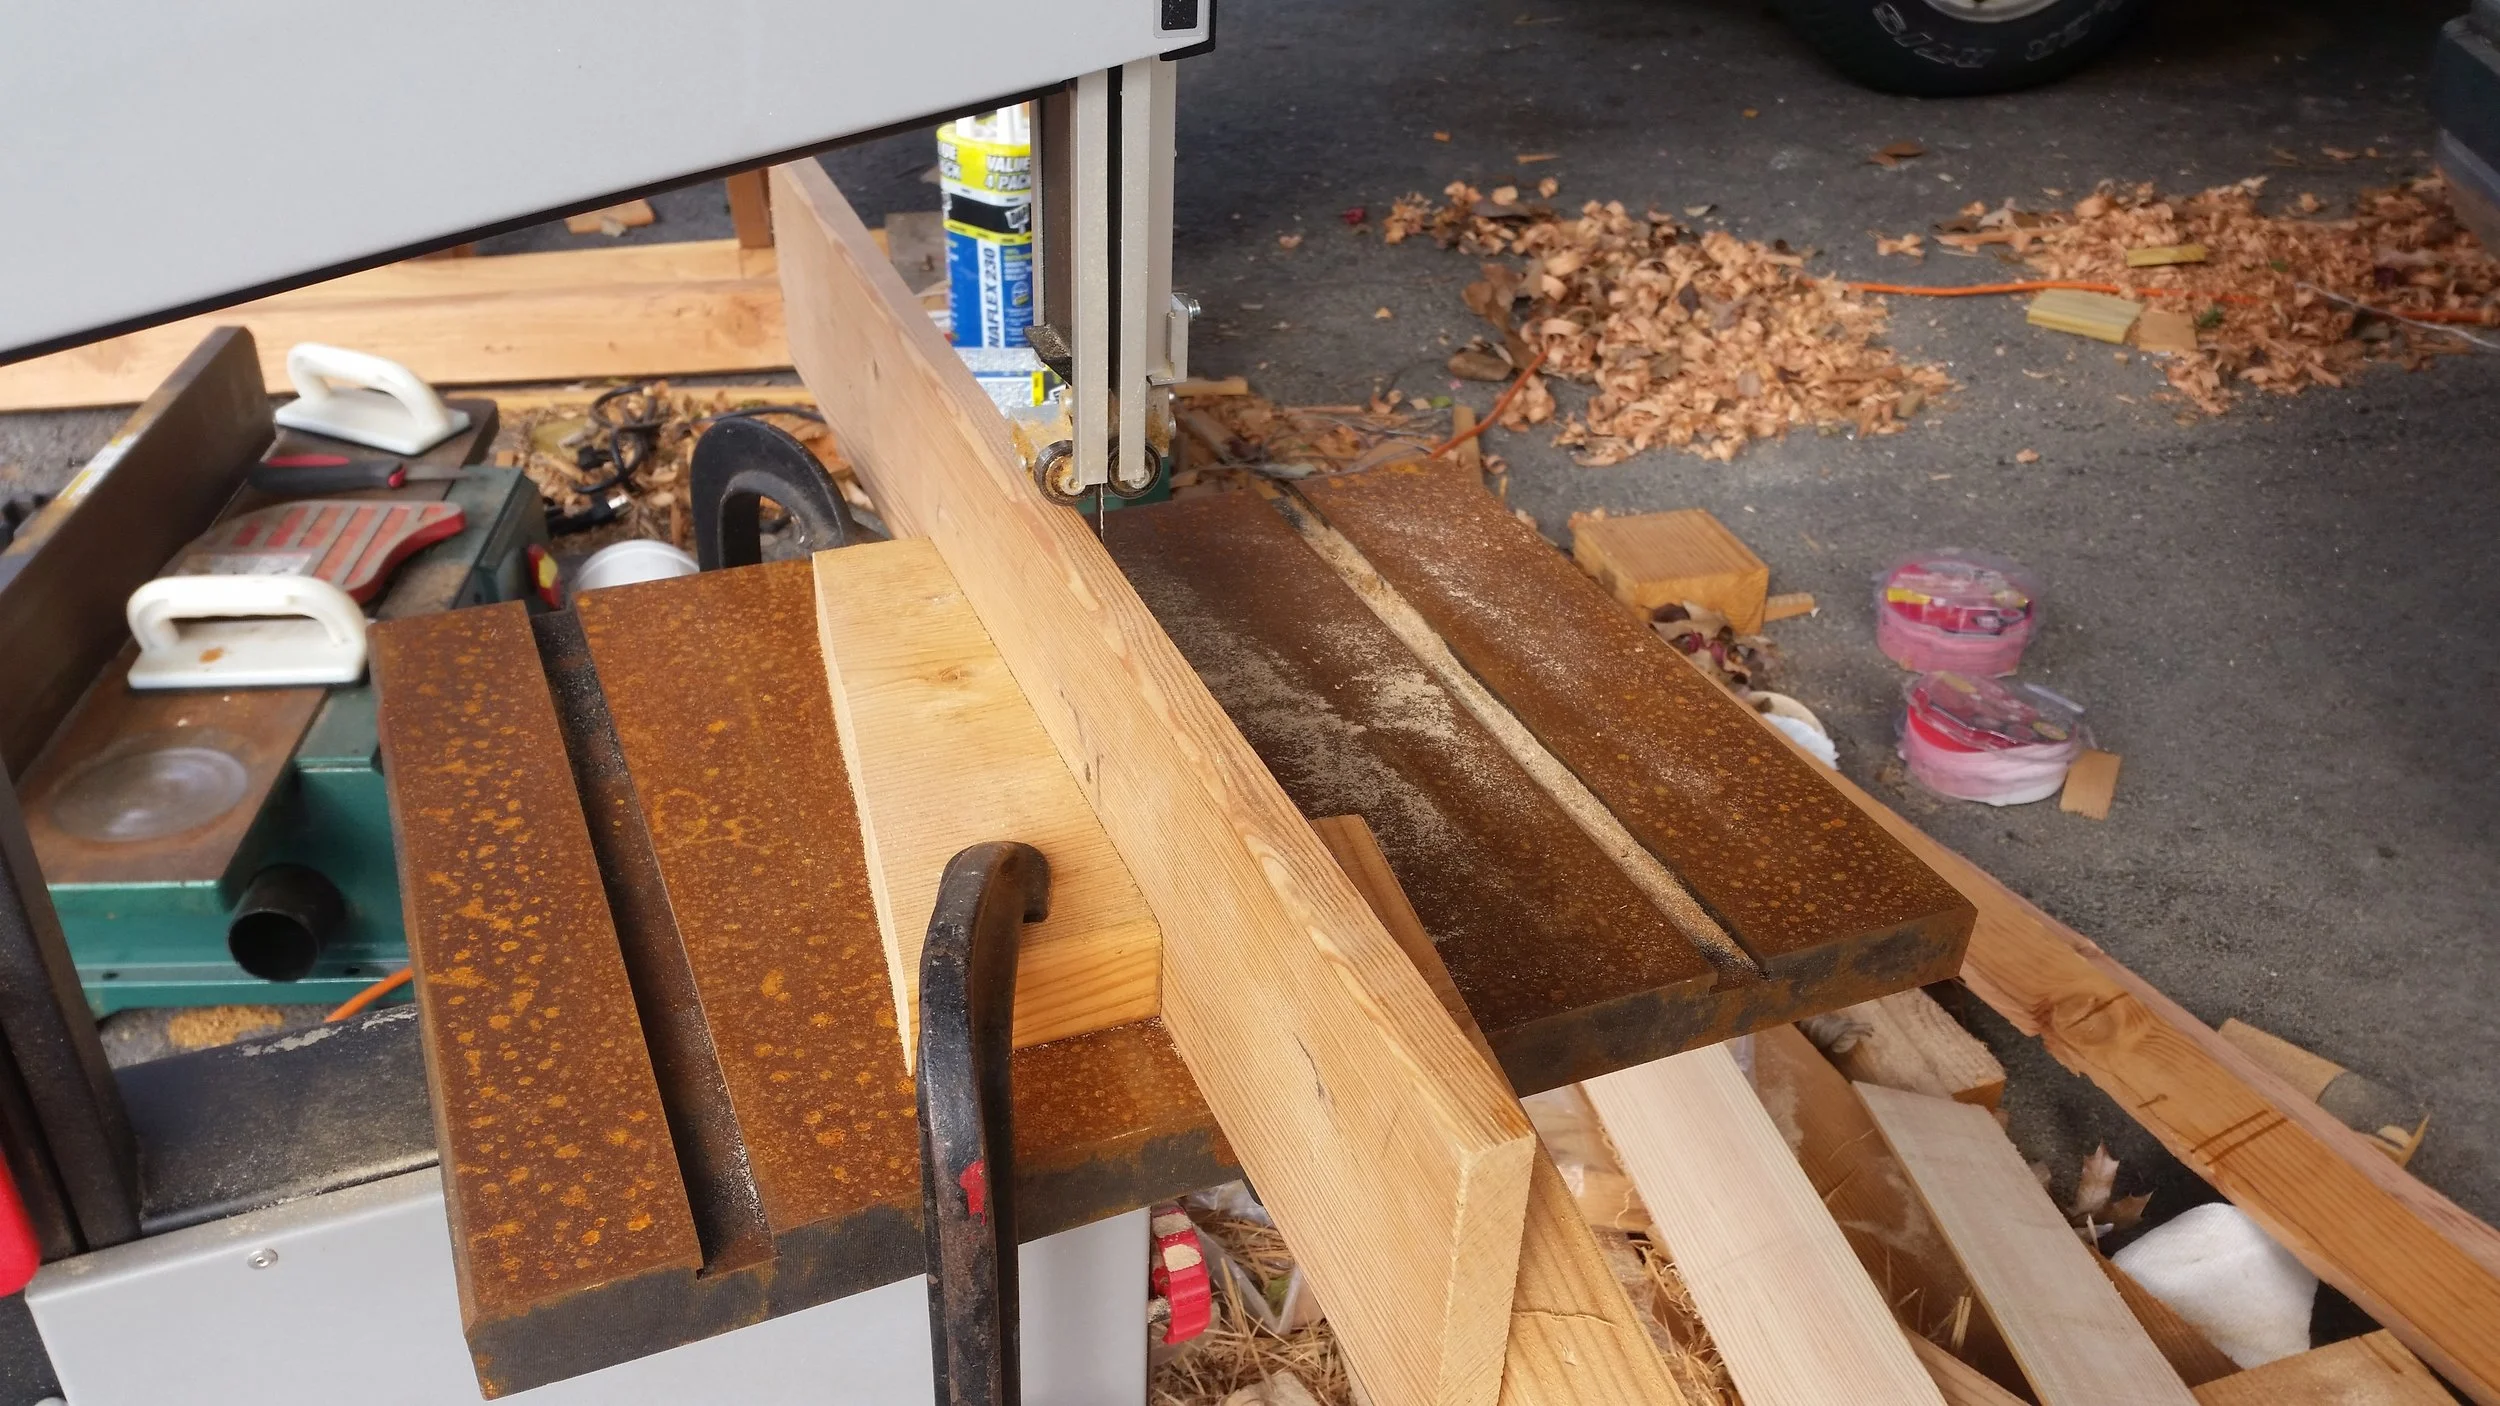
With the rip fence installed on the bandsaw, I was able to resaw the planks to 1/4 inch thickness, creating a 1/2 inch hull thickness after the double planking is completed.

I am able to select the perfect pieces that are not ruined by knots or other defects for the planking. Sections with knots at the end are still usable, simply by placing the knot past the working portion of the plank. When I cut off the excess lengths, the knots will be cut off and no one will need to know that they were once there!

This whole process does take considerable time, and it would be much easier to go to a lumber yard and buy 1/4 x 2.5 x 28 inch boards, but they will charge a considerable premium for all the milling time. On top of this, most lumber yards will charge you for wasteage, meaning they will charge you for the portion of wood that got turned to sawdust by the kerf of the blade they are using. The costs add up really quickly, and an inexpensive dinghy project can quickly become the price of a luxury boat if you don't keep a handle on it! All the wood to build this dinghy only cost me $135. If I went to a lumber yard, I would only be able to buy 33.75 board feet, when I ended up purchasing five 2x12 that were 16 feet long each!

As with everything, time is money. If you want it fast, it will cost money. If you want it cheap, it will cost time.
Bottom Paint

Bottom paint is one of those things that people only seem to think about when they are on the hard. When the boat is wet, the bottom paint is hidden beneath the waves and forgotten from all thoughts.

This is probably a safer way to think about bottom paint, as the alternative is to research and compare all different types and formulations to see which works best. Research is largely a waste of time since the amount and type of growth you will develop is particular to where you are. Where you are is not as diverse as a general area, and if a study was performed in your same general vicinity, the water qualities might be slightly different and the growth you will develop will also be different from where the study was performed.

Your next option is to try out every single bottom paint that exists. This would be a very long study, as bottom paint tends to last for at least one year. Basically, you would paint the bottom and give it a shot. Next year, you will choose a different paint and try it again for a year. The following year, you will try another paint. At the end of a lifetime, you will find that the paints you tested in the beginning are no longer available and your data is irrelevant now.

The other option is to ask around and buy the cheapest option. If you move your boat often, CPP from West Marine is a good option. It is labeled as "house brand" but is actually manufactured by Pettit, a maker of high quality bottom paints. This cheap paint has enough copper in it to keep growth from taking over your bottom. A lot of cruisers use it on their bottoms, and they all say it works great as long as you keep moving. If you sit still for a few weeks, a layer of slime will develop that will rob some speed. This thin layer can be easily removed with a brush or a scrub pad, renewing your bottom to a smooth slick machine!

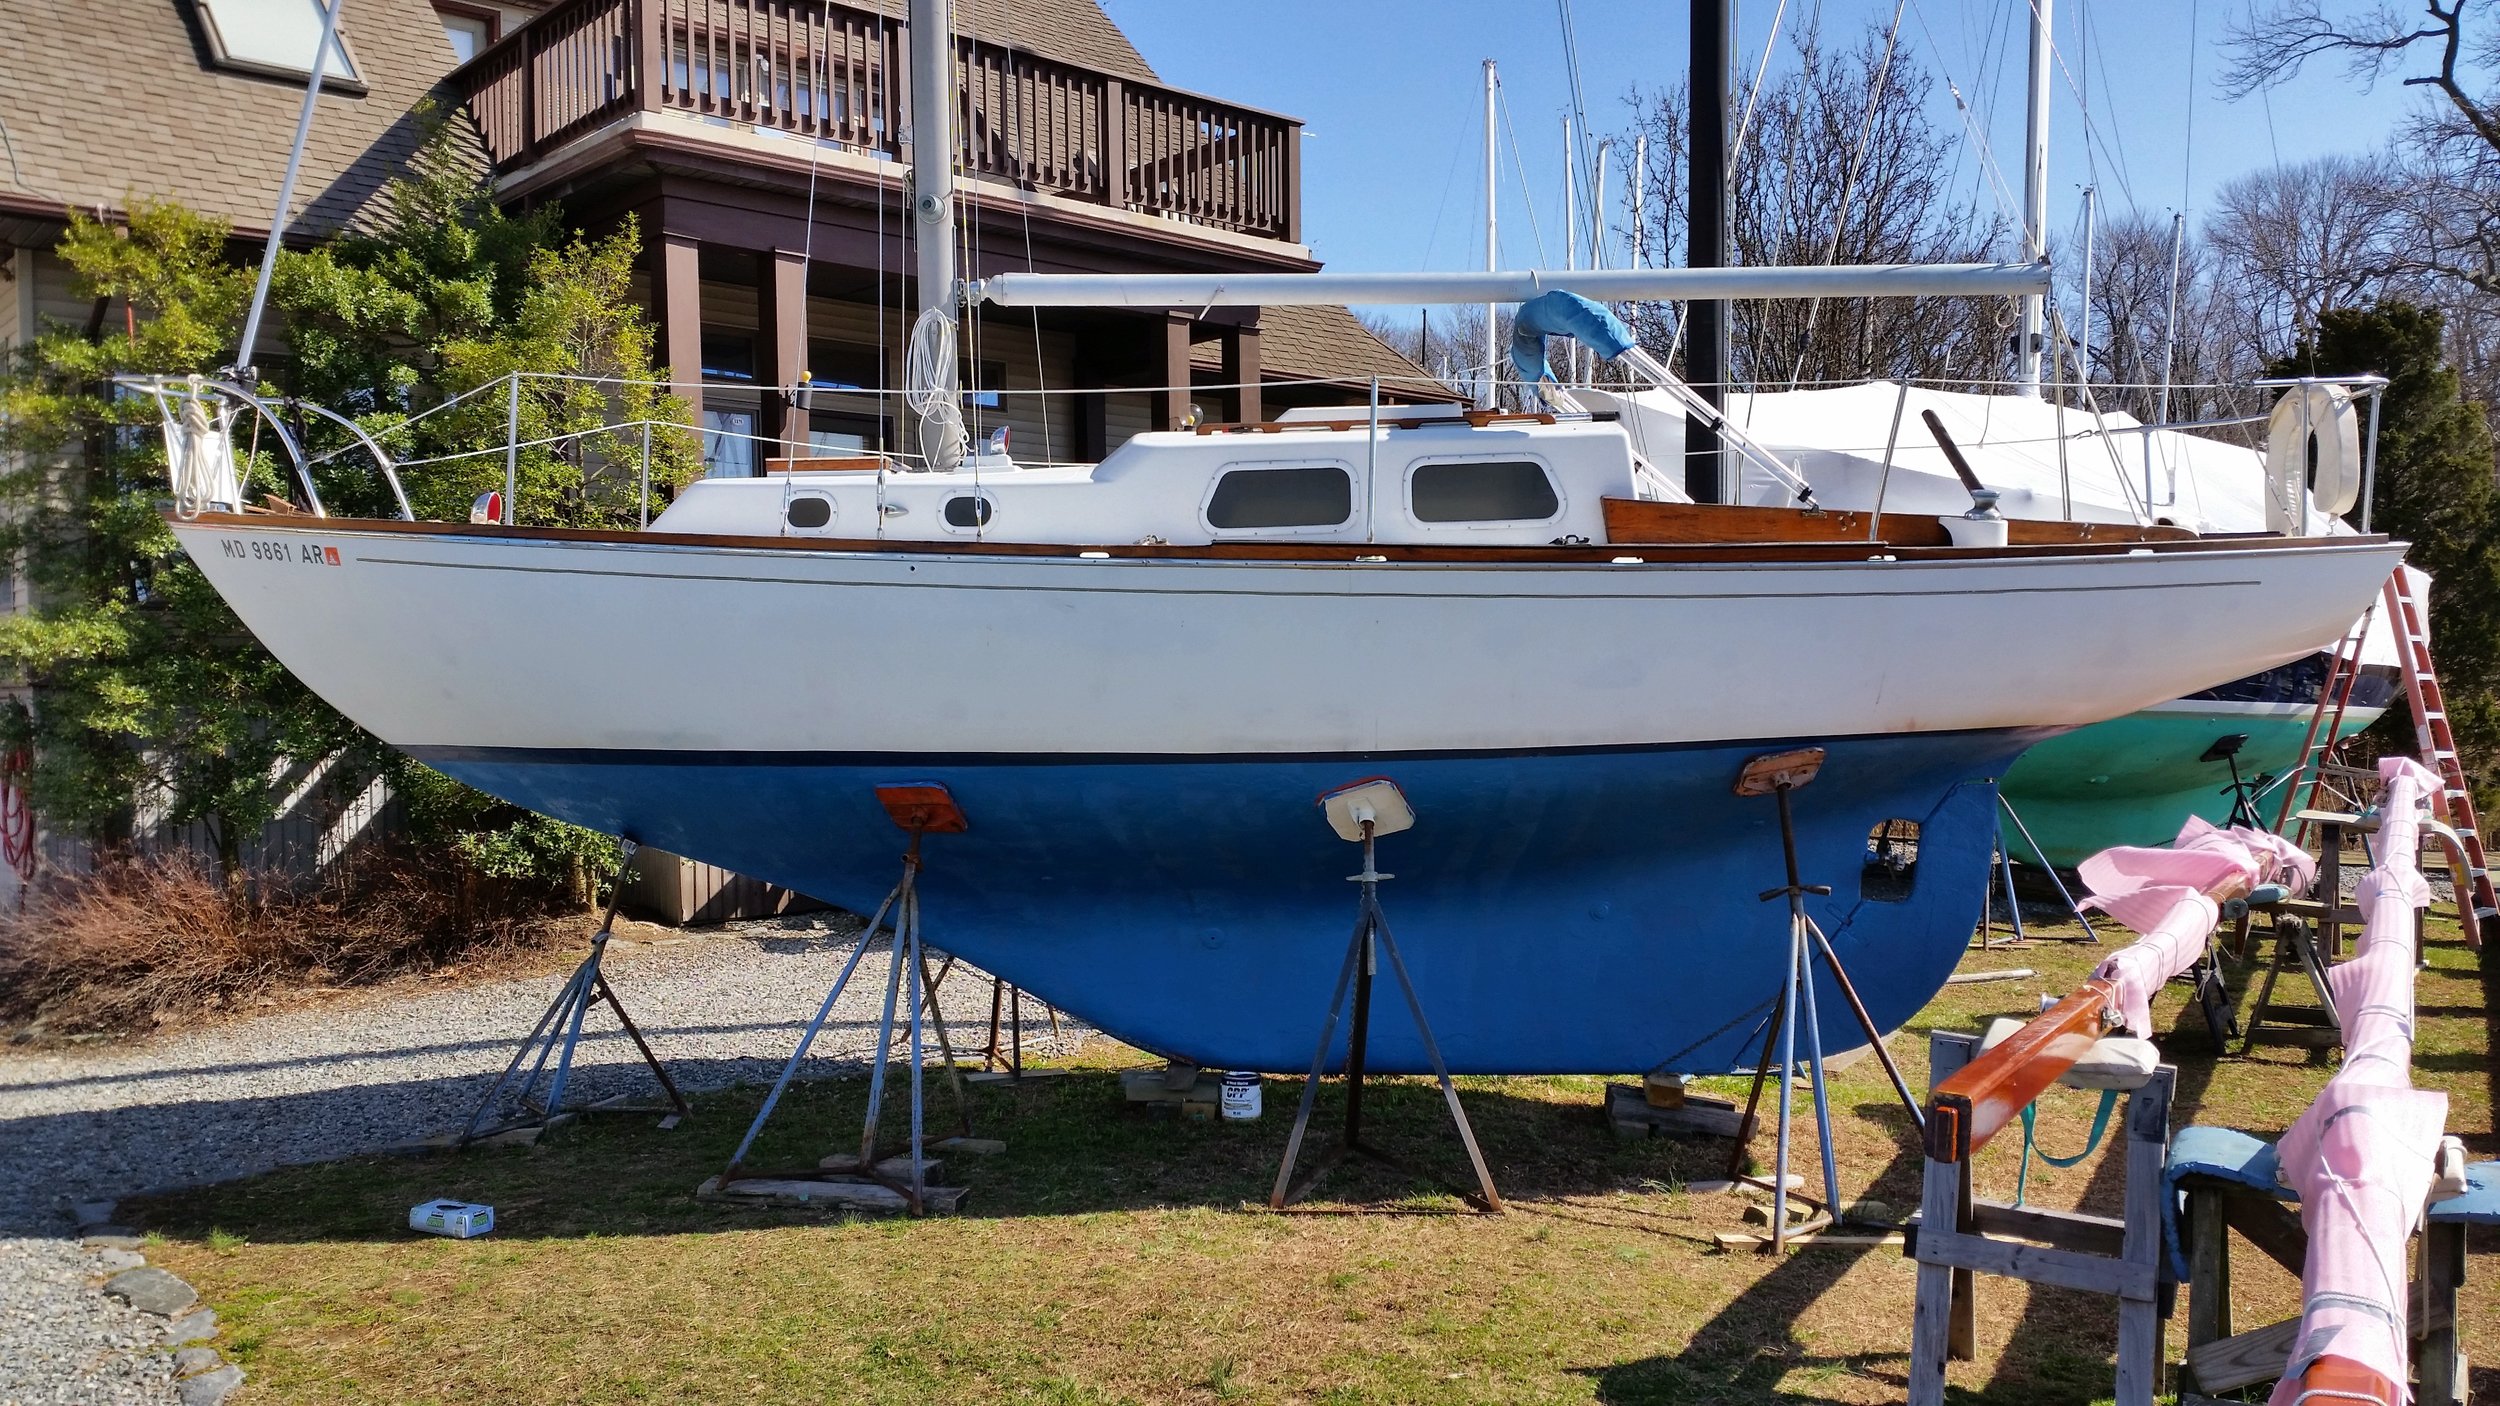
Windpuff was painted in April 2015 with one coat of West Marine brand CPP. 

Twenty months later, Windpuff was pulled out of the water to be put on the hard while we go cruising. The bottom wasn't that horrible, considering that we haven't moved Windpuff in a while. There were a few barnacles here and there, and the bottom was covered in a thin layer of slime that wiped away easily.

I'm not saying that CPP from West Marine is the best bottom paint ever, but I am saying that it does the job and it's cheap!

Cutting Plank Stock

In order to cut evenly sized planking stock, you need a way to make the same cut on a lot of wood and get reliable and repeatable results. Cutting by hand will include too much variability, for a job like this, you will need to use machinery that is set up to mill the lumber over and over without change.

To guide the planks through the bandsaw, you will need a rip fence; which is nothing more than a fixed wall that you slide the wood past. The rip fence is set next to the blade, and the gap between the fence and the blade will be the width of the resulting board. The kerf of the blade will be deducted from the stock, so it doesn't need to be factored into the measurements at this time.

Rip fences are available from hardware stores for a significant price. Most bandsaws will sell you a model specific rip fence that will fit their unit perfectly. The alternative is to make your own for cheap!


In the simplest of forms, a rip fence is just a vertical stop that is set square and perpendicular to the bandsaw's deck. All you need to do is attach a flat and vertical board to a flat and low board. Screwing them together in a square will ensure that your rip fence is square. If there is any discrepancy, a few passes over a jointer will restore this ideal right angle that you are searching fore.

With the rip fence assembled, you simply need to attach it firmly to the deck. Simple C clamps work well for this. The compression force the exert on the fence will remove the possibility of any movement. 

The concept is very simple: clamp the fence to the deck at the desired distance from the blade, then pass a test board through.

The test board needs to be measured for consistency. If the bandsaw blade is too slack, it will bow out and result in a thicker and off angled board. If the blade is too tight, it will snap! You always want your guides as low as possible and the blade as slack as allowable. 

With everything setup and verified for accuracy, you're ready to start milling your lumber!

With a rip fence on the bandsaw, resawing planks is very easy. All you need to do is push the boards through the saw while keeping pressure on them against the rip fence. It is always a good idea to use other sticks or boards to push the wood you are cutting. This is especially true of the last few inches of the cut. When the blade exits the end of the board, it will continue to cut whatever it comes in contact with. If your fingers are pushing the wood through, your blood will stain the wood as your fingers are sliced open (and possibly off) by the blade.

A push board will allow you to safely push the wood through the blade without any fear of amputation. I prefer to use a large block from the scrap pile. When it gets too cut up, I just switch it for another scrap piece.

Now you can safely mill your own planking stock instead of buying loads of expensive boards from the lumber yard!

Fiberglassing the Bilge Pump Supports

The bilge pump supports are positioned with lots of chop strand mat wedged between the endgrain and the stripped bulkhead. All we have to do now is glass everything together!

Being how this project site is also my home, I need to make sure that no mess occurs and all the work is contained. By working with smaller sizes, I am able to keep any issues to a minimum and produce a good final product with minimal disturbance to the rest of the boat!

The pure epoxy can be brushed onto the wooden supports with a paint brush just like if it were varnish. It is best to use a disposable chip brush with bristles as a foam brush could dissolve in the epoxy, destroying your ability to apply it and your batch of epoxy resin.

Be sure to saturate the chop strand mat at the ends. The idea of the chop strand mat is to hold wet resin in position as it cures. If you fail to wet the chop strand mat, there will be no bond to the bulkhead! Everything is covered in an even coat of epoxy, the frame, the ends, and the bulkhead as well. I used fast set epoxy simply because it is winter and the low temperatures will greatly delay curing. If it were warmer, I would be using slow or ultra slow hardener, as it would grant me more working time.