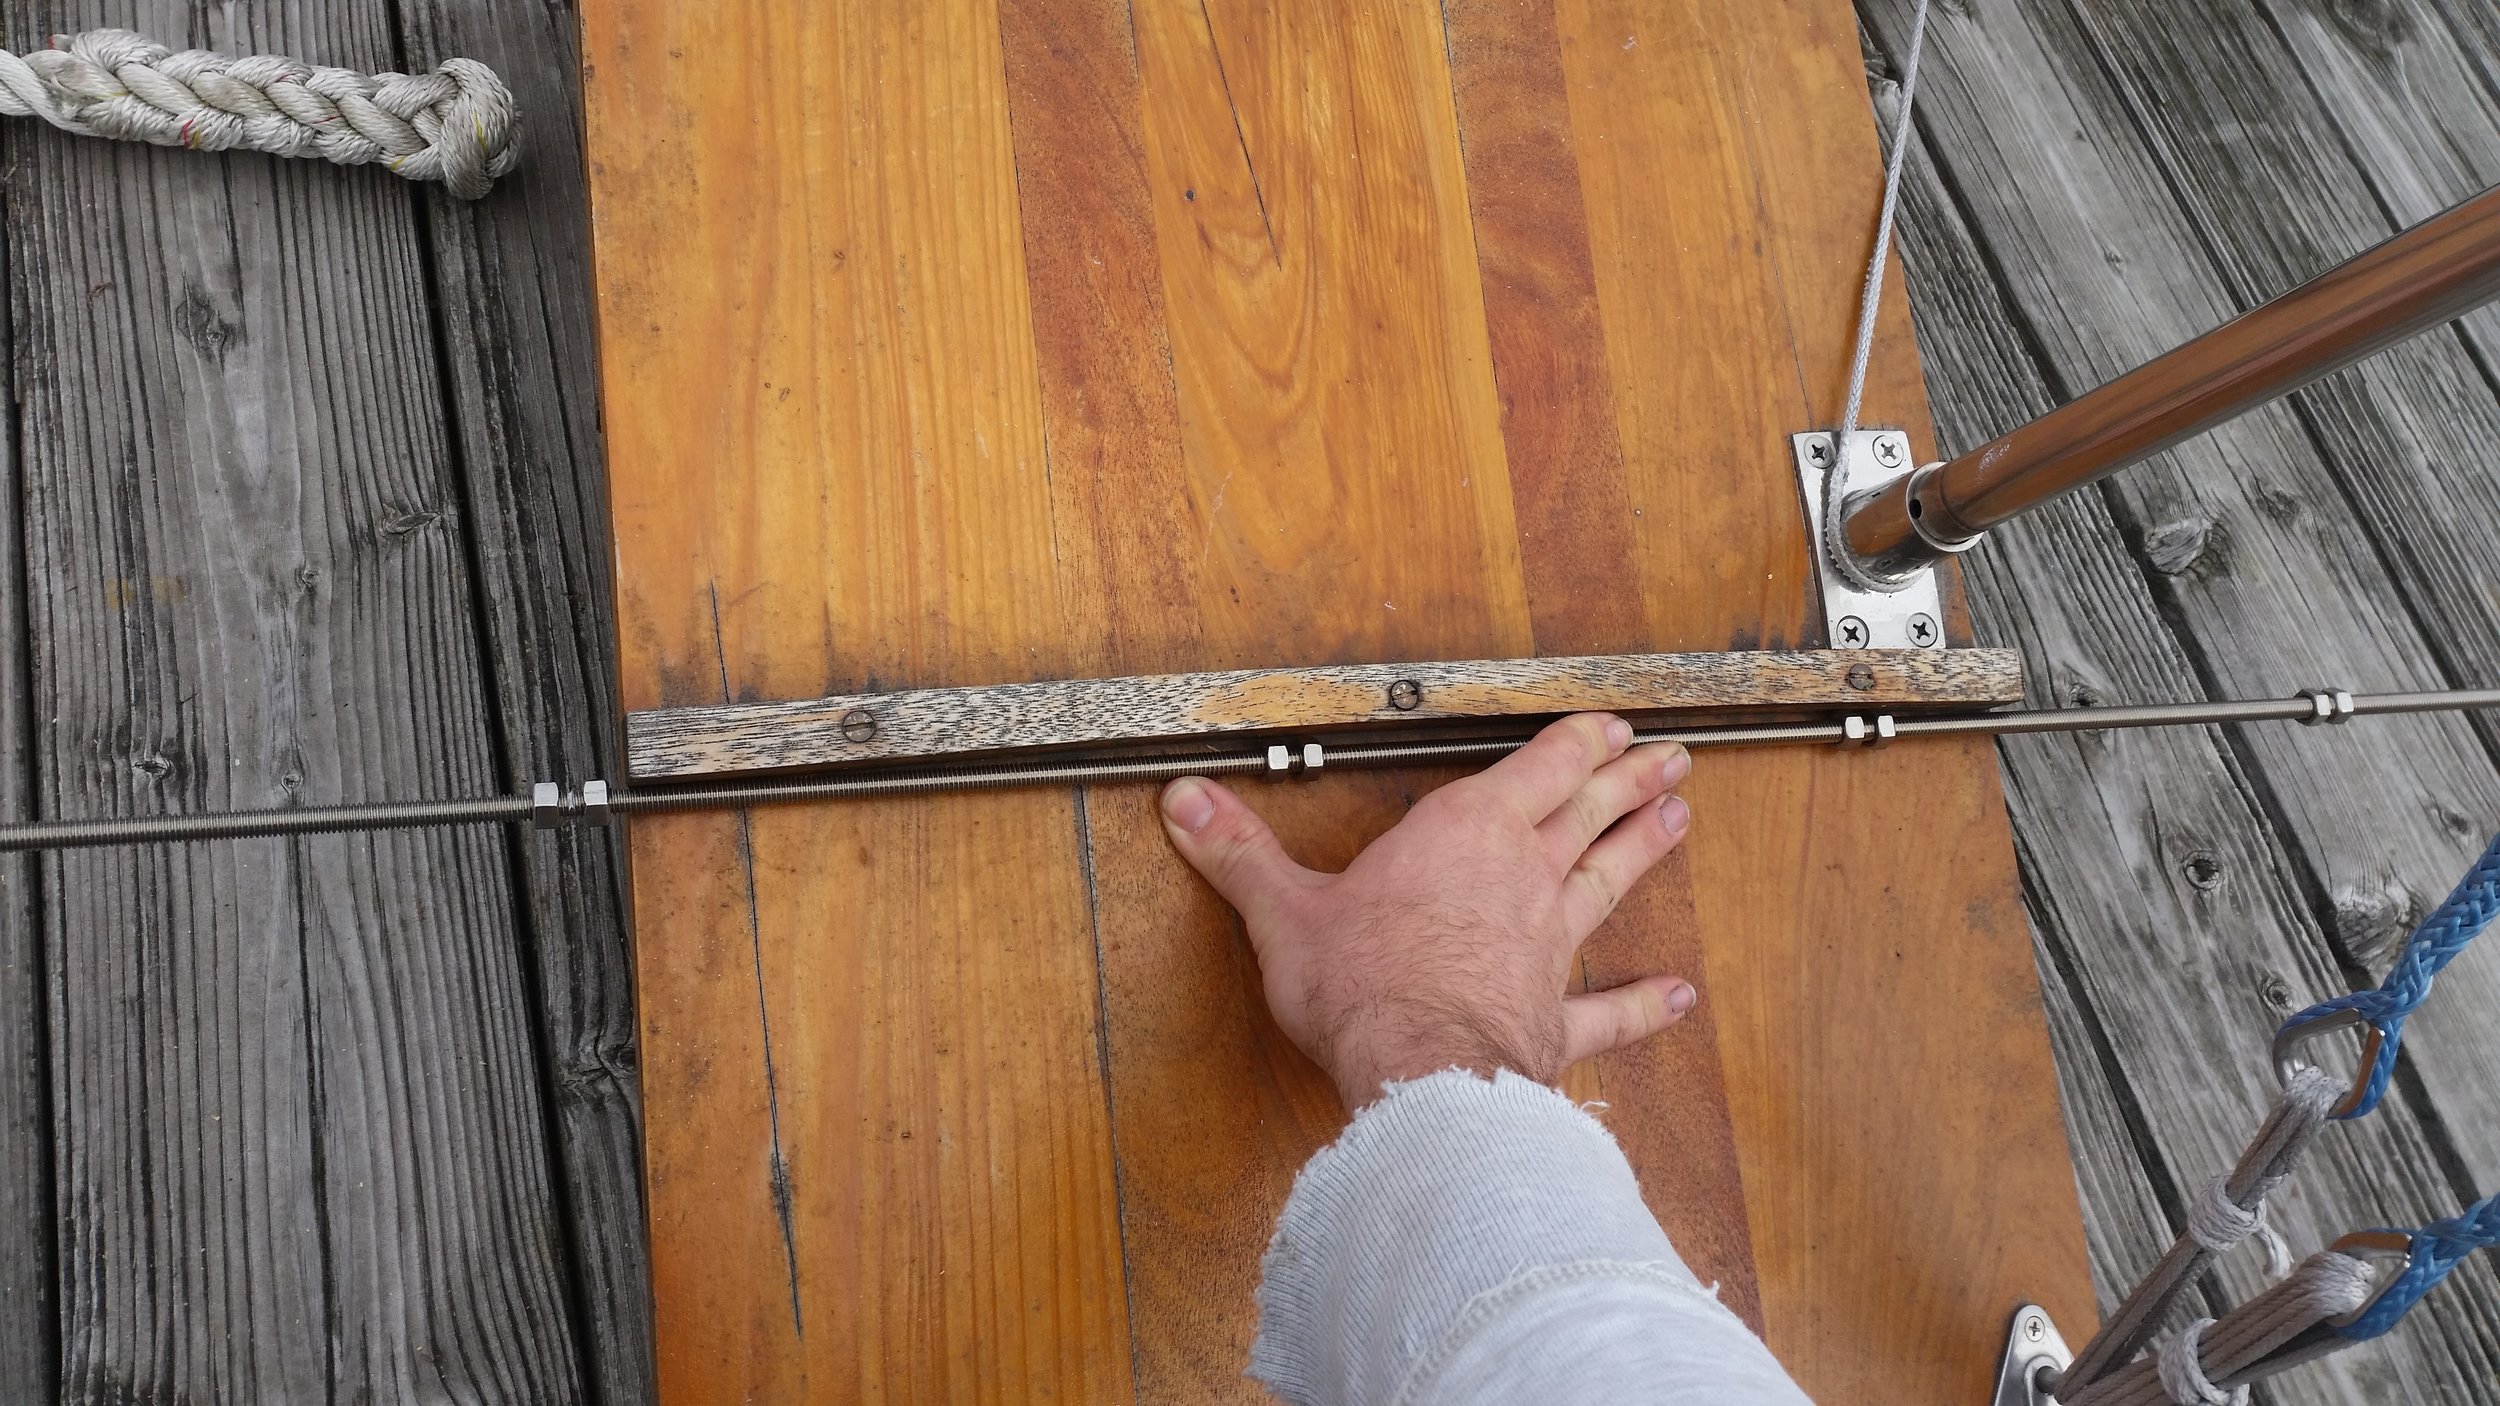
Carl is a wooden cat on a swing and he is suspended from the salon hatch where he swings about as we rock around with the waves.
When it is calm, Carl stays pretty still. When the wind pipes up, Carl really starts swinging!

Carl is a wooden cat on a swing and he is suspended from the salon hatch where he swings about as we rock around with the waves.
When it is calm, Carl stays pretty still. When the wind pipes up, Carl really starts swinging!
Chop Strand Mat (CSM) is pretty much "Fiberglass Sponge". It offers little strength to the final product, but it does a great job of holding the resin in place.
When you are bonding a core material to the hull, you need plenty of resin in place to bond to the coring material. If you do not have enough resin present, the core material will not properly bond to the hull and delamination will present itself later on in the life of the hull.
Yes, chop strand mat is weak, but its objective in bonding coring is to hold the resin like a sponge so that the core material can be properly bonded and the coring will supply the needed strength to the hull.
If you are bonding two pieces of wood together, chop strand mat can be placed between the two pieces of wood to help hold more resin between them. This will keep the resin in place as it cures the two pieces of wood together. If you use only resin with no chop strand mat, the resin can run and drip out of the void between the wood and a weak bond will develop.
When bonding materials together, chop strand mat works very well to hold the resin in place as it cures and produces a stronger bond, holding the materials together more predictably.
The port rabbet line was cut and shaped using hand planes and a rabbet plane. Once the bevels were set to match the frames, it was time to refine the rabbet.
The rabbet plane was set on the bevel that lies with the frames and floors and allowed to cut into the keel. This produces a clean, crisp notch where the planks will lay. By laying the rabbet plane on the bevel with the frames, the notch will change direction with the hull. If the rabbet were cut in a stagnant angle, the frames would not lie flush up against the notch. By allowing the rabbet plane to flow with the contours of the hull, the rabbet will also flow to match. When the planking is put on, the planks will also follow this same curvature and lay flush into the rabbet of the keel.
The forefoot was a bit trickier to cut. The rabbet plane can not cut up to the edge of the stem, even with the blade moved forward to act as a bullnose plane. The very edge needed to be cut out with a very sharp hand chisel. Just like the plane, the hand chisel takes off a tiny scraping of wood with each passage. Over time, the forefoot will take shape and the rabbet line will come to life.
It is important to ensure that the depth of the rabbet is uniform and deep enough. If the rabbet is wavy, so will the planks. If the rabbet is shallow, the joint will not be as strong and the hull will be more prone to leaking.
Using a piece of wood as a template will make it easy to make the depth of cut uniform. The wood template can be slid around the rabbet to ensure appropriate depth. Any shallow spots are easy to identify and then plane down a bit further.
Once everything is cut to size, the whole area can be cleaned up with sand paper, but special care must be taken to avoid rounding off the sharp corners of the rabbet. If these corners were to become rounded, the strength of the rabbet joint is reduced.
Fiberglass boats are also called FRP or GRP, which stand for Fiber Reinforced Plastics or Glass Reinforced Plastics respectively. This is because the hull is actually made of plastic that is reinforced by fibers made of glass. Since the fibers are made of glass, FRP and GRP can be used interchangeably.
The factor that gives the plastic its strength are the fibers that run through the plastic. As with anything placed by engineers and builders, there are many ways to do the exact same thing! The three most common ways to add fibers to the plastic are:
These three methods all serve the same principle of adding fibers to the plastic. The difference is how they align the fibers that are added. Fibers offer strength only along the long axis of the fiber.
If all the fibers are arranged from left to right, the final product will only have significant strength when forces are applied laterally from the left or the right.
If all the fibers are arranged from top to bottom, the final product will only have significant strength when forces are applied vertically from the top or the bottom.
If you combine both fiber directions, and apply fibers running vertically and laterally, you will now have a final product that will have significant strength when forces are applied vertically and/or laterally! Woven cloths and woven roving offer fibers arranged in both lateral and vertical orientation, all in an easy to handle material. This may seem great, but it does still have one major pitfall, vertical and lateral oriented fibers are weak when diagonal loads are applied.
To offset this problem, woven fibers can be arranged in two different directions. The first layer will be oriented with the fibers running vertically and laterally, and the second layer will be oriented diagonally with its fibers running diagonally up and diagonally down! Now you have strength in vertical, diagonal, and lateral directions! Success!
If you can imagine, applying many layers involves more labor. More labor means more work and more cost. This is where Chop Strand Mat (CSM) comes into play. CSM is literally chopped up strands of fiberglass held together in a mat. CSM has no special orientation to the fibers, and the fibers do not run very far. They are randomly arranged and offer strength in all directions, but the fibers are all short and offer little strength to the plastic. The only reason CSM is widely used is it is cheap, quick, and easy! Woven fibers take skill and attention to detail, CSM can be applied with a gun that literally shoots it into the area.
We know that CSM is randomly arranged small fibers, but what is the difference between cloth and roving? Both cloth and roving are woven fibers arranged into a sheet that can easily be managed and worked with, but they do have their significant differences.
Woven roving is made of very large clumps of fibers that are woven together. Woven roving offers a lot of bulk and a lot of strength in a single layer of fabric. The problem with woven roving is it results in a much lumpier surface. If the outside of your hull was a lumpy mess, you would either have horrible resistance while moving through the water, or you would spend a really long time trying to fair the hull.
Woven cloth is made out of very small fibers that are woven together. Woven cloth offers very little bulk and very little strength in a single layer of fabric. While it is very weak, it does offer a very smooth finish layer to the hull. This will mean less lumps and less time spent fairing the hull!
You might be wondering why would you ever use CSM or Roving when you could simply build the hull out of woven cloth and have a very smooth finish with no lumps to contend with. The reason is the needed bulk to build the thickness of the hull. Making a hull sandwich with woven cloth for bread and woven roving or chop strand mat for the meat will result in a smooth, thick, and strong hull with plenty of strength in all directions!
In general woven cloth offers a smoothing finish layer to the meat beneath the the FRP work. Woven roving offers a lot of meat and strength to the FRP work. CSM acts mostly as a bulk filling sponge that holds plenty of plastic as it bulks up the FRP work.
Next time you are working on a fiberglass project, you can choose the correct fiber for the job and create a strong and durable result.
When you need a very long bolt in a specific size, you might become frustrated with the limitations in supply. This whole process came to be when I was installing the Monitor on the back of the sailboat and needed an exceedingly long bolt to attach it to the deck. The bolt needed to be at least 7 inches long, while 8 inches would be preferable. The problem is the bolt had to be 5/16" in diameter.
They do not readily manufacture 5/16" bolts in excess of 6 inches because the forces on these bolts are so great that they could break if used in the wrong situation. Mounting the Monitor was not one of these "wrong situations", so I would be fine with this thin long bolt; as long as I could get one!
My choices were to search specialty stores for this extra long bolt and pay a premium for each or make my own! I chose to do the latter.
I ordered a 5/16" threaded rod from Jamestown Distributors and proceeded to make my bolts from this. The rod itself was only $4, but shipping was $12. This means that a set of 4 bolts would cost $4 each. Luckily, my dad also wanted to order some things from Jamestown Distributors so we split the shipping charges. Now the threaded rod was $4 and the shipping was only $6! At a total cost of $2.50 per bolt, I was well on my way toward saving money with these fittings.
The plan was simple, cut the 36 inch threaded rod into 8 inch sections and turn them into bolts! One important point with cutting threaded rod that you plan to use as a bolt later, the cut threads will usually get mangled, prohibiting any nuts from threading on. What you need to do is "refresh" the threads after you make the cut.
Refreshing the threads is simply the act of unscrewing a nut over the freshly cut threads. This is simple to do and only requires the forethought to put a nut on the rod before you make your cut. With the nut present, all you need to do is unthread it and the threads will be refreshed.
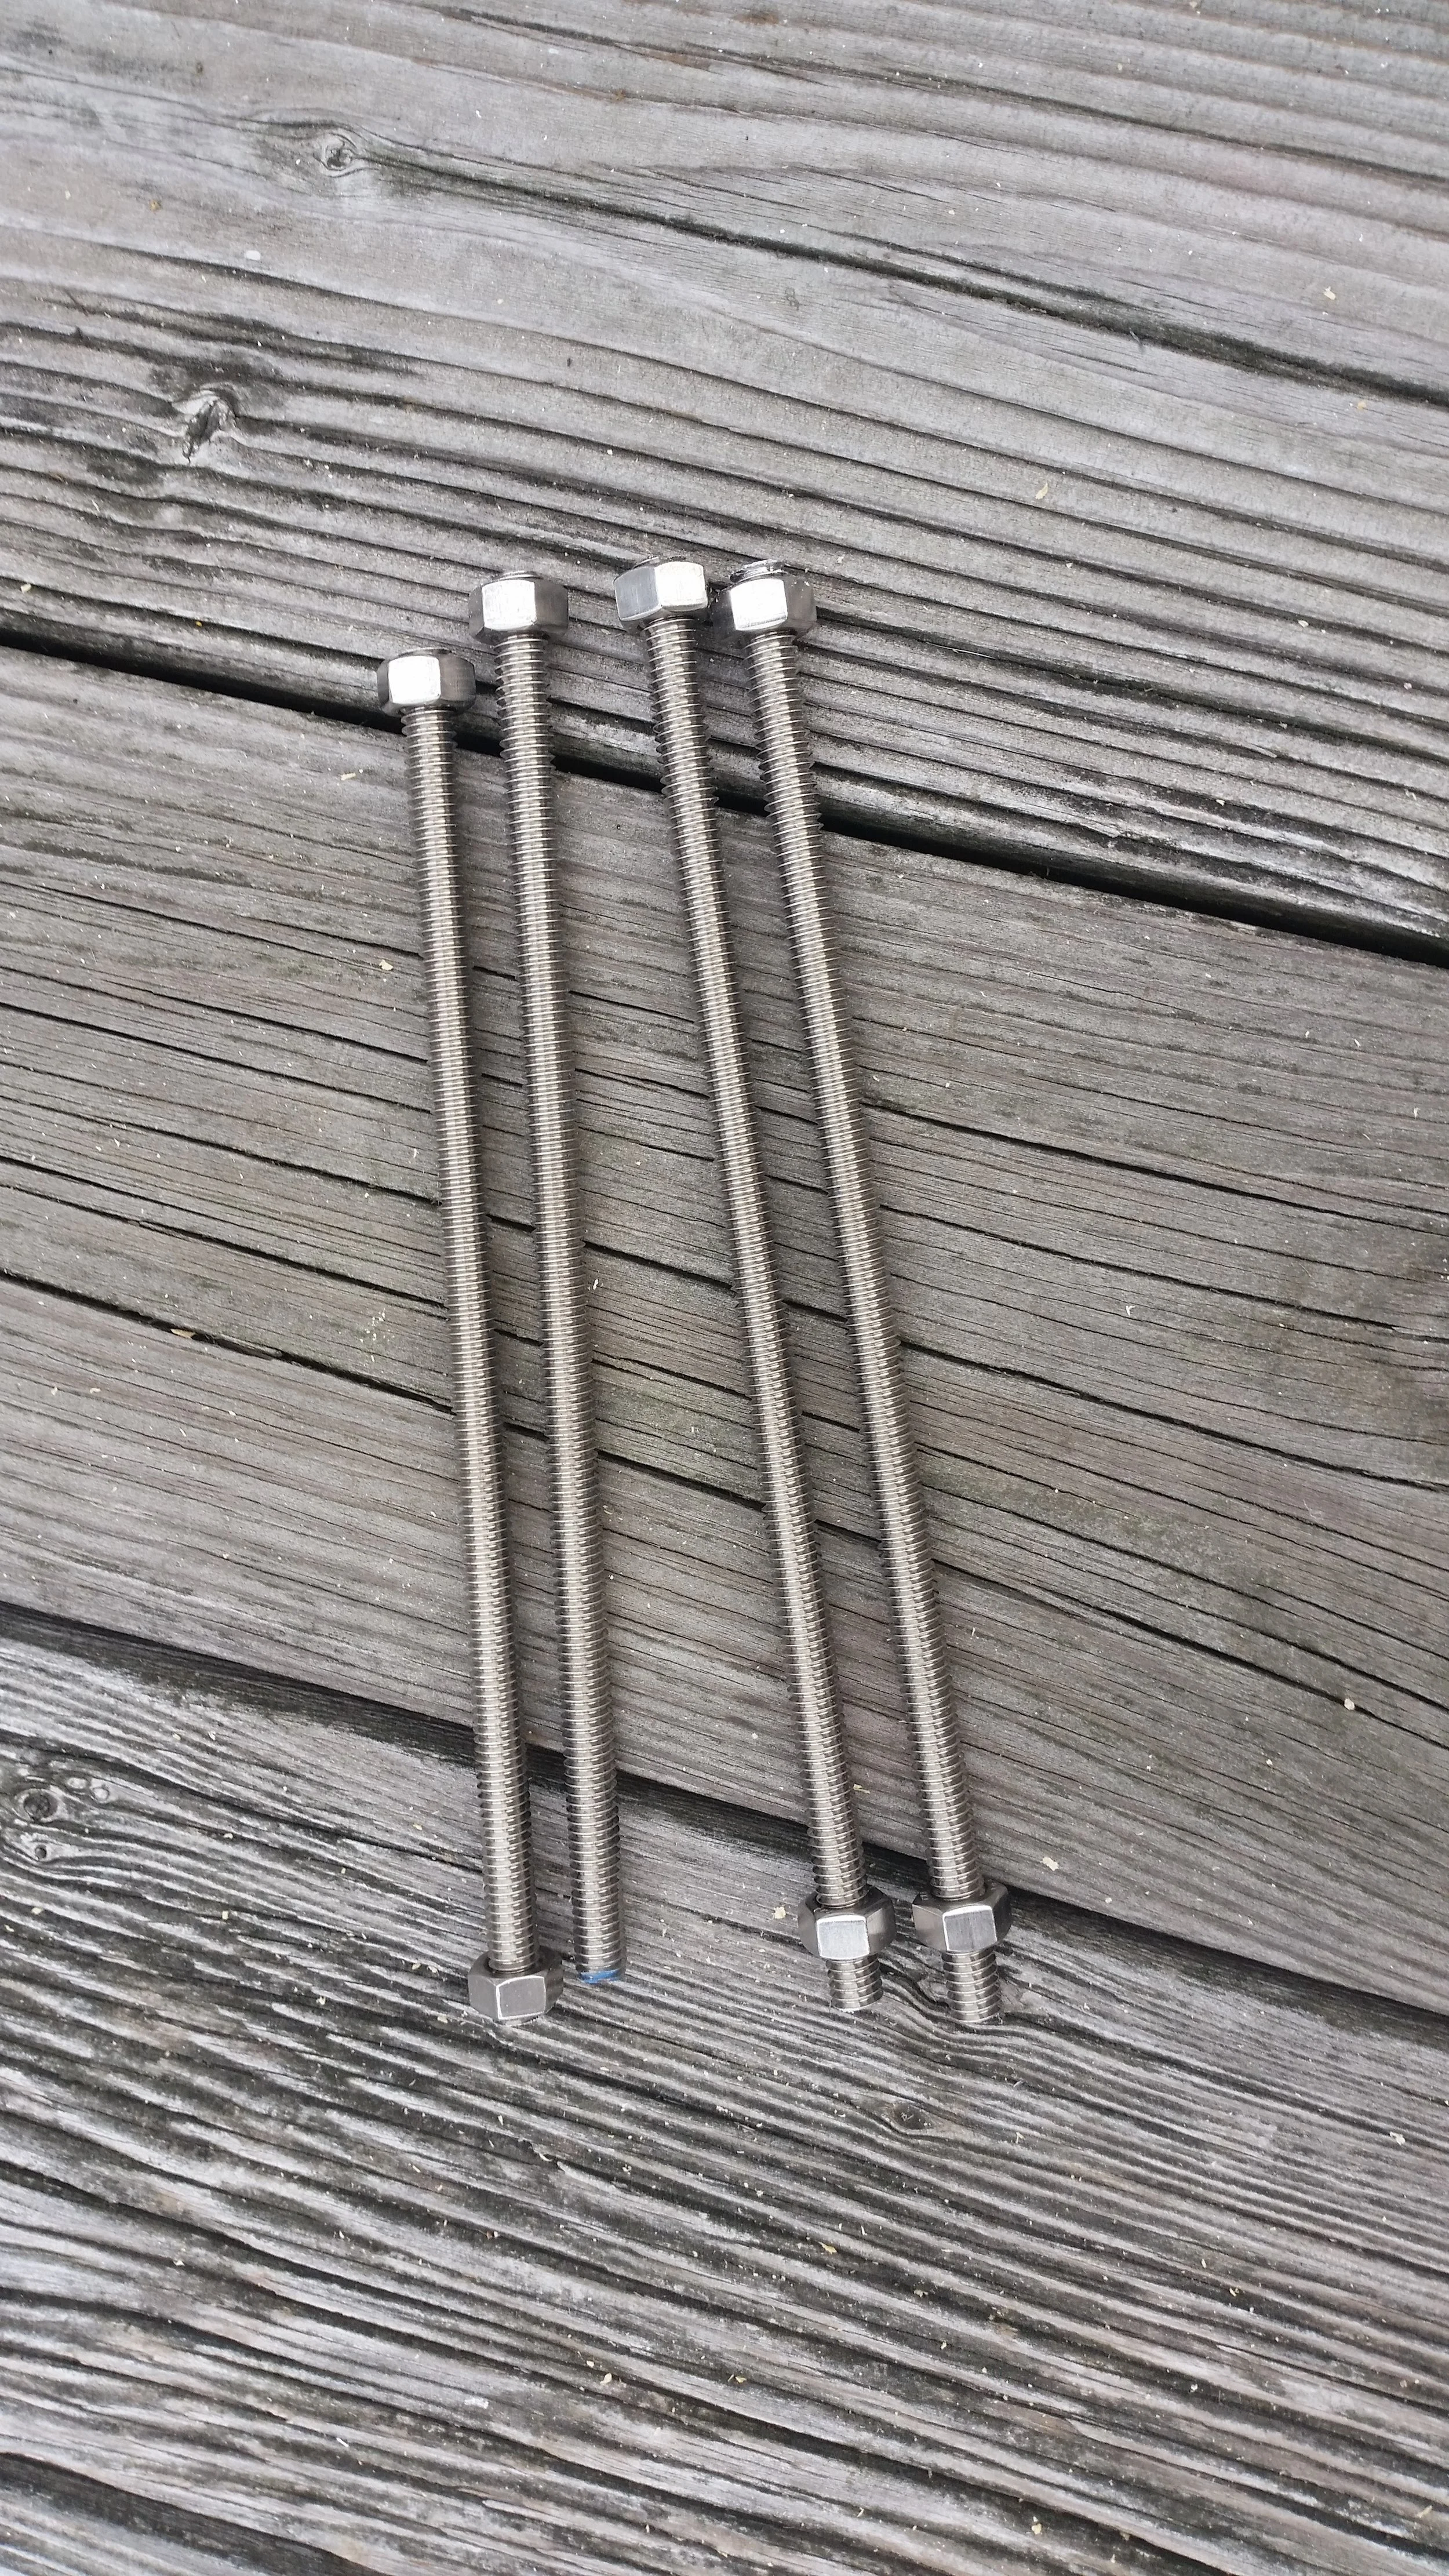
The 8 inch sections were demarcated by a set of nuts, all I had to do was cut between the two nuts and I would produce four 8 inch sections with nuts ready to refresh the threads.
A hacksaw made quick work of the threaded rod with little effort on my part. A hand file took down must of the irregularities before I proceeded to unthreading the nuts to refresh the threads.
To turn threaded rod into a "bolt" all you need to do is firmly attach an acorn nut to one end. This nut will lock onto the threads and never let go if tightened down properly.
To tighten the acorn nut onto the rod, you will need two nuts on the other side. The two nuts can be tightened by hand against each other until they gall and bind onto the stainless steel rod. With one wrench on a nut and another wrench on the acorn nut, you will be able to tighten the acorn nut onto the threaded rod to a degree much higher than could ever be achieved without the locked nuts on the other end. It is not uncommon to hear a grating sound as the acorn nut galls into the threads, locking it on forever!
With two wrenches working opposite each other, the two nuts can easily be freed and removed.
Using these simple steps, you can create a very long bolt for much less money than a regular custom made bolt would cost. Best of all, it will have threads on the entire unit, as opposed to typical long bolts with only the last inch having threads.